All Activity
- Past hour
-
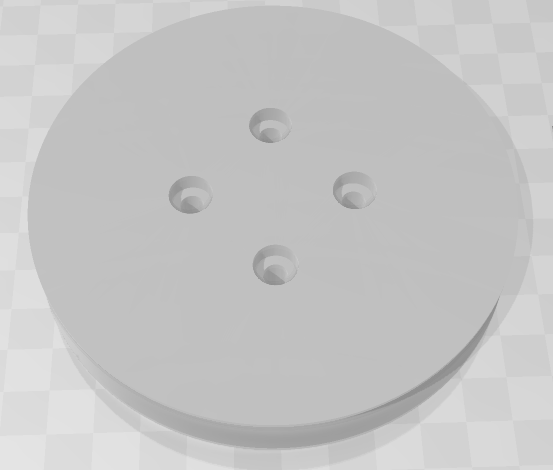
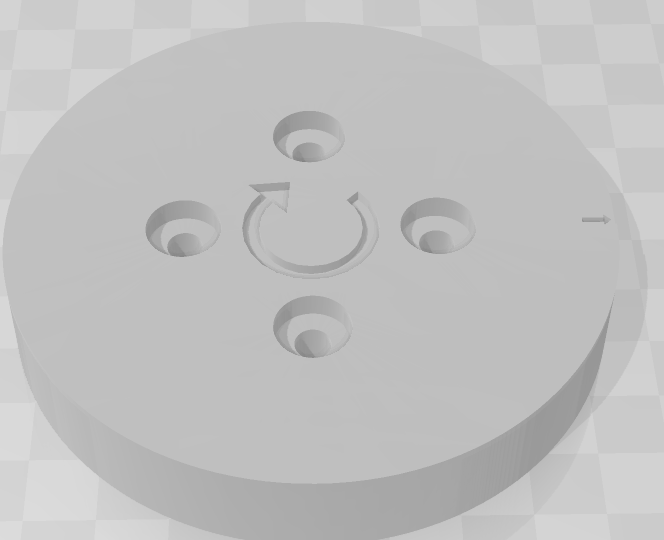
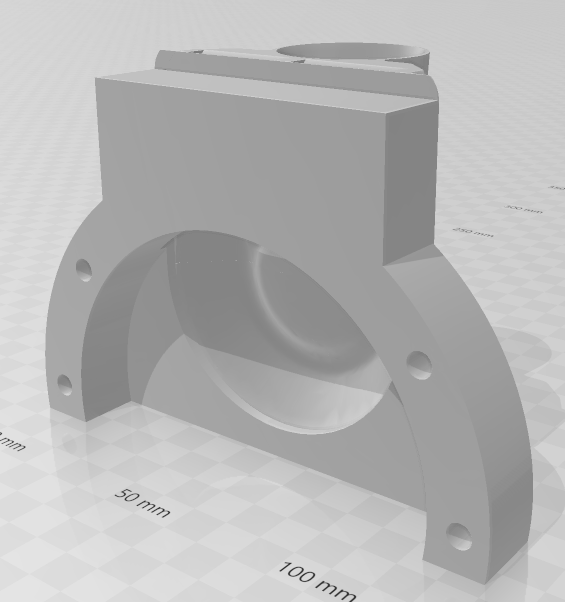
Some of the youtubers we follow have neat toys to make processors better/quicker. One such item I drool over in the Campbell Randell Variable Speed Burning Machine. Chances of getting one in Australia are pretty minimal and if it was available, I would probably be hit with a 50% export Tariff ;). So I after some time on my CAD I came up with these. The sanding wheel is 89mm diameter and has a small flat area so the sand paper has a slight overlap and you don't feel a bump. I choose the diameter to suit strips cut from an standard sheet of wet and dry sand paper. Currently I am testing 180 grit and am extremely satisfied. The Dust collector is NOT my work. I blended a vaccy adaptor on Thingiverse (https://www.thingiverse.com/thing:2806410) to suit my needs. The burnisher works well. These are all printed in PETG and time will tell if the stand up to abuse. Both the sander and burnisher are driven by 1/2hp 3 phase motors with VFD to control speed. When I get this mounted in their (yet to be designed frames) I will share moer details. As always I am very open to comments and observations.
- Today
-
Thought I'd give an update. the molds were an overkill. the outer mold is not needed.the Cutting and marking guides are useful as is the internal mold for gluing. using the angle gring to remove a portion of the grit can have variable results, particularly if I go a bit heavy hand ( as Ray says," I love my job I get to do it twice!"). I made 3 coves using the 80grit Diablo paper and have barely worn 1.
-
 If it was me I´d check with a professional leather cleaning / restoration service. DIY like "vinegaroon'ing" may work but it could get worse also. Again, I´d check with a Co. who is restoring / reconditioning leather. If you have one locally they may come to your house and check the damage. May cost some $ but a new leather couch most likely is more expensive. Not on my end of the world but these folks f.i. offer telephone support: https://clydesleathercompany.com/pages/about-us
 -
 Hi Kristina, would you mind sharing a picture of the couch and stain?
 -
 Snokone86 joined the community
 -
.thumb.jpg.6e903dd66163ad5672f00f144058c571.jpg) Moved your post to Dyes, Antiques, Stains, Glues, Waxes, Finishes and Conditioners. Check out vinegaroon in this forum, lots of posts and info. Note it is not a dye. It is a reaction between iron and tannins in the leather. So the leather needs to be vegetable tanned, and, any finish removed so the veinegaroon can soak in and do its chemical reaction.
Moved your post to Dyes, Antiques, Stains, Glues, Waxes, Finishes and Conditioners. Check out vinegaroon in this forum, lots of posts and info. Note it is not a dye. It is a reaction between iron and tannins in the leather. So the leather needs to be vegetable tanned, and, any finish removed so the veinegaroon can soak in and do its chemical reaction. -
You need to provide more information, like thread size and type, needle and awl sizes, and some pictures of the stitching from top and bottom sides showing examples. We may have some minde readers here, but I think they need your help.
-
Anyone taken a cheap servo motor apart?
Northmount replied to AlZilla's topic in Leather Sewing Machines
May also depend on number of coils (magnetic poles). Did you measure with a dial gauge, or brace a pencil and bring it close to the pulley until it just touches some point on the side of the pulley rim while turning by hand, and also when running the motor? Tends to say the bearing may be damaged (possible broken or cracked outer race or deformed balls), or if the bearing is supported by spokes vs. machined full face like the video shows and 1 or more spoke is broken. This is definitely a mechanical issue (due to hearing and feeling grinding noise speed and belt tension changes). Reminds me off a vibration analysis job on a large cooling water pump. Driver was a steam turbine running around 7000 RPM. The story came together in pieces. You only get told what they think is relevant. The turbine had tripped on overspeed. They rebuilt the governor and put it back together. Now it had high vibration. They had a spare turbine rotor in storage so swapped it out. Still had high vibration. Then they called me. I took vibration measurements on the turbine, gear reduction box, and the pump. The pumps operating speed was about 500 rpm. The vibration on the high speed pinion shaft was approaching 100 in/sec, fantastically high and dangerous. (1 in/sec is bad.) I got out of there as quickly as I could while capturing the necessary vibration data. The vibration frequency spectrum showed peaks at the turbine speed and at the pump speed. The highest peak was at the pump speed. So I told them the pump / bull gear shaft was bent. They replaced the gear box. Still a problem. Told them they needed to check the run out on the pump shaft. Guess what, it was bent. Then comes the rest of the story. A board (slat) had fallen off the cooling tower and was sucked into the pump. Oh! that is interesting! The board had stalled the pump and broke up. The turbine governor had opened up wide open to bring the speed back up. As the board broke up, the turbine went overspeed and tripped before the governor could correct the speed. The board bent the pump shaft before the board broke up. The unit was about 1200 hp. Pump suction was about 20" or so diameter. -
Nice work. They look great.
-
untilMore info at The Leathercrafters Journal
-
untilMore info at The Leathercrafters Journal
-
Try heating it up fairly hot. Often that will soften Loctite and other thread lockers (and many glues / adhesives).
-
This thread addresses your question about a walking foot. I did a Google search "site leatherworker.net Singer 44-10" and found a lot of information.
-
 carpenterprecision joined the community
 -
I moved your post to leather sewing machines. You'll get more interest in this area. Have you looked through this forum? you will find a number of discussions about servo motors.
-
I use a pic of Janis Joplin on X as my profile pic. The first song I learned off the radio as a kid was "Me and My Bobby McGee".
- Yesterday
-
I have a Singer 44-10 that has been gathering dust for the past 40+ years until I retired and started getting into leatherwork. Unfortunately the clutch motor is a bit too touchy for me to control the speed. Ive seen where replacing the clutch motor with a servo motor will solve that problem but, not sure which one to get. I would also like to retro fit it with a walking foot but have no idea if that is possible or where to get one if it is. Any recommendations are appreciated Phil
-
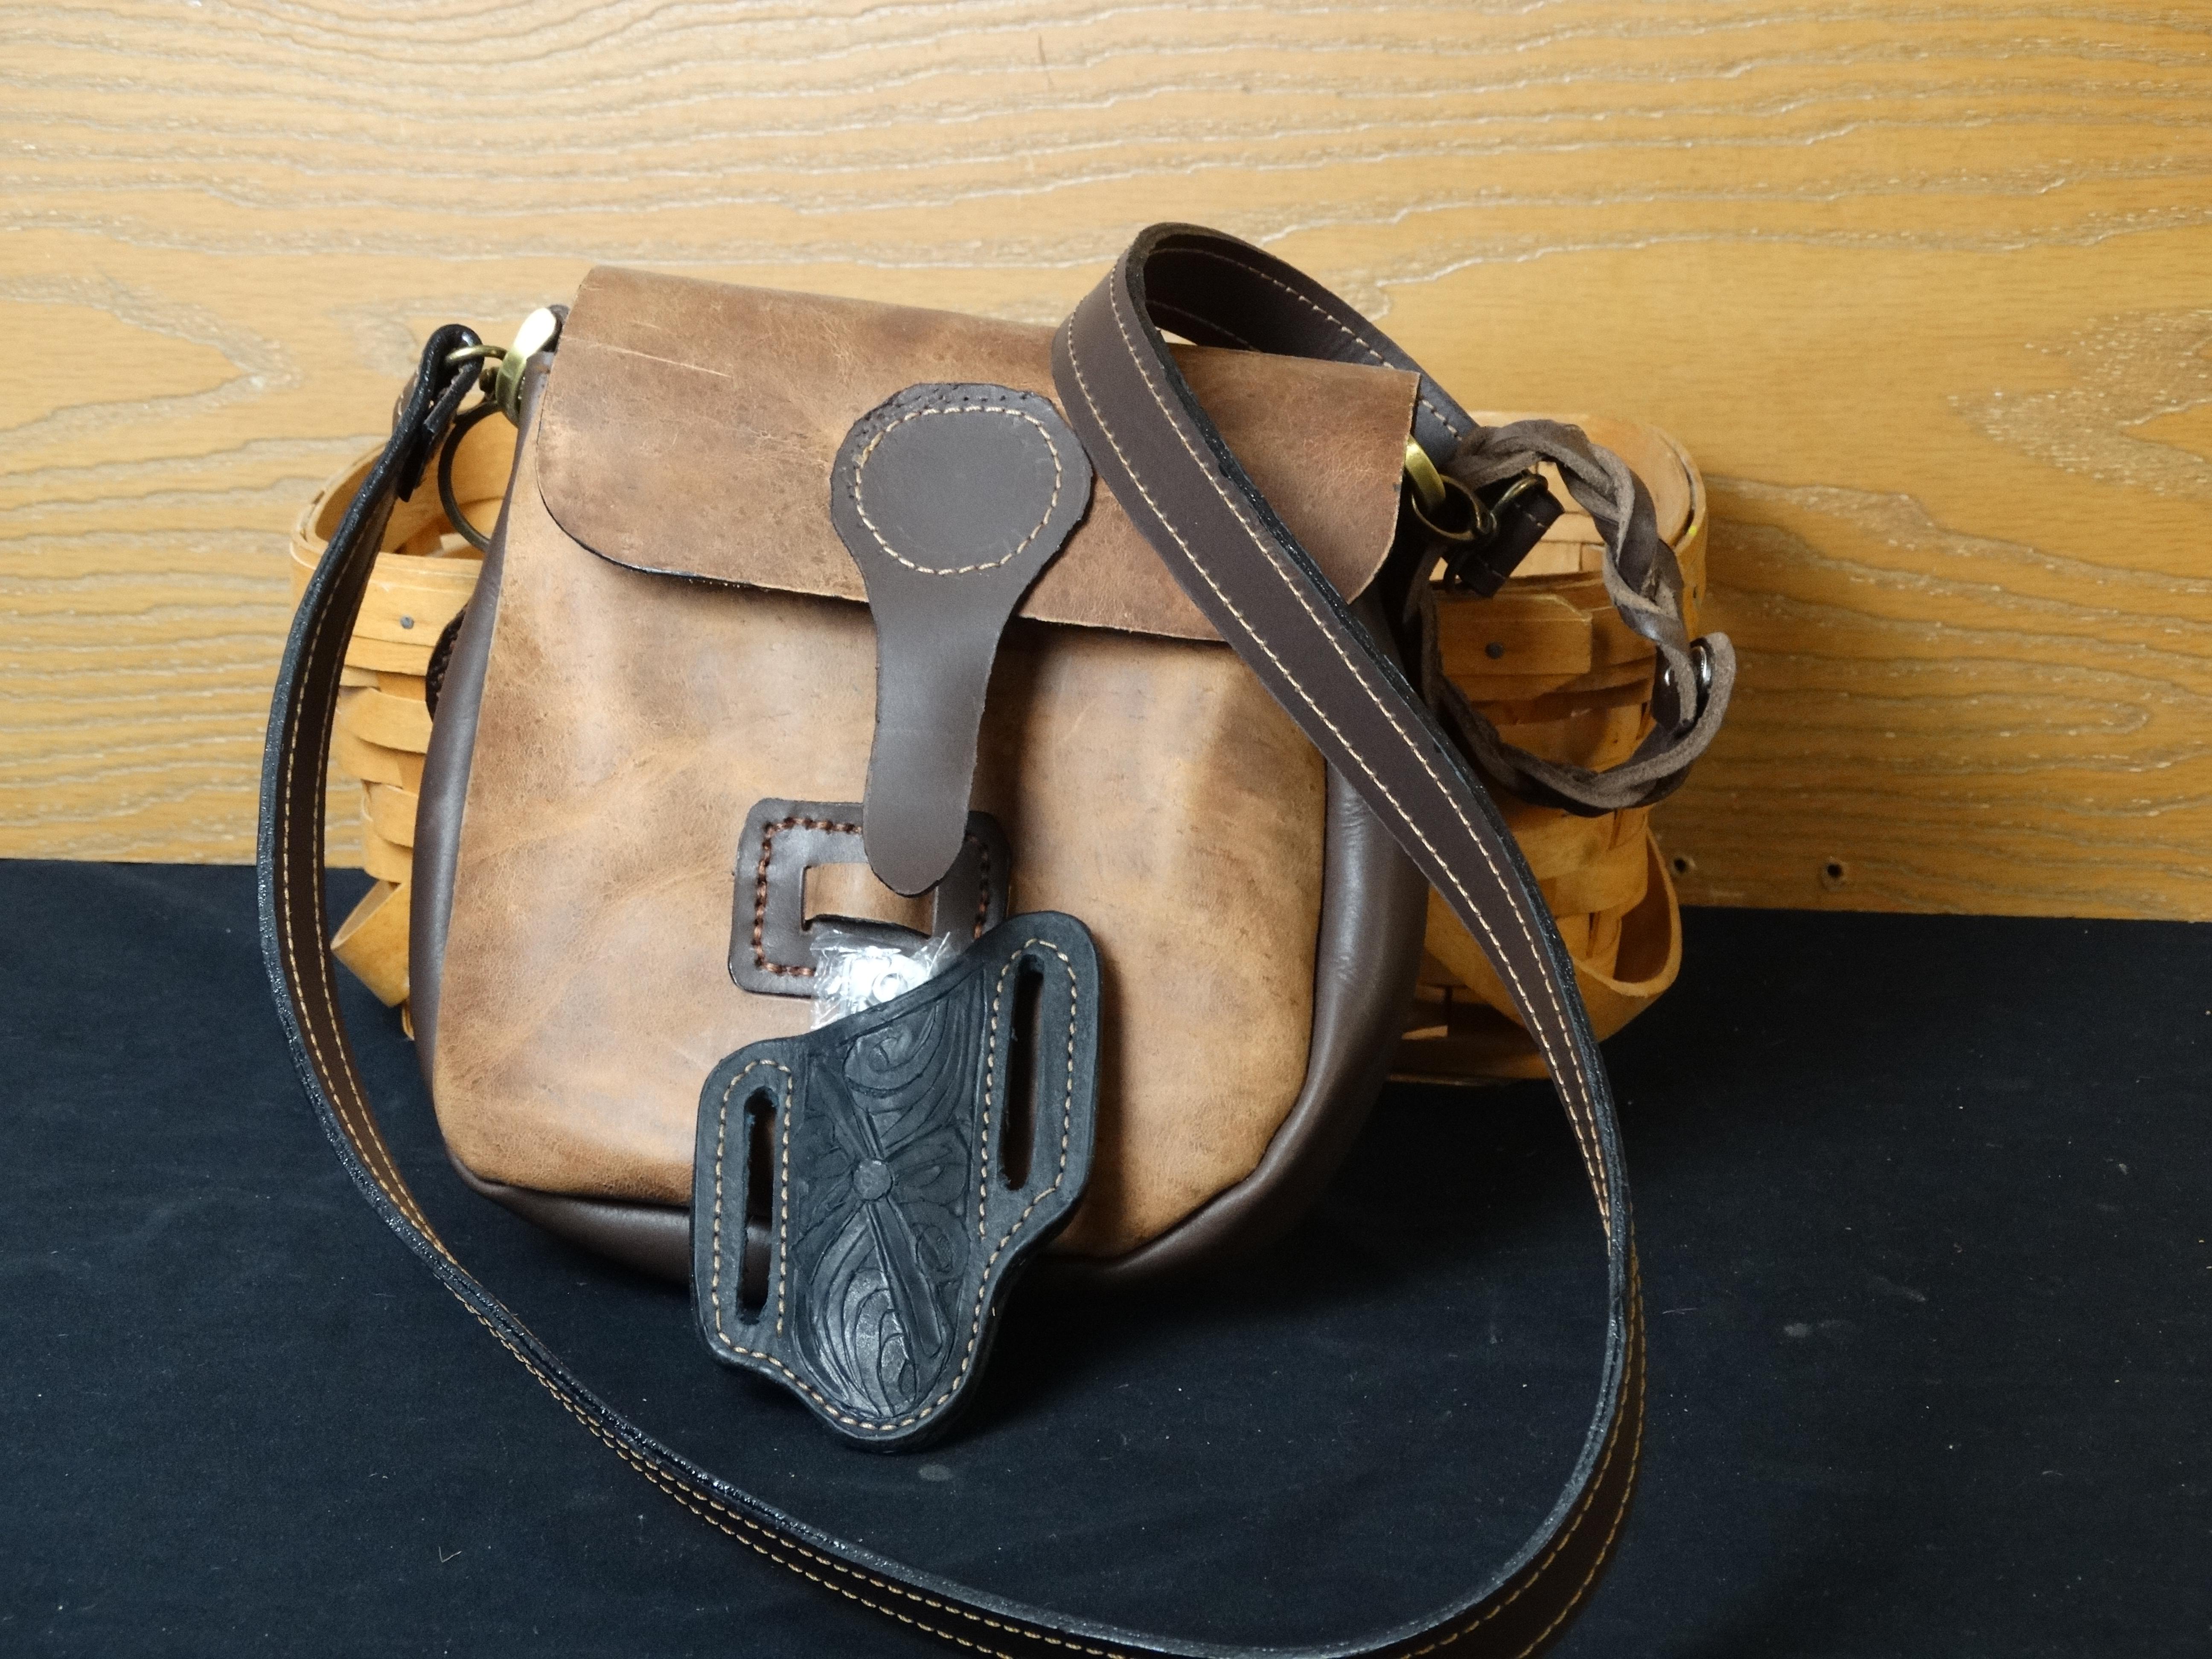
Here is a clamshell purse I've made along with a pancake sheath and a wristlet. These items are going out in the mail today for a birthday present for my Mother. The Pancake sheath is from https://www.instagram.com/don_gonzales/ his original slanted design his newer one is now straight I think I might have gotten the pattern in like 2016 or before I've had it a long time.
-
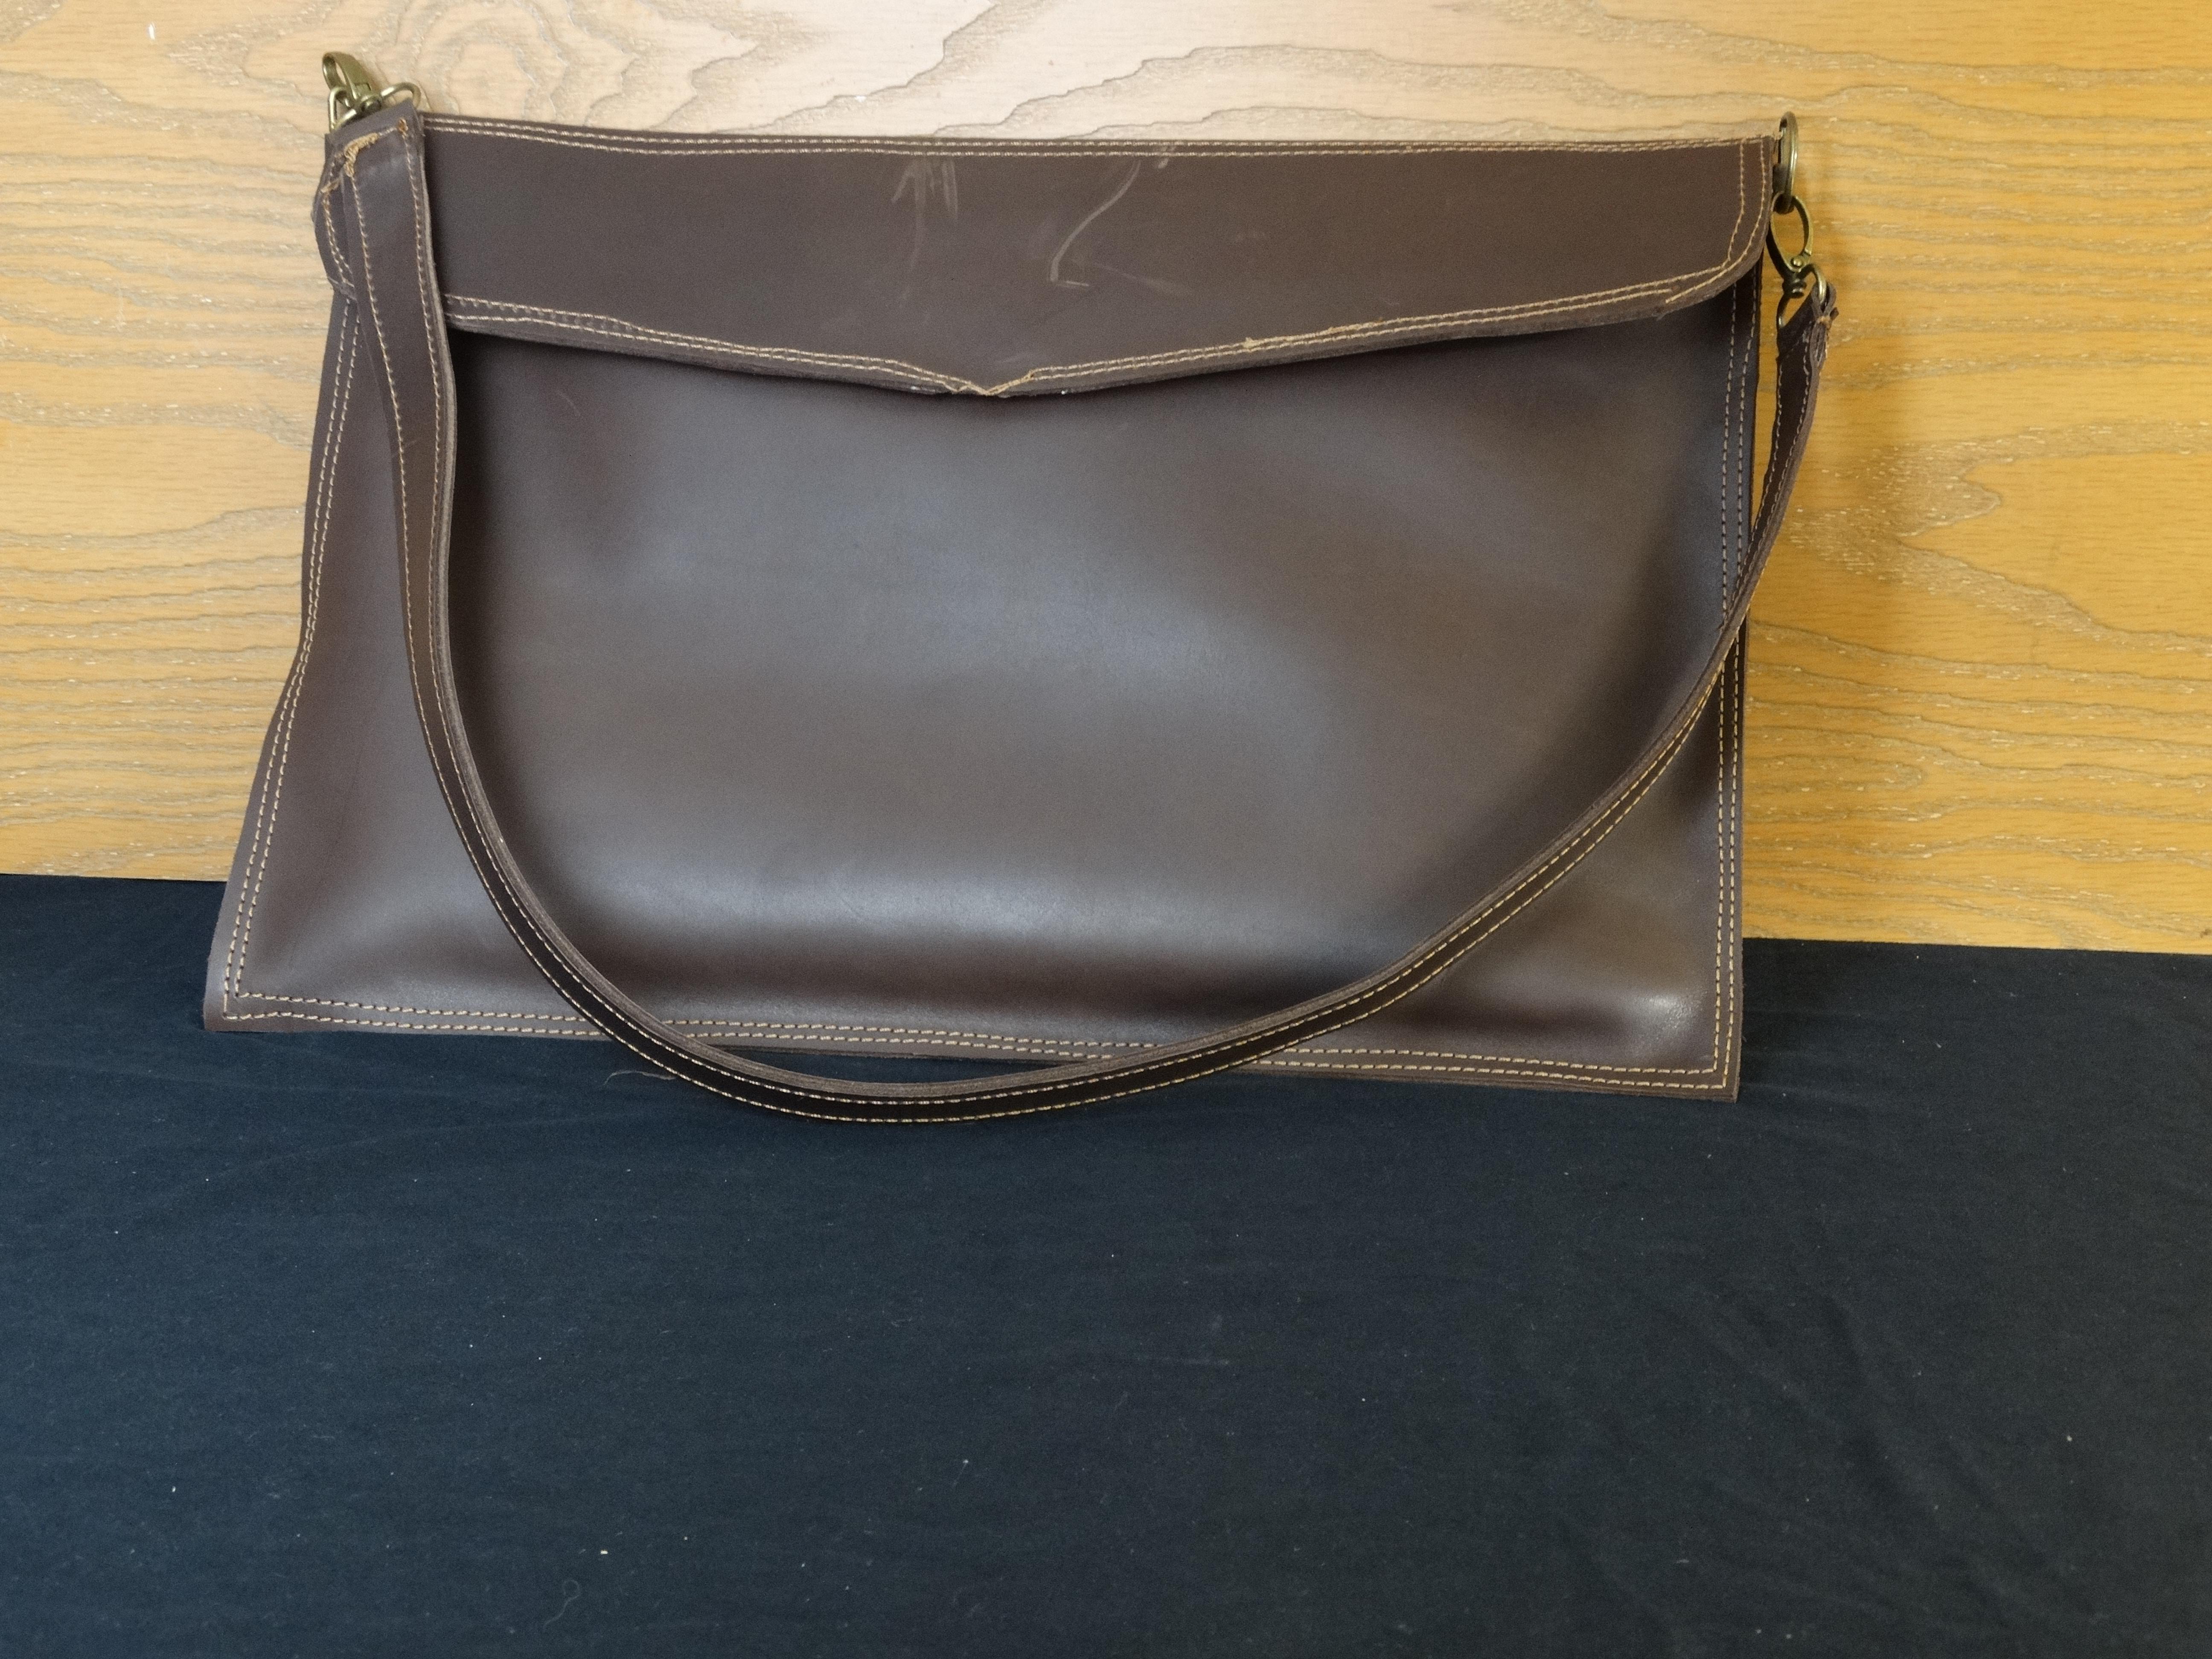
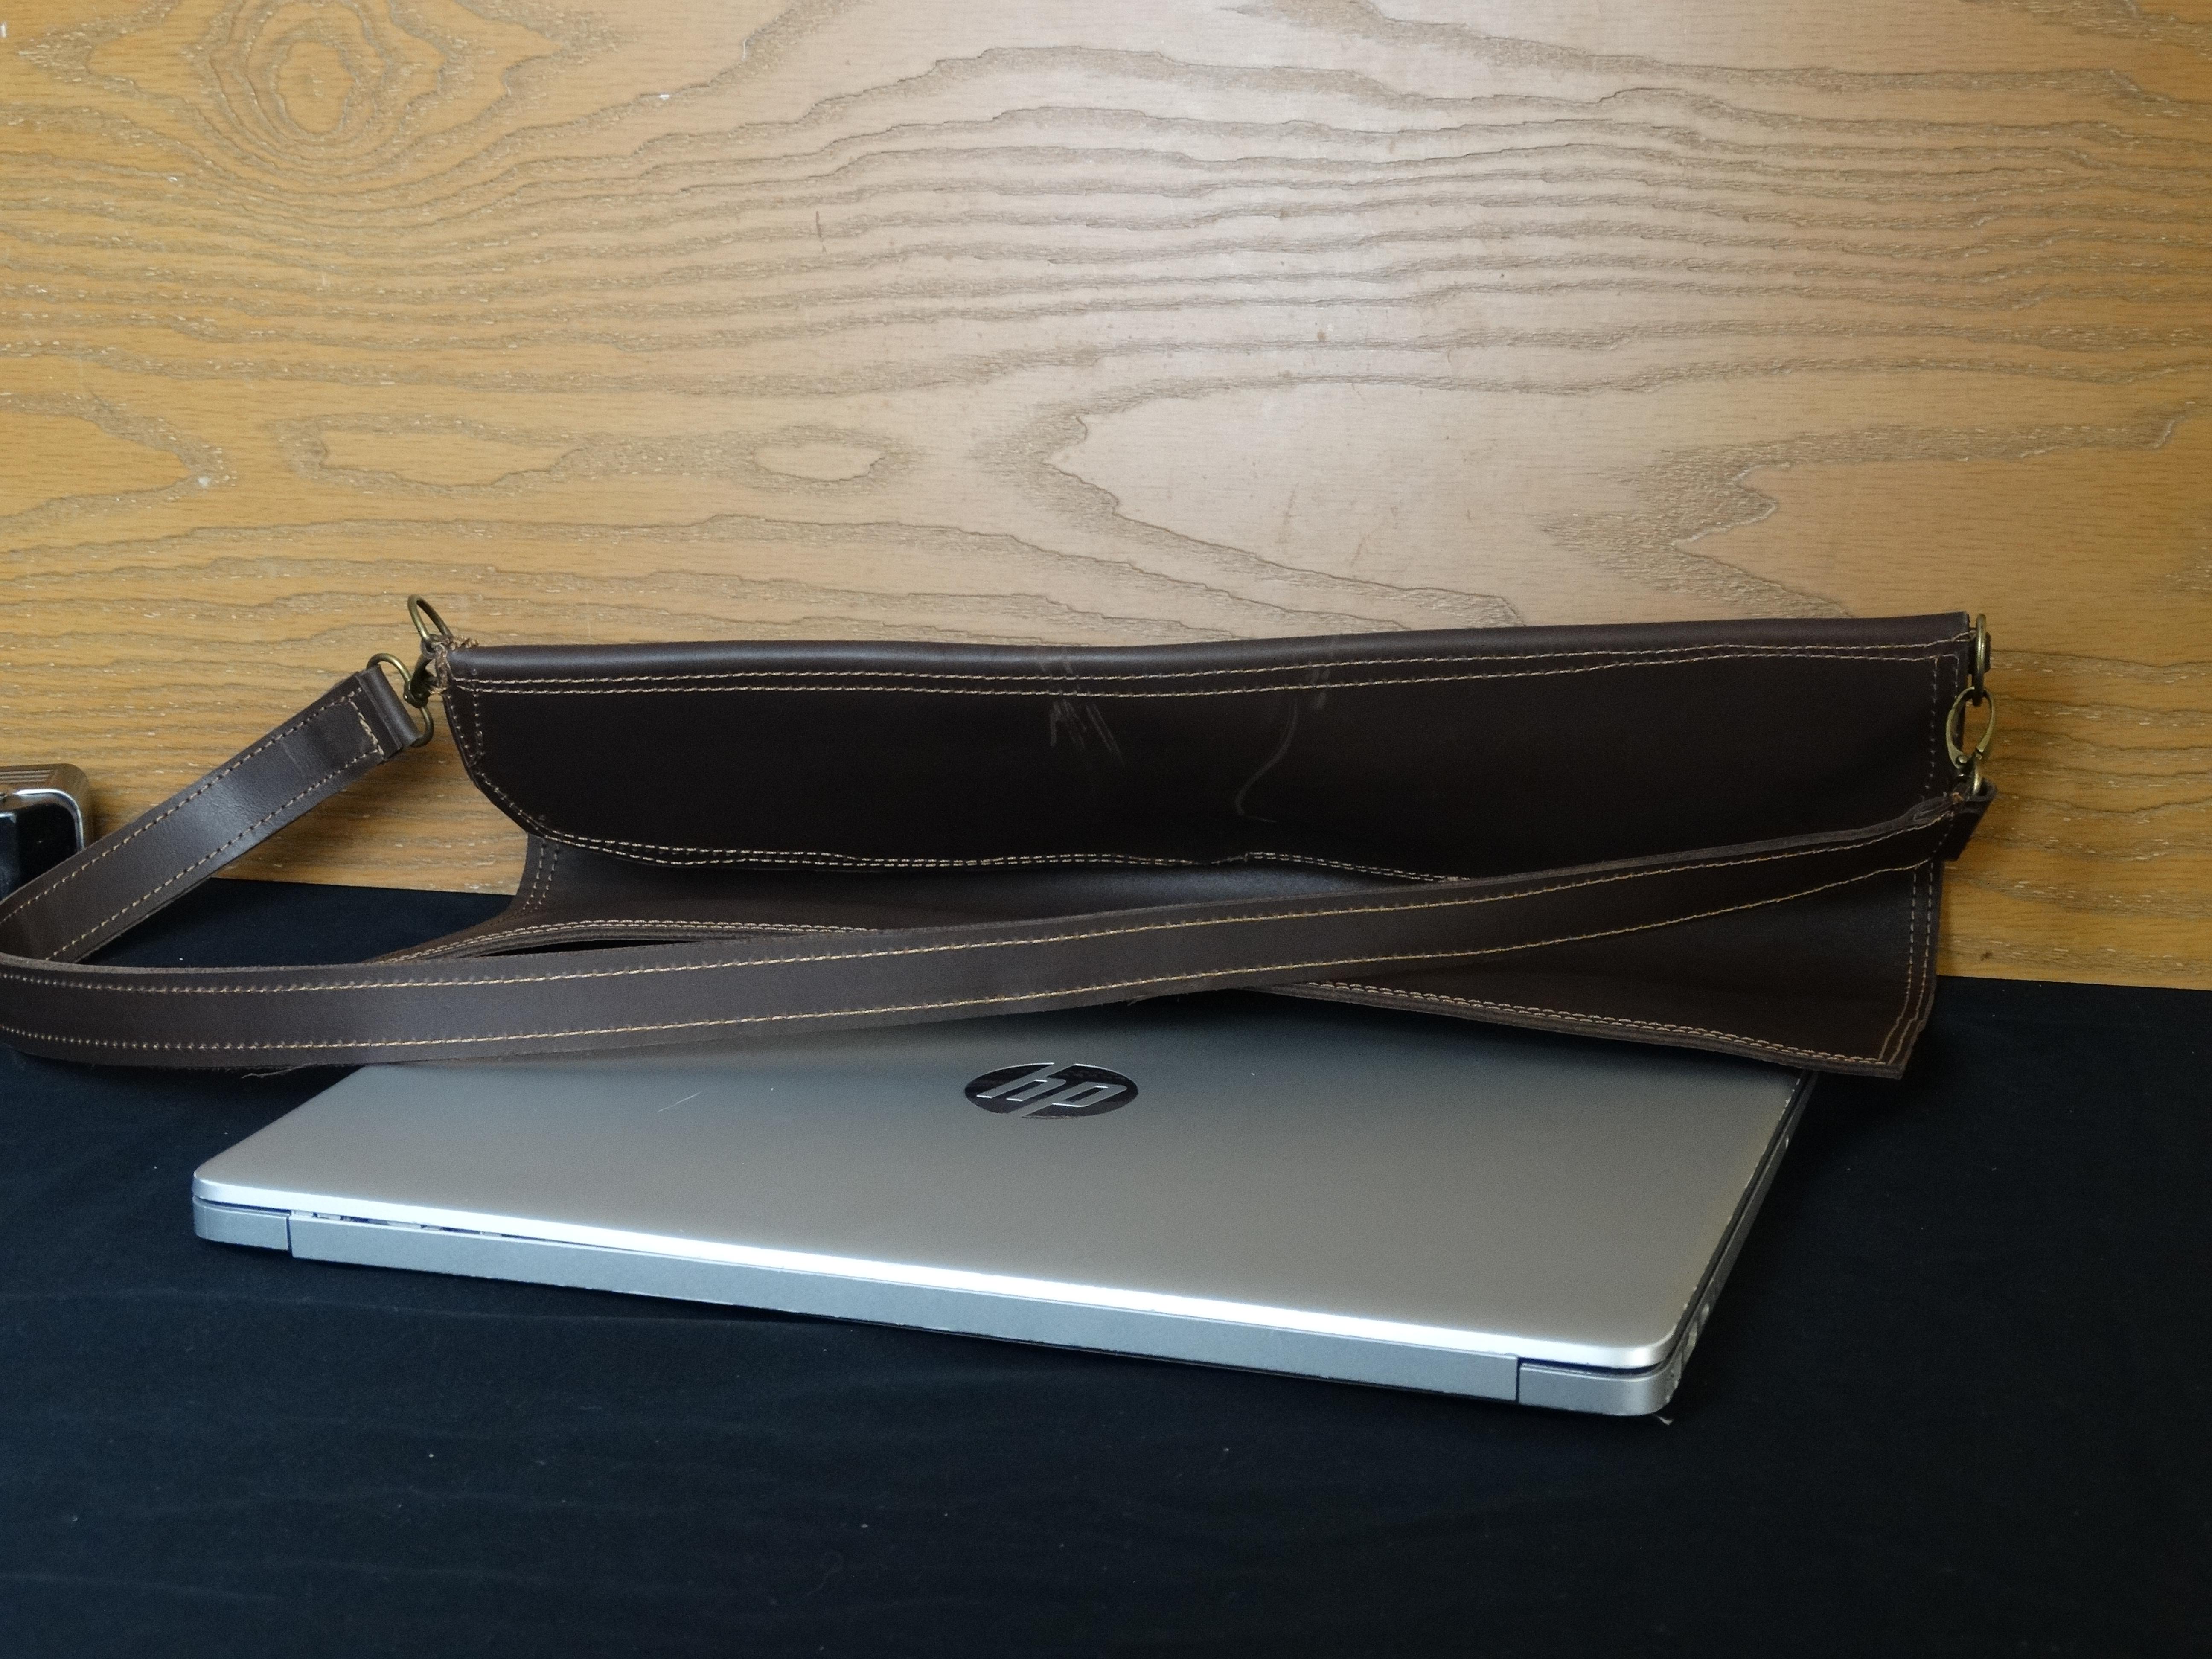
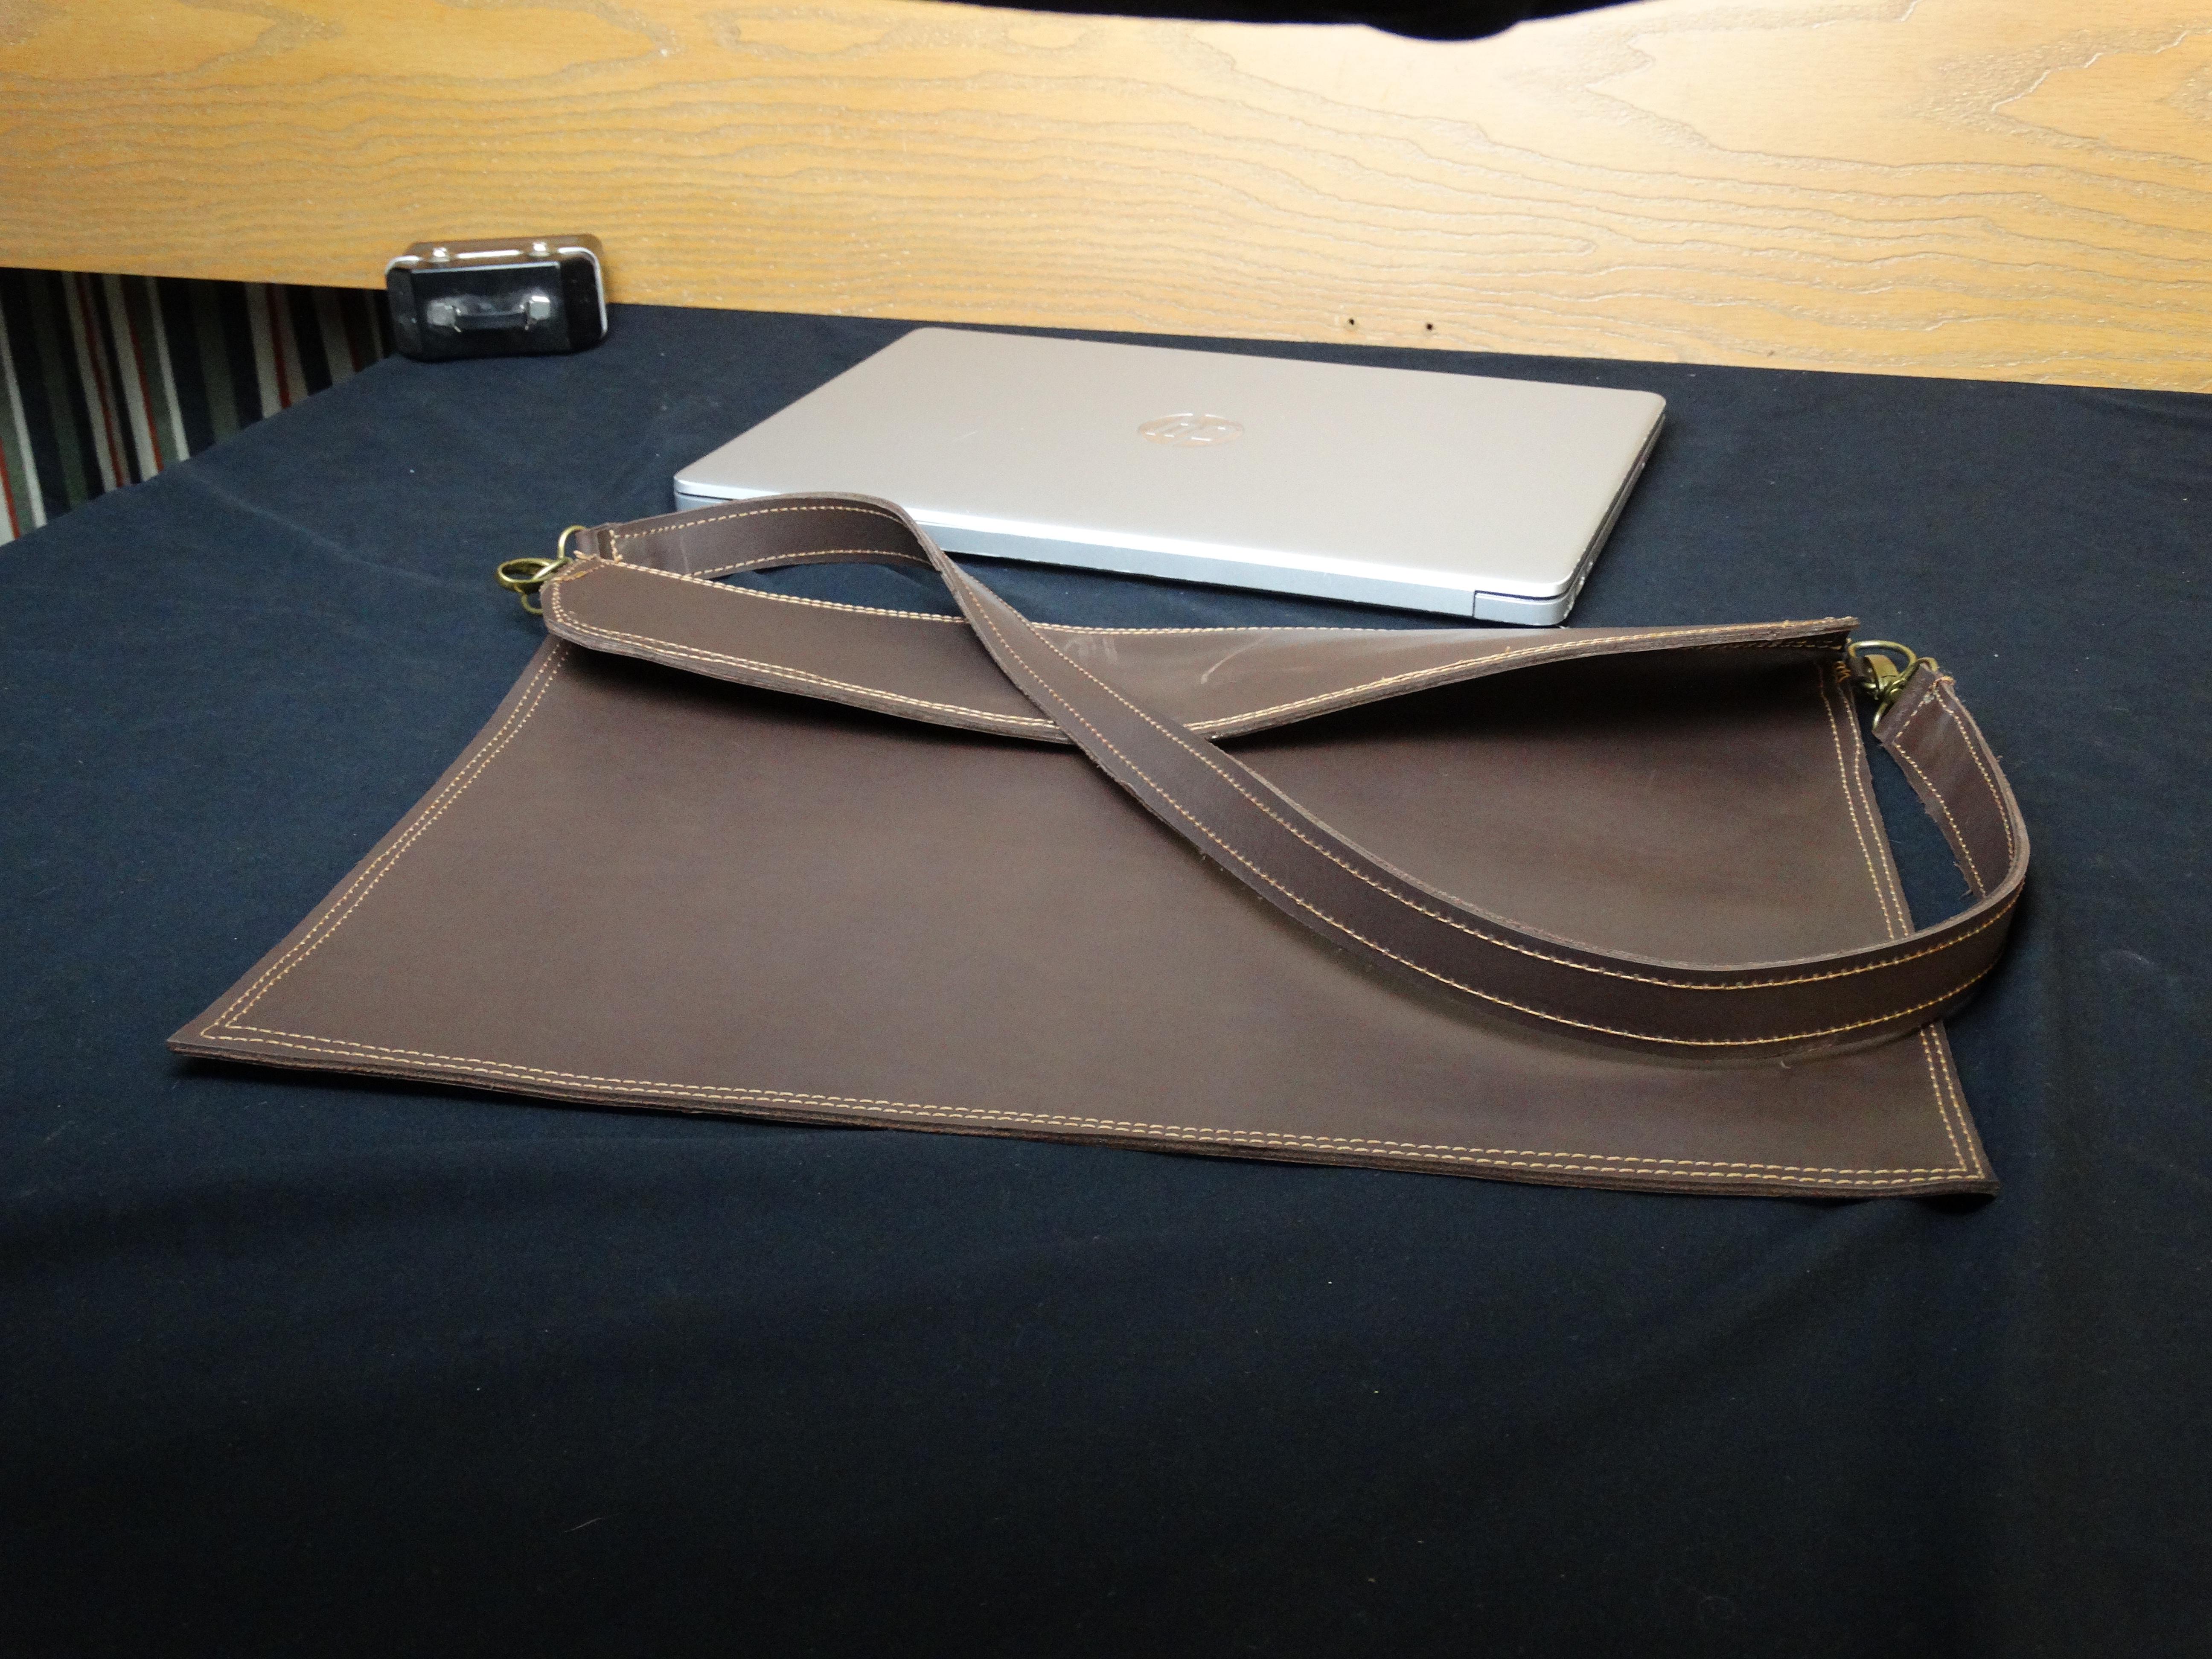
 Here is a Laptop Sleeve it's from https://www.youtube.com/@artemisantler a pattern he shared on Youtube. My sewing is done with my new leather sewing machine. I've got a bit of control issues going using it.
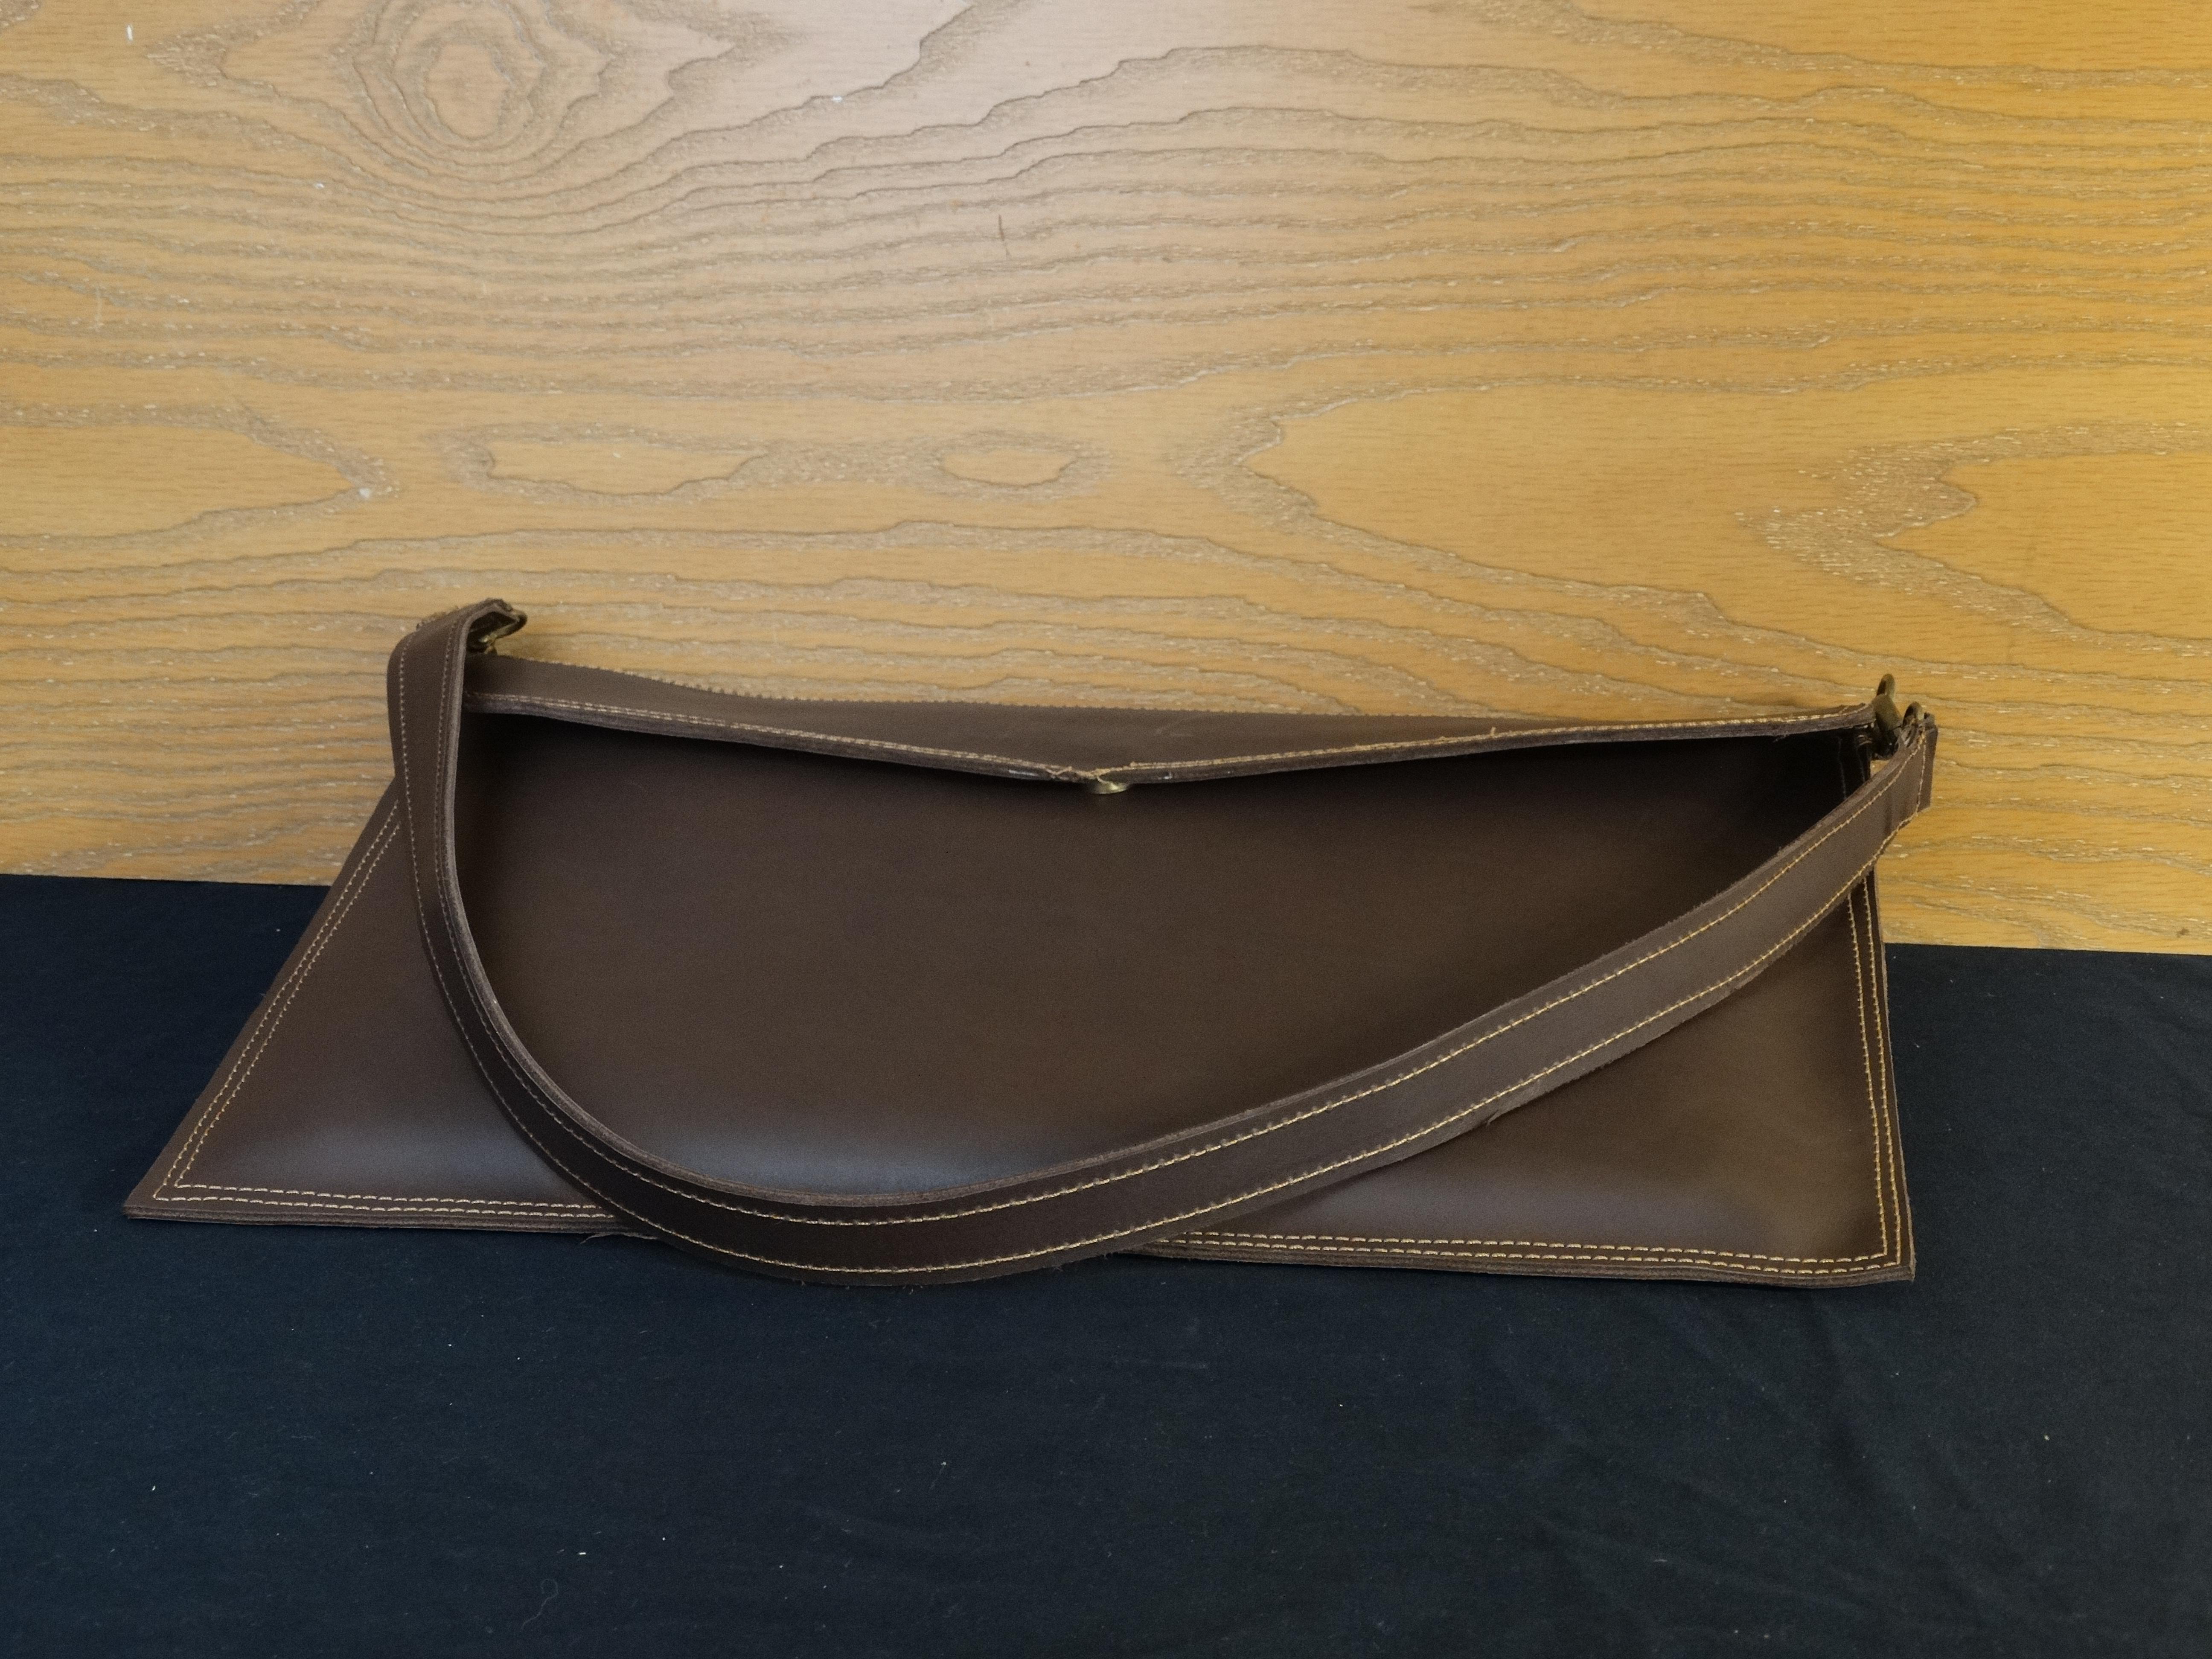
-
 Thanks mate, it's fitted pretty tight, I'm not sure anything could penetrate and I don't want to force it. If I really want to bother I'll just buy another one as they're even cheaper than when I bought this!
 -

Anyone taken a cheap servo motor apart?
AlZilla replied to AlZilla's topic in Leather Sewing Machines
That's kind of what I suspected. I wonder if some of the other parameters aren't arbitrary, too. Example, lowest startup speed. One motor will drop down to 100 rpms, while another stops at 200. If you go to ebay and search for servos, lots of the listings will have pics that include a QR code on the motor and/or box. Scan it with your call phone camera and they ALL drop to the same spec sheet. -
Yep, if that's what the customer wants then that's what they get (regardless of having poor taste ).
-
 Annaa joined the community
 -

Anyone taken a cheap servo motor apart?
GerryR replied to AlZilla's topic in Leather Sewing Machines
You can run the 550 watt motor from the 750 watt control unit. The other way is not advisable (750 watt motor on a 550 watt controller) unless you know you won't exceed the 550 watt load. -
 Thanks. I figured since individual hole punches are supposed to have the leather backed by a pounding board or HDPE that the same would apply to the rotary tool. I'll try without the leather backing though. I noticed today what KS Blade sells punching tools that have no taper. Kind of expensive for me to take a chance on them. Another problem might be, I found out after my post, is twisting the strap on the punch. I've read that can cause tearing. I thought it would help the hole cutting. So, two things to try now.
 -
 @dikman, you might try Loctite SF 768 to remove the thread locker - or perhaps acetone.
 -
Anyone taken a cheap servo motor apart?
AlZilla replied to AlZilla's topic in Leather Sewing Machines
About 8 minutes into this video, the guy has replaced the front bearing and is resetting the encoder. I wonder if one of those little plastic parts cracked/moved/whatever. The electronics of it still work. Now I really want to take it apart. -
 Mark bossick joined the community
 -
British United 'Pilot' Harness Stitcher
Mark bossick replied to badger's topic in Leather Sewing Machines
Hi I also have just got a used BU Pilot looking forward to getting it to sew