

All Activity
- Past hour
-
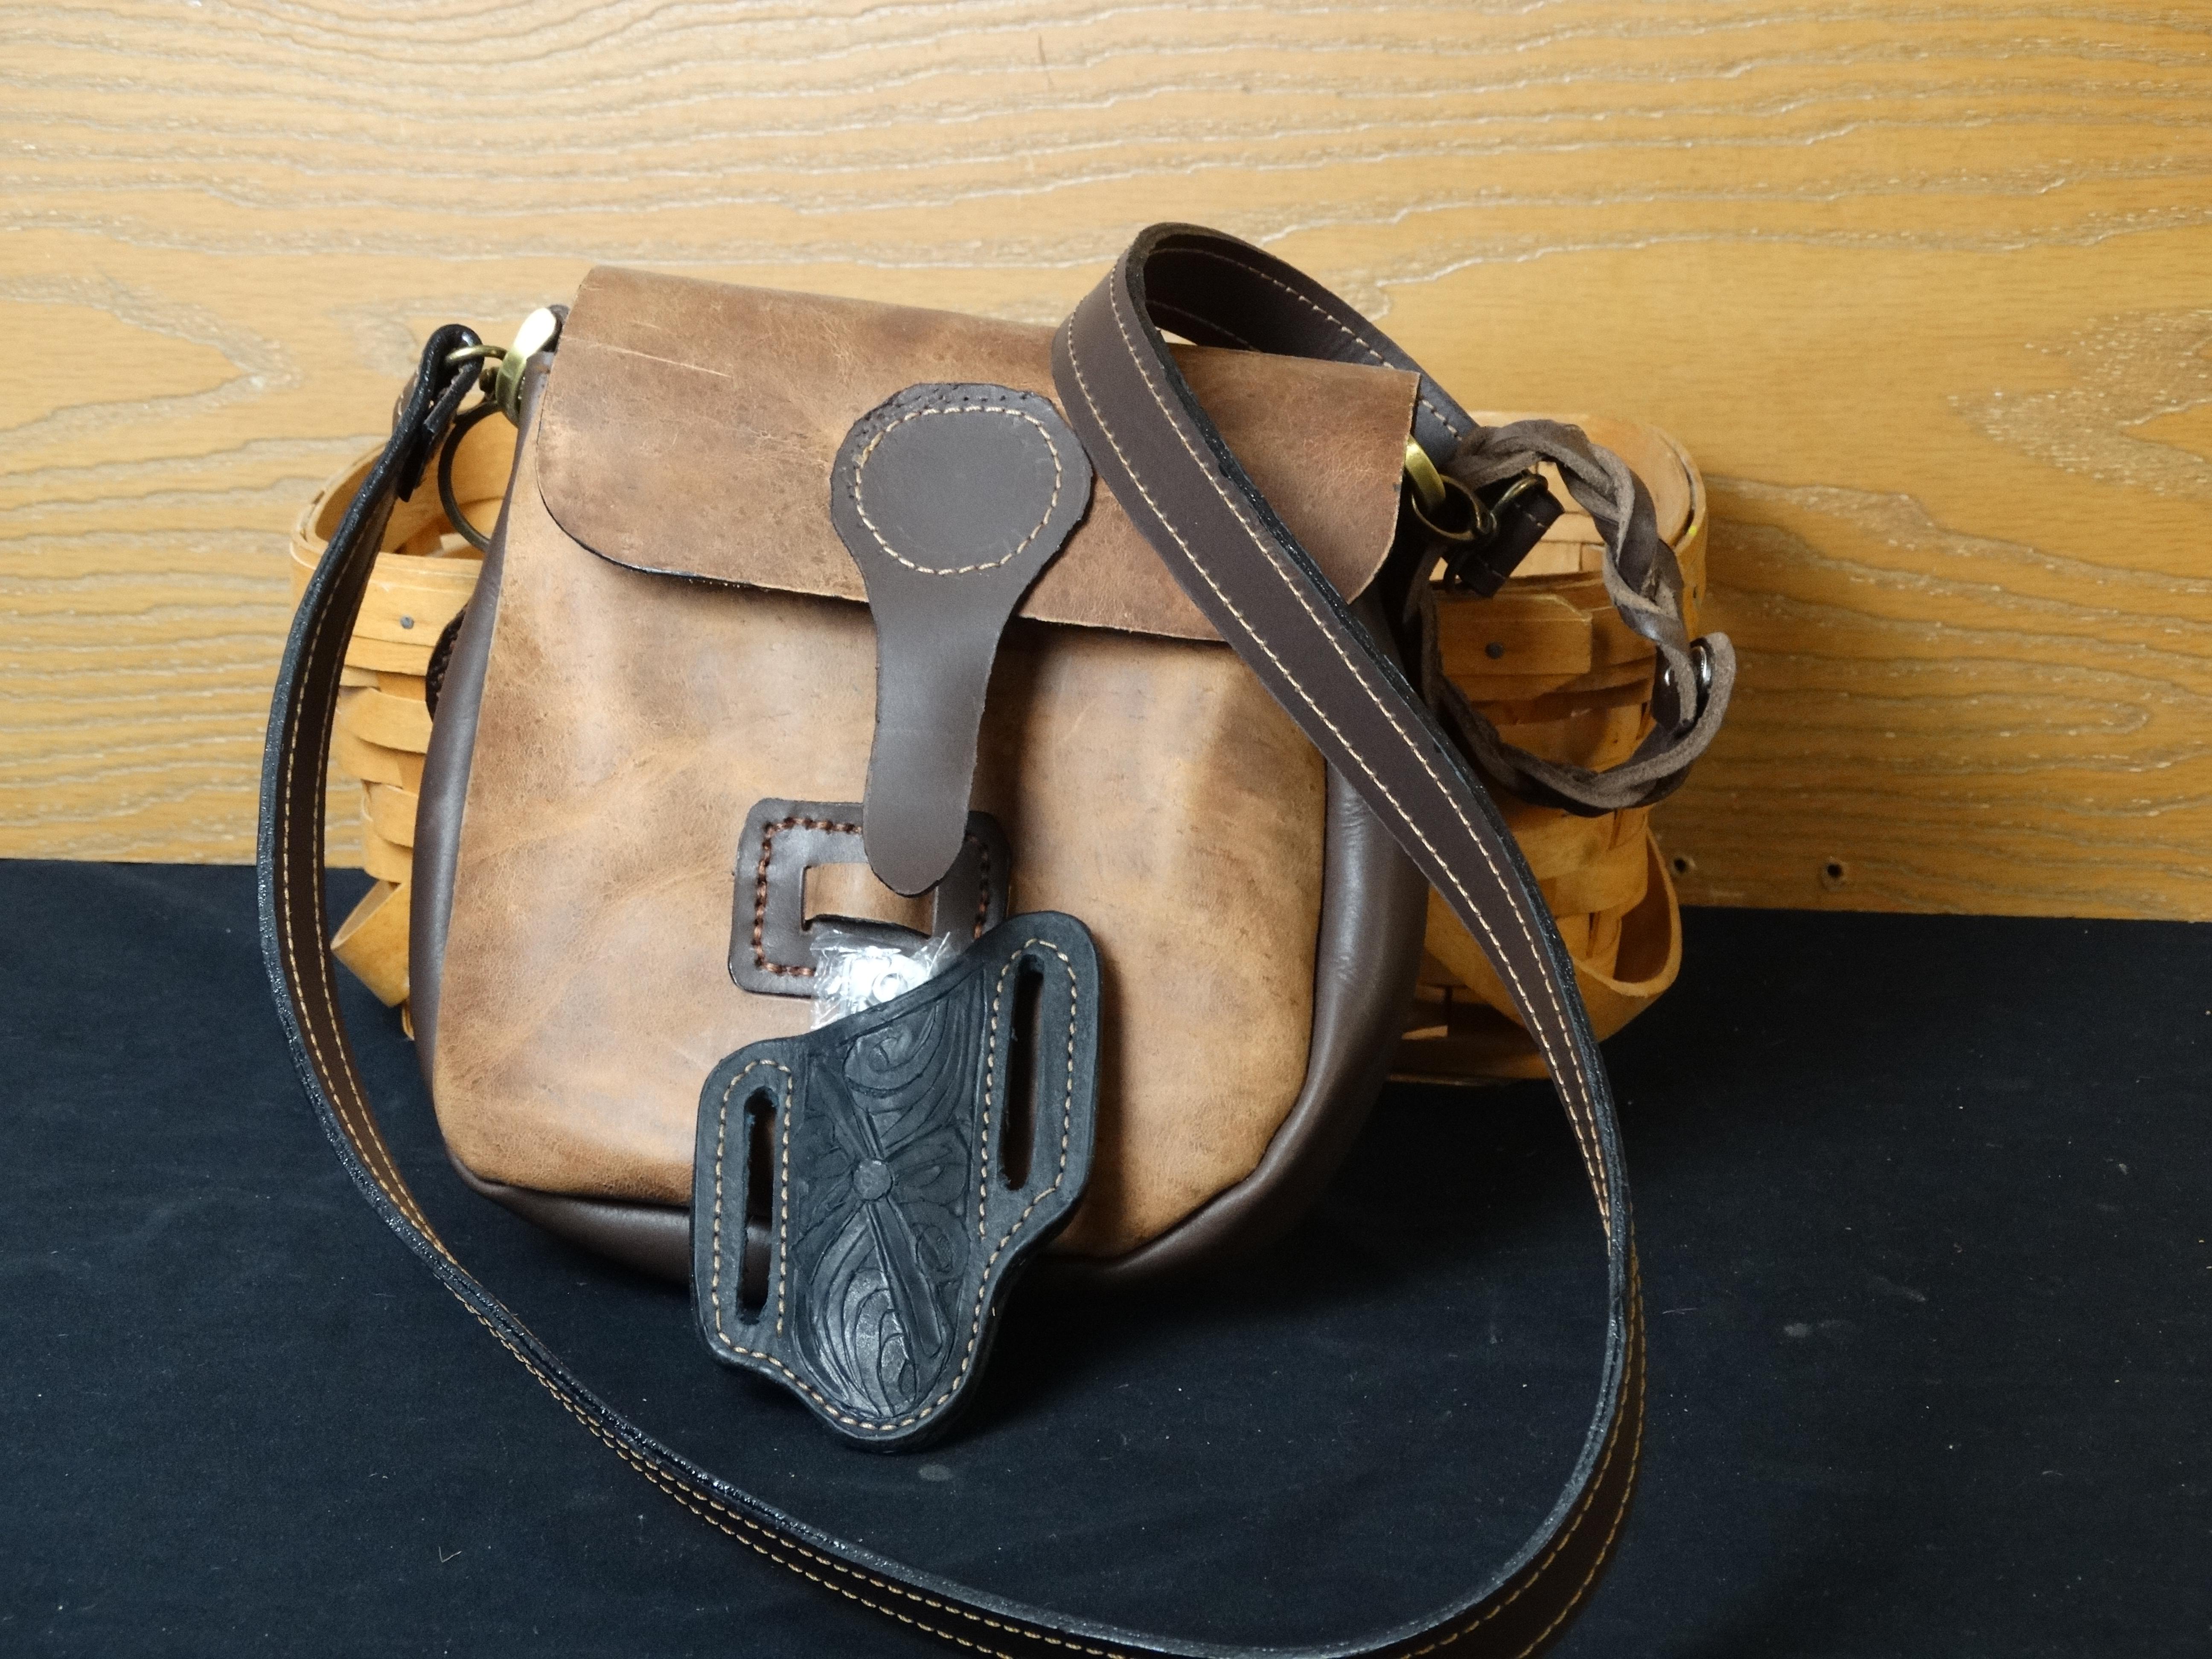
Here is a clamshell purse I've made along with a pancake sheath and a wristlet. These items are going out in the mail today for a birthday present for my Mother. The Pancake sheath is from https://www.instagram.com/don_gonzales/ his original slanted design his newer one is now straight I think I might have gotten the pattern in like 2016 or before I've had it a long time.
-
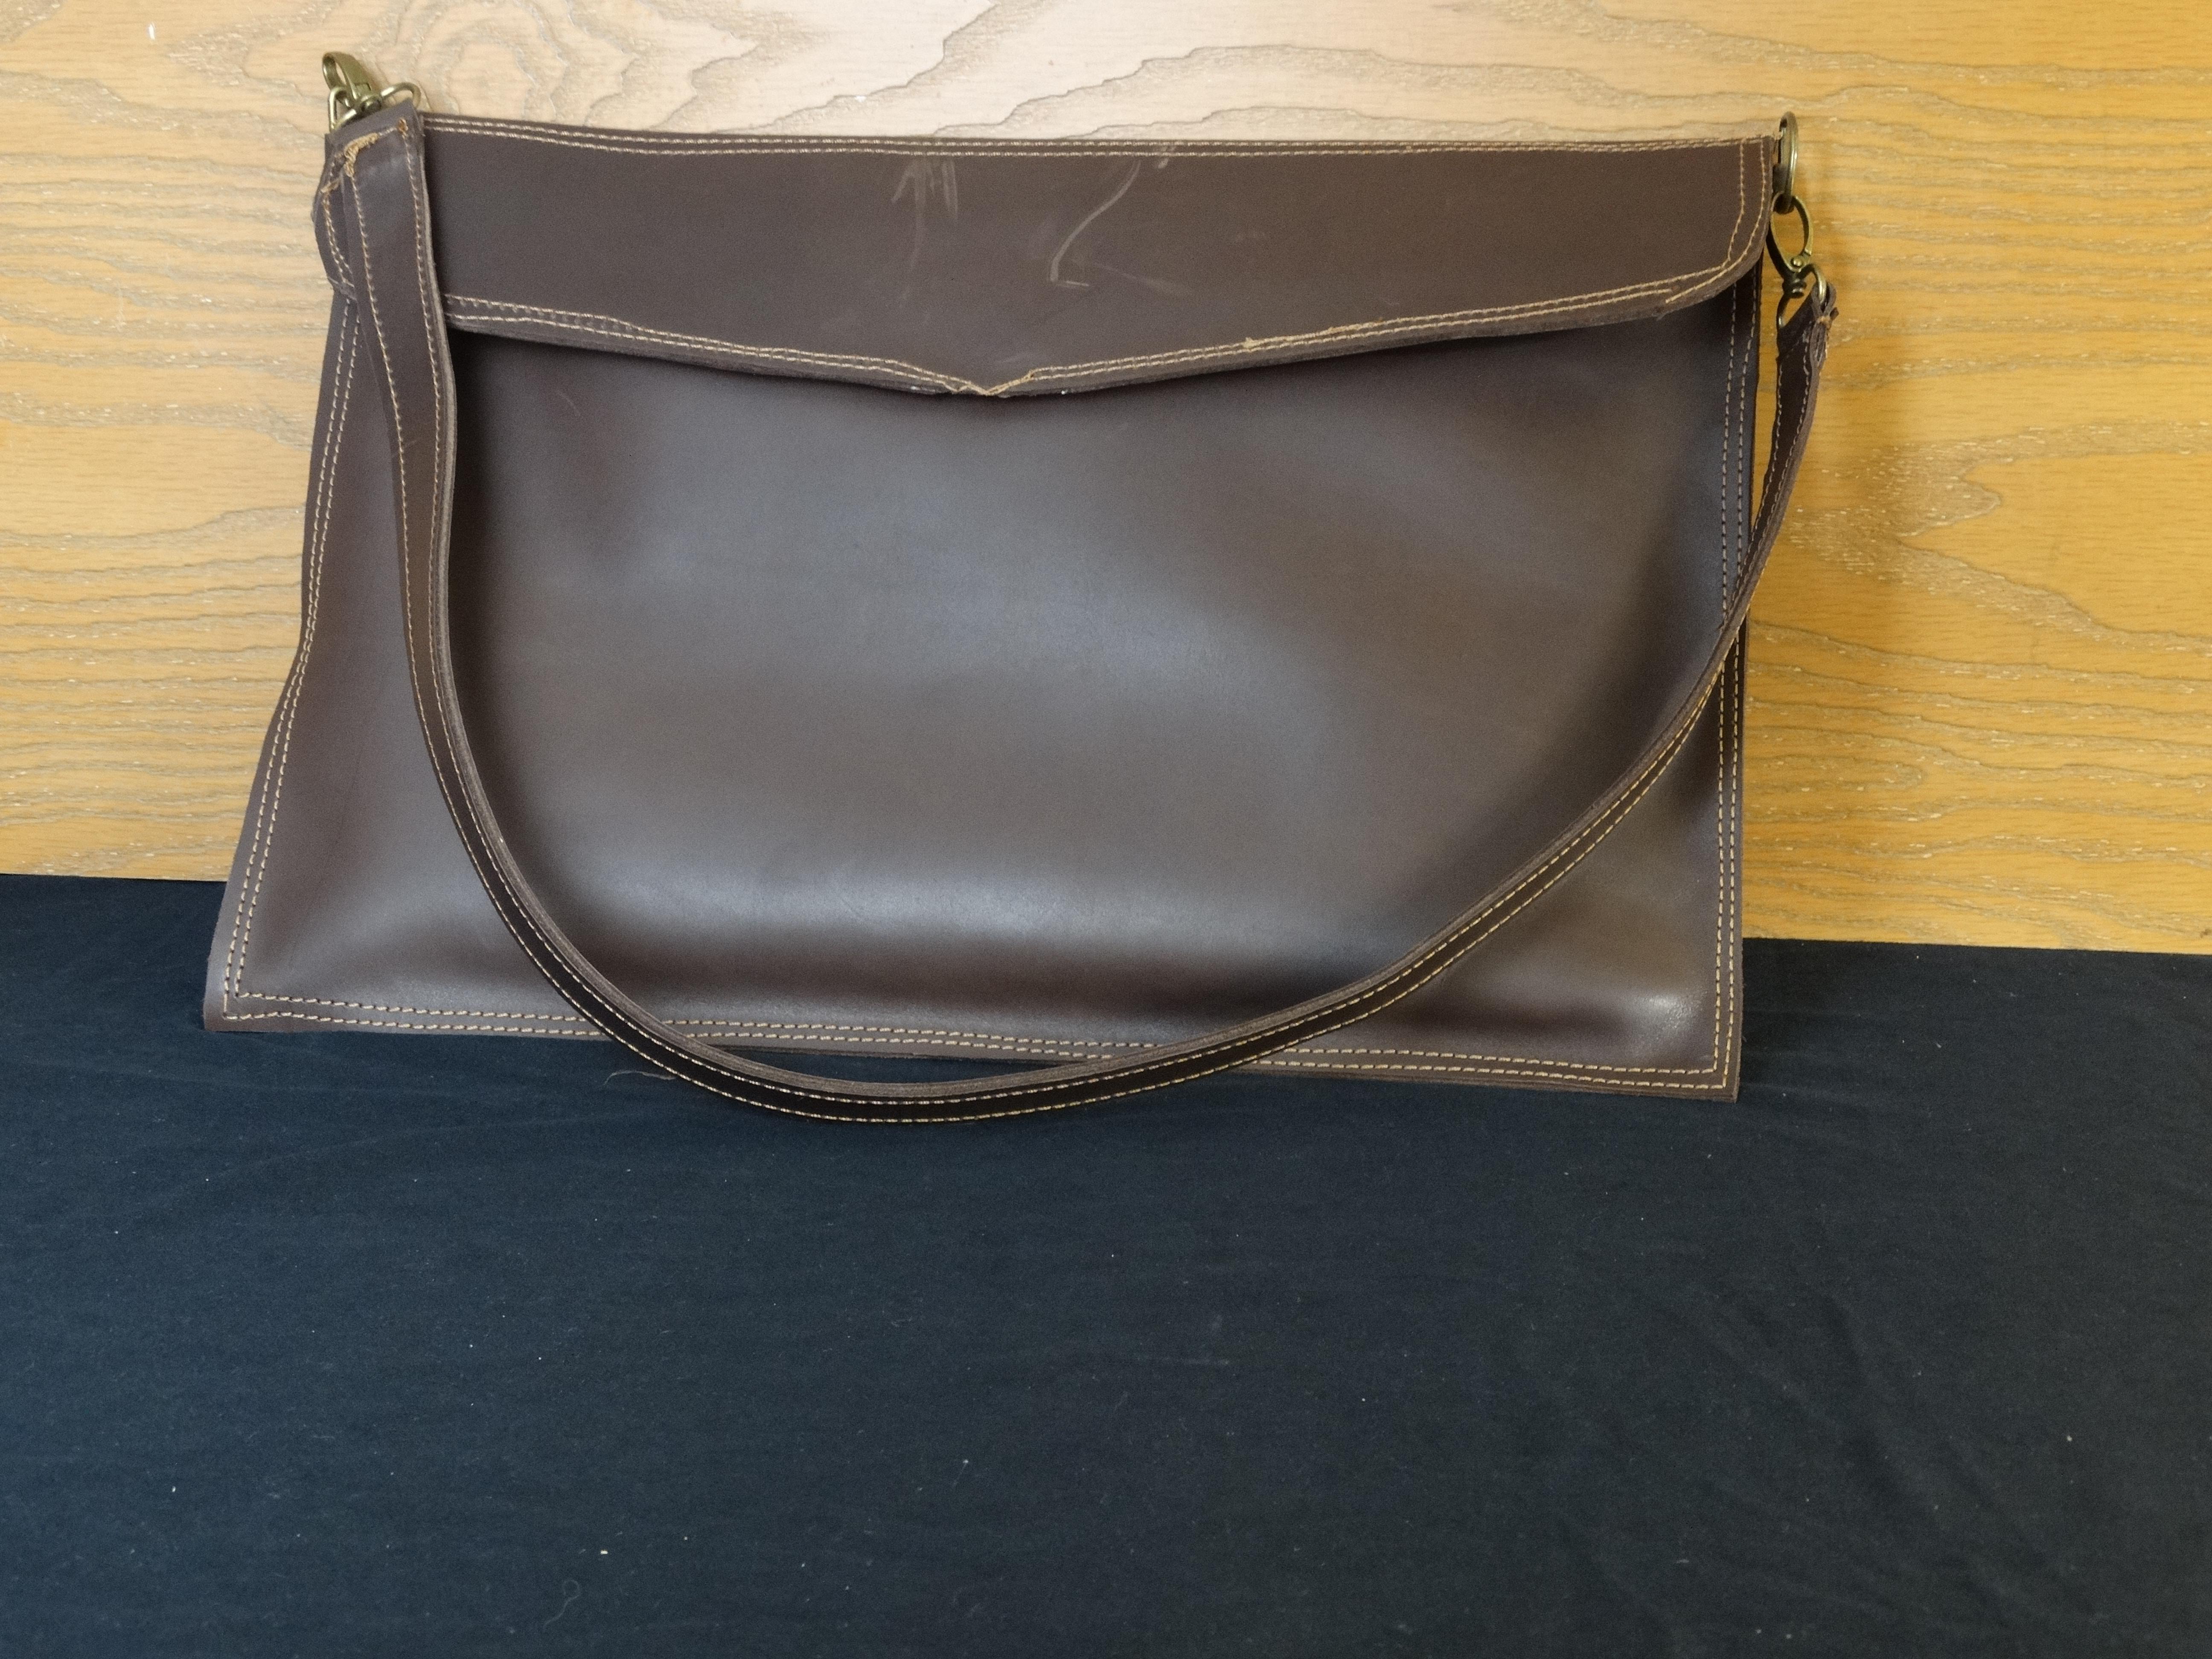
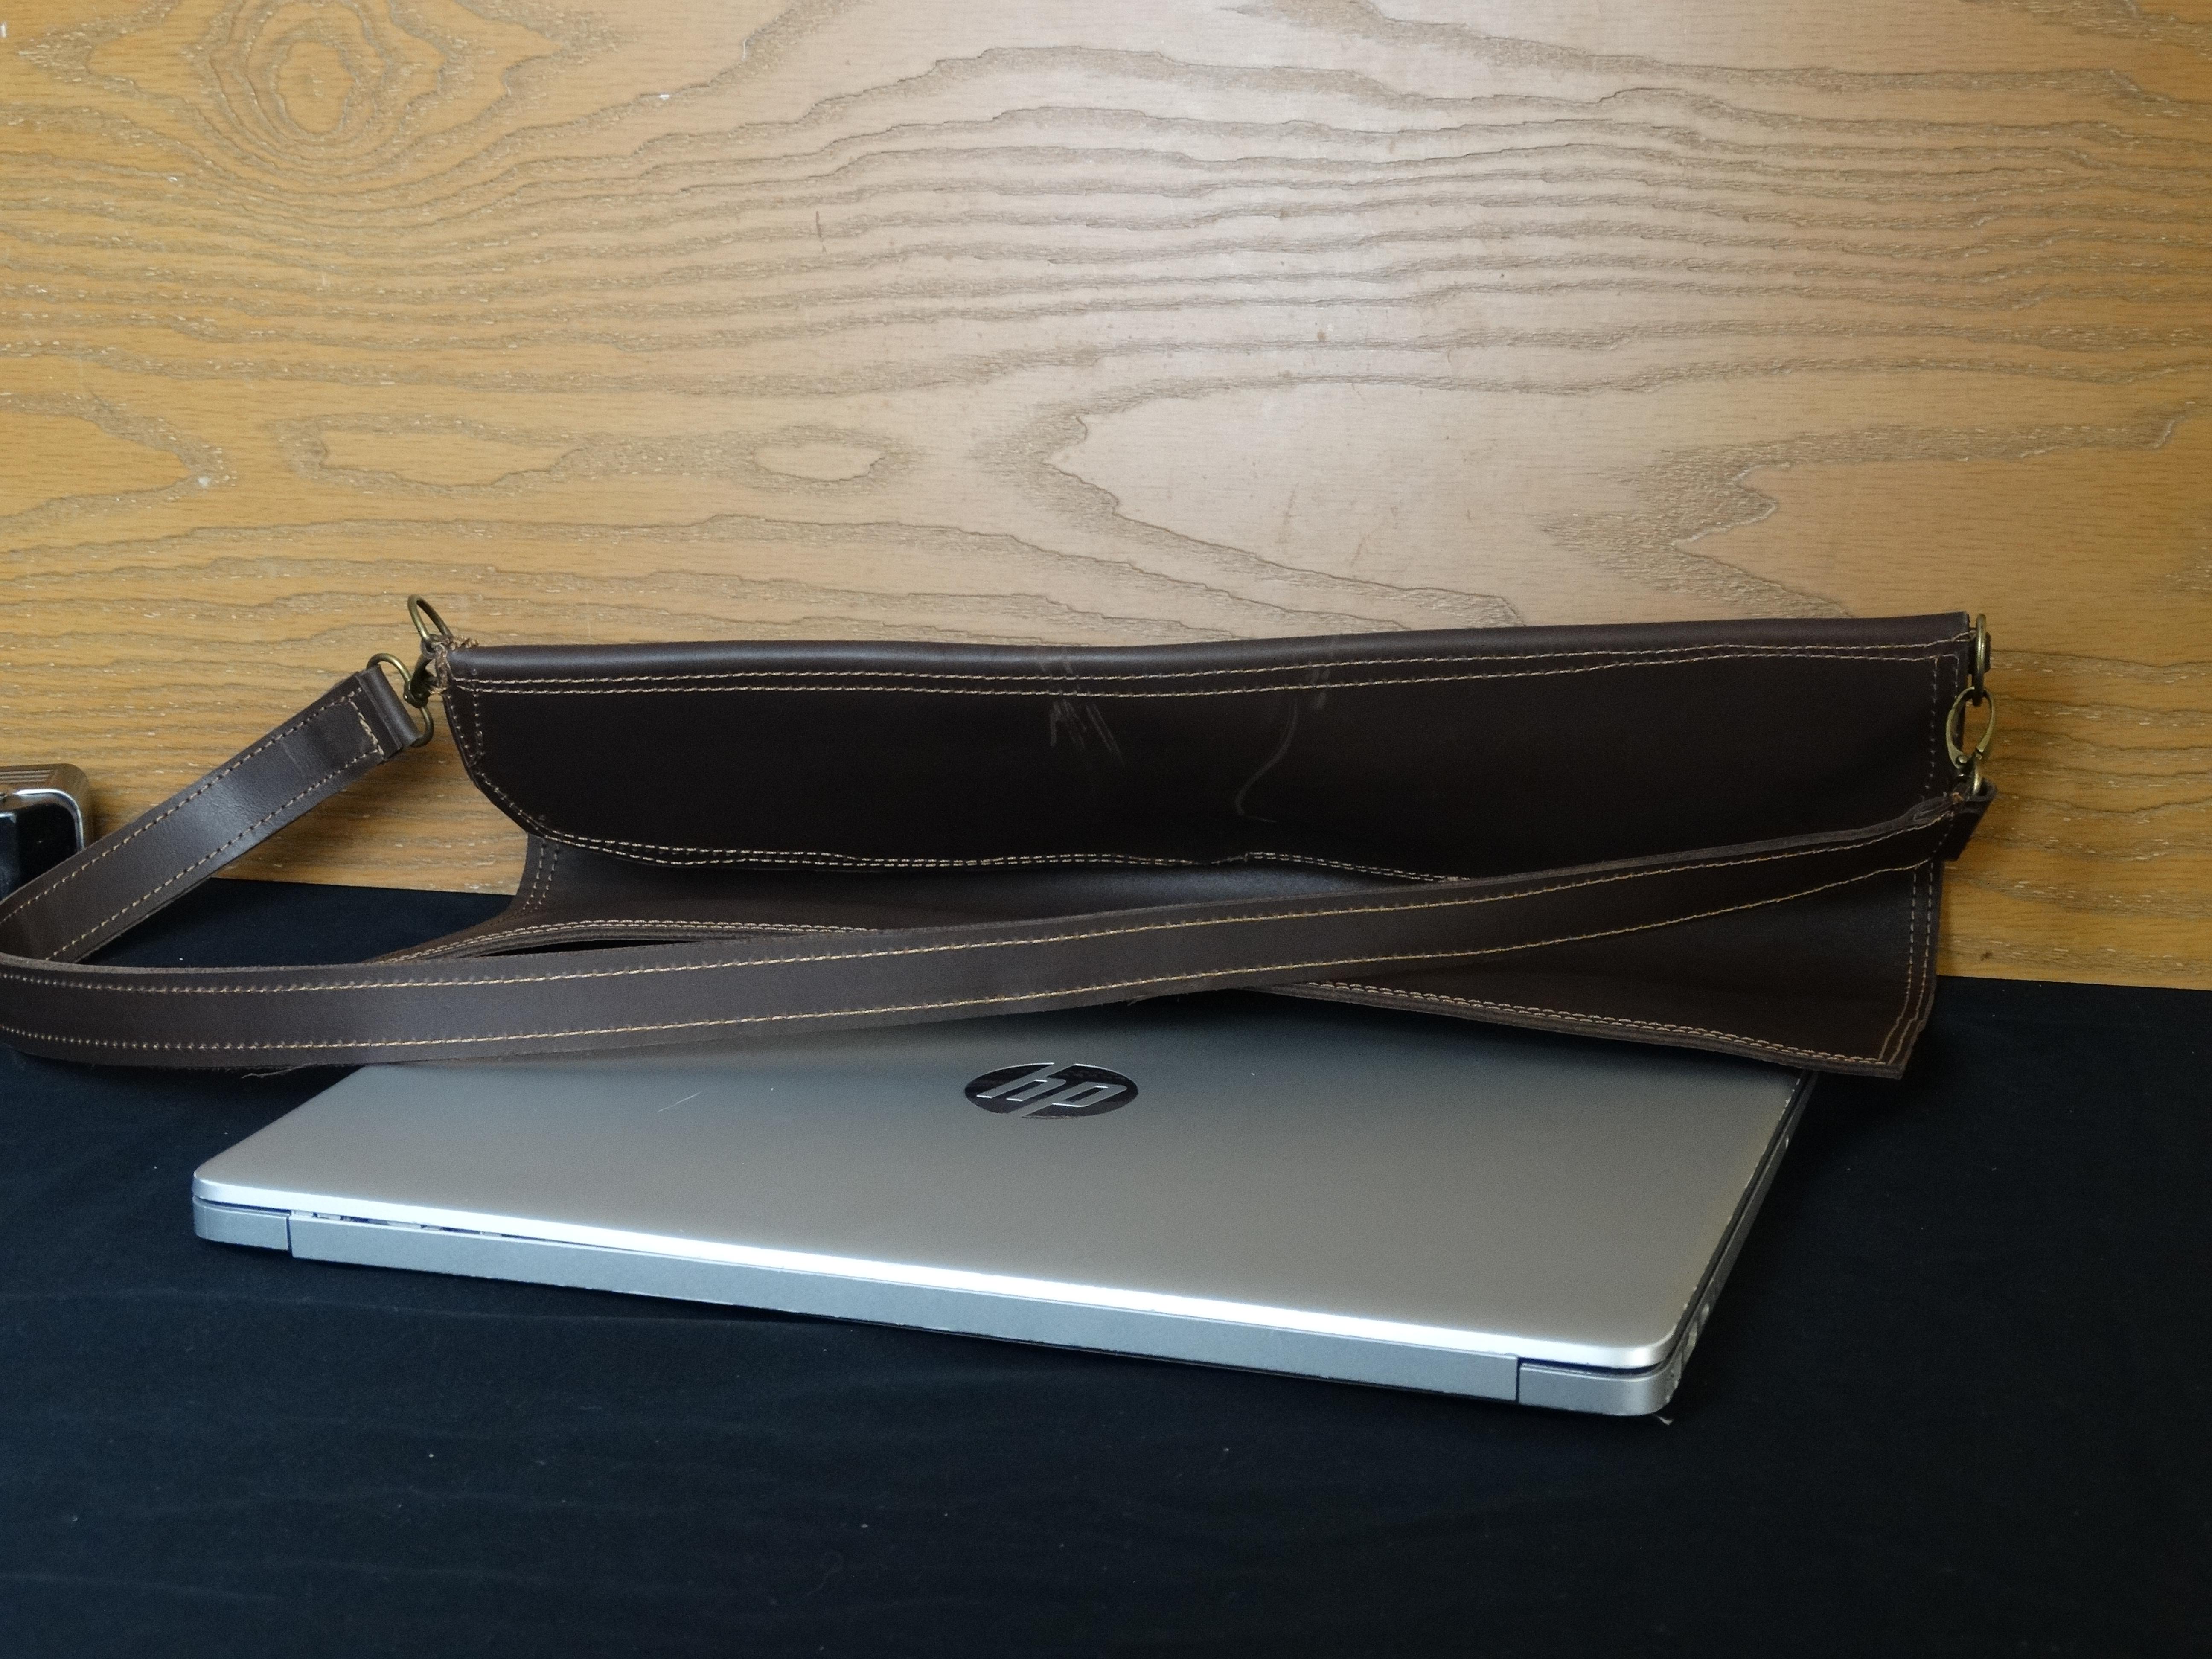
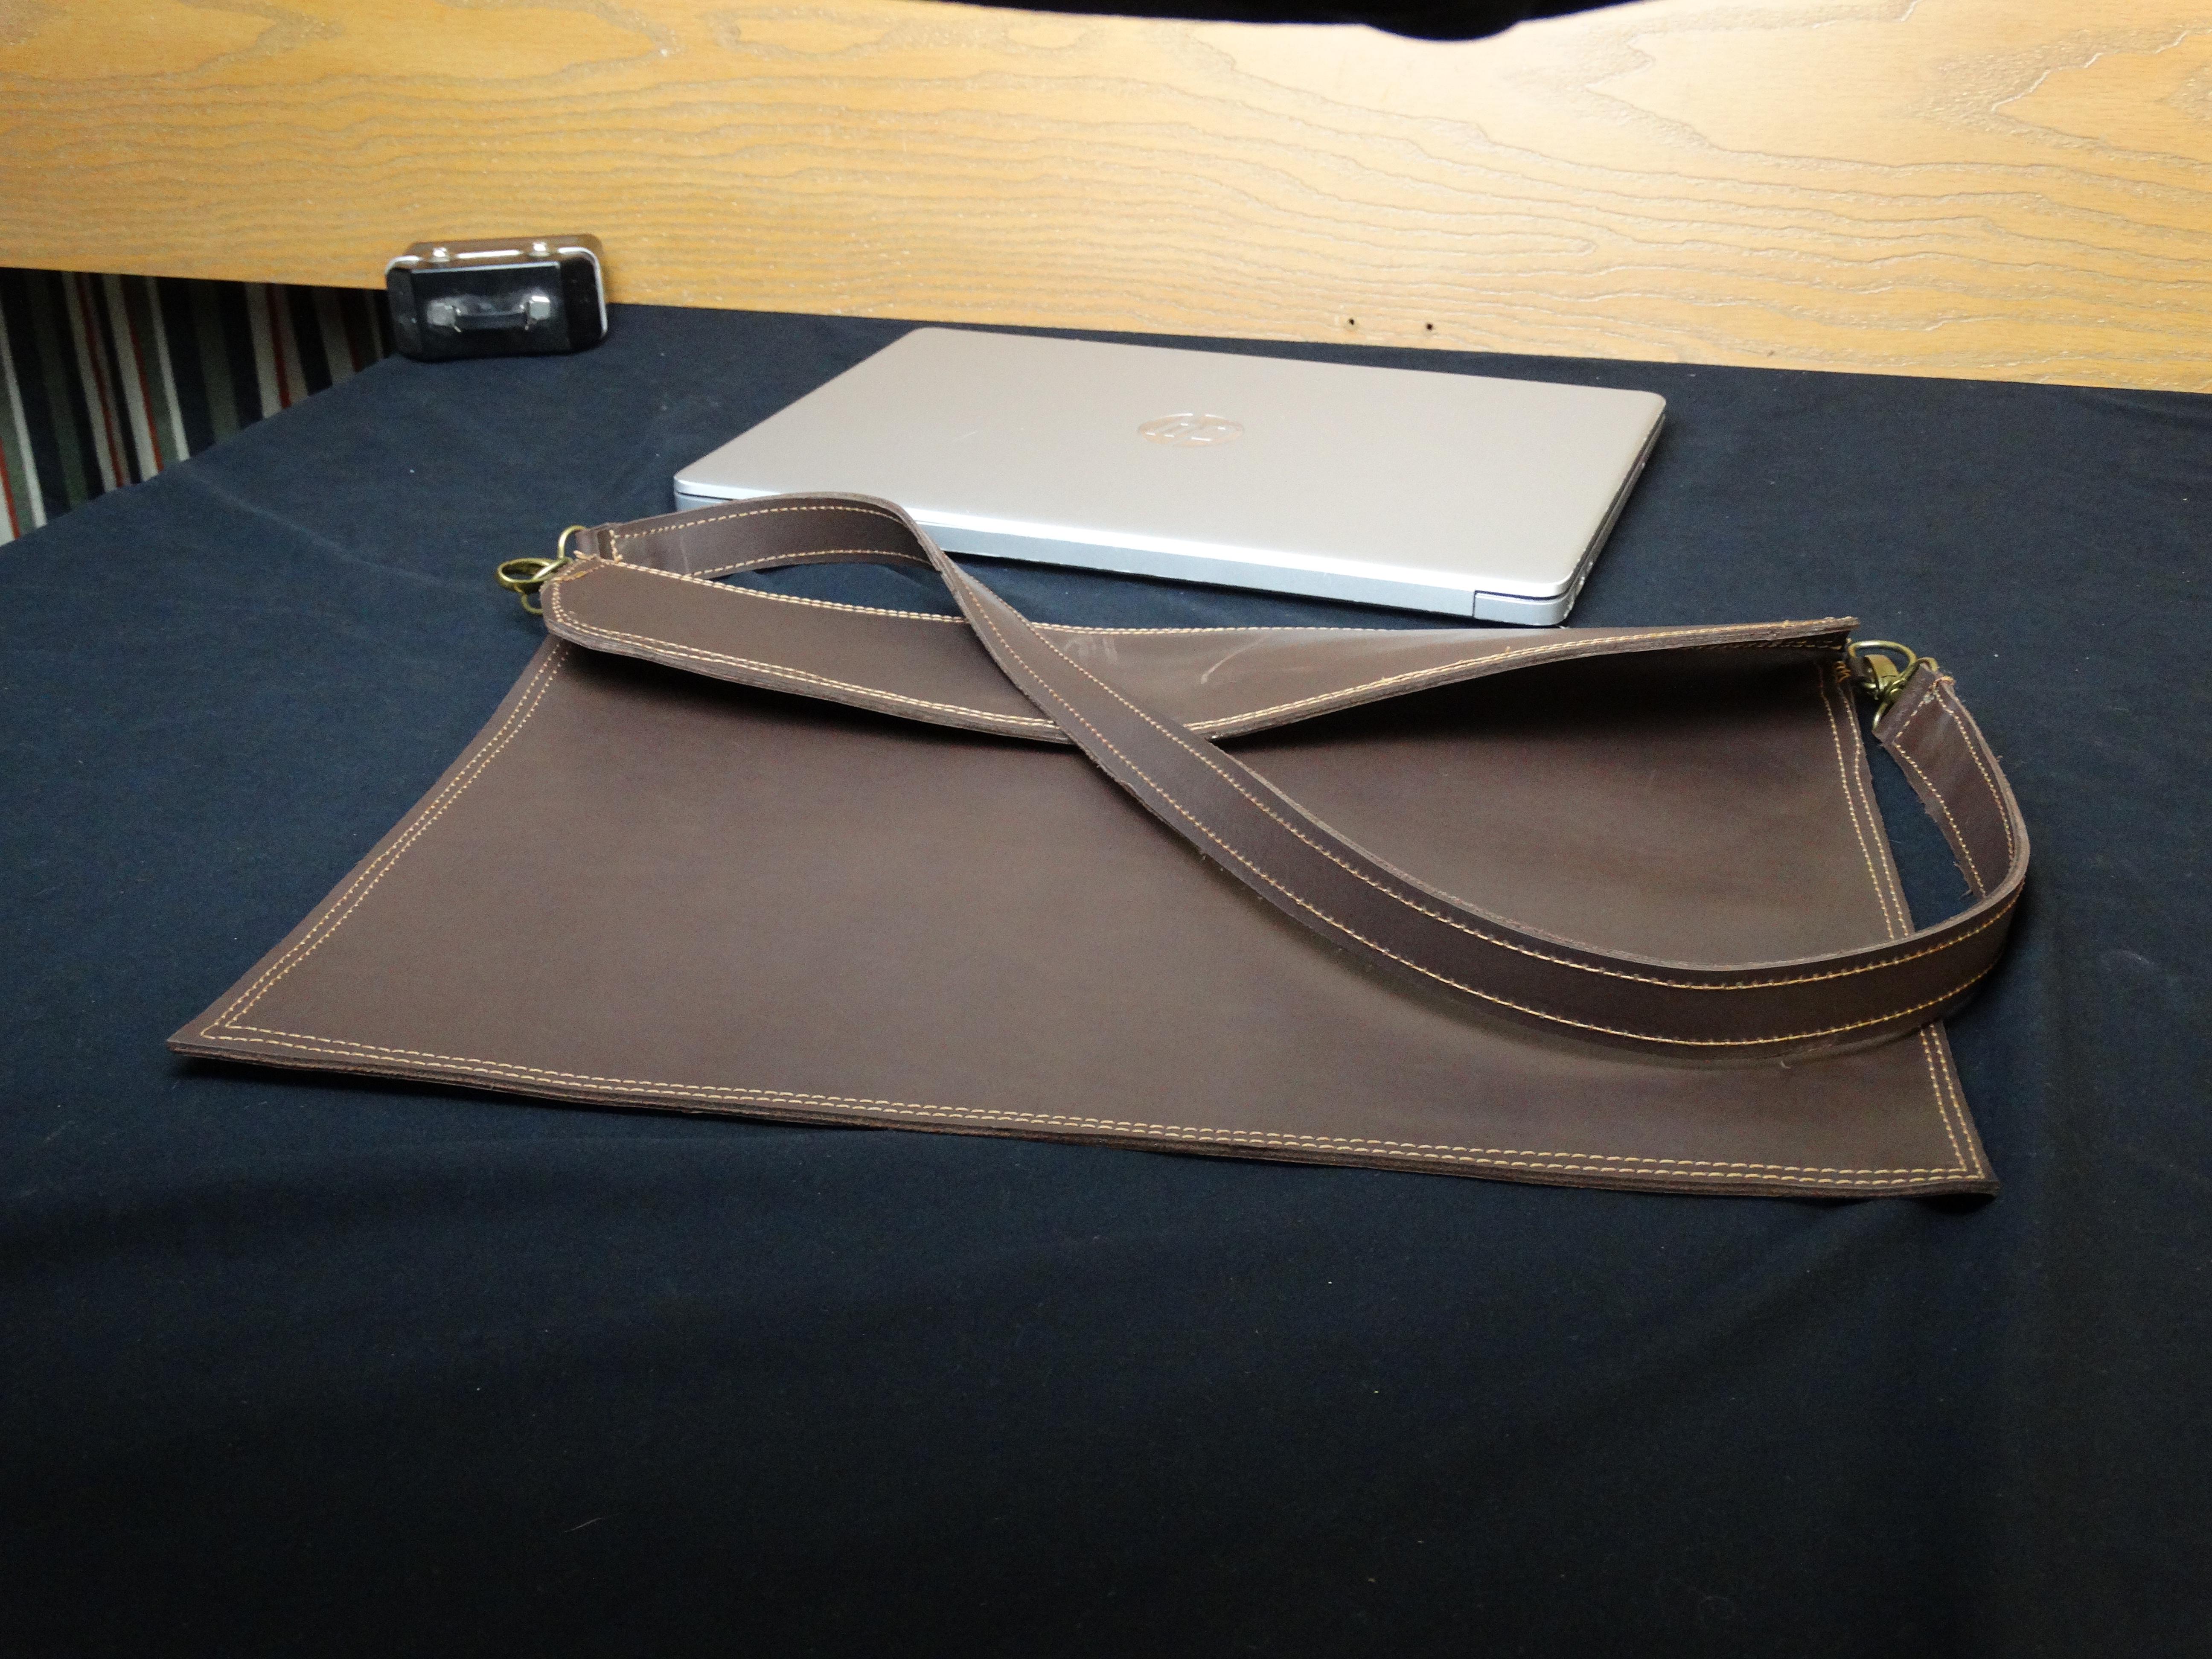
 Here is a Laptop Sleeve it's from https://www.youtube.com/@artemisantler a pattern he shared on Youtube. My sewing is done with my new leather sewing machine. I've got a bit of control issues going using it.
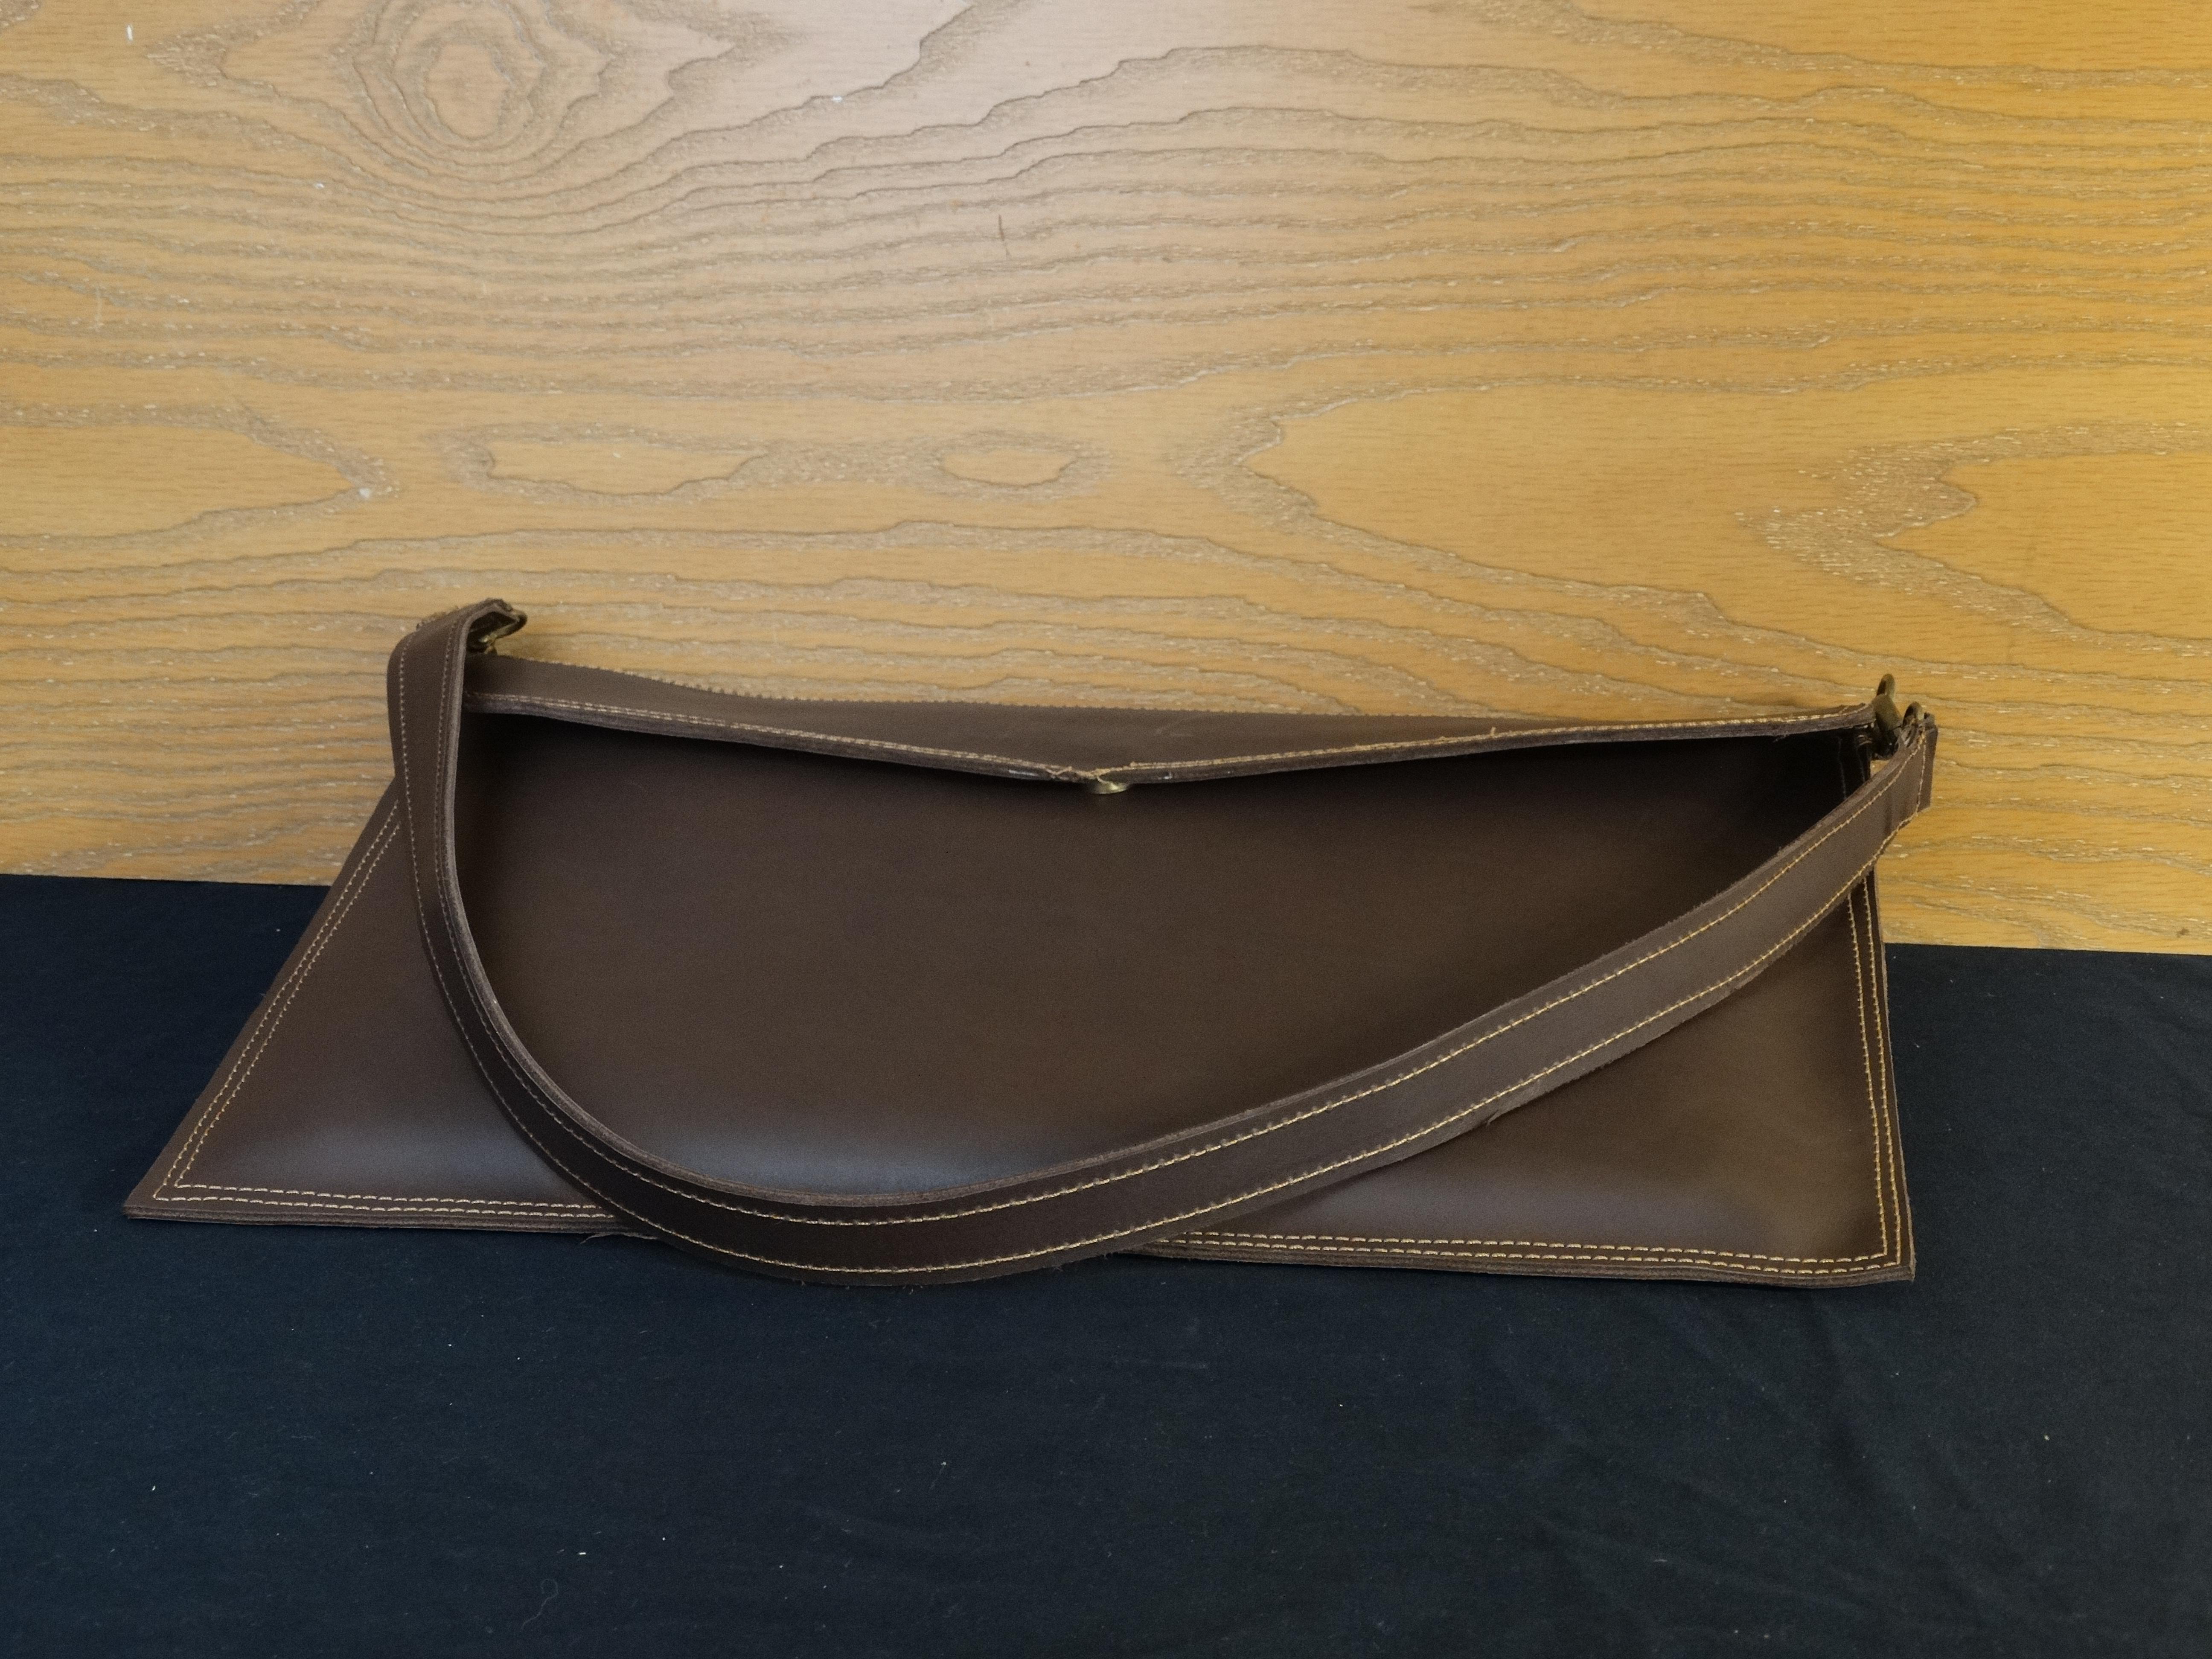
-
 Thanks mate, it's fitted pretty tight, I'm not sure anything could penetrate and I don't want to force it. If I really want to bother I'll just buy another one as they're even cheaper than when I bought this!
 -

Anyone taken a cheap servo motor apart?
AlZilla replied to AlZilla's topic in Leather Sewing Machines
That's kind of what I suspected. I wonder if some of the other parameters aren't arbitrary, too. Example, lowest startup speed. One motor will drop down to 100 rpms, while another stops at 200. If you go to ebay and search for servos, lots of the listings will have pics that include a QR code on the motor and/or box. Scan it with your call phone camera and they ALL drop to the same spec sheet. -
Yep, if that's what the customer wants then that's what they get (regardless of having poor taste ).
- Today
-

Anyone taken a cheap servo motor apart?
GerryR replied to AlZilla's topic in Leather Sewing Machines
You can run the 550 watt motor from the 750 watt control unit. The other way is not advisable (750 watt motor on a 550 watt controller) unless you know you won't exceed the 550 watt load. -
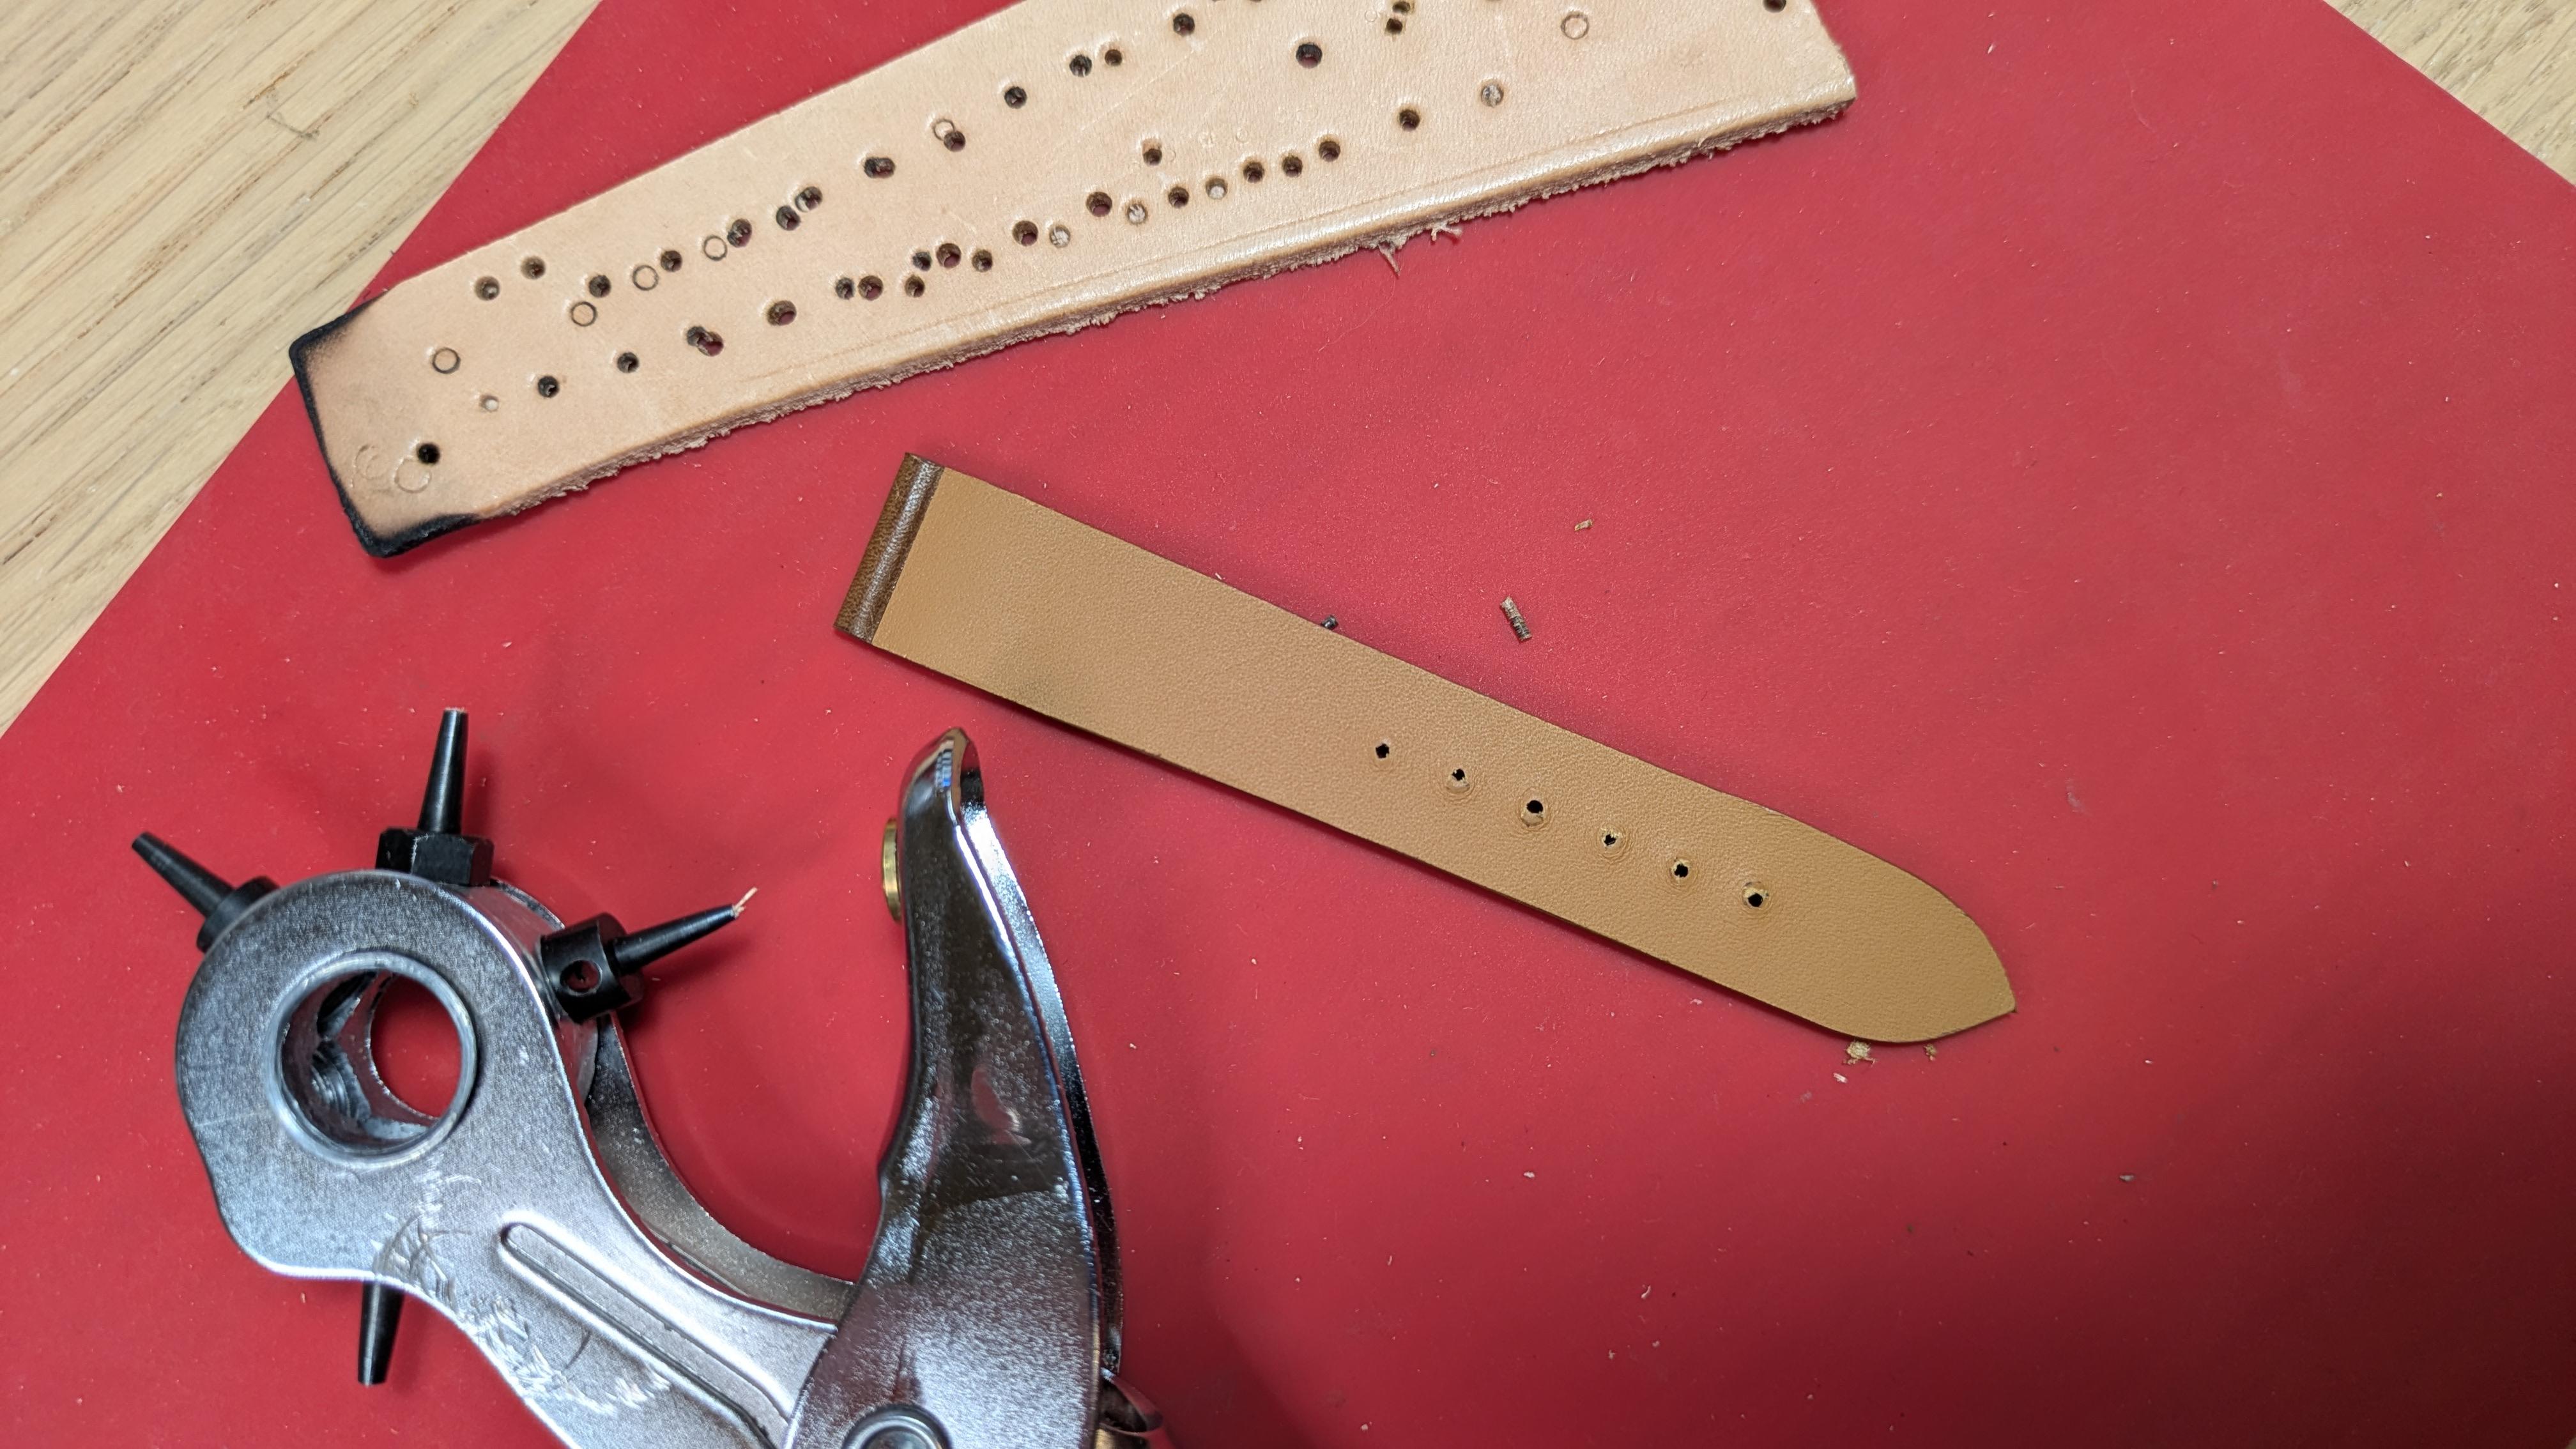
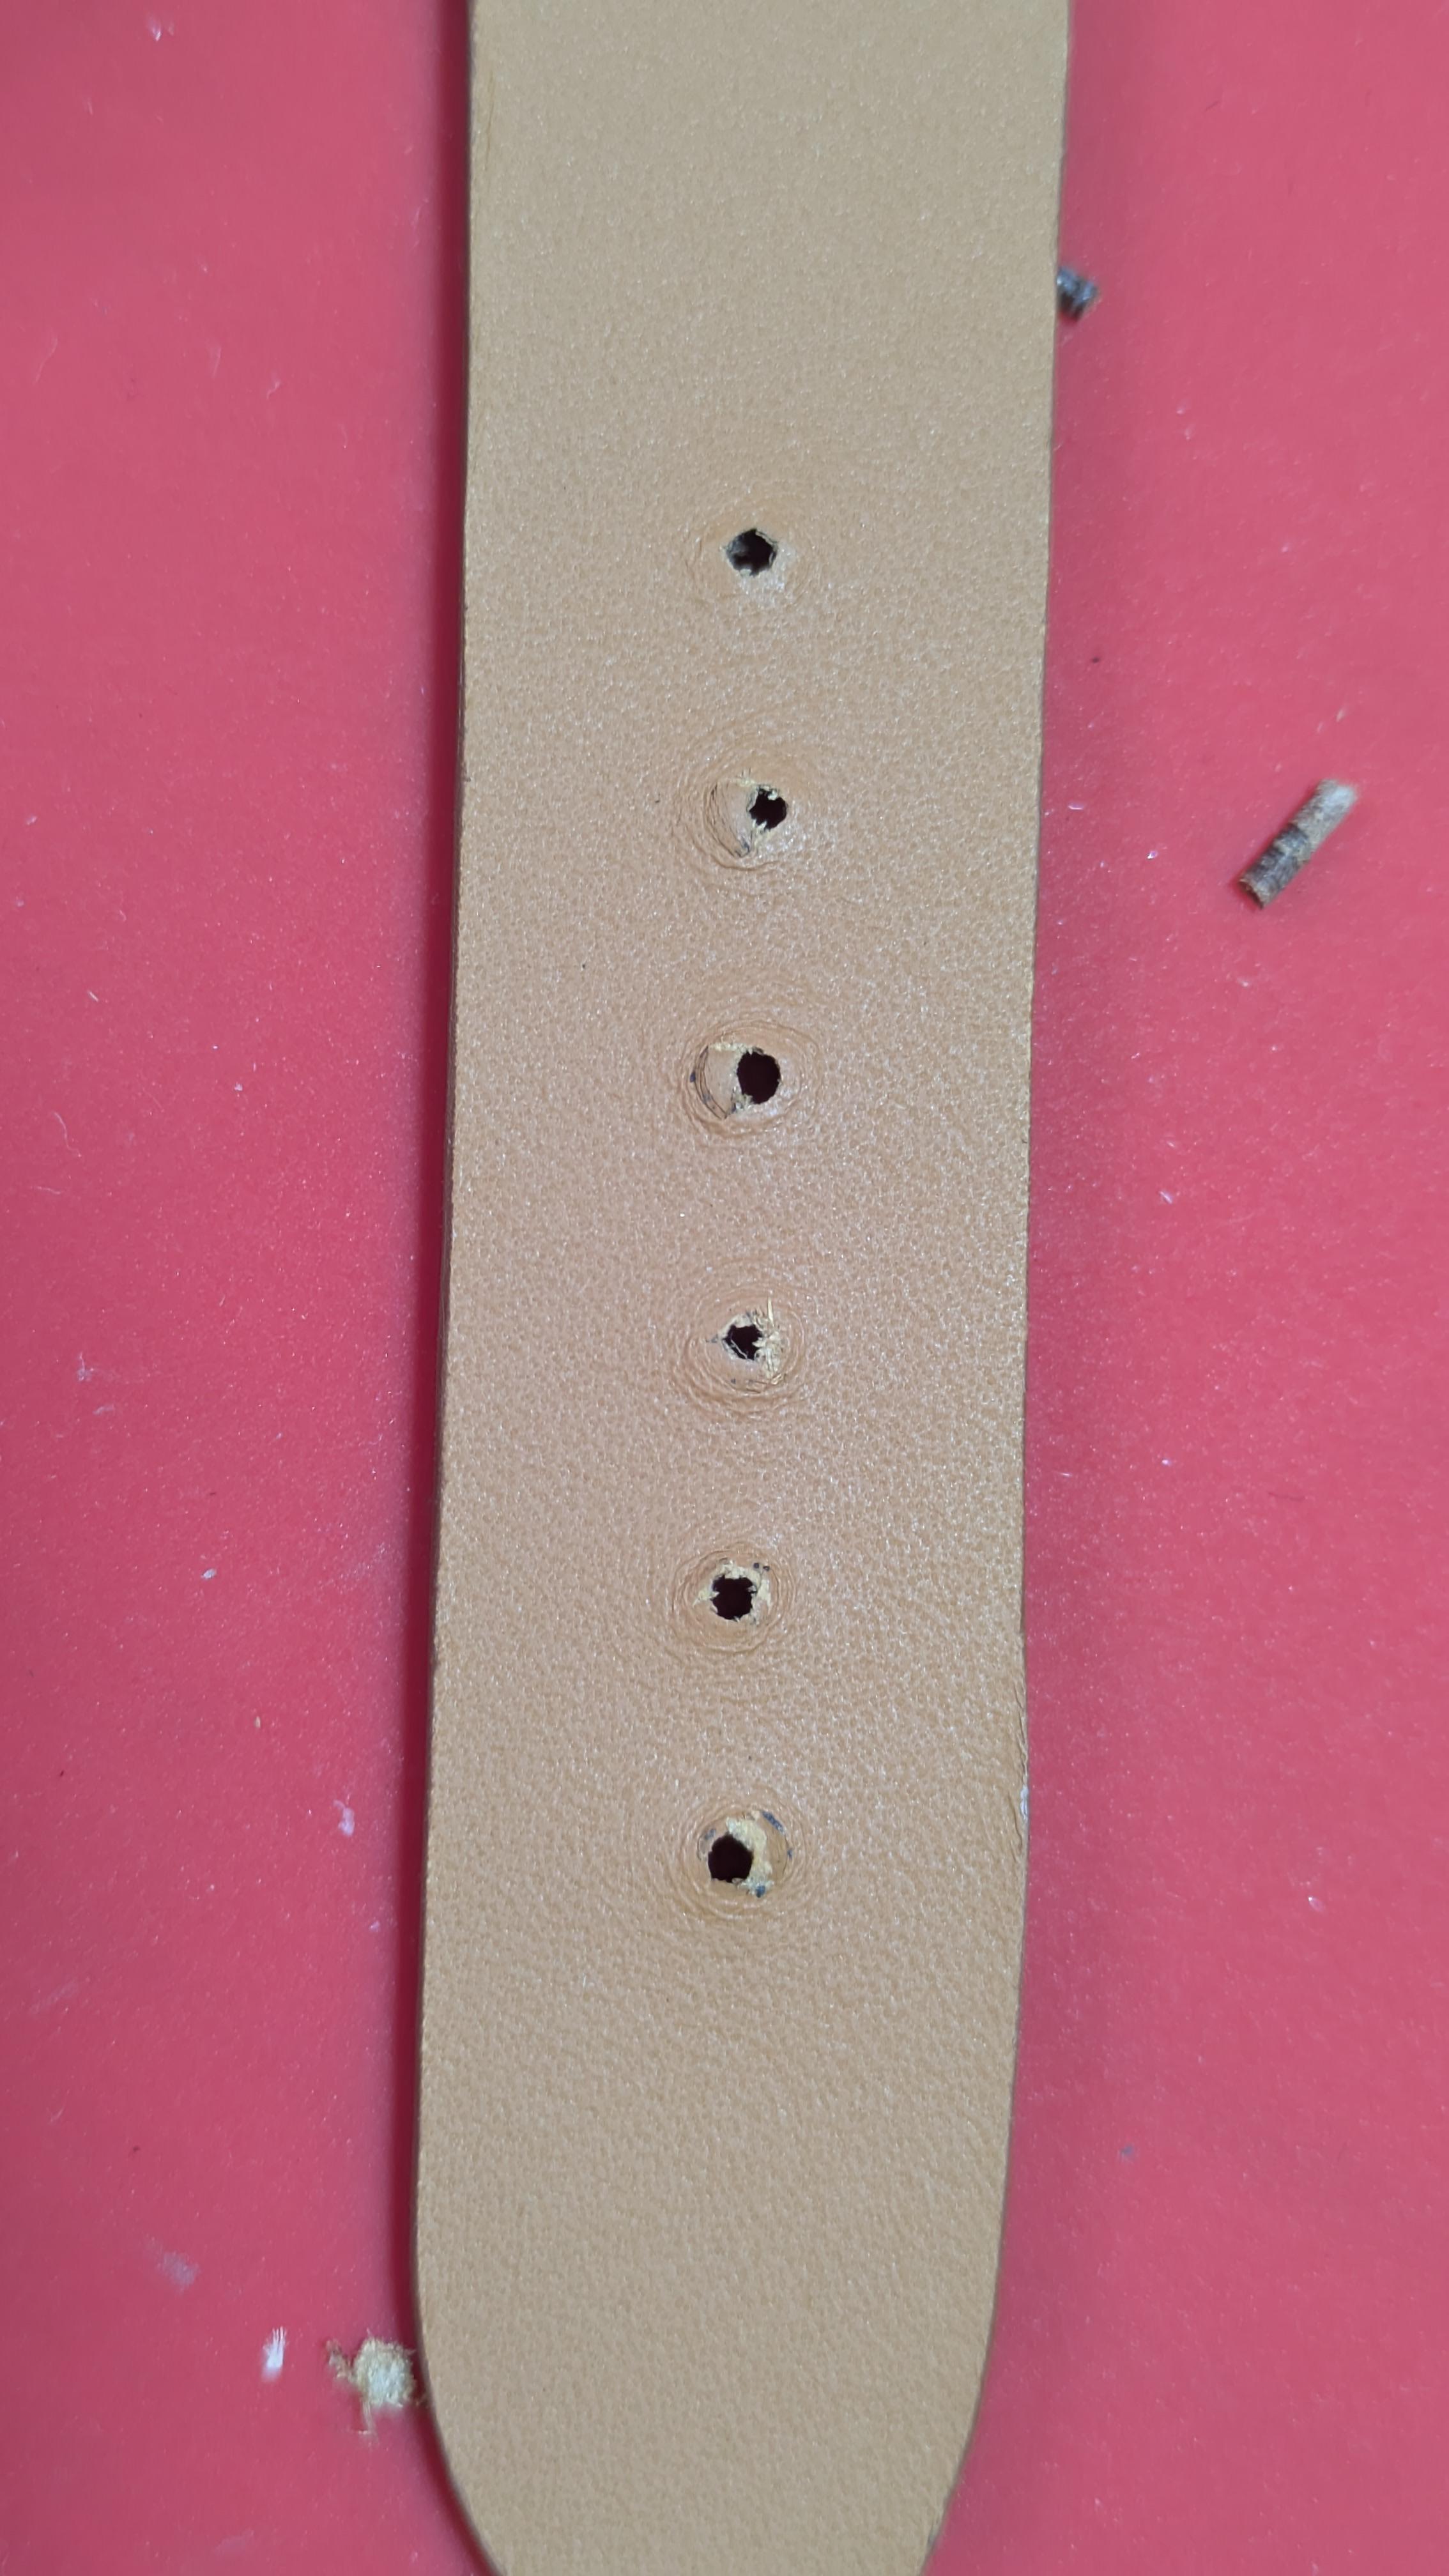
 Thanks. I figured since individual hole punches are supposed to have the leather backed by a pounding board or HDPE that the same would apply to the rotary tool. I'll try without the leather backing though. I noticed today what KS Blade sells punching tools that have no taper. Kind of expensive for me to take a chance on them. Another problem might be, I found out after my post, is twisting the strap on the punch. I've read that can cause tearing. I thought it would help the hole cutting. So, two things to try now.
 -
 @dikman, you might try Loctite SF 768 to remove the thread locker - or perhaps acetone.
 -
Anyone taken a cheap servo motor apart?
AlZilla replied to AlZilla's topic in Leather Sewing Machines
About 8 minutes into this video, the guy has replaced the front bearing and is resetting the encoder. I wonder if one of those little plastic parts cracked/moved/whatever. The electronics of it still work. Now I really want to take it apart. -
 Mark bossick joined the community
 -
British United 'Pilot' Harness Stitcher
Mark bossick replied to badger's topic in Leather Sewing Machines
Hi I also have just got a used BU Pilot looking forward to getting it to sew -
Adventures in watch strap making
AlZilla replied to dirk87's topic in Purses, Wallets, Belts and Miscellaneous Pocket Items
That multi-punch tool you show is meant to stop on the lower anvil. I could see the soft veg tan keeping the cutter from cutting cleanly. Wear and tear on the cutter is just part of using the tool. That tapering effect you get is really the nature of the tool, probably exaggerated by the very small size. I've often wondered if anyone makes a straight sided punch. -
Anyone taken a cheap servo motor apart?
AlZilla replied to AlZilla's topic in Leather Sewing Machines
No, definitely not a belt. It makes a small winding/grinding sound with no belt. A belt makes it worse and more tension increases the noise. To @chuck123wapati's point about the fan, even if it isn't a bad fan, I'm going to dig up a small 5 VDC computer fan, point it into the motor housing and plug it in to the LED socket on the control box. One thing consistently said about these things is that they make heat at low speeds, exacerbated by the fact that the fan is running slowly. That should be easily solved. -
 Abigail K joined the community
 -

Anyone taken a cheap servo motor apart?
chuck123wapati replied to AlZilla's topic in Leather Sewing Machines
i've seen electric motors break the fan blades located in the rear of the housing They make quite a racket sometimes, i dont know if your motor has one. the blades are usually plastic and can come loose or break. -
Janis ROCKS!!!!! I love it, she is an awesome artist indeed.
-

Anyone taken a cheap servo motor apart?
Cumberland Highpower replied to AlZilla's topic in Leather Sewing Machines
Just a thought, but if your pulley doesn't wobble and the shaft appears to have no runout, is your belt having a bad section? Just thinking of all options. -
I'd have to agree with the acorns and leaves being a poor mix with the geometric pattern... But... It was a request from the end wearer, who wanted a nod to the Major Oak in Sherwood Forest (Robin Hoods tree) which is only a stones throw from my workshop and her home. As the Selfridge saying goes, "the customer is always right, in matters of taste"
-
@Sblof Just to add to @Wizcrafts info the 135 x 16 needles would be for leather and the 135 x 17 would be used for fabric. An example would be for using V138 thread sewing leather you would need to use 135 X 16 X (size of needle) so you would need 135 X 16 X #23 or #24 depending on the thickness and toughness of the leather. Here is a good chart for selecting needle size for thread size: ( https://www.tolindsewmach.com/thread-chart.html ) kgg
-
I'm having trouble getting a clean cut on the lining side of my straps. I use 1.0mm Zermatt calf waterproof leather, making the hole with a rotary hole punch tool. I use a 1mm piece of veg tan leather underneath the strap so I don't damage the punch tip. Maybe the punch is wearing down. I've tried using single punch tools but even my 1mm makes holes that are much larger than that due to the tapering of the tips. Anyone able to suggest why my holes don't come out more clean on the Zermatt lining? Very nice work!
-
@Sblof Your Nakajima 280L machine has been discussed on these forums, before. Here, here and here. It is a compound feed walking foot machine. It uses the common System 135x16 and 135x17 needles. It takes all manner of Singer 111 style feet. Most are smooth. It was a forerunner of the current Juki 1541.
-
I looked at her entire site and that never happens. Amazing work.
-
Welcome to the forum! How about some pictures of the Nakajima, and of the new motor?
-
 That sounds good to me
 -
Anyone taken a cheap servo motor apart?
AlZilla replied to AlZilla's topic in Leather Sewing Machines
Hmm... I'm anxious to take it apart. The pulley doesn't wobble. I'm surprised nobody has taken one apart but I can't find anything online. Yet. A week or two, I guess. -
 Merritt joined the community
 -
I recently got a Landis 16 . I'm having problems getting the stitching to be consistent. It will have great stitches for a couple of inches and then the bobbin thread doesn't pull tight. I also have had problems sewing shearling to the skirt ?
-
 Ha! Sorry about that, I think you got the picture but I'm referring to the motor pulley on the patcher. I've spent some time looking it over, along with the engineering diagram I have (in German) It appears that everything on that shaft is pinned and has a sew screw so I don't see any opportunity for adjustment. I did pop the pin on the aformentioned pulley and tapped it in further which does take up the slop but without the pin that's not a long term solution. At this point I don't believe there is any solution within the machines available adjustments but the "clunking" is going to get annoying. So I think I'm going to pull off the pulley and insert a couple nylon washers. Not so much that it's tight and binding but enough so that it has minimal travel Thank you for all the pictures! It really helped identify some of that parts and what I should be considering when finishing the setup. I went ahead and ordered a servo motor and speed reducer. I'll have to make a couple custom mounts but for the most part I'm happy with the progress and plan. I looked at the plate again, it was made in '81 I'm not sure what engraving on the base you're referring to. The serial number plate on the machine says 8346/30. Now that it's sewing well and I have some more background info I went ahead and ordered a servo and a speed reducer. Other than my concern about the main shaft's horizontal movement (and the associated slop in the hand crank's spider gear) I think we're on the right track!


