
More Leatherwork
Exceptional Leatherwork done by our friends. Please do not post pics without permission from the artist and/or a link back to their site.
Albums
-
-
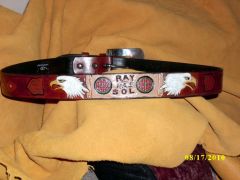
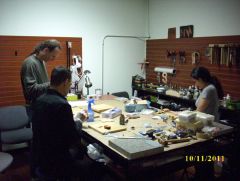
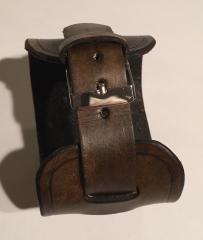
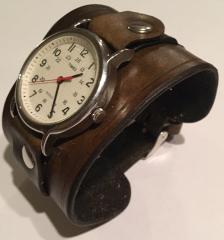
ayn LeatherCraft projects Updated
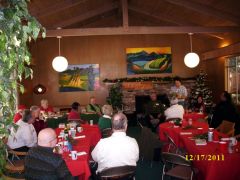
The curerent images are my leathercrafting projects from to date. With this new album, I added a few more images, which includes the SVLG Christmas party & a leathercraft workshop I taught in 2011.

- 16
- 0
- 3
-
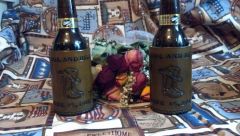
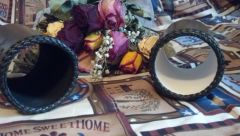
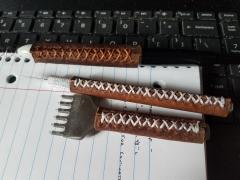
Beer koozie Updated
Custom made wedding gift. Two leather tooled beer koozies for a newly married couple. Both are made from 6-7oz leather, hand tooled, lined with foam, and double loop laced.
- 2
- 0
- 0
- 2 images
- 0 comments
- 0 image comments
-
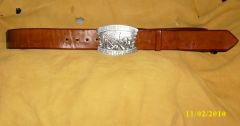
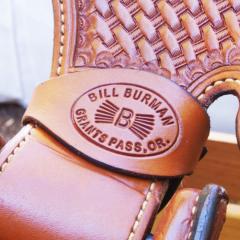
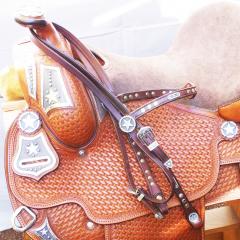
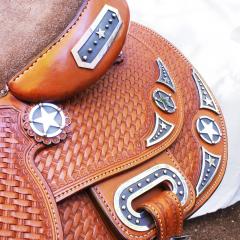
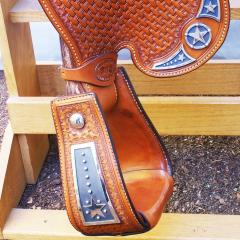
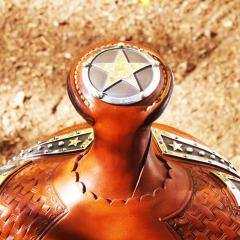
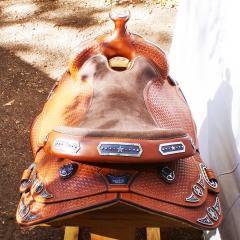
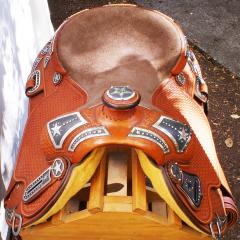
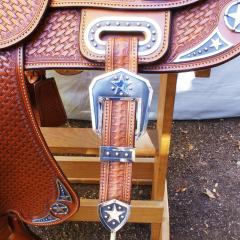
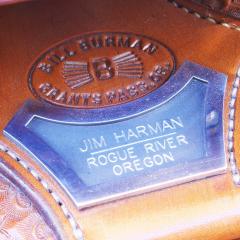
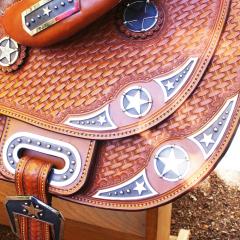
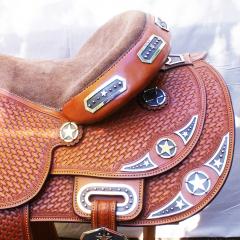
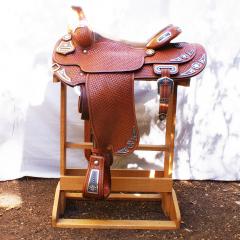
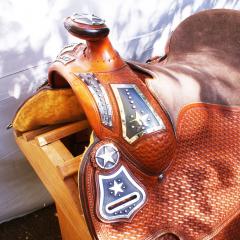
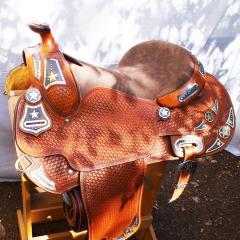
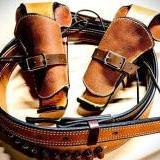
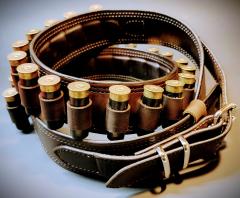
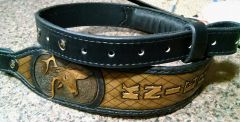
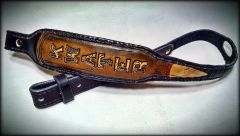
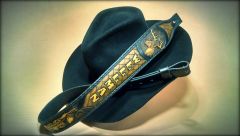
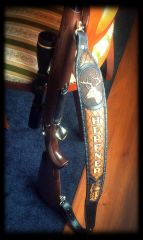
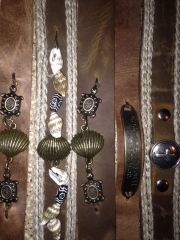
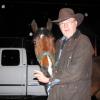
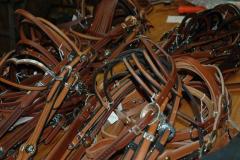
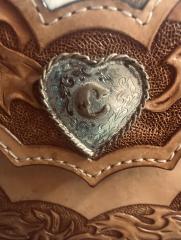
Bill Burman - Jim Harman - Texas Star Saddle Updated
These are some photos I took for a friend and client of mine, Jim Harman, who did the silversmith work on this beautiful show saddle. In addition to being an exceptional silversmith, Jim is also a jewelry designer, bronze sculptor, and a designer cabochon cutter. Jim hand made 51 custom silver pieces for this saddle, all designed and fitted to the contours and cut of this astounding saddle. The leather work on this saddle was done by Bill Burman who is now deceased. His legacy will live on through the skill and love of leather work shown in his creations.
- 14
- 1
- 4
-
- 3 images
- 0 comments
-
-
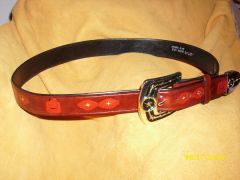
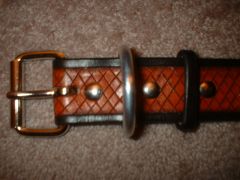
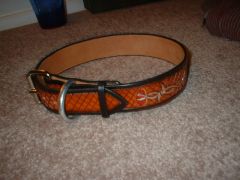
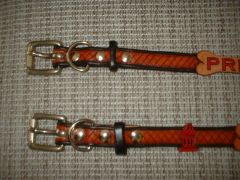
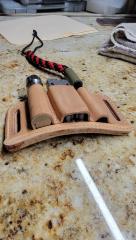
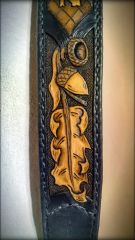
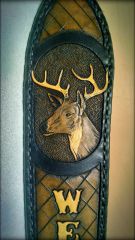
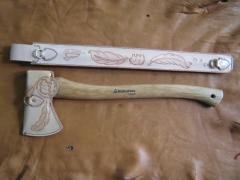
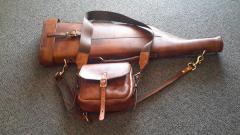
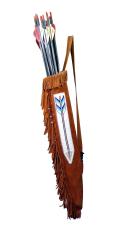
Decatur IN Leather Updated
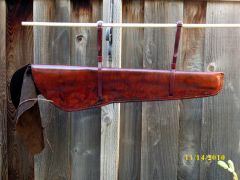
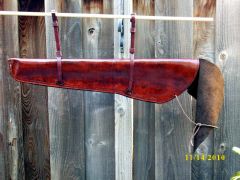
These are some of my first attempts at leather work. i started my first leather work on 8/1/15. I have been working on items for friends and family learning skills to make my first quiver to go along with the bow I made this summer with help from Rich of Stikbows.com Portland, IN. Enjoy.
Thank you to Dan and Nick at Fort Wayne, Indiana's Tandy Leather for all their help getting me started!
Please let me know if you see anything i could be doing better. I am here to learn!!

- 80
- 0
- 7
-
-
- 2 images
- 0 comments
- 1 image comment
-
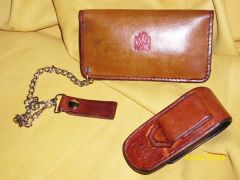
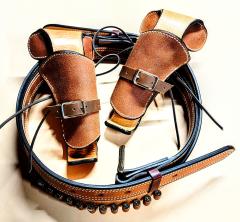
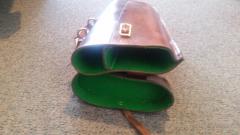
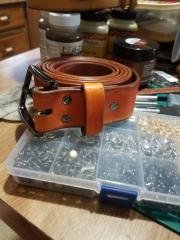
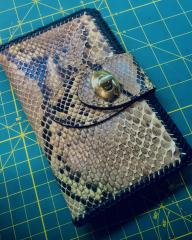
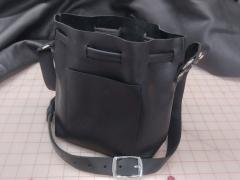
Gene Shipp
This is my third project. Eventually I'll get around to posting pics of the first two.
My first was a belt and a short sheath <more of a slide really> for my son's sword <wood>.
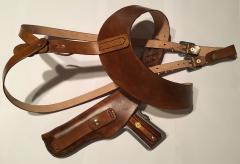
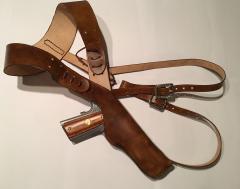
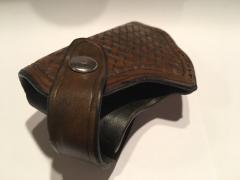
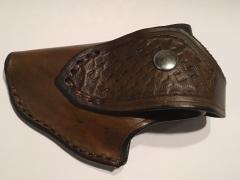
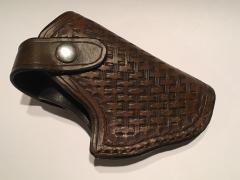
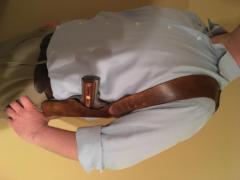
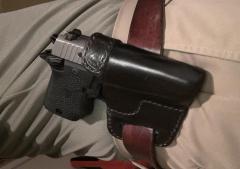
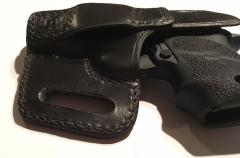
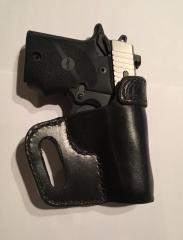
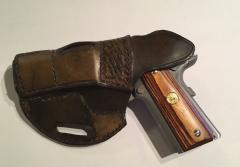
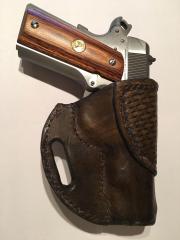
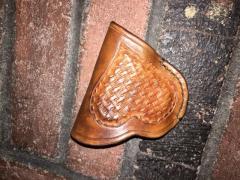
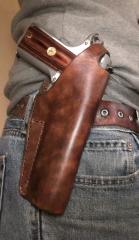
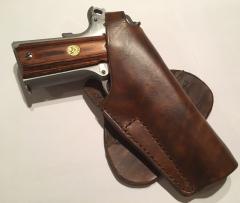
Next I made a lined holster for my pistol.
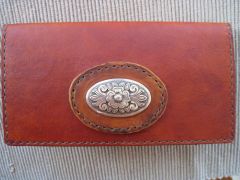
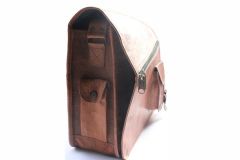
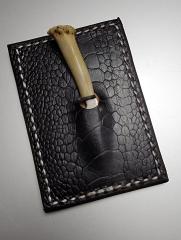
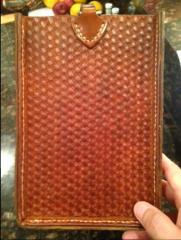
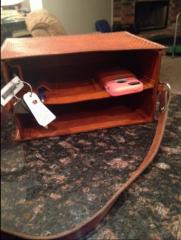
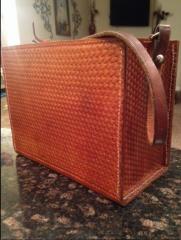
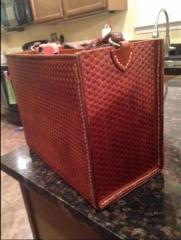
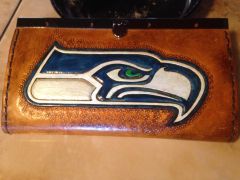
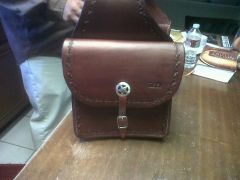
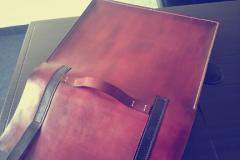
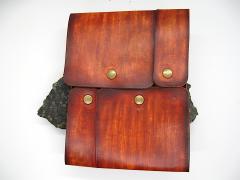
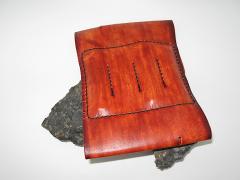
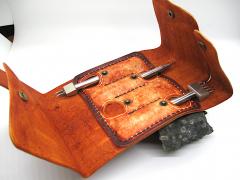
This is a purse for my wife. Phone pocket fitted to her iphone, pen holder, pocket for car keys. Started with a side of Tandy 2 oz veg tan. Cut two pieces out and gouged them with a piece of deer antler to fold at the right spot which make up the sides and bottom of the purse. Used barge to glue the flesh sides together so that the purse is lined.
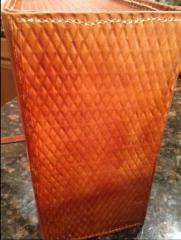
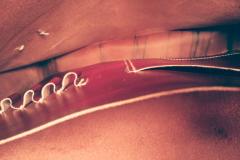
For the ends I used 5/6 oz and lined them with the 2 oz. The tooling on the bottom that looks like snakeskin is one of tandy's pro tools. It was on sale for $10. The four sides are all basket weave.
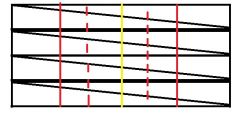
The basket weave was a tandy tool too but not pro. Mid project I stopped a few times to file on it because I didn't like what it was doing. It was a lot easier to modify the tool with a needle file than I thought it would be. Mainly the bars at each corner were too tall and that restricted how much definition the middle of the tool could give. So I slid it back and forth across my lansky stone and they flattened out and got short very quickly. Once those were filed down I sharpened the features of all of the rest of the tool because even a good impression looked smudged and mushy. At that point the bars were too sharp on edge and their impressions showed it. A little edging with a diamond tool and I have officially hacked my way into tool modification territory. At some point I need to break down and get a Barry King basket weave stamp.
I love fixing problems without going to the store or spending money online. Don't get me wrong I love great tools and appreciate quality but the money and the month do not last the same amount of time. And leather is way down the list in terms of importance in the budget.
Used Fiebing's saddle tan to dye all of it. The outside of both end pieces got two coats. I didn't want them darker but I couldn't get the dye down in the small nooks and crannies of the basket weave. Dyed the second one before tooling which helped with the nook and cranny problem but then I decided to give it a second coat to match the other side.
Same story second verse on the sides. One side stamped before dye. The other after. Learning how to dye without leaving dark/light spots is not hard to do but it means that there are some spots that look blotchy. So it goes.
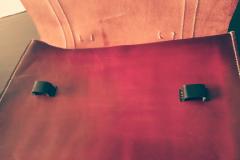
The hardest part <problem that I will accept> is due to a failure to plan at the very end. Because I can only get in a little time each time I sit down at my bench this purse took about four months to complete. So now you know my feelings about finishing it. I barged the edges of the center divider and its second coat was drying but not too dry. Swabbed the inside of the purse with glue. And tried to insert the divider without tape to hold back all the tabs which all had glue on them. Next time I will do a better job of inserting the divider straight; using the same method of glue and tape to hold back the tabs. And I won't rush it.
Decided not to sew the divider to the purse because I didn't want any stitches, from the divider, visible on the outside. And if I had instead tried to sew the divider to the liner that would have required cutting the liner and the outer to oversizes <after tooling> in order to bond them together with barge and trim excess so that it would be straight. Decided early on, when I was engaged in planning, that that would be much harder and not worth the effort.
Next time I will cut most pieces to oversize because I came up a little short, on one side where it meets the end, and because I would rather have the edge of the end and the edges of the side burnished together as one flat seam rather than individually burnished, as two round adjacent pieces. That also means I began burnishing too early in the process.
No in-process photos. Enjoy and let me know what you think.
GS
- 0
- 0
- 0
-
-
-
-
-
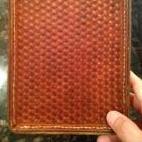
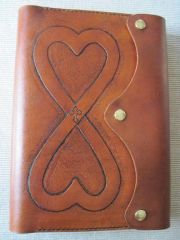
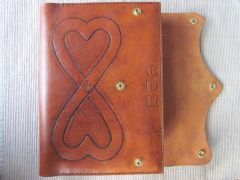
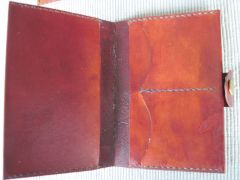
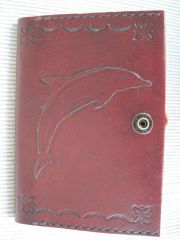
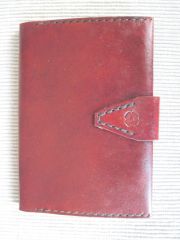
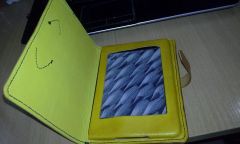
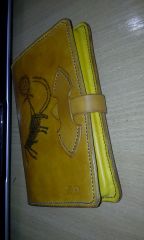
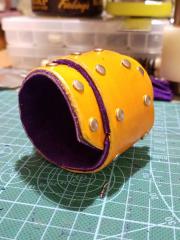
Kindle paperwhite cover Updated
My first kindle papperwhite cover. The insides are not too OK, but overall looks fine. The picture is a petroglyph from Tamgaly Tas area (near Almaty, Kazakhstan)
- 4
- 0
- 2
-
- 2 images
- 0 comments
- 5 image comments
-
-
- 1 image
- 0 comments
- 0 image comments
-


.jpg.536cca162ed9c44278a0d8b57d465e3e.jpg)
.jpg.6f199c14f2e2792ccd21e6e8c52d6075.jpg)
.jpg.5139a2b89df908b0fa737c256bfa185a.jpg)
.jpg.9c003f56e7ac993a11278d967edc94c8.jpg)


.thumb.jpg.e03b930cdbea4dafa18e860ceef0fc28.jpg)


47 images
- 0
- 0
- 0
- 0
- 0
- 0
- 0
- 2
- 0
.jpg.80224b47458ee7a0dca428142389ee31.jpg)
- 0
- 0
.jpg.de429547f8a1e7f2dca344dd92006ecf.jpg)
- 2

- 1
- 2
- 0
- 1
- 4
- 0
- 0
- 2

- 1
- 1
- 1
- 1
- 2
- 0

- 0

- 0
- 0
- 0
- 0
- 0
- 0
- 0
- 0
- 0
- 0
- 0

- 0

- 0
- 0

- 0
- 0
- 0
- 0
- 0
- 1