

Steve75
-
Content Count
193 -
Joined
-
Last visited
Posts posted by Steve75
-
-
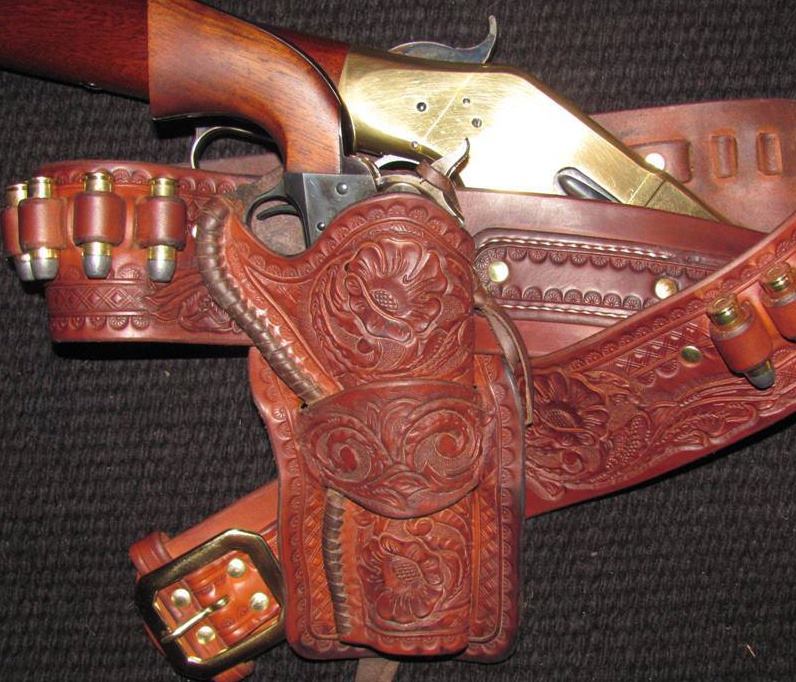
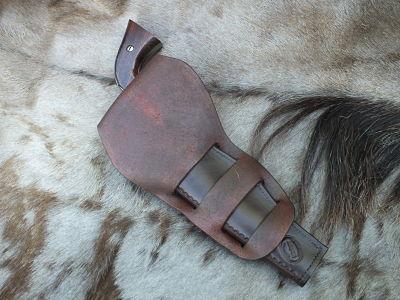
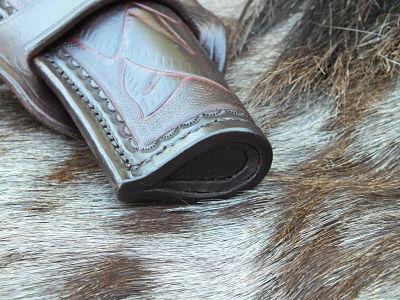
On 6/5/2022 at 11:59 PM, dikman said:It won't win any beauty prize, given the problems I had with it, but I learned a lot (like don't make the welt so bloody thick!!). I made it so the trigger guard would sit inside, resting on a "ledge" so there is zero resistance to pulling out the revolver, which made it 7/8" thick. This is the absolute max that my 4500 will sew, but I forgot that as the machine crawls up the thicker stuff the stitch length will shorten. It also went off-line right at the top, as I turned the corner the bottom edge of the holster caught in the slot of the needle bar, which I didn't realise until it was too late. This was because it was such a tight fit under the feet. I also broke one #26 needle and bent another!

The colour came out close to what I wanted, although a little more red would have been nice. I have one more (similar) holster to make and a matching belt. Rather than use the same carving pattern I'll make it slightly different, with less background space and bigger leaves.


Slim Jim or California Holster provides a great uninterrupted canvas to carve. I made two of them for my Uberti 1860s. When I made mine I made the belt loop independent as opposed to folding over leather to create it. I sewed the belt loop on before I glued in the pigskin lining, it made it easier for me to sew the belt loop on. I hand sewed the holsters which included toe plugs. No matter how flawed our masterpiece is most folks will not even notice the flaws.
-
15 hours ago, Josh Ashman said:Hey Steve, man it's been a while since I saw those pictures! The rig on the top went to my dad so I occasionally see it, it's almost black with time and wear now
") ! I don't know what they actually call that style of lacing, but it's what Stohlman shows in his "holster making" book as close as I can copy it. He goes over awl stabbing technique, lace prep, the whole deal. I think the only thing I did that I'm not sure if he mentions is once I have the lace all done I wet it down with a sponge then smack it with a smooth face hammer on my tooling block to get it all evened out. I also use oil tan chap leather to cut the lace, or at least that's what I did on that rig. Sometimes I'll use latigo if I have it and it's about the right weight.
! I don't know what they actually call that style of lacing, but it's what Stohlman shows in his "holster making" book as close as I can copy it. He goes over awl stabbing technique, lace prep, the whole deal. I think the only thing I did that I'm not sure if he mentions is once I have the lace all done I wet it down with a sponge then smack it with a smooth face hammer on my tooling block to get it all evened out. I also use oil tan chap leather to cut the lace, or at least that's what I did on that rig. Sometimes I'll use latigo if I have it and it's about the right weight.
All the best, Josh
Hey Josh, thanks for the information. I have the Stohlman holster making book. Your completed rig provides a much better example of the completed technique.
-
On 6/19/2017 at 10:00 AM, Josh Ashman said:Thanks Fred!
I rolled through some old pictures and found a few more examples. Here is one that is a little more "period correct". It's a single layer with a laced mainseam.
Here is one that is lined. As you can see the skirt and loop edges are all sewn. It's been a while since I built this one, but as I recall it was a real PITA to get stuffed through the loop. It didn't help that it was super short and I had the cartridge belt loop so tight.

You can build them however you like.
Josh, awesome work. What style of lacing did you use on the top holster?
Thanks
Steve
-
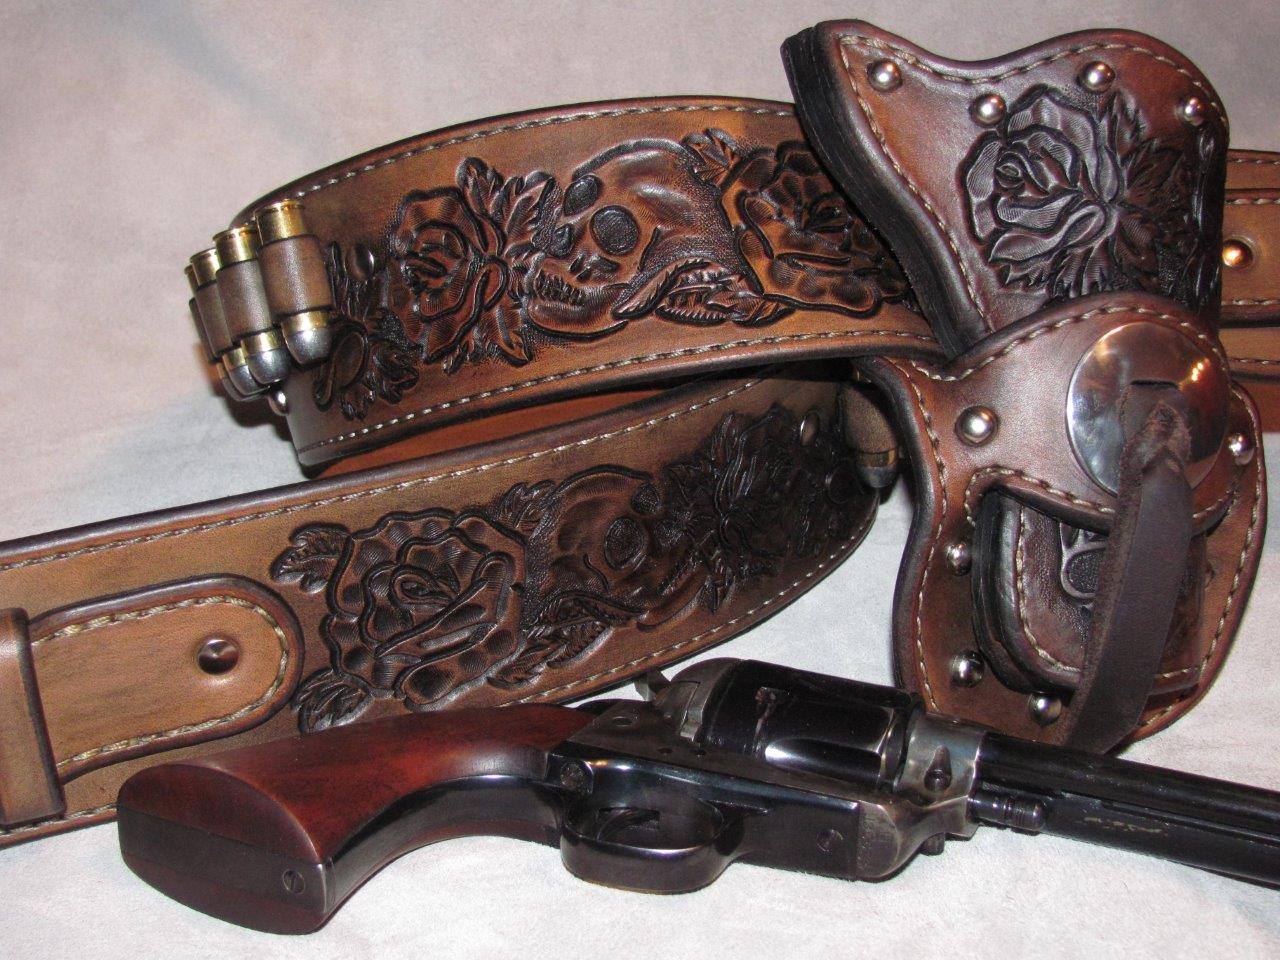
Nicely done. I like the meander and San Carlos borders on western style holsters.
-
On 10/28/2020 at 5:14 AM, CraigL said:Nice work!
Ive just made my first black-powder holster, a replica of the USArmy model 1863 Marlow flap holsters on a saber belt, and have enjoyed learning leather again after 30 years.Found it interesting to learn how these later holster designs evolved— tho I’ve yet to see the book you mentioned— and how important can be the fit at the trigger guard
Here is a link to the aforementioned book. https://www.holstory.com/
-
-
Nice work! Please share pictures when it is finished.
-
Being organized is a big help. Nothing worse then searching all over for a tool when working on a project.
-
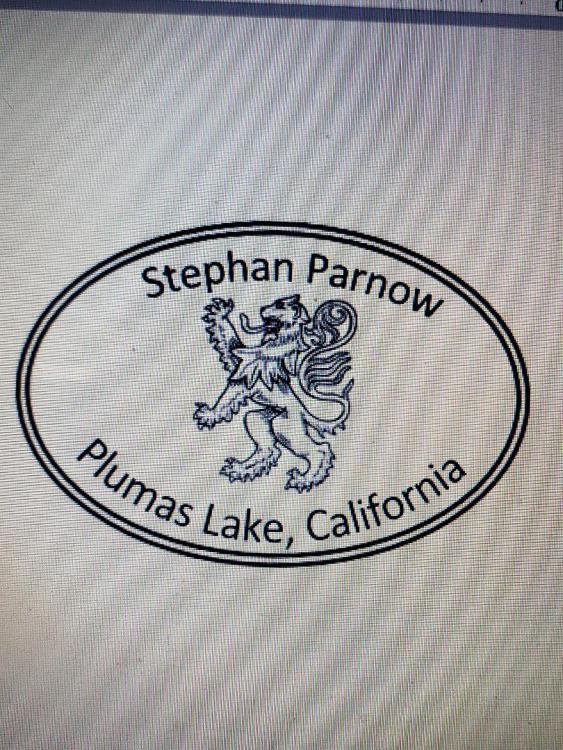
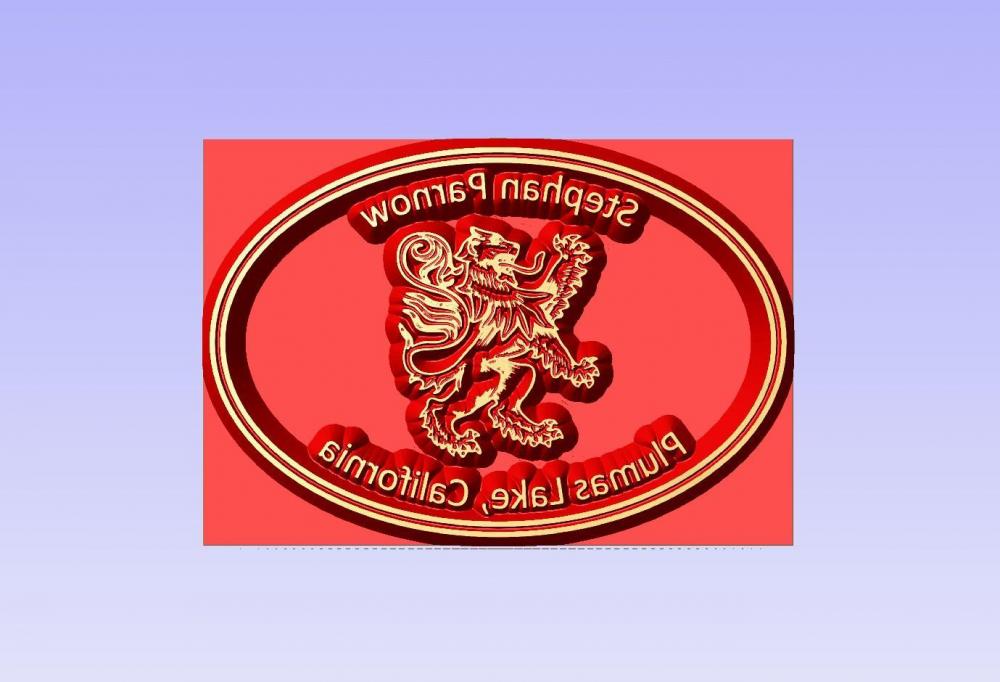
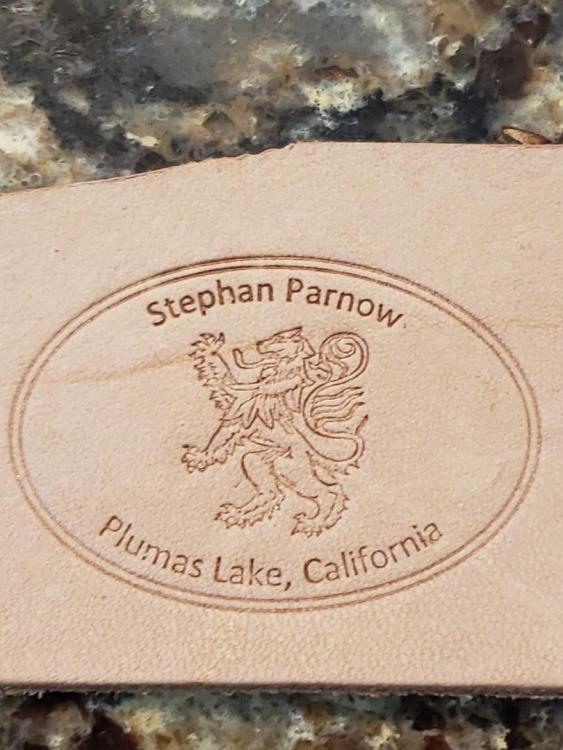
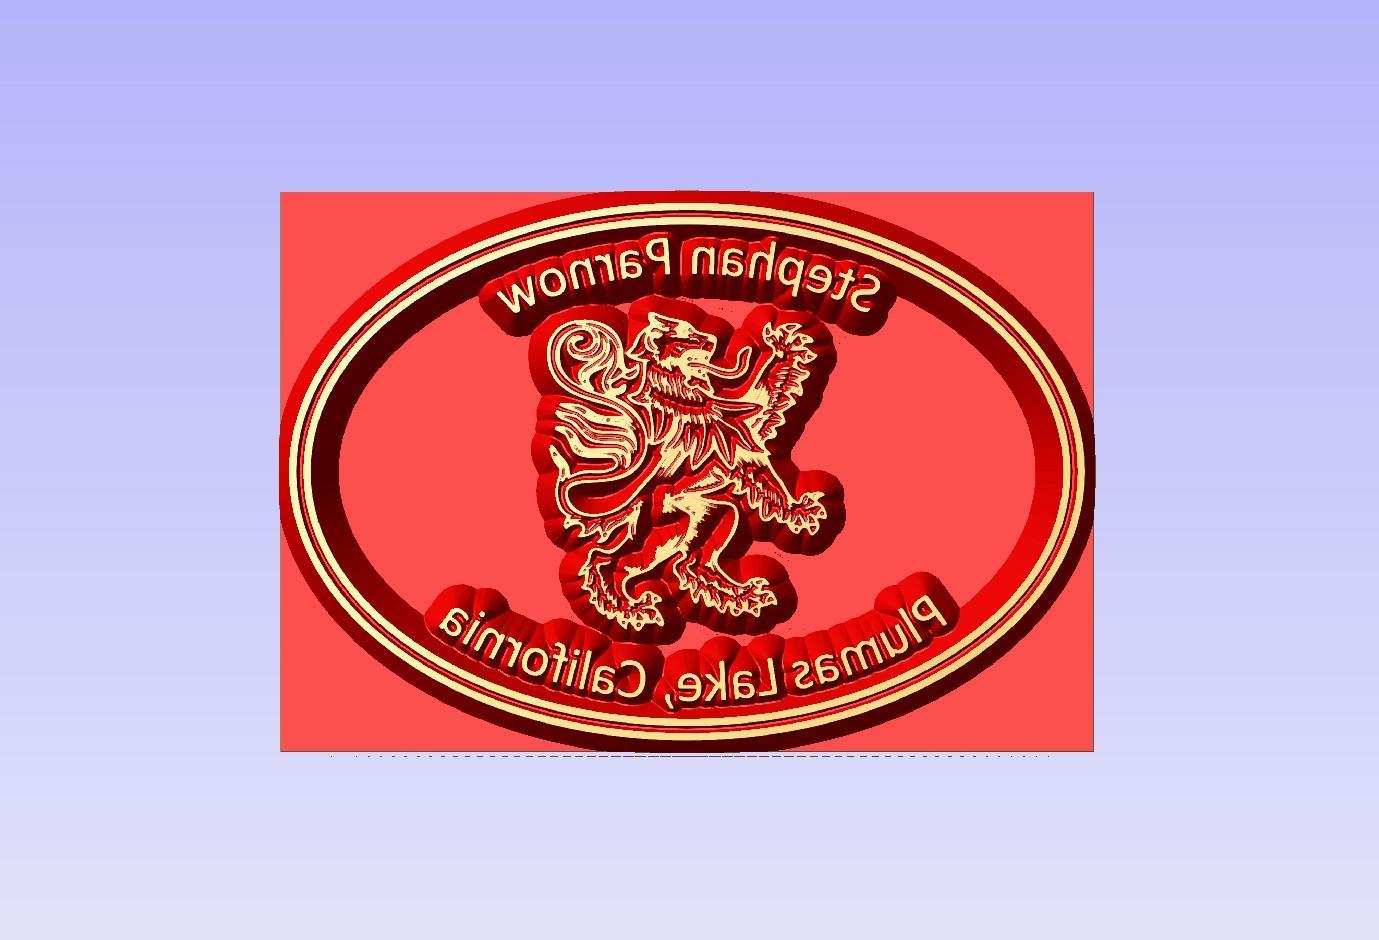
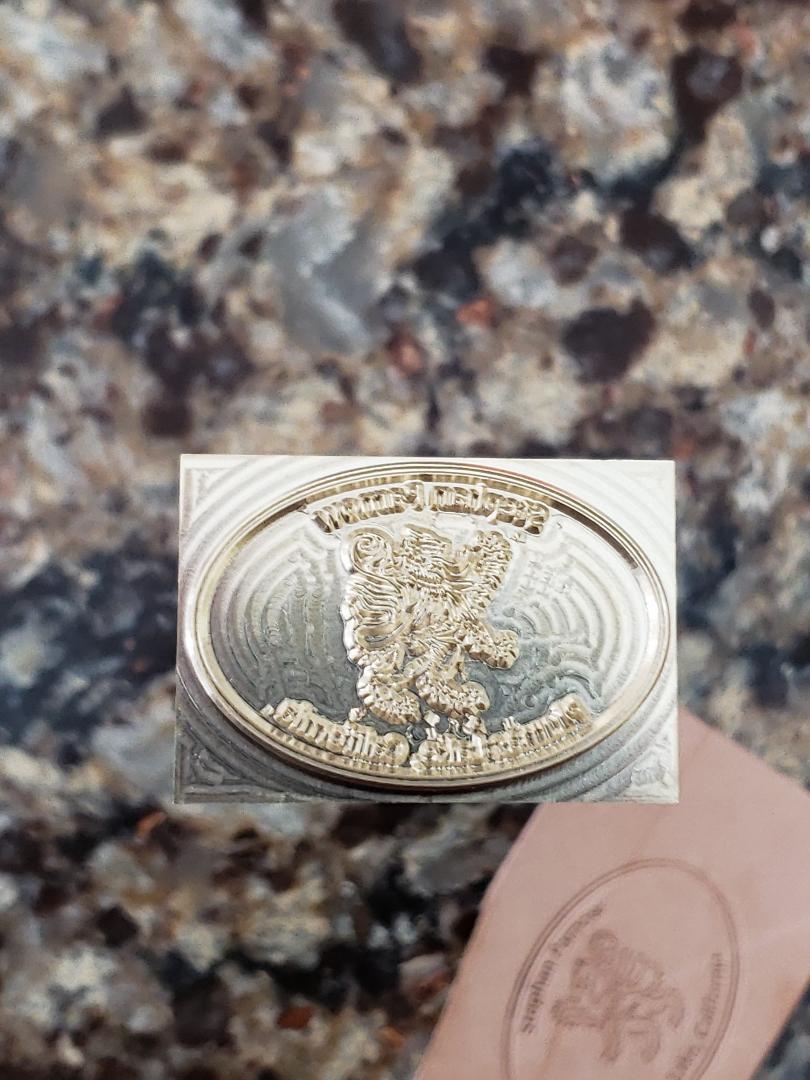
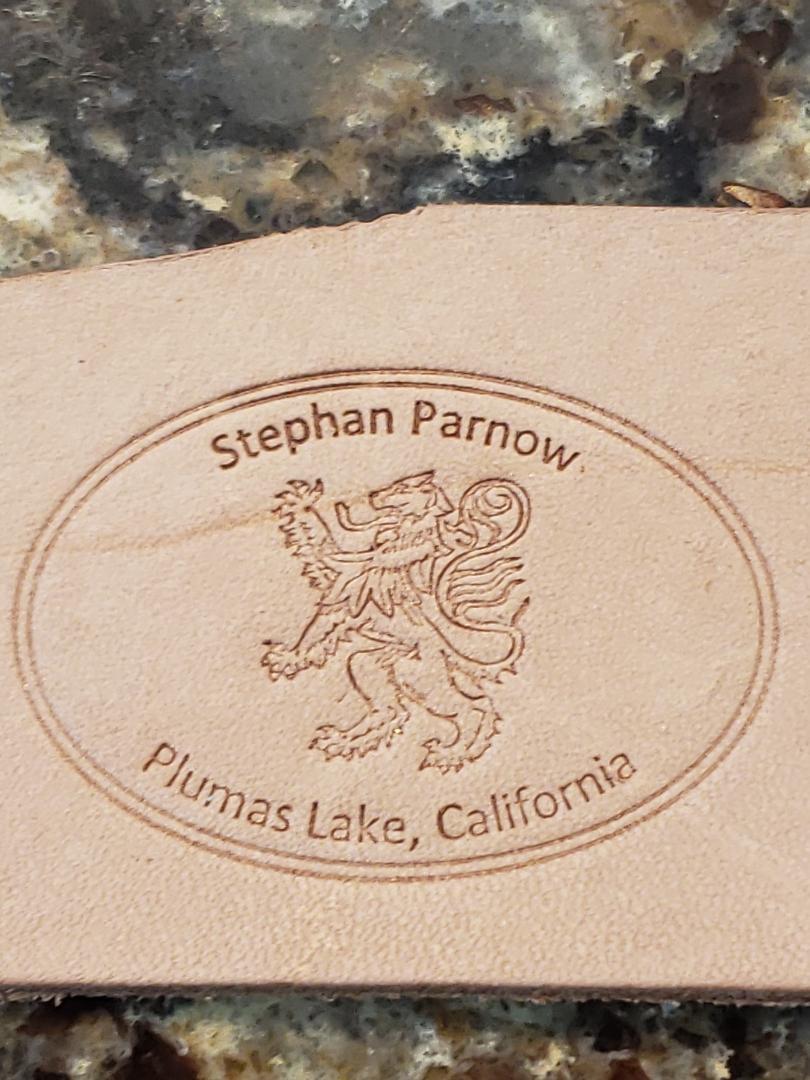
I got my maker's stamp from Leather Stamp Maker (https://www.leatherstampmaker.com/home.html). I submitted my design to them. They worked with me to correct some design aspects to make it work. Prior to making the stamp they sent me a proof for approval. They made my mark out of brass, and they have a host of accessories to support using the mark.

-
-
Awesome work! Thanks for sharing!
-
Nice work on the Rhodesian. The shoulder holster looks well executed as well.
-
I don't know if you are still looking for a pattern, but one of the members on this forum, Brazzos Jack, was kind enough to share a pattern which he created for the holster.
-
Nice work. I really like this type of holster as well.
-
Beautiful workmanship on both of those scabbards.
-
On 12/17/2019 at 3:44 AM, JLSleather said:Yep, you can have this template. It's quite simple to use, simple to make in fact... I would hope that if somebody CHARGED YOU for a class that they taught you AT LEAST this! I don't know how long or how many 'lessons' you did, but I've never had any "training" and I can do this, so I assume anybody can
")
Now, if somebody can just explain ta me why .. if you want to rotate a feature, you use the 'edit' menu, but to rotate the whole drawing you use the "image' menu ....

The stuff I learned was specifically geared toward the creation of logos, advertising materials and business cards. I understand the frustration with the various commands and how they work. It does not always seem intuitive.
-
On 8/23/2019 at 6:23 AM, JLSleather said:Well, we are in the holster pattern thread
 I got it covered within these walls - I'm good ta go. Just thought maybe if some you boys 'n' gals was using PS or IL, might want a copy of this digital graph paper I use. No matter... it's very basic (but useful) stuff that anybody could do (and maybe already did).
JLS, I just finished a training class on using Photoshop, InDesign, and Illustrator. If you would be willing to share the graph paper still I would certainly appreciate it. I thought that Illustrator might be useful for designing holsters, and other leather items.
-
Nicely executed! Where did you end up finding the buckle?
-
On 10/5/2019 at 7:20 PM, Lobo said:For those interested in a historically correct method for finishing leather goods I would suggest the method used by many saddle and harness makers of the 19th Century.
Neatsfoot oil in a metal container with about an equal volume of beeswax added, heat modestly until the beeswax emulsifies into the neatsfoot oil, then use a piece of shearling to apply to the outer leather surfaces allowing it to be fully absorbed. Then use a soft cloth to buff the surfaces to a low luster.
This was a very common finishing method that withstands exposure to moisture and weather pretty well. Perhaps needless to say, the heavily penetrating neatsfoot oil can be expected to soften the leather and make it pliable, so this is not the best possible finishing method for formed leather holsters or other products that must retain shape in use.
I have been using neatsfoot oil as a basic finishing product for leather products since 1972, and I have never known it to "go bad" or become rancid. A moderate treatment of neatsfoot oil replaces some of the moisture lost in the process of tanning the hide to create leather, which can protect against cracking and splitting at stress points in use. Too much neatsfoot oil will make leather limp and unsuitable for many uses, so care must be taken. Neatsfoot oil is rendered from the feet and lower legs of cattle, where it occurs naturally as a means for preventing the feet and lower legs from freezing in cold weather. It can be referred to as "cow oil" with a high degree of accuracy.
Note that there is pure neatsfoot oil and there is neatsfoot oil compound, which contains mineral oil and other ingredients. Pure neatsfoot oil is more expensive, but I recommend it for use in the leather shop.
Thank you for sharing this valuable knowledge.
-
Do not know much about thread and needles. As to overstitch wheels and grovers, I can comment. I would stick with a fixed overstitch wheel, either 5 or 6 stitches per inch. Tandy makes overstitch wheels and groovers which will not break the bank, though you may find yourself wanting better performance in your tools if this is to be a hobby you stay with.
-
I started out with the lace maker, and recently acquired the Australian Strander. Of the two I prefer the Australian Strander. I feel like I have more control over the cutter as I cut the lace. The more I use the strander the better I get at controlling it and getting the results I want. The only other strand/lace cutter I know of is the Osborne No 1000 Lace Cutter https://osborneleathertools.com/product_details.php?pid=439.
-
On 5/21/2019 at 3:15 PM, Forester said:Hi All
Messed the first holster up so I had to remake, took a while but got there in the end. Also went with a toe plug.
Regards Forester

Thank you for posting the finished holster. That turned out really nice. Good job! I am curious, where did you find a pattern for the tooling or did you recreate it yourself?
-
Excellent execution!
-
This should be made into a pinned thread for newbies looking to get information on maker's Mark's. There is an incredible number of stamp makers listed here with recommendations and examples of their work.

3 Bang Up Tutorials on "U" Tube
in Gun Holsters, Rifle Slings and Knife Sheathes
Posted · Report reply
Thanks for sharing. I watched all three of the videos and like the detail he wen into as he built the gun belt.
Steve