

JoeSnuffie
-
Content Count
382 -
Joined
-
Last visited
Posts posted by JoeSnuffie
-
-
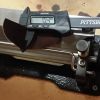
The blade comes very sharp and resharping is really easy. I let the tension bar fall and strop it in place. Also, I no longer use shims. I bought a 10mm steel shaft, bearings and aluminum tube and made a great free spinning drum. this makes splitting up to 4.5" oil tan possible without a lot of muscle. Of course the blade needs to be really sharp. I can also easily split calf skin strips down to .4mm.
-
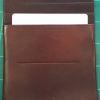
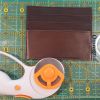
Yes, I'm using veg tanned calf. I buy it skived and it usually comes in at around 1 - 1.2mm. This is the finished product.
-
Maybe this would work on a larger scale. I use Mop and Glow 50/50 with water for the holes I make for bracelets that use Sam Brown studs or beads. I soak the flesh side around the hole and when it's dried it's almost as stiff as plastic and the stud or bead fits securely in with a nice snap. I'm wearing a 2 year old bracelet that still snaps in place.
-
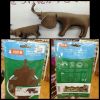
A friend who's currently stationed Japan sent pictures of this to me. I know my kids would love this. Now I'm off to locate this product online.
-
For skiving edges I need to fold over on soft calf skin I use the cheap Tandy Safety Skiver. It's really easy to control for small areas and the blades are cheap and can be stropped to a perfect edge over and over before the need to be replaced. The key is to strop a lot. I'll usually give it 20 passes as soon as it doesn't seem to be cutting like I want and I flip the blade every other time I strop it. For larger items I use a round knife that I made from a high speed steel industrial fabric cutting wheel. It holds a fantastic edge.
-
Your all very welcome. I hope this saves someone a lot of time and aggravation.
-
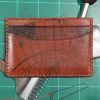
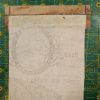
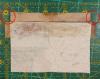
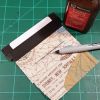
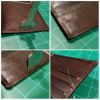
Do you mind sharing how you got the treasure map on there? Very nice!
I used a large rubber stamp and applied black dye instead of ink. It works really well.
-
A neighbor said he wanted to treat himself to a Christmas present and this is what I came up with. I was going for an old treasure map theme. He works the flight line at the local Air Force base and they like the card wallets. Actually, most of my card wallets in this style have gone to the Air Force base because they fit in those tiny pockets on the flight suits.
-
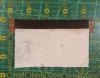
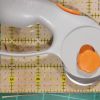
This is how I make cloth lined wallet pockets. I use a chasing hammer on the glues parts and folds. Which is important for good results. Be generous with the glue and make sure you don’t try to stick the pieces together before the glue is ready. I use Weldwood Contact Cement and I refill my tiny bottle from 32oz cans. For thin calf skin, get a rotary fabric cutter and keep the blade razor sharp.
- I cut 4” wide strips from a sturdy fabric. 2 of them will be 4.5” long while the rest will be 3” long. The 4.5” long pieces will be used with the back most pocket and will extend to the bottom of the forward most pocket. This gives a nice large pocket that can hold cash, vertical credit cards, etc.
- I cut 2 pieces of calf skin that are 4.5” wide and at least 4” long. These will be the forward most pockets.
- I cut 2” wide strips of calf skin. I split them to .4mm. You can go thinner, but at .3mm the strips were breaking.
- For an 8 pocket wallet, you’ll need enough to make 6 pieces that are 4.5” long. I make a couple extra because I usually ruin a piece.
- After splitting I dye.
- After the dye dries I cut the strips down to 1.75” wide. I started with 2” wide strips because splitting stretches them and they become uneven. I just cut along one edge, nudging the strip into place under the ruler.
- After cutting them to 1.75” wide I cut them into pieces that are 4.5” long.
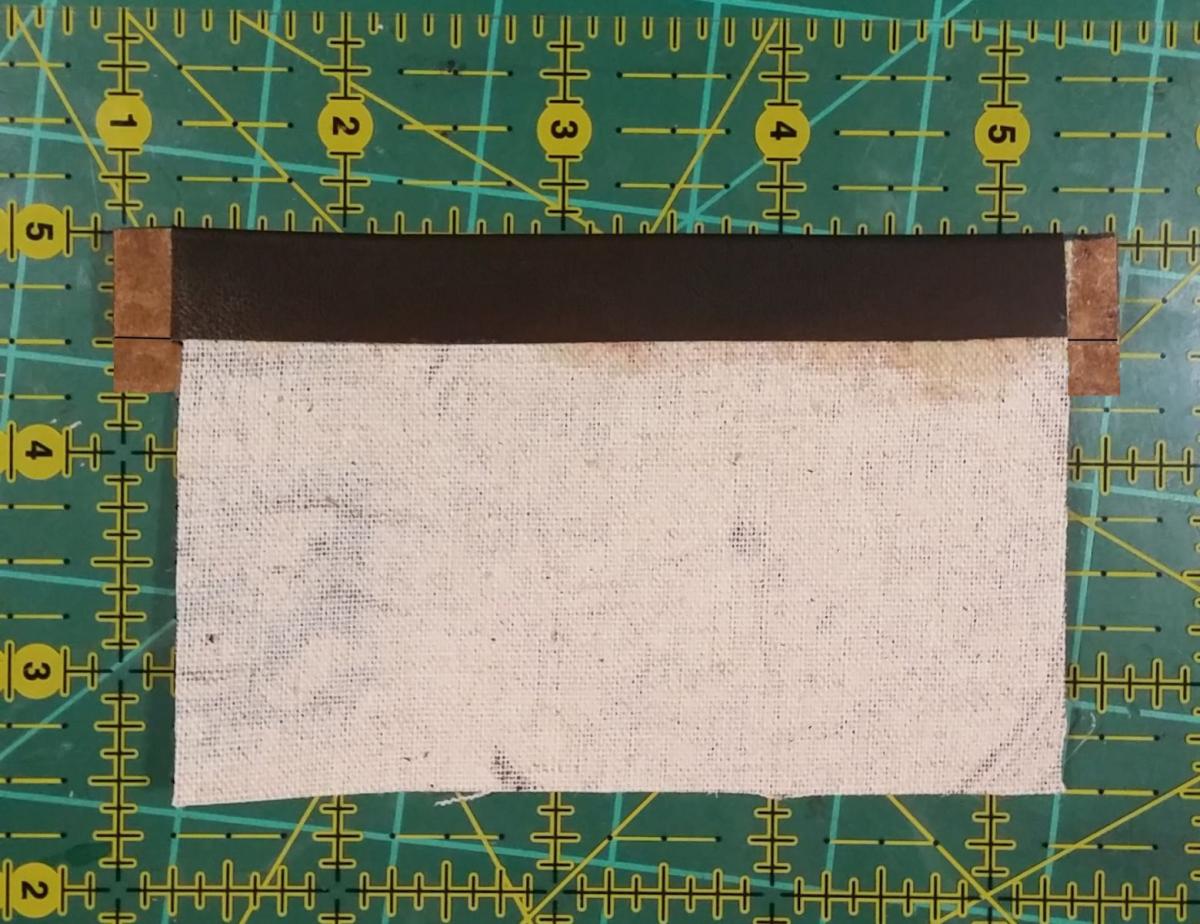
- Using the straight edge I created in step 6 as the bottom edge, I place the pieces face down and draw a horizontal line .75” above the bottom. This is the line where I fold and where the fabric will be placed. I also draw a line, .25” in from each side, from the horizontal line to the top.
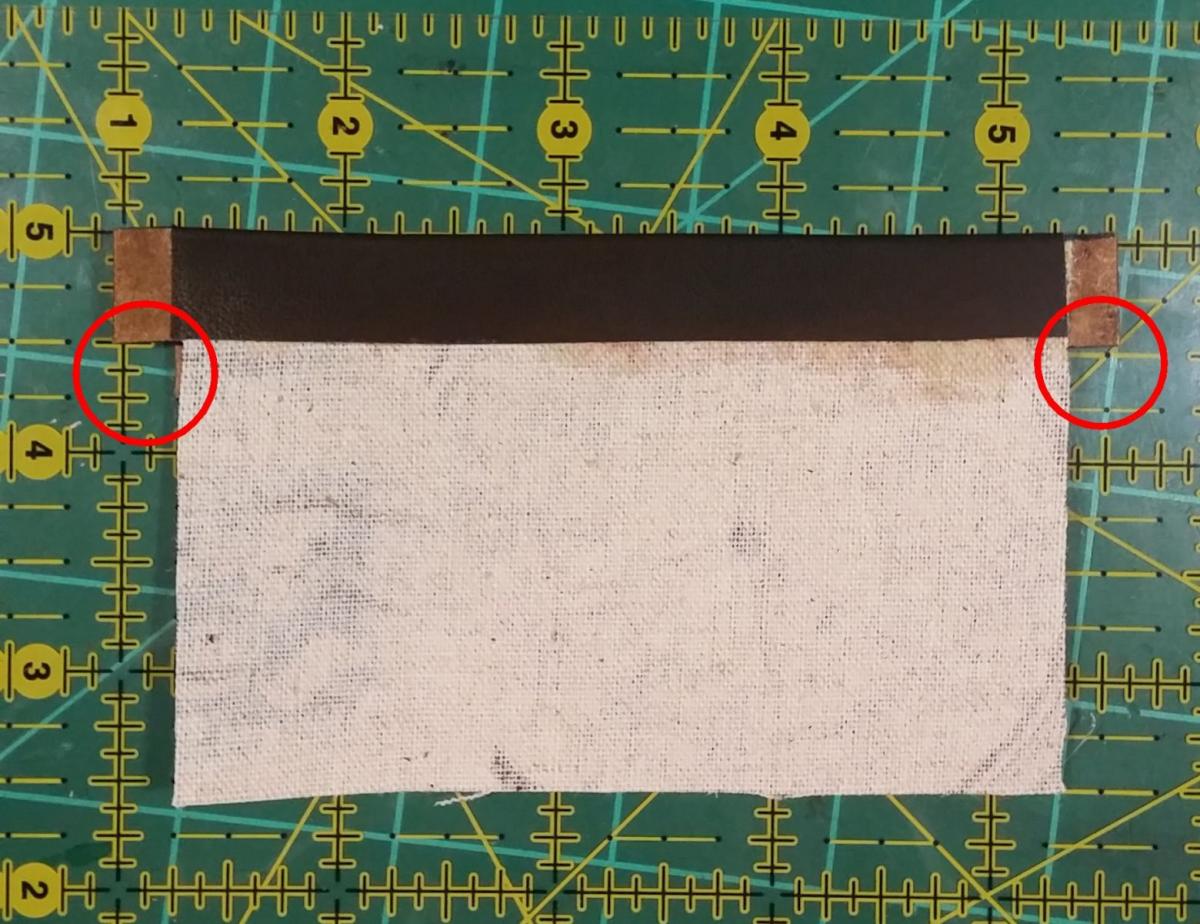
- Cut out the rectangles in the top corner and glue and fold over when the glue is ready. Hammer it with the chasing hammer until the lines are crisp and glued together. "The areas circled in red were removed."
- After folded and dried, draw a horizontal line on each side .5” down from the top edge and .25” in.
- Cut this rectangle out. This gives you the tabs that will fold over in final assembly. This also gives you an easy way to line up the distance between the openings of the pockets. In this case, .5”.
- On the 4.5” x 4” pieces, I draw a line on the back, top edge of the 4.5” wide side. This line is 1” down from the top. I use a skiver to thin it out to be folded over. If you’re having trouble with your skiver, sharpen it. Properly sharpened, it will cut like butter. When it stops cutting like butter, sharpen it again. I get maybe 10 thin passes before I have to stop it 20 times but this gives really nice results. I use a lot of very shallow cuts to avoid mistakes.
- After skiving, you’ll find that the thin calf skin as stretched a little. Carefully straighten this up or when you fold it over the edge will not be straight.
- Glue and hammer this skived edge. This will give you a .5” tall folded edge.
- Skive .5” in on both vertical sides of the all leather pockets. These edges will be folded over in the final assembly.
- If you want a crease now is the time to add them. The pieces are ready for assembly.
- Lay the bottom most cart pocket down and place the next one on top, lining up the tabs so that they are flush against each other. Insert a card to the depth you want it to sit and, holding everything in place, draw a line at the bottom edge. After drawing the line, remove the card and add a line of between the fabric pieces. The glue should be on the line and a little below, BUT NOT ABOVE THE LINE. After the glue dries, stitch the line. Repeat for every cloth lined pocket piece.
- With all the cloth pieces stitched together, lay the all leather forward post pieces in place and flip everything over, face down. Making sure everything is in place and lined up, apply a generous portion of glue to the tabs, and skived area of the forward most piece.
- When the glue is ready, carefully fold the tabs over and make sure they all line up. You may have to pull apart and reposition a little so work fast. Once everything lines up, hammer the edges.
- When the card pocket assembly dries, you need to mark the stitch line on the all leather forward most pocket. Insert a card just a tiny bit deeper than you measured for the others and mark the line with a creaser or folder. The reason you mark it a little lower is because the stitched leather isn’t as forgiving as the cloth and the card will rest just a tiny bit higher than you measured after you stitch.
- Now I cut off the excess from the bottom. I usually leave 1/8” past the stitch line on the bottom and then trim it a little closer when I’m doing the final fit.
- I cut 4” wide strips from a sturdy fabric. 2 of them will be 4.5” long while the rest will be 3” long. The 4.5” long pieces will be used with the back most pocket and will extend to the bottom of the forward most pocket. This gives a nice large pocket that can hold cash, vertical credit cards, etc.
-
Looks very nice. If you don't mind me asking, how much did it sell for?
I got $60 for it.
-
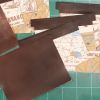
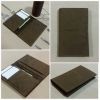
I got in some oil tanned scrap yesterday and found a few square feet of this really neat looking leather. Customer loves it and it more than paid for the 13 pounds of leather I received.
-
I've bought 4 of these hides from them and they skive it to .75mm for me for free. Makes great wallets and while 2 had areas with a lot of imperfections, I was able to cover them with wallet pockets. I usually airbrush these hides because they're so thin and the dye just soaks right in.
This is all .75mm hide from them.

-
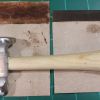
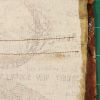
Really awesome! I love that plate with the lettering. What a great idea. How exactly did you do that if you don't mind me asking?
I got some steel lettering stamps from Harbor Freight and a 5x8 bronze sheet from Hobby Lobby (conveniently located across the street from each other). I hammered in the letters on a piece of steep plate with a sheet of paper between to give the letters some depth. Then I colored over a few times with a black Sharpie until the insides of the letters were soaked. After it dried I used some 800 grit sandpaper to remove all the black that wasn't in the letters. After sanding I used the little ball end of my chasing hammer to ding up both sides to make it look, well, hammered.
And thanks for the compliments. This shows that even really messed up and scarred leather can still be exactly what the customer wants. I didn't think this piece would ever be used.
-
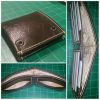
Good reading and you can take notes while you're at it. I need to find a good, sturdy pen to pair with this. Any suggestions?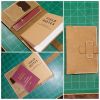
-
Customer wanted leather with marks and imperfections. She found the perfect spot on one of my hides. She also requested the Tolkien quote and since she wanted it on one line I did it on bronze with a little sloppy lettering to go with the imperfect hide. It's hard to see with the glare of all my lights on my bench but the letters are all clear and blackened. I'm hoping this bronze will patina nicely.
-
I've had 2 friends ask me to do this with their kids' old gloves. I may need to revisit this idea. These look great.
-
And thank you for the compliments. This project didn't make me any money after all the time I spent in coming up with the ideas for it but I think it was my most enjoyable project to date. And as a bonus, I get to make 3 more which will definitely make me a little Christmas spending money. Unfortunately, my wife will probably find out and want her cut.
-
Sona, I used en embossing folder that I got from Hobby Lobby. It works well on leather.
Im Joe,
- I but strips of 2.5oz calf at 2" wide and ran them through my splitter to get them to .3mm. The calf is still really tough at this thickness.
- After splitting, I trim them to be straight and 1.25". I cut them to 4.5" pieces, flip them over and draw a line from end to end .75" from the nicest edge (this will be on the front).
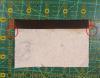
- I cut the fabric 4" wide and 2.5" tall.
- I apply contact cement to the back of the leather and a little extra on the .75" area where the cloth will attach.
- I lay the cloth, face down, right up to the line, but not covering it. This allows me to fold the .5" section over at the line without bunching up.
- I apply a little more contact cement to the back of the cloth, only coming .5" from the line so that all the cement is covered by the leather fold over.
- When it's nice and tacky, I carefully fold it over and hammer it with my chasing hammer.
- With this done, I stack them for stitching. I decide how tall I want the wallet and how far the cards should stick out. I draw a line on each piece of fabric where the stitch will me and then glue the leather at the tabs to set them in place.
- The next step is stitching and after that I attach the last pocket, line it up on the liner, glue it in place, poke some holes and then stitch.
- After this is done I trim the excess from the edge of the liner.
If this isn't clear enough let me know and I'll try to explain better. The contact cement is stronger than the leather and attempting to remove the cloth after 48 hours results in torn leather. Also, the cloth is stitched in place at both sides so it isn't going anywhere.
-
The customer asked me to "come up with something nautical" so I did. He liked it so much that he ordered 3 more when he picked it up and got some business cards to hand out on his boat.

-
I use a mixture of water and mop n glow to seal stiffer leathers like belts. There is usually a little rub off when I apply with a cloth or sponge. In the past few months I've been airbrushing the sealer on and buffing after it dries, with hardly any dye rubbing off. After the sealer dries there isn't much rob off unless it gets wet again. My expensive cowboy boots and my favorite comfy shoes still have some dye rub off when they get wet.
For the rivets, make sure the posts are the right length. I will often cut them to the right length if I notice any drift. I have a crimping tool that allows me to cut and reform the end of the post easily. When it's the right length, there is no drift.
-
I use neatsfoot on all veg tanned belts. I didn't on two early belts I made myself and both started to crack where my holster sits because of the additional stress. This hasn't happened on any belt treated with neatsfoot. I haven't treated any belts made with harness leather because they're already oily and waxy and I haven't had any issues with them. Someone who makes more belts than me may have a better answer.
-
That's pretty manly. Great job.
-
No airbrush, I used a stencil and weak vinegaroon. I used a cotton swab to dab it on, barely damp so there's no bleeding especially around the edges of the stencil. It takes a few passes but if you're careful, you have a wonderfully crisp image. I did it this way to prevent any rub off or bleeding because I knew I'd be rubbing it pretty rough to give it a distressed look. It also has a really cool raised effect, I guess caused by the chemical reaction.
You can't see it but the inside of the shell has two robots as well.
-
I do the same thing barehandcustoms does with sponges. You pay a couple dollars for a large sponge and turn it onto a bag full of tiny sponges. I try to cut them into about 1x1x2 inch pieces.

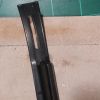
Cowboy Splitter With Minor Improvements
in Leather Tools
Posted · Edited by JoeSnuffie · Report reply
I've been getting the best scrap from this guy. The stuff with the most scars and marks has surprisingly been the most requested by customers. http://www.ebay.com/usr/theleatherguyofmn
Like this, for example