


Leebroox
-
Content Count
31 -
Joined
-
Last visited
Posts posted by Leebroox
-
-
On 12/8/2019 at 6:06 PM, acowboy said:If I remember right if your machine sets different in forward and reverse, try turning the lever over inside the reverse handle
easy fix.
also my 545 stays loaded with 207 top and bottom
Acowboy,
What do I need to do to my 545-H4 to get it to accept the 207 thread? I have gone back and forth with all of the tension settings and I am still not getting the bottom/underside stitches to cinch inwards. The bottom thread just rides along the underside and never locks into the leather. I don't have any issues with a 92 size thread but I want a much bigger thread if possible. I know this old but I am new to the sewing machine world so hopefully this makes it to your in box. Thanks.
Cheers,
Leland
-
All,
I understand this is a very old thread but I just purchased a Pfaff 545 that was previously used for fabric and I am trying to set it up for leather. This is the first sewing machine I have ever used and am not very familiar with it and am still learning.
I guess my first question is; what would be the best needle and thread combination for this machine to sew wallets, bags and perhaps journal covers? For the Journal covers I have used 3/4 oz vegtan. Thanks in advance.
Regards,
Leland
-
I liked it more than the others with all of the talking and drawn out explanations. Just give me the Baby I don't want the Labor pains...
-
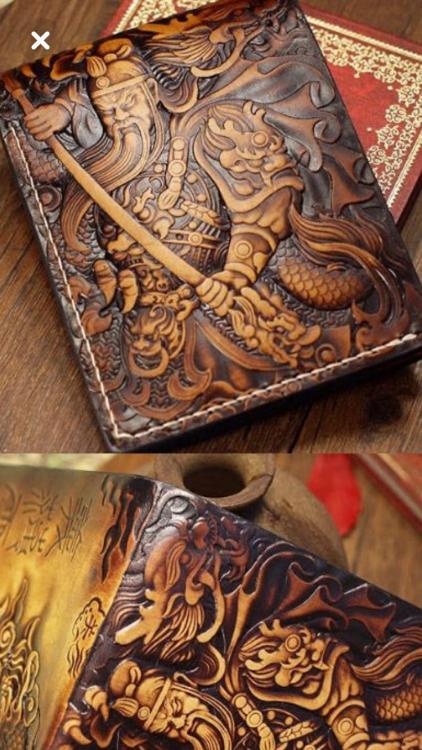
YinTx I feel your pain on the tiny carvings. I did this one recently and I could cover the whole carving with my thumb. Meh... at that small its hard to distinguish the mistakes from the intention... Lol


-
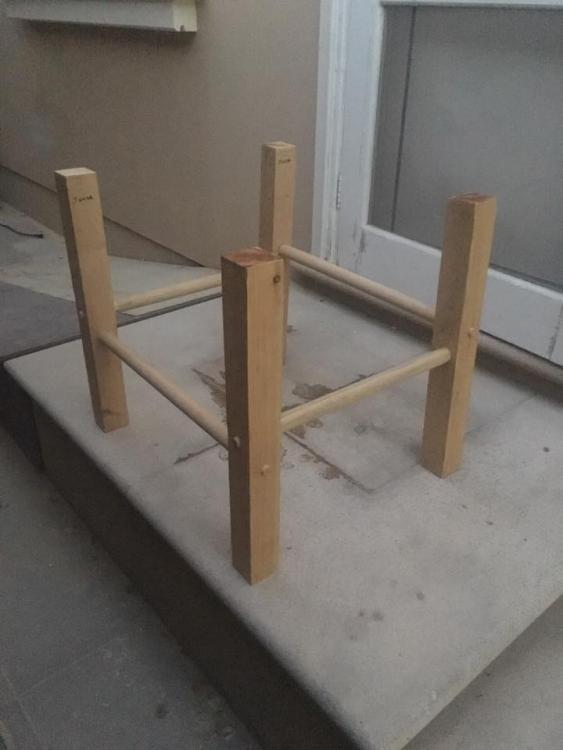
Just now, Vikefan said:Is this a kit you can buy? I like that! Very nice job!
Vikefan
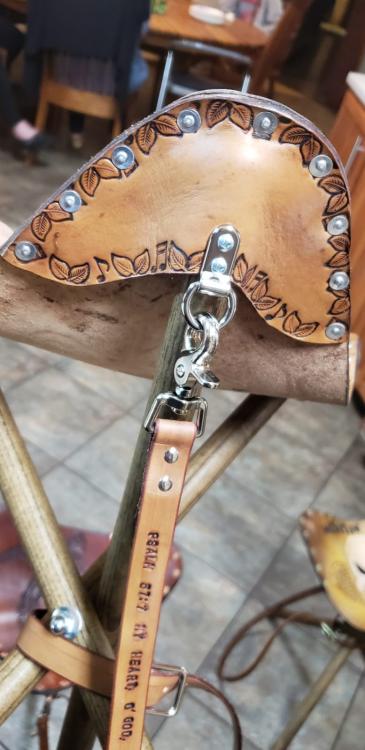
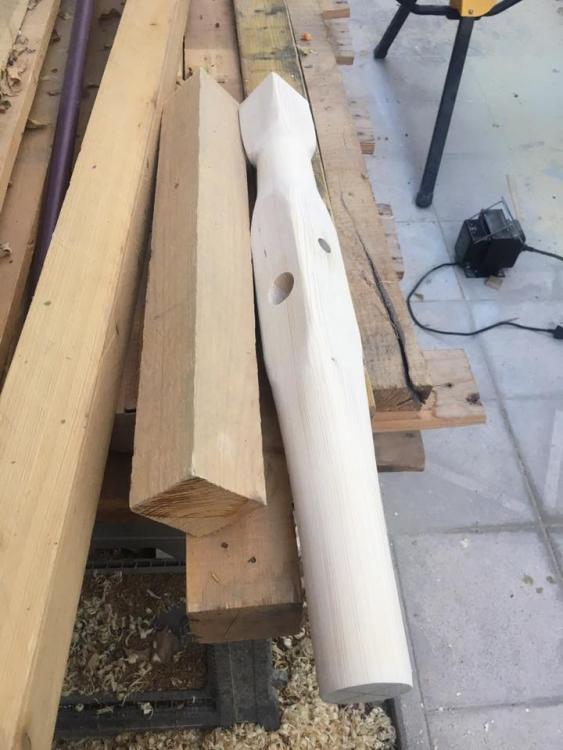
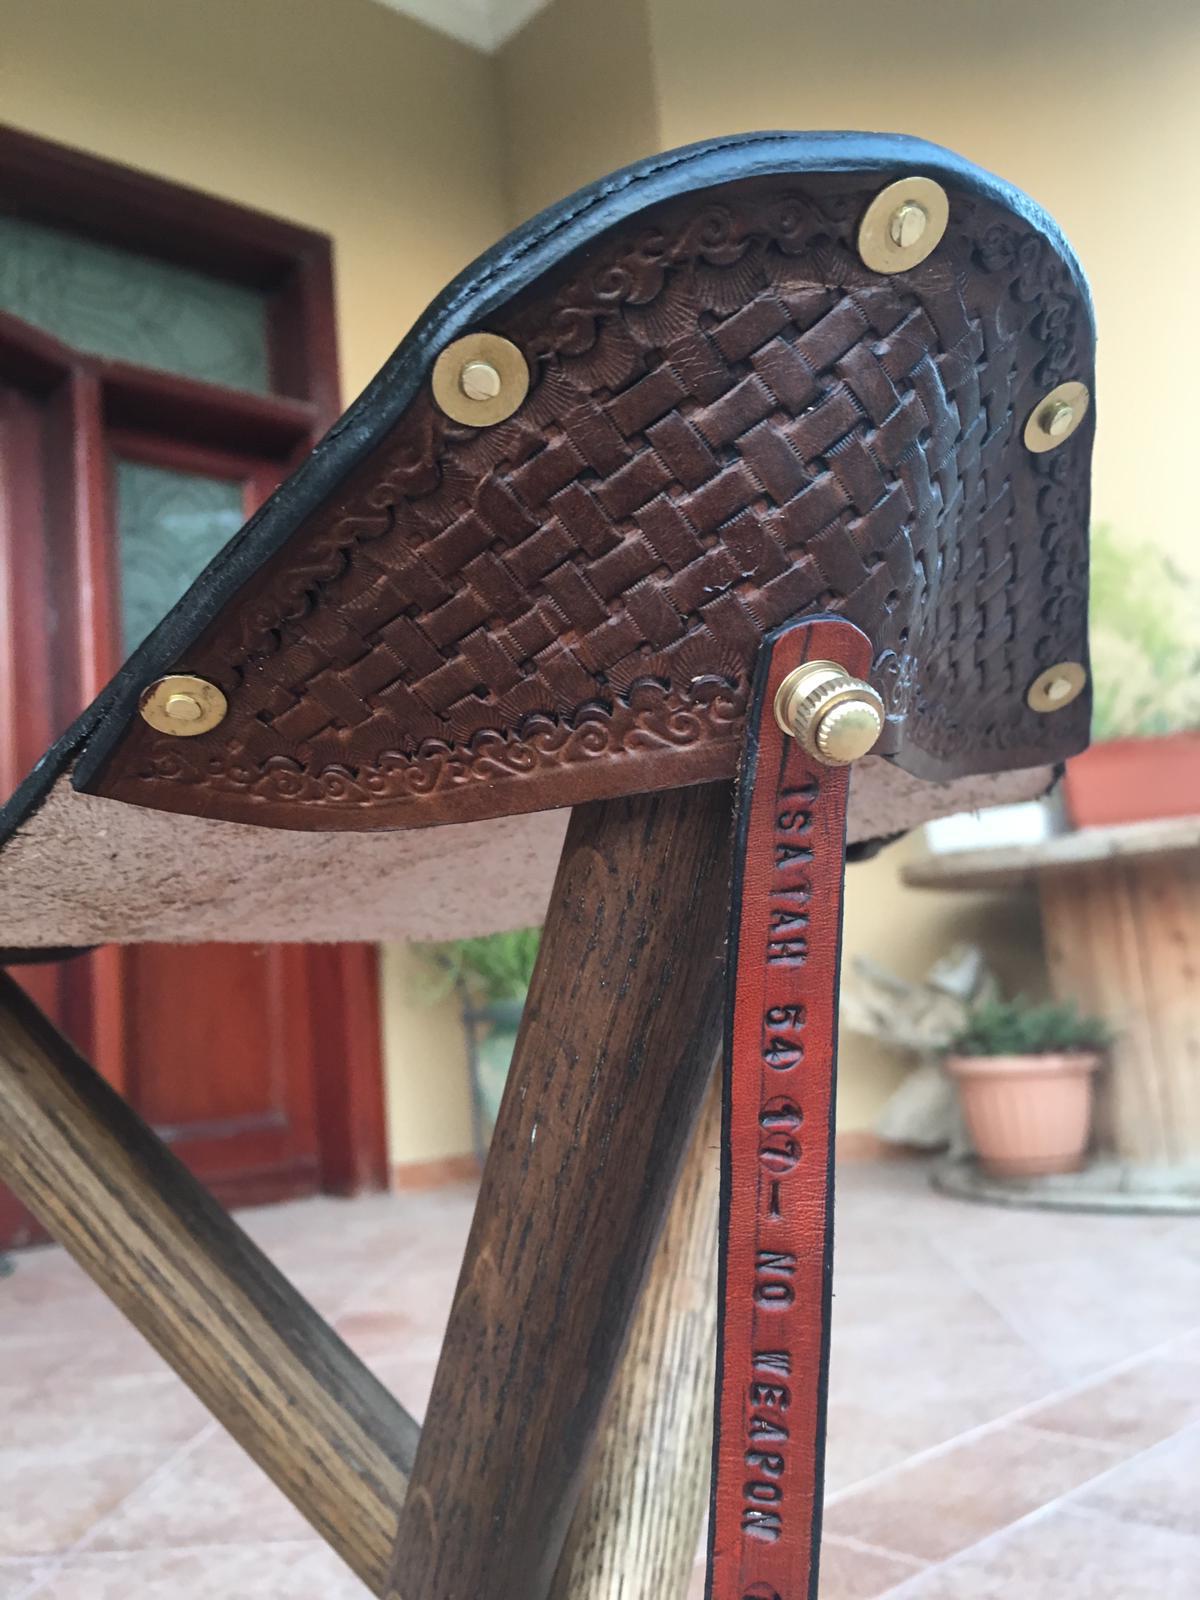
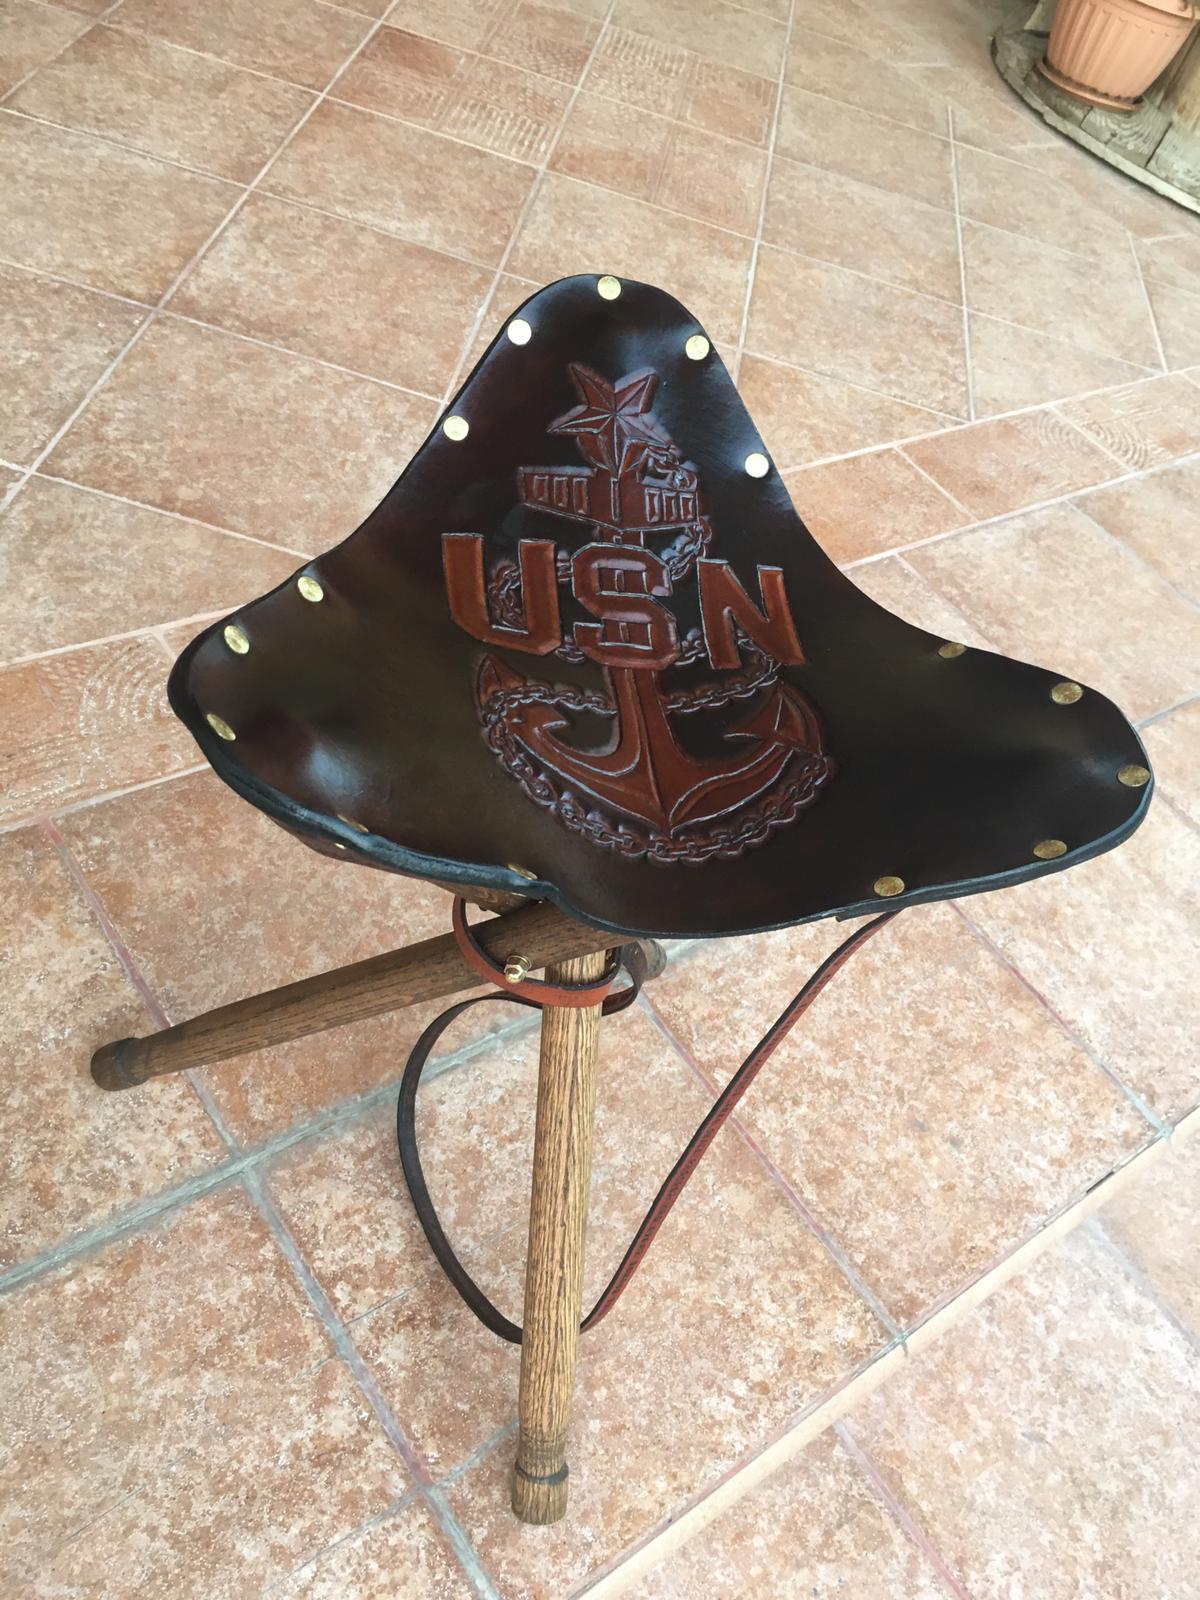
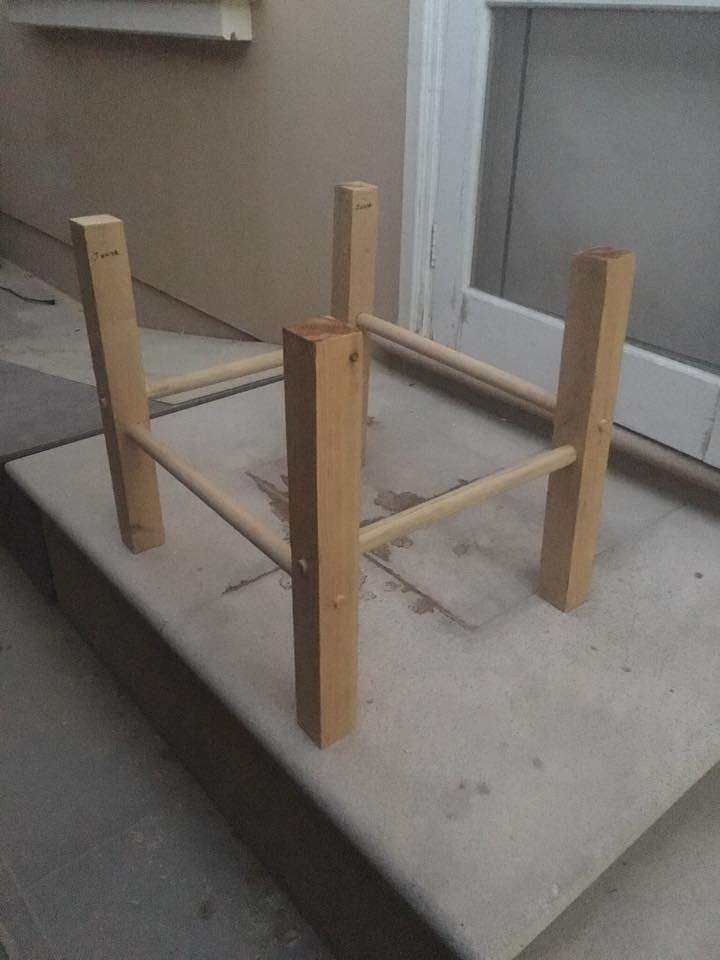
Vikefan, You can buy the legs and tribolt from Tandy but I don't like them very much. I use 1.25" Oak Dowels and turn the feet on my lathe. I make my own Tribolts or you can buy a really expensive nice one from Lee Valley Tools. Its like $50 just for that bolt though. So I make my own.
-
Just when I thought I was getting comfortable with my techniques and style... you gotta go and show me something like this!? Damn I have a lot to learn. Amazing work! I'm thinking I need to take an art class or two or twenty.
-
Very Nice! Thats a LOT of backgrounding... Always dread that part. Beautifully done
-
-
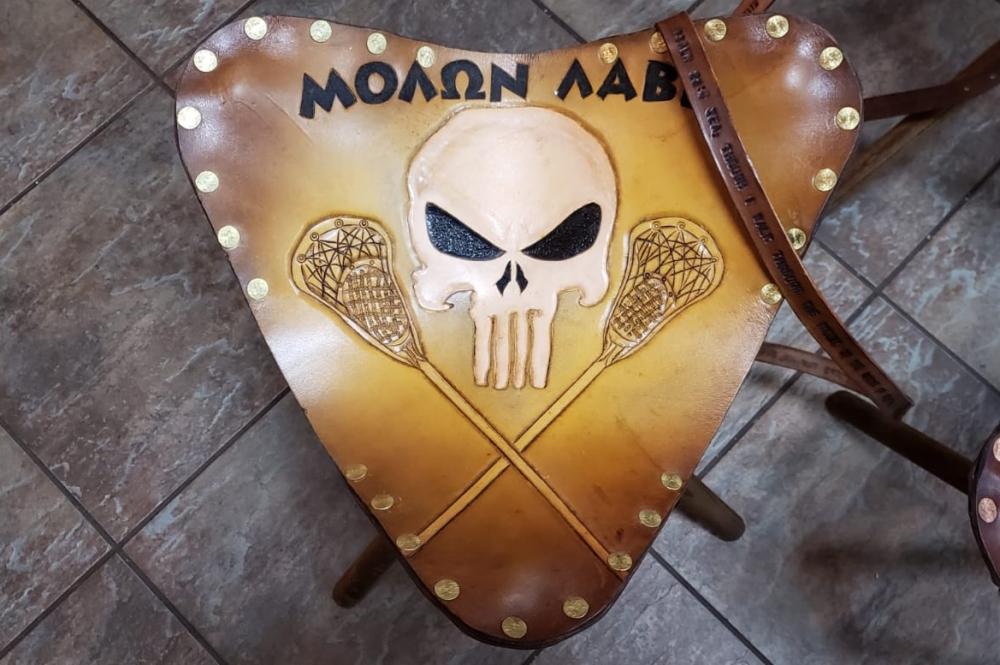
On 6/7/2019 at 1:49 AM, kiwican said:Any feed back on how these are weathering? I want to make one for my boy and want to tool it up. But not sure if the tooling will handle it?
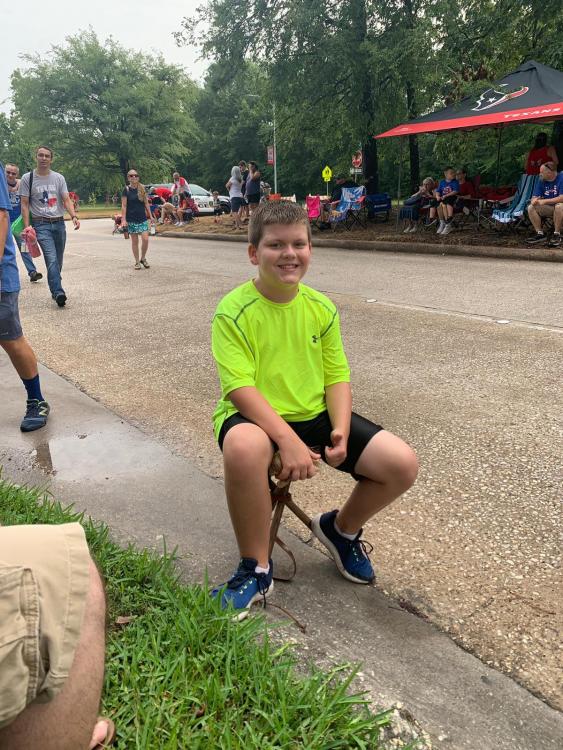
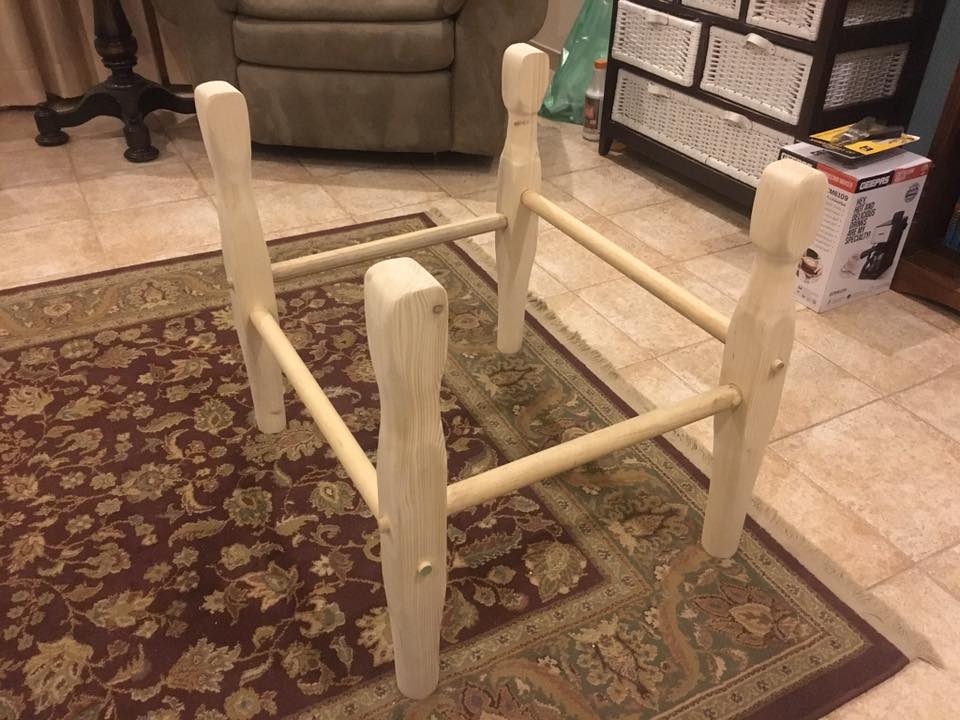
Kiwican, Sorry for the late reply I haven't logged in for a while. I made these at Christmas for my Nieces and Nephew and My sister said they look as good as new after 7 months of Daily use. My one Niece takes hers to every one of her Lacrosse games and my Nephew plays video games in his everyday and the oldest uses it as her practice stool when practicing music. The nephew using his at a 4th of July Community BBQ.
-
On 2/12/2019 at 8:10 PM, papadan said:I don't know where you get your Tri-bolts for these stools, but they are easy to make with minimum tools. I can show you how if interested. I know they are very expensive to purchase.
That's awesome. I never considered making my own. Now its on my list. Thanks.
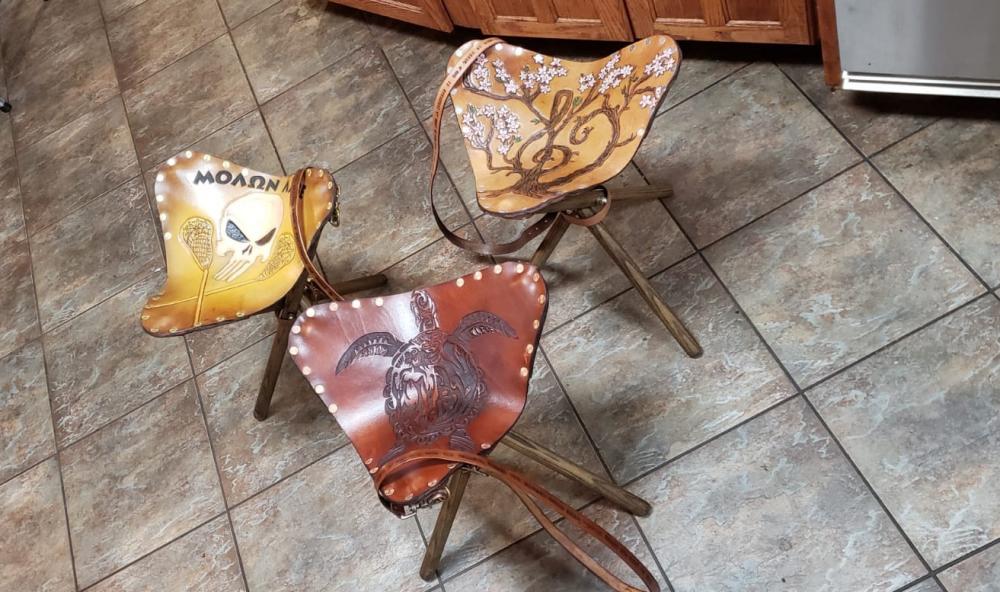
On 2/12/2019 at 10:24 PM, LeatherPlusArtGalore said:Those came out really nice. My favorites are the turtle and tree. I've thought of making one of those. I made a butterfly chair once. It's my "crusin" chair.
Thanks. I considered making this chair when I did my Campaign Chair. Settled on the campaign chair because of its history. Nice job on yours.
-
On 1/11/2019 at 12:54 AM, kiwican said:I'm loving the turtle and tree. This has been on my list to make for some time!
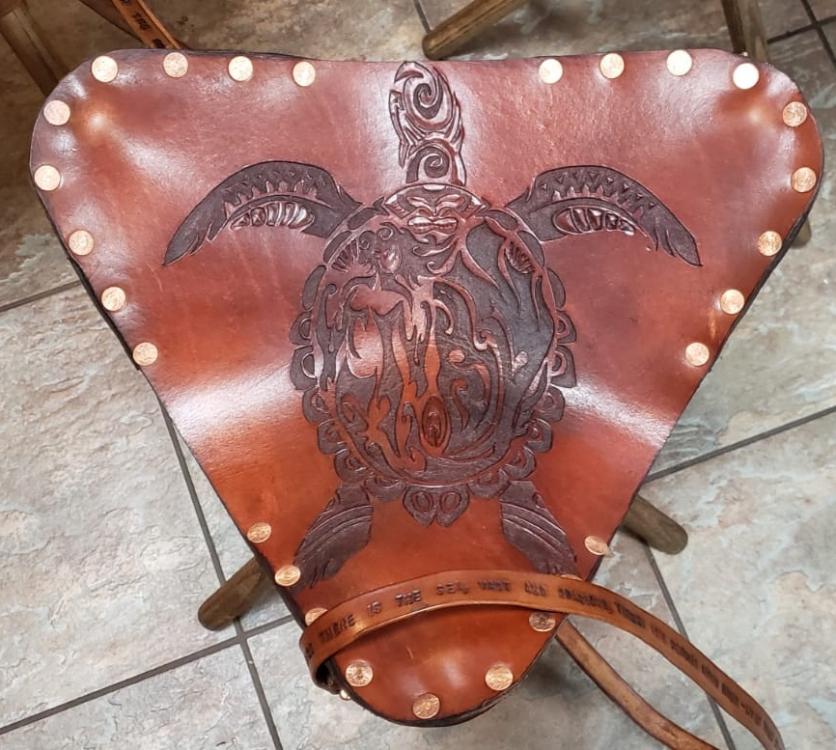
Thanks. I have been stressing on my dyeing techniques and getting the results I want. These came out the closest to what I had envisioned. Learned a lot. Thanks for checking them out.
-
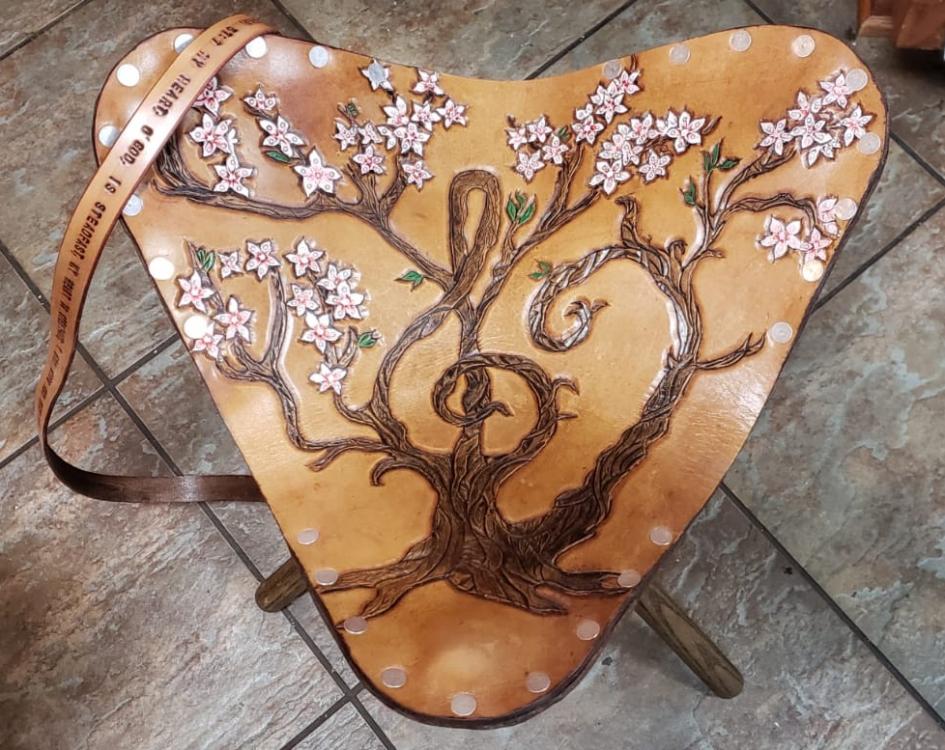
On 1/11/2019 at 4:52 AM, YinTx said:I like them. Is that a clef in the tree?
YinTx
Yes, It was a gift for my niece, She plays cello. The Stool is the perfect height to practice with. Thanks for checking them out.
-
Some camping stools I did for my nieces and nephew Christmas gifts. Modeled after Christopher Schwartz’ campaign stool.
-
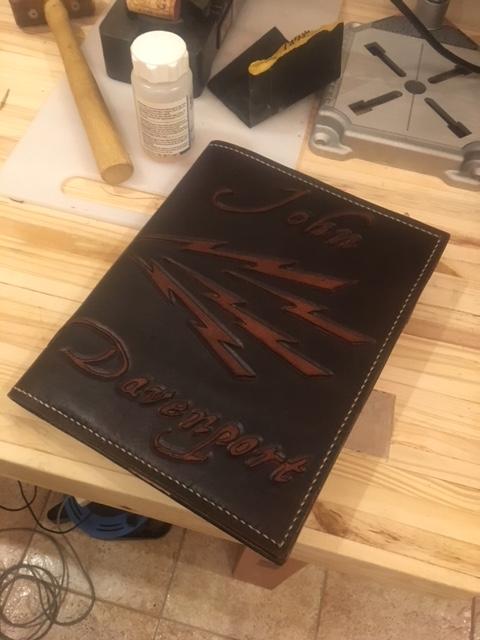
On 10/27/2018 at 12:12 AM, Jack1970 said:Thanks @Leebroox for your kind words! Sure! After tooling I oiled it real well with olive oil and let that dry out some. Then, I used two coats of Fiebing's dark brown dye mixed with Fiebing's dye reducer. I just used a paint brush and a dauber. When it was dry, I buffed it like crazy with a soft cloth and a soft brush. Then I used Angelus Matte Finisher followed by Angelus Med. Brown Antique. After all that dried, I used leather sheen as a top coat. The interior is just Fiebing's dark brown with a dauber and Angelus Leather balm.
Thanks! I’ve only been doing leather work for about a year now and I’m having trouble locking down a good dyeing/coloring process. This was the most recent book cover I did and I have not figured out how to get that clean two-tone effect without the darks bleeding into the lights... thanks for your pointers. I’m guessing the angelus matte is what is used as the resist finish over the lighter areas?
Leland
-
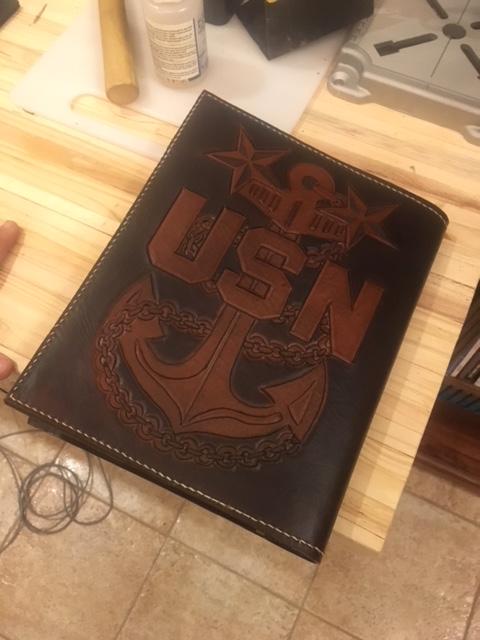
19 hours ago, Jack1970 said:Sorry folks, here's a pic.
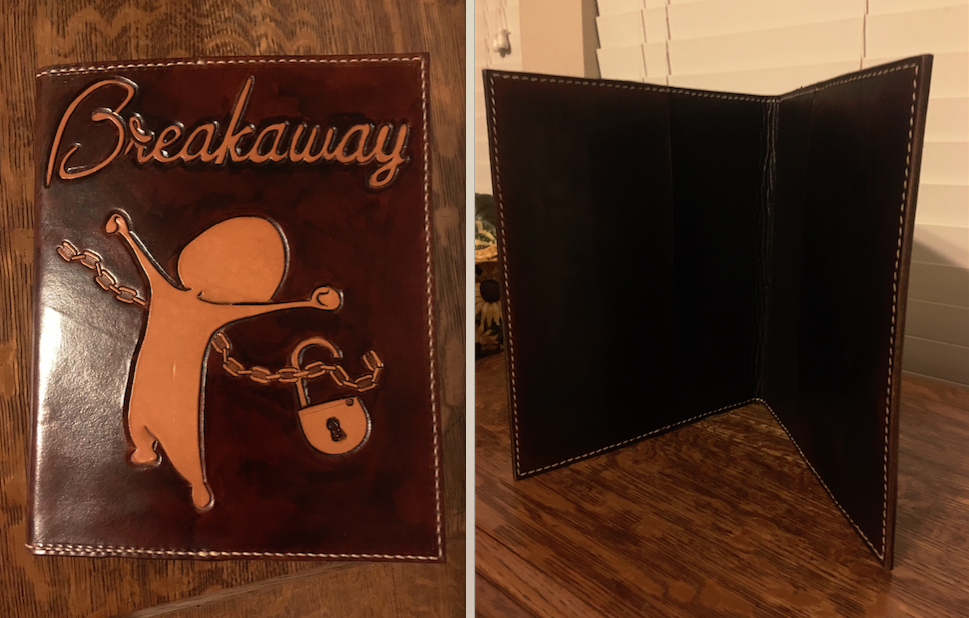
I really like the dye work and the cleanliness of the lettering. Can you walk me through your process for getting such a clean two-tone effect? Thanks in advance.
-
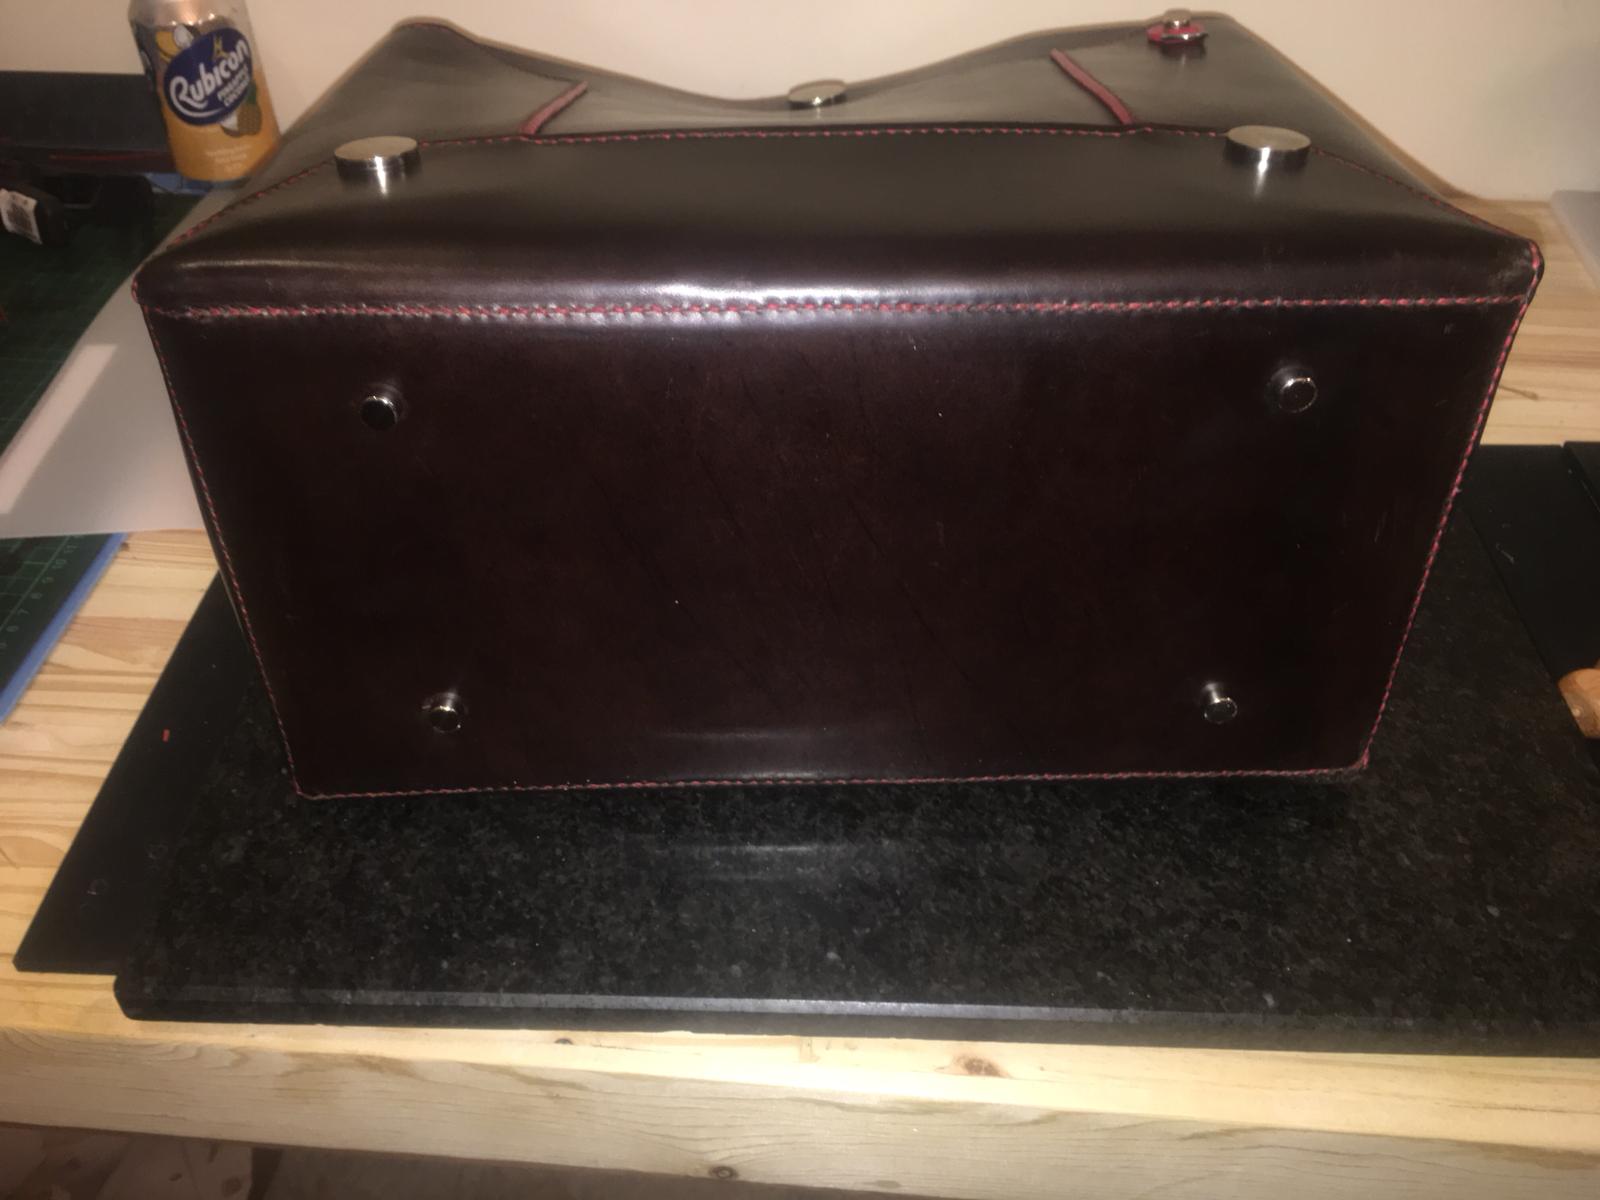
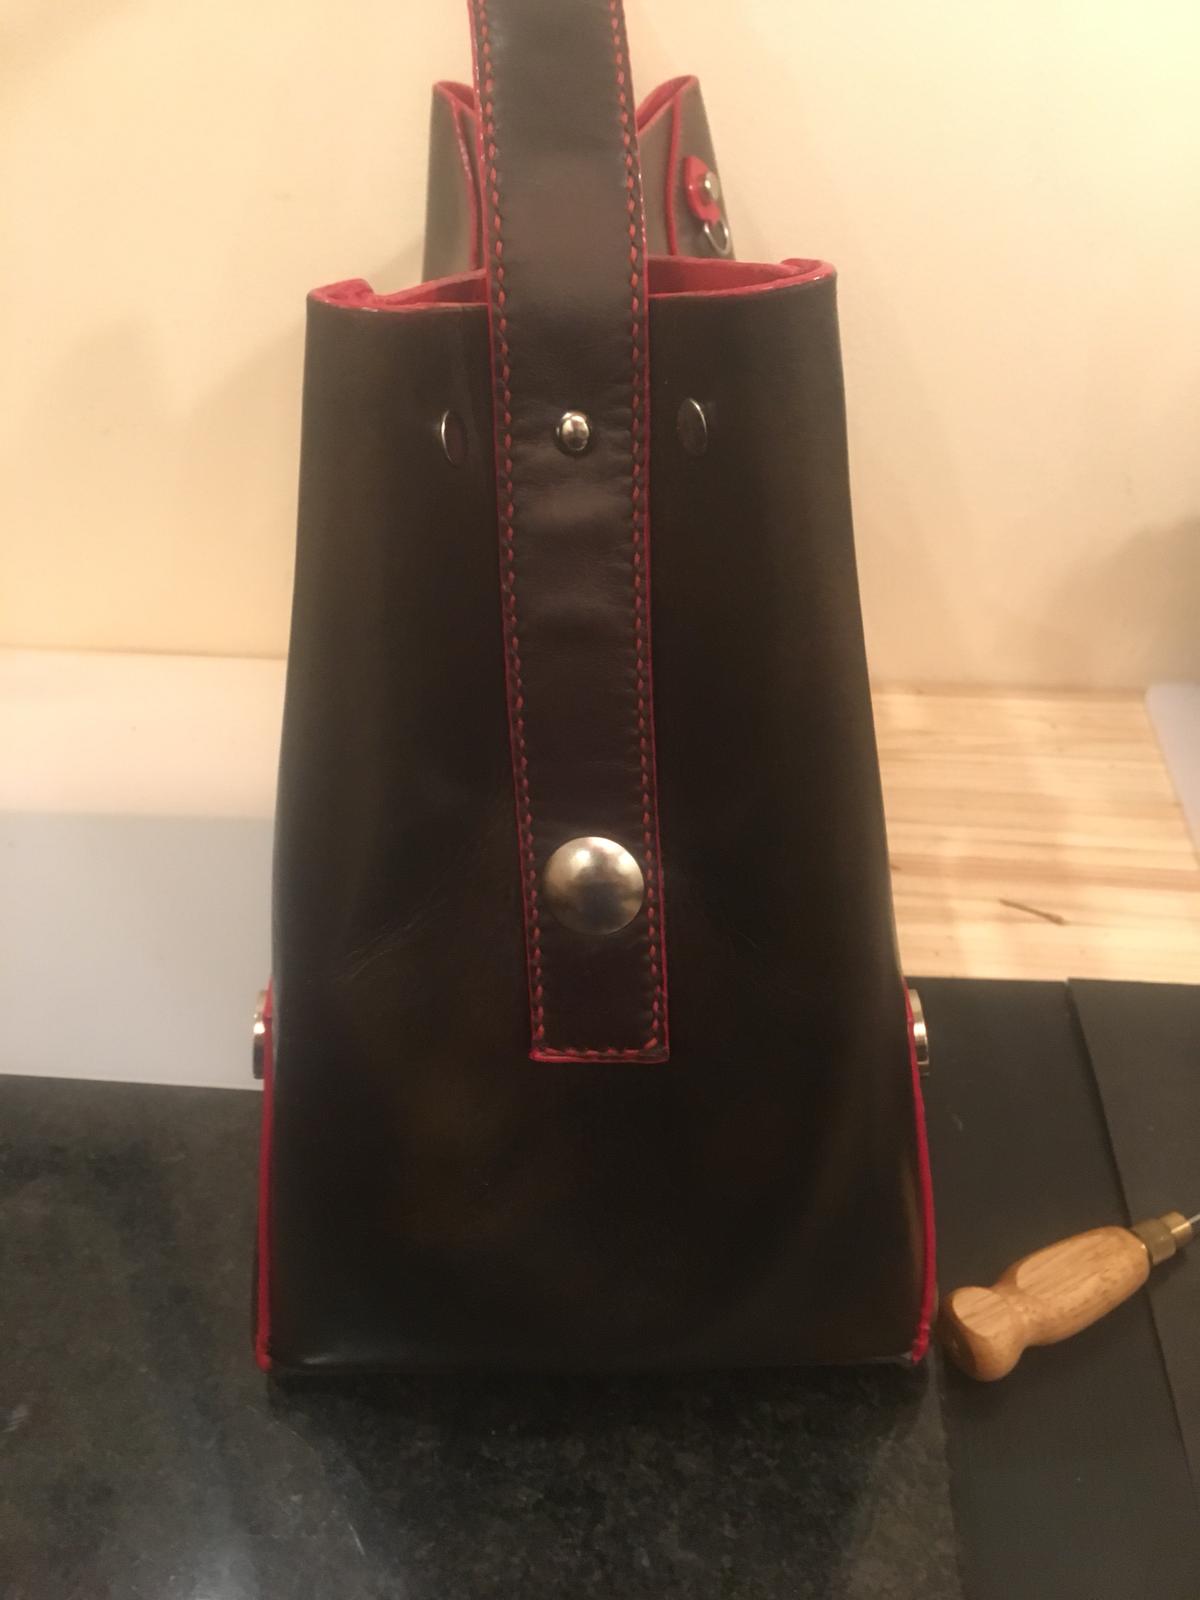
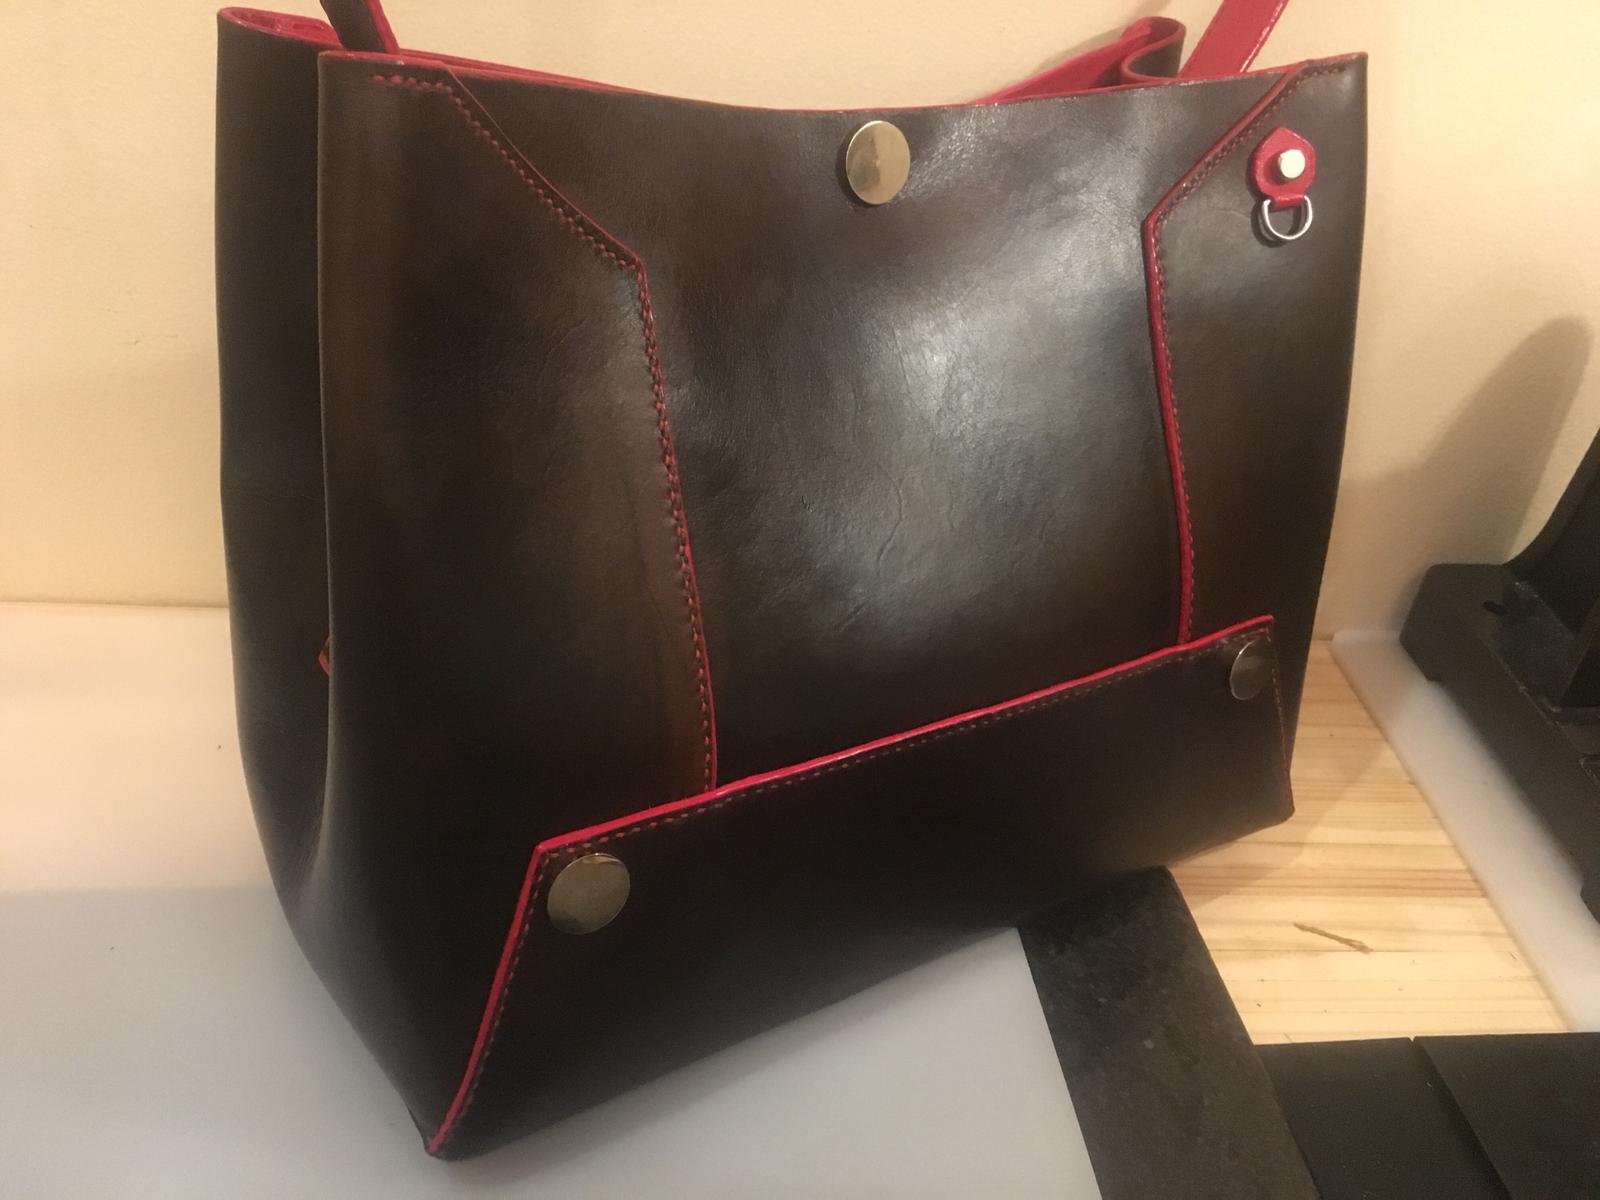
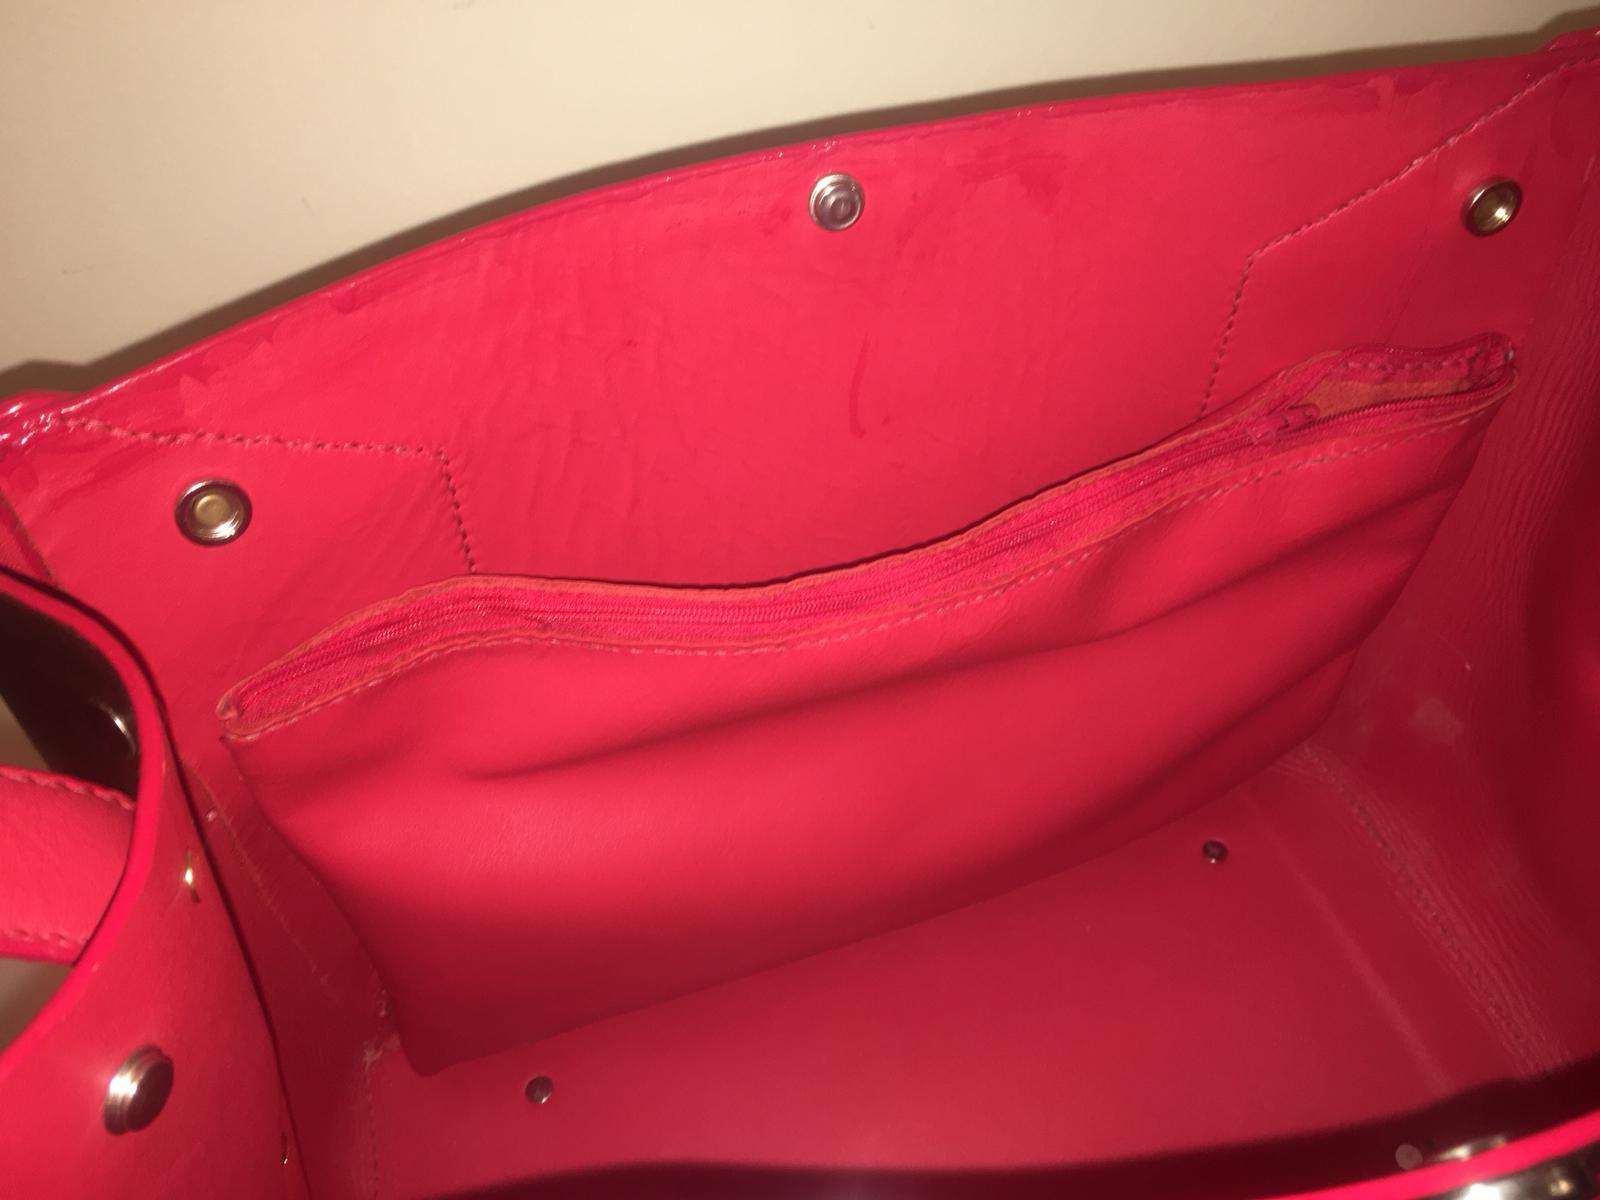
On 9/24/2018 at 9:36 PM, Sheilajeanne said:Very nice! How is the lining attached at the top of the bag? I can't see any stitching. Did you just turn the edge and glue it? And what fabric did you use?
I like the way you use pink as an accent colour, especially the contrasting pink edges...acrylic edge paint, right?
Thanks. Yes the liner is just glued except for the stitching you do see. The liner is upholstery red leather (We'll see how well it holds up) So far so good. My wife has been using it a lot. Her only complaint is that it is heavy. Yes it is an Italian acrylic latex edge paint on the edges.
On 9/26/2018 at 5:42 AM, bdpeters said:looks like a nice clean job to me and I like to colors.
On 9/26/2018 at 5:41 AM, ScoobyNewbie said:NICE!
On 9/26/2018 at 3:53 AM, YinTx said:Awesome. One of my favorite color combos - red and black. Unless that's pink... even then, I like it.
YinTx
Thanks all. Yes you're correct it is Red. Bad photos.
-
-
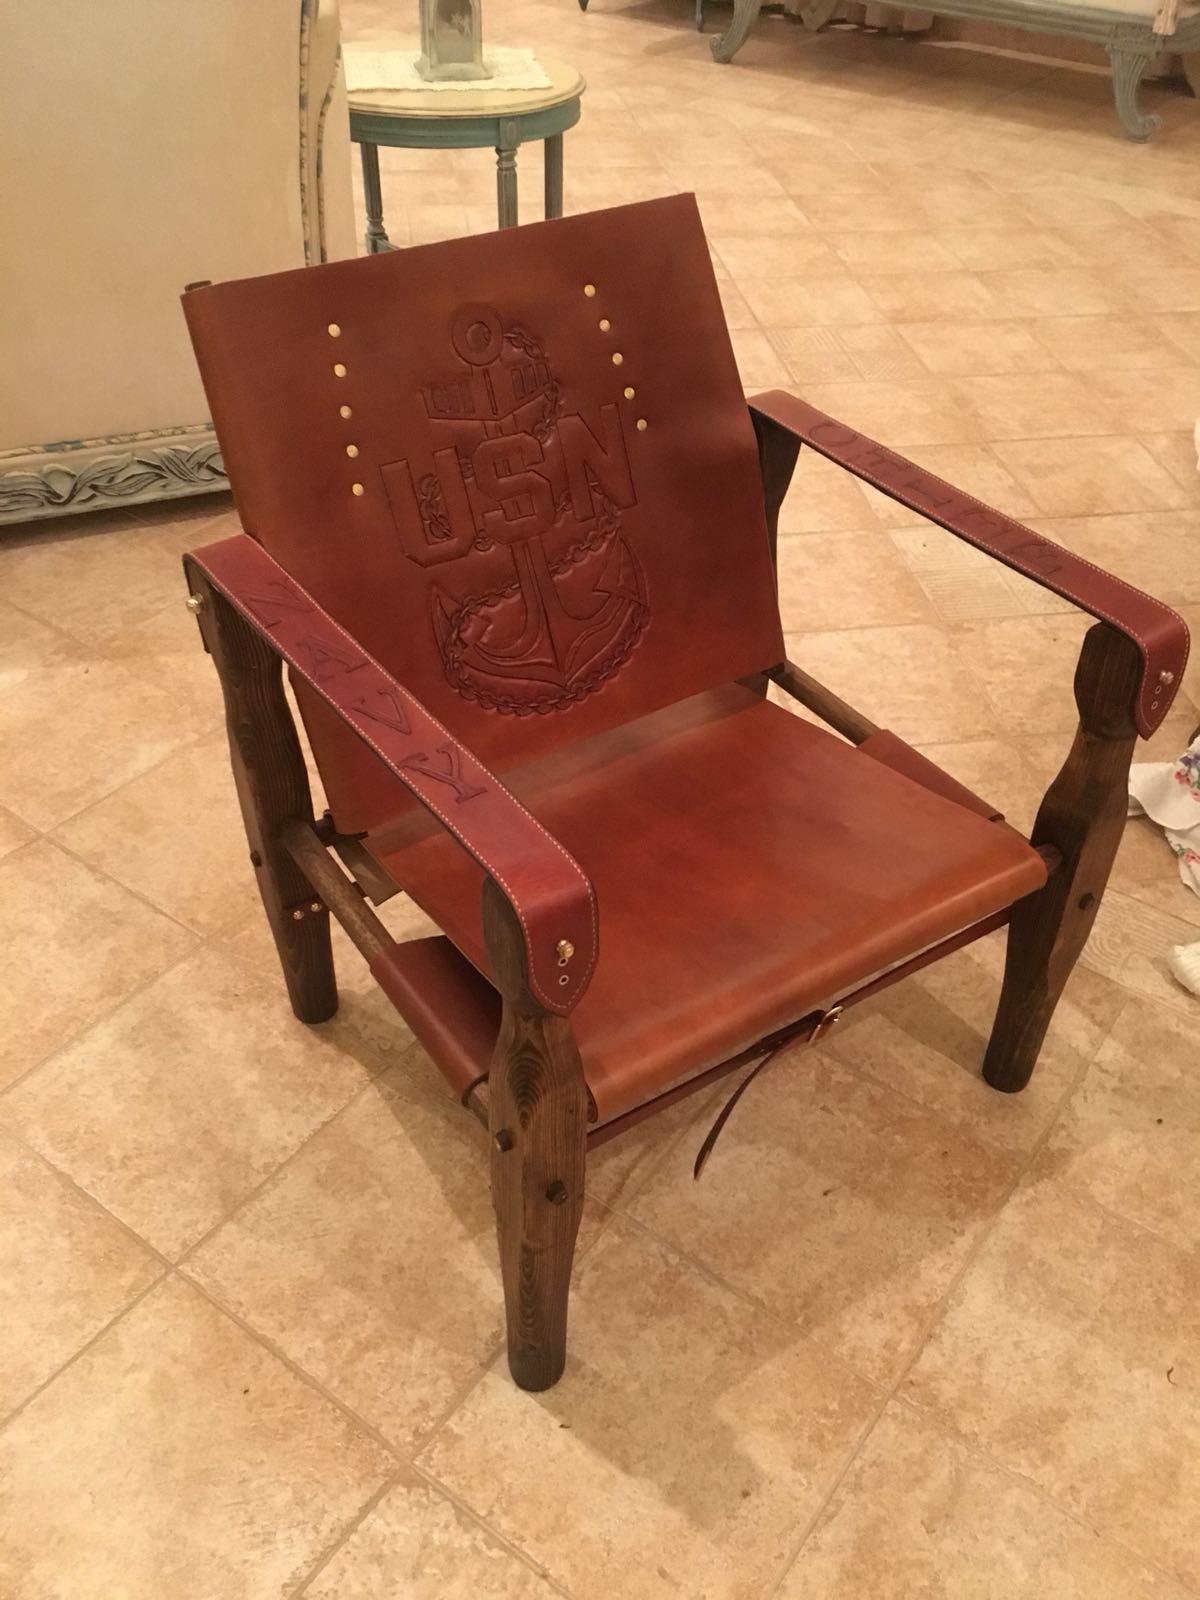
On 2/12/2018 at 0:58 AM, DV8DUG said:I love the chair. Nice craftsmanship. What kind of wood did you use?
Its funny you should ask. The legs are some scrap wood I found in the back of a wharehouse. I think it is some kind of pine/fir but I really don't know. The spreaders are 1 1/4" Poplar Dowels. The Mortise and Tenons were all done by hand. The legs were carved and shaped with a spokeshave by hand.
 On 2/11/2018 at 3:11 AM, Fire88 said:
That is really nice and thanks for the history lesson!
Thanks for checking it out.
-
On 2/11/2018 at 1:26 AM, Stonegate said:Awesome looking Roorkhee chair. Nice work!
Stonegate, that's awesome you know it as a Roorkhee chair. Not many people do. Roorkhee was the place in India where it was originally designed. It evolved into different names like the Safari Chair, Campaign Chair, Demountable Chair between the 1920's all the way to the 1970's.
-
Just now, bikermutt07 said:That is really neat. Is it a folding\travelling chair?
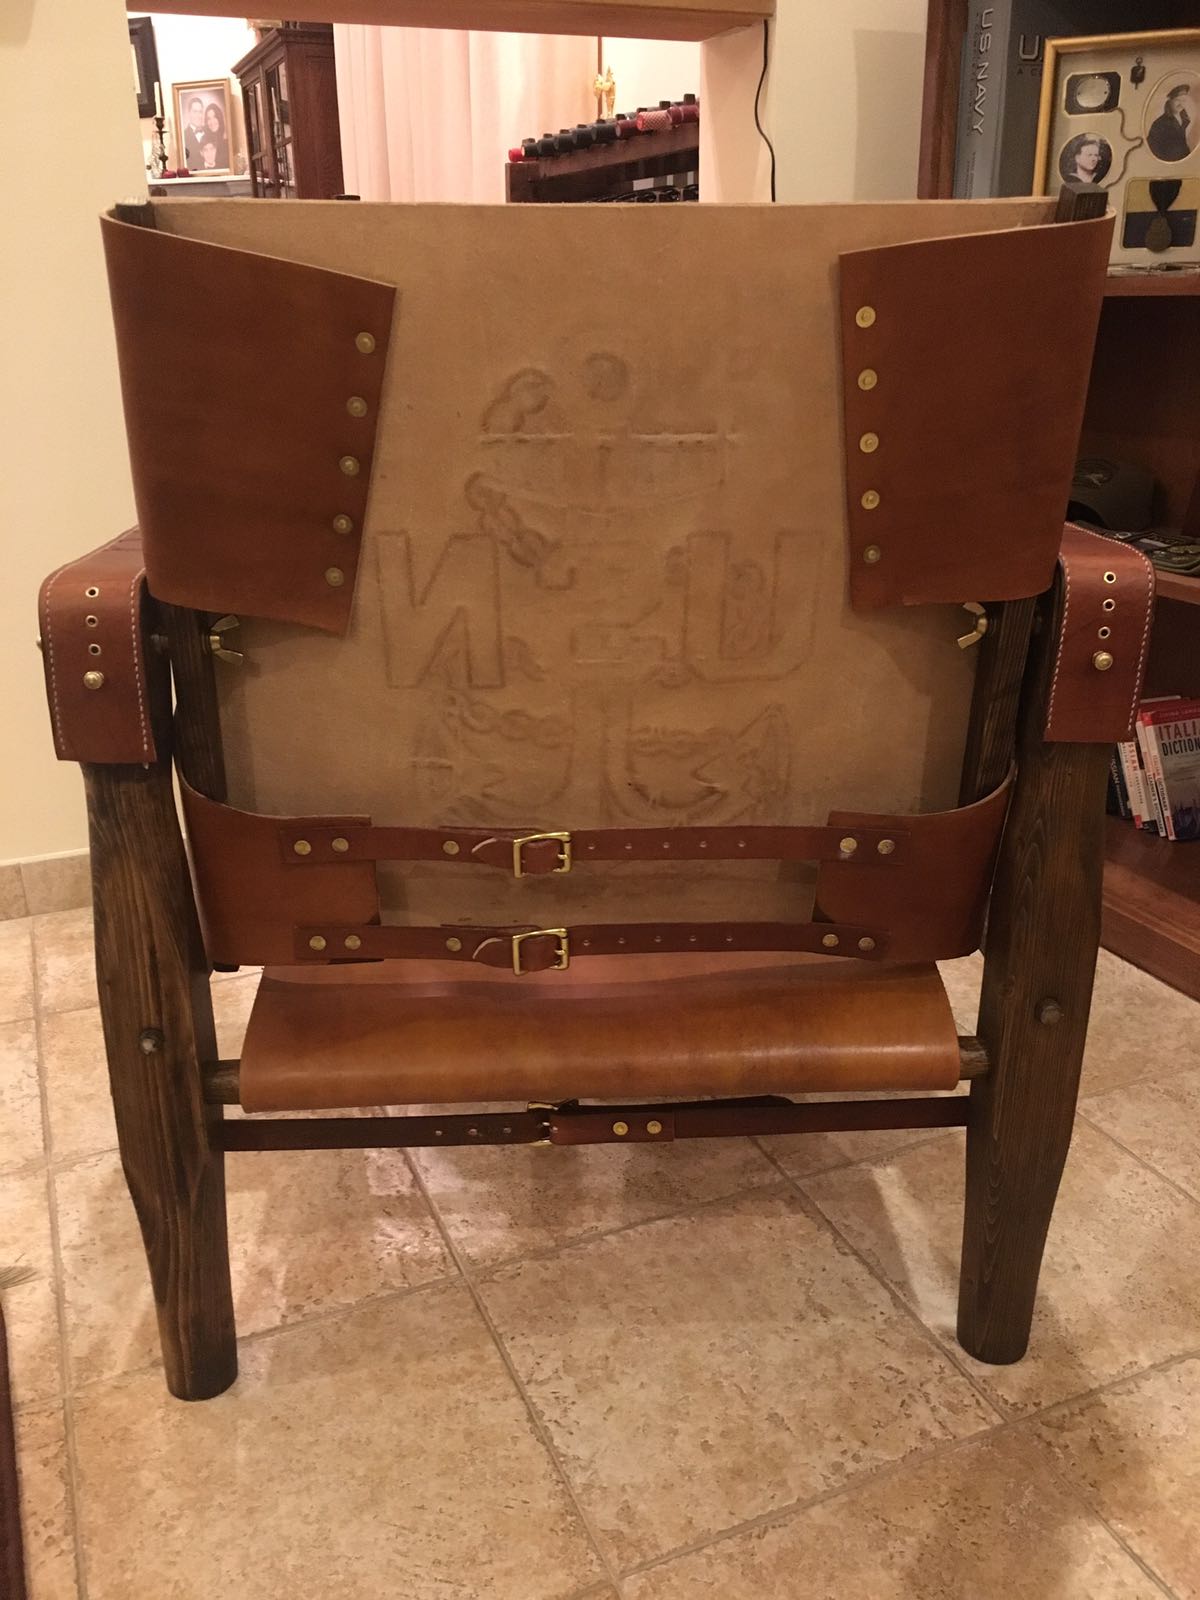
Thanks. It comes apart but it does not fold. The original design was from the late 1800's. Its meant for an Army's camp or battalion position. Made popular by the British Military Officers. It breaks down in about 5 minutes and can be wrapped into a bundle using the seat and back and securing together with the arm straps.
-
-
11 hours ago, verus22 said:I love that design! Very creative! I can't offer any advice, since I don't do any carving...but I'm sure there's others here who can.
")
Thanks for the support...
10 hours ago, JD62 said:That's cool, nice job!
Appreciate it
9 hours ago, alpha2 said:As you do beveling, do a first light run, then go over the line a couple of more times, keeping the tool moving and using a LOT of small taps. That will smooth the line of beveling. Try it on some scrap lines first, to perfect your tool use.
Thank you for the advice. I know I have a problem with consistency and I see more flaws in the photographs then I had previously caught so it helps to definitely reexamine the work. Really appreciate the tips
8 hours ago, vegansurfer said:It's lovely! I'm sure your son will love it!
Thanks! And he did.
8 hours ago, kiwican said:Love it!
Thanks for the support.
Cheers everyone. Thanks again.
-
9 hours ago, cjartist said:I think your coloring is fine. With the antiquing, if you want a smoother appearance, you have to just work quick and keep it wet. Not easy to do on a big piece.
For being at this point for only 4 or 5 months, I'd say you are doing great! Even so, you asked for serious critiques, so here is what stands out to me. You swivel knife cuts are a bit choppy on the long curves. You can see it on the paisleys. Before you start to carve, it helps to do a bit of a warm up on some scrap leather. Just practice a few small circles and curves before you start. It really does help.
Thanks for that. I was trying to get this effect (This is obviously not mine but it is what I am striving towards) from the beginning and it wasn't working. I did the resist like I have seen and heard others talk about but my results were obviously way off. I'll try to do a small section next time to see what I get.
As far as the swivel knife I was wondering if I was casing the leather correctly or if my knife is not sharp enough. SO I am going to keep trying to refine those two things and I'll employ your advice with the scrap pieces. Thanks again.
Leland
-
Man those are gorgeous! Beautiful work!


Pfaff 545 Thread size max
in Leather Sewing Machines
Posted · Report reply
CowboyBob, Thanks. Yep I had 207 in both and Max tension up top and absolute minimum on the bobbin and I was still getting the railroad tracks on the underside. At the very least you have confirmed that I was doing everything right. I will switch to 138 in the bobbin and see what that looks like. Appreciate the help.
Absolutely. I am using a #24 going through two pieces of 3.5oz vegtan. Albeit very slowly to prevent the needle from breaking. I have found that is as thick as I can go without something binding up and breaking the thread or needle. Appreciate the advice because that needle selection was a shot in the dark and when I installed it, it looked a little big to me. I will probably switch to #21 or #19 and 138 or 92 thread, if I cannot get the 207 to take like I want. Thanks again.