


katit
-
Content Count
241 -
Joined
-
Last visited
Posts posted by katit
-
-
Price lowered - $800 for leatherworker members! Two machines!
-
Just now, Constabulary said:Are you using the hand lifter lever or foot pedal / knee lifter? Usually the knee lifter or the foot pedal lets you lift the foot higher. But certain parts can limit the foot lift as well but is hard to tell when not sitting in front of the machine. BTW I can lift the foot on my 111G156 a lot higher than 1/2" (I played with part settings But I`m sorry I have no instructions, I did this long time ago.
Used hand lifter, maybe thats why
-
Can someone explain how it works? I got a hold of this machine and it's smooth as a butter. Sews great. However, specs say 1/2 foot lift and when I raise foot it's more like 3/8, not 1/2
So, did they come in different variations or it's an adjustment?
-
Never finished a project, now 2 skivers for sale here. Didn't list in anywhere else, leatherworker members get a first dib.
-
Hello!
Just realized that I do not use those for anything that I am doing, hence for sale. Priced right at $1000 for both. Just those additional extra feet worth couple hundred.. I will not ship.
First skiver is a box of parts - never got it assembled. But new belts, bearings, etc. Just need to be put together. This is my topic with pics of it
Second skiver has table, motor and operational, can test it. Bunch of special attachments, sharpening stone, all comes with it. I bought second one as a "reference item" to assemble first one as I lost all my pics.
Basically lost interest and need to free up space. Only 2 pictures because can't attach more.

-
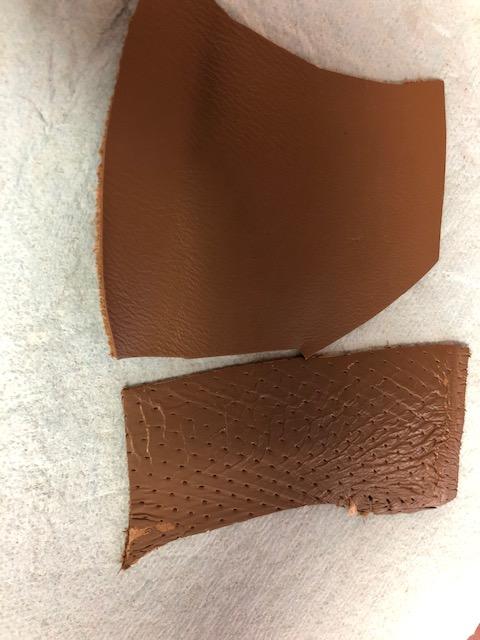
I actually look at it closely and it doesn’t look like perforation, more like indentations, not all way through
-
Not sure if it's possible (I am sure it is) to DIY perforation? See pic of upholstery leather. I found very good color match but need it to be perforated (ideally)
This going to be used on a steering wheel. Not much needed, so even if it's manual labor I'm OK with it, just need to know how it's done. Tool, technique, etc.
-
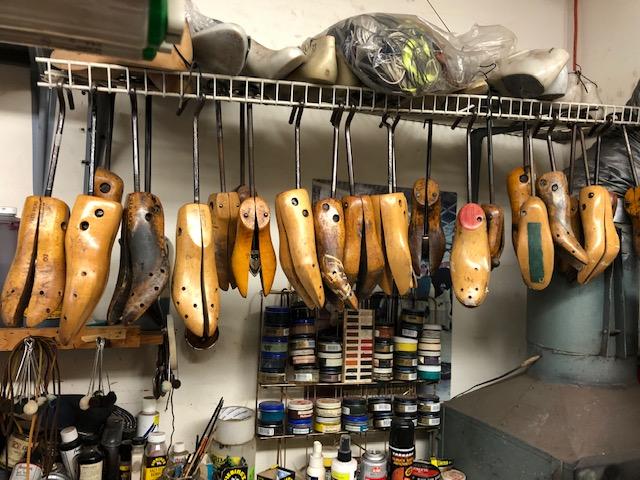
Not me, I just happened to know those people. They need to have everything gone by end of month. I took some pictures of what they have as today. If anyone interested - just call them, they open 9 to 2pm Tue-Fri, call for appt.
Machinery, leather, etc.
(314) 997-4097
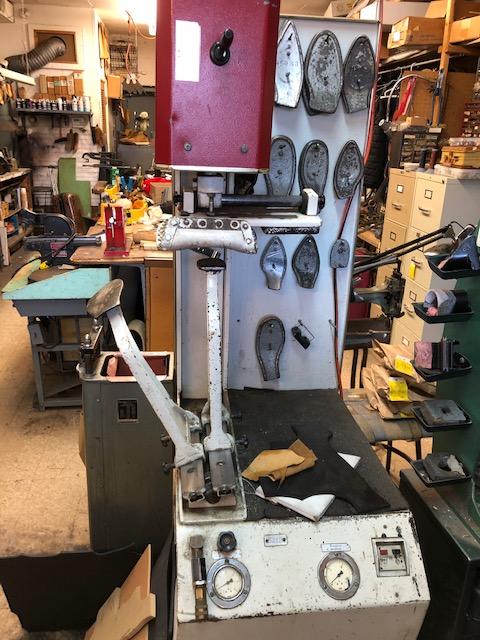
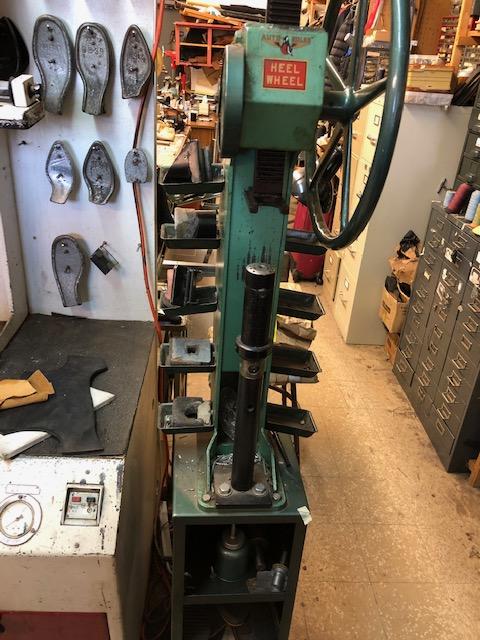
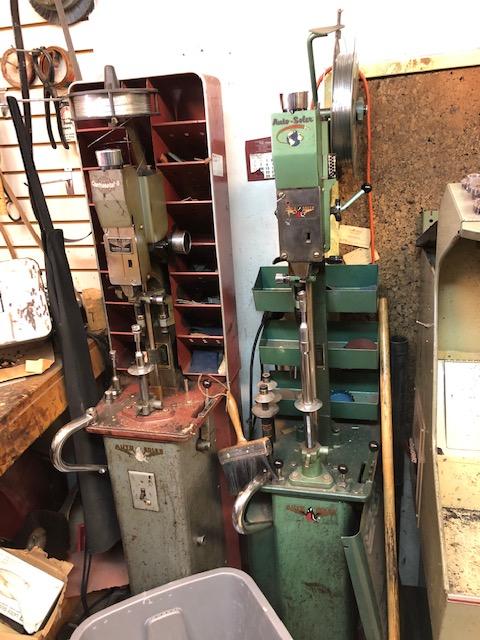
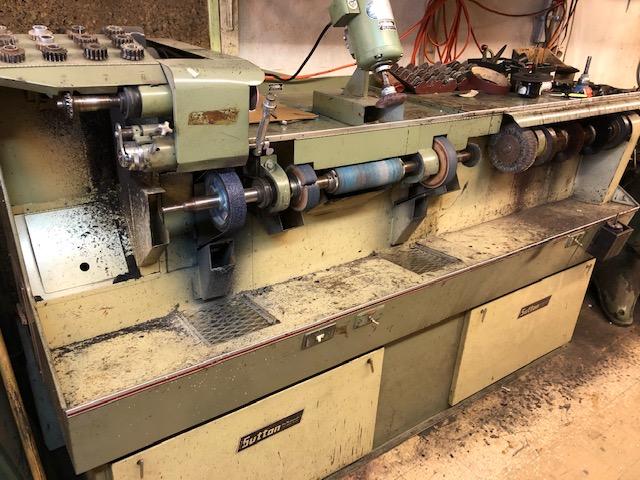

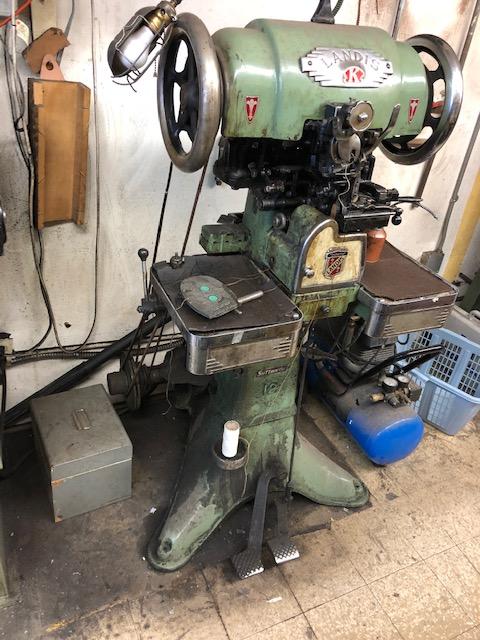
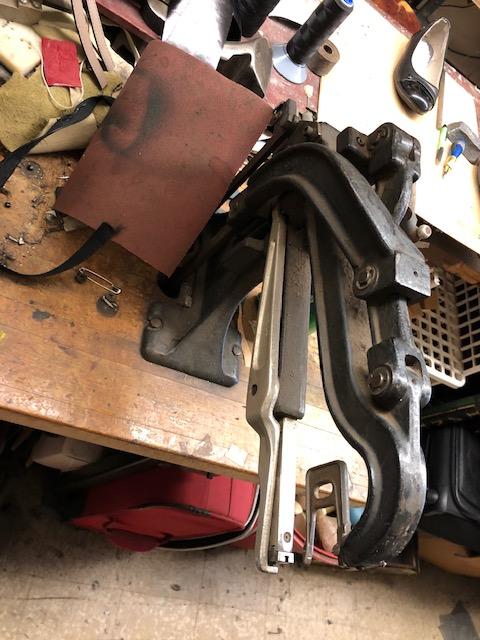

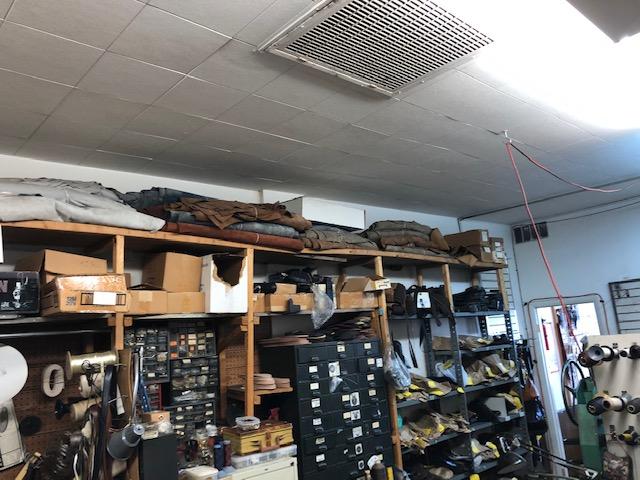
Some more pics


-
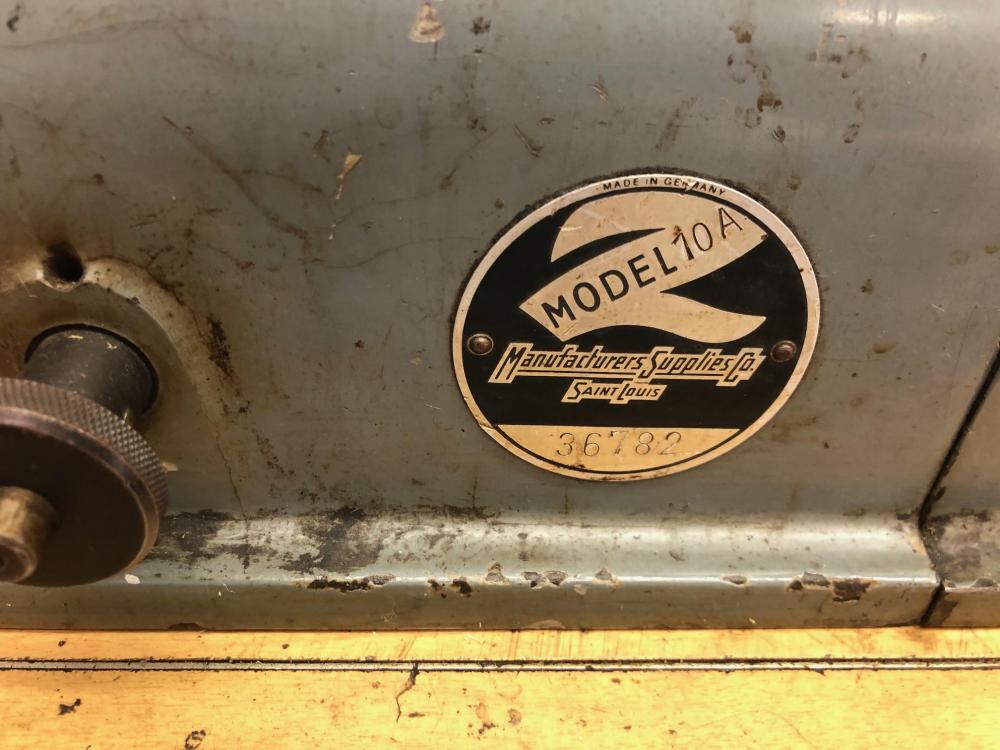
Thank you! Are those considered collectible? I like to restore things, so I was wondering if I will lower it's value by refinishing/rebuilding. I think blade got couple nicks as well. So, to me looks like it needs new blade and complete overhaul. But I won't touch it if it's going to lower market value. I only have couple project for it and then going to sell it.
-
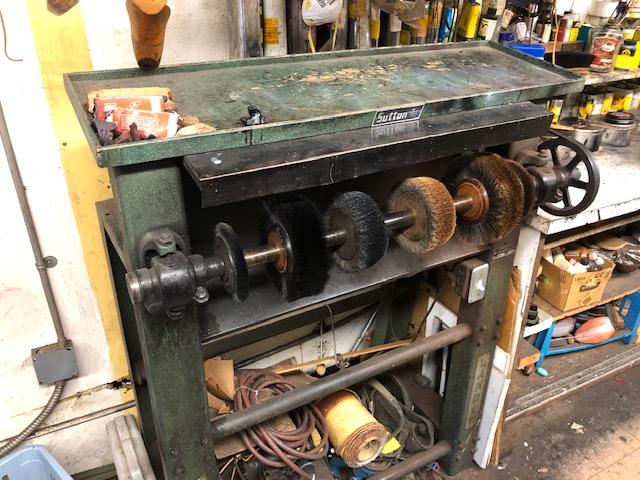
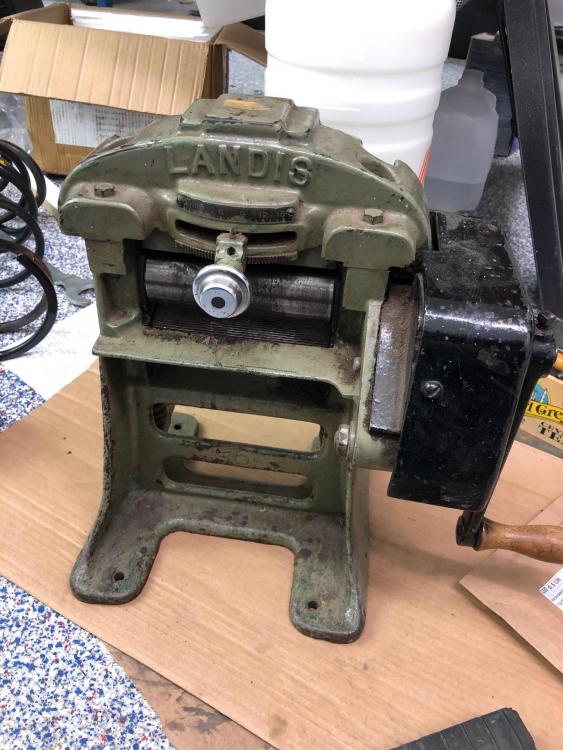
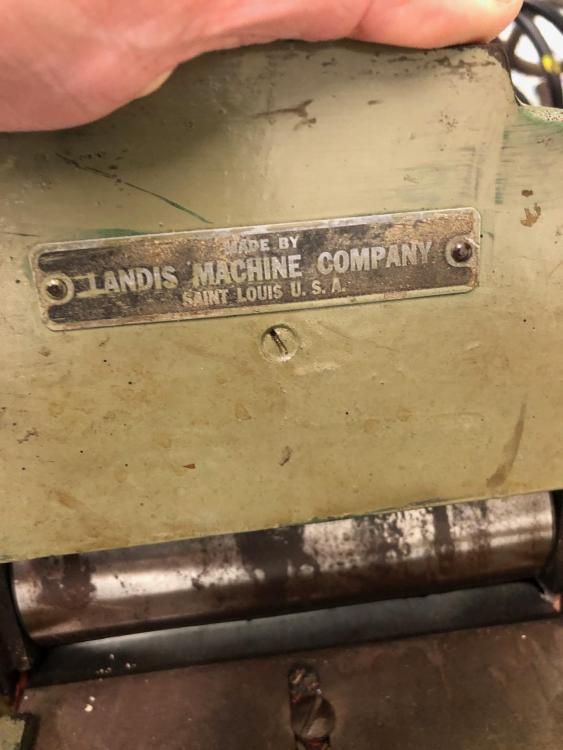
Got this one, needs some cleaning, but in good working order. Someone took something through and bottom wheel got some damage (scrapes) which doesn't affect operation.
So, what this machine good for? Belts? And what is a value of piece like that?
-
On 9/17/2019 at 2:22 AM, DanishMan said:Hi Katit
Great to look your project to move ahead.
I am about to take an old skiving machine apart and repaint it.
Last year I tried to remove the main shaft of another machine, and it ended in disaster.
You mentioned earlier in this thread, that it was tricky to remove the main shaft. What was the tricky part for you?
Cheers
DanishMan
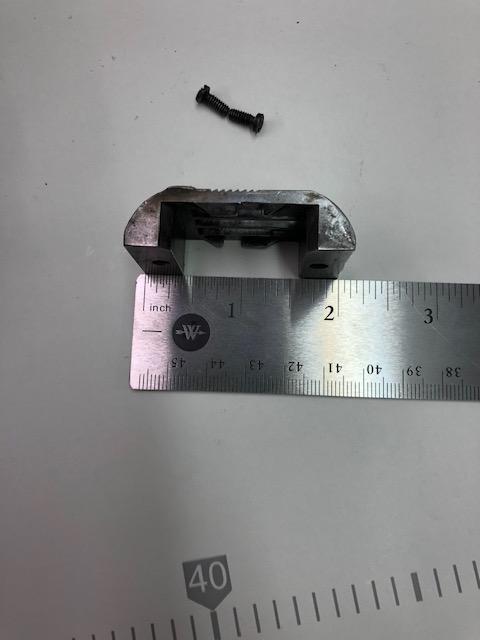
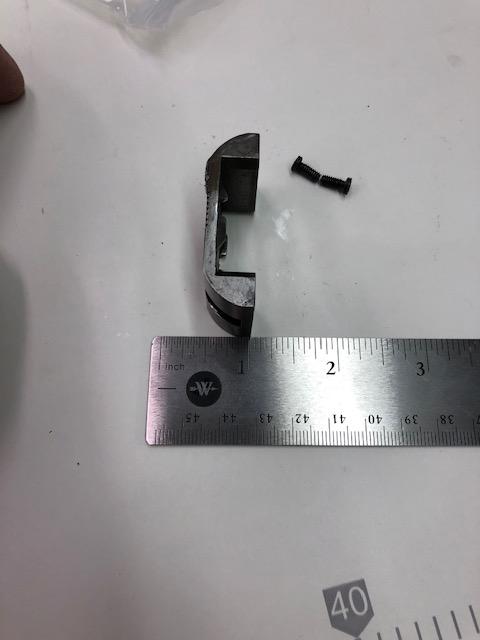
Sorry, just noticed your reply. My post on page 1 from March 3 shows broken part (I had to order new one). This "fork" looking piece I thought it's pressed in but it's actually threaded. I tried to press it out and broke it. Other than that - there is no problem to remove it. Unscrew cap, then unscrew this "fork". I think one of them is left-hand threads
-
Definitely not in rush completing this one. But new project requiring skiving came up and I'm back on a track. Will be even harder to remember what goes where but so far moving along. Did pre-assmebly of major components, bolted all that supposed to be painted together - together. Replacing all bearings, packing all with synthetic grease.
Wait for paint to cure, scuff and do 2nd coat. I picked this darker color, not similar to original but I like it, looks nice in person.


-
Thanks for replies!
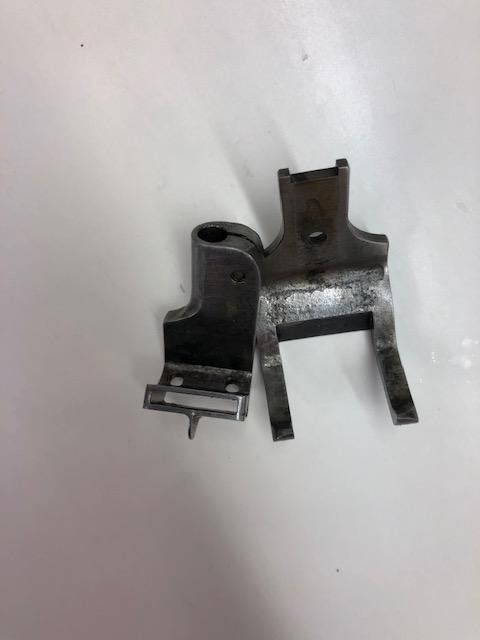
@rk5n See picture. I'm sure it's needle bar. Post is OK, but distance between needle bar and feet bar is too big and "wear" line is about 3/8 out(arrow) when it's all way back. So yes, it's somehow got out of whack.
I didn't touch any settings yet, want to start from beginning.

-
Hmm.. Anyone?
-
To be precise it's about 138WSV102HP, but it shouldn't matter much for adjustments.
After thorough cleanup I found that machine is out of adjustment. At least needle bar is not in tune as needle wants to hit about 1/2 in front of feed dog holes. I decided to start from beginning.
Couple questions came up right away:
1. Belt is 1/3 off. It's on good on top, but in a bottom it want's to stay off. Any idea/suggestion on why and how to fix?
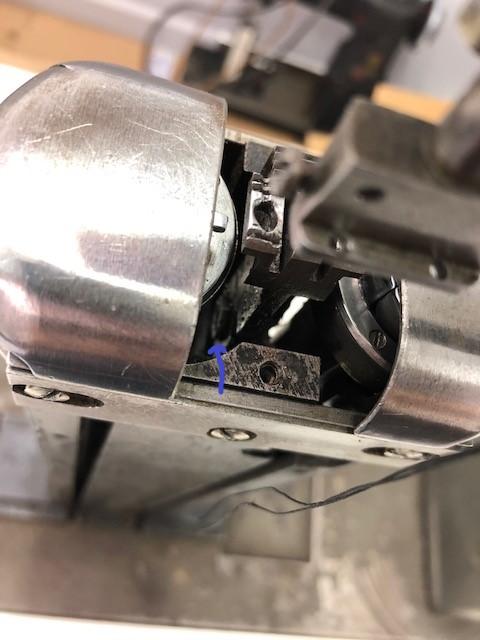
2. Alignment mark on bottom shaft is not present. Picture shows where I have eye at the top and I see only faint mark on a collar kind of corresponding to mark on a chromed bracket. Not even sure if it's a mark. Blue arrow on picture. Correct?
3. What is a procedure with stitch adjustment on this machine? I need to do that in order to do other adjustments but have no clue where 0, 8, etc is and how to operate it? I don't have dial on turn wheel like manual indicates. Machine from a factory, so it's probably preset.. I assume #1 and #2 loosening mechanism and #3 to do adjustments? Any tips? Like how many revolutions from MIN to 8spi, etc?
Those are things that I have trouble with at a moment, all other adjustments look like regular 111 stuff explained in many places.


-
Very nice! I want to see it sewing
-
Wow. Gauge set is 3x+ of machine cost
")
1) 138SET, 5/16” or 3/8” gauge complete gauge set for Singer 138 Walking foot $675 each
For individual parts minus the feet:
1) 264102, 5/16” or 3/8” throat plate S138 $163 each
1) 264018, 5/16” or 3/8” feed dog S138 $116 each
1) 237181, 5/16” or 3/8” needle clamp/bar S138 $225 each
-
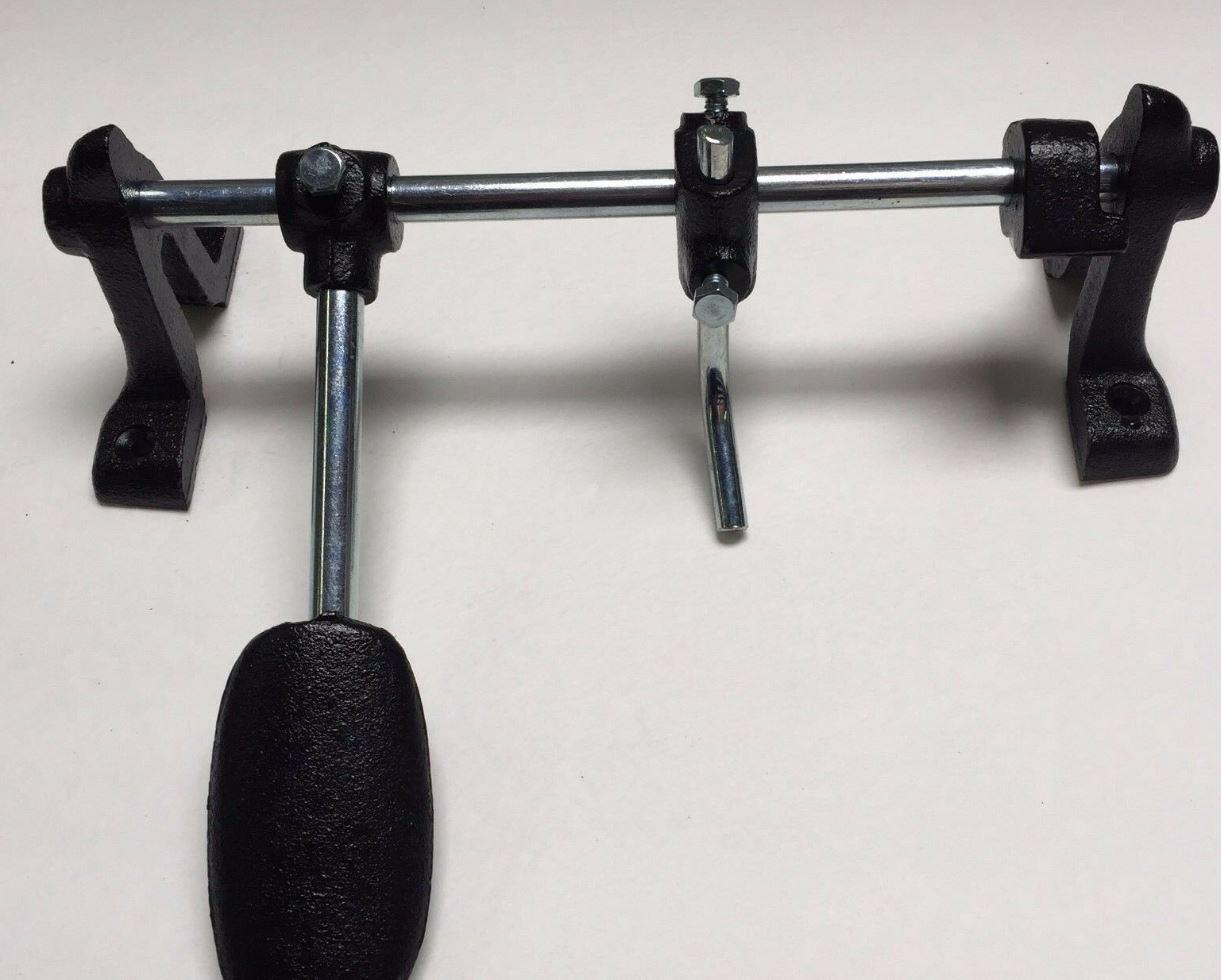
17 minutes ago, JJN said:Get the lift mounted to the table first. It is a bit of trial and error until you find the sweet spot. If the bent rod is too short, it slips past the lifter. Too long and it locks up.
Thats a question. WHERE to mount lift on a table? Is dimension (shaft aligns with motor bolts) accurate? I prefer not to drill table many times if possible..
-
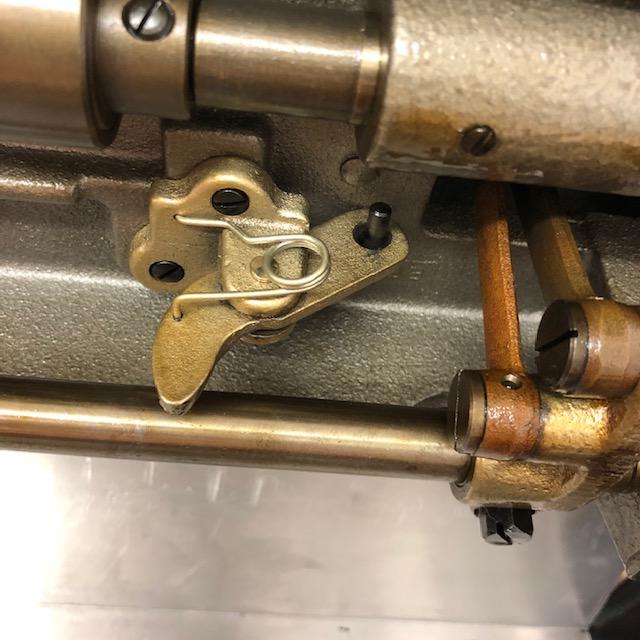
Wiz, all 3 pics different. I'm trying to understand in what position shaft have to be in relation to beak.
-
Ok, video helped. Now I know that shaft need to be on a same line with 2 motor bolts. Do I understand correctly that it should touch "beak" like on a picture? What position should I target for?

-
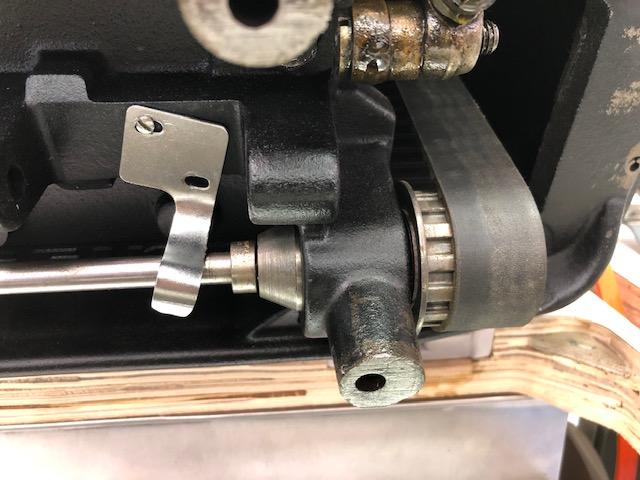
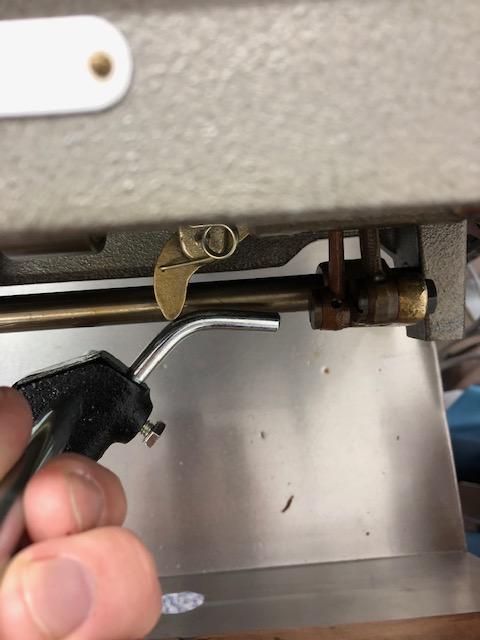
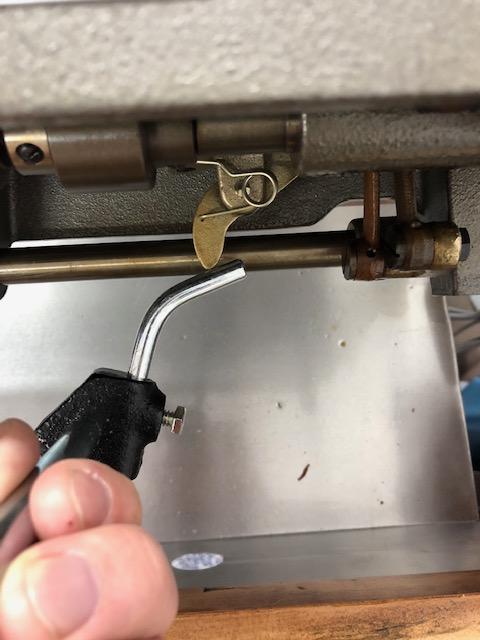
7 minutes ago, mikesc said:In the top photo...the part which is "beak shaped" ( with the little return spring on it ) on the bottom of your sewing machine... rests on, and rides along the angle bar that is locked to the large bar between the two flanged brackets on your knee lift assembly ( bottom photo )..as you push on the knee lift the whole bar ( between the two flanges ) pivots and the angles bar pushes against the "beak"..the more you push against the knee lift the further along the beak is pushed towards the end of that small bar, that lifts the foot..when the foot is down the beak is nearer to the forged part that the angles bar passes through..The locking bolt that secures that angled bar, is so that you can adjust the point at which the beak contacts that bar..that way you can adjust the amount of lift..
...
I have drip trays on all of my machines '( except the patcher ) so I'd have to remove one to photograph how it fits..perhaps someone else has a knee lifter with no drip tray..once you have seen how it fits..it will be a "doh" moment..We all have themMike,
I kind of understand that, I just wasn't sure how precise "beak" and "bar" have to be positioned because of sizes and fact that machine can move a little from back to front. Main thing - you confirmed that this combo should work.
I don't have to see how bar contacts "beak", but if you can post picture of lifter when machine tilted back - that would help a lot, I just want to understand how it's oriented once installed. No need to remove tray for that, no need to show contact of beak. Just picture of opening from a top.
BTW, my tray is 3in deep (tray itself), so holes will have to be made in order to install it. I will have to remove tray, install lifter, then measure where holes will be. I was making new tray for another machine and made it 2in deep to clear lifter if needed.
-
Does anybody have a picture on how this knee lift (I got it) should press on this mechanism I got?
I found videos and pictures but none show this exact mechanism like I got. I'm not even sure it's a correct combo as this place on machine is like 1/8 of inch thick, how should lifter on a picture push on it?
Also what is the role of "stopper" ? It's another thingy on a shaft
-
Had to glue in fillers and then do some routing but now all is well. Machine finally got "home". Now new problem - consew motor came with 2-piece rod which is short for normal height table!

-
Machine is on a table finally. Did surface cleaning and lube. Now I see some things.
1. Machine is not used that much. All internals look good, no excessive screwdriver marks
2. Machine out of time. Both front feet and needle bar hitting about 3/8 in front of feed dog. Need adjustment.
I wanted to take out feed dog but couldn't. Seems like I need to take at least left bobbin out, blue arrow shows where it's at.
Right now my plan is to get it adjusted/running. Once I see it working - I will be trying to source parts for gauge change. It is 1/2 inch right now. I need 5/16 preferably or 3/8
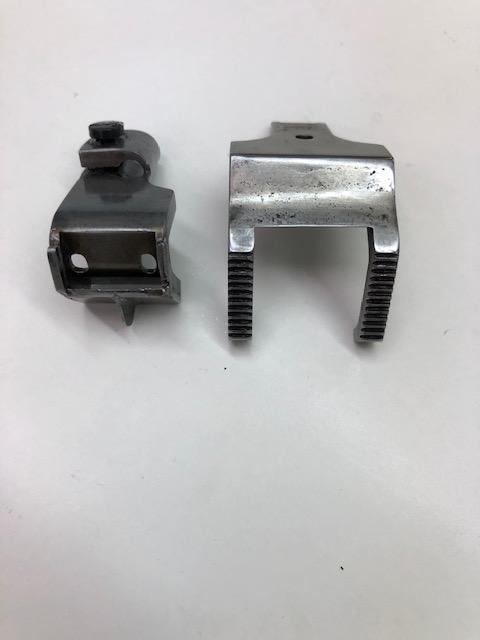
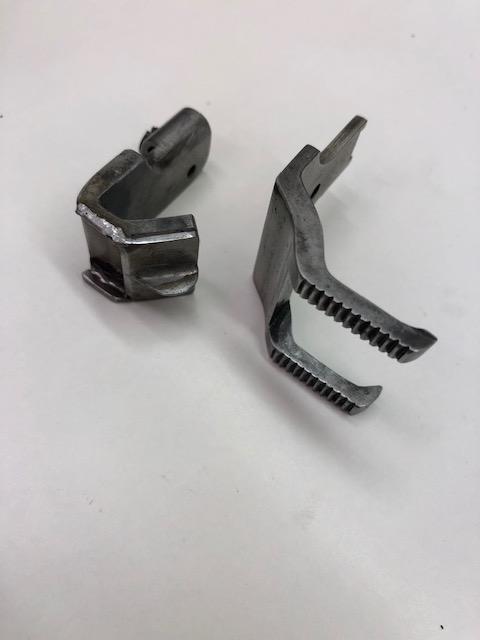
Pictures show feet and throat plate/feed dog. Any clue on what they look like?


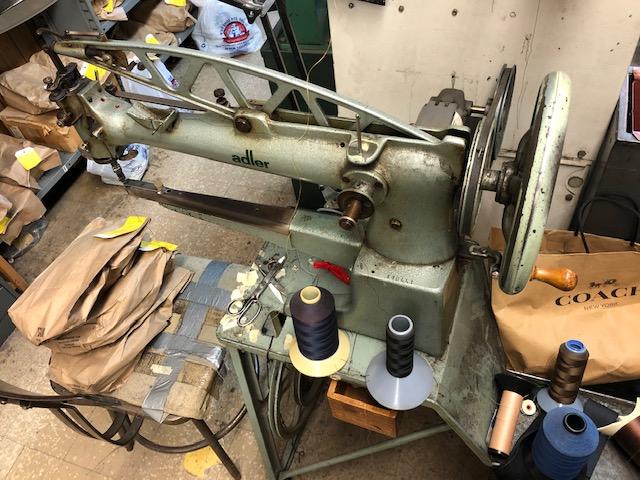
Two bell skivers - St Louis, MO
in Old/Sold
Posted · Report reply
SOLD