


sonataworks
-
Content Count
15 -
Joined
-
Last visited
Posts posted by sonataworks
-
-
Hey all,
Just wondering if you guys do anything special to sharpen your tools.
I've been using a leather strop with some green compound but it doesn't have the "great" effect that other people seem to be having. I just purchased a brand new L'indispensable knife but the edge came out blunter than my Stanley knife.
I haven't really moved onto stone grinding yet, as I'm afraid of ruining the edge by holding it at the wrong angle. Right now I've just been doing passes of the knife onto the strop for a little bit better of an edge, but not by much.
Another issue is definitely with my edge bevelers. Been having problems with the sharpness of those for a long time. And while I haven't bought Palosantos, I haven't been buying cheap tools either (Japanese variant of the Tandy Pro line).
I've tried using a tool like this with some 800 grit sandpaper, but I find it does not do much before the sandpaper rips on the tool. Not sure if I've ruined my beveler even with one of these tools, because these bevelers are not supposed to lose their edge this quickly.
I've also tried the sandpaper on needle method, and running the beveler down a strop.
Curious to know what works for you guys. Just a lil upsetting to have these beautiful projects marred by a crappy looking edge.
-
Hi, sorry let me specify.
I am making a notebook cover. The type of punch I am using creates round holes in the leather.
This is similar to what I use.
Although, I am beginning to consider using a chisel instead. The stitching is fairly uneven on the backside.-
-
Hi there,
I have been using some leather punches at 4mm spacing on my leather. The holes are 1mm in diameter. They punch through cleanly but I find that it takes a good amount of wiggling to get my needle/thread through.
I have been using Ritza Tiger 0.8mm and John James 002 needles. Do I need to go down to a smaller size, or is that amount of resistance normal?
-
-
Hi guys,
Does anyone have experience with gold foil stamping? I purchased an old Kingsley machine and I've been having some issues.
I've been embossing the leather first before applying the gold foil stamp because I want the foil to be nested into the leather. However, I find that the gold foil sometimes spills over onto the leather that isn't embossed (e.g. the spaces between letters). Is there any easy way to get the gold foil off on these precise spots?
Also, is this problem caused because my temperature is too high, or because the pressure on the foil is too hard? I've been pressing a lot harder because with my first few attempts, the foil wasn't properly adhering to the leather, or only partially.
Any tips would be great, thank you!
-
It seems like casing is what I've been missing all along. Thank you gentlemen.
@fredk The stamp is mostly smaller letters, so thin lines. Acuity of the stamp is still very good as its fairly new, so I would expect it leave a good sharp impression. I'll try it with these new tips and see how it fares.
-
fredk, thank you for your response.
The stamp I am using is sourced from amazon here. Stamp size is 1/2" x 1 1/2".
So yes, there is an M5 tap at the back, and it comes with a 1" lg. bolt.
I find it hard to tap "around the clock" as you put it, because there is not much contact area between the hammer and the bolt. I could always fashion a handle out of a wooden dowel, if that's a good idea.
I will definitely take your other tips. Do you also recommend stamping untreated/undyed leather first?
-
I never thought I would be asking questions about stamping. It sounds so silly (what's to ask? you just smack it with a hammer
 ) but I'm having a lot of problems and was hoping you good people would be able to help.
I recently got a personalized brass stamp made online. It turned out beautifully, but I'm having problems getting an imprint on leather.
The first piece I tried applying it to was just a piece of 5oz vegtan. Hammered it down with multiple strikes from a deadblow hammer and it left a visible but faint impression. Definitely not the strong impression I was hoping for. I tried again, this time dampening the target area with some water. Again, it left a better impression, but not very deep.
Results however, were even worse on my most recent attempt.
The leather I attempted to stamp is a 5oz vegtan Eco-Flow dyed and Super Shene treated piece. (Yes I am well aware of how much everyone hates Eco-Flow and Super Shene, but I was trying to use up what I had) It's the inner card slot piece of a card wallet.
I first tried carefully using a deadblow hammer with several solid strikes. No luck. Then I tried using a drill press. Still, no luck. Also, due to how hard it was to align the drill press, I instead ended up with multiple phantom imprints.
I read around and here's what I got for advice so far. I'll list these out as well as the problems I am having for each.
1. Heat up the stamp - I have no idea how to do this. I've tried holding up a lighter to the stamp, but it doesn't seem to work too well.
2. Apply the stamp to untreated leather - From my examples above, I appear to be having difficulties with even this. Also, when I watch videos on YouTube I never see people having this much difficulty applying their stamps! Granted, they usually use a clicker press..
3. Moisten the leather prior to stamping - This seems to improve results, but it does also cause the leather to have significant differences in appears from where it was moistened.
Anyone else have some good tips? I can try a combination of all 3 above...
Oh right. Some may have tips to buy a clicker press or a shop press. I would absolutely love to. But I don't have space for it, nor do I really have money for new tools at this moment.
-
On 10/12/2019 at 4:12 AM, johnv474 said:When you fold something over, imagine it is going around a racetrack. The leather on the outside lane has to travel a longer distance and the leather on the inside travels less. If turned too sharp, the inside has nowhere to go and crinkles. The thicker the leather or tighter the curve, the more this happens.
To address it now, you can try to press out the wrinkles with something smooth, like a bone folder, after getting the leather damp.
This can be partly avoided by using thinner leather or attaching it when the leather is partly folded already. In the case of a wallet, glue down half of the inside part, flip over, press over the edge of a table. Then, turn it around and glue down the other half over the edge again. Or, glue the bend down while holding the bend around a small dowel.
The other option is to help the leather get a little more flexible. Working the leather under pressure while folding, e.g while bending first time, apply pressure at fold and push down wrinkles as they want to form. Some water will help. Some water with a little soap in it will help more.
The last option is a design change. On most mens wallets, the outside and inside connect in two separate sections, with an unattached part in the middle, and the outside is slightly longer than the inside (which makes wallets stay partially folded while at rest). When opening/closing, the two parts have room to move independently at the spine.
Hope this helps.
Thanks John - this is very informative.
I'm just wondering how the other leatherworkers get such nice smooth bends in their products and mine is ending up so wrinkled.
I'm wondering if using some oils to restore the leather would help? Not sure how to go about that. My rationale is that the 50/50 alcohol/dye mixture is harsh on the leather.
-
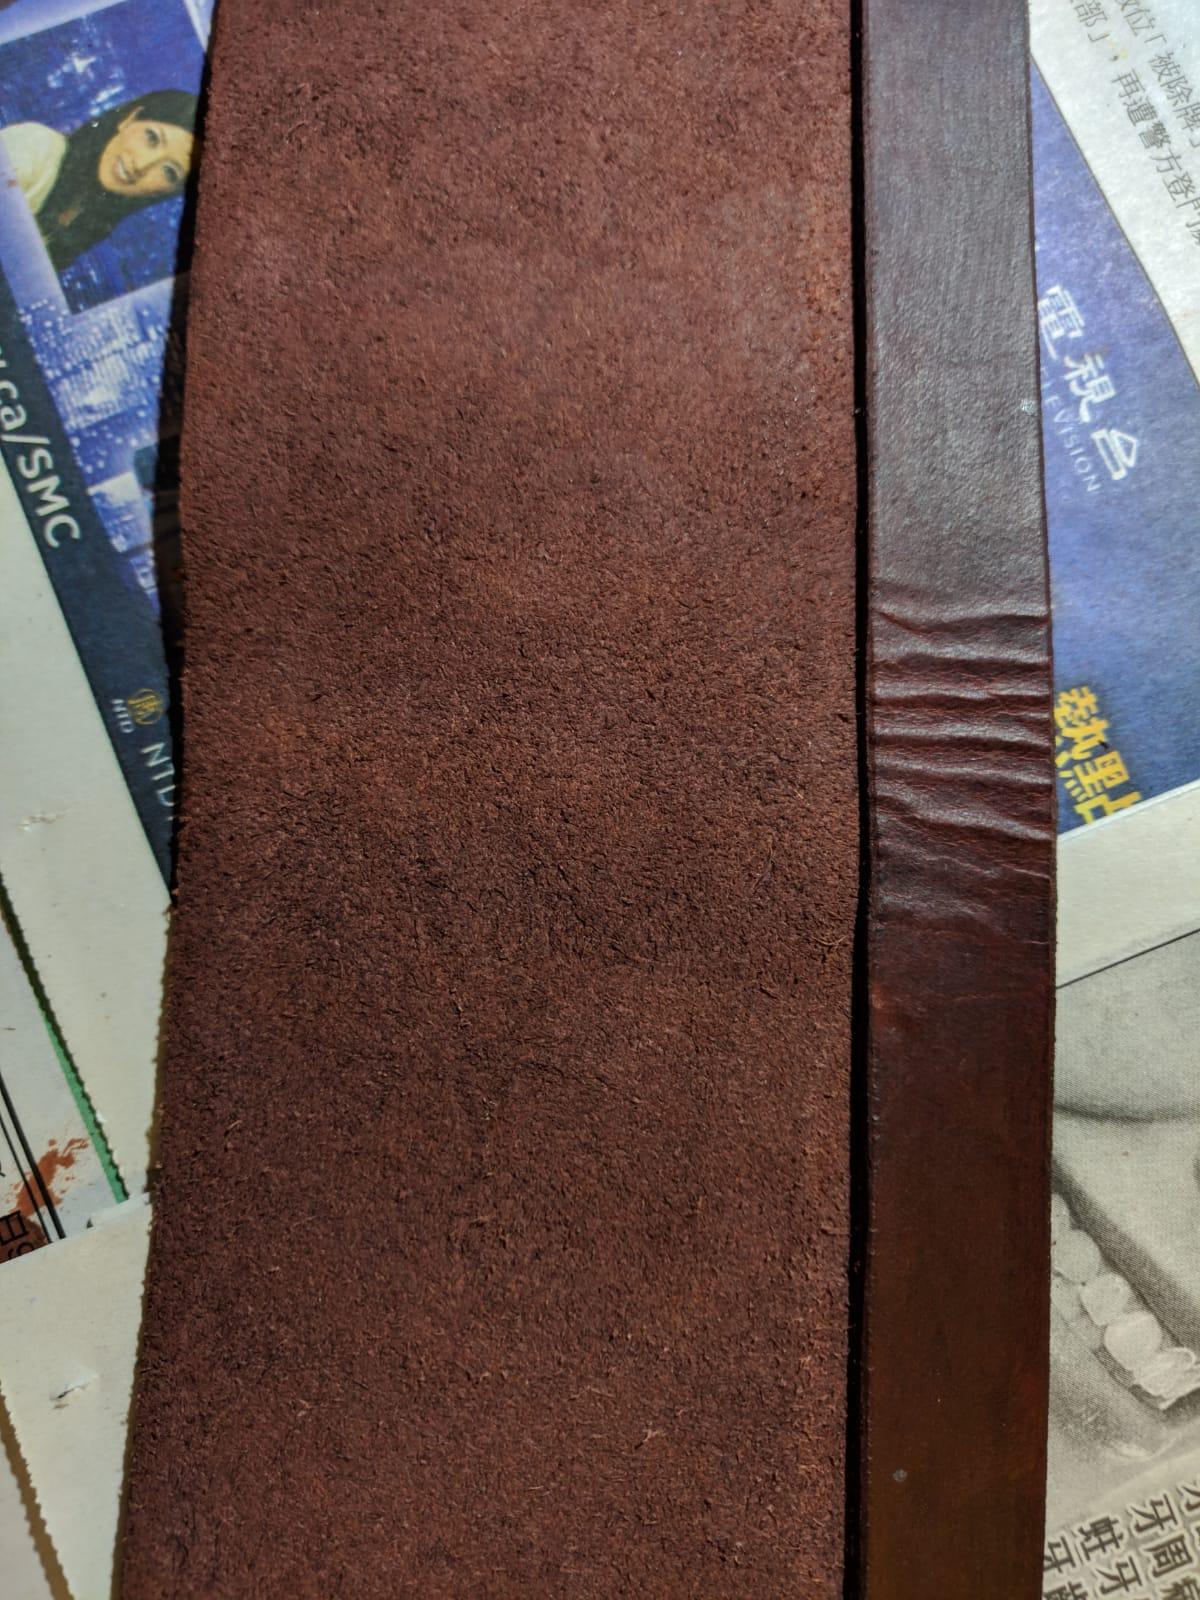
On 9/9/2019 at 1:58 AM, RockyAussie said:Could be a bit of loose top grain there but I suspect that your strip is too thick. Around 1mm or less would be better. Also when attaching this type of thing when it has to be folded a general rule of thumb is to bend it as you attach it to around 90 degrees. Your strip would be maybe 3mm shorter in length + -. Easier to cut it after though.
I just wanted to bump this, as it doesn't feel necessary to start a new topic.
I am still getting a lot of wrinkling in my pieces, particularly when the pieces fold.
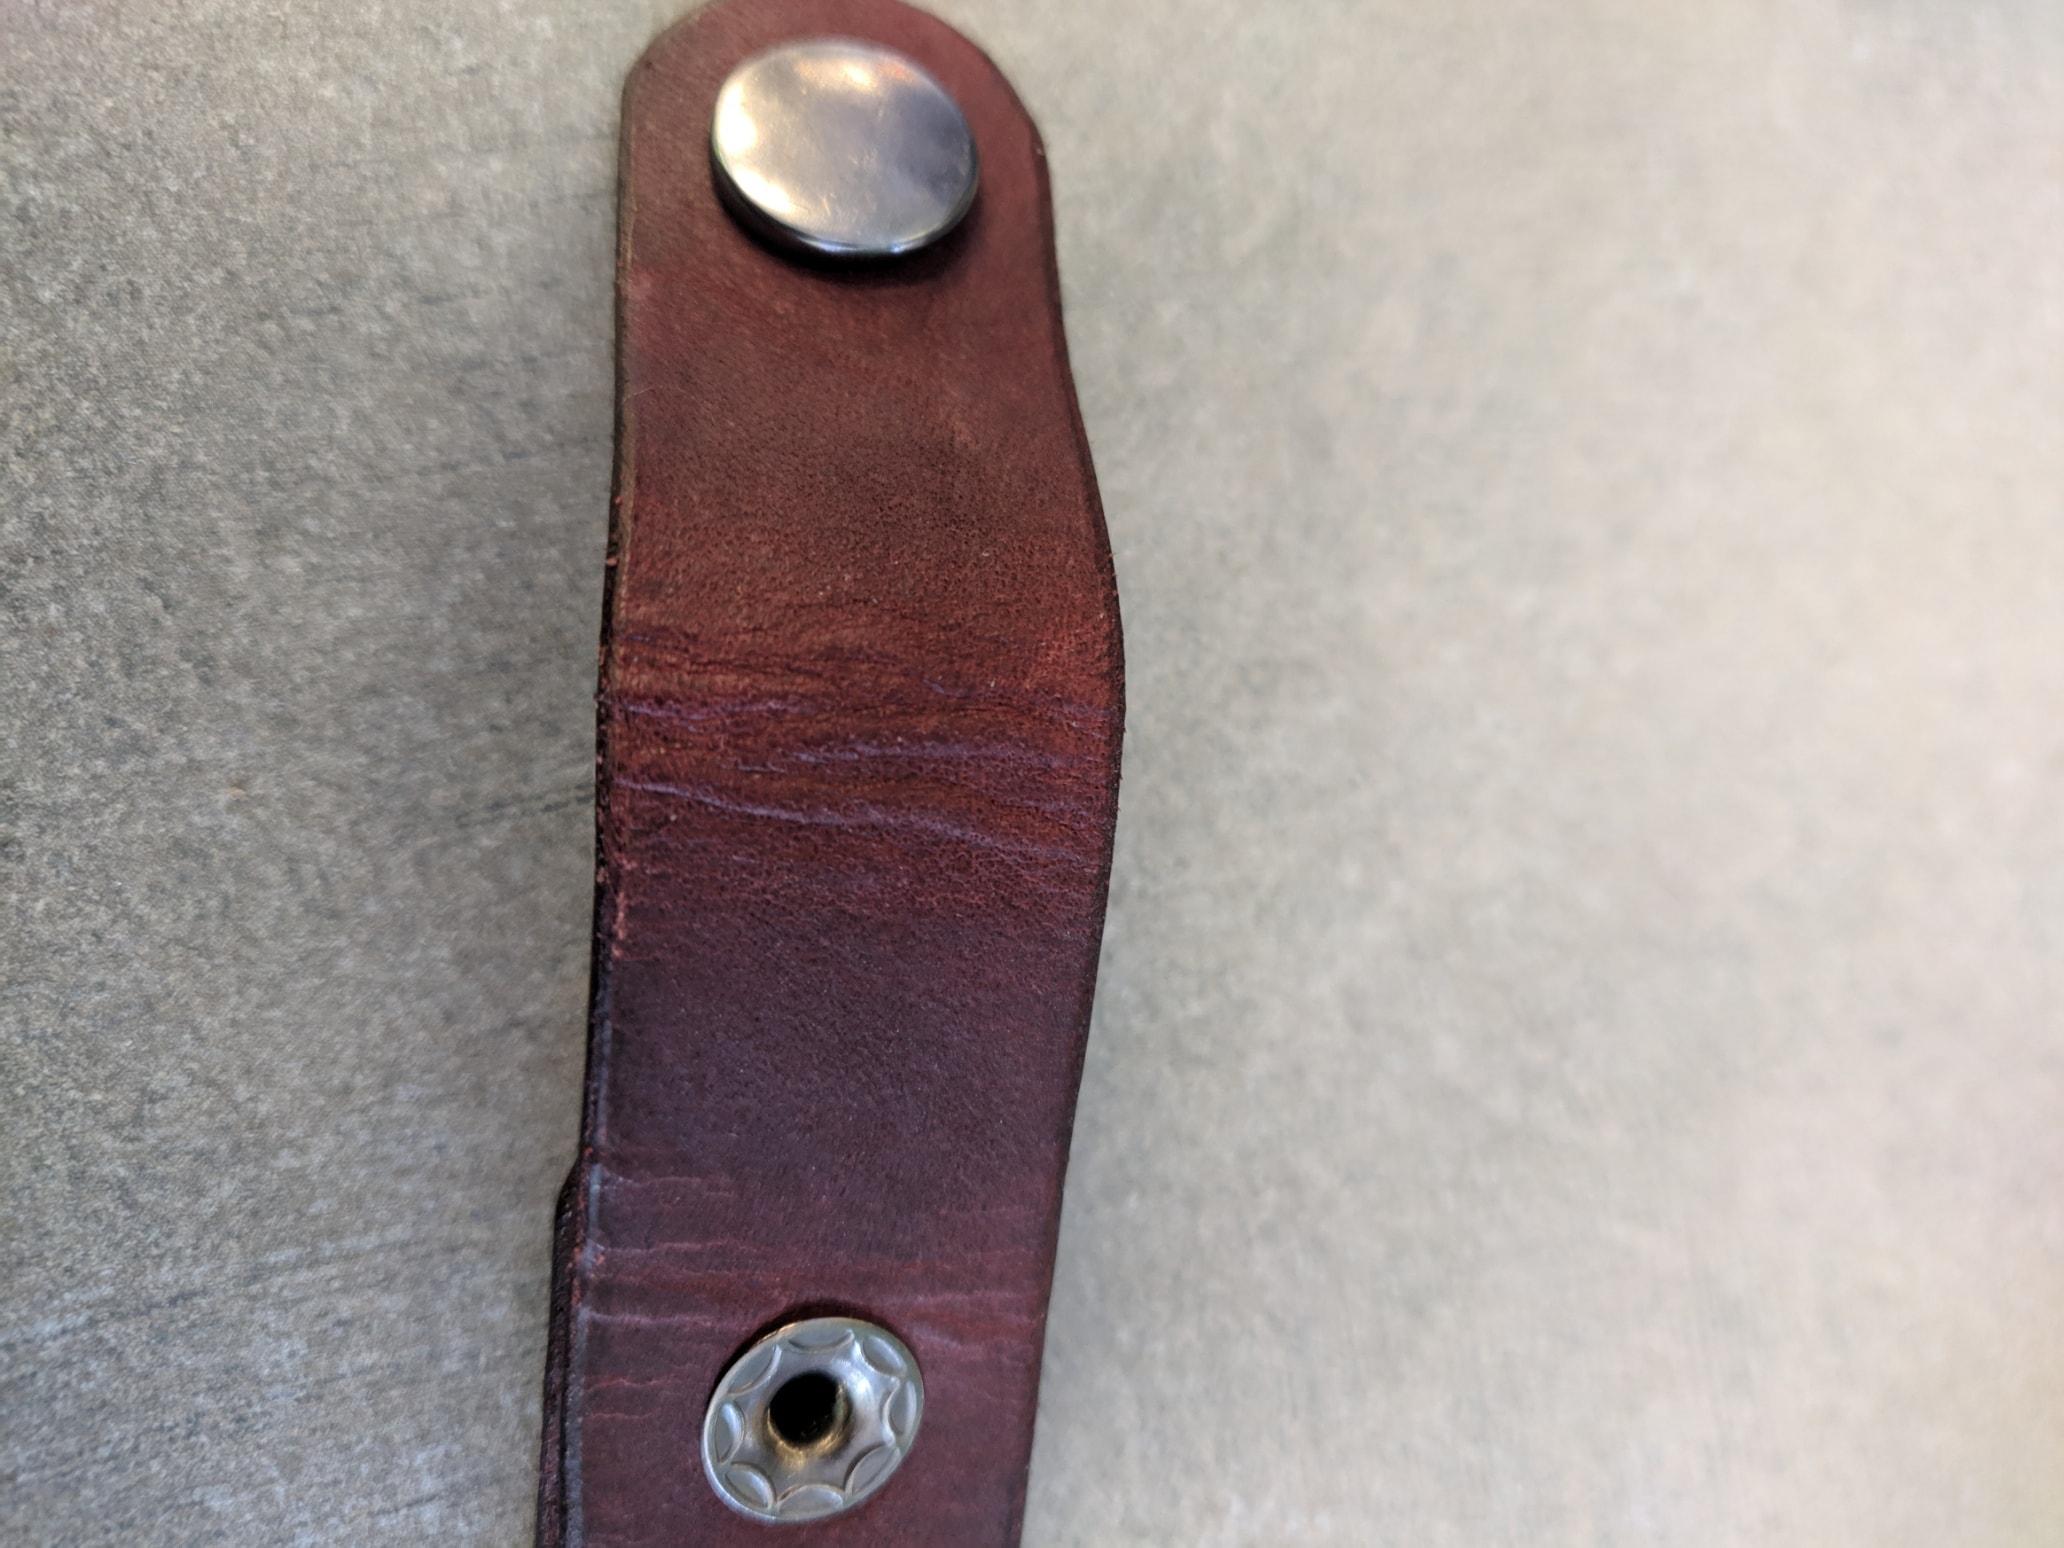
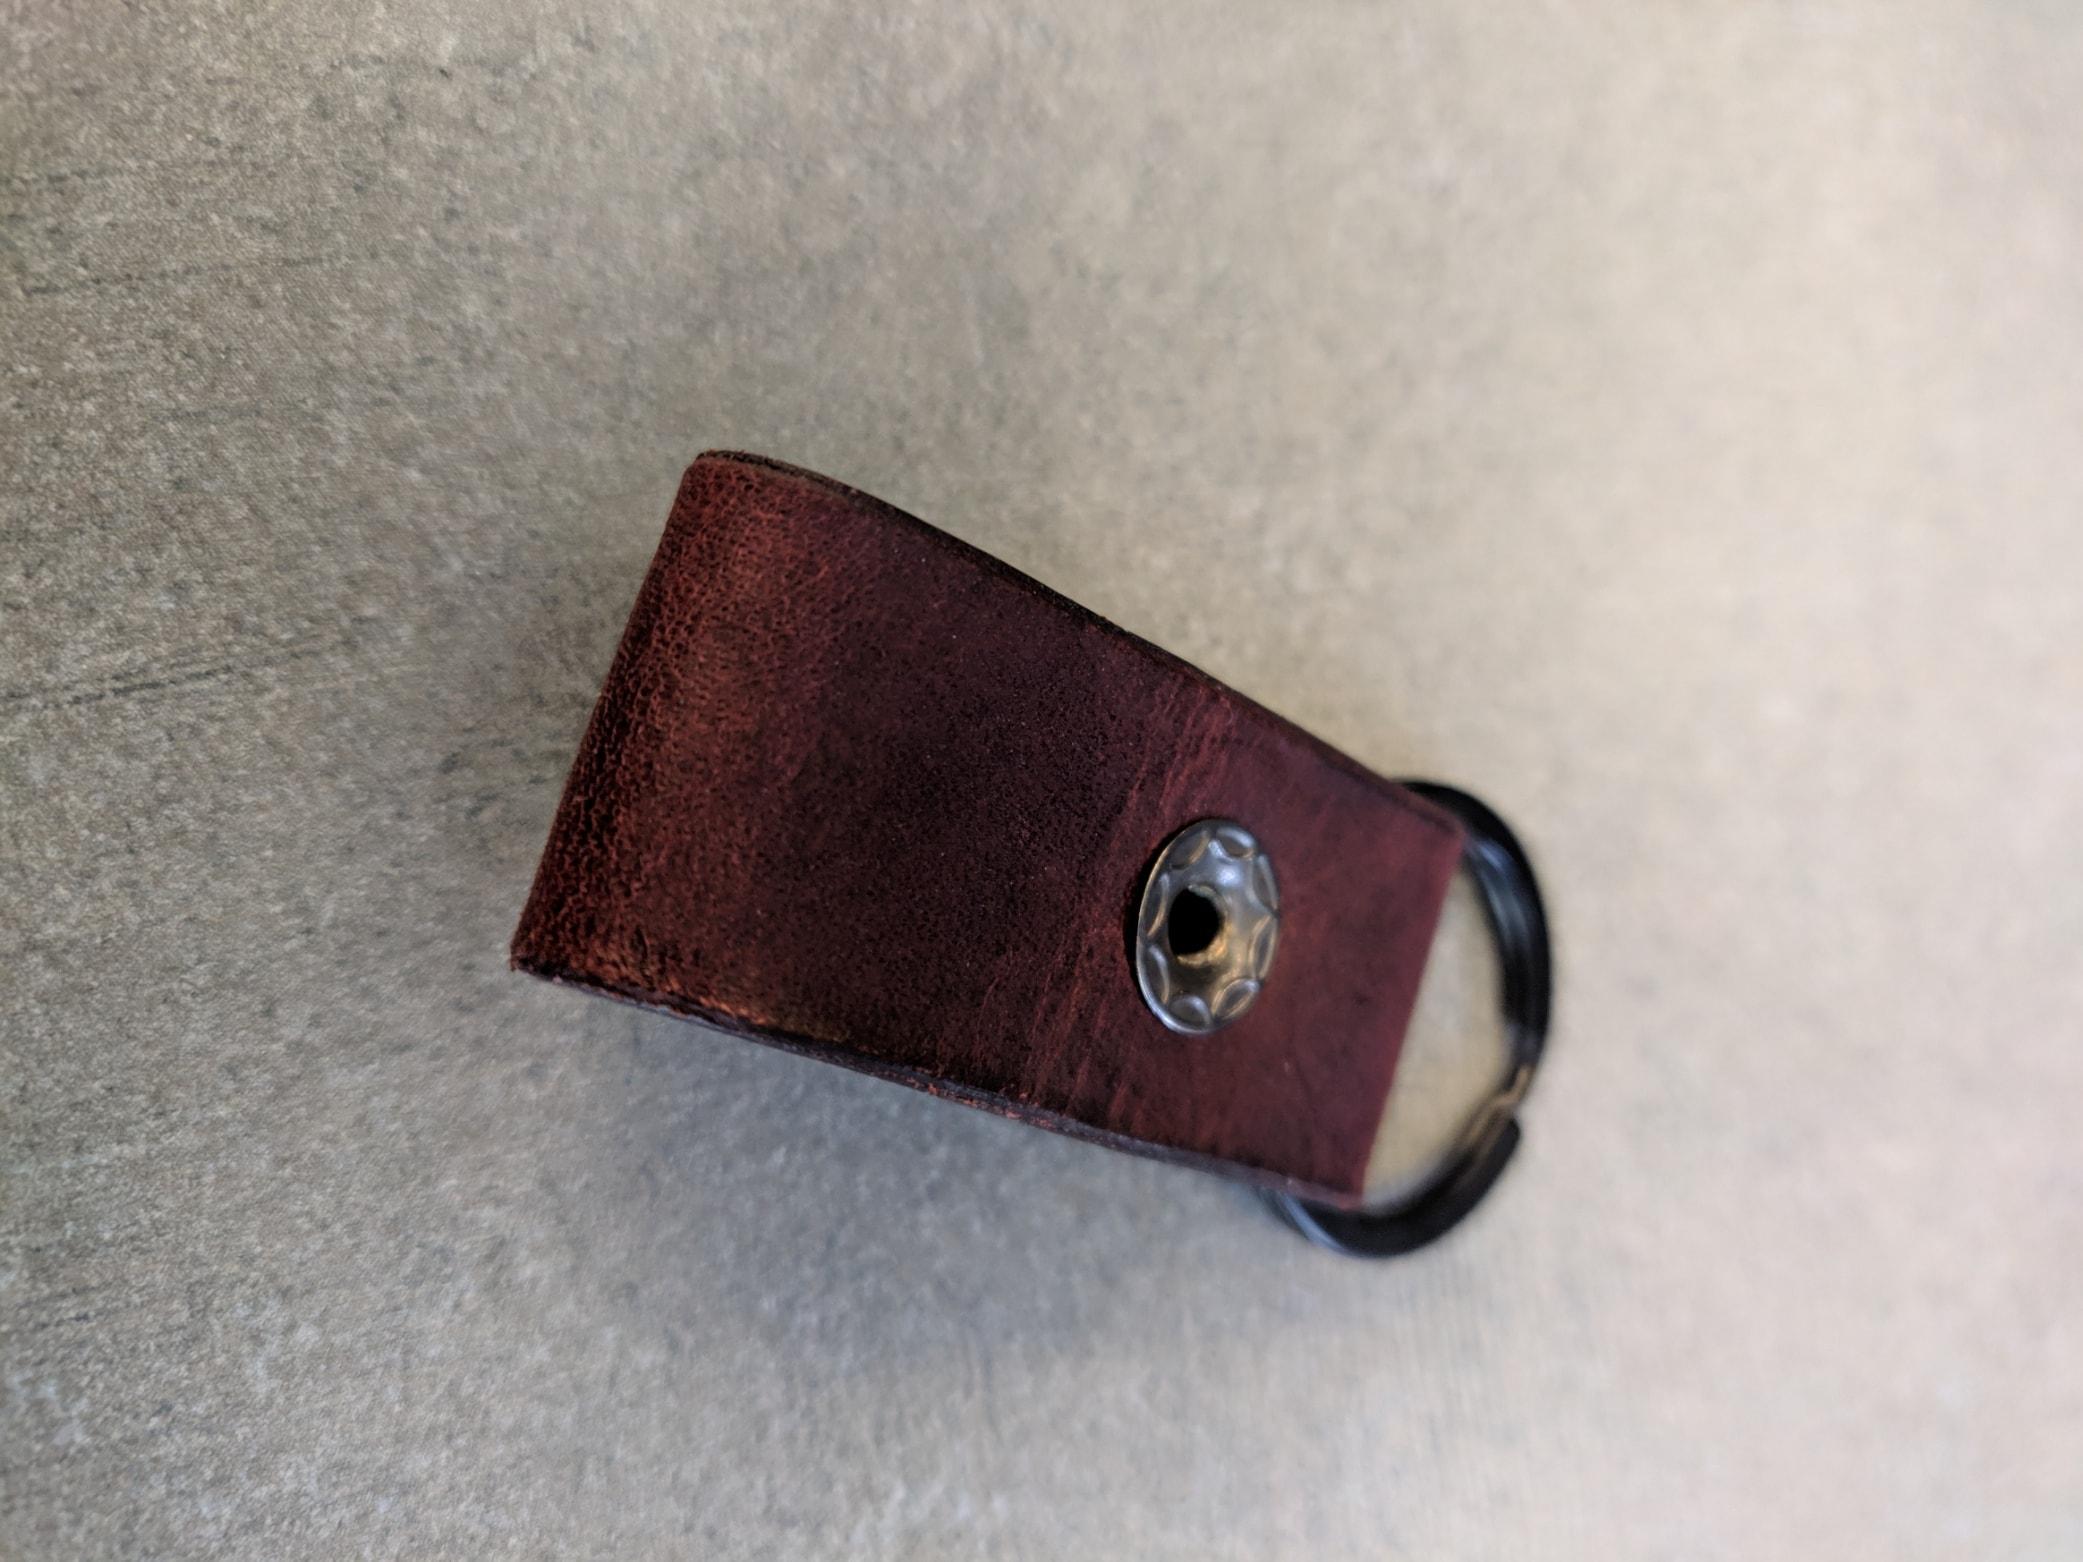
For example, I have been making some keychains. They look great when folded, but not so much if you were to lay them flat. The wrinkles are very obvious and hard to hide.
See attached photos.Now, I'm wondering if it's just because the leather is..drier? Because it has been dyed on both sides..
I'm really hoping it's not a problem with inferior leather quality, as I went to a very reputable leather dealer in our city (that wasn't Tandy). I've read some threads about how the top grain might be loose, but I'm just not sure.


-
Thanks RockyAussie - do you think it's fixable, or will I have to make a new piece?
-
Hey guys,
Making a bi-fold wallet on. I've glued on this piece with rubber cement but I find that it's wrinkling a lot and I'm not sure how to smooth it out.
I was pretty sure I bought some pretty quality leather too, so this is a bit concerning.
How do I fix it? Should I just start a new piece?

-
Thanks for replies guys - yes, I'll try and get some lambs wool imported.
I definitely feel like I need to cut my dye by at least 50/50.
Rockoboy - do you have any suggestions on a good sprayer? I have plenty of compressors, but not sure about a good kit.
-
Hey guys,
Pretty new to leather here but getting pretty involved. Just have a few questions about things that I haven't quite found good answers to.
Fiebings Pro Dye - I've started using the Royal Blue lately. I'm trying to make a wallet and I've cut out a 10" x 18" piece of leather to work on. Applied the Royal Blue directly from the bottle using a dauber and it just looks....very uneven. I buffed it immediately afterwards but it didn't seem to change much.
1. I see a good few posts about cutting the dye. What's the best ratio to cut to? 1:1? 10:1?
2. I know that dip dyeing is very popular - so I'll try it for the next time. But for larger pieces, what's the best way to apply the dye? Daubers seem pretty bad, and I don't exactly have good access to woolskin. Is it acceptable to just use a sponge and work it in?
2a. Is there any way for me to fix the piece after I've put in such a heavy amount of Fiebings pro? Lol.
3. Seen a few things about sealing the dye - wasn't aware I needed to do that. On a previous project I used Super Shene, but apparently that is terrible? How should I be sealing the dye? Neatsfoot oil, acrylic resolene, or tan kote?
4. Just with regards to cutting - how do you get nice rounded edges? I use a fairly sharp Olfa knife on a good mat, but I can't seem to get those beautiful rounded edges I see. I normally use a washer as a guide.
5. The first piece of leather I ever bought was..well apparently it was pretty crappy. I managed to slick down the roughness of the suede with some gum trag, but do you guys have any other suggestions?Again, I'm sure many of these questions have multiple answers of personal preference, but I just want to learn from the wisdom of you guys. Thanks so much!
Help with sharpening my tools
in How Do I Do That?
Posted · Report reply
Could you expand on this a bit more? The tools I bought did not come with instructions, so I'm not sure what "Japanese maintenance" encompasses.