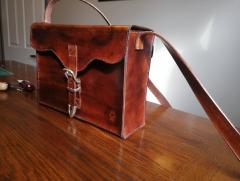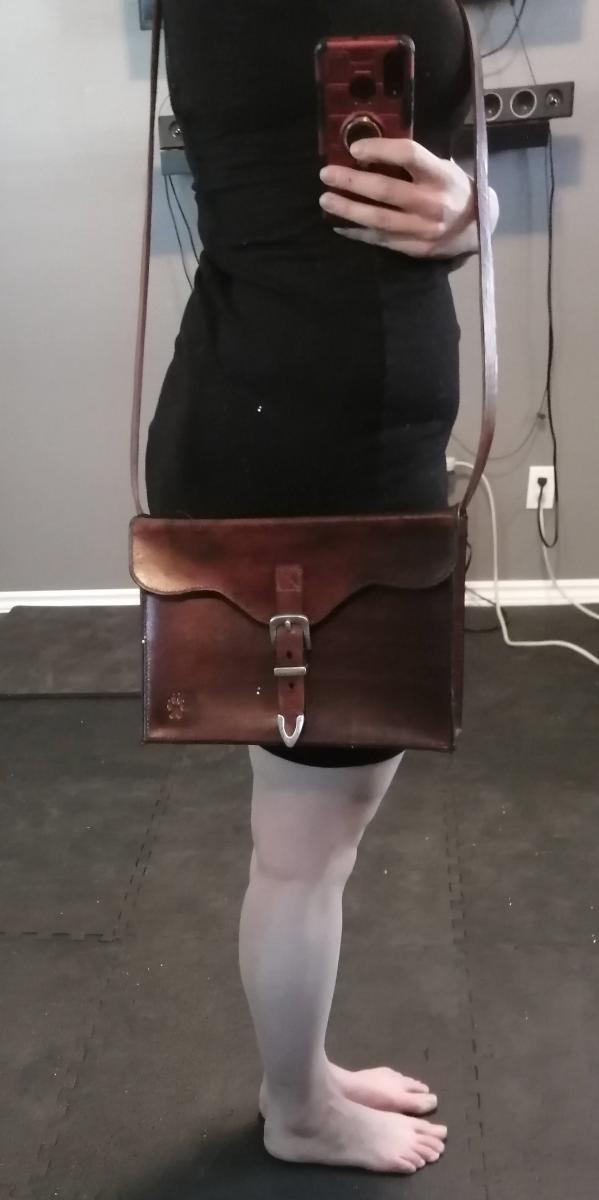
My first leatherworking project, completed using 5-6oz veg tanned leather. Steps:
- First I made a "prototype" out of some cardboard.
- I traced the pieces of my prototype onto the leather and cut it using a stenciling knife
- I cut grooves into each edge I would be sewing and the burned the edges with a wood edge slicker and some water
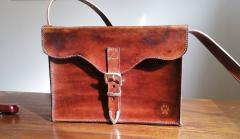
- I wet and formed the flap, then wet and stamped the front paw print
- After about 2 hours I checked the leather which looked dry, then applied a coat of Eco-Flo Leather Dye (Bison Brown) to each piece, front and back. This is when I learned that just because the leather looks dry, doesn't mean it is. I should have waited longer.
- I waited a day for the dye to dry and then applied a coat of Fiebing's Acrylic Resolene.
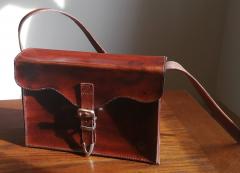
- I waited a day for the Resolene to dry and then punched the holes for my thread.
- I then hand sewed each piece together, working on the bag itself first, then adding the buckle and strap. Next time I will add the buckle prior to assembling the box as reaching into the bag to find the holes for the needle to go through wasn't ideal
- I completed the piece by applying a coat of Aussie Leather Conditioner as the leather was quite stiff
- Album created by ThatTallChick
- Updated
- 5 images
- 1 album comment
- 1 image comment
- 356 views