


Bird Lady
-
Posts
11 -
Joined
-
Last visited
Bird Lady's Achievements
Member (2/4)
-
You did!
-
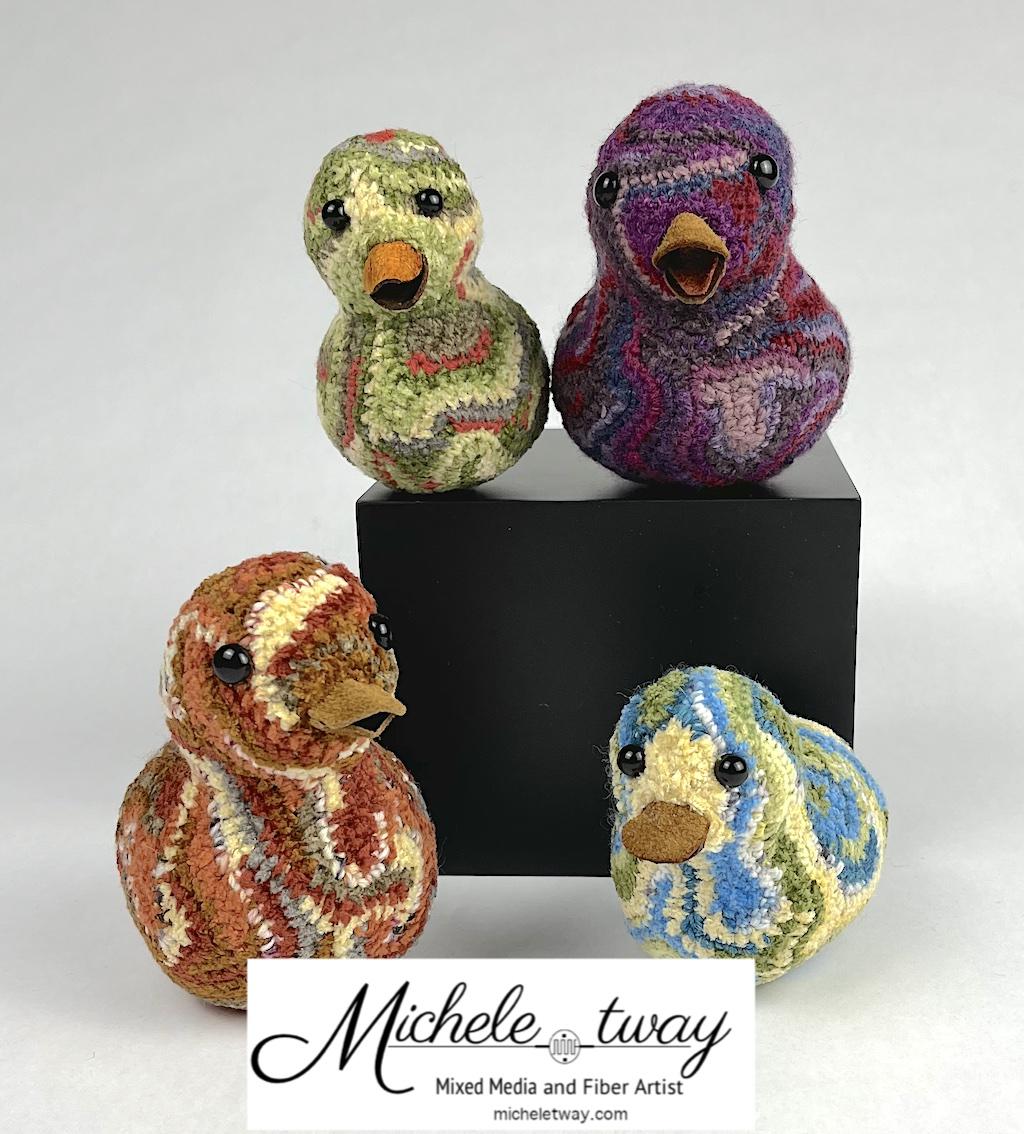
Thank you everyone for trying to help me with this! Here's a little rogues gallery of what you were helping me with - the purple one shows how I'm going to do the beak going forward. I think since I'm working with such tiny pieces, and random scraps, that getting a nice hard curved piece is just not practical - it adds too much time and fiddliness for little return. The cube in the photo is only 4" tall - so the beaks are very small. I did have some success but the wet shaping didn't come out all that different than using the technique above - the two on the left were wet shaped, the 2 on the right weren't. I decided to leave the leather untreated except a bit of marker along the cut edge. With some polish, I can focus on shaping the tongue which is much easier to do for me. Again thank you for your time and sharing your expertise with me. I've learned a lot about working with leather. I had thought it couldn't be that hard to work with after working with fabrics since childhood. Yeah, it doesn't fray but it is definitely fussy about how it's cut and what angle the scissors is positioned. Like with so many handcrafted things, what looks fairly simple to do is often far harder than it looks.
-
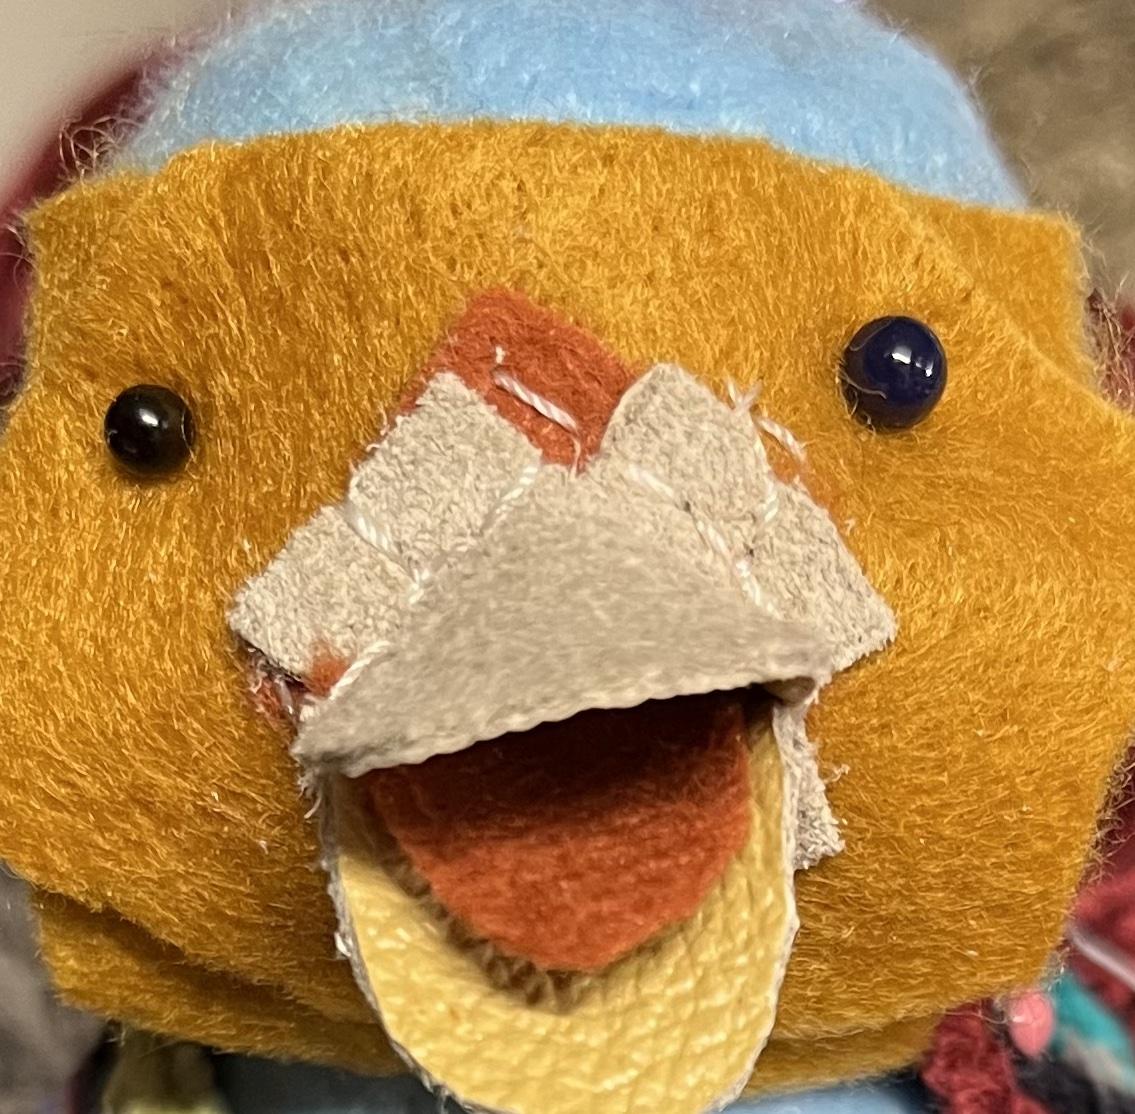
Been playing around with things all week. So frustrating when experiments take hours or overnight to dry to see if they worked or not. I think if I can make this work, I'll need to invest in a scissors dedicated to cutting leather and a decent awl. But, I'm hoping that, and maybe some goop to stiffen with, will be all that I need, for now. Found microwaving a bit of leather in a bowl of water, I think I tried 60 seconds, shrinks the leather and if quickly positioned over the form (bit of a wrestling trick with something so tiny) will dry pretty hard. But, I suspect there's no way to control the shrinkage or shaping too much. Didn't try less time though. Might play with it for another idea though. Dunking it in boiling water worked fairly well to hold the shape but wasn't really hard. though it did allow me to still sew through it. Those ideas seem fuddly, hard to be consistent and require hours of waiting time without knowing the outcome. I've been experimenting with ways to do it consistently and faster. Have an idea the works for shaping and is easy to duplicate, but, I'm back to how do I make it hard or at least stiff. The attached photo is where I'm at. It was definitely a duh moment when I realized how simple it could be. The tongue is a piece of felt. I can control the bend and size completely and make the upper and lower beak parts with slightly different shapes. Elmer's glue on the smooth side (is there a term for the "finished" side?) seems to add a bit of durability but only marginal stiffness. Elmer's on the rough/suede side adds a bit more stiffness and darkens the suede. I could live with the darkening or just add a bit of paint to the glue I suppose. Would I be able to paint Resolene, or something else, on and use that to stiffen it better than the glue? Or would the Resolene not do much more than the glue is doing? Leather in image hasn't been treated with anything yet.
-
Thank you both for your help. Will definitely give hotter water a try. I've only used plain tap water that was fairly cold. Will hotter water make it harder to sew? I'm only making about 4 pairs of holes near the fold so I'm just brute forcing a sewing needle through. Will I need to pre-punch the holes before using the hot water? The idea of giving my little duckies "armored" beaks is a hoot and will make for a great 'story' for them.
-
Lovely and so much detail on that paint job. Good to know that's an option. Thank you for all of your suggestions!
-
Hot water out of the tap or boiling water? Love the vacuum seal idea too. If this works as well as I hope it does, that might make it much easier to do a bunch at a time.
-
Thank you and everyone else for teaching me and answering my questions! My family tended to never throw out cleaners, so I do have some of the old Johnson wax Future acrylic floor polish. Not sure though if I should quickly put it up on Ebay. lol. Someone else suggested avoiding chrome tan for my beaks - but it sounds like it's easily recognizable. Yay that. And it also sounds like I could keep using scraps then - even better! Since I do have some of the old-school Future, would you suggest using that or the Resolene? Would you recommend diluting either one with 50/50 water? If I used paint (I have that cheapo acrylic craft paint) would that help with the stiffening or eliminate the need for the floor polish or Resolene? Should I water it down or use it straight out of the bottle? Sorry for so many questions. I tend to stick to dry materials for my projects. I've learned the hard way that when chemicals are introduced to a project, i.e. glue, finishes, clay, paint, etc; they can look great for a long time, but can eventually fail big time. I had something randomly fail 30 months after I had boxed up the items - some were fine, some were not so fine. I've tried acrylic medium that the manufacturer insists always dries rock hard - mine is rubbery with only one coat.
-
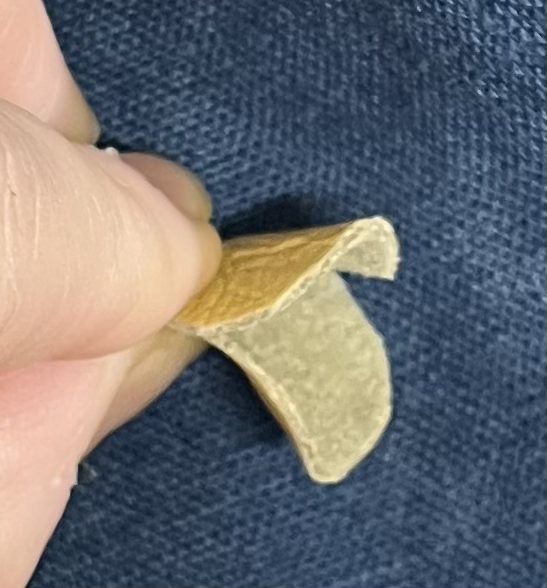
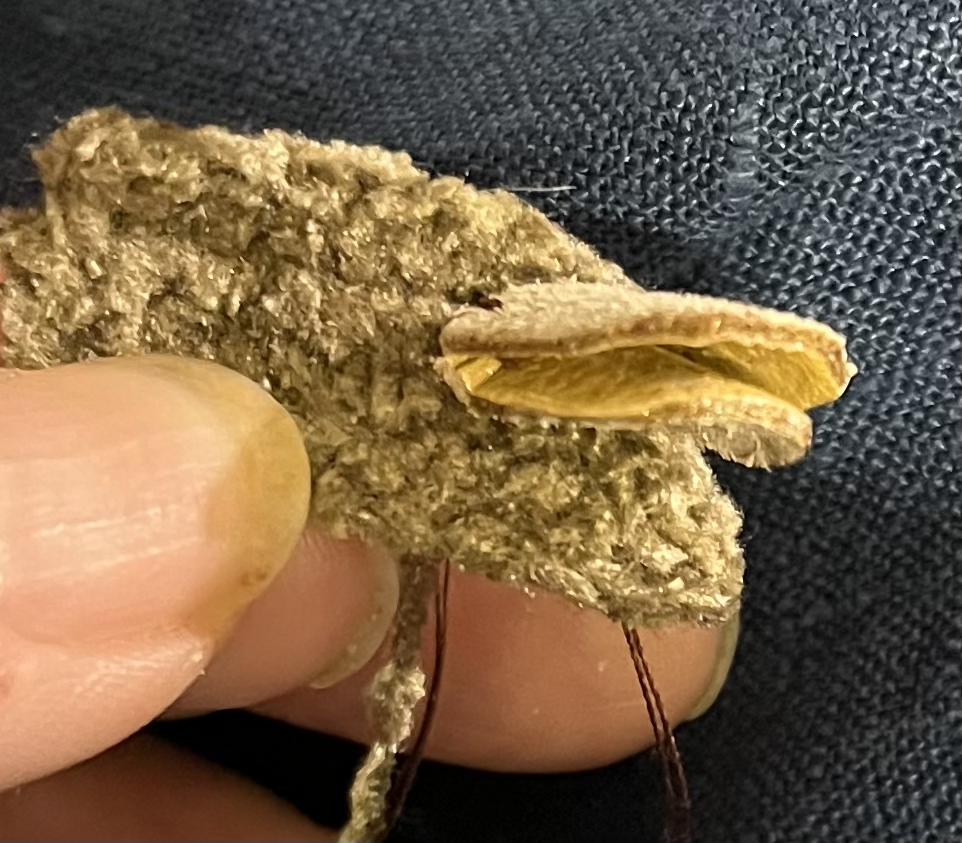
Here's a photo of one of the more curved ones.
-
Here's a rough photo of one of my experiment beaks. That's my thumbnail in the photo to show how small it needs to be. That's the one where I put a little Elmer's on the edges. I wrapped it around a skewer overnight, after cutting it. With the same leather, I've gotten a better curve by squishing and hopefully stretching it a bit more. Not sure if it should be stretched or just wrapping it around is enough or if I should wait to cut it out until after I stretch it. If I use the Resolene or floor wax, would that allow this to work with random scraps or should I use veg tanned only? I can use acrylic paints on leather? It won't crack or scratch off?
-
How do I figure out how it was tanned? Or would it just be smarter to buy it new so I know what it is?
-
Hi Everyone! I'm hoping for some input on an idea. I primarily work with yarns, threads and woven fabrics. Most of my materials are recycled from other artists and crafters. Now and then I get some leather scraps but until now haven't really had an idea of what to do with the leather. I know nothing about working with leather other than the tiny bit I've learned from a few day's worth of Googling and Youtube. I'm not even sure if the idea of using random scraps for this is a good idea or that the idea is sound but I should use ___________ leather for consistent results. I'm hoping to make a series of small duckies and would like to use the leather for beaks. I'm cutting a single layer of leather into an oval about 1.5" long by about 1/2" wide. I'm wet forming it to shape, folding it in half and sewing it onto the duck in and around the fold. The leather I'm playing with is about 1mm thick and very flexible. I have three questions that I'm hoping you could help me with... 1. Does this sound like something that would hold it's shaping or will it eventually sag and just hang down the front of the duck's face? It's an art piece and not a toy so while it will get some handling, it hopefully won't be rough handling. 2. Is there something I could put on this small of a piece of leather to 'stiffen' or harden it after the wet shaping? 3. How would you treat the edges? I'm able to sand the edges some, but that's about it. I'm thinking paint or dye? I tried using a bit of clear Elmer's glue. Seems like an option. It does make the edge darker than the surface. I kinda like but wish it wasn't so shiny. Would the glue be somehow "bad" for the leather long-term or is there something better to use, that could be purchased in small quantities? Thank you for reading this far and I truly appreciate any suggestions that you could give me. 1 comment Like Comment Share