


Bingo
-
Posts
14 -
Joined
-
Last visited
Content Type
Profiles
Forums
Events
Blogs
Gallery
Posts posted by Bingo
-
-
I was wondering about the screws - I have an IWB that I bought with screws, but I had no idea how/where they were connected.<br />Set Tnuts between your leather pieces before stitching. Then attach the loops via stud or screw. -
What oz leather?
-thanks
-
Ah, that's good thinking. Thanks Regis.

-
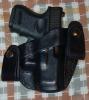
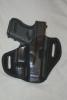
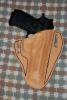
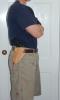
Two more holsters...the OWB was for someone in Pittsburgh.
I also have a question: how do you all attach the belt loops for IWBs? I cut out two strips of leather - for the loops - and then drilled through the holster and the loops. Then I stitched the two together. It holds up, but I think there could be a better way.
Thanks all.
-
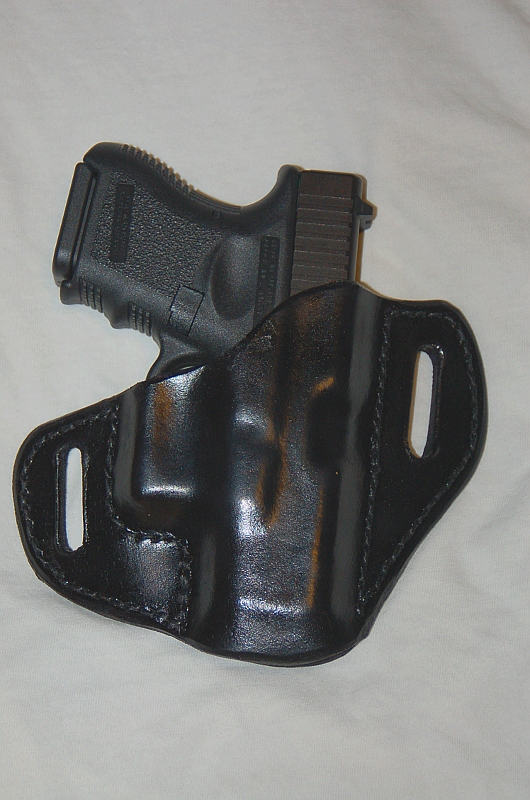
Wow, those are awesome!
How did you get so much definition in the leather for the Beretta?
-
My thought on this is number one.. get the glue on as much surface as possible.. but to do that you really need to know how far to go.. and then you might as well stitch first. Second wouldn't it also allow for a tighter fit if you force in after stitching? You can just look at the old holster and figure out where to stitch to be closer? Meaning look at how far out from the guns shape you put the stitching and tighten it up? Not sure how everyone else does it.. but just things that went through my head on the subject.
The way I glue is I set the gun on top of the inside piece of leather (for a pancake holster). Then I outline the gun with a pencil and just basically glue in the outer areas, leaving a space of about an inch (could probably go smaller) between the gun line and the glue.
I figure without the constraints of the stitching, I can mold the leather perfectly over the gun, and have a tighter, more defined mold. Then I can drill the holes and stitch as close to the gun as possible. Correct me if I'm wrong, but the closer you can stitch to the gun, the more durable the mold will be and the tighter the leather will hold the gun. It'll also look aesthetically pleasing as it'll follow the mold outline perfectly (or as near perfect as I can do it).
I hope that makes sense.
I would suggest that you get you leather wet and form it to the gun before you sew it. This way you can let you leather dry out completely before you stitch it. Use Masters Leather Cement and you won't have any trouble with the glue not holding. If you sew you holster closed before you form it, then you are only guessing at how much leather you need to fold over. It in my experiece it far easier to make a holster or a knife sheathe to fit well if you know exactly where you need to be. Sure you can force something down in it, if you have enough stretch in you leather. But what if you don't? Leather will only stretch so far. Form it before you sew it. Another suggestion is to use an awl to hand stitch it together if you don't have a sewing machine. Drilling those holes out doesn't allow the holes to close up around the thread like awl holes will. Thats my 2 cents worth.Ross Brunk
How much space do you leave between the glue and the gun?
Thanks, all, for the responses.
-
Does anyone do this? The first two holsters I made, I stitched then molded. I'd like to mold it first so that I can stitch along the lines of the gun more accurately, and get the stitching as close to the gun as possible. I use Beacon 527 glue, and it says it's waterproof, so I'm thinking the glue should hold. I'm wondering what the experts here think.
I also wonder if it'll be more difficult for me to make thread holes, as I use a drill press. I guess I could just raise the leather up to the drill bit?
Thanks.
-
Nice looking holster. After glueing, I use a holster press for my initial forming. I press the dry leather around the pistol and draw out my stitch lines. Once the stirch lines are drawn out, I flatten then stitch the holster. One I've finished the stitching, I wet the leahter and do my wet molding.
Randy
Thank you for the tip. I was wondering if I should form before stitching. I just wonder if I'd be able to get the gun into the dry leather - it was pretty tight even after it got wet (haha, that sounds wrong). Also, short of a holster press, is there any other way to form it?
-
Let me know what you think. The one thing I have a problem with is how I didn't make the stitching follow the lines of the gun around the trigger guard. Oh well...I learn as I go. I'm much happier with how the edges turned out.


-
Those look great.
-
Thanks for the comments, everyone.
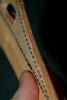
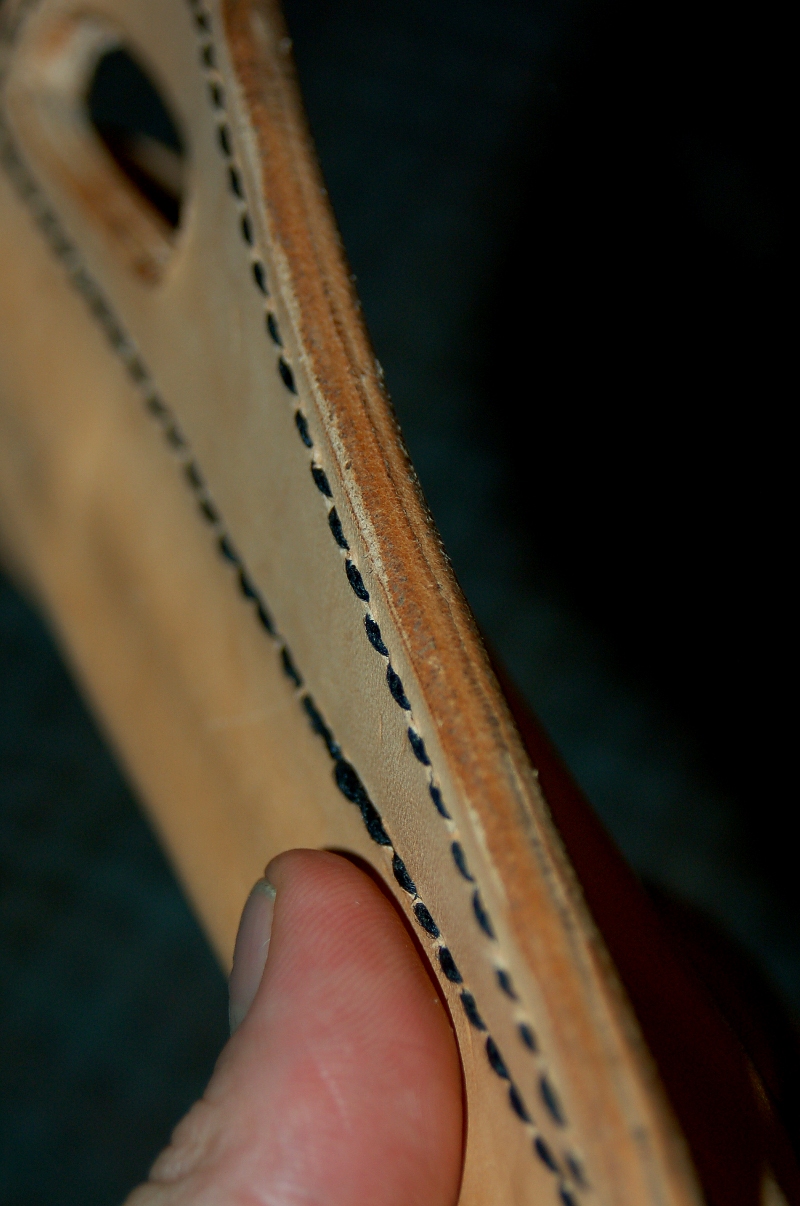
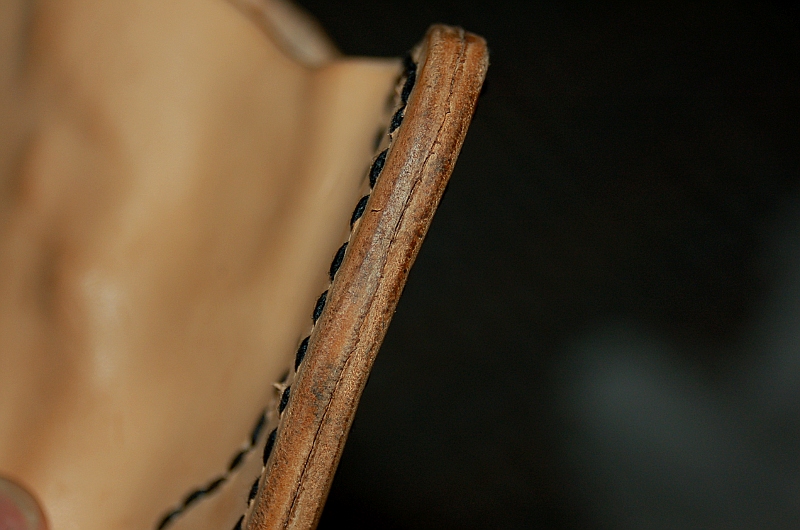
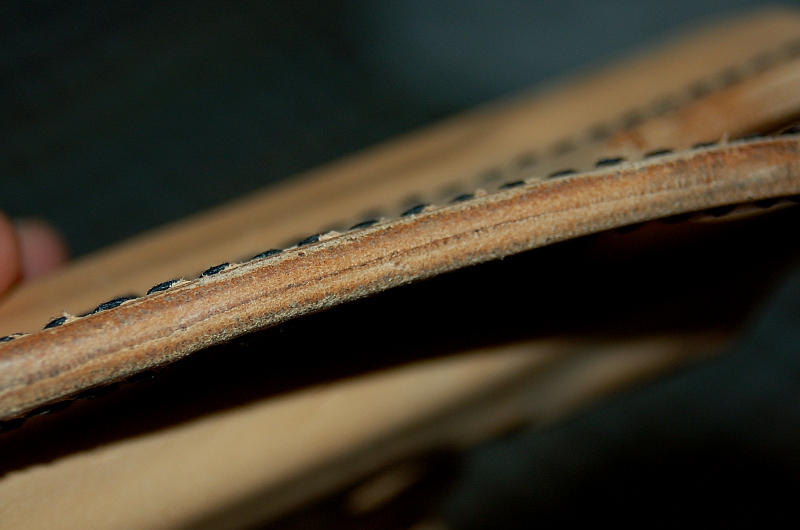
I burnished the edges and I'm impressed how a little gum tragacanth and a plastic boning tool can make the edges so smooth. I'm going to put the 'tan-kote' on tomorrow to finish it up.
This stuff is fun. I'm already working on my next holster (in the drawing stages): another OWB pancake holster for a S&W 65.

-
Very nice first attempt. Good basic design. Nice forming work.
You have already commented on the belt slots, so no more needs to be said on that. Just about every one involves some learning and experience always results in improvements.
Thumbs up!
Thank you for the compliments.
I worked on a 92 holster last night too....heh...great minds.Good work on the first holster. What weight leather did you use? Hand stitched?
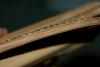
7-8oz shoulder. Hand stitched. I used a drill for the holes, but I'm thinking one of those 4-prong punches would be easier except for around curves where I'd need a single punch. It took me 8-10 tries to find the right sized drill bit...settled on something right around 1/10"...the thread was thicker than I thought.
-
Let me know what you think.
The one thing that'll be corrected on my next one is the placement of the belt slots. One side is too close to the edge, I think. It'll probably hold up, but it still bothers me.
Still needs the tan-kote protective layer.
-Thanks.


Convection Ovens For Drying Holsters
in Gun Holsters, Rifle Slings and Knife Sheathes
Posted
I popped my latest one into our big oven at about 100 degrees (I guess...?) after it had dried naturally for about 18 hours. Seems like it got a lot of the ambient moisture out and made the leather stiffer than air drying would have. I think I'll stick it in again right before I put the tan-kote on so I get all of the ambient moisture out.