


ljensen
-
Posts
71 -
Joined
-
Last visited
Content Type
Profiles
Forums
Events
Blogs
Gallery
Posts posted by ljensen
-
-
Thanks for sharing the pictures and some of your tips. I really like the looks of the quirt. I will have to try the pressure washer some day.
-
That's a great idea.
-
Very nice as usual. What was your string width?
-
I would second the thought about using paracord to practice. When I started out, I would practice braiding or tying buttons at night with the paracord. It really helps to understand the basics and also see the patterns or designs.
-
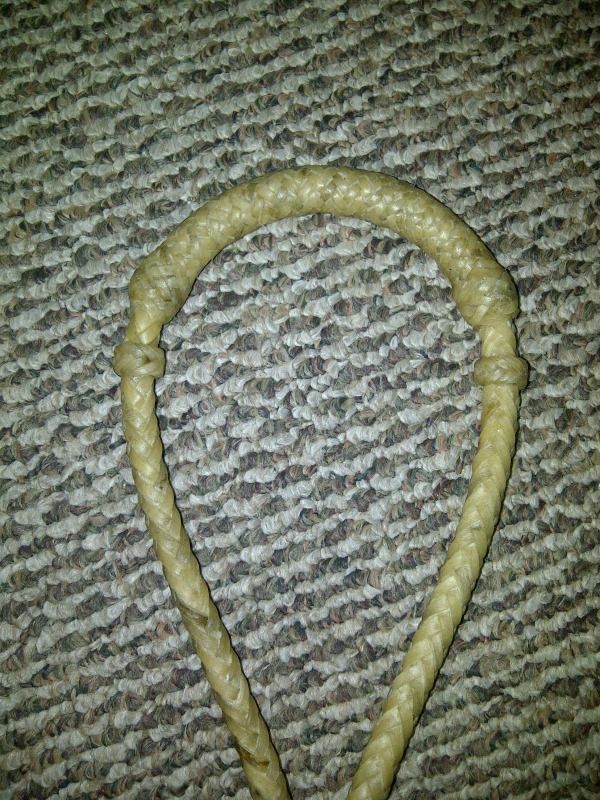
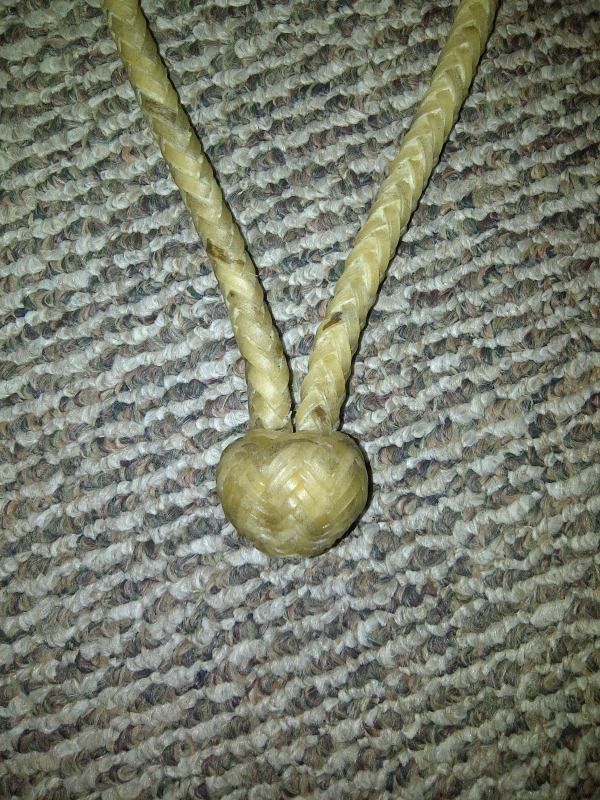
Very nicely done for your first bosal. I love the heel knot. You did very well on that. The braid itself is very nicely done and appears from the photo to be evenly done with an even hand. The ring knots on both sides look good as well except for the one on the right side where it tends to look a bit tighter on one side. I even had problems with my ring knots doing that for the longest time. The nose button looks good as well except for the ends where they creep up on you as the lace dried. I think I remember some where in Alan's tutorial about leaving a little extra at the ends on the nose button to allow for shrink as the lace dries. But I could be wrong. But I still love the whole project and I must say " WOW " on such an awesome job. Well done and I do look forward to seeing more of your work in the bosal area.

B...
Thanks Brian. I have the hardest time getting two ring knots to look the same.
 The nose button really needed an interweave on both ends as there was a little gap between the strings. I couldn't figure out an interweave for the gaucho and I wanted to complete the whole process, so I let it slide as a learning experience.
 I sure sweated the heel knot since I ended up with no extra length from the foundation string. I had to go back and re-tighten the foundation to gain enough length to finish the last pass.
I have certainly left room for improvement, but it sure was fun and there were some great
 moments.
 -
I finished my first bosal and thought I would share. It was a great learning opportunity and I had some Ah-hah moments during the process. Some of the things that I need practice on are the nosebuttons and interweaves on the heel knots. I followed Alan's bosal tutorial for the nose button and referred to Grant's book for the turnback. Somehow I zigged instead of zag because I ended up doing a gaucho instead of the pineapple. I apologize for the picture quality, I snapped them with the phone last night.

-
I wanted to say thanks to Alan for taking the time to create this tutorial. I finished my first bosal over the weekend and I sure did a lot of referring back to this tutorial throughout the process.
Thanks again,
Logan
-
That looks great. Your work is amazing.
-
Thanks for sharing. That is a head scratcher.
-
Looks nice.
-
Do you have a picture of the one you have? It would be neat to see.
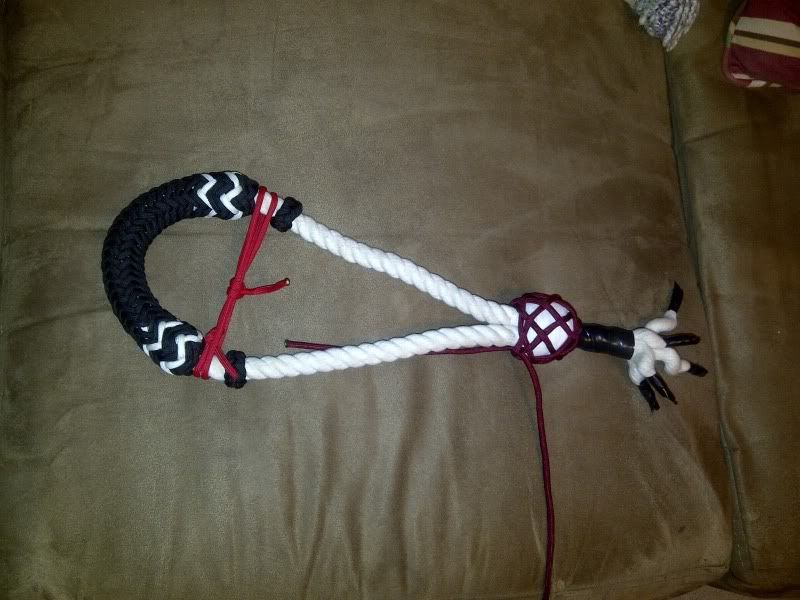
I was experimenting over the weekend and came up with this honda. It has some weight to it and should sail if my arm doesn't get tired. I'm going to do another on with one less wrap.
-
-
During the Elko Poetry Gathering, they are doing a 4 day braiding workshop. I'm trying to drop enough hints to my sweetie so that I can attend.
-
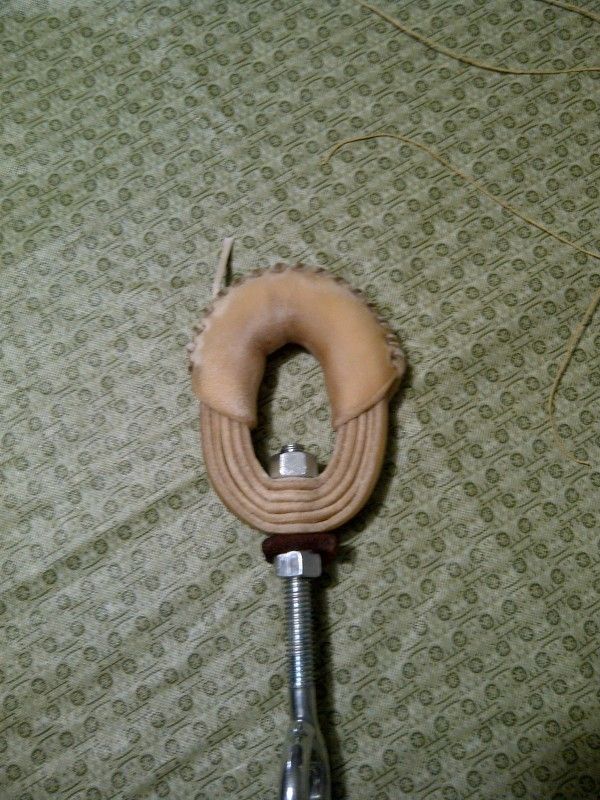
For a while now, I have been wanting to build a bosal, but the nose button has given me problems. Recently I finally had the time to sit down and study it with the help of Alan's pictures. I started practicing with paracord and a thick cotton rope as the body. After tying it several times, I am comfortable enough to pull out the rawhide. I have continued through the process with the practice bosal with the thoughts of using it for training colts. I took a picture last night after I had started working on the heel knot foundation. I had left the core in the paracord so that is why there appears to be a couple gaps in the nose button.
Thanks again to Alan for taking the time to explain his process of building the bosal.
-
-
I enjoyed reading the book and also watching movie. The book had a lot of great history and stories.
-
Did you de-hair it with lime?
Enrique
Yes, I used lime to slip the hair. I used a big water trough this time instead of the 50 gallon barrel and it was easier to stir everyday. I had to adjust my lime concentration and wait time though because of the extra water.
-
Its that time of the year when the sun is set by the time I get home and the thermometer has to put a coat on. This means less working outside and riding, but more time to braid. It is going to take some time to get caught up on all the new posts since I last visited.
I did get a fresh hide several weeks ago from a butcher steer and it is about ready to come off the frame. Here are a couple pictures from the processing activities.
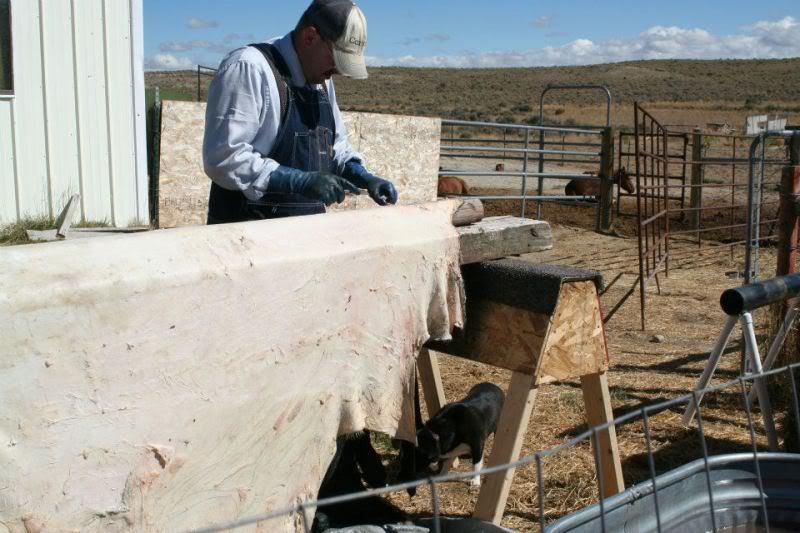
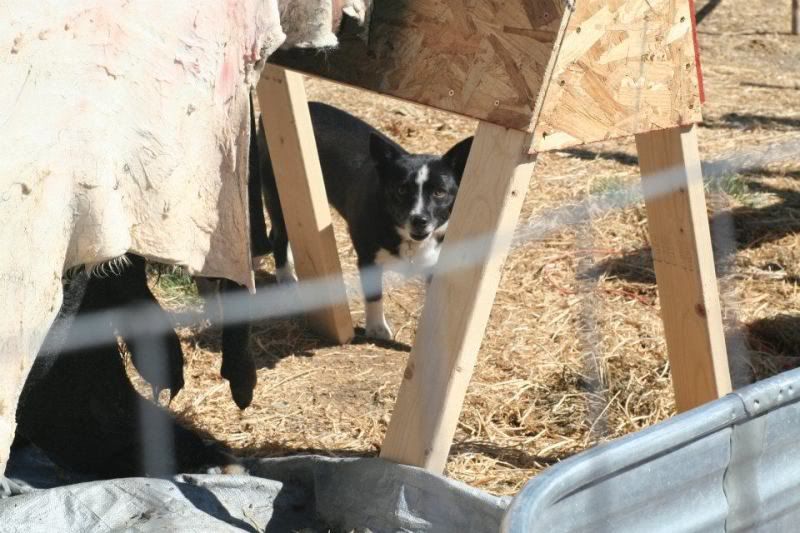
For some reason, only the dogs like to hang around during the fleshing.
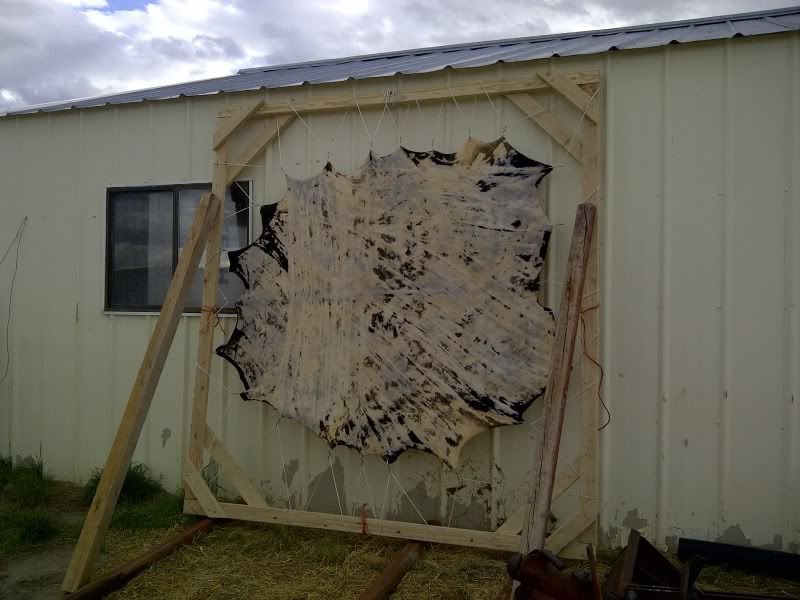
For some reason, the hair really did not want to slip from this hide. The dark spots are the remaining skin pigment (I'm guessing).
Hopefully I can get some projects done and some pictures posted. Hope everyone has a great day.
LJ
-
Thanks Alan. It could have been not enough stirring while it sat in the lime solution. You mentioned that the spot wouldn't be good for anything, how can you tell if a section of hide is good or bad?
I appreciate you insight since this is the first hide that I've done.
~ Logan
-
Last fall we had a cow that had a large cancer mass on her rear end so we put her down after weaning last fall. Skinned her and limed the hide and it sat on the stretcher unless the other day when I finally got around to cutting it up. Here are pictures of the before and after.
White cow
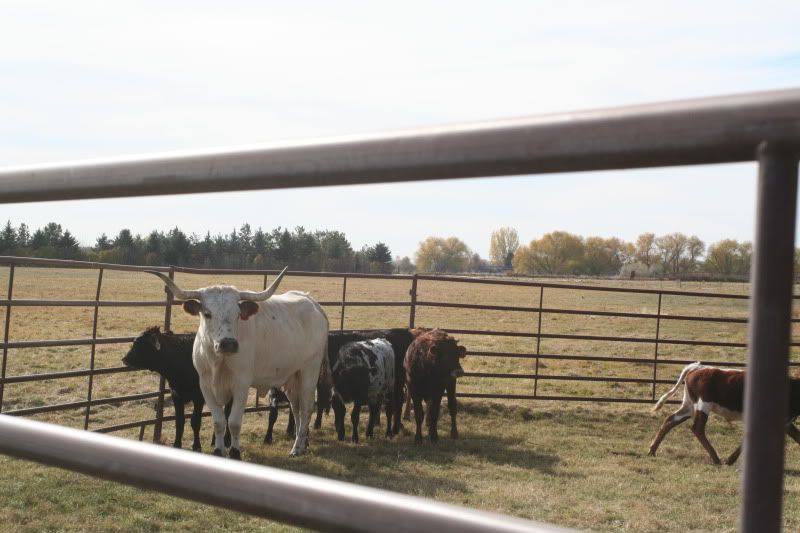

I was just curious why there was the large white area on the hind end area. It was really thick to cut into a round. This was my first cowhide so I don't have any experience to compare this to.
-
Looks real good Bret. How is the clasp attached to the rawhide?
-
I like, I like.
-
Alright, after looking at the pictures again, I see the slit braid.
-
Thanks for sharing your steps. It is great to see how many different people have.
On your initial loop, are you twisting the strands to make the loop section or did I miss something? Also I like the speed burner idea cause I dislike putting on the rawhide burners.


Leather Grease
in Braiding
Posted
I used this recipe last time I made some with a couple minor variations. I added a small amount of olive oil after the lard. Once everything was dissolved I removed it from the stove and poured into a large mixing bowl. I used the handheld mixer and whipped it two times while it was cooling. The mixture will expand the more it is mixed. Before it set, I poured it into two large plastic containers.
This has the same feel and texture as the store bought "Vaquero Rawhide Cream".