


2Yutes
-
Posts
12 -
Joined
-
Last visited
Content Type
Profiles
Forums
Events
Blogs
Gallery
Posts posted by 2Yutes
-
-
I've got one currently listed too if anyone's still interested. Here's the link:
-
Still for sale.....
-
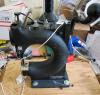
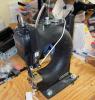
Looking to sell my Tippmann Boss leather stitcher. The machine works perfectly. I used it in a pro holster making business for about 2 years before my arthritic hands made leather work tough. It works perfectly fine.
I have either 5 or 10 extra spools that will come with it as well as the LED light (you can see the light in the photo) as well as at least one, possibly 2 spools of thread perfect for making holsters and whatever needles I have laying around.
I'm asking $1025 for all plus $25 shipping (continental US only). The machine works perfectly well. I just made myself a holster with it about 2 months ago.

-
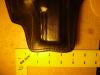
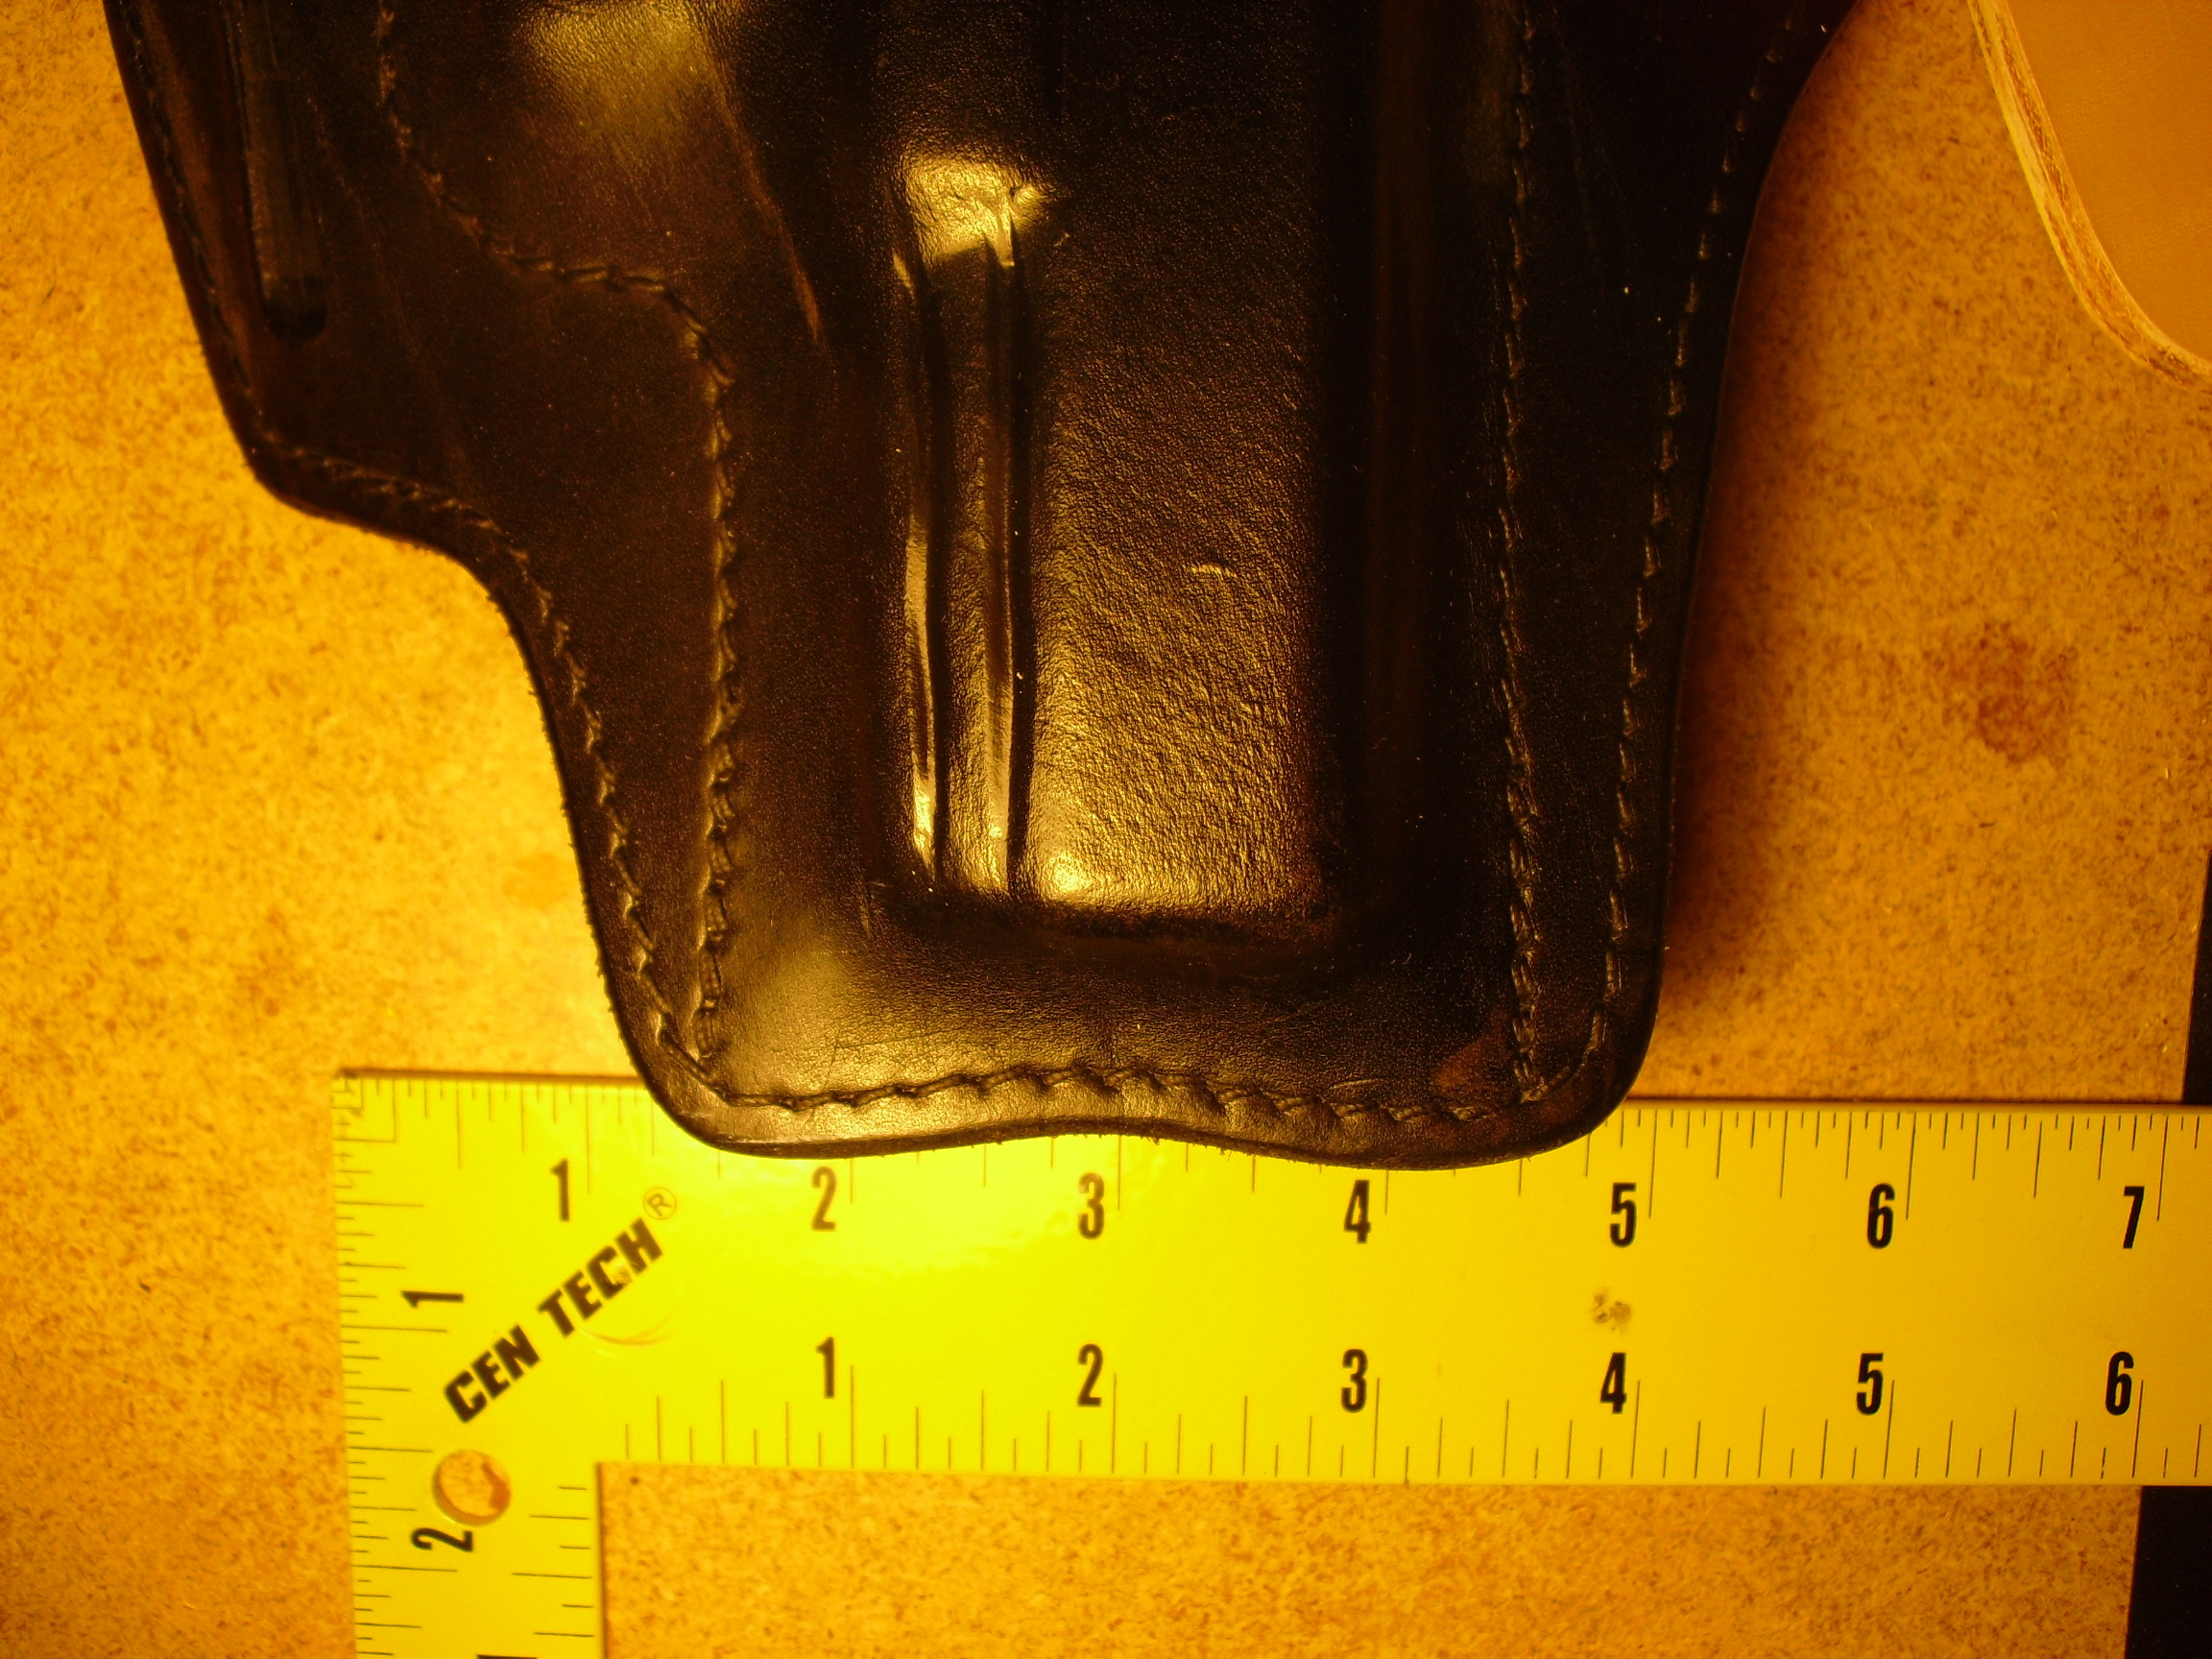
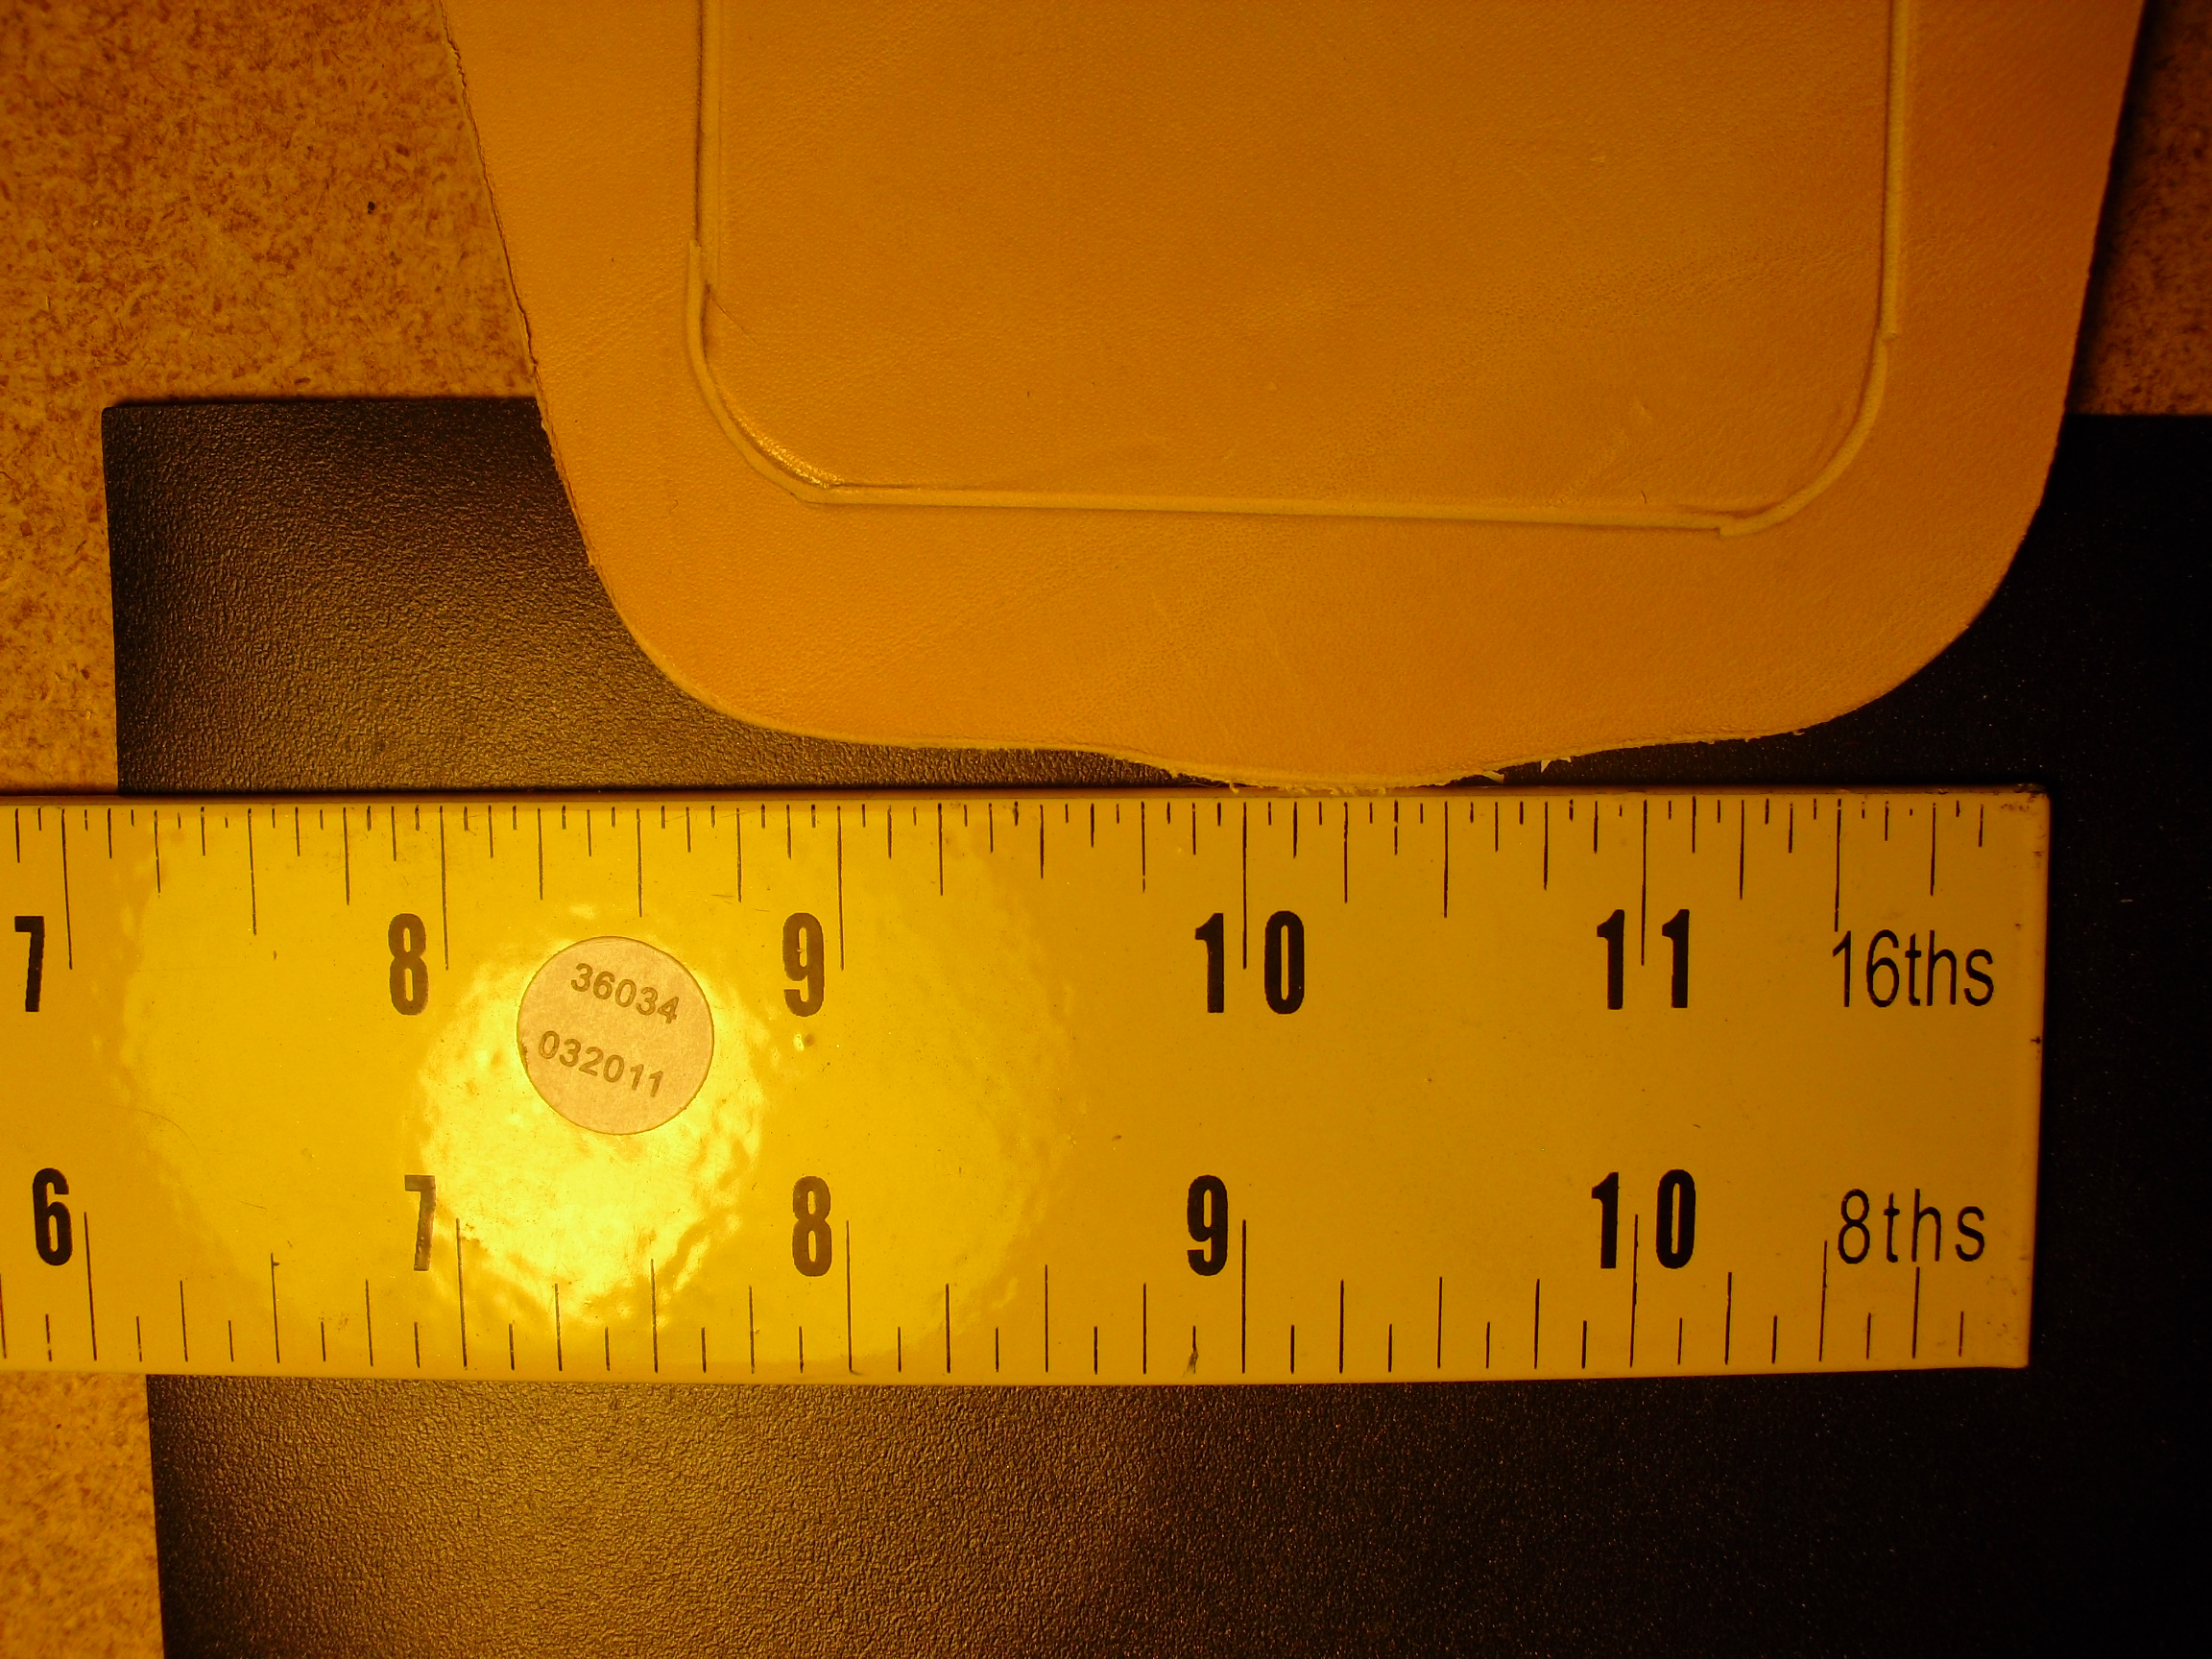
Here's a bit of a trick.....I bought myself some 1/8" or even 1/16" thick plastic (depending on how deep you want to go) at McMaster Carr and stenciled some crazy cool letters in marker on it. I then cut out the letters with an xacto knife and then cleaned up the edges with my dremel and ta-dah.....a cool looking set of letters that are deep enough to emboss in damp leather. I use them to put customers initials on my holsters. I have a clicker press so I just place the letter where I want it and press down on the press and it makes an as-deep-as-needed impression.
You can also call any laser engraving place and they can make you a set out of hard plastic for embossing into leather.
I made this holster below using one of my custom made letters after an exhaustive search for something better:

-
Do most of you that use these use them on a dremel or a drill press? I'd like to try one but I'm not sure which would work better.
I just recently purchased a 1/2" chuck drill press from Northern Tool or Harbor Freight - about $40 on sale - to make a permanent burnishing station but before that I was using a Dremel with a drill press stand for a number of years.
The attachment worked great...it was similar to this one: http://www.amazon.co...11335403&sr=1-1
I am a near full-time holster maker and the Dremel worked well enough for a lot of years and is very handy obviously for other things as well. The drill press is just a bit sturdier and more heavy duty so I can really lay into the burnishing tool without tipping it over (I never attached it to my bench).
It's personal preference really. If you are going to do a lot of burnishing over a long period of time, eventually you'll probably end up with a drill press but if you are going to be a hobbyist, making 1 to 3 holsters say a week, then the Dremel will work just fine too. I still use my Dremel press every day to do some fine sanding and other things....now I don't have to change out bits as frequently though so it saves a little bit of time I guess.
BTW Spinner....at first I wasn't so sure about that radio tower thingy at the bottom of my burnisher but it proved to be extremely useful burnishing the insides of my belt slits on my holsters and those little nooks I was never able to reach before. I've got people asking me how I got the inside of my belt slits to appear seamless....a little beeswax rubbed in there after a drop of Gum Tragacanth and then I slip the belt slit up around the radio tower thing at the bottom of the burnisher and it works great.
-
Even the grumpy old katsass got one ...and likes it! If I can locate the right motor with a 1/2" threaded shaft, a good chuck will go on it and a 'permanent' burnishing station will be created.....just because of this little goodie. Thanks Spinner
I just picked up on sale a really decent drill press with 1/2 chuck at Harbor Freight. It's 69.99 but I got it on sale for $39.99 I think it was a few weeks back.
They've got a 20% off deal right now for 4th of July if you act quick:
http://www.harborfreight.com/5-speed-drill-press-38119.html
I too made a permanent burnishing station. No more changing out bits.....works great and the factory speed was perfect for burnishing.
-
Hi Guys,
As a professional holster maker, I usually don't get too jazzed over a fairly simple tool but I know that a lot of amateurs here will try their luck at making their own holsters and there are also a lot of other active pro holster makers that read these boards so I wanted to give props where props are due.
Chris over at Three Mutts Customs made me a pretty sick custom burnisher. His site is at http://leatherburnishers.com.
If anyone has ever burnished an edge of leather, you know what a pain it can be without the right tool. I can tell you that for the small price I paid, this tool will save me boatloads of time. Previously, I was using a really old tool I made myself. It was out of balance and very difficult to use. This new burnisher seriously looks like a piece of furniture - made of hard cocobolo wood and is balanced flawlessly. It's so pretty I almost didn't want to foul it up with wax and dye and what not....but I did

This particular version was custom made for me per my specs. I sent Chris a drawing of what I wanted and he made an exact copy.
If you are a pro or amateur leather worker and have been working with a jerry rigged burnishing tool, I highly recommend these guys for edge burnishers. With Chris doing what he does and the price he charges, there is absolutely no need to attempt making one yourself - its just not worth the effort. This is a real deal tool. Excellent craftsmanship and perfectly well balanced on my drill press - not even a bit of a shake or nothing. They make them with smaller shanks for Dremels as well as larger shanked burnishers for drill presses. Mine has a 3/8" or 1/2" shank. What else can you ask for?
2 thumbs up for LeatherBurnishers.com


-
That's probably just Feibing's Edge Kote. I use it all the time and it gives that rubbery, shiny appearance.
-
I was unable to convince a friend of mine that he didn't want a closed bottm on his holster. The holster is finished but it puckered at the bottom. I have begun a second one, this time I am extending the leather about a 1/4 inche on the bottom to add another row of stitching. Will this be enough to correct the problem or do I need to add leather in just the puckered area. Hopefully the pics com through.
Thanks,
Terry
Here is a possible remedy
Those pics were so large on my screen I could not even view them however, if you are referring to a bit of puckering around the turns at the bottom, the best way to get rid of them is to work the heck out of the leather while its wet. The leather's got plenty enough give to it when wet that you should be able to bone the curves smooth,,,just keep working the leather until it smooths. If it gives you a hard time, its probably not damp enough.
-
ok, thanks for the reply.
-
Do you still have any guns for sale? I have to make a holster for the HK P200SK - but its got to be the SK version.


Tippmann Boss For Sale - Works Perfectly
in Old/Sold
Posted
Its been sold. Thanks.