


Rocket6R
-
Content Count
25 -
Joined
-
Last visited
Posts posted by Rocket6R
-
-
You forgot the final and most important step, take a picture and post it here.

Will do! I should be finished within a few hours and then will posts pics either tonight or tomorrow.
-
I applied a second coat of USMC black dye yesterday to try and cover the brown leather spot that was showing through. I put a second coat on the entire leather holster. I let the dye dry and buffed the holster. It worked out very well. The dye is back to being uniform and has 100% complete coverage. This afternoon I'll put on Fiebing's leather sheen and top it off with Kiwi neutral shoe polish.
-
I let the USMC black dye dry for about three hours. I then rubbed the holster with a wool rag. The result was awesome. The dye was even and uniform throughout. I then used a dauber and applied a light coat of neatsfoot oil on it. For whatever reason the dauber pulled up a small amount of the dye in an isolated area about the size of a quarter when I applied the neatsfoot. I can see brown leather now in that spot. I'll let the neatsfoot soak in and then try to re-apply the USMC black dye to that area. I hope it works.
I only applied one coat of dye since the first coat was so good.
-
Thanks everyone with the responses.
I just applied 70% alcohol to deglaze the holster and rubbed the alcohol in with a cotton rag. While the holster was still damp I applied a heavy coat of USMC black to the holster using daubers. I'll let it sit for a few hours and then try buffing it and then apply another coat of USMC black. I do agree that there's sort of a brown hue to it. Once I'm satisfied with the black finish I'll put a light coat of neatsfoot oil on it then let it sit overnight. I'll then apply 2-3 coats of air brushed Fiebing's Leather Sheen and the final coat will be Kiwi's neutral shoe polish. Actually before I spray the finish on I'll take care of the edges.
I'll keep the thread updated with how the black coats turn out.
I think my next holster I'll use the Pro Finish as suggested.
Thanks again, Paul
-
Apply Neatsfoot oil, Let dry overnight, then APPLY FIEBINGS PRO OIL BLACK DYE...
Again, I'm using Fiebing's USMC black dye.
-
Guys and gals, I’m trying to get the best outcome I can on my holster and will use the USMC black dye. My question is do I dye before putting neatsfoot oil on the holster or do I put the neatsfoot oil on and then the dye?
Thanks, Paul
-
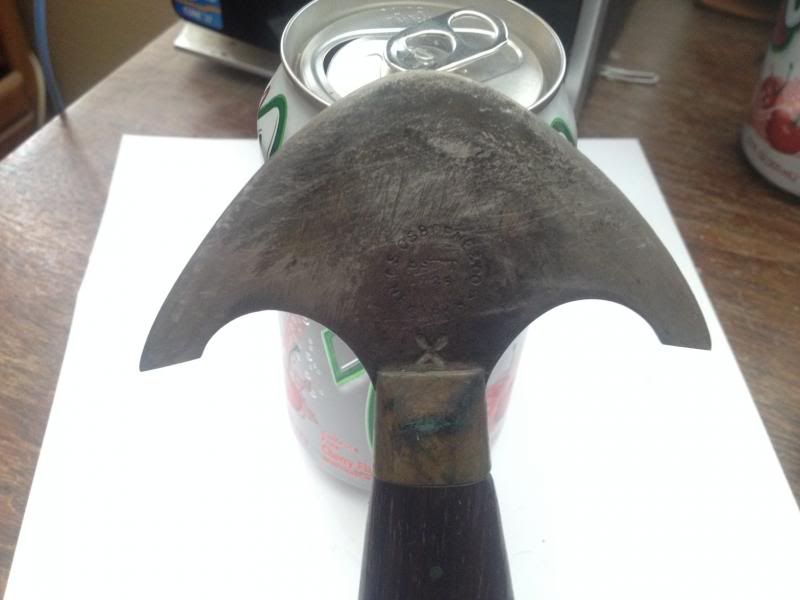
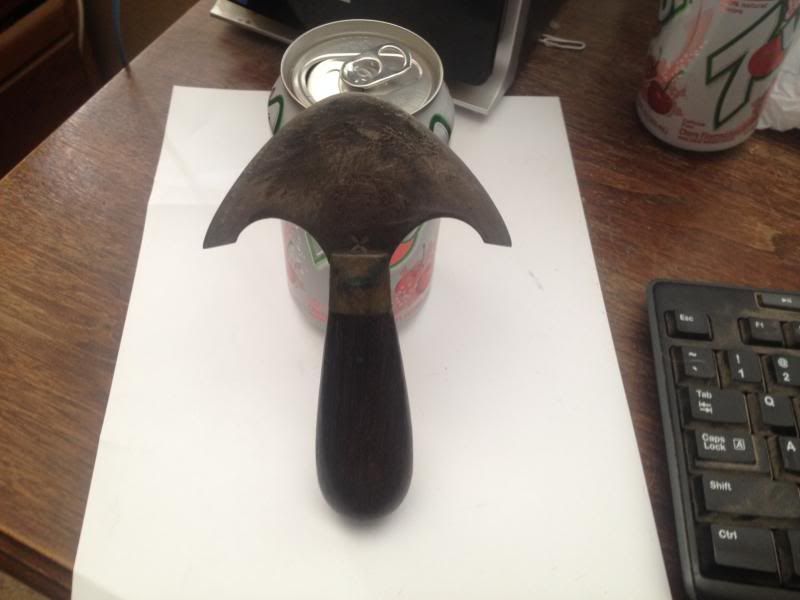
Something else if you are continuing to look, it has been sharpened a lot and that has altered the shape and width of the blade. Just looking, I would guess that 1/2 to 3/4 of the width is gone and the sides which began life as a graceful curve are a lot straighter.
I noticed that too, the shape of the blade. I would assume that my great grandfather bought this round knife second or third hand. The knife was made about the same time period he was born.
-
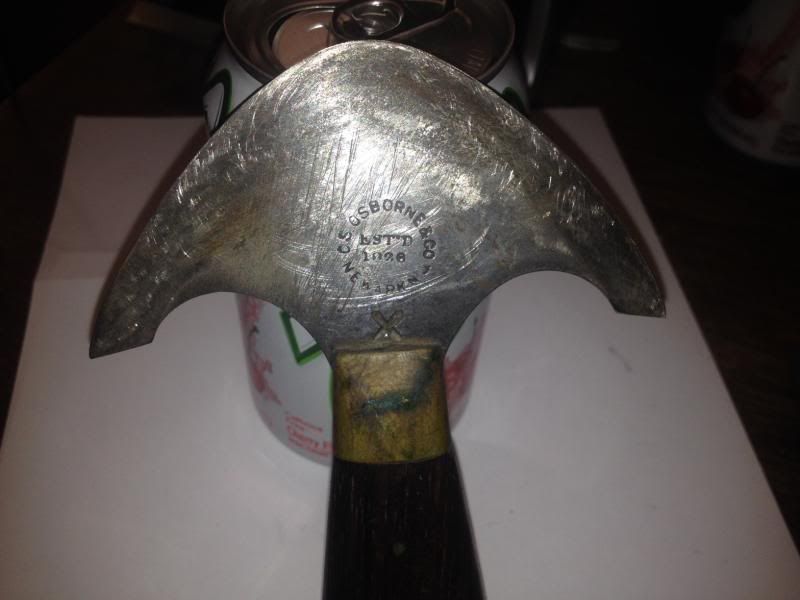
Your knife could be 1890s or thereabouts. I have an 1897 catalog reprint with the "X" marks on the knifes. The usual knives were 6" wide, the "X" knives were 6-1/2", the "XX" knives were 6-3/4 and the "XXX" were 7". The single X knives then were $1.84.
Bruce, thanks for taking the time and posting that information. I looked all over the net and couldn't find anything about the age of my round knife. However, I think I may have found an earlier post from you that indicates Osborne moved locations in 1906 and the Newark stamping was therefor no longer used.
Thanks again, Paul
-
My aunt had a lot of leather tools that my great grandfather had. He passed away in 1977. He did most of his leather work in the 1940's and 1950's. Anyway, she found out I was involved with leather work and gave me all of his leather tools. Pictured here is an older Osborne round knife. Any idea when this particular round knife was made?
Thanks, Paul
-
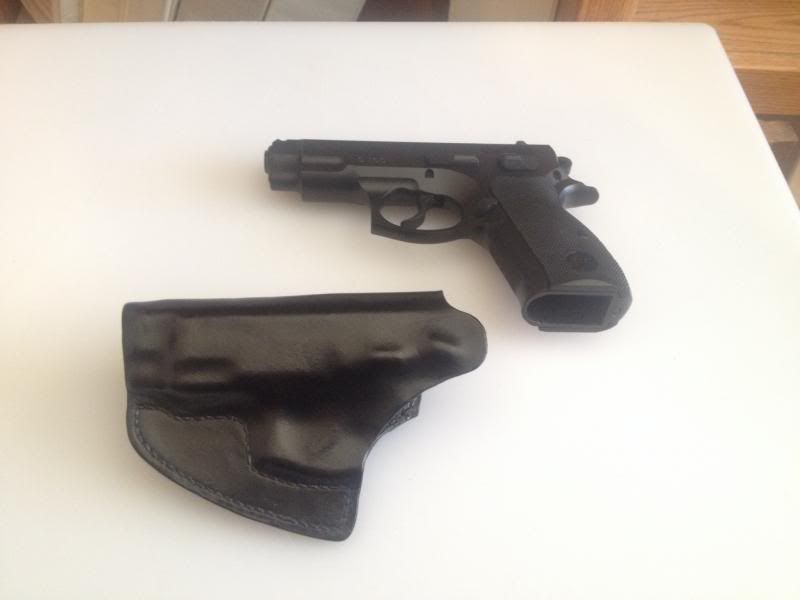
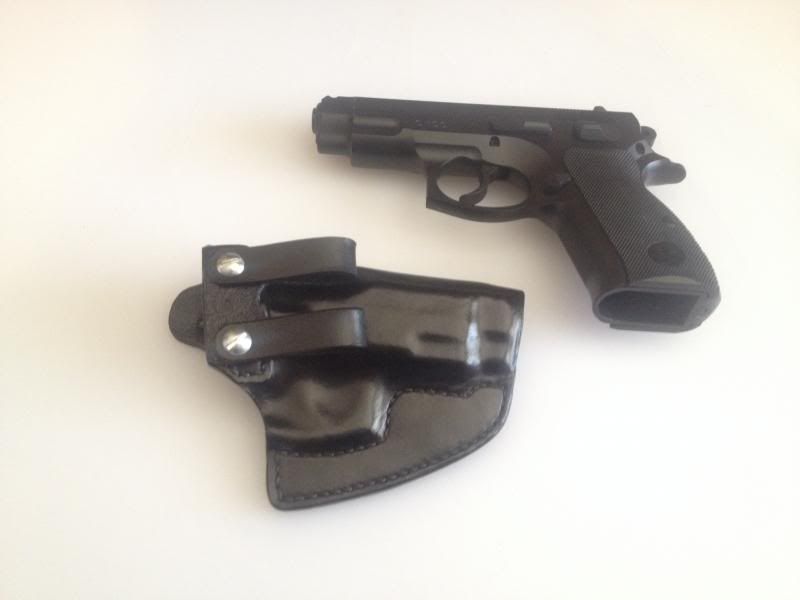
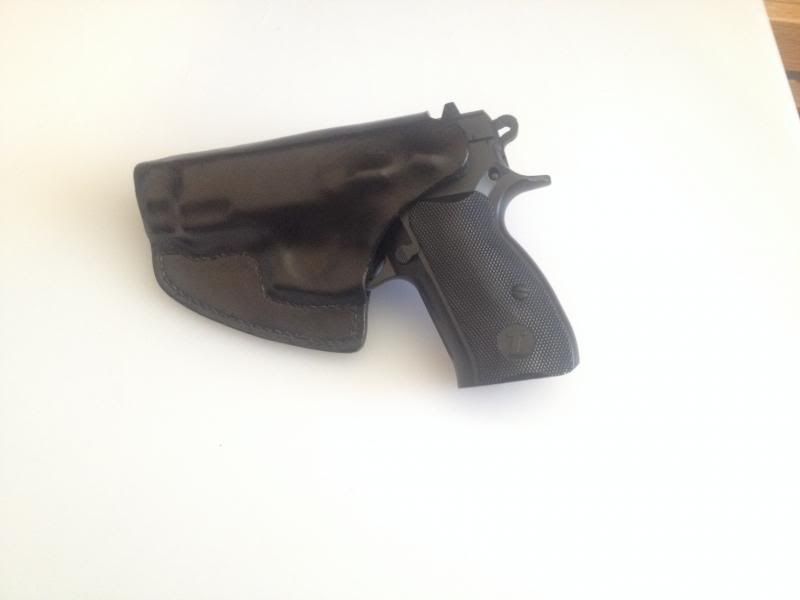
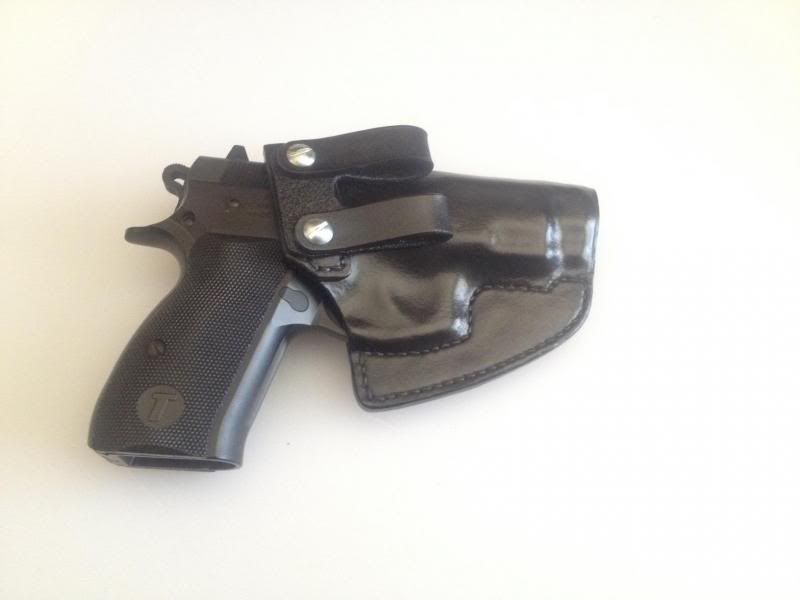
It's finished! I redyed the holster and then put my acrylic spray on it. The blotchy spots went away. I now have a solid uniform black color on the entire holster. Actually the holster turned out pretty nice. Thanks to everyone who offered suggestions.
-
Well, I just put neatsfoot oil on the holster and it turned out blotchy. Some of the brown leather is now showing through the black dye. I'm getting ready to throw this holster in the trash can. Maybe there was something right about what the Tandy guy said.
-
OK, I'll oil the the holster tonight and see how it turns out. I'm wondering if the wet molding and the drying shrank the leather. I did not try to put the pistol in the holster after it dried. I did dry the holster in a toaster oven for one hour at 135f.
-
I was able to get the pistol into the holster without wetting it. However, the holster has indeed shrunk from front to back. I now have more of the trigger exposed and the safety shield molding area no longer fits the safety. It looks like the holster shrunk front to back by about 1/4". I not sure there's a way to fix it.
Another question, since this holster is dyed should I now apply neatsfoot oil before using my acrilic finishing spray, or the acrylic spray first then the neatsfoot? I spoke to a local rep at Tandy and he said to use the acrylic spray first then the neatsfoot because applying the neatsfoot after the dye could cause the dye to become uneven and blotchy. Any thoughts?
-
I made an IWB holster and just finish applying several coats of Fiebing's Leather Dye (black-alcohol based). Anyway, after letting it dry I rubbed the dried dye off in prep to put neatsfoot oil on it. Out of curiosity I put my pistol into the holster and it will not fit all the way down into the holster. It's just a 1/4" shy of fully getting into the molded holster. Do you guys think that adding the neatsfoot oil will take care of the problem?
Thanks, Paul
-
Are you heating your holsters after they are molded to make them stiff or just going with how they are after they dry? 10-30 minutes at about 150-200 degs really helps them stiffen. The object is to get the leather temp up to 135-140 for a few minutes. How long and what temp you use depends on the thickness of the leather and your oven.
Try it on some scrap if you are not doing this yet. Watch it as it can burn pretty fast if you are not careful.
I have been drying the leather in a toaster over. I do 100 to 110 degrees for 60 minutes and then let the holster air dry for 24 hours.
I spoke to a friend of mine who knows more about leather work than I do and explained the issues to him. I think he may have found the problem. These shoulders have some part of the neck on them. I used part of the neck on the shoulder to make this IWB holster. He said that was the problem. He told me if I had stayed away from the neck portion and used the actual shoulder I would have been fine.
Paul
-
About two years ago I bought a single 8/9 oz. shoulder from Tandy. It sat in my closet since then. Anyway, I pulled the shoulder out about two months ago and started to make holsters, which turned out pretty good. I soon ran out of the Tandy leather and bought a HO single 7/8 oz. shoulder from Springfield. I was less than thrilled with the HO leather from Springfield. When I ordered the HO leather from Springfield I specified a "clean B grade" shoulder. Between the two shoulders Tandy had a better tanned surface, but the Springfield HO leather had better backing. Overall the Tandy leather was a better piece.
Here's my issue!
I wet formed and dried both Tandy and the Springfield HO leather the same way while making my holsters. The Tandy has held its form better and the holsters are harder. The Springfield HO stuff is not as hard (more supple) and does not hold its form as well.
My question is could the difference in 1 oz. in leather be the difference between the hardness and form issues between the two shoulders? Or, is it the difference on how each shoulder was processed?
Thanks, Paul
-
Tiger thread and fil au chinois thread both have the right amount of wax out the box. Any thread that has too much wax isn't that high of quality, although there are some that are good. Linen thread like barbours comes with no wax.
The way I do it is to thread your needle onto the cord and pull from one end to the other.
Wow! Thanks for the tip. I took a 24" piece of thread and put one end through the eyelet. I then pulled the thread through the eyelet. I had a BB sized piece of wax that now built up on the eyelet of the needle. I removed the wax ball and examines the 24" of thread. The thread now feels lightly waxed and more appropriate for my stitching work. Thanks for this simple solution.
Paul
-
I’ve got some Tandy black waxed 5 cord thread. There’s so much wax on it that I get wax all over the leather and the awl holes are pretty caked with it. Anyway, is there a good way to remove some or all of the wax? If I remove all of the wax I assume I can re-wax it with beeswax or paraffin, right?
Thanks, Paul
-
When I make an avenger holster the main body is cut out then the re enforcement piec. I locate the belt slot location on the re enforcment piece then lay the renforcment piece on the main holster body laying flat. I make wure the everything lines up now I glue and stitch the reenforcement piece in place. I then stitch along the bottom of the holster and the top of the holster (stopping before the are that will be stitched together to form the main seam. Once you are readey place glue in the apropriate area then fold glue and stitch the main seam. As long as the re enforcment piece lined up when the holster was laying flat it will be ok. WHen you glue and stitch the re enforcement piece the the holster body it becomes one piece of leather and will act accordingly.
I think I understand your post. Simply cut the top piece the same length as the bottom piece, then glue and stitch. When the two pieces are folded over after they are stitched it should line up, right?
Thanks, Paul
-
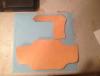
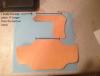
Here's the pics.
-
I have a question regarding the Avenger style holster I’m trying to make. I noticed that when I bend the main part of the holster over I lose some length off the top portion of the second part of the holster. I decided to add .4” to the top of the second part of the holster. Now when I bend the holster over the two pieces match up. Is adding this extra length necessary or if I don’t add the extra .4” in length will the leather stretch enough after glued to match up?
-
Thanks for both responses. At this point in time I think I'll just leave the rig alone. I'll put some oil back into the leather and enjoy it as it is. I think if I try and redye it I'll have a mess on my hands and it will turn out worse than it already is.
Thanks again, Paul
-
I have a cowboy leather holster and belt that is dyed whatappears to be similar to a British tan color. The rig is pretty weathered and I’m assuming it has some kind of sealanton it. Anyway, I would like to dye itUSMC black. Any opinions on how I shoulddo this? Or, Should I just leave italone? By the way, I did go into Tandy’sand they looked at the rig and said that the closest color was Britishtan. I tried a test spot on the back ofthe rig and the British tan color does not exactly match up, it’s a few tonesoff.
Thanks, Paul


Applying Fiebing’S Usmc Black (Alcohol Based) Dye?
in How Do I Do That?
Posted · Edited by Rocket6R · Report reply
Here it is all finished! Sorry about the poor pics. It's about the best I can do from my phone.
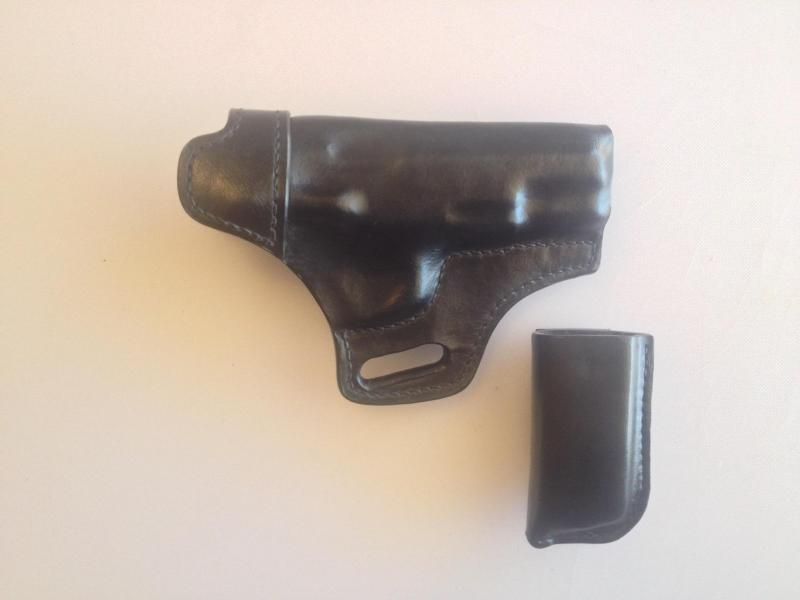
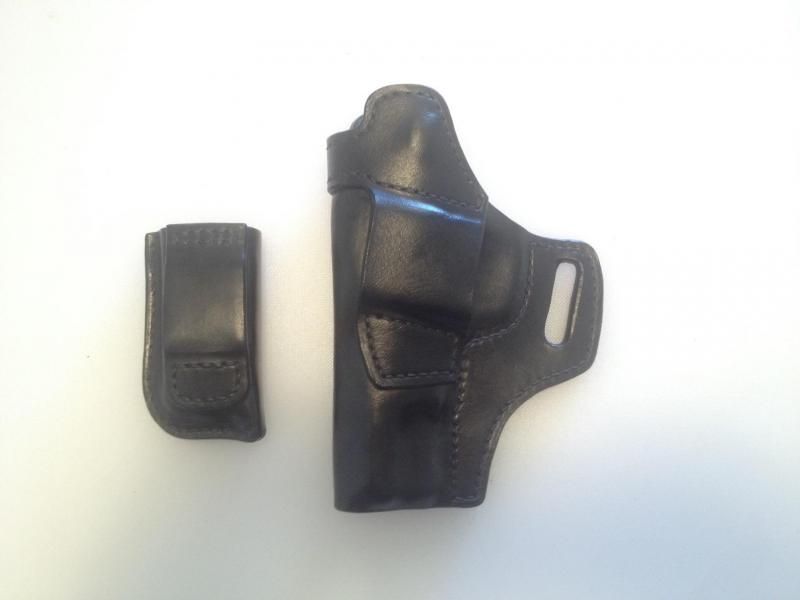
Paul