IslandMoose
Members-
Posts
31 -
Joined
-
Last visited
Content Type
Profiles
Forums
Events
Blogs
Gallery
Store
Everything posted by IslandMoose
-
New 1962 Pfaff barn find ~ Questions
IslandMoose replied to IslandMoose's topic in Leather Sewing Machines
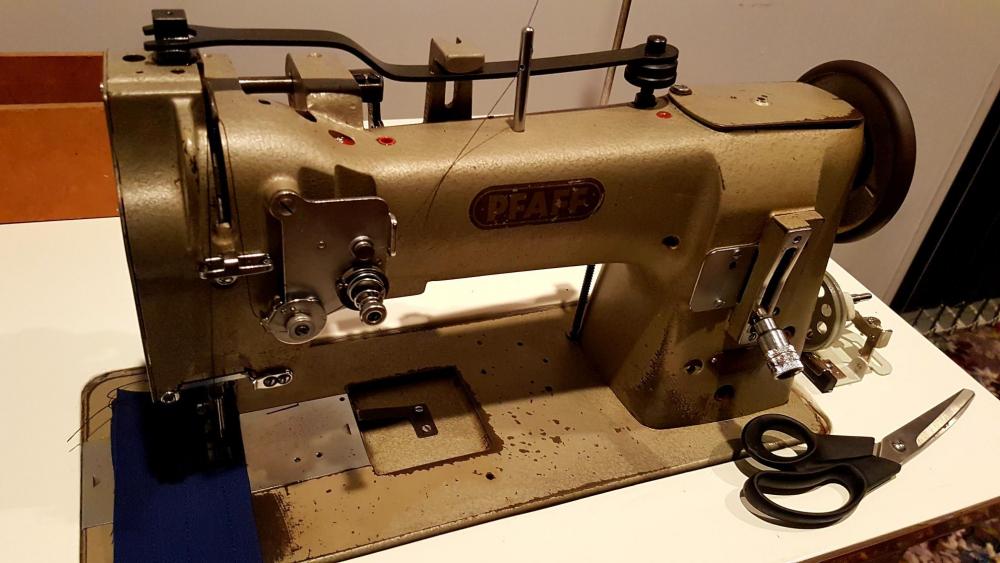
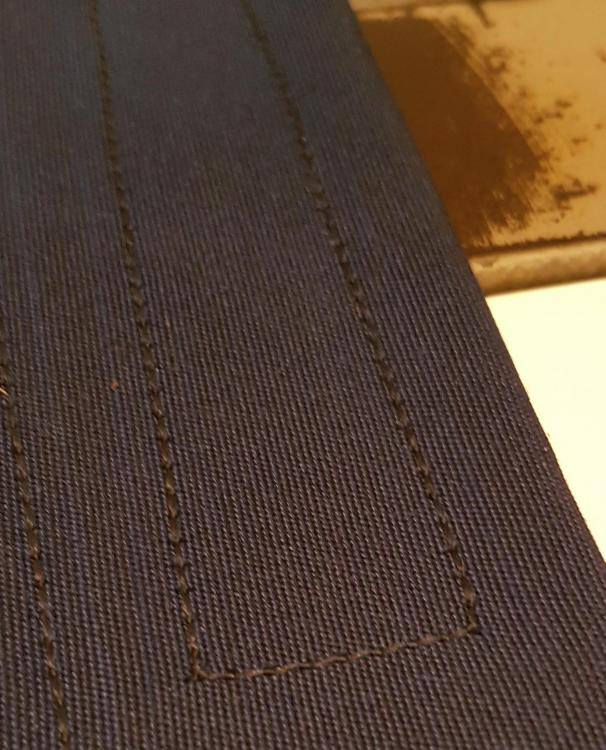
Up and running! Fitted a 550w servo motor, a new bobbin winder, and restored the original table. I cleaned and lubricated the machine, including the grease enclosures, then I timed it as per the service manual. It's giving me some really good stitches in heavy Sunbrella fabric. -
Thank you, I will inspect the cam mechanism, it may be worn out as it does not bind against the plate regardless of how far the knob is screwed in.
-
My '62 Pfaff 145 H2 did not come with hinges. I'd like to get some and fit them to my table. Can someone please share what they feel is the correct part number for the assemblies? Indicative photo attached showing hinges required.
-
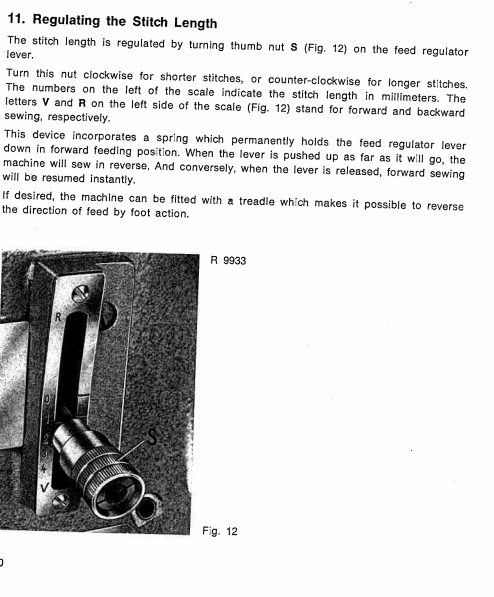
Good day I have a Pfaff 145 I'm 'restoring' and in addition to a timing issue that I can sort, there is a problem with the stitch length selector. The stitch selector sits at the bottom of the opening and cannot be made to stay in any other position. Rotating it has no effect. Can someone help?
-
Thanks all, I might just leave it alone once it's mechanically-restored.
-
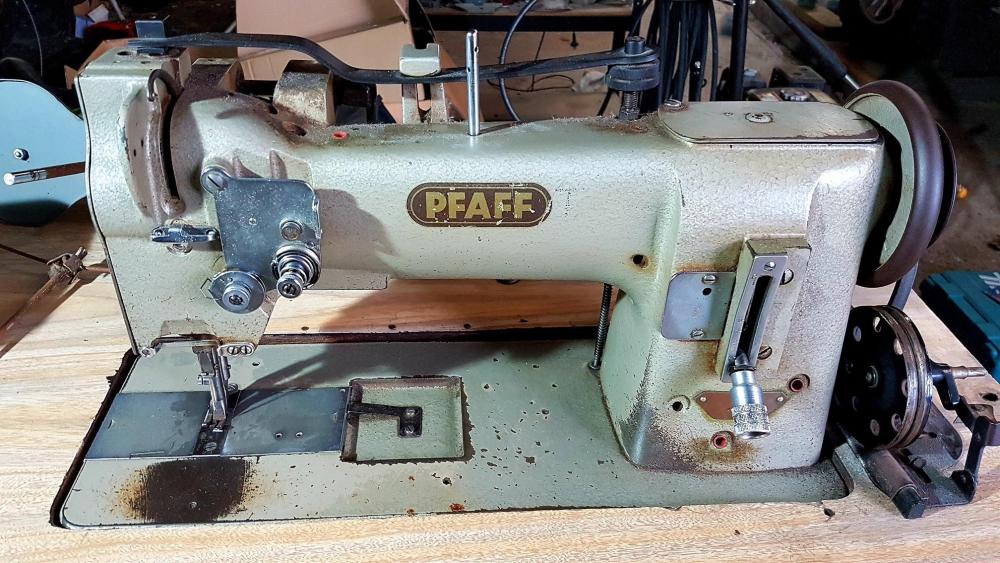
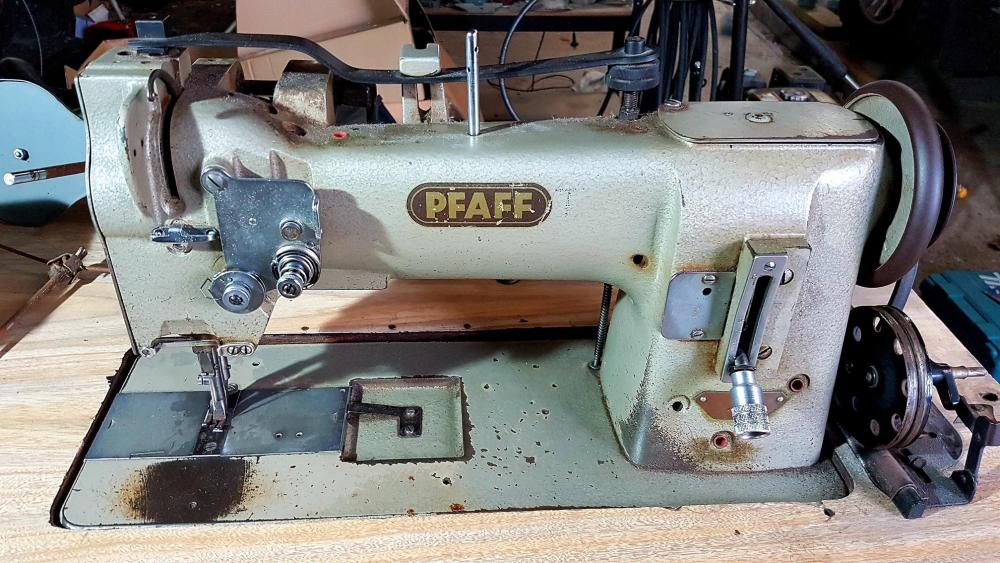
1962 Pfaff 145 Bought it for next to nothing, I've cleaned it without full disassembly with Kerosene. I'm replacing a damaged part, and soon I will adjust it fully into perfect working condition. The paint is quite worn, and I am thinking about what would be involved in a full paint job with new decals. The prep and paint is straightforward, but I'm concerned about pulling it to pieces and relying on an exploded parts diagram to put it back together. Question to anyone who has fully disassembled this or a similar machine...what resources are out there that would assist me to tear down the machine to a bare chassis for re-finishing?
-
New 1962 Pfaff barn find ~ Questions
IslandMoose replied to IslandMoose's topic in Leather Sewing Machines
Ive ordered a replacement, it is not level with the stop tab on the bobbin case, it tries to go under it...explains why it contact the hook. Thank you. -
New 1962 Pfaff barn find ~ Questions
IslandMoose replied to IslandMoose's topic in Leather Sewing Machines
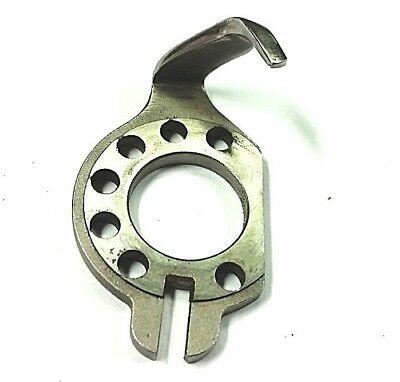
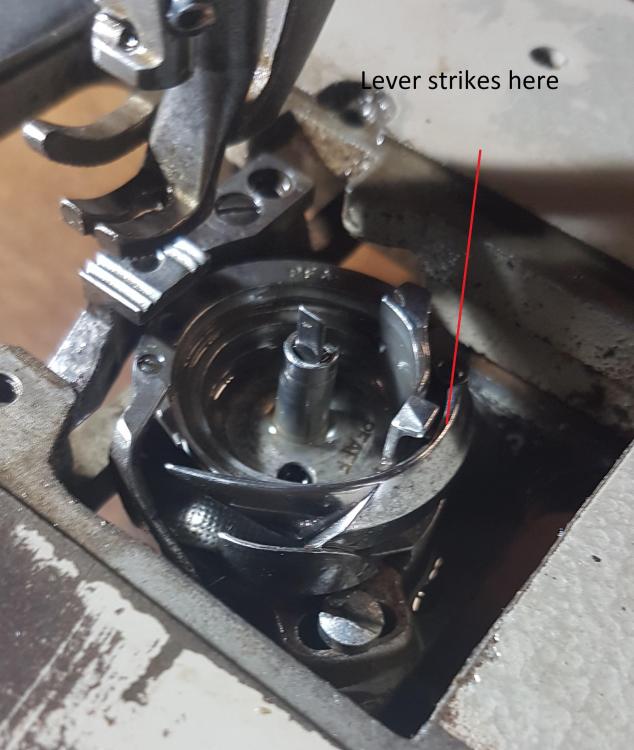
Thank you, but when the needle plate is in and the notch is properly held steady, the hook still revolves around and the top of the hook assembly contacts the underside of the case lever arm (see photo of part I am referring to). It's as though the case lever isn't sitting flush on the lower casting, but it is. -
Good day, I've picked up a Pfaff 145 for a song, its a 145-6/1B H2S. There are a couple of issues with it that I want to address, aside from fitting a servo motor and restoring the table. 1. The bobbin lever comes into contact with the top of the hook assembly, the lever rides over the edge of the hook assembly, but there is considerable contact between the two and the machine binds at that point. With the hook assembly removed the machine rotates effortlessly. I believe the lever is damaged, so I've got a replacement coming. In the photo note I've removed the needle plate, but the lever strikes the hook assembly when everything is in it's proper place. 2. The stitch length lever does not move upward when the knob is rotated. It is constantly set at the longest stitch length at the bottom of it's travel. The lever will go up into reverse, but I cannot select a stitch length.
-
I Need Your Help Again With Needles...sorry
IslandMoose replied to IslandMoose's topic in Leather Sewing Machines
Sorry, I don't even have the sensor. It was extra and I didn't want it. Here it is set at about 80 spm. Going through some 1/8" leather I use for wrapping oars at the oar locks. -
I Need Your Help Again With Needles...sorry
IslandMoose replied to IslandMoose's topic in Leather Sewing Machines
Yes, I've yet to use the positioning sensor in fact. John -
I Need Your Help Again With Needles...sorry
IslandMoose replied to IslandMoose's topic in Leather Sewing Machines
It's a Powermax, which I'm sure is a locally-branded Chinese motor, but is fantastic, 40 programmable settings, including custom mapping of the pedal response. -
I Need Your Help Again With Needles...sorry
IslandMoose replied to IslandMoose's topic in Leather Sewing Machines
Sorted by moving the hook carrier about a mm away from the needle. This allowed the needle to just clear the hook body. I think the hook has seen a lot of miles, but I tested it this morning and it sews very well. The 21 needle has also solved the problem of the knot on the bottom. Very pleased, thank you. Btw. The servo motor, which is full programmable, is incredible, I have it slowed down to a crawl, and it gas incredible punching power. Now to get sewing. -
I Need Your Help Again With Needles...sorry
IslandMoose replied to IslandMoose's topic in Leather Sewing Machines
I've spotted and corrected a problem, I now have the hook passing through the centre of the scarf on the way up, but the needle is still too close by about 1mm. I guess I'll have to get some penetrating fluid for those set screws on the gear. I can't move them, and none of my screwdrivers fit them very well. -
I Need Your Help Again With Needles...sorry
IslandMoose replied to IslandMoose's topic in Leather Sewing Machines
I must have been reading your mind. Here's a photo of the needle-hook strike and the underside of the machine. What average gap should I aim for between needle and hook? Tight? You're not kidding....I might need my air gun. -
I Need Your Help Again With Needles...sorry
IslandMoose replied to IslandMoose's topic in Leather Sewing Machines
I don't think there's be enough shank left if I did that, the difference in length is about 8mm. I should clarify that the needle doesn't hit the hook, when the needle is at it lowest point of motion, It is hard up against the body of the hook mechanism. I'll raise the needle bar to accomodate the longer needle, but I'm worried that it's still going to hit the hook body. How does one separate the two? I can time the hook, but how do you "move it over"? -
I Need Your Help Again With Needles...sorry
IslandMoose replied to IslandMoose's topic in Leather Sewing Machines
Hi Constabulary, It is the Adler 67AE, with the hook on the left of the needle. I thread right to left with the groove on the right, scarf on the left. I can feel the scarf rubbing down the hook/case body then "catching" on the way back up as the scarf passes over. Because of my big AE hole I can actually see what's going on, the needle is well against the case. I think I may have to move the hook over a half mm, time to struggle through my cryptic service manual again. The illustrations are like impressionist artwork. John -
My Adler 67 takes 134 system needles, this is certain. The largest needle that came with the machine was a Groz Beckert 110/18 labelled as: 134 DPx5 135x5 135x7 797 SY 1955 I ordered a packet of Schmetz 130/21 as required for my heavy canvas work. These needles are labelled: NM:130 SIZE:21 Canu:32:10 1 134-35 2134-35 DPx35 Here's the problem, the needle rubs hard against the hook mechanism. This of course is not good. The bigger needle is also much longer. Have I selected the wrong needle or do I need to make an adjustment? All of this needle carry on has set me back a month now, I must buy needles online and I thought I had it sorted. Please help. John
-
A package of Schmetz 19/120 needles should be arriving in the mail this week. Thanks for the help. I find the world of thread and needles VERY confusing ...my thread is technically TEX110, which is some different unit of measure, but is effectively #92 (T90) thread. The Adler uses 135 series needles....so... I am using series 135x5 or 135x7 19/120 needles for my TEX110 #92 (T90) thread...Im almost ready to give up before I get started!
-
Do you suppose the needle mismatch is the problem and the hole size is pulling the knot down?
-
Hello all I am finally stitching with my new 50 year old Adler 67AE-72. I am working with the thread tensions and struggling. Despite increasing upper tension to what I think is pretty silly levels (hard to pull), the knots are still showing under the fabric. The bobbin tension is firm but can be pulled easily I have enclosed two photos of a 6mm stitch in 4 layers of Sunbrella. The needle is likely too small (80) for the v92 I'm using, but this will only increase upper tension? Thoughts? What's going on? Interestingly, I couldn't get the bloody thing to work until I realised that on a 67AE you must thread the needle from right to left (the hook is on the left!) John
-
I Just Bought An Adler For $70Usd
IslandMoose replied to IslandMoose's topic in Leather Sewing Machines
What a wonderful and intriguing barn find (literally) this is. It is an Adler 67AE 72-E36 It has a 24volt electric cutting device that has been removed, and an unusual cylinder on the back of the arm, which is not shown in any manual. It is absolutely filthy, with dust, straw and dried oil everywhere. I am going to soak the whole thing in kerosene for a day or two after I blow it out with my compressor. The cutting mechanism (removed), has about 30 parts. Fascinating -
I Just Bought An Adler For $70Usd
IslandMoose replied to IslandMoose's topic in Leather Sewing Machines
I pick my machine up tomorrow. Knowing that it has a clutch motor, I have ordered a servo motor replacement that will be configured for my application. It's the Powermax AH-27. This is about the same price as the Reliable 500, but is readily available in NZ. Pretty excited. I'm going to start by cleaning the machine meticulously, then assessing it for wear and state of tune. -
I Just Bought An Adler For $70Usd
IslandMoose replied to IslandMoose's topic in Leather Sewing Machines
Further research indicates Adler put out a 167 73-AE, which was distributed as a binding machine, with binder, cutter and the chute for trimmings. This one that I've bought has the smaller bobbin, so I can only conclude that Adler built a 067 AE as well, though inquiries with the Durkopp Adler website haven't helped yet. Nonetheless, your suggestion of using JB weld makes sense, as I can have a plate machined to go over the cut-out and just paint the whole thing. Here is a photo of the 167-73AE -
Yes, there is a catch. It was used as a production machine with a cutter and waste chute, so it has a bloody big hole in the cast base. Still, nothing a bit of welding won't sort. It was a sight-unseen purchase, but it was cheap! http://www.trademe.co.nz/714757072 What is it? A 67 ? Ever seen one like this? Dumb for $70USD? John


