Search the Community
Showing results for tags 'stroping'.
-
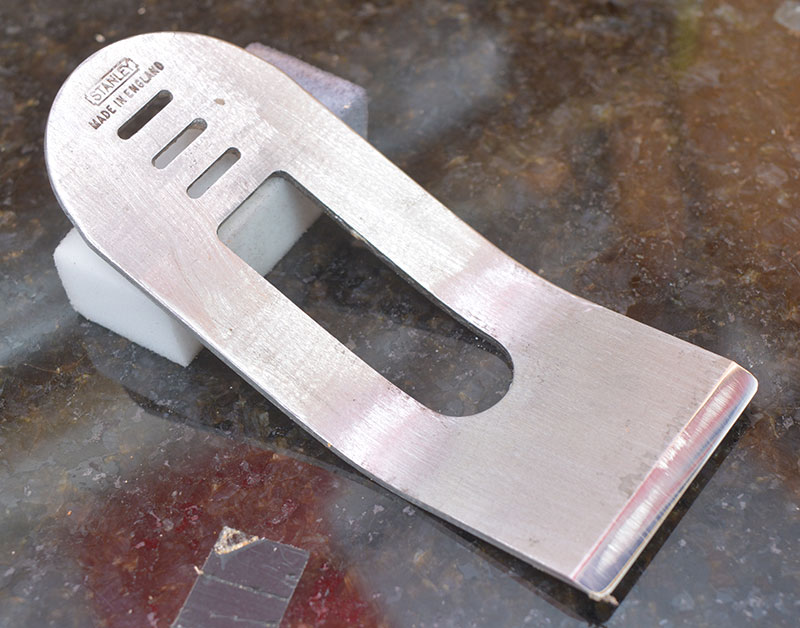
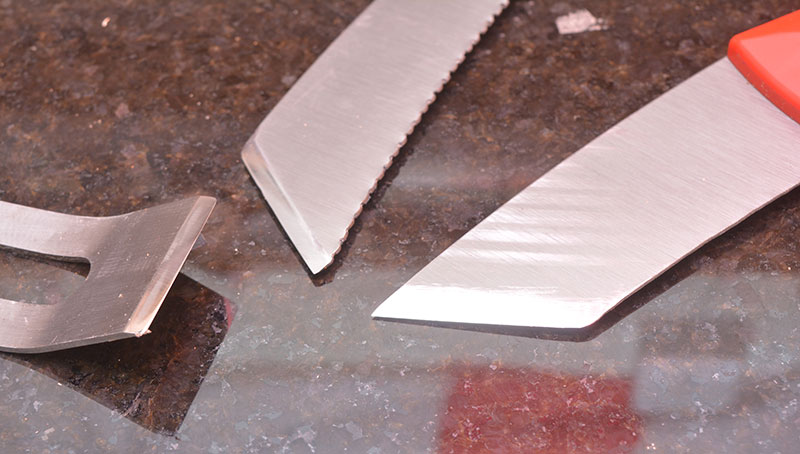
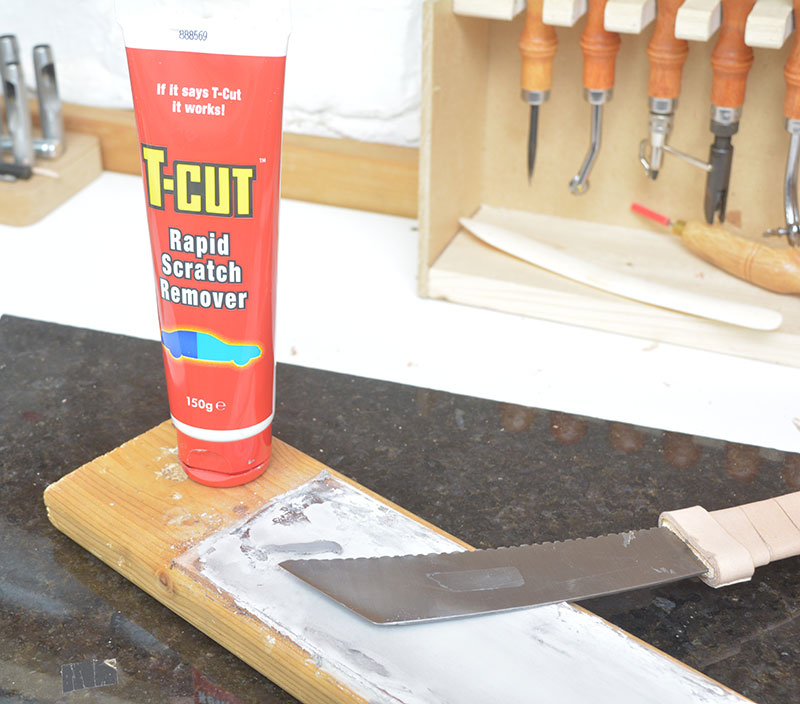
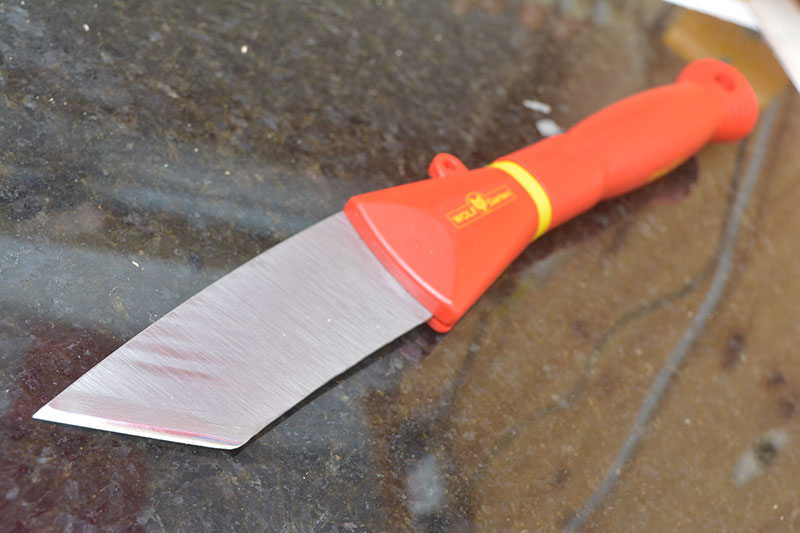
Greetings folks,, I’ve been taking ideas and stuff from this site for ages now and thought it was about time I posted something some of you might find useful. Skiving knives, ‘never been able to buy one that I really liked, doubtless more a comment on my pickiness than anything else. Anyways, I had a crafty idea and decided to try making my own. Recently I retired my camping firewood saw and recalling how well it held an edge I decided to see if it would make a half-decent skiving knife – it was a ‘mid-range’ pruning saw with a reasonable quality Swedish steel blade, ‘decent - but nothing special. ‘Sort of thing you’d pick up at a boot sale for a couple of £/$ or thereabouts, or $30.00 new. The work was not difficult, 1. Using cutting disks on a Dremel I cut the blade to an appropriate length and the blade angle I wanted. 2. I made two tools, one from each bit of blade. (I sharpened the first attempt on the wrong side, so it turned out left handed - and yes, that was embarrassing.) 3. Using a hand file, dress what will be the cutting edge so it is straight, clean and even. 4. Carefully grind a shallow bevel (20 degrees or so, it’s not that critical) on the business end with the finer side of a bench grinder, go slow with this and do not allow the blade to get hot enough to discolour. (it softens the metal). To avoid heat problems I took it down very close to a sharp edge but not quite there, the thinner the metal the more likely it is to heat up too much. Also dip it in a pot of water every few seconds to cool it. 5. Grind off the teeth, or at least most of them - they might still be sharp!! 6. If you don’t have a bench grinder you can use the little grinding stones that come with Dremel tools - it’s a bit slower but does actually produce a less rough finish I think. I never found any other use for them so I had loads. 7. Saw blade metal is hard so you need a bit of patience, if the metal isn’t hard it’s a clue that it probably isn’t up to the job. 8. Work the newly formed bevel and the back of the blade on a 400grit whetstone for some few minutes until you have the start of a sharp edge and most of the scratches from the bench grinder are disappearing. (In all of the following processes, work the back and the front of the blade equally). The back stays completely flat and the front will have a nice shallow bevel. 9. Then spend some minutes working on a 1000grit whetstone, ‘still looking to see scratches fading and the metal starting to shine up a bit. 10. Then 5 minutes on 3000grit whetstone, this isn’t taking much metal off anymore but it is clearing up scratches from the previous stones and improving the finish. 11. Then on to my course grinding-paste strop, this polishes good steel at an astonishing rate. By the time I’ve worked it on that for a few minutes I can see my face in the bevel and on the back edge of the blade, it is important to get both sides of the blade just as nice as each other - they are both equally involved in the cutting process while you are skiving your leather.. 12. Finally onto my fine ‘Tcut’ strop for a while. 13. Test it out, ‘probably won’t be great first time, but working it regularly on the grinding paste strop will fairly rapidly give you one pretty damn fine sharp edge. 14. Thinking about it a bit more, I think you just get better with the tool after a bit of practice more than the edge improving so much, either way is good though. The grinding paste is an automotive product which is available widely, ‘can’t remember off hand if I got this one from Amazon or Ebay - either way it’s literally just a couple of $/£. Tcut is another automotive product widely used to ‘refresh’ car paint by finely abrading the top layer of faded paint off, personally I prefer it to jewellers rouge, I reckon it’s better and cheaper and as it comes in liquid or cream form it’s easier to use and more versatile, it’s also GREAT for refreshing edges on things like edge bevellers and other tools with a recessed sharp edge. (soak a piece of string or leather thong in it then draw it along the recessed cutting edge a few times - in the right direction of course) The other skiver shown is an old woodworkers plane blade, again decent quality steel that holds an edge, this one was much easier to make as apart from giving it a good edge - the only thing I did was stick it in a vice, heat the middles section a bit with a torch, then tap it with a hammer to give a bend so I can hold it. I made it a while ago and it now has a completely evil edge that just gets a regular light kiss on the Tcut and an occasional go on the grinding paste. I also rounded the corners of the cutting edge just a tad as an experiment, I actually find it easier to control as the blade isn’t trying to dig into my granite or the piece of glass I usually skive on. I liked the result so most of my skivers are now the same. So there you go, with basic kit most of us will have already or have some access to it is possible to make extremely usable tools. Generally I buy my tools, as I’d rather be making stuff to sell than crappy second rate tools, however in this case I have managed to produce 3 top quality blades which I now use all the time. The exact grit grade of the stones doesn’t matter, as long as they’re progressively finer, clean your job between each stone as you don’t want to transfer course grit onto a finer stone. Even if you don’t fancy making your own skiver I hope there’s something here which will either help you improve what you do, or give you an idea that you can develop to improve what you do. Have fun and keep your fingers behind the edge! ‘Thrasher,
- 9 replies
-
- skiving knife
- paring knife
-
(and 3 more)
Tagged with:


