KliffsKustomHouse
-
Posts
18 -
Joined
-
Last visited
KliffsKustomHouse's Achievements
Member (2/4)
-
Thanks guys. Will get get myself some new tools to play with. Cheers, Kliff
-
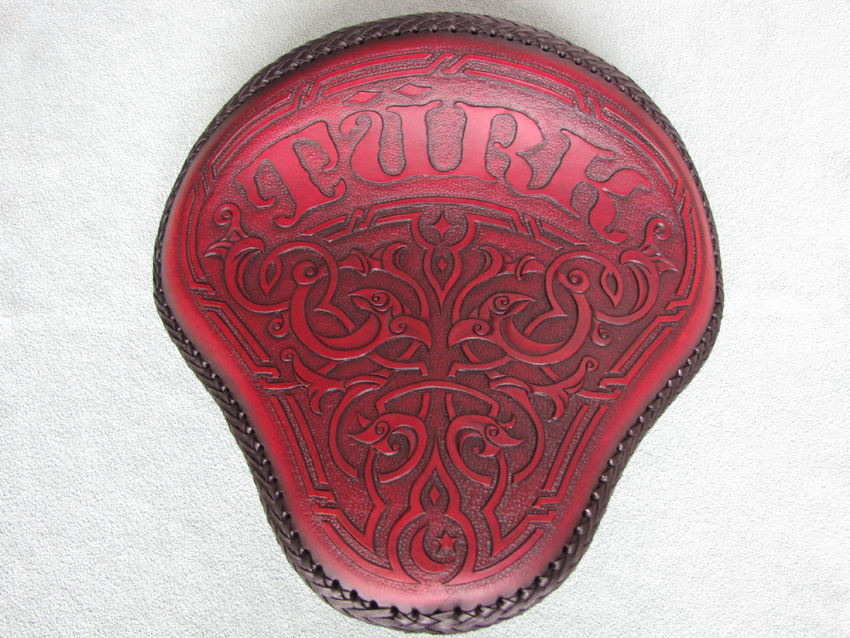
Hey all, Has been ages since I've posted anything up here so I thought it was about time to share some new work. I just shipped this to a customer in Melbourne Australia. It's only my 4th customer seat and even though it's not really my style I'm fairly happy with the result. I'm still have a lot to learn I think but they're getting better. It's for a show bike owned by a guy they call the Turk. The brief was to have his name and a bunch of Middle Eastern style elements to fill it out. It's going on a long, black, wide tyre chopper and a mate who is painting the bike is carrying the seats graphic style through to the tank and frame in gold leaf. Hopefully I can post some pics of the finished bike soon..... you all know how these projects go though. I used a seeder tool to create the textured background. Does anyone have some advice on other tools to create distressed textures and backgrounds? Any feedback would be appreciated. Cheers, Kliff
-
Look good man. I'm interested. I'm up on the Goldy. Talk soon. Kliff
-
HELP! New pan.... New ground for me
KliffsKustomHouse replied to KliffsKustomHouse's topic in Motorcycles and Biker Gear
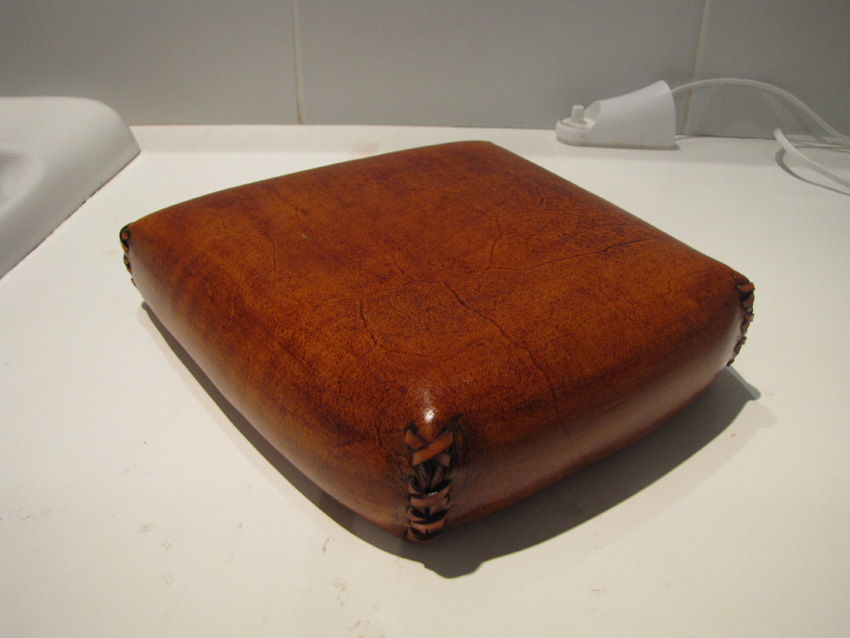
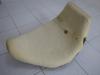
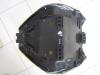
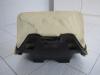
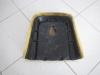
Thanks for checking it out guys. Took a bit of wrestling with the wet form but got there in the end. The foam was cut down and shaped by another guy and had a few undulations which would come through the 1.5mm leather I was using so I went out and got some 3mm closed cell foam and covered the whole seat. This gave me a much better surface to work on. I then totally saturated the leather and went to work wet forming from the top main curve down to the sides. To stop any creases forming where the top curve turns down to the side curves I used a strong spray adhesive to force the leather into the position I wanted. I found that by spraying and laying down a section at a time I could avoid any creases all together. The leather was forced into submission!!!!! I then just used a staple gun to hold it all down to the plastic seat pan. I much prefer using separate pieces and lacing together but he wanted it to be pretty smooth. I know how to do it now though I guess. Cheers, Kliff -
HELP! New pan.... New ground for me
KliffsKustomHouse replied to KliffsKustomHouse's topic in Motorcycles and Biker Gear
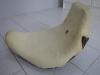
Well I got there in the end. Here's some pics of the finished product. All I gotta say is these seats are not for me. Kliff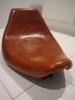

-
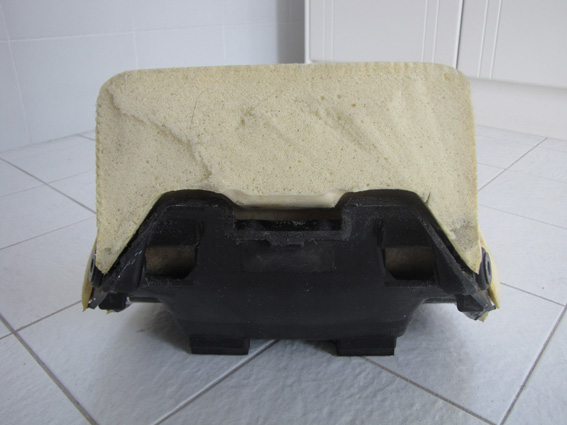
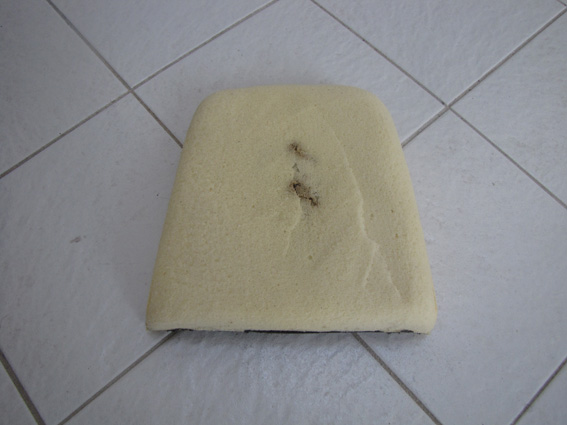
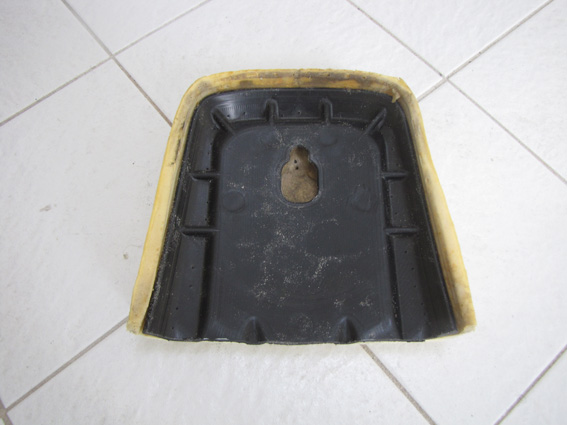
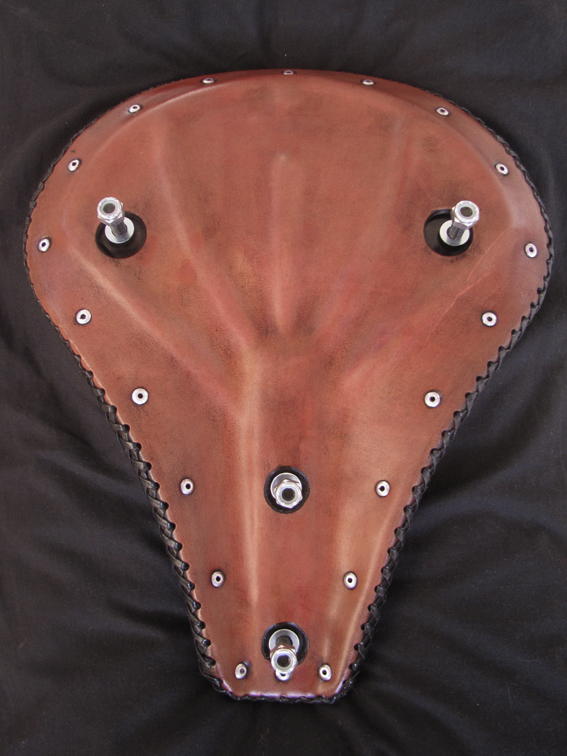
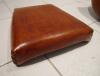
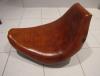
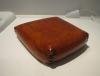
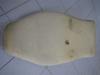
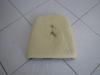
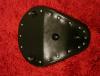
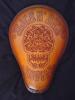
Hey Guys, I'm after a bit of advice here. I've been working on sprung solo seats up to this point (Biltwell & West Eagle) and still have a heap to learn but I've just been handed a drop seat style that is totally different to anything I've done before. It has a pillion pad too. Not really my style but I said I'd give it a go. The builder just wants plain brown leather which makes that part simple but it would be great to get a bit of advice on where to start on getting this thing covered and looking clean. He doesn't want any lacing so just a plain and smooth as I can get it. This guy also has a heap of solo seat pans to go on bikes too so I'd like to get this one done for him, start off on the right foot and hopefully get some ongoing work. • What weight/thickness leather would be suitable? • Wet moulding? • The pan is plastic..... pop rivets or staple gun? I'll work it out some how but I thought a bit of help from the pros that do these kind of seats all the time could give me a better start. Any help or tips would be really appreciated Thanks in advance guys. Kliff
-
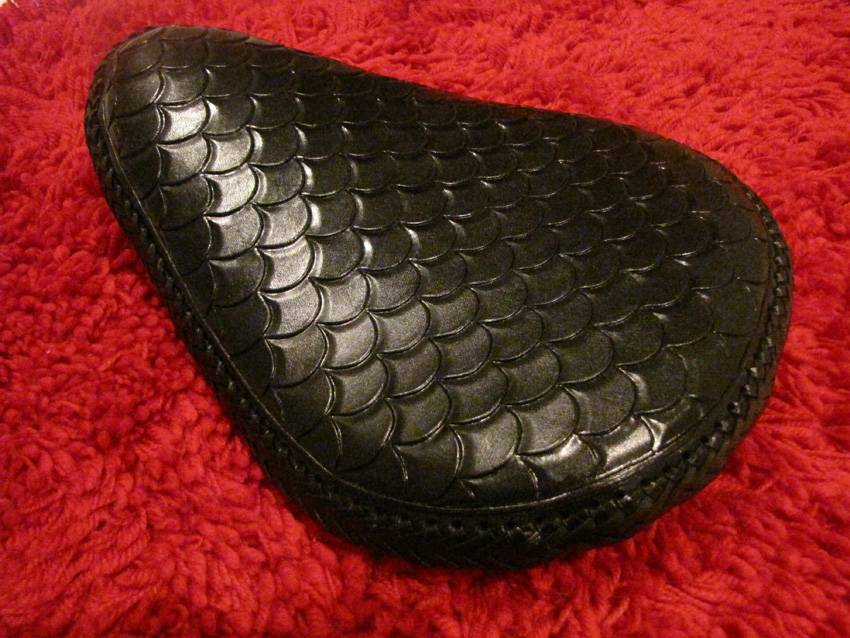
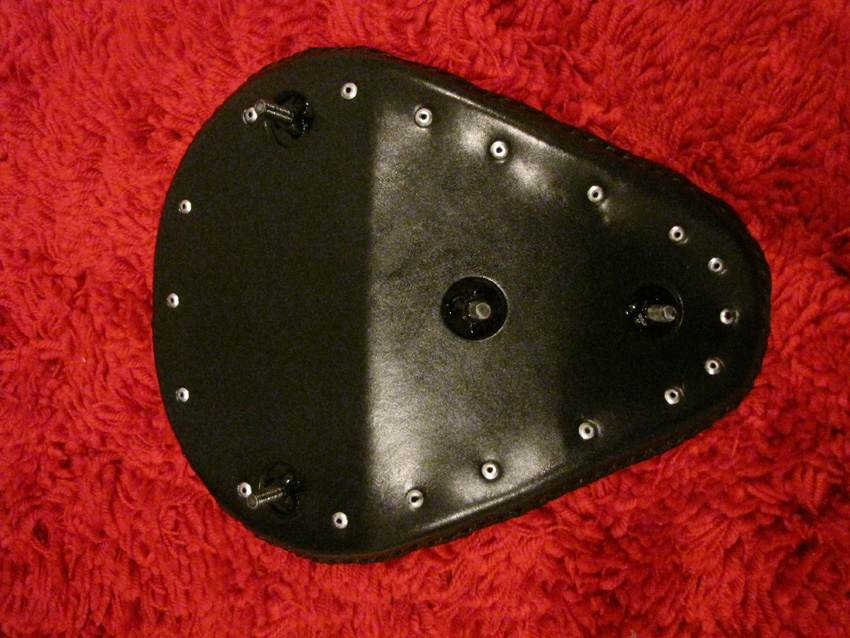
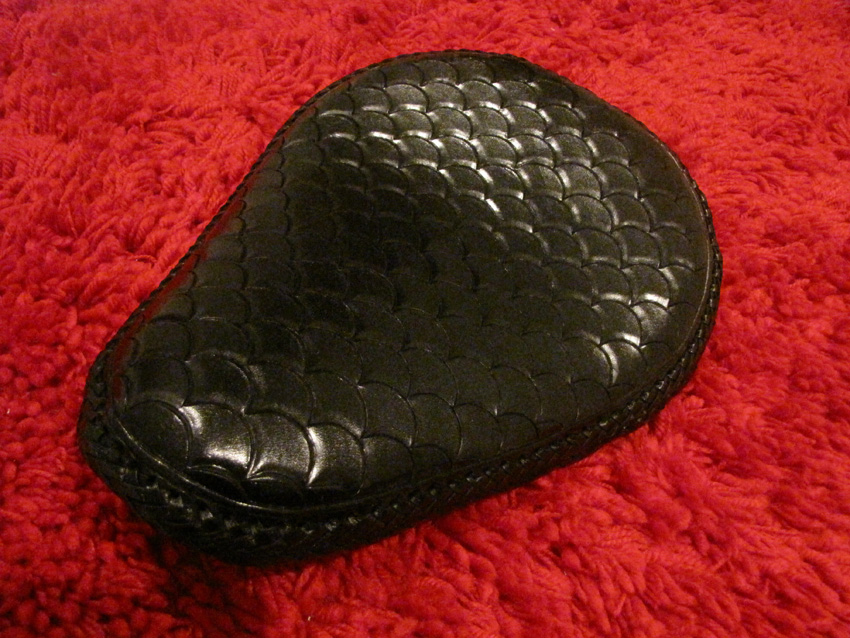
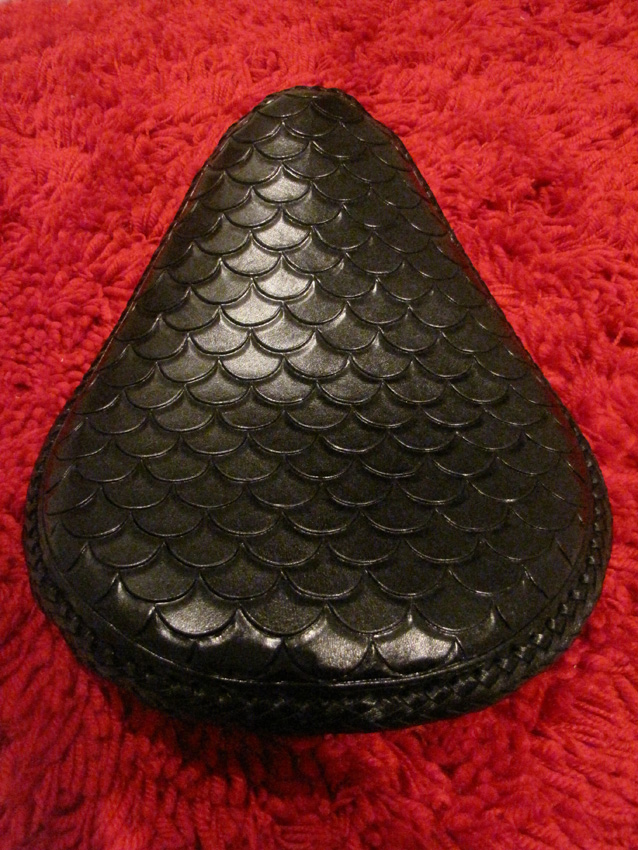
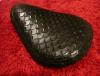
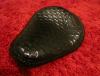
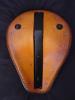
Hey Guys, Here's a seat I finished up last night. A mate had a West Eagle pan lying around that he didn't end up using. It's my first crack at black and I went for something different in the tooling too. Inspiration came from the old metalflake fish scale paintjobs.... I just applied it to texture a seat. As you will see from the photos I had a bit of trouble with the lacing though. I tied the top and bottom leathers together at every 4th hole in preparation for lace which has been fine on previous seats... this time it has left undulations in the lace. Do you think I need to tie at smaller intervals or adjust my pattern? I did take my time lacing it up and I was outside at a bike show in the coldish conditions when I did it.... would that make a difference in making the leather stay in the position leaving the undulations? Also I've read on the forum that black can come off on your butt. I used Raven Oil and then used a sealer over the top. Will I need to use a lacquer? I like the sheen it has now so I'd rather not. Again, thanks for checking it out and any feedback. Thanks, Kliff \m/_
-
Thanks for the details on your lacing David. I'll try the Mexican basketweave lace next time. Thanks for checking out the seat guys. Here's another angle I forgot to upload first time round. Kliffo
-
Hey David, I work at a printer so have access to large format printers. I can usually fit the patterns onto an A3 sheet though. I have printed onto 2 x A4's and taped together before when i was at home. Have you got any exciting new projects on the boil? Always love to see your new work. I'm going to try my hand at a few belts and a new wallet for myself. Saddlebag for a buddy too if I can work it out. Kliff
-
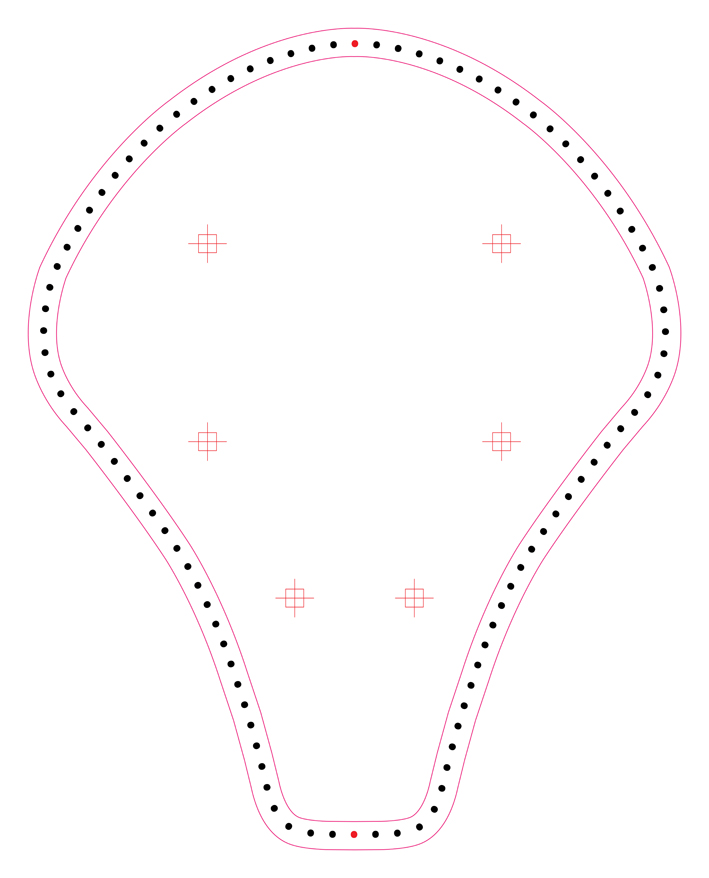
Thanks David. I used 3.5mm leather top and bottom. I'm not sure what that works out to be your measurements (ounces???). I'll use slightly thinner next time I think... especially on the bottom which I wet moulded with my thumbs around all those ribs. I also need to adjust the pattern I made for the bottom as my lacing holes were a little too close the pan. Caused me a heap of problems getting the lacing needle through on the top curves. I've worked out a bit of an interesting way of making patterns too. I've been making a rough outline using cardboard straight off the pan then scanning it into the computer. Once I have it all in the computer I use Adobe Illustrator to create a clean line version and then add in all my lacing holes. I offset the outline of the pan however far I want my lacing holes away from the edge and use 100 periods/fullstops as type on a path! Bingo, 100 holes..... everything perfectly symmentrical. I attached the one for the top of this seat. Hey while I got your attention.... would you mind answering a couple questions. How do you work out your patterns? I'm a Graphic Designer by day so I just went to the tools I'm used to. What sort of lacing do you use? I used 4.7mm kangaroo. I want to try for a lace that is even bigger and rounder. What would you suggest (lace & lacing style)? Also.... I'll have to verify but I think that Biltwell has a seat builders pack where they give you a bunch of raw seats with foam for a special price. I just sent this one over to them as they say they like to see what people are doing with their parts. I'll get back with info if anyone's interested. Thanks again for checking out my seat. Trying to make the next one better than the last. Cheers, Kliff
-
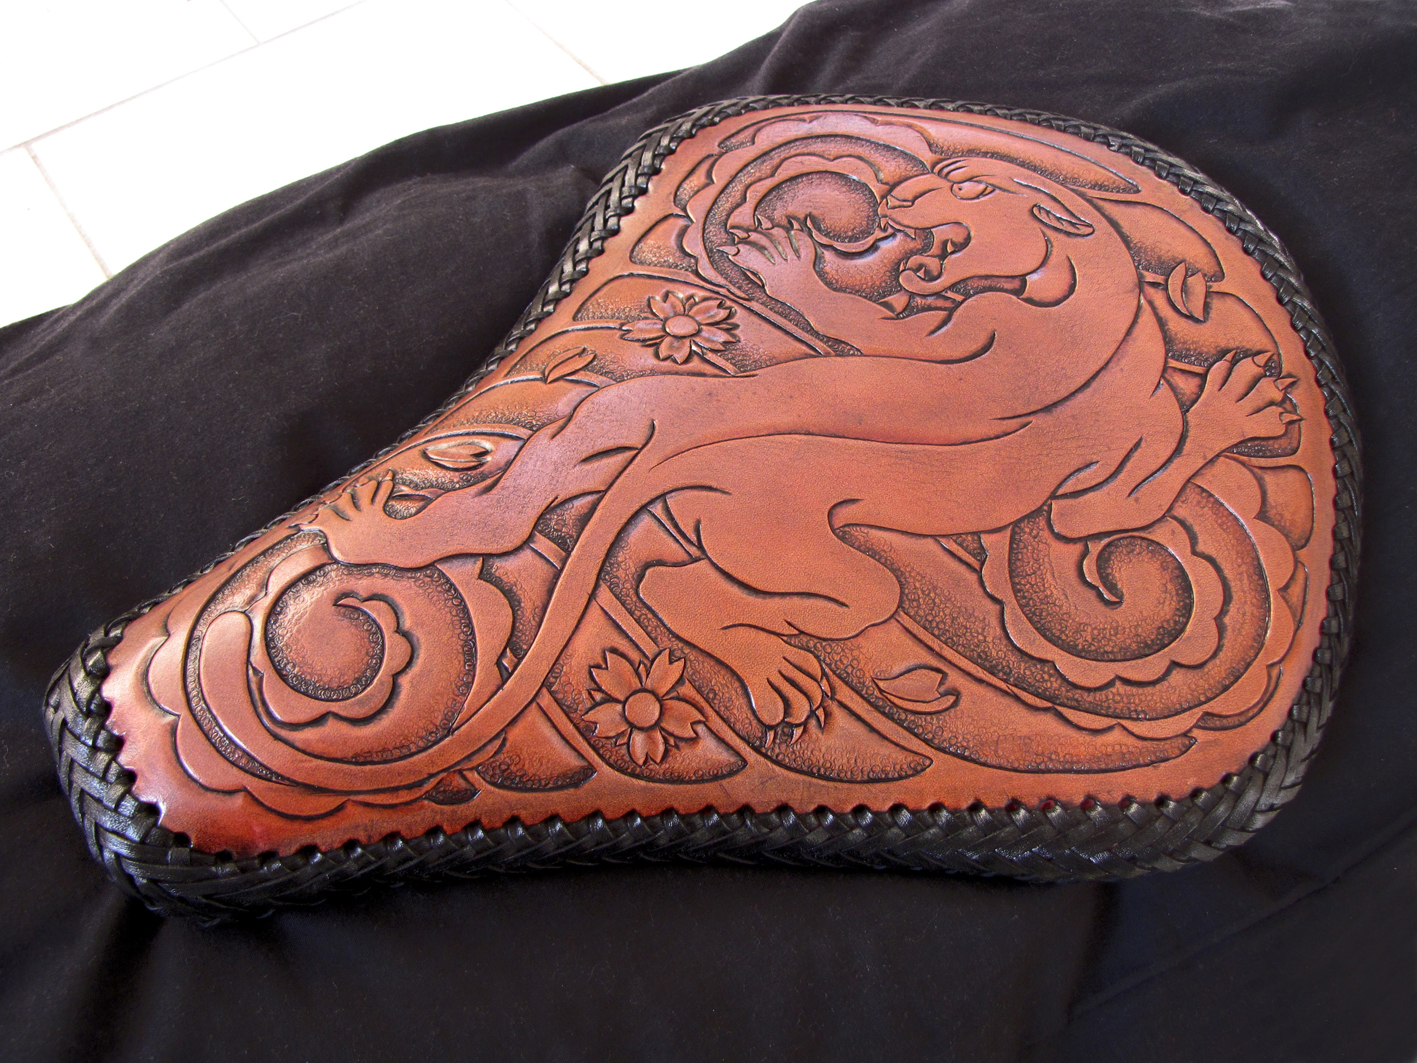
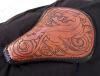
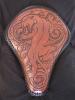
Hey everyone! Finished up a new solo seat and wanted to share. The first time I used a Biltwell seat pan so it took me a while to work out. It fought me a little because I rushed the pattern a bit but I know where I need to adjust for next time. Biltwell supply a great quality pressed pan with nice memory foam. I wet moulded the bottom to the ribs that were in the pan which was something new for me too. I drew up this tattoo style panther and added some Japanese style clouds and cherry blossoms in there too. Let me know what you guys think. I'm working a West Eagle pan next so we'll see how that goes. I just gotta get the patterns down for a few pans that I like so I cut out a bunch of tops and bottoms and speed up my process. Thanks for checking it out. Cheers, Kliff
-
New Solo Seat for Slice n Dice Kustoms
KliffsKustomHouse replied to KliffsKustomHouse's topic in Motorcycles and Biker Gear
The lacing is 4.7mm kangaroo. I use a flat lacing needle, bend it a little with some pliers and she goes through pretty sweet. I do use those pliers to reef it through sometimes on the holes that already have had one pass of lace through them though. I dig lacing. It's like meditation for me. Thanks for the kind words too. Kliff -
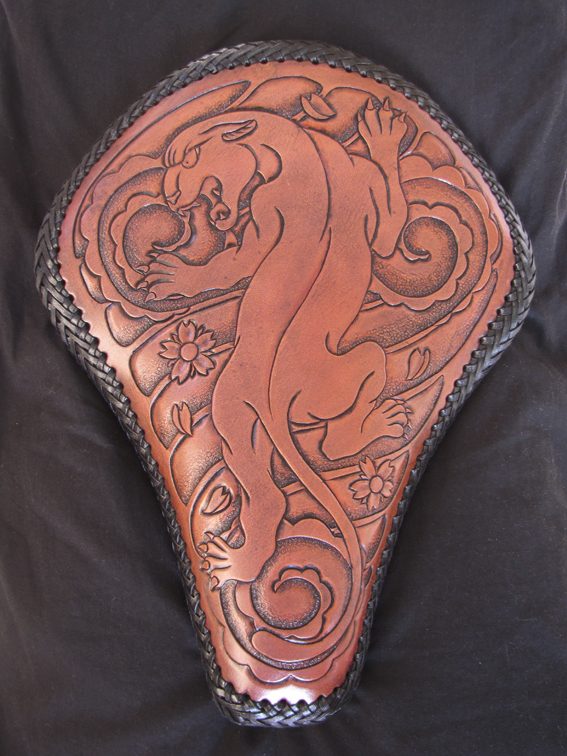
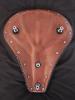
Here's some pics of a seat I recently completed for Slice n Dice Kustoms. Thanks to all the great info I've picked up here on the forum... it's a vast improvement on my last effort. I used an airbrush to apply the dye this time and it worked out great. Definately gave me more control over the colour and allowed me to build a slight blend into it... especially on the bottom. I used stainless rivets this time too which look much nicer and I worked the antique a lot faster wiping it off straight away and reworking any areas that I thought needed more contrast. Was a fun seat to make. I think I'm slowing working out a few things that work for me. Thanks for checking it out. Would love any creative criticism... wanna learn as much as I can so I can make the next seat better than the last. Cheers, Kliff
-
David Theobald's Best of Advanced Division
KliffsKustomHouse replied to Johanna's topic in Motorcycles and Biker Gear
Awesome David!!! Your work continues to inspire. I've become better at this through your advice and photos of your work. Congratulations! -
Advice for first solo seat sale
KliffsKustomHouse replied to KliffsKustomHouse's topic in Motorcycles and Biker Gear
Thanks David! I have an old airbrush so I will definately have a go next time. I will look at trying out some new dyes and antiques now too. I enjoy all the tooling and lacing but the dye and finish has become a bit scary now with unexpected results so I really appreciate you passing on your experience to help me out. There is a Kustom Kulture car/bike show coming up in a couple of months here on the Gold Coast in Queensland, Australia so I'm hoping to have a few solo seats complete and on display in my mates custom bike stall. I'll post some pics of the next seat so you can see if there is any improvement. Thanks again David. Look forward to seeing your next finished masterpiece. Thanks, Kliff