

Option A: Digital Servo Motor

Option A: Digital Servo Motor
See the parent article: Choosing a Motor
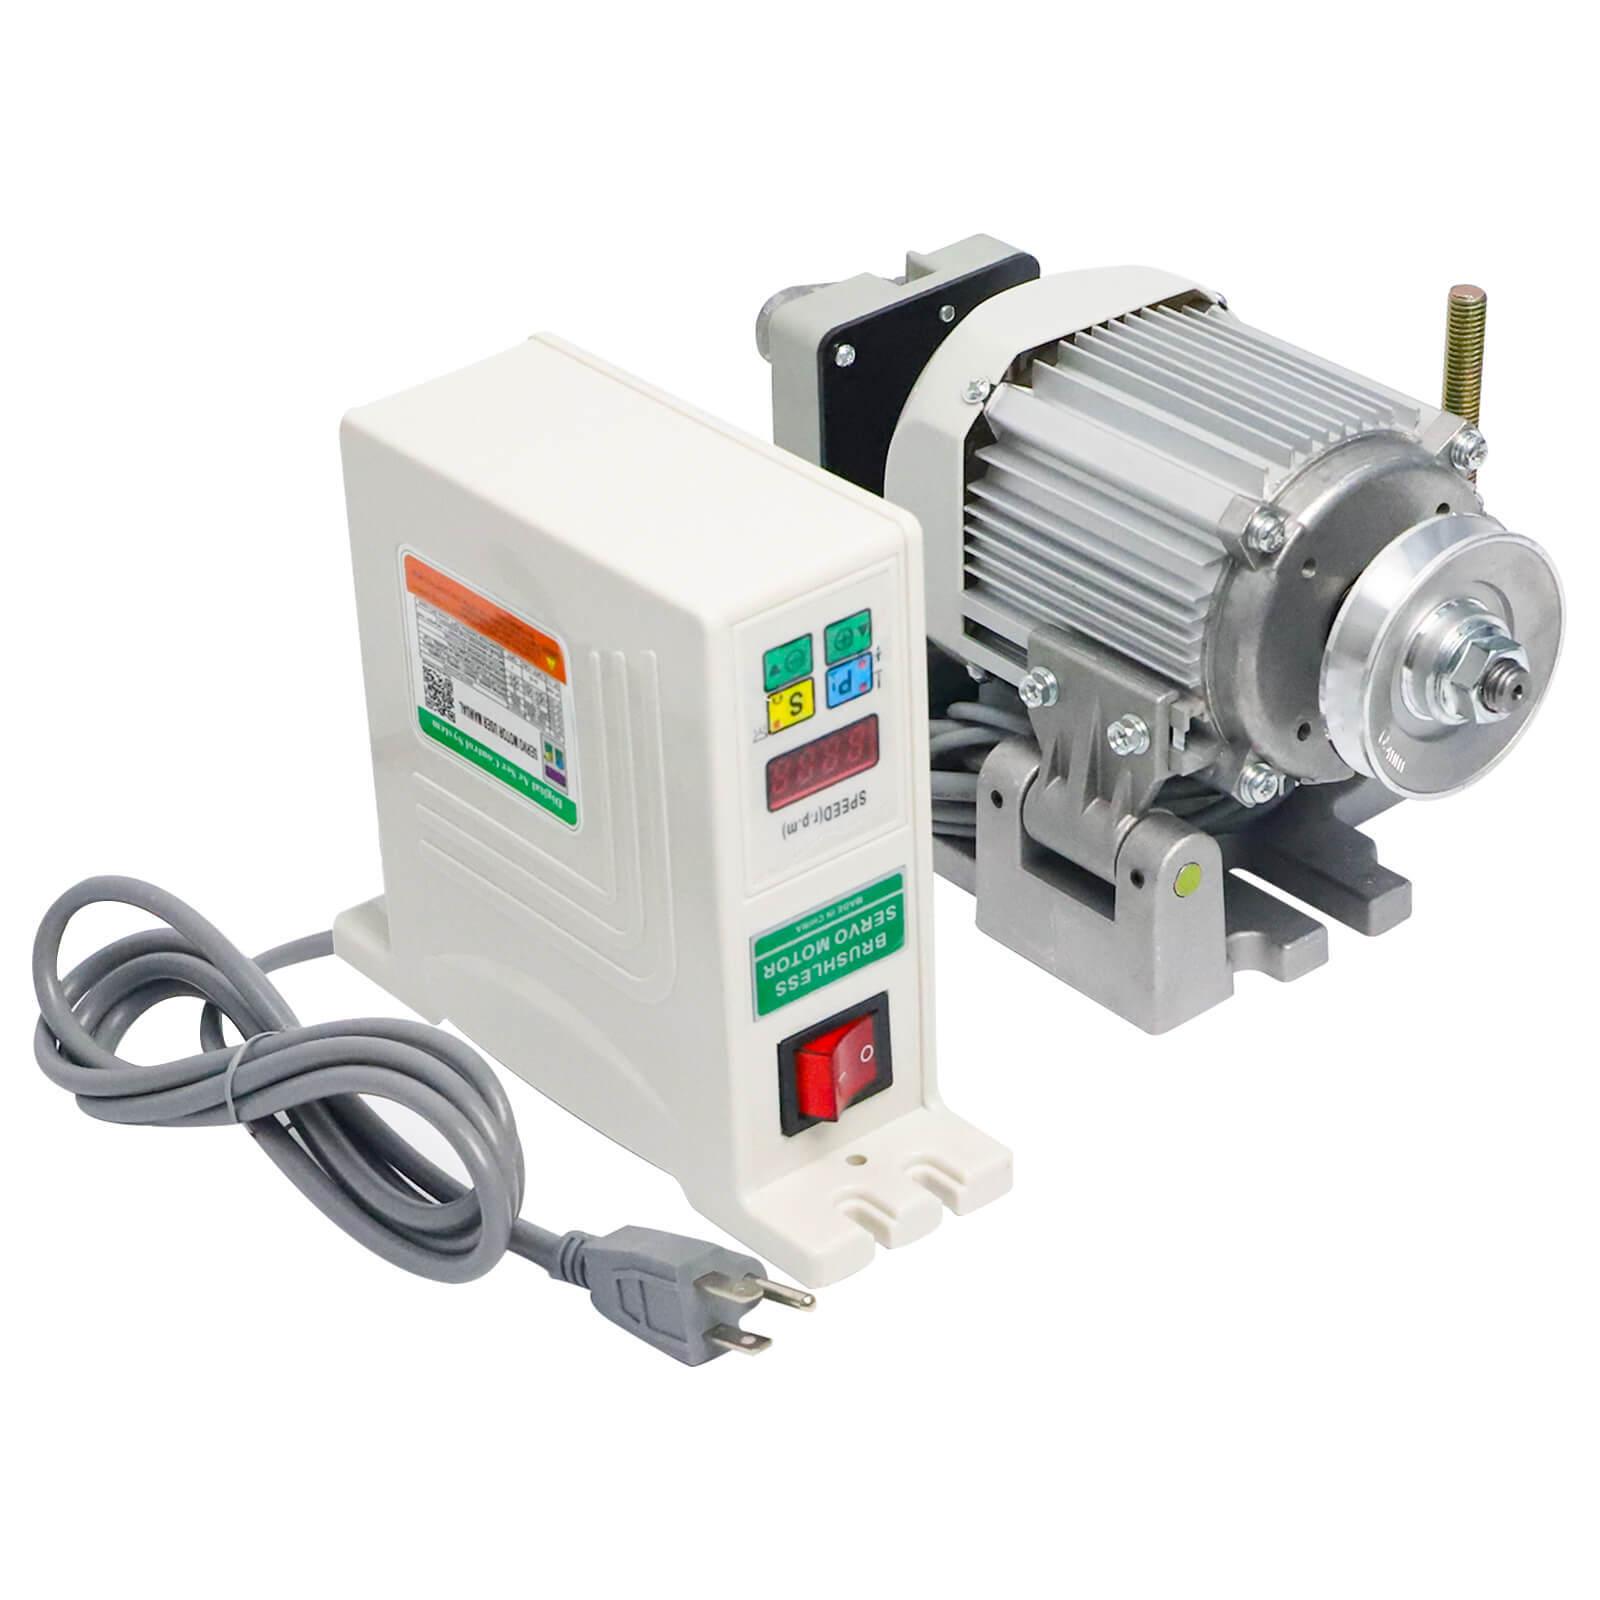
While lots of motors are sold under the moniker “Servo motor”, the most obvious way to recognize a digital servo motor is that it has an LCD on the front of the panel.
Note on this forum you will hear people talking about “brushless” servo motors. In theory, a digital servo can be brushed or brushless, but all the digital servos I’ve seen are brushless. So you can assume when folks are talking about a “brushless” motor on the forum, they mean a digital servo.
1. What does “servo” really imply
A true servo motor is one that has a feedback loop. You ask it to go 500rpm, and it has an encoder or some other feedback mechanism that it uses to go exactly 500rpm. Whether stitching through thick leather or thin fabric, it keeps going exactly the speed you asked for.
2. Is a Digital Servo the Right Motor for Me?
Choose a digital servo if: - you want to use a needle position sensor - you’re OK with doing some basic setup in the LCD menu, - If you want the consistency of the needle always penetrating the fabric, without need to “get a run at it” - you want a motor that does exactly what you tell it - you don’t mind the surprise of instant start. (digital servos have a minimum speed) - you can find one with a minimum speed of 100rpm or lower
3. What is a Needle Position Sensor?
A needle position sensor allows a digital servo to stop at the same position every time you let off the gas. I like my needle position sensor configured to stop in the needle-down position. That is the position I use most often, since it allows me to turn corners while stopped in needle-down.
So when I let off the gas, instead of stopping immediately, the motor actually proceeds to the needle down position and stops there.
3.1 Positioner: Heel Tap
When you have a needle position sensor, it will typically have heel-tap functionality. That is, when configured to always stop in the needle-down position, after it comes to a stop in the needle-down position, you can press the other end of the treadle (the end close to you) and the machine will move approximately a little more than half a rotation and stop in needle-up position.
Now you don’t have to do nearly as much hankerin' with the handwheel, because the needle already knows how to stop in your two most desirable positions.
3.2 Positioner: One Stitch
Stopped prematurely? A little tap on the pedal and it will give you one more stitch and stop again in your preferred stop position.
3.3 Positioner: Reverse Magic
Reverse is convenient with needle positioners too, since you typically want to start reverse from the needle down position. Just allow the machine to stop before you move the stitch lever, and you’ll automatically be starting your reverse stitches in that “reverse magic” position (needle down) where moving the stitch lever does not move the feed dog at all.
4. What’s the Big Deal about Minimum Speed?
When looking for a servo motor, the most important feature you should be looking for is a slow minimum speed.
When the digital servo motor starts turning, it immediately goes from 0 to whatever the minimum speed is. Meanwhile you’ll be be holding the threads down so your seam locks, and trying to steer at the same time The lower the minimum speed, the less jarring this all will be when the motor starts.
4.1 Examples with 100rpm minimum speed
As of August 2025, the lowest minimum speed I’m aware of in a Currently Available Inexpensive Digital Servo Motor (CAIDSM) is 100rpm, and it costs a little more than a hundred dollars. You will need to buy the needle positioner separately, which will cost you another 30.
(Will post link as soon as mine arrives and I’ve tested it)
4.2 Examples with 200rpm minimum speed
Previously I used these two models which have 200rpm minimum speed. I’ll put air quotes around the brands, since these are just labels and you can buy the same motor with a variety of labels on it.
- “Stitchman”: https://www.alibaba.com/product-detail/Energy-Saving-Servo-Motor-Industrial-Thick_60477748373.html
- “Consew C1000”: https://www.amazon.com/dp/B01N6IYMCZ
4.3 Gear Reduction
You can lessen the minimum speed that your digital servo offers by gearing it down. The simplest way to gear it down is to buy the smallest motor pulley (the pulley that goes on the end of the motor) that you can. Ideally your digital servo will use a 15mm cylindrical-shaped shaft (no taper), because aftermarket pulleys are readily available in 45mm O.D. for about ten dollars.
3:1 belt reduction is commonly available and costs about $110. You may or may not decide you need that much. There are also examples here on the forum of custom built gear reducers using pulleys and pillow blocks.
6. What’s already Working Well
Since this article does set out to name certain deficiencies in the CAIDSMs, I thought I would also give praise to the things that have already been ironed out, and are much appreciated!
6.1. The maximum speed can be set to something approachable instead of the default 3500rpm.
6.1. Setting the maximum and minimum speeds is a repeatable process. That is, if you want max speed for one project to be 1200 rpm (at the motor) and for another project you only want 700 rpm, you can select exactly those values in the menu.
6.1. The digital servo already runs well at consistent speed with great penetration power.
6.1. Needle position sensor has basic functionality.
6.1. The power switch is usually in easy reach of the operator.
6.1. The power switch lights up so we can see it’s powered on.
6.1. Digital servo motors are quiet! You won’t know it’s on if you’re not on the gas.
6.1. Digital servo motors come with an adjustable bracket for setting belt tension.
6.1. Digital servo motors come with a V-pulley. (I can’t believe I’m listing this as a feature!) It’s just a larger-than-ideal diameter.
6.1. Electric braking: When you let off the gas, the digital servo motor applies electric braking until the motor comes to a stop. (After coming to a stop, the brake is released so you can easily move the handwheel)
7. The Ideal Digital Servo Motor
For those whose ambition it is to built better Digital Servo Motors, here are several categories that could use improvement.
7.1 Ideal Needle Positioner
7.1.1. When you tap the gas pedal to ask for one stitch, you should ALWAYS get exactly one stitch. If you give two stitches instead of one now there’s an extra hole in the leather that I hadn’t planned on. Also, giving more stitches than asked seems like a safety issue.
7.1.2. When you heel-tap to ask for the needle to come up, the needle should come up. It must not do a full turn and then come up. A full turn would put unwanted holes in the leather and is a safety issue.
7.1.3. Distance in degrees between needle-down and needle-up should be configurable. (My preference would be to set the needle-down position using the set screws on the needle positioner, and then have a single setting “distance from needle-down to needle-up” in the menu that has a range from 1 degree to 359 degrees (degrees of handwheel, not motor pulley), with a default of about 200 degrees.
7.1.4. If the belt slips such that the motor has to turn farther than it expected for the needle position sensor to register one complete cycle, the motor should stay in needle detection mode.
7.1.5. Ideally, the needle position sensor should have an LED that lights up when the positioner is in the needle-down position. (Makes for easier setup) One of my CAIDSMs has this, one does not.
7.1.6. Assuming this unit comes with a needle position sensor, the controller should have needle positioning enabled by default.
7.1.7. Needle positioner should work even if using considerable gear reduction, such as 3:1, 4:1, or 5:1.
7.1.8. Ideally, allow the user to easily toggle between stopping at needle-up, stopping at needle-down, or disabling the needle positioner. (One of my systems has this option, the other does not)
7.1.9. Ideally, after letting off of the treadle as the motor continues to turn to come into the desired position, this speed of this motion would be configurable. Some users will want this motion to happen at the minimum speed. Some users may want it to be somewhat faster than the minimum speed. (Of my two digital servos, both of which have 200rpm minimum speed, one comes to final position at 200rpm and the other comes to final position at about 250rpm. I did not see any way to adjust either.)
7.2 Ideal Included Pulley
7.2.1. Motor should come stock with a small motor pulley (35mm-45mm) to lessen the effects of the minimum speed.
7.2.2. If motor does not already come with a small motor pulley, motor should use standard 15mm cylindrical shafts with a key hole. After market pulleys are available for these shafts down to 45mm for about ten dollars. (In a pinch you can 3D print a small pulley for any style shaft, but it may not grip as well as the metal ones.)
7.3 Ideal Minimum Speed
7.3.1. Ideally, the minimum speed would be 30rpm. This would alleviate the need for a gear reducer for many people. If you’re going to tell me that you can’t keep the motor cool at 30rpm, then put a temperature sensor on the motor and let us run at 30rpm until the motor gets too hot, and then make us take a break. When I’m sewing, most of my time is spent getting the next seam ready, and not that much time actually stitching. So there’s little chance of me overheating a motor.
7.3.2. If you can’t offer a minimum speed of 30rpm, perhaps you can build in true soft-start functionality. By this I mean when you first press the treadle the motor would start at something very slow (like 10rpm) and would ramp up to the minimum speed over the course of say one second. This would give us more reaction time during that first stitch when we are both holding down the top thread and guiding the material and keeping our fingers out of the way. (By the way, the only feature similar to soft-start I have actually seen on CAIDSMs would be better described as “how long to wait before full speed is allowed” and was not a soft start the way I am imagining it.)
7.4 Ideal Gas Pedal
7.4.1. There should be a long range of travel in the foot pedal between slow and fast. CAIDSMs have a range of travel of less than one inch. If you can only offer one inch of travel, then how about providing instructions for drilling alternate holes in the treadle so that the amount of treadle rotation required for full actuation is still large (30-40 degrees).
7.4.2. When the maximum speed is set to something slow such as “900 rpm”, the range of pedal travel should be spread across the entire usable range. Meaning you should have to push the pedal all the way to get to 900rpm if 900 rpm is your max.
7.4.3. If the gas pedal is pressed down while the power button is turned on, the motor should not start. (Safety) Rather, the motor should wait until the gas pedal is released and then pressed anew before motor starting.
7.5 Ideal Physical Layout
7.5.1. The menu should be accessible from the standard seated user position. (Some CAIDSMs have the menu hard-mounted with the motor, which is hard to reach, hard to see.)
7.6 Ideal Safety
7.6.1. Pressing the gas pedal after the power switch has been turned off should have no effect. CAIDSMs do not have this yet. Rather, it takes about 12 seconds after turning off the power switch before the LCD goes blank. And until the LCD goes blank, the motor has full power. This is a safety issue because it takes patience to turn off the motor and then wait for the LCD to go blank before performing maintenance issues like threading the needle, replacing the bobbin, replacing the needle, etc. And we want to make sure users can perform maintenance without the risk of accidentally engaging the motor.
7.6.2. When the power switch is turned off, the motor should immediately stop. CAIDSMs currently keep running after power is switched off, until they bleed off the internal capacitors.
7.6.3. Ideally one could limit the amount of torque through the control settings. Another way to limit torque is to run your belt on the loose side. One of my CAIDSMs shows an option to limit torque, but the option doesn’t actually work.
7.7 Ideal Menu Design and Factory Defaults
7.7.1. There should be no settings visible in the menus that don’t do anything.
7.7.2. The settings in the menu should be numbered incrementally. No skipping numbers, as this is confusing.
7.7.3. Instructions for operating the manual should be provided in clear language.
7.7.4. The factory default maximum speed should be something medium slow like 1000rpm. Let the user increase it through the menu if they need it faster.
7.7.5. Ideally the documentation would include an email address or website where users can ask questions and get clarifications about features. (CAIDSMs don’t even say who the actual manufacturer is.)
2 Comments
Recommended Comments
Join the conversation
You are posting as a guest. If you have an account, sign in now to post with your account.
Note: Your post will require moderator approval before it will be visible.