


Dangerous Dave
-
Content Count
18 -
Joined
-
Last visited
Posts posted by Dangerous Dave
-
-
I am looking at military equipment from the 1850-60's and need some help as to the terms used. First is russet bag leather, I know what russet is however what is bag leather and what might the weight be? Question number two sole leather, what is the weight of this? I can not find a description of either one of these terms. I have looked in an ordnance manual but it does not have leather listed, has everything else. Any answers would be a great help,
Thanks
Bill
Leather from the period is often referred to by its intended purpose rather than anything else. I've been studying the mid 19th century for some time and have yet to find a resource that lists things like weights of leather used in any definitive format that can be translated. The best option is to examine original items and equipment and go from there.
From what I have learned, bag leather is light weight, some where around 6 ounces or so. Sole leather is in the 14 ounce range. Do not forget that leathers of the period were produced differently than veg tanned leathers of today. They were all pit tanned rather than tanned in a drum and as such more often were very much more firm than most veg tanned leathers found today.
I hope this is of some help.
Dave
-
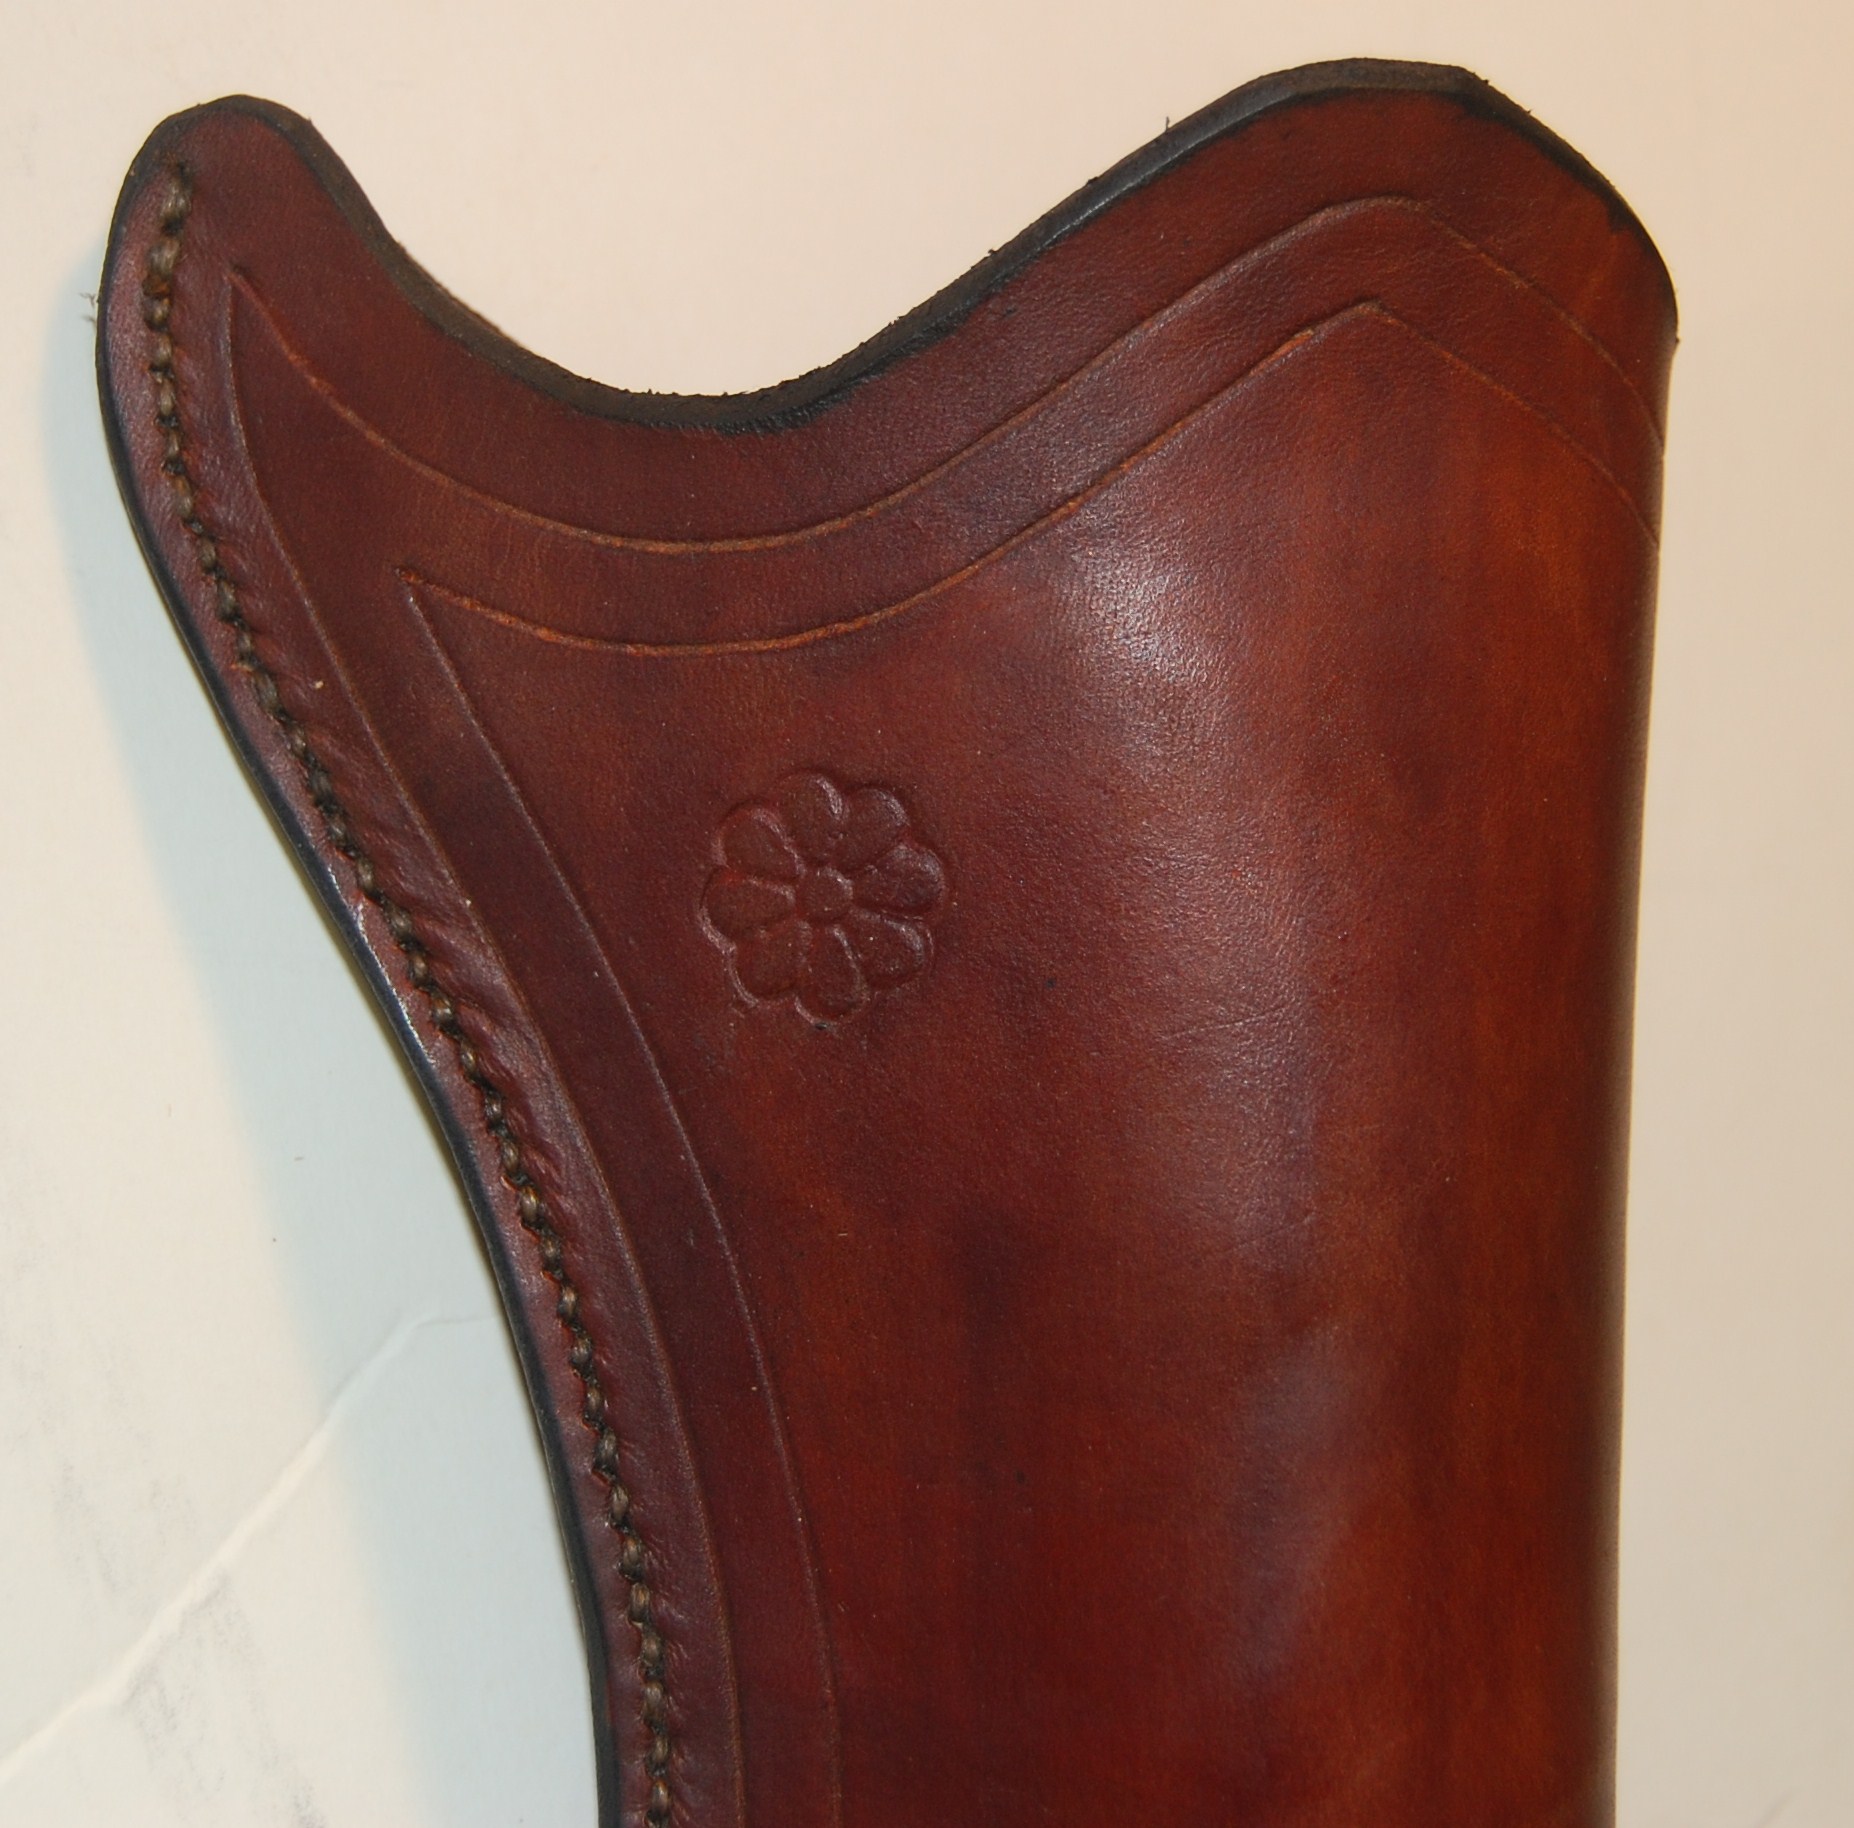
There are several keys to neat hand stitching. The key is preparation and layout. This is what I do and it works so well that I often get questions about it.
After the leather is ready to stitch, lay it flat on a granite slab. Take a pair of wing dividers and lightly scribe a line down the edges of the strap roughly 1/8th inch from the edge. If you are creasing your leather, the scribe line should fall on the crease. Next layout where your holes are going to be. Personally I use pricking irons, either 7,8,9 or 10 SPI. Prick the stitch locations and follow up by piercing the leather with a polished diamond awl. Lightly coat the mating surfaces with Barge cement and allow it to tack dry. Slipping two needles through matching yet opposite holes and gently and evenly push the pieces together. Clamp the work into a stitching horse and begin stitching right to left away from you. After passing the right needle through the work, do not pull tight rather leave a small loop. Pass the left needle over top of the right thread and as the left needle exits the right side hole, pull on the loop of thread while pushing the needle. This make certain that the two threads are separate of each other, then pull both tight at the same time. Another key is consistant thread tension. After completeing the stitches and trimming the thread, pound the stitches with a flat faced hammer against that granite slab. If done correctly and after lots of practice, the stitches will be as even and tight and consistant as any made with a machine.
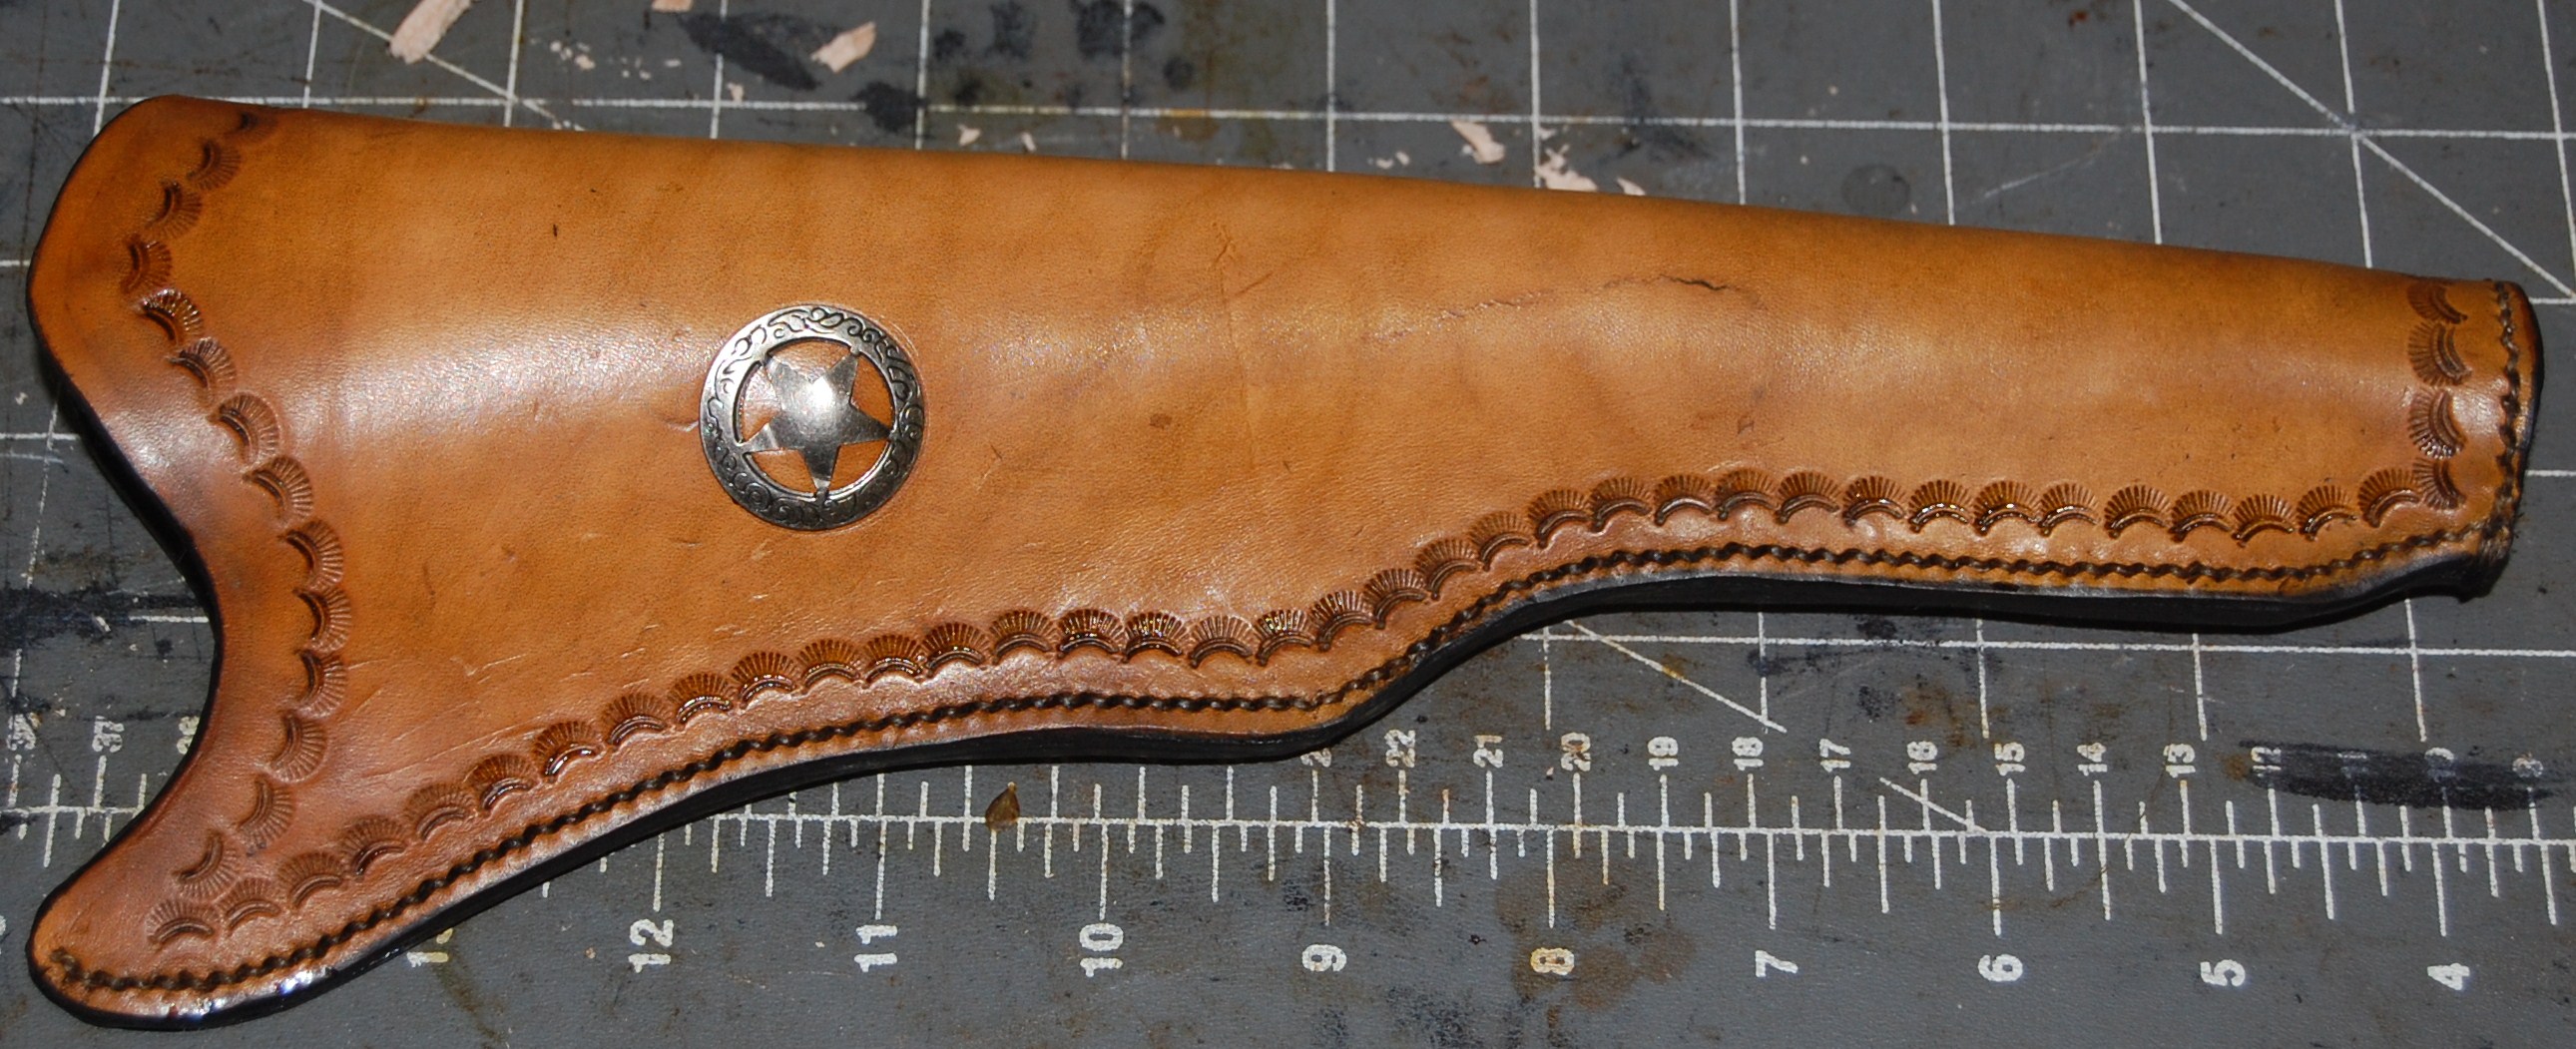
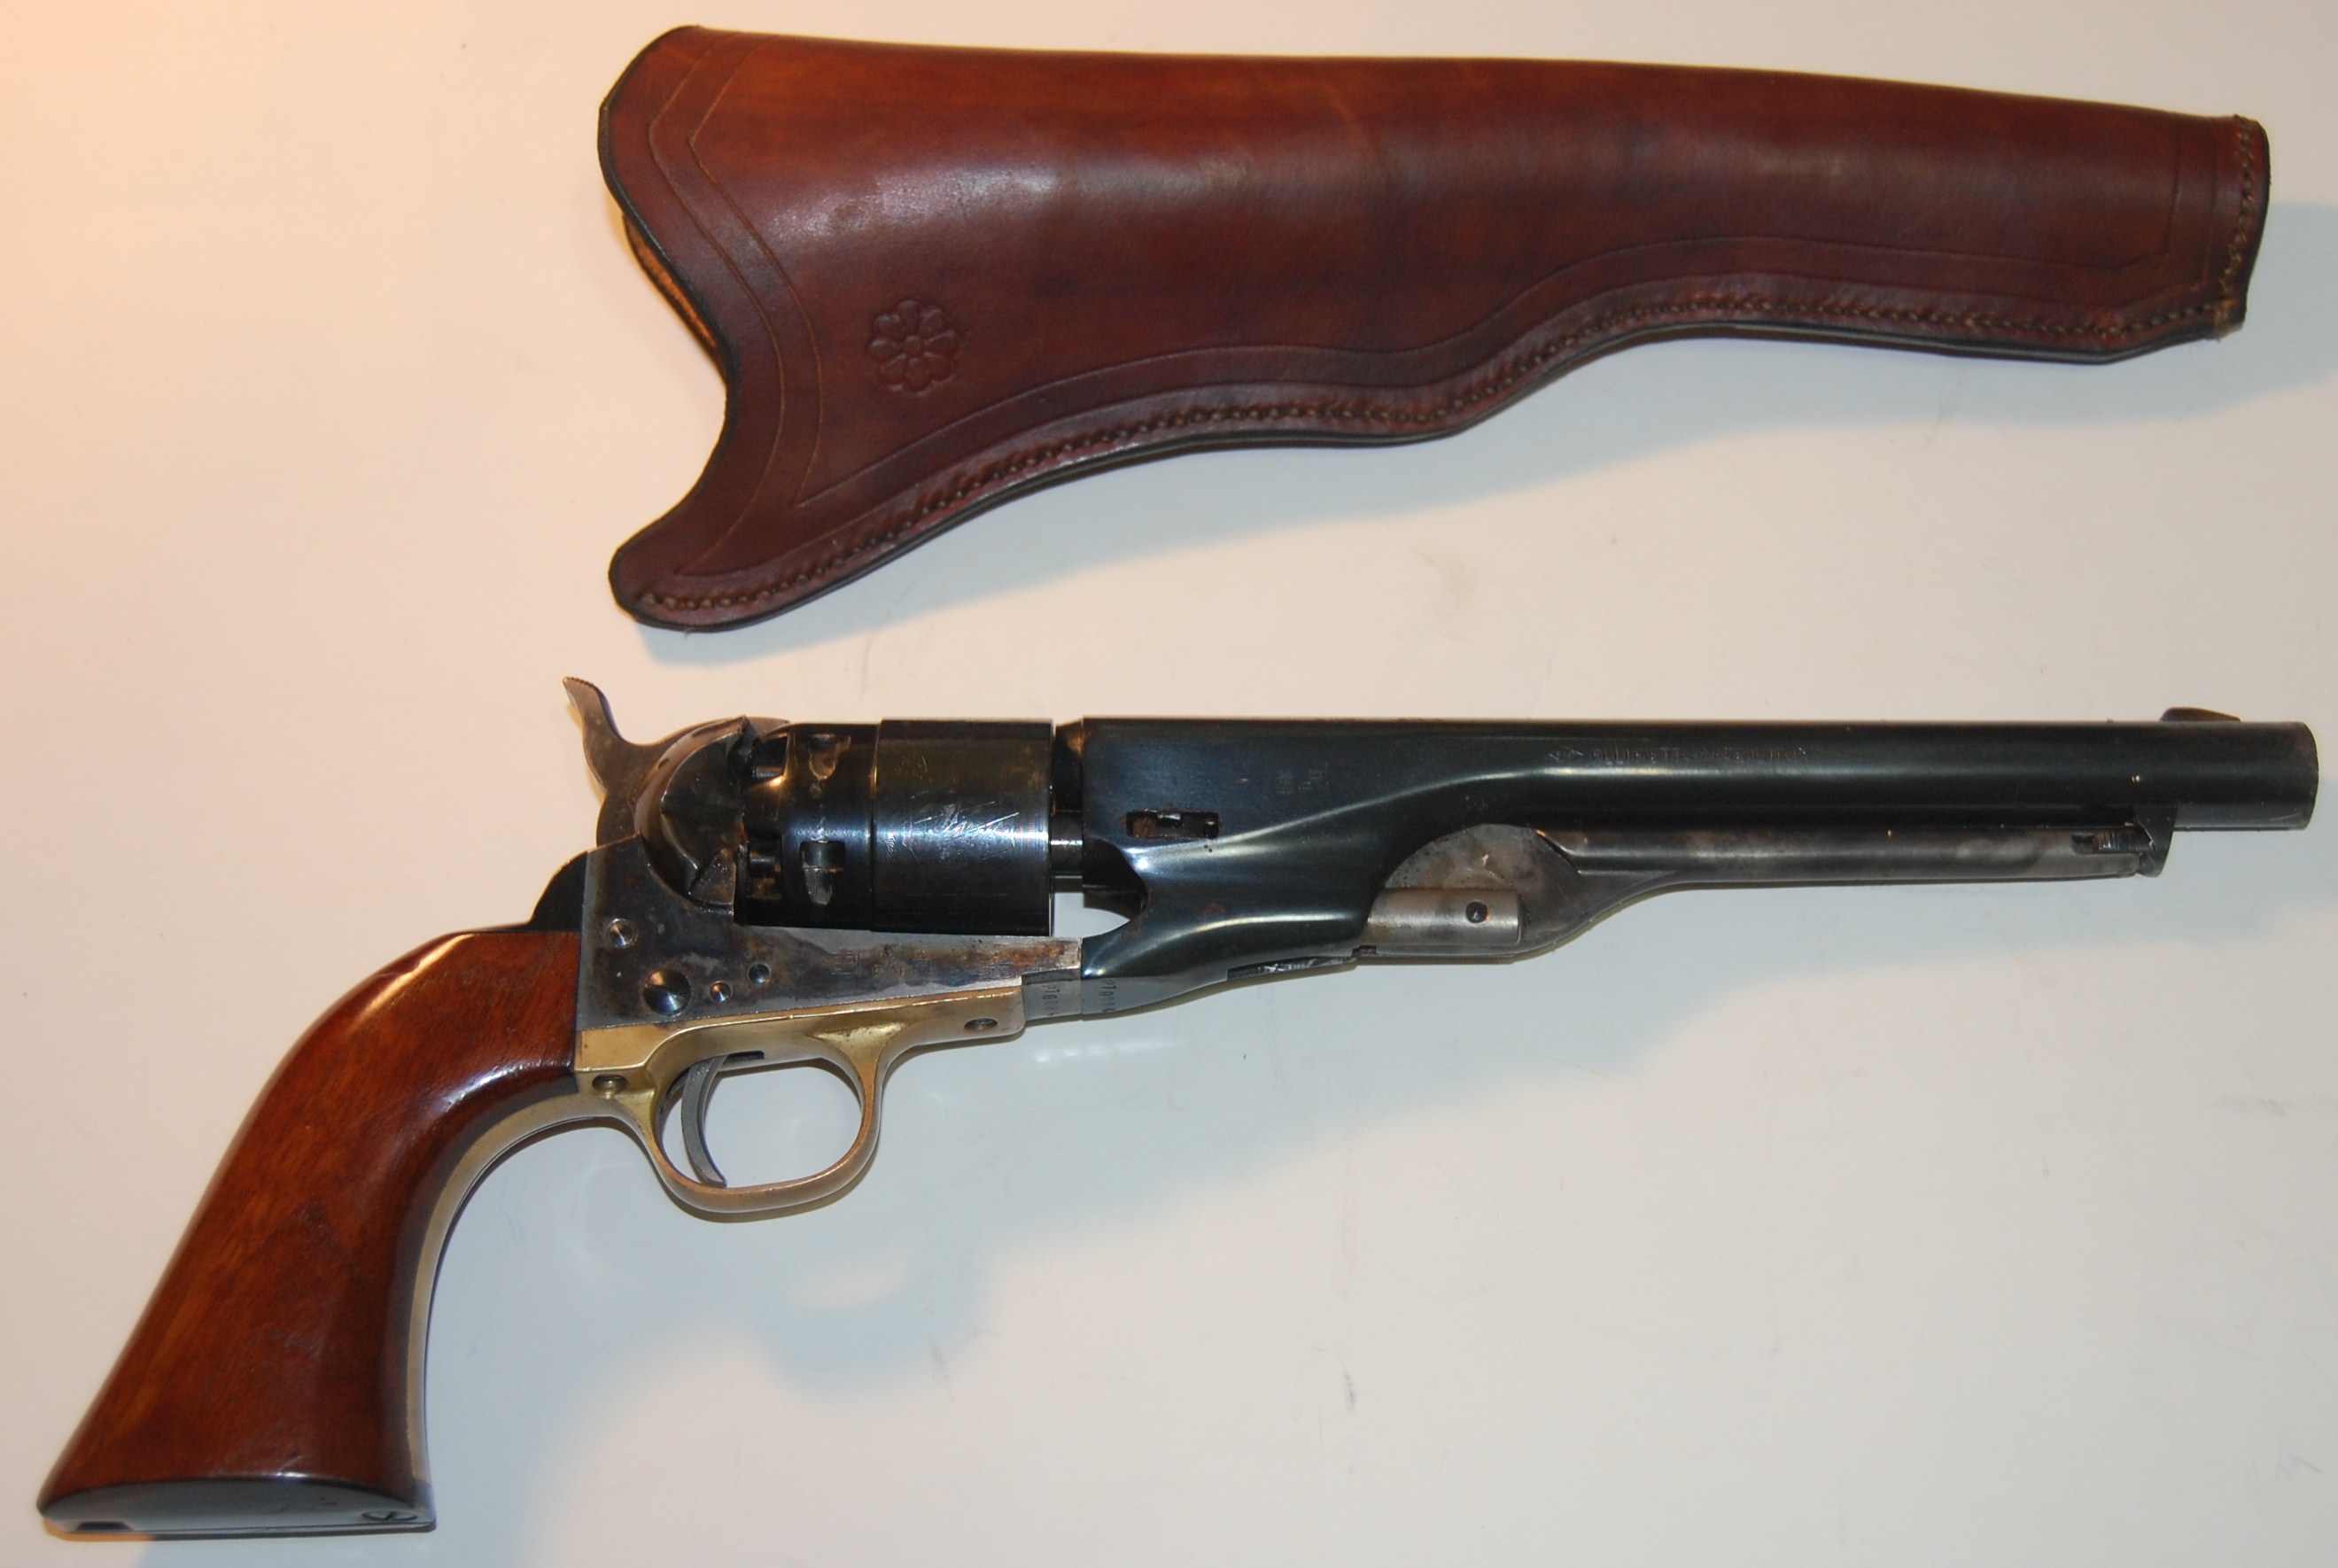
I'll attach a couple of photos that show some finished work.
Dave
-
They are all very lovely, Dave. The colors look so rich and even; are they full strength dye, or diluted/mixed/etc?
The dyes are all full strength. After dyeing, I hand rub 100% neatsfoot oil and then hand rub atom wax to seal everything. You are correct in that it yields an even and rich color.
Thanks for the compliment.
Dave
-
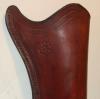
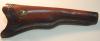
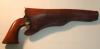
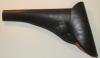
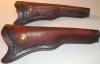
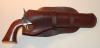
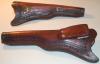
Here are a few of my more recent projects. All are 8 ounce veg tanned leather and are hand dyed and hand stitched.
Dave
Here are a few of my more recent projects. All are 8 ounce veg tanned leather and are hand dyed and hand stitched.
Dave
Here are a few more pics.
Dave
Here are a few of my more recent projects. All are 8 ounce veg tanned leather and are hand dyed and hand stitched.
Dave
Here are a few more pics.
Dave
And some more.


-
Interesting discussion on the pros and cons of stitching groovers and other construction techniques. Thanks for keeping it going!

Alex
I dont use groovers or over stitching wheels. I use a pricking iron to mark the holes, diamond awl to pierce the leather and pound the stitches when finished. Good firm leather is far superior to fleshy stuff and is ideal for cutting straps. I use 10/11 ounce stuff for stirrup straps and 9/10 ounce for quarter/rigging straps with no problems. The key is the firmness of the leather.
-
Hi,
I want to start cutting my own key fobs, hair barrettes, rifle slings, etc. from 3-9 oz tooling leather. What type of scissors/shears or other tool/s would be good for these projects?
Thanks
Frank
Rather than shears, I use a strap cutter for strapping, and a head knife for all detail work. I have also used x-acto knives with good results.
-
Did you download the Picasa for Mac?
If so can you view your pics there?
Dave
I tried but it requires an Intel based mac to run, mine is a G5
-
The format that photos are saved in is a setting on your camera. Check your manual.
Dave.....Nikon user
I know that is the setting on camera but the pictures aren't on there anymore. Do you know of any other way to change the format?
Dave
-
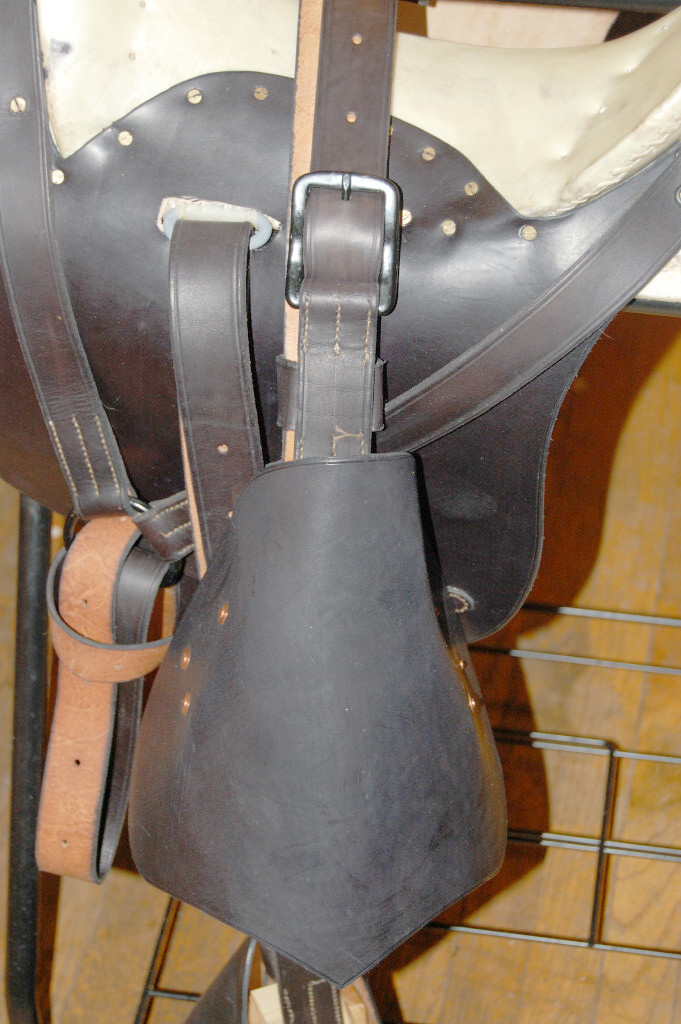
I was able to view the photo albums in Firefox. From the pictures I saw, it looks like the saddle is still a work in progress. . .? Anyway, I saved a few of the images, brightened them up, and have uploaded them here, so the others who can't view them on the MobileMe gallery can get an idea what the projects looks like. I hope it helps.
As Luke said, your work looks very well-done, Dave! Thanks for sharing.
L'Bum
Dave's photos:

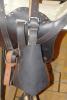
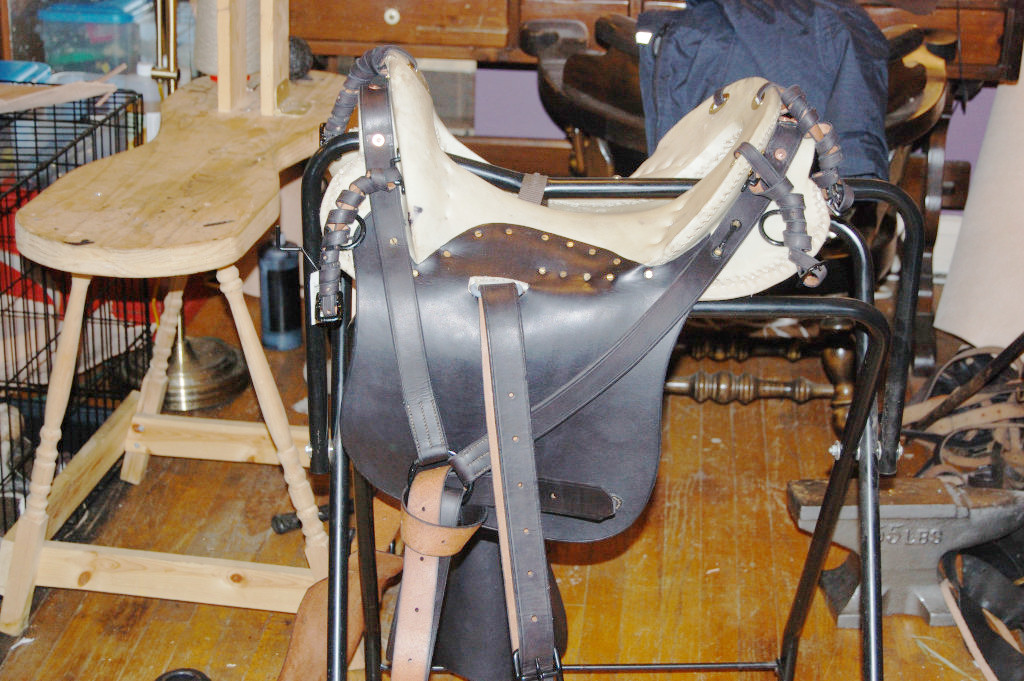
No sir, that saddle was complete and ready to go out for a ride. Military saddles for the common troopers of the period (1860's) were simply rawhide covered wooden trees with skirts and straps attached. Officer's saddles may or may not be built on the same tree and may or may not be leather covered or have padded seats and the like.
The files were taken with a Nikon camera and saved as NEF files. I dont know how to convert them to .jpgs to modify them on my iMAC.
Thanks to all for the cudos.
Dave
-
An absolute work of art. A job very well done. Just for curiosity sakes, what would a saddle such as that cost?
-
Dave,
Why not just post them on the site? It will be a lot easier.
David Theobald
I dont know how to do that and they are large files.
Dave
-
What do we have to do to view them?
Tony.
Let me know if this works:
http://gallery.me.com/dtmyrick#100070
http://gallery.me.com/dtmyrick#100047
Dave
-
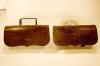
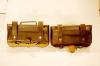
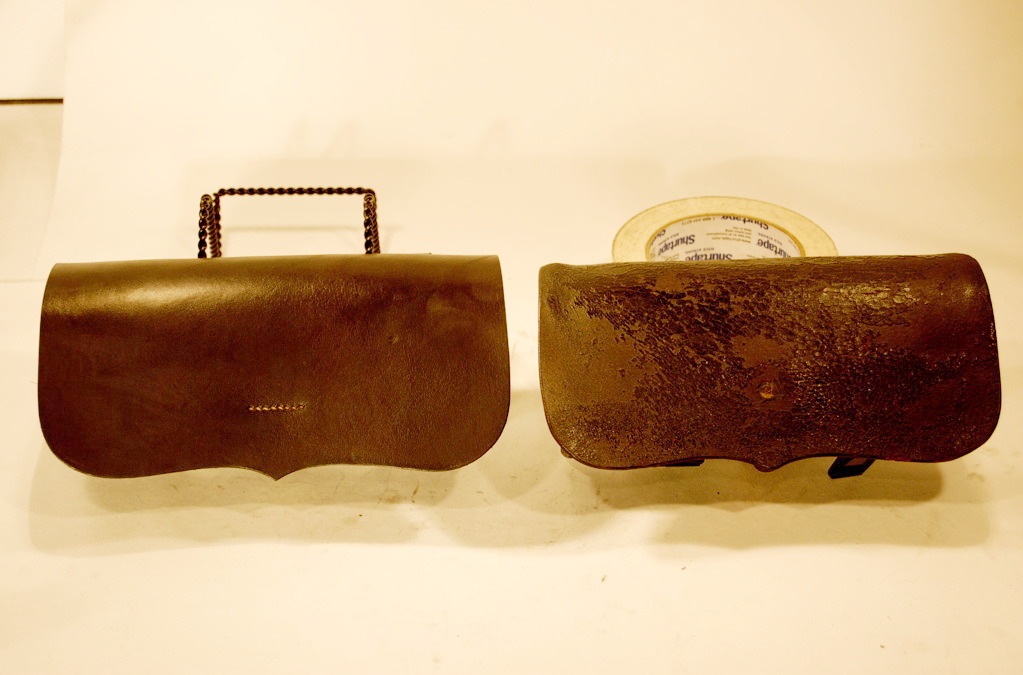
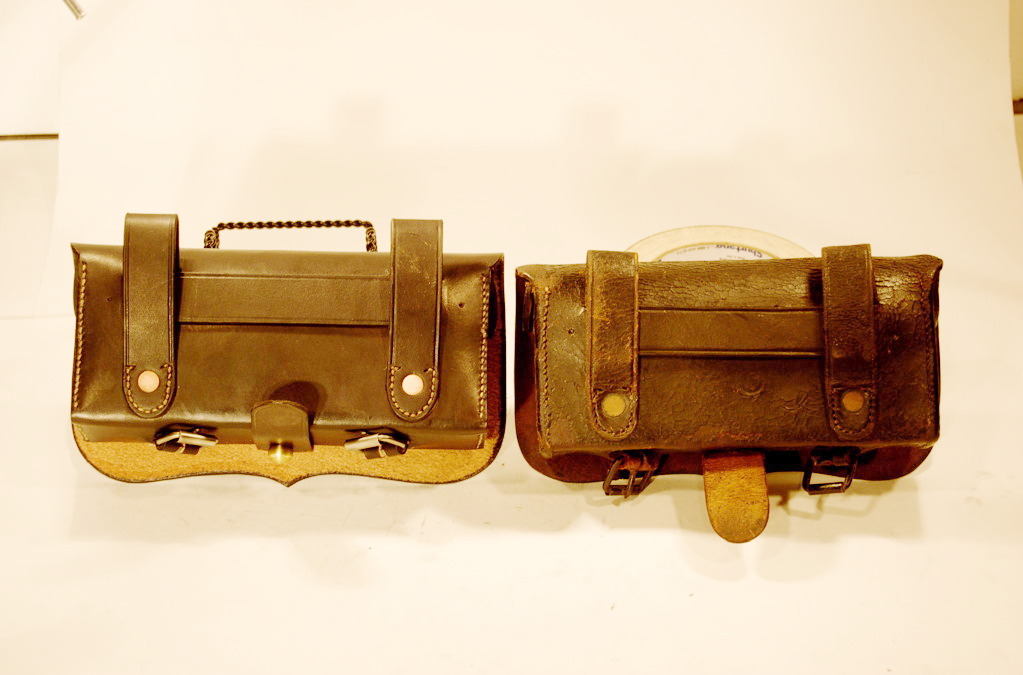
I thought I would share some photos of two projects that I am most proud of. First is a reproduction 1859 Pattern McClellan saddle. The tree is an exact copy of an original contractor made tree from 1863. The second is a cartridge box used by cavalrymen. It is an EXACT copy complete down to the same number of stitches as the original I copied.
Saddle project:
http://www.me.com/gallery/#100047
Cartridge box:
http://www.me.com/gallery/#100070
ANY comments are welcome. Both projects were completed with the assistance of a true master at his craft and great friend, Nick Duvall.
Dave
-
Another alternative to resin/rosin/pitch is asphaltum. You can get it @ the home stores as roofing tar in a caulk tube. mix equal parts pure beeswax and roofing caulk and melt together being careful of the flamability of both ingredients. Pour the warm liquid into a bucket of cold water and hand work into a ball. Set it aside to harden overnight. 1/4 pound of beeswax will yield a ball the size of a baseball and will last for a very long time. It will discolor the thread when used turning the linen a brownish/blackish color though. It works to both lubricate the thread for stitching, sealing the stitching hole as well as glueing the threads together in the hole. Another term for this mixture is known as Kit wax.
Dave
-
Hi,
I'm sure this is a dumb question but I'll ask anyway. When applying neatsfoot oil to straps (belts, dog collars, wristbands etc.) is it necessary to oil the flesh side (back) in addition to the grain side or will just giving the grain side oil penetrate enough? Sometimes when doing a strap I will smooth the flesh side with gum trac., then dye. If I need to oil the flesh side will it penetrate the gum trac. effectively?
Thanks
Frank
Frank,
How much oil to apply depends on the firmness of the piece of leather you are working with. For very firm leathers, I will apply oil to the flesh side and then the grain, for softer leathers, just the grain. If the leather is real fleshy I will paste the flesh side with gum trag, then very lightly oil. The oil does in fact penetrate through the gum.
I hope this helps.
Dave
-
Everyone.
I am new here and hope to learn.
I do a few leather projects with vegetable tanned leather. Holsters, knife sheaths, and other things. I tool some of them.
What are good finishes to give vegetable tanned tooling leather a good, reasonably water proof finish? Of course that leather soaks up water like a sponge and I want to be able to use things outdoors. I have used vegetable oil (soybean) - results so-so. I like beeswax-based Sno-Seal. That really soaks in, is color fast, and buffs up nice. However, it is very sticky and if a item is a little too tight, it really glues the thing in there...sort of defeats the purpose. I just inherited a can of Neat Lac and I like the way that works but I just used it for the first time recently so I have no experience there.
I have been tempted to try Lexol but that's expensive and I have not tried it yet. I have tried Armour All Leather Care on test pieces and it works nice but it drys kind of waxy...waxier than the Sno-Seal is after a good buffing...but you can't buff the inside of a piece.
So, I am a newbie and I am looking to learn. Finishes are a real mystery to me and the folks down at Tandy are helpful but they seem to like everything and thus I am not sure I am getting a good objective piece of advice.
Thanks for commenting.
A terrific finish can be made inexpensively from cod liver oil (available for a few dollars from the pharmacy) and beeswax. Heat the oil and melt in beeswax slivers being careful of the heat to not cook the mixture. You just want to thicken the oil. You may have to experiment to get the right consistancy but it works great to both soften and seal the leather.
Dave
-
Greeting to everyone. I'm new here but not new to leatherwork. I don't do much in the way of tooling, never got the knack of it, rather I work on historical reproductions of 19th century US military gear and horse equipments and other odds and ends.
Dangerous Dave
Dave Myrick


Saddle Tree Source
in Saddle Supplies, Tools & Trees
Posted · Report reply
I'm looking for a source for trees, both the 1859 McClellan and the Jenifer tree. I'm aware of Bowden but I am looking for other sources. Are there any out there?
Dave Myrick