Toddo
-
Posts
106 -
Joined
-
Last visited
Content Type
Profiles
Forums
Events
Blogs
Gallery
Store
Everything posted by Toddo
-
From the album: Muzzleloader Bag Progression
I taped Tandy tracing film to a 8 1/2 x 11 sheet of paper and ran it through the laser printer. Worked great. And as I traced the lines with the stylus the toner that's melted into the plastic flaked up revealing the traced line so that I could tell what had been traced already. -
From the album: Muzzleloader Bag Progression
-
From the album: Muzzleloader Bag Progression
-
From the album: Muzzleloader Bag Progression
-
From the album: Muzzleloader Bag Progression
-
From the album: Muzzleloader Bag Progression
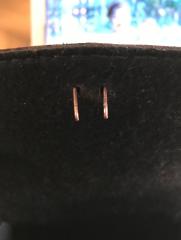
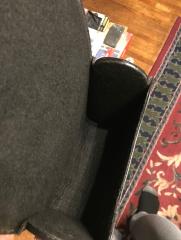
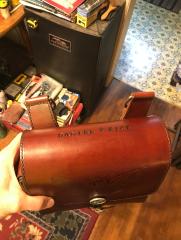
I had to used curved sewing needles to avoid jabbing the needle into the sides of the sheath. Major pain in the neck. It must have taken me two hours to get it sewed on. -

From the album: Muzzleloader Bag Progression
-
From the album: Muzzleloader Bag Progression
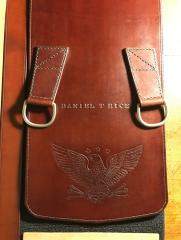
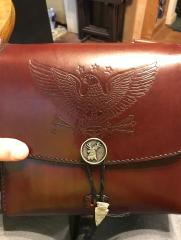
Pewter arrowhead on the end. I used 3 lengths of sewing thread which when pulled through the stay patch becomes 6 lines. So then I did a 6 line braid. Afterwards I found that placing the stay patch in the exact center of the bag pulls the front flap over to the right side because the clasp width behind the closure pin is 3/8 of an inch wide. I'll place the stay patch about 1/4 to 3/8 of an inch left of center on any future bag to compensate. -
From the album: Muzzleloader Bag Progression
-
From the album: Muzzleloader Bag Progression
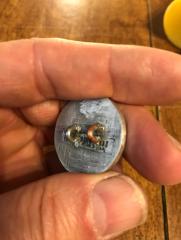
Had to get into a little metal work to get the front closure pin attached to the front flap. The pin came with a single straight pin on the back. I cut that off with a dremel tool and sanded it smooth and then I had to come up with a plan to get a solid fastener attached to the back. First I tried two sewing eyes. That didn't work very well. For one thing the solder joints were not very strong and it took me multiple attempts at the soldering job. And then when I got them on fairly solid, the sewing thread plan was not premium. It allowed to much movement of the pin, twisting wise. -

From the album: Muzzleloader Bag Progression
So then I came up with a clasp idea. I used 12 gauge copper wire doubled up and then hammered down to a flat width of about a 1/4 inch for the through tangs. And then I got the solder procedure down for a super solid adhesion. I doubt you could twist that copper piece off of the back of that pin with a pair of channel locks. The whole deal came out super solid. The solder wicked all the way around the piece, the middle and into every micro crevice. There is absolutely no twisting of the pin on the front flap whatsoever. It fulfilled all my best hopes for the pin attachment. -

From the album: Muzzleloader Bag Progression
-
From the album: Muzzleloader Bag Progression
-

From the album: Muzzleloader Bag Progression
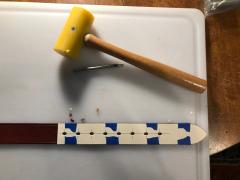
I'll probably shorten those clasp tabs on any future bag. The longer the tab the more leverage there is for potential bending of the tab. Short tabs would be impossible to bend without a screwdriver of some sort. -
From the album: Muzzleloader Bag Progression
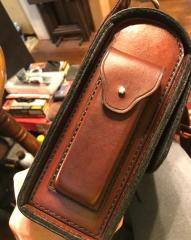
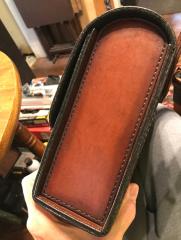
Felt glued on with BARGE and then it was sewed around entire perimeter -
From the album: Muzzleloader Bag Progression
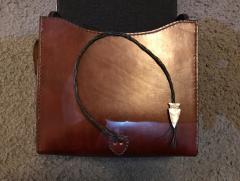
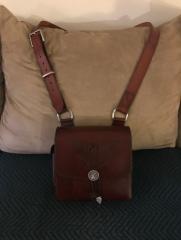
My vision for the bag finally realized. -
From the album: Muzzleloader Bag Progression
-
From the album: Muzzleloader Bag Progression
-
From the album: Muzzleloader Bag Progression
-
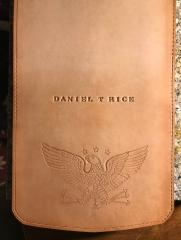
 Name stamp. Black Edge Kote, toothpicks, and about an hour and a half.
 -
From the album: Muzzleloader Bag Progression
Black Edge Kote, toothpicks, and about an hour and a half -
From the album: Muzzleloader Bag Progression
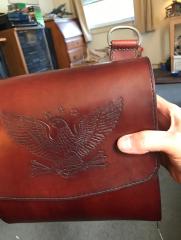
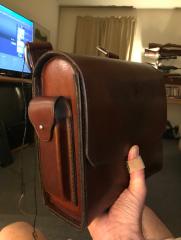
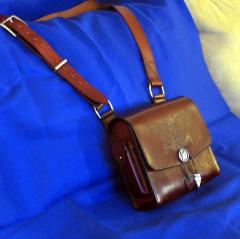
Stared this bag around the year 2018 and finally finished it in 2023. Talk about procrastination.... . It turned out as good as I had always hoped for. I'm super pleased with it. -
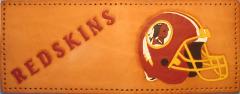
From the album: My Stuff
-
-
-
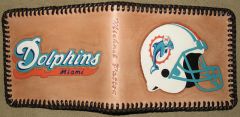
From the album: My Stuff