


Cyberthrasher
-
Posts
2,397 -
Joined
-
Last visited
Content Type
Profiles
Forums
Events
Blogs
Gallery
Posts posted by Cyberthrasher
-
-
Hey Tossik. Those really are beautiful and an excellent price. I'd love to add them both to my bench. I'm kind of a knife whore

I'll send you a PM now. -
In my humble opinion, such as it is ? You are one of those super Artists who rise to whatever challenge is put in front of you.
And further, you are a Inspiration to many of us here on this great LWN site.
Thanks Bill! That rise really does take a lot of climbing sometimes. I probably spend more time studying new techniques and design elements then I do actually working on leather. But it's all worth it in the end when I get responses like these. It reminds me why I had a passion for art growing up, and why I'm glad that I've managed to rekindle that passion after so many years away.
-
I'm not all about skulls, which is why I enjoyed doing this one to prove that to people who may think that's all I can do and may have been holding off on ordering. I'll have to take a look at the French stuff. A lot of the things I've been studying have been Victorian scroll work and renaissance anatomy. Just haven't had time to apply it to leather as of yet. I'm actually planning on doing a series of DaVinci pieces down the line. -
Being a Euro, the US western style isn't exactly my cuppa
but, as always, I can't help but be impressed with the quality of your work !
Thanks Macca! It's not really my cup either.....where's the skulls????
Seriously though, I'm always pushing people to embrace ART in what we do and to not be afraid to move outside our comfort zones. Even if something's not personally my style, I do try to embrace it and show myself and the world that I'm up for the challenge. I've always tried to think past what I like personally and enable myself to provide art to those I'm working for. Taking that approach, it allows me to develop a piece that I like because it's my design, while also providing the customer with subject matter that they enjoy.
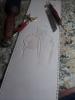
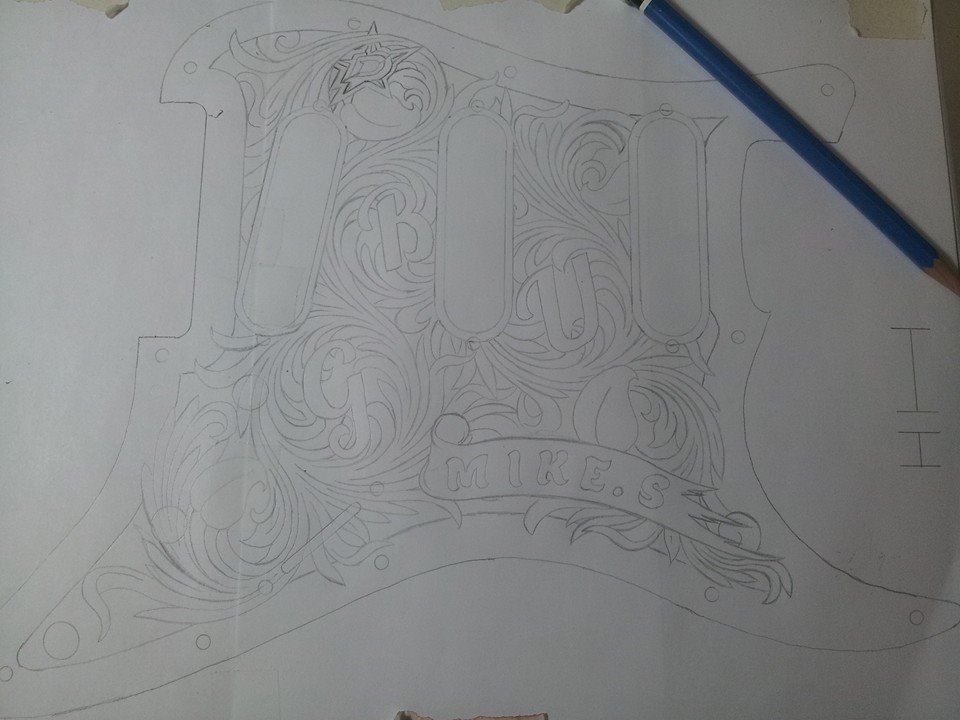
Designing this from scratch, I gained a lot more respect for the Sheridan style that's done well. It also helped me to be able to view it all differently now and see more of the intricacies that the masters put in their stuff. That's actually the primary reason I push people to draw their work, and trace it to the transfer paper by hand. When you KNOW your design, it really shows. Designing it yourself, you know what goes where and why which allows you to accurately represent it in your tooling. The kind of stuff that's a lot harder to grasp when using a craftaid or copying somebody else's patterns. But, I still want some skulls in it, with more classic Victorian stuff!!!! THAT'S my real goal and the kind of thing I really love
-
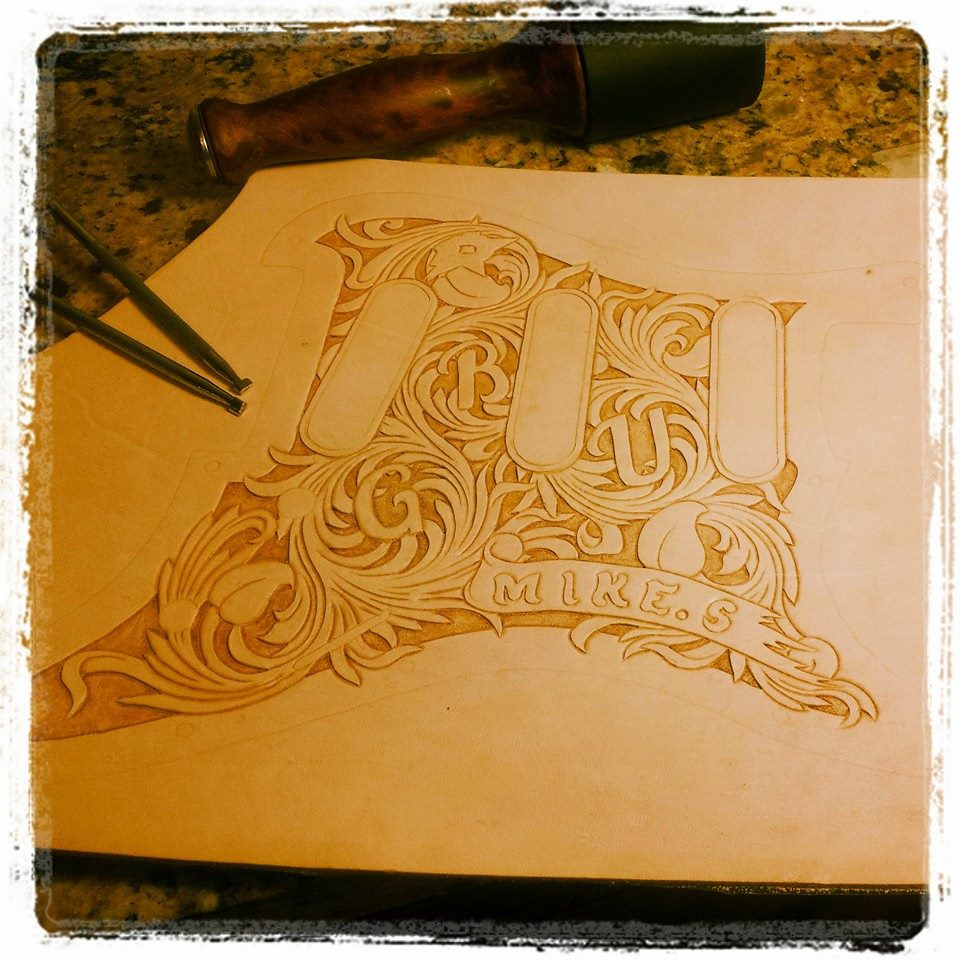
Thanks Guys. I'm quite proud of it. I never expected to really do any kind of western design, so this was quite the little trip for me to design and tool with no prior experience in the style. The more I look at it, the more I realize it actually has a lot of Victorian styling to it as well. We can tell what I've spent a lot of time looking at
-
Well, here goes my first shot at the classics on it's way out the door.
-
Can't wait to see the finished version attached to the guitar!
Neither can I!! Too bad life keeps preventing me from finishing it up. All I gotta do is get time to finish and antique. I don't know why that's so hard.
-
Thanks! It's definitely one of my favorite pieces.
-
Thanks everybody. This really has been a fun experience in learning how to step outside my comfort zone with my art.
-
So, I JUST took off my very first cuff that I ever made myself because my own sweat has rotted the leather.
Here are some thins I learned after the fact.
1.) it clearly needed to be sealed on the inside to prevent sweat absorption. That would have kept it from both rotting the leather and darkening the color to an extreme.
2.) The salts in the sweat corroded and rusted several snaps. I replaced them a few times throughout the life of the cuff. Lining it OVER the snap where it contacts the skin is vital to protect the hardware and also cuts down on any irritation. That's especially important if the customer happens to have any nickel allergies.
The reason it's junk now is because it had taken up so much salt and sweat around the snap that the snap was corroded once again, but the leather around the snap hole was also shot making it so that no snap would ever sit in there securely again.
So, line that puppy with a thin lining leather. Then seal it with at least a few LIGHT coats of Resolene as Eccho said.
-
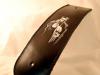
here's an updated picture. I'm just about ready to wrap it up.
-
Thanks Odin
-
Thanks guys!
I really wish the customer would have sent me a photo of it on his bike. It's always a bummer when you can't see the final result.
-
No airbrush here. It's just hand brushing using an acrylic "wash" technique.
I've actually never used acid or bleach on anything.
-
How do you get the black for the background appear so seamless? Is that also createx?
The way I imagine it is you paint the whole thing black and then paint the colours for the portrait. It looks like bridle leather from the pictures but its either dye or acrylic I can't tell.
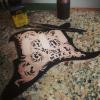
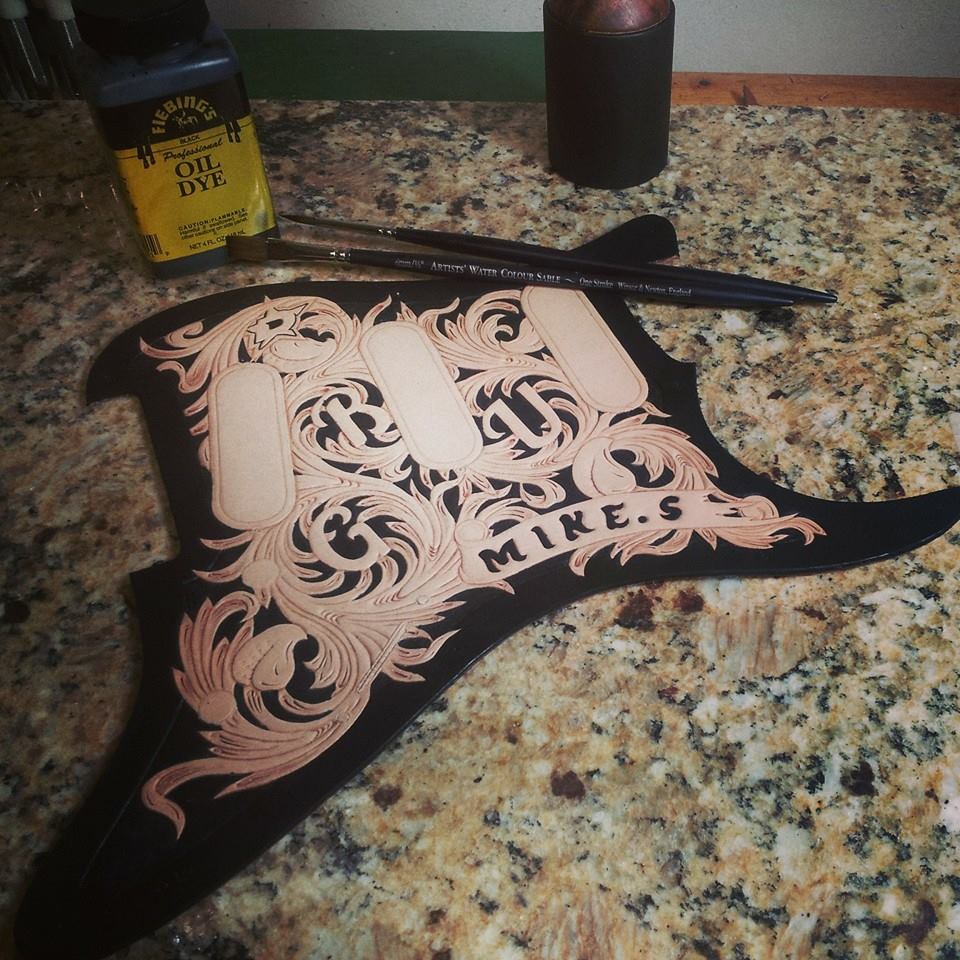
You can see in that last picture that it's plain old veg tan tooling leather, 5/6 oz.
When it comes to color, I have a strict philosophy that every color that's available as dye should be dyed. Save the paint for those colors that are harder to get in a dye. The reason for this is that dye penetrates the leather and changes its color, where paint only sits on top (though proper thinning will help it sink in a little bit for better adhesion).
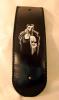
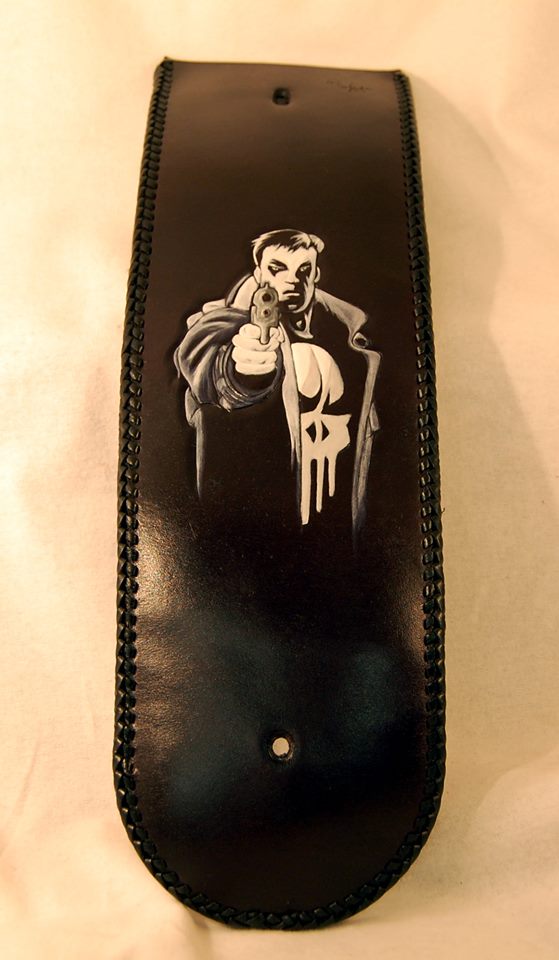
With that said, since the only colors on this one were black and white, I dyed the entire piece black with Fiebing's Pro Oil Black and then went through and did my painting over the top, leaving the black that was already there for the black portions of the picture. The only spot I did use black paint was a little bit mixed with the white on the gun to get more of a black grey color overall. There's about 3 or 4 varying shades of grey on the gun. I started with the lightest tint, and then added the darker spots bit by bit by adding just a touch of black here and there to the pallet.
After it's all done, just finish as normal.
-
I believe that one was Createx white thinned with water for the greys and Liquitex medium for the white. I used a wash technique to get the grey blending and then did the highlights with a wash on the white that was already thinned with the medium
-
Nice job! I don't guess you have any links to any online resources you would be willing to share?
For painting?? There's a LOT of good stuff here.
http://www.elfwood.com/farp/art-tutorials.html
That looks great, Cyberthrasher!
Thanks!!
-
I don't think I ever posted this one up here either. This one was a custom order from a guy who wanted a Punisher themed bib for his 2010 Sportster. He already had the Punisher skull on his seat and air cleaner, so he requested an image of Frank Castle. This is what I came up with after teaching myself some acrylic blending techniques. Big shout out to Spinner for all the advice he gave me on the painting. I don't do a lot of paint work outside of full color, so that was pretty new to me.

-
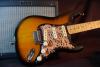
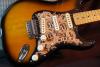
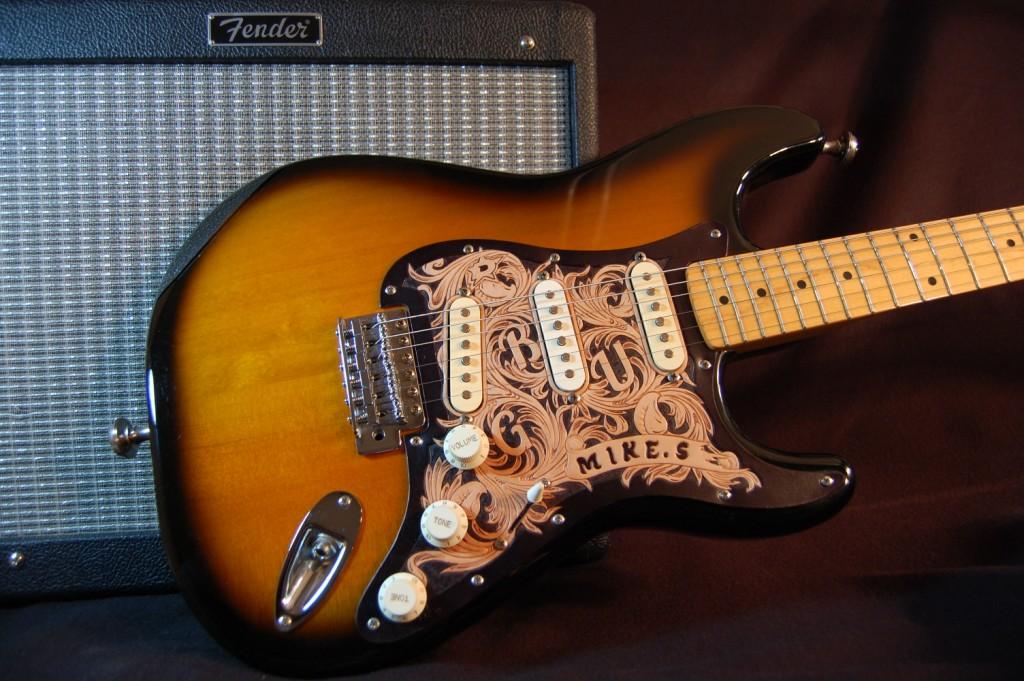
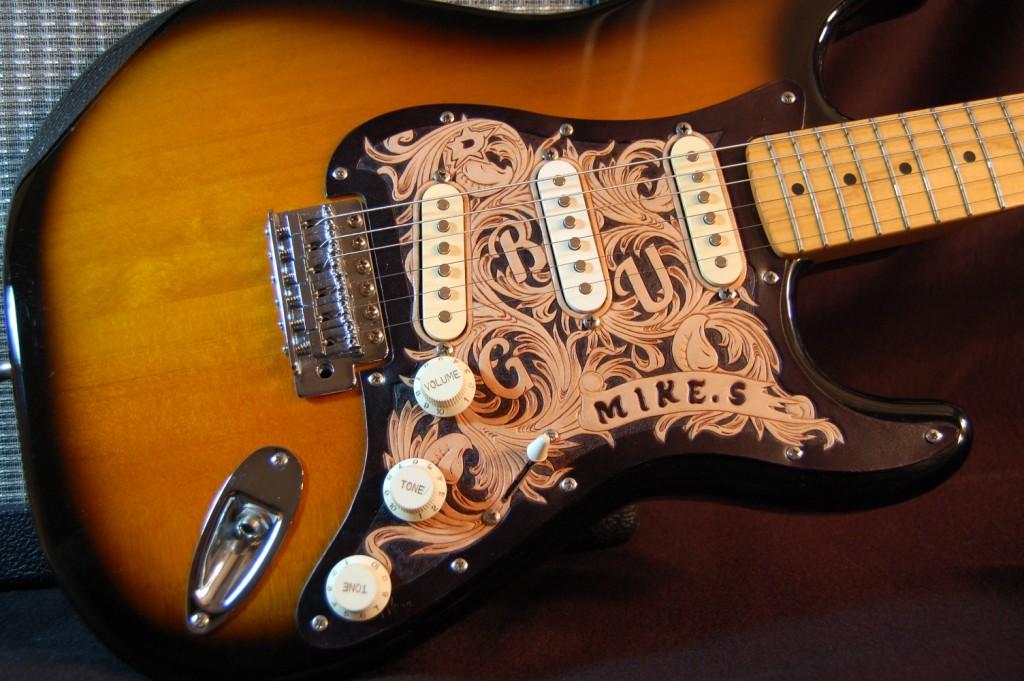
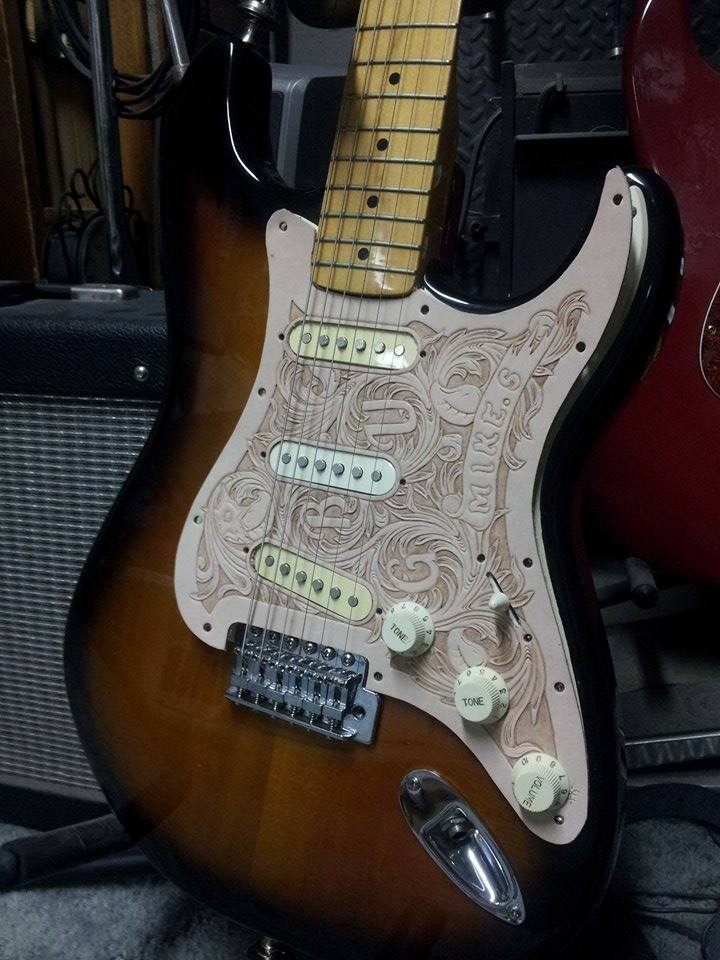
I haven't been around much lately. Too many eggs in my online basket or something. But, here's a little teaser picture of a pickguard I've been working on. It's going to have the border and background dyed black. I was just mocking this up on one of my guitars so the customer could get a feel for what the different colors of plastic would look like since his guitar is similar in color.


-
I just realized that the other day. Thanks for the heads up man, still learning here. Started oiling right after I dye and have not tried to oil before. Experiencing all of this has me wanting to try vinegroon for black. Gonna give that a go here soon.
I've never tried it, but mostly because nearly EVERYTHING I do is multi-color to some degree. For black, I use the regular Pro-Oil and not the USMC. I've never used it myself, but I've heard of nothing but problems from people who do use it.
-
Newb and my input here is only about ten cuff bracelets worth of experience. Feibings has a spirit based application and an oil based application. I have not yet used their oil based but have read that many prefer it over the alcohol/spirit based dye.
Slight correction here. BOTH Fiebing's dyes are alcohol based. The "Pro Oil" is an alcohol based dye designed for use with oiled leathers. Rub it with some light oil before you dye (or after) and you're set.
-
Cyberthrasher
Can you advise whether you get A grade of Hermann Oak from SLC or ..?
Springfield only carries "Craftsman" grade © and B Grade. I get A from Sheridan Leather or Goliger Leather.
-
That doesn't look good. Is it chrome-tanned? The stuff I was referring to is actual veg-tan in 5/6oz I believe.
I do have some of the light embossed stuff from Springfield that I've been using for a few things. Not a belt though. I can check it out and see if I can spot anything that might look similar. The stuff I'm using is 2/3oz.
-
I don't know if my buddy's used it for belts or not, but he makes A LOT of wallets out of it with no problems.


Horseshoe Brand Hand Tools At A Deep Discount - 50% +
in Old/Sold
Posted
If you decide to part them out, there are several pieces I'd be interested in. I just can't afford the entire set right now.