mjensen
-
Posts
45 -
Joined
-
Last visited
Content Type
Profiles
Forums
Events
Blogs
Gallery
Store
Everything posted by mjensen
-
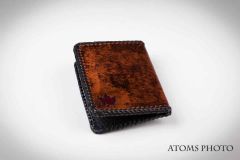
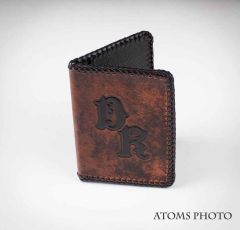
This Year's Christmas Gifts
mjensen replied to mjensen's topic in Purses, Wallets, Belts and Miscellaneous Pocket Items
Thanks everyone! -
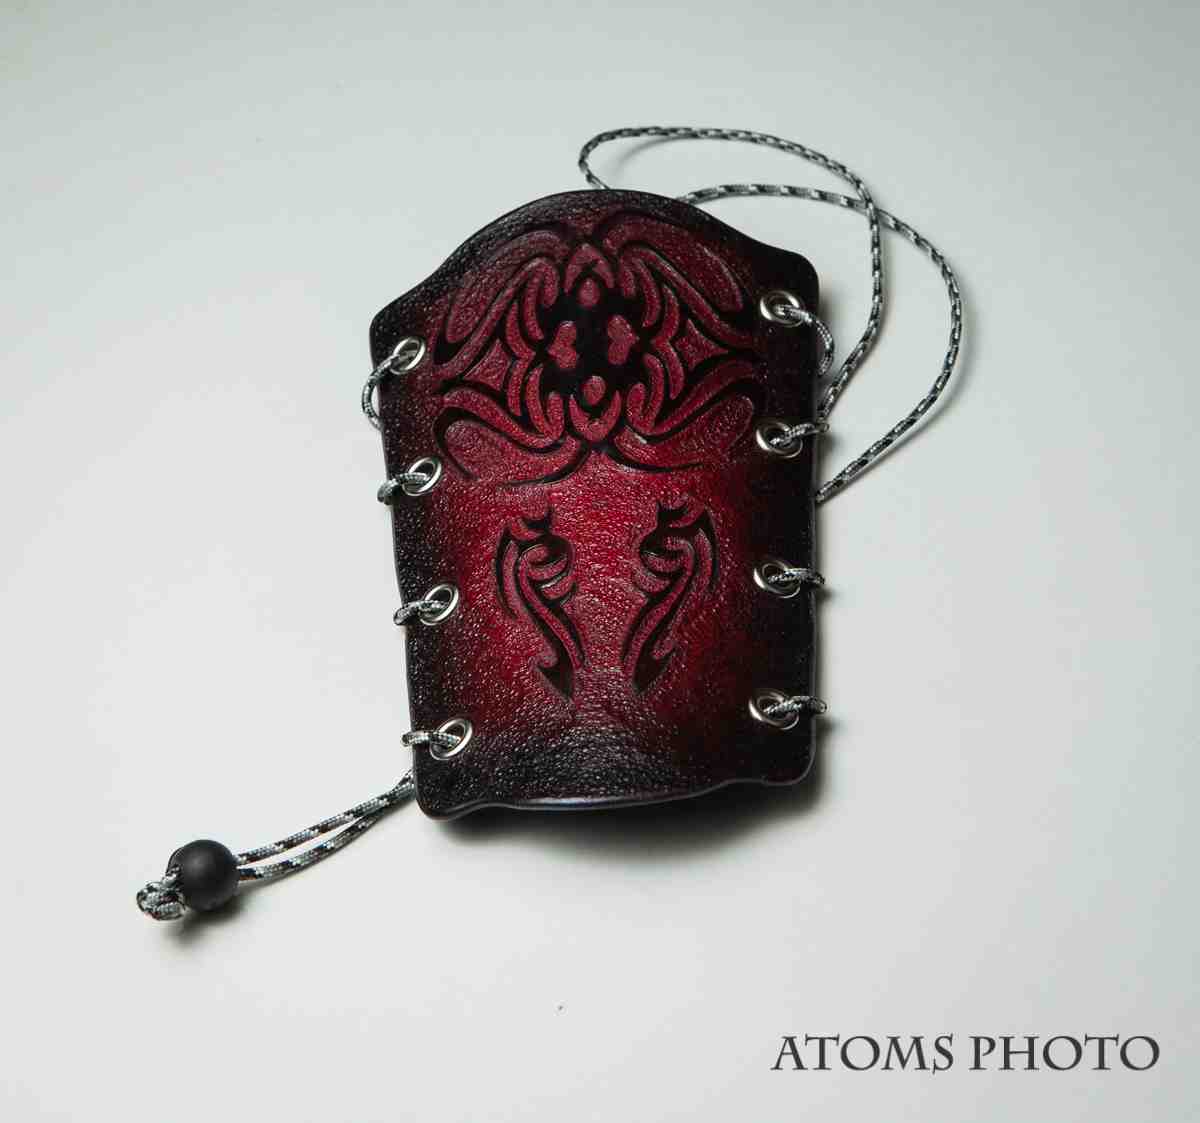
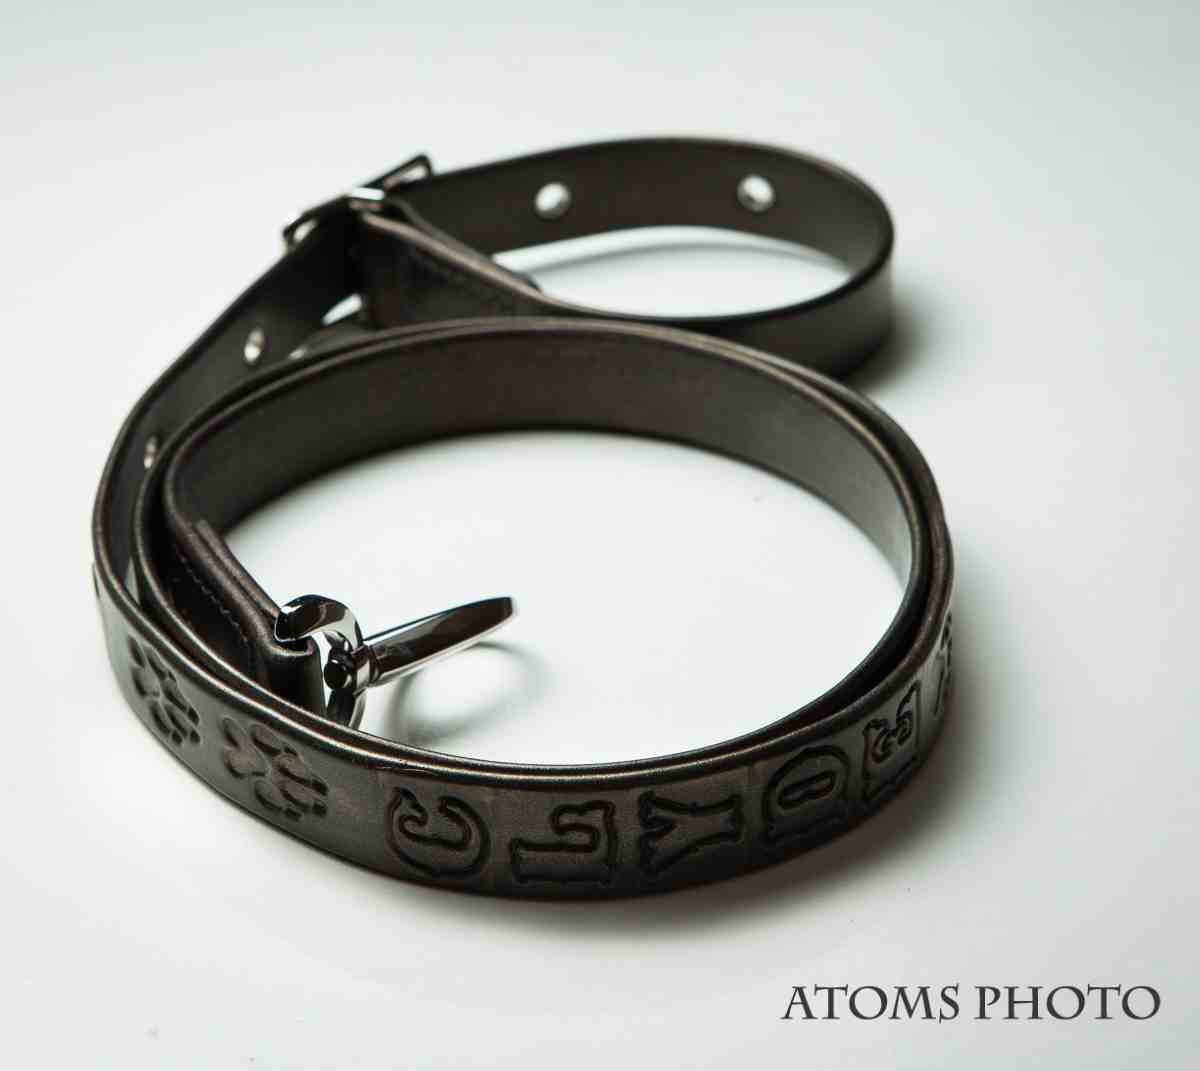
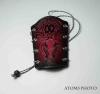
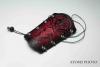
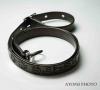
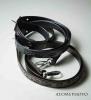
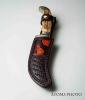
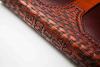
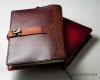
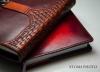
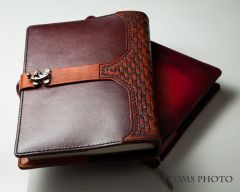
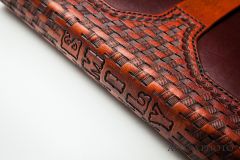
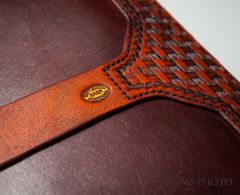
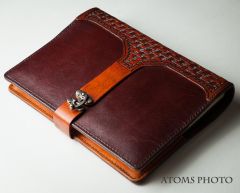
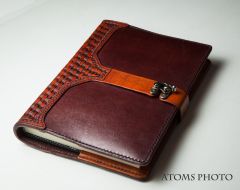
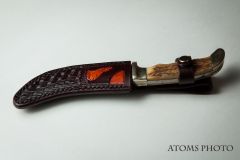
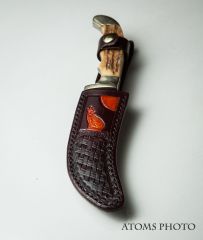
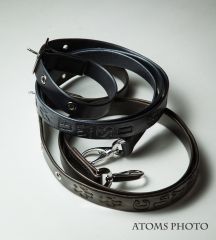
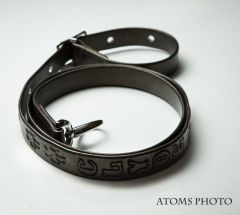
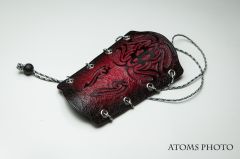
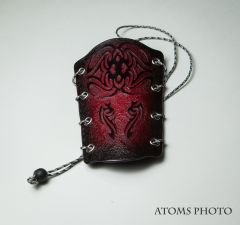
I haven't posted in a long time so I figured I'd post a few pictures of some stuff I've been working on for the holidays. As always, I'd be happy to hear your thoughts. Thanks for looking! All photos taken by Andrew Tomlinson of Atoms Photo, Prince George, BC.


-

From the album: Christmas 2014 Projects
Photos taken by Andres Tomlins of Atoms Photo -
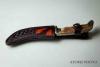
From the album: Christmas 2014 Projects
Photos taken by Andres Tomlins of Atoms Photo -

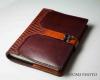
From the album: Christmas 2014 Projects
Photos taken by Andres Tomlins of Atoms Photo -
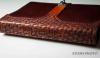
From the album: Christmas 2014 Projects
Photos taken by Andres Tomlins of Atoms Photo -
From the album: Christmas 2014 Projects
Photos taken by Andres Tomlins of Atoms Photo -
From the album: Christmas 2014 Projects
Photos taken by Andres Tomlins of Atoms Photo -

From the album: Christmas 2014 Projects
Photos taken by Andres Tomlins of Atoms Photo -
From the album: Christmas 2014 Projects
Photos taken by Andres Tomlins of Atoms Photo -
From the album: Christmas 2014 Projects
Photos taken by Andres Tomlins of Atoms Photo -
From the album: Christmas 2014 Projects
Photos taken by Andres Tomlins of Atoms Photo -
From the album: Christmas 2014 Projects
Photos taken by Andres Tomlins of Atoms Photo -
From the album: Christmas 2014 Projects
Photos taken by Andres Tomlins of Atoms Photo -
From the album: Christmas 2014 Projects
Photos taken by Andres Tomlins of Atoms Photo -
From the album: Christmas 2014 Projects
Photos taken by Andres Tomlins of Atoms Photo -
From the album: Christmas 2014 Projects
Photos taken by Andres Tomlins of Atoms Photo -
Composition Notebook Cover
mjensen replied to RiverCity's topic in Purses, Wallets, Belts and Miscellaneous Pocket Items
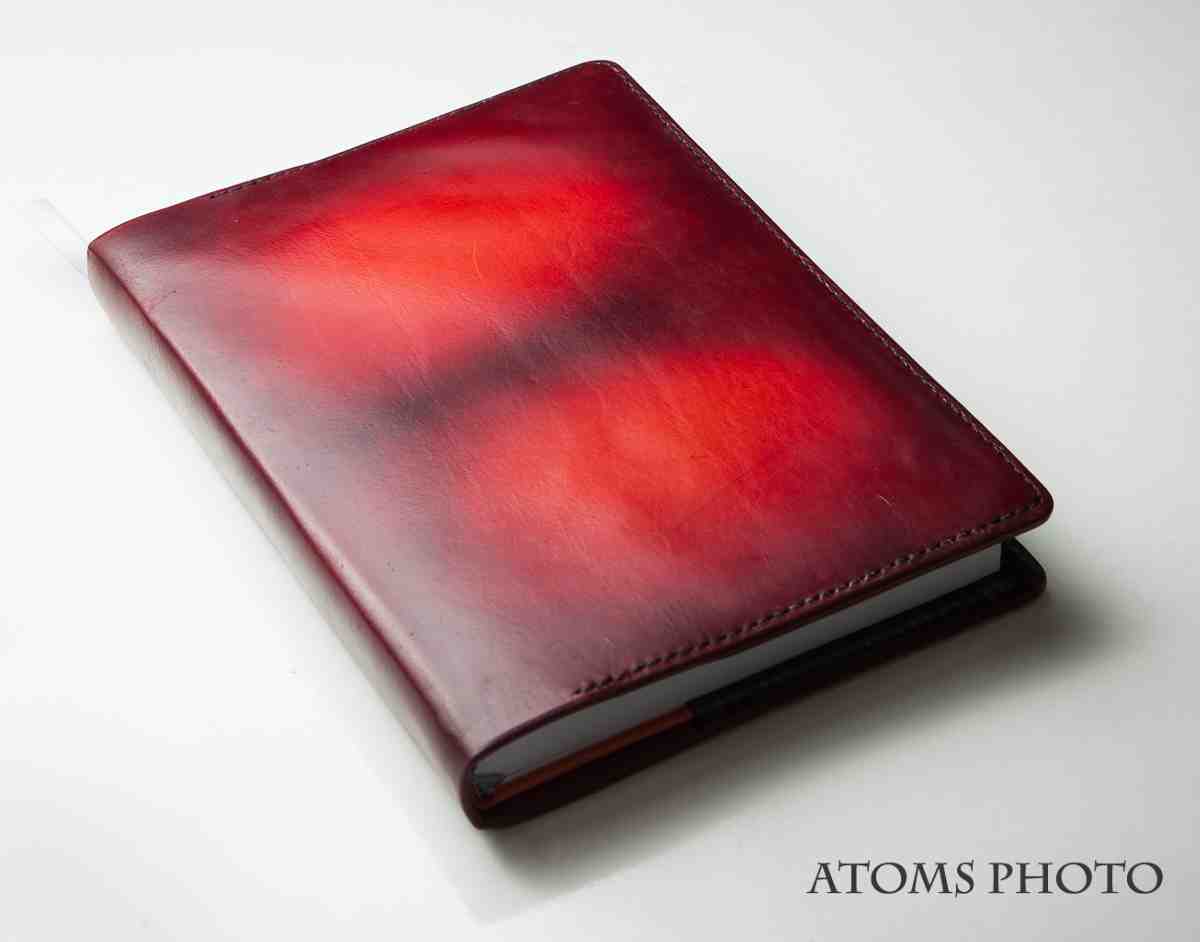
That is absolutely gorgeous! Do mind me asking what weight of leather you used for that? I'm getting ready to make my first book cover for a christmas gift and I'm thinking of using 5/6oz for the backing and 2/3oz for the inside slips. -
After looking at his armbands I'm going to agree with the sponge. http://www.lescuirsdebelfeuil.com/en-ventes.html It looks like he put a yellow base down, then sponged over it with green. If you were to pat the sponge onto a scrap cloth or leather you would be left with a thin layer of dye that doesn't apply well. But if you keep patting the area you are covering some areas will get darker and darker. I'm going to try this and I will get back to you with the results (might take awhile though)
-
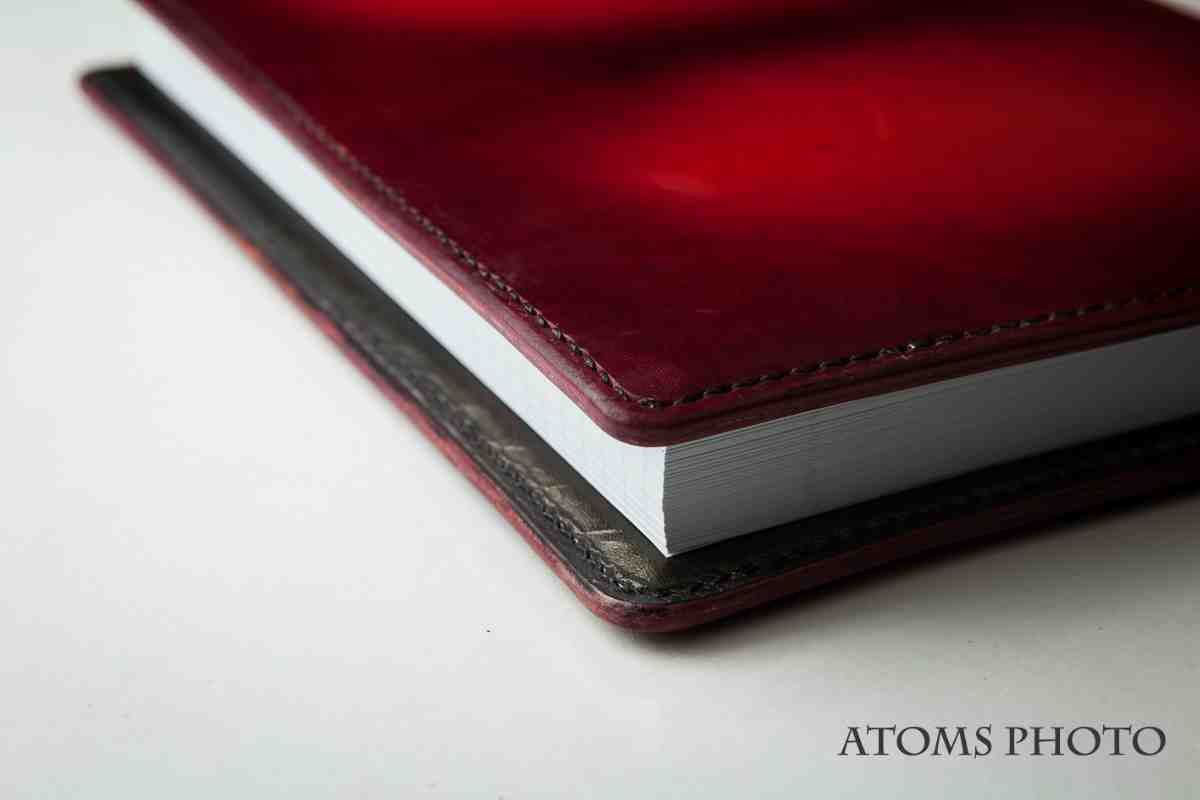
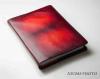
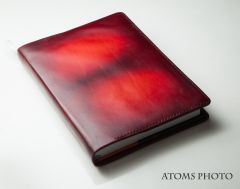
This is the effect I was talking about with the Eco-flow High-lighter. A buddy of mine is a professional photographer and was able to catch some shots that really show the effect. To get this I don't clean the leather with alcohol or anything (I know... tsk tsk). I find that cleaning with alcohol will only leave the lighter brown color and you won't get the darker patches. Once your ready (resists in place etc), use a wool dauber and apply a generous layer of the high-lighter. Work it in circles until the whole piece is covered then wipe it off with a dry cloth. Then using a slightly damp cloth, wipe over it once or twice only. Do not rub at all or you'll wipe most of the antique right off. Afterwards I use an airbrush to apply my finish in order to prevent the finish from lifting the antique off the leather. I use a half dozen light-to-moderate coats of resolene cut 50:50 with water. Cheers,
-

From the album: Getting Started
Photo taken by Atoms Photo and used with permission. -
From the album: Getting Started
Photo taken by Atoms Photo and used with permission. -
From the album: Getting Started
Photo taken by Atoms Photo and used with permission. -
I've gotten (slightly) similar results using the eco-flow highlighter and gel antiques. When you apply it let it sit on the edges longer before wiping it away with a soft cloth. Then use a damp (not wet) cloth to lightly wipe the center portion of the leather. It may not end up exactly like your picture, but it will come close. I'll upload a picture of a passport wallet I just did using this technique when I get a chance.
-
Thanks for the tips everyone! The C-Clamp worked like a dream. I put the leather I was stamping on top of 2-3 layers of 4/5oz leather and screwed down the clamp as far as it would go. It went a little too far the first time and I ended up getting marks from the stamp base. Second time was beautiful. Thanks again! Matt