


Richardrn80
-
Content Count
10 -
Joined
-
Last visited
Posts posted by Richardrn80
-
-
1 hour ago, alpha2 said:Anything dyed needs a day or two to dry thoroughly, then buffed relentlessly until no more dye comes off on the cloth. Then, buff some more, and only when the cloth is clean after buffing, apply a sealer like tan kote. Before use, check again with a clean cloth to be sure it doesn't bleed. It's a lot of buffing.
Ok. Got it. Thanks.
-
I do t know if this is the right place to post this, but here it goes. I have recently finished a beautiful tote bag for my wife out of rustic chromexcel horween 3/4 oz leather. Very soft, very supple. I am having a difficult time getting the edges on the handles to not bleed the dye I treated it with. I started with sanding with 220, then treated with feibings saddle soap. Then sanded another time with 420 grit. Then I treated with black spirit dye. After letting it dry, I sanded again with 420, and again spread black spirit dye. Then I treated with beeswax. Now, I rub it on any towel, and Black comes off every time!! It almost ruined one of my wife’s brand new blouses. I am hoping for some input here on how to get the dye to last and not come off with contact. I have even tried gum trag over it, as well as tan kote. Any ideas?
-
11 hours ago, byggyns said:Once you punch down the washer, use some side cutters to trim the excess post. That should leave enough of a burr on the post to hold the washer in place. Then use the ball side of a ball peen hammer to peen the post around on to the washer and lock it all together.
You need a stable base to peen them on. I use the steel rivet setter plate (with the little hollows for the rivet heads and caps for snaps) on top of an end-grain cutting board. Now that I have a bench vise with a decent size anvil, I may start using that as my base.
I'll also agree that the hole in the washer may be a little too large. It should be a struggle to get it to go all the way down. Who did you source your rivets & washers from?
I bought them from Buckle Guy and Tandy.
-
I am working on a project where I am trying to connect pieces of leather with my copper rivets. I have both #9 and #12 rivets. I also have the tools for each size. The issue I’m running into is after I punch down my washer onto the rivet, it comes loose. I have tried switching the different size washers (thinking I had mixed them up) and that didn’t work. I’m really not sure what is going on or what I’m doing wrong. I have ruined so many rivets and I wanted to see if anyone here had any pointers on how to get them to stay tight after I set them with the setter. Is it what I’m using as an anvil? I’m so confused. Thank you in advance for any help and guidance.
-
One more question. How did you do the handles? I attempted to do some handles like that, but they failed miserably!! What’s your secret to the handles? What type of leather, thickness did you use?
-
Absolutely beautiful!!! Very well done. I showed my wife and she asked if you had a pattern for this beautiful piece of art. I like how you left the edges unpainted. It gives a contrast to it that makes it still very simple. Well done!!
-
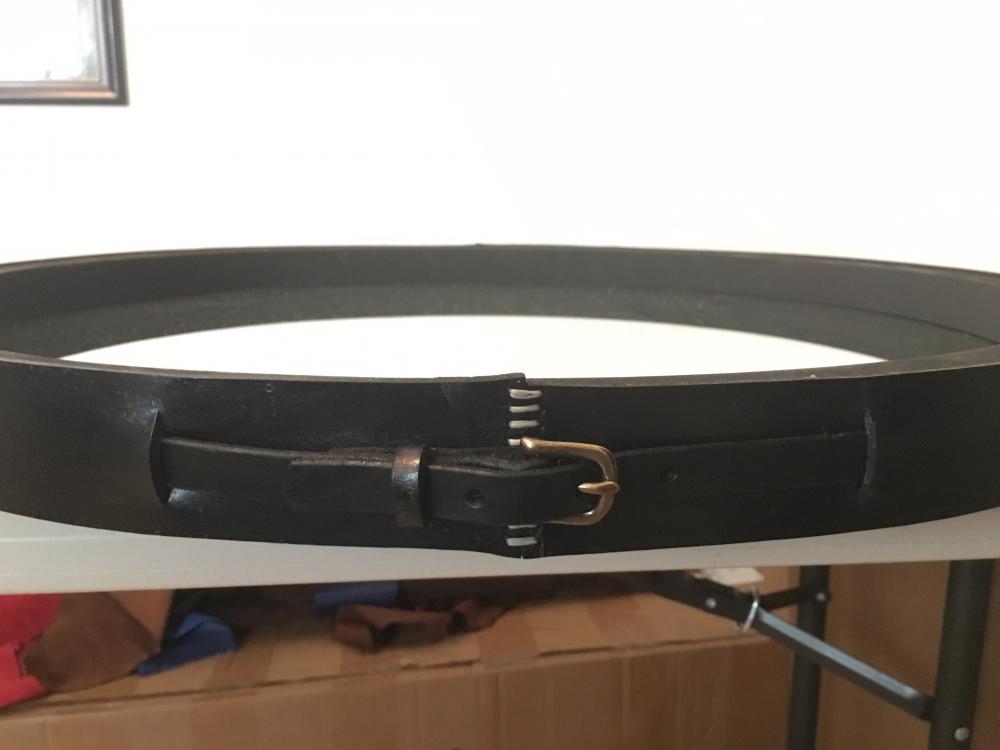
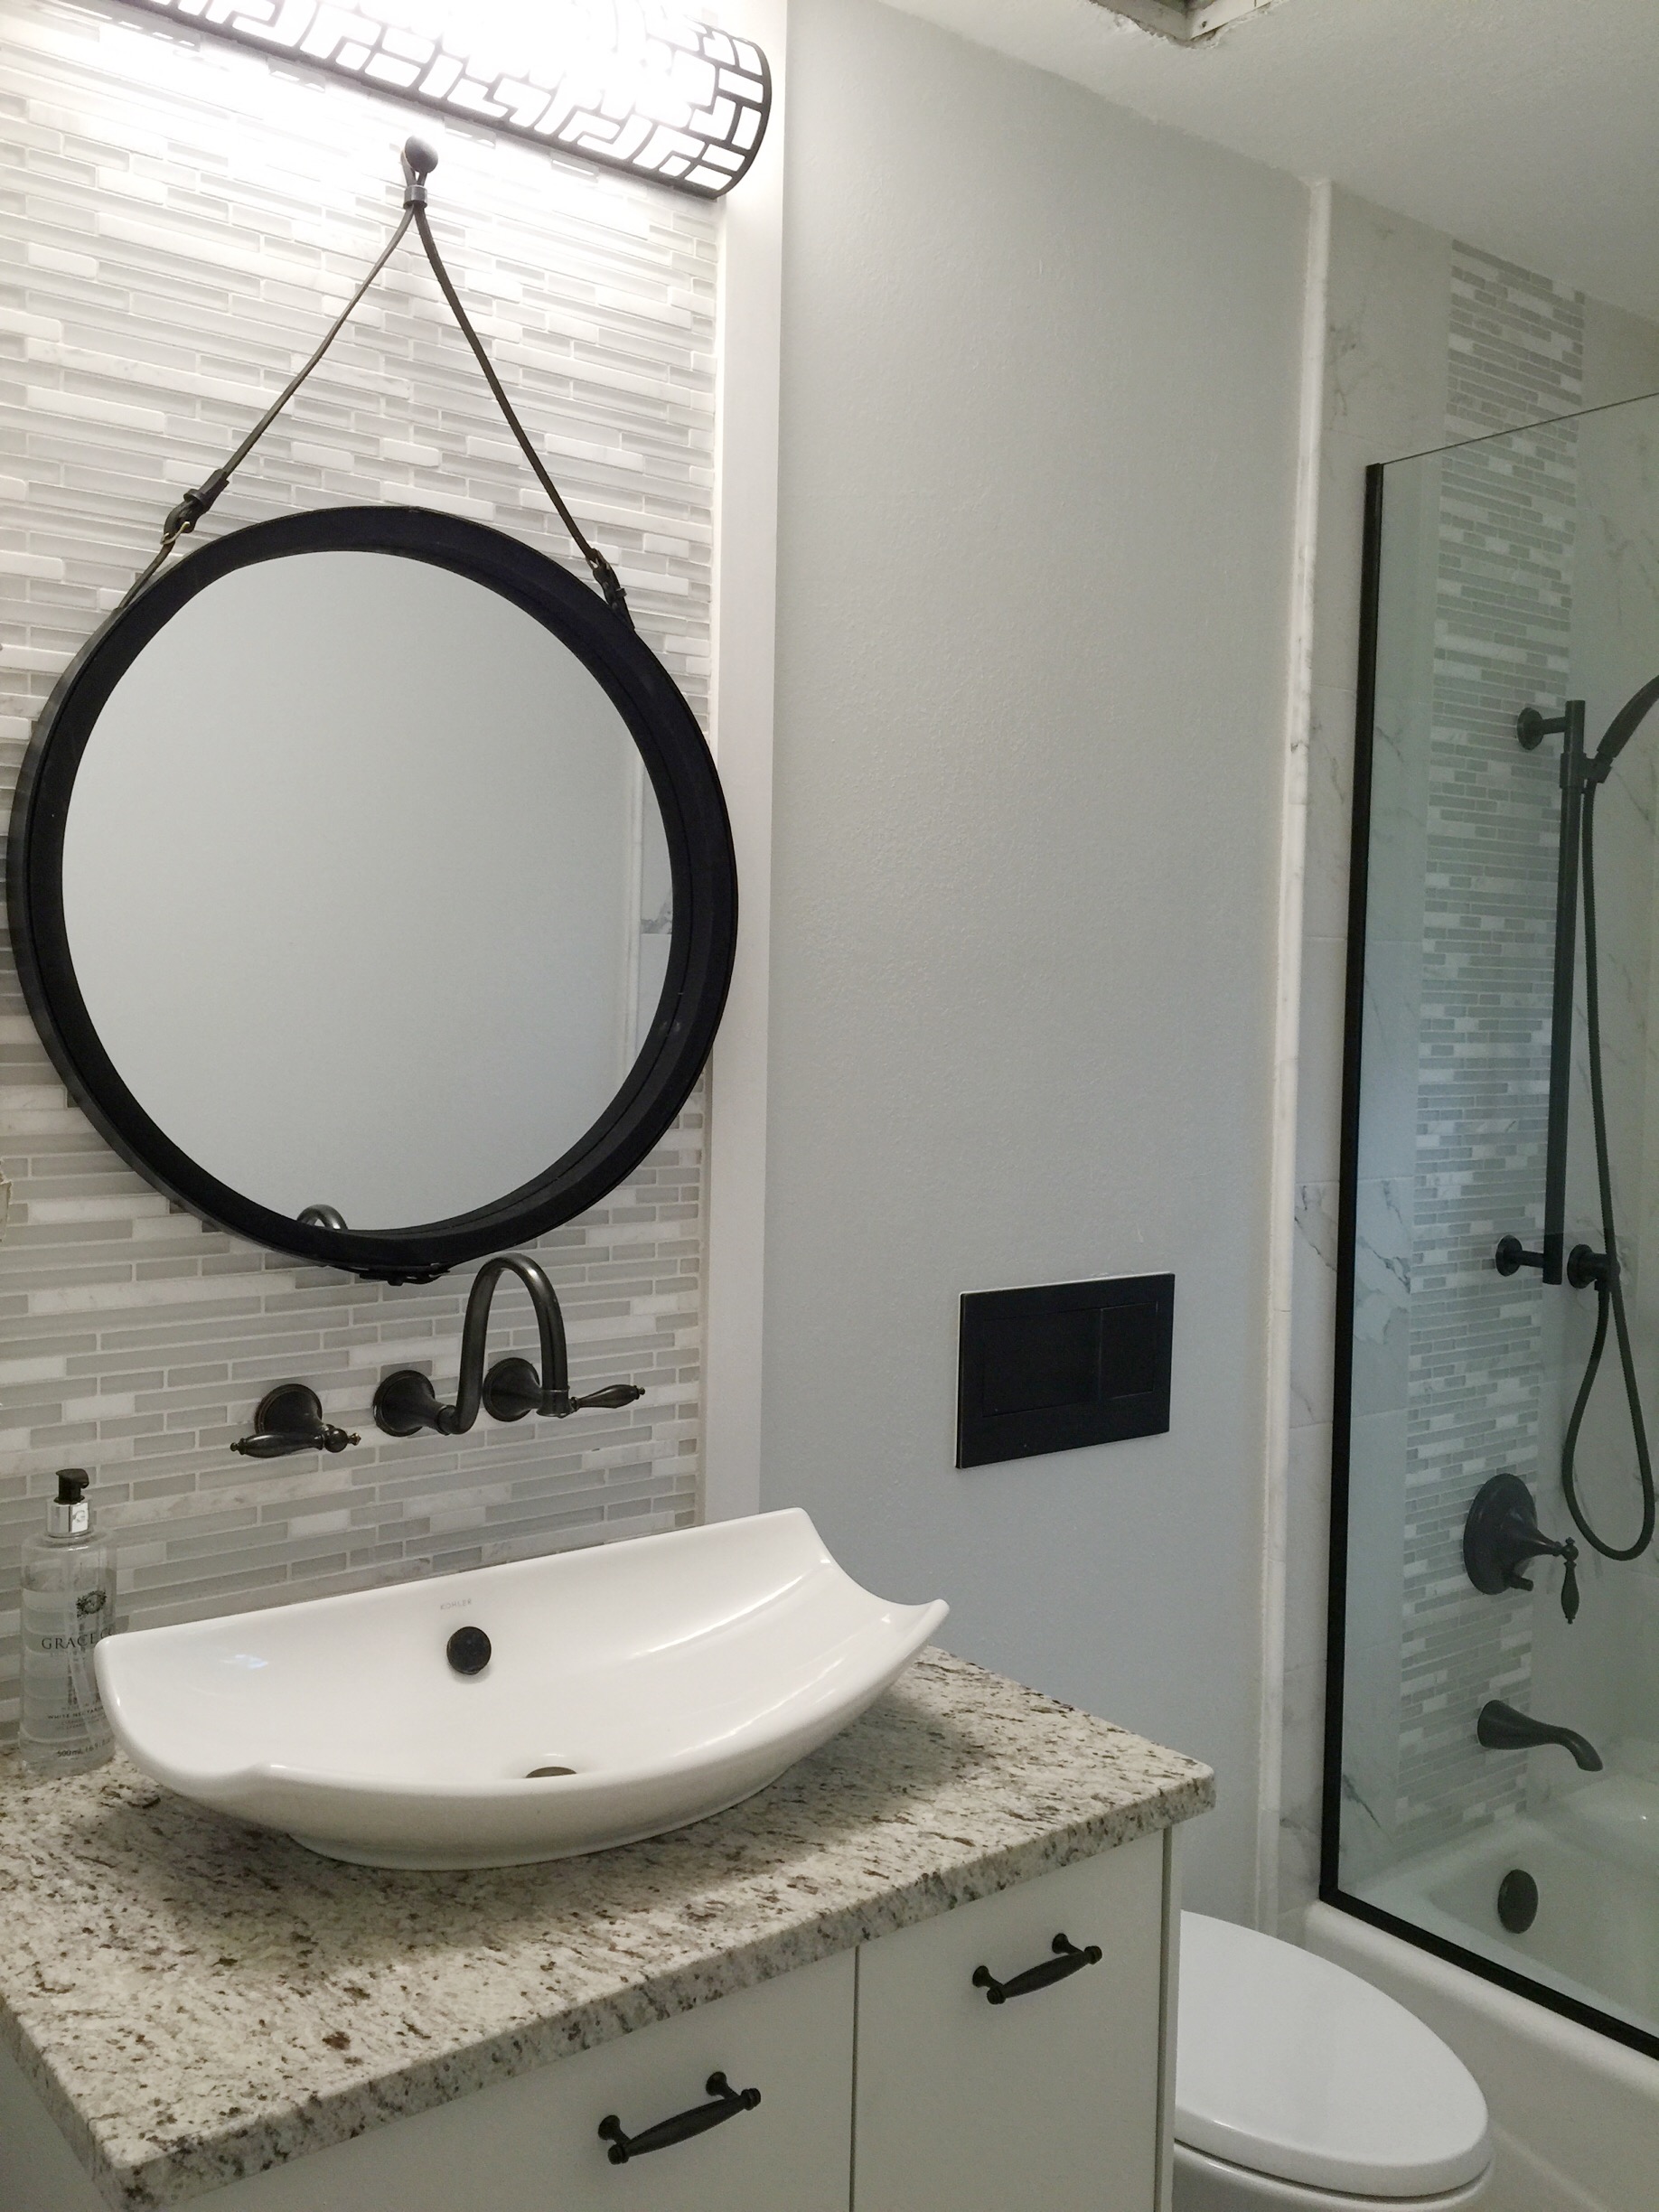
3 hours ago, DJole said:A leather mirror frame? Now that's not something I would have thought of.
How is that protected from the damp, warm steam of the room when the shower is on?I was worried about that and did some extensive research. Fiebings Resolene waterproofs the leather. I put on multiple coats. It's stiffened it so it fit tightly around the frame. The strap that it's hanging from is more decorative. The real support is the wire in the back. It actually didn't take me that long. The longest part was letting the reaolene dry. I used almost an entire 4oz bottle of it!!
53 minutes ago, Wedgetail said:Really great idea, well done!
Thank you.
-
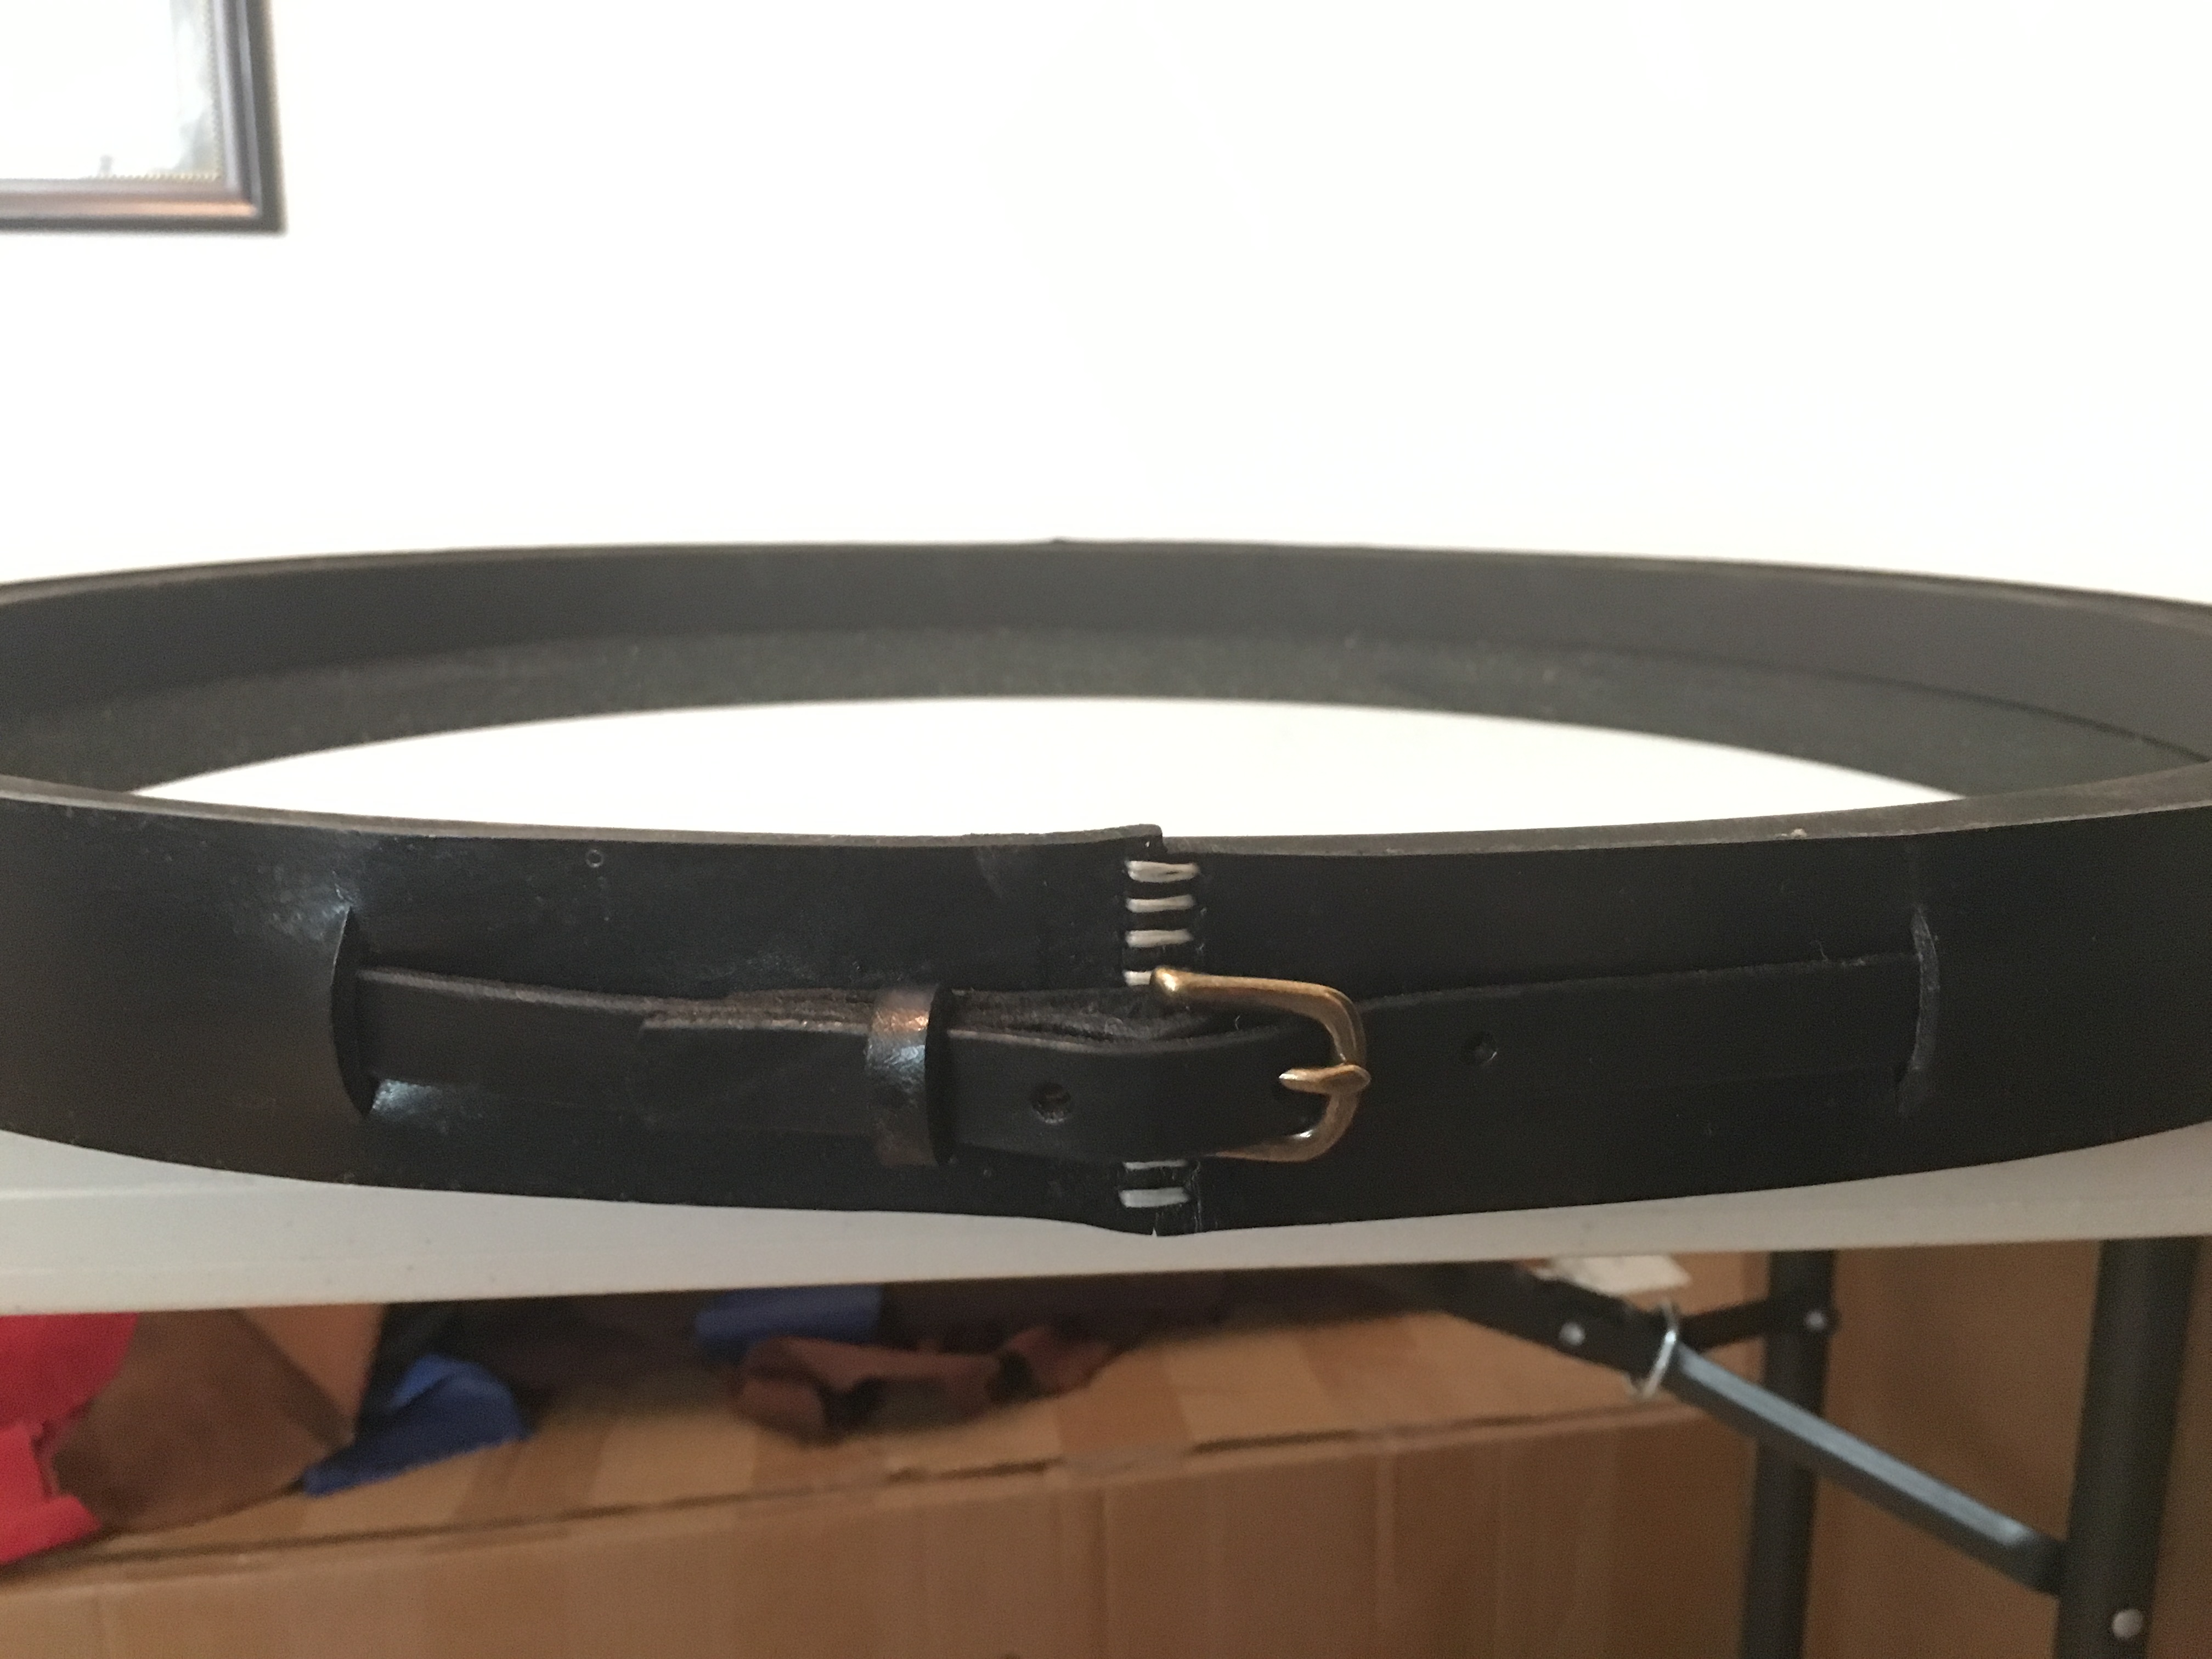
I was asked by a co-worker who was re-doing her guest bathroom for a leather mirror frame. I am pretty pleased with how it turned out. My wife loves it so much, she wants me to make her one.

Some more pics
-
On 10/21/2009 at 11:09 AM, MagiKelly said:I now mark out the stitching on the tab for the buckle and round the edge of the bag. I have used a pricking iron. If you dont have one a fork will do. You can use a marking wheel but they do not always leave very clear marks unless you are doing this while the leather is wet. I have also stamped a small makers mark in the centre of the tab stitching.

Time to dye all the pieces. Gather them all together along with your dye and a wool dabber. I use a spirit based dye and buy it in the 1 litre bottles as it is much cheaper that way. I still tend to decant it into the smaller bottles for use though as it is easier to handle and has a larger neck.

I dye the inside of the leather as well. A light inside looks strange and I can never finish with a clean edge anyway. Give the leather a good coating with the dye then set aside to dry

Once the dye is dry it is time to stitch on the buckle and D rings. First mark out your stitching with your pricking iron (or fork). I like the triangular pattern and my pricking iron is just the right size for marking this out.

Put the buckle onto its tab. Thread the tab through the slot. Open the tab out and sew in place.

Same thing with the D rings. Here we see one sewn and one about to be sewn.

And once done you can trim the tabs in the inside as seen here.

Some people glue the bag to the back to keep it in place but I have never got on with this method. I tend to tack the front to the back with stitched spaced an inch and a half apart. I only make the holes for these stitches with the awl at this time. I punch through the rest of the holes with the awl as I go along.

I punch the holes between the first two tacks, stitch this section, remove the tacks at this bit, form the holes in the next section, sew that bit and so on

Once finished sewing I trim the back piece round the bottom corners and also trim the edges along the sewn section to ensure they are even or as even as I can get them. Then I dye the freshly cut and trimmed bits.

Before I stitch the tongue on I finish the edges of the bag and the tongue with gum tragacanth and rub down with a piece of canvas.

Then clamp the tongue in position ready for stitching

Tongue stitched on.

Pull the end of the strap through the buckle and mark the position for the one hole needed.

Punch the hole. Dye the edges of the hole (cotton buds are great for this) and we are nearly there.

Now I cover the bag with carnauba wax. Inside and out and work it well in. (I managed to spill the wax which is why there is a puddle of it in the background)

Let the wax dry for a little while then polish with a soft brush.

Now the droppers are just two strips of leather, about ¾ of an inch wide with two press studs to close them over. You can easily work out how to make them from this picture. Cut, dye, finish edges, punch for studs, wax polish and attach studs.

A handy hint for attaching the press studs. Use a punch a bit bigger than the part of the press stud that goes through the leather to push the leather down. A light tap with the mallet makes sure you have enough of this bit exposed to ensure the two parts of the stud lock together well.

So thats us all finished. You should now have a bag that looks like this


I hope you found this interesting and or useful. Any questions just ask.
I was wondering, do you have to use veg tan? Or can you use any type of tanned leather? I just don't want to try a different type and ruin some good leather.


800 stitches with one piece of thread?
in How Do I Do That?
Posted · Report reply
If you sew by hand, you can do it with one thread using the saddle stitch. It takes time and a lot of patients, and the right tools. I sewed a briefcase completely by hand. Every seam was one thread. It took almost 2 and a half months, but that was while working 48 hours a week too. If you want to know more, PM me and I can give more details.
AF1QipMs0lXDsdP7m9sPQmMYgq-m5kSF7GyXadRIEbo[1]
AF1QipOuafhR0DCgy4tKVW9osa1YrLxiQDzFiUCc2G8[1]
AF1QipOWm-GpygnDYHx5t7gVulTOBsd8zHmBfJvPTA8[1]
sorry. the pics didn't work