


Tob
-
Content Count
44 -
Joined
-
Last visited
Posts posted by Tob
-
-
Also, for all that that has been said, you can use the background to tell Photoshop Elements that an area is white. Can get interesting results if you use another color other than white.
Another tip is to select your object in its entirety, then invert the selection and fill with white.
Bear in mind that was a quick and dirty job. I also used GIMP.
-
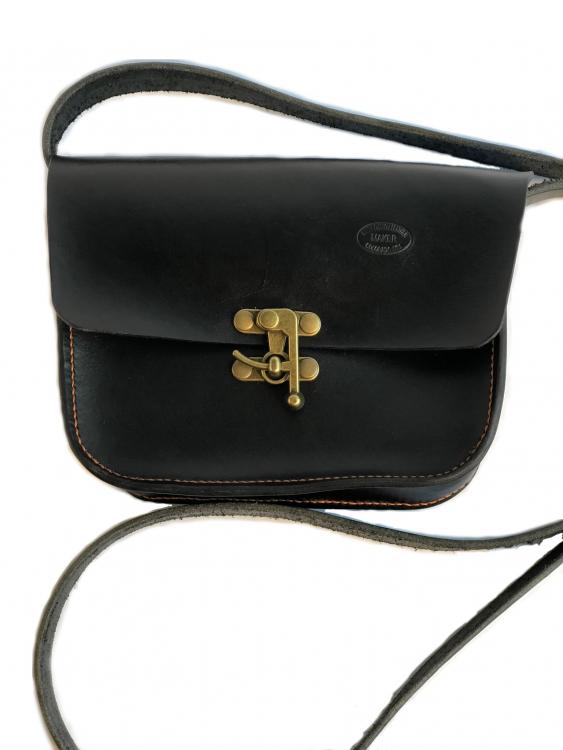
I bought this case a while back. The main piece wraps around the phone and does its job, however, the 2 attachments snap into the main piece. I dropped it with the flap open and broke the little tabs that hold them both in.
https://www.tech21.com/en_us/evo-wallet-s8-black
I know the concept that I want to do to get the flap back, in leather, but the details are what I am looking for. I will also probably contact cement the case part to some leather. Just trying to figure out how I want to construct the flap, be it with a little flap inside the main one like the original or a bit different.
-
Different leathers will react differently. Sometimes from the same hide. Try on a piece not critical to your project, ala scrap. Some will need the extra tannins from the coffee or tea. Best part is no rub off. Some extra care will be needed to make sure you get all the acids neutralized if you are going to use it next to steel.
-
I used about 12 oz. of vinegar in an empty and clean alfredo jar and stuck some 00 steel wool in it. At least once a day I'd mix it up and move it around, then just stick the lid on loosely. Took a while for all the steel wool to completely disappear. From what I have read, 70+ temps enable to the process to go quicker. Mine does leave a darker shade of gray, with subsequent applications getting darker to a point. Oil and other finishing touches gives a fairly dark dark gray/black. If you use strong tea or coffee, it gets even better prior to applying the 'roon. All this I have gleaned from this site.
Biggest thing, keep warm, mix at least once a day, filter when done, have patience, and enjoy.
Last step for using 'roon: make a mixture of water and baking soda and rinse and lightly hand rub the leather to neutralize the acidity of the vinegaroon.
-
I have a titanium wedding band and haven't had any issues with it and it coming into contact with many nefarious chemicals. My wife has 2 rings, 1 being a plain titanium band and a much nicer piece with a diamond. If there is any kind of crushing danger, stay away from the harder metals. Not all E.R.s can remove the non-traditional metals, e.g. titanium, tungsten, cobalt. Finger re-attachment becomes an option at that point. HAving the nice second ring keeps the nice one nice. The other option that I ended up going with was a tattoo. I almost sleeved my finger more than a few times and decided to pull that trigger.
-
You're welcome. There are some others on Youtube. I will suggest using scrap to figure out what you like first. My lighter color was supposed to be more purple but still turned out dark enough.
-
I asked basically the same question. the following thread covers a lot.
What I did for that rose was to use my lightest color to get what I wanted and added more color and darker colors to get what I wanted, with black at the very edges. The leaf, I did the same thing, except for the veins, I used a q-tip. Oh, the coloring was green food color.
This video was good inspiration.
https://www.tandyleather.com/en/block-dyeing-technique-on-leathe.html
Another thing that was suggested to me, was to use a airbrush.
-
Came across this looking for brushes.
https://www.brusheezy.com/brushes/22204-assorted-vintage-brushes
they have some more that might be of interest as well. just have to phrase the search right for decent results.
p.s. halftone and gradient might work for others as well. maybe halftone gradient combos?
-
I bought some mats for the garage floor, 5 for $20. They also have multicolored ones for the kids rooms. They don't absorb oil all that fast and clean up fairly quick. Lowe's or Hom Depot, maybe even walmart. Other thought if you want a softer mat, grab a thicker yoga mat. They are usually a closed cell softer rubber.
-
-
Mexican round braid supposedly works too. Or use that to secure the wire or weed eater line.
-
Me and the wife were browsing through one of the local Goodwills and I came across a manufactured cuff case. It didn't look like it had been a belt at all. It was $3-4. If you are interested shoot me a P.M.
-
If someone has GIMP, try and use these attempts at brushes. Also, if someone knows how to save them for an older version of photoshop.
-
If I am not mistaken, yours might be saved in a .png format. I am not sure if they are saved as a library or individually.
-
What version are you running? It seems there is a way to do some FM.
-
-
somebody give this a shot and let me know if i should try others.
-
You're welcome. I do like how you laid out your tutorials. A good description with a picture. I have come across many tuts over the years for a lot of things that say beginner, yet the beginner will spend more time trying to figure out what it said. More like a beginning intermediate or higher maybe. At the same time, a paracord whip making instructable that i have come across, spells it all out nicely. It ain't for the beginner, learn these things first and then this will be easy. Simply laid out and not too barney style to make me just want to hand it to a 3 year old.
-
Just poking around elsewhere on your site, I found that your notebook pattern making download link is broken. Error as shown to me:
Error! This download item (1368) does not have any download link. Edit this item and specify a downloadable file URL for it.
All others checked out fine. All loaded up within roughly 3 seconds for me. I am on Spectrum cable internet.
I know a few months old but...A.D.D. browsing and checked it out anyway.
-
Harvard has posted at least a portion of some their photography courses online at Alison. Completely free, minus a 10-14 hour investment to complete the course.
https://alison.com/courses/Digital-Photography
If anyone has bought a digital camera in the last few years, check to see if that cd/dvd had photoshop elements on it. Very scaled back version of the full monty, but geared mainly toward digital photography in the amateur sense. Despite that, you should be able to get really good results nonetheless.
Tob
-
Most cameras will have the ability to use something to set the white levels. Can be fun to set it to something that is blue, red, or black. Just have to dig around the menus a bit. My Samsung Galaxy S5 allows for it, called AWB. I am not sure about the iPhone.
-
Ace Hardware would also be a good place for hardware in general. Almost as good as Fastenal.
-
Yep I like it. So how did you end up coloring it? I am by no means nitpicking, just to me it looks like moss grew over it and stained it. Well, let me say it this way, that is the story in my head when I look at it/interpretation. Nature does some cool things if we slow down every now and then and pay attention. And again to me, it looks like you captured a good touch of it.
-
That is cool. And they're only a couple of hours from me. Wouldn't save on shipping to be sure, but cool to know.

Website Critique
in Marketing and Advertising
Posted · Report reply
Ah, yeah sorry.
https://digital-photography-school.com/white-balance-on-a-jpeg-in-photoshop-elements-and-lightroom/ to set white balance.
https://www.essential-photoshop-elements.com/change-background-color.html to change background color.
Sometimes I prefer a web page tutorial, if I screw up a step (which happens all too frequently), I can just skim the page to get back on track. Harder to do with videos. That is my experience.