-
Posts
13 -
Joined
-
Last visited
Profile Information
-
Location
IA
-
Interests
Leatherworking
LW Info
-
Leatherwork Specialty
small items, novel techniques
-
Interested in learning about
anything and everything
-
How did you find leatherworker.net?
Google
Recent Profile Visitors
The recent visitors block is disabled and is not being shown to other users.
Gullex's Achievements

Member (2/4)
-
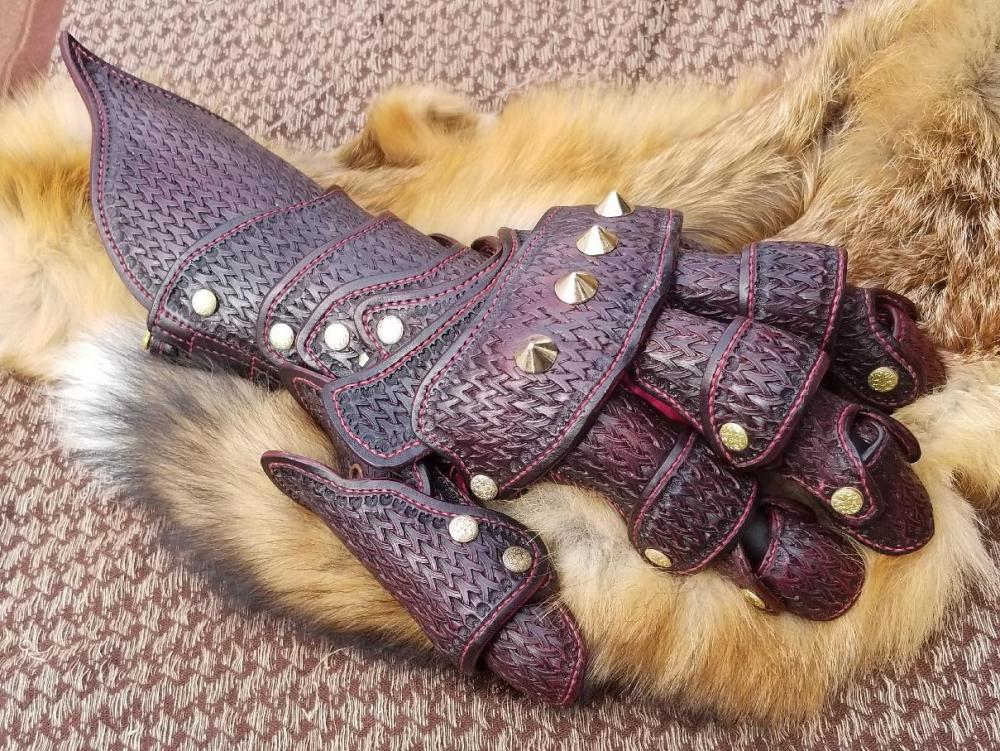
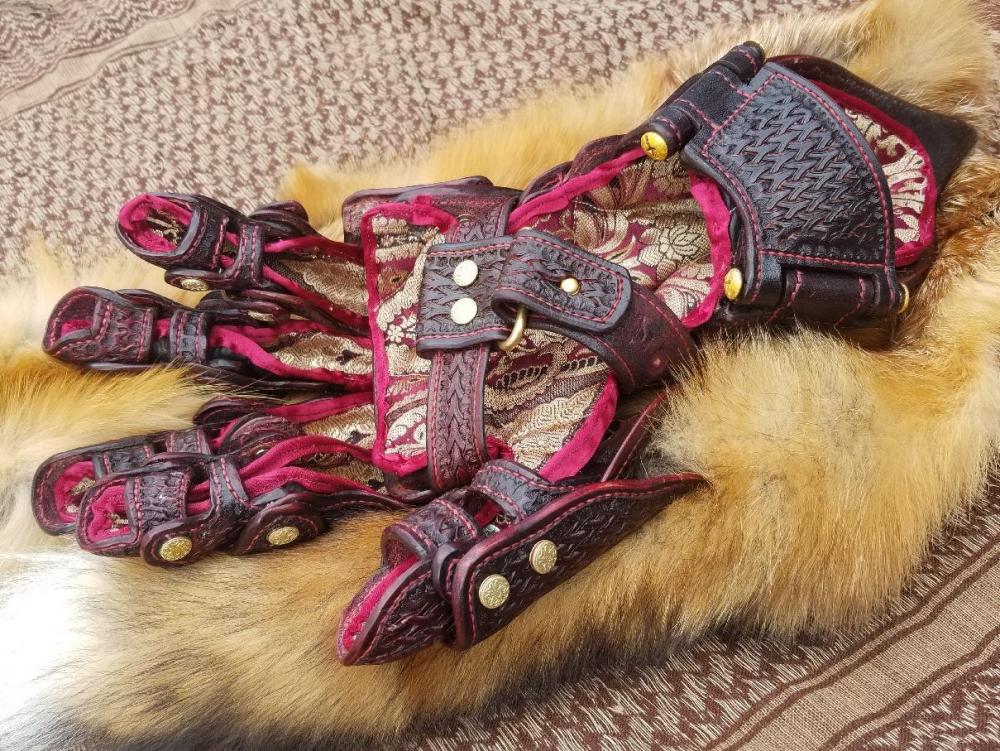
Hardened leather gauntlet project, finally finished
Gullex replied to Gullex's topic in Historical Reenactment
Eventually, I plan to. Will hopefully, eventually, do a full suit. Next on the list, is the helmet. -
After two months, I finally am satisfied with this project. Lots of fun and lots of hard work and frustration. Glad it's over. Going to write up a photo journal of the build process, and move on to the next piece.
-
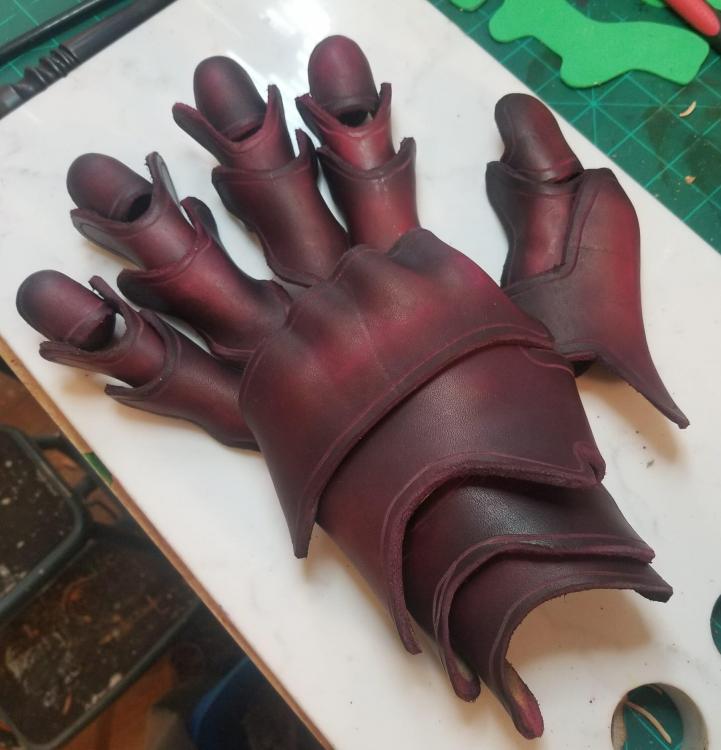
Since my hardening method was so successful, I figured it only made sense to try my hand at a piece of armor. I’m going to build a full arm piece, gauntlet to pauldron. I began with the gauntlet, and made a pattern by donning a long, thick rubber glove, wrapping in tape, and drawing my desired pattern on it before cutting it off. This had to be done twice as so many plates overlapped. Once those were cut out, I transferred them to leather, cut them out, wet formed, and assembled into my first attempt which was considerably too small. Pictured here is my second try, which I began last night. I increased certain aspects of several pieces, and now I feel it fits much better and affords decent protection. The next step will be to adjust the fit of individual pieces by lightly dampening and holding into shape until dry. I’ll then punch holes and slots for joints, and these will all be lined with copper for durability and impact resistance. Following that, I’ll add stamping over the entire piece and mark for stitch holes. I anticipate stamping will change the shape a bit, and a final adjustment for proper fit will be needed after stamping. The piece will be stitch on areas not being padded. I’ll then apply my hardening technique, and afterwards stitch in necessary padding, and finish up the edges. This piece will not be used in actual combat, but will instead be a show piece, despite being fully battle-ready.
-
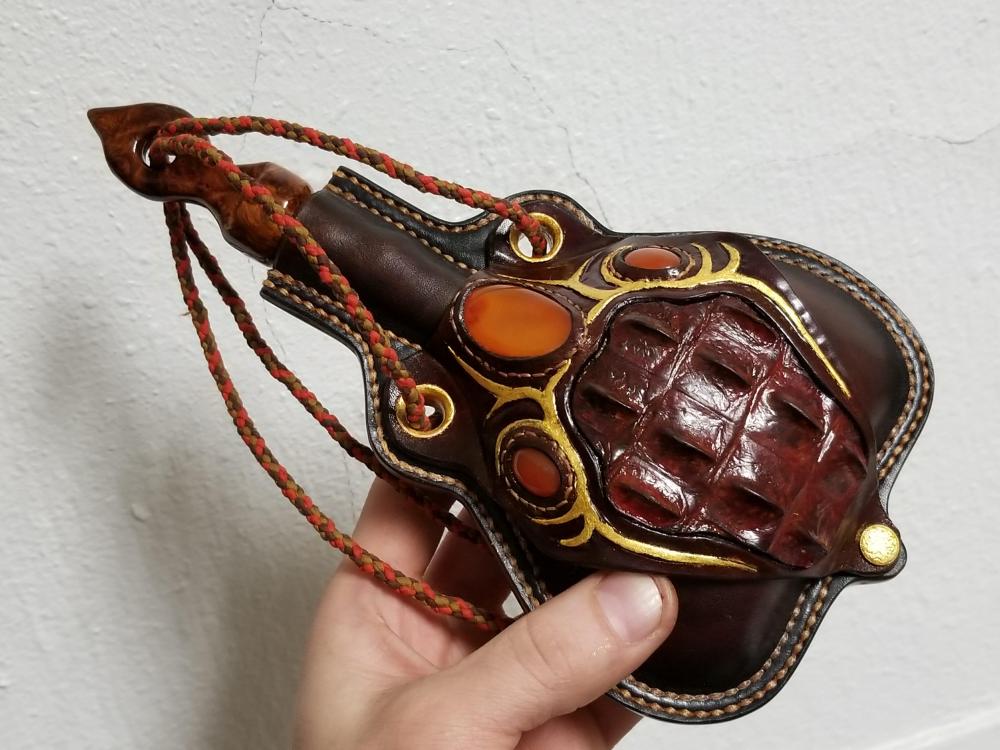
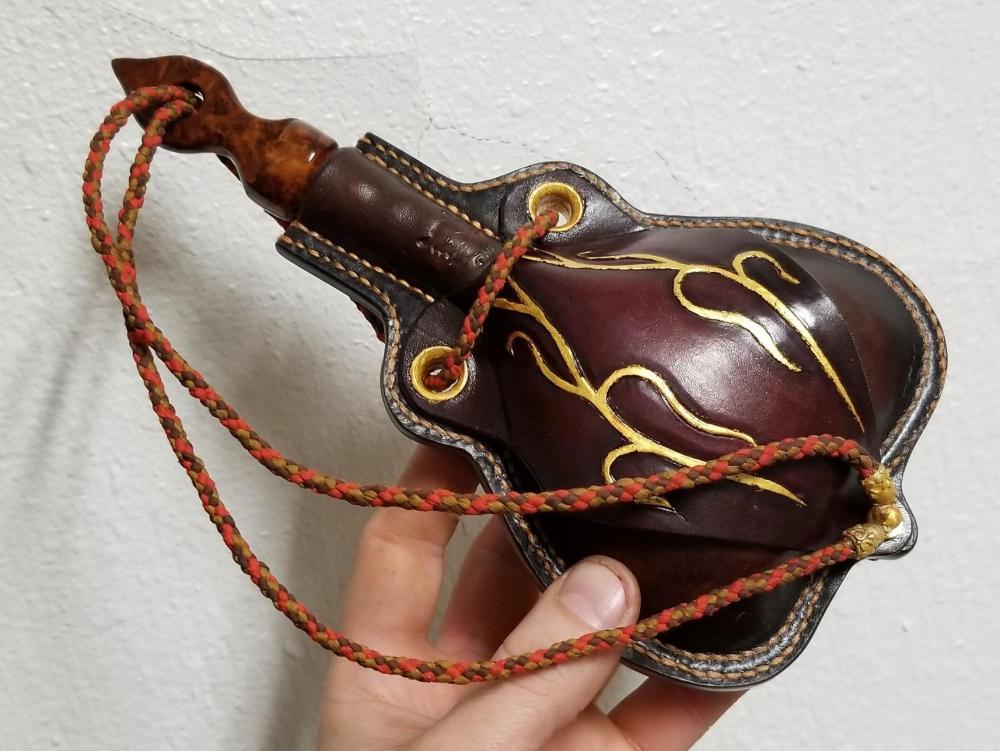
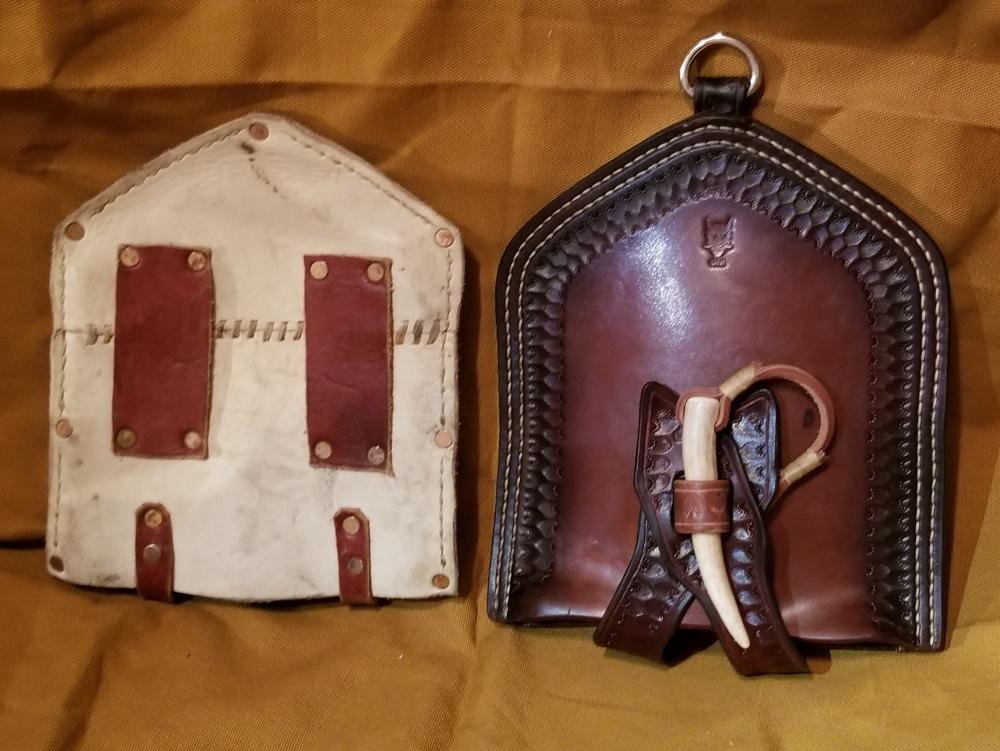
I just pulled an all-nighter to finish this piece this morning. I made this at the request of a publication for an article on making hardened leather drinking vessels. The article detailing how this was made will appear in an upcoming issue of Leather Crafter's and Saddler's Journal, after which I'll post it to my site and link here if there's interest. This piece took me about a month and a half from the time I received the request, to the finished piece. I began by making the hardened bottle, then created the mask/carrier device, stopper, and cord to accompany it. The mask features carnelian cabochons glued and stitched in, reclaimed crocodile inlay, and 24 karat gold accents over all the metal hardware, and some gold tooling on the mask front and back. The bottle stopper hand-carved from amboyna burl, varnished with a homemade recipe of propolis, white copal, and blonde shellac. The cord is hand-braided silk. And yes, it's watertight.
-

Blue hip quiver with caiman skin and labradorite cabochon
Gullex replied to Gullex's topic in Archery Quivers and Bow Cases
Correct -
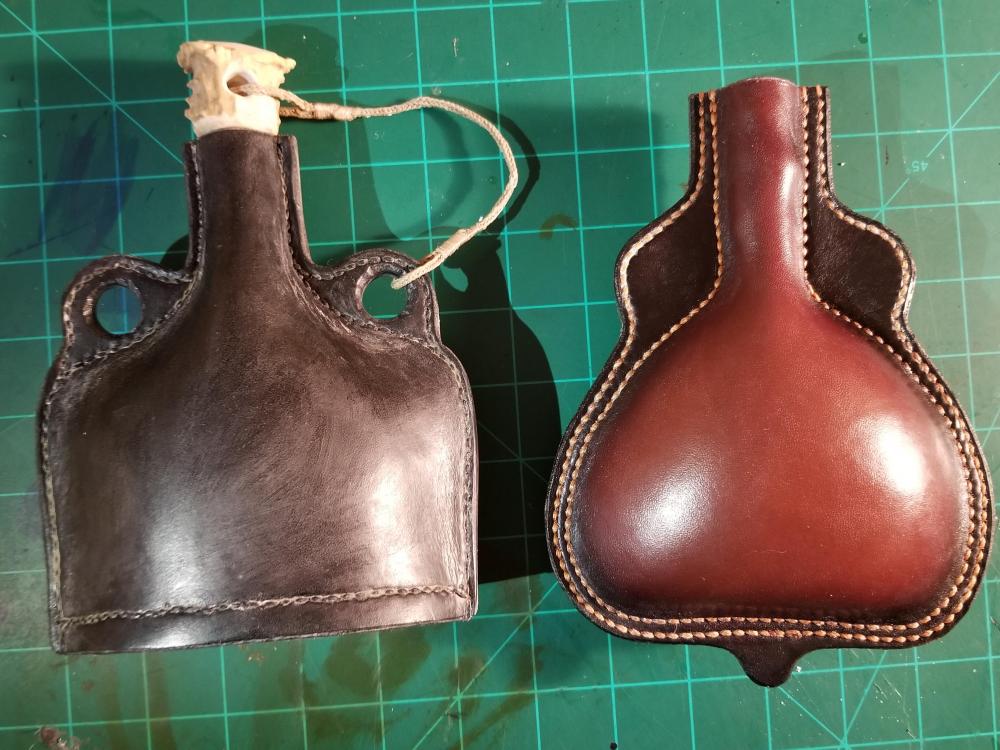
Good morning everyone. In the photo, on the left is the first leather bottle I made using the hardening technique I developed and wrote up. On the right, the second bottle. In my article linked above, I recommended cleaning up excess stearic acid from the piece using a heat gun and rag. I have learned this leads to the inferior, chalky-looking finish seen on the left hand piece. I think what happens is the heat melts the acid out of the surface fibers of the leather, and so you get that off-looking appearance. I had the same issue with the piece on the right. I first tried taking some melted stearic acid and wiping it back on the chalky parts, melting it in with the heat gun, and wiping it off more carefully so as not to absorb surface sterate. That didn't work either, still got the same finish. I tried every top-coat I had to stop that chalky look- resolene, tan-kote, carnauba creme, leather sheen, waxes, etc. Nothing worked- a day later, the haze was back. So what I finally found was, you just have to get a bunch of wads of paper towels ready, and start wiping it down *immediately* after it comes out of the stearic acid bath, which is tough because it's going to be 200F. What I did with the bottle on the right, was lift it from the pot with a stick, and gently grab a corner. Slowly lift the whole thing out of the pot and let the stearate from the inside drain out, and give it a few seconds to stop dripping so much. Move it over a tray or towel or something as soon as you can, you really don't want to risk dropping your leather item back in the molten stearic acid and splashing that stuff on yourself, will make for a nasty burn. Once the dripping is basically done, swing it briskly overhead or give it a few fast shakes to get off excess acid (DON'T do this outside in the winter- it will crystallize immediately and ruin the finish), and then start wiping it down quickly, over and over, and keep rotating it at a good pace because stearic acid will start to seep out of the leather. Keep rotating it to keep as much stearate in the leather, keep wiping. In a few minutes it will cool enough that the stearate no longer seeps out. Give it a few more wipes, and stick it in the freezer for a few minutes to harden. If you mess up, just stick the bad spot back into the stearic acid bath to re-melt, then pull it back out and start wiping again. After hardening in the freezer a few minutes, polish it up with the grain side of a scrap of veg-tan. The edges polish up *incredibly* well with nothing but sandpaper- the second photo is the edge of that bottle taken to 7,000 grit, then buffed with a soft cloth. No burnishing agent needed. (You *will* go through lots of sandpaper- the stearic acid gums it up quickly). I also said in the article that this stuff might even compare to wood in hardness/toughness. After working with it more, I can say confidently it's harder/tougher than *most* woods. The rim of the bottle is only 3mm thick, and I can't crush it by squeezing with my hands as hard as possible. I can think of plenty of woods that would be easy as pie to crush a 3mm thickness of. Anyway, I'll be doing an article on making the flask and on hardening updates in the future. Keep an eye out! Oops! The forum won't let me add another photo, they're to big. Here's a link to the polished edge instead:
-

Blue hip quiver with caiman skin and labradorite cabochon
Gullex replied to Gullex's topic in Archery Quivers and Bow Cases
-
Hi everyone, brand new to the forum. I just completed a study in which I made samples of over 16 methods of hardening leather. Then I torture tested them and used those findings to develop a new method that outperformed all others. It was a lot of work and the article is a long read with lots of information. I hope you enjoy it, please let me know if you have questions or feedback. Thank you! https://medium.com/@jasontimmermans/a-comparative-study-of-leather-hardening-techniques-16-methods-tested-and-novel-approaches-8574e571f619


