-
Posts
46 -
Joined
-
Last visited
Content Type
Profiles
Forums
Events
Blogs
Gallery
Store
Everything posted by sainte
-
Actually I am very grateful with this forum. I could not have advanced with my project without your collaboration! I want to thank, in person, RockyAussie to all the members of the forum! Brds PS: I hope to show more progress soon.
- 72 replies
-
- fortuna
- leather machine
-
(and 2 more)
Tagged with:
-
I am working on the manufacture of a pedal to be able to use it in conjunction with a frequency inverter. On the power axis I would like to be able to go from zero to approximately 1000 rpm with my hands free. I first looked for a pedal from a sewing machine, then a volume pedal from a guitar. But none adapted. Then I consulted a friend who knows a lot about electronics and designed something cool with LED lights and an LDR (light dependent resistor) and it seems to work very well. The construction of the pedal (hard part) has taken me a long time. I hope I can show some images of the set working! Brds
- 72 replies
-
- fortuna
- leather machine
-
(and 2 more)
Tagged with:
-
Hello Scoutmom103. Yes and it is also very heavy! Practically I alone cannot raise the machine / motors and table assembly :-)
- 72 replies
-
- fortuna
- leather machine
-
(and 2 more)
Tagged with:
-
I don't want to bore you with details. But I have advanced with the project, at the moment I am a bit complicated to adapt / manufacture a pedal to the frequency inverter. I attach an image. Brds.
- 72 replies
-
- fortuna
- leather machine
-
(and 2 more)
Tagged with:
-
- 72 replies
-
- fortuna
- leather machine
-
(and 2 more)
Tagged with:
-
Jimi: Thanks for the input. My machine is similar, but not the same. I guess it is an older model than the one shown in the video. My machine is Fortuna type K (that is what is read on your board). Brds
- 72 replies
-
- fortuna
- leather machine
-
(and 2 more)
Tagged with:
-
Jimi: Correct congratulations! You have been the most perceptive person !!!. It is the peculiarity / rarity that this machine has, tomorrow possibly I can upload some images with both feeding systems in motion (by hand but in motion). Brds
- 72 replies
-
- fortuna
- leather machine
-
(and 2 more)
Tagged with:
-
- 72 replies
-
- fortuna
- leather machine
-
(and 2 more)
Tagged with:
-
What is this?. Please can I come in! :-)
-
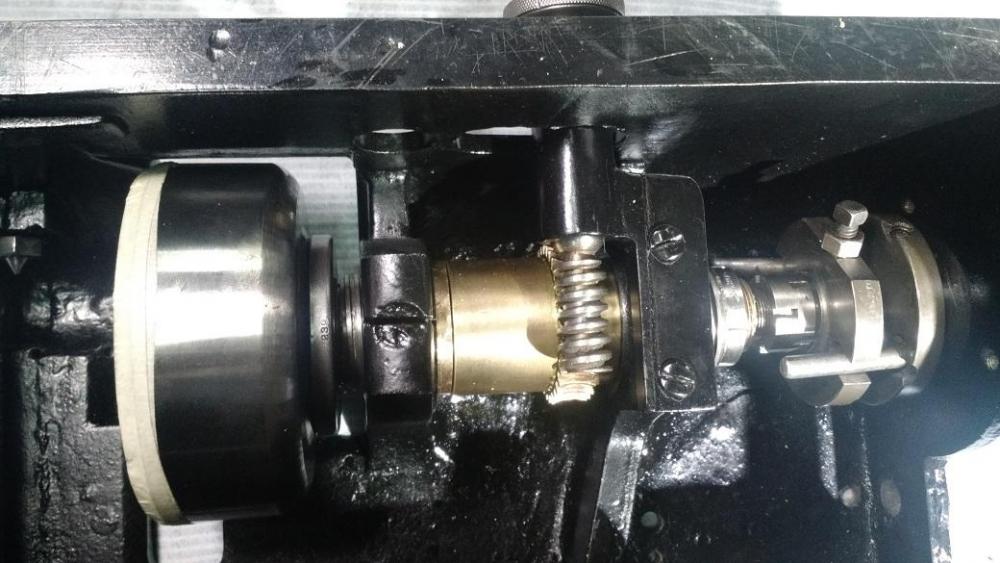
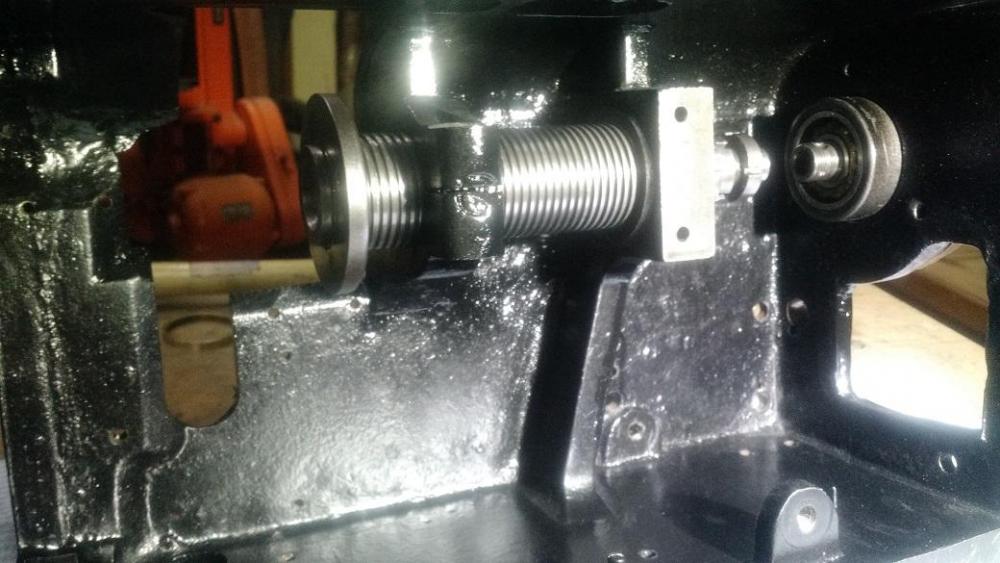
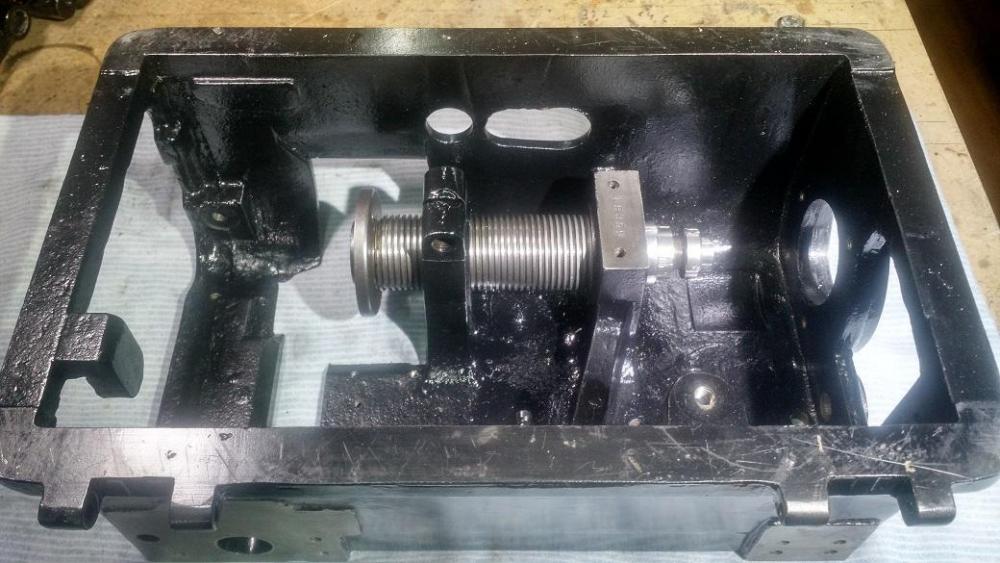
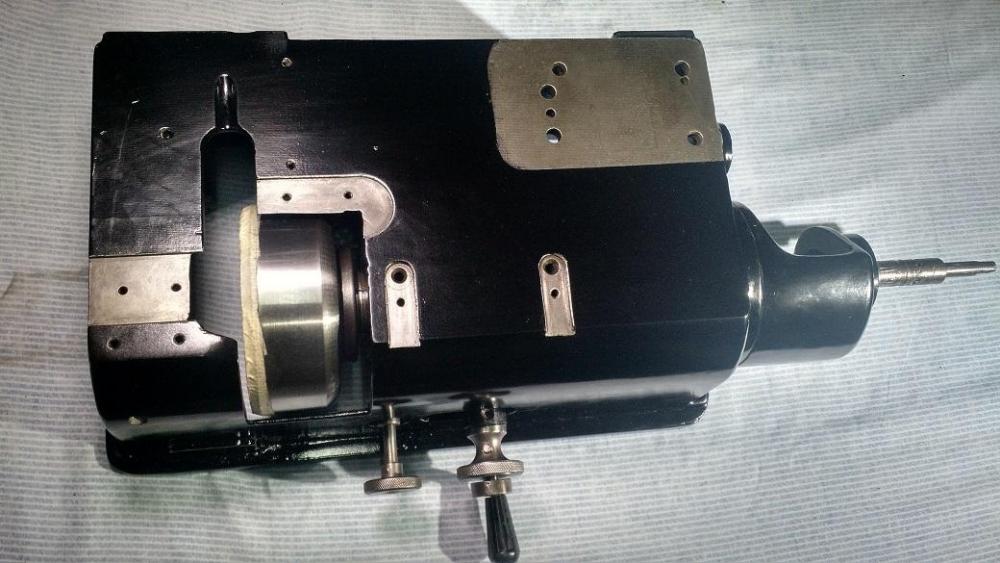
Continuing with the rearming of the bell blade shaft. The rearming sequence, as I have already mentioned above is: First rearm the bell blade shaft system. Second rearm the system corresponding to the feed shaft and thirdly rearm the sharpening system and other accessories. Brds
- 72 replies
-
- fortuna
- leather machine
-
(and 2 more)
Tagged with:
-
Different items: It seems that my skyver is old enough! Perhaps it is the reason why I have not been able to find anywhere even an image of a FORTUNA type “K” machine. I've practically finished the restoration, all I have to do is install the motors and test it. On the other hand I am intrigued to know what is the reason why people look for a lot of information about the restoration of leather skyvers? But on the other hand, I also think that it is just that, visits ... but possibly from people who cannot find what they are looking for. I do not know. Because there are no more questions, beyond those that have been asked by the people who have intervened, with whom I am very grateful. Thank you.
- 72 replies
-
- fortuna
- leather machine
-
(and 2 more)
Tagged with:
-
Some advances: The strategy for reassembling: I have decided to assemble first the system corresponding to the axis of the Bell Blade, secondly the system corresponding to food and thirdly the sharpening system. Brds.
- 72 replies
-
- fortuna
- leather machine
-
(and 2 more)
Tagged with:
-
Hello ehvhram, thanks! Brds
-
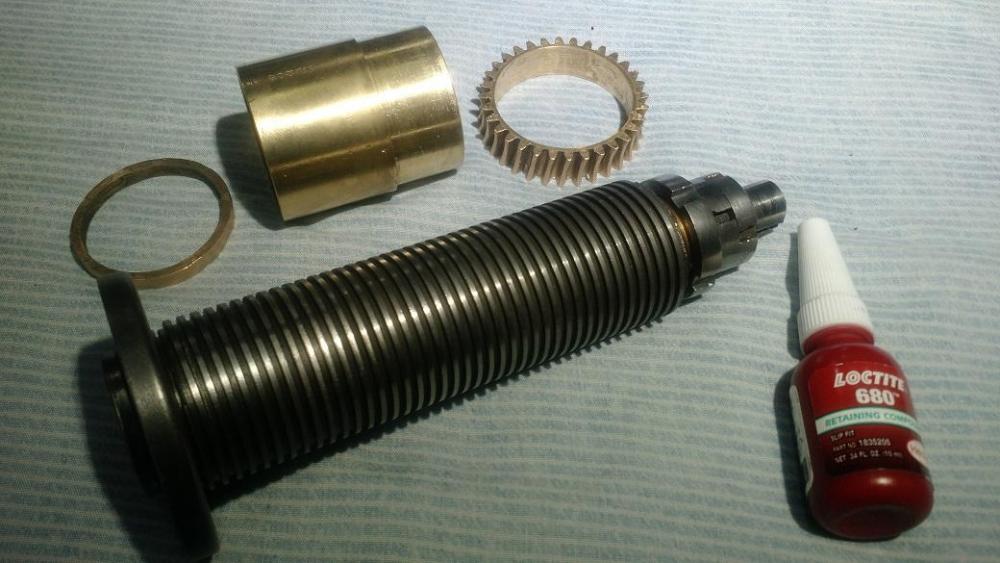
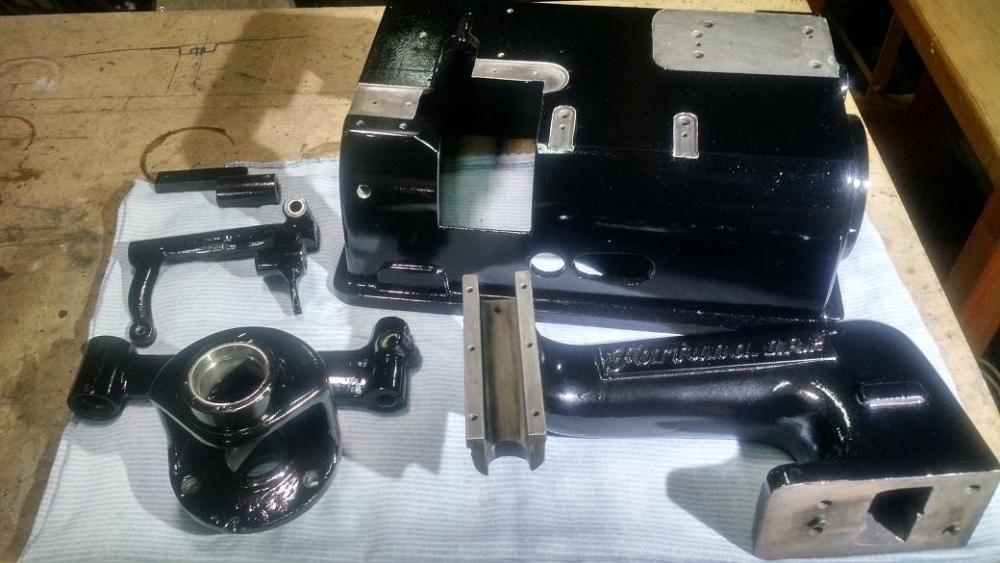
Painting of the large parts and gluing of the bronze crown: The largest parts have already been painted and before reassembling the machine, I had to glue a part of the bell blade advance mechanism (to be able to sharpen ). I had never used a glue for metal parts and this one has its drawbacks during cold weather! Brds
- 72 replies
-
- fortuna
- leather machine
-
(and 2 more)
Tagged with:
-
Scoutmom103 and RockyAussie: Thank you for your appreciations!.
- 72 replies
-
- fortuna
- leather machine
-
(and 2 more)
Tagged with:
-
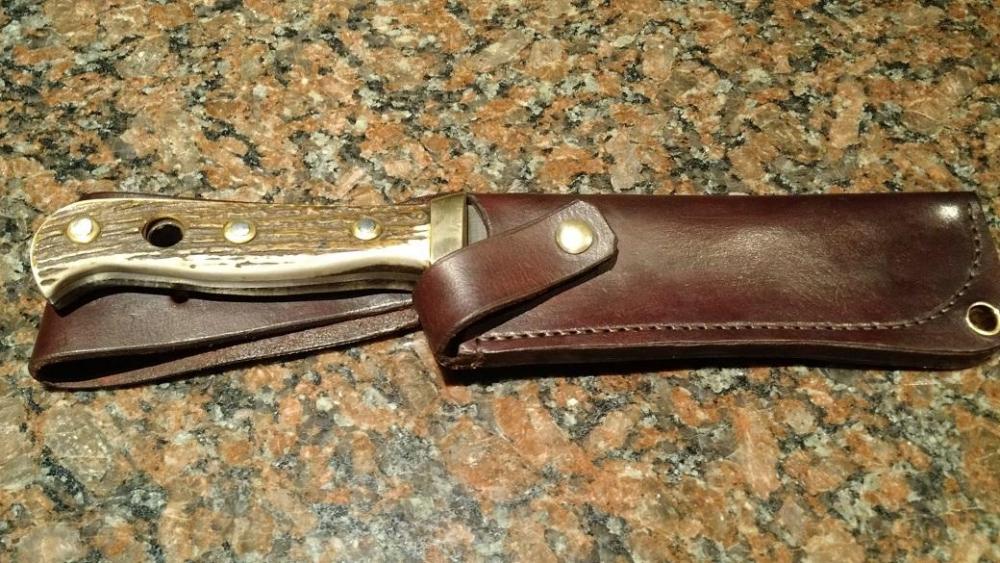
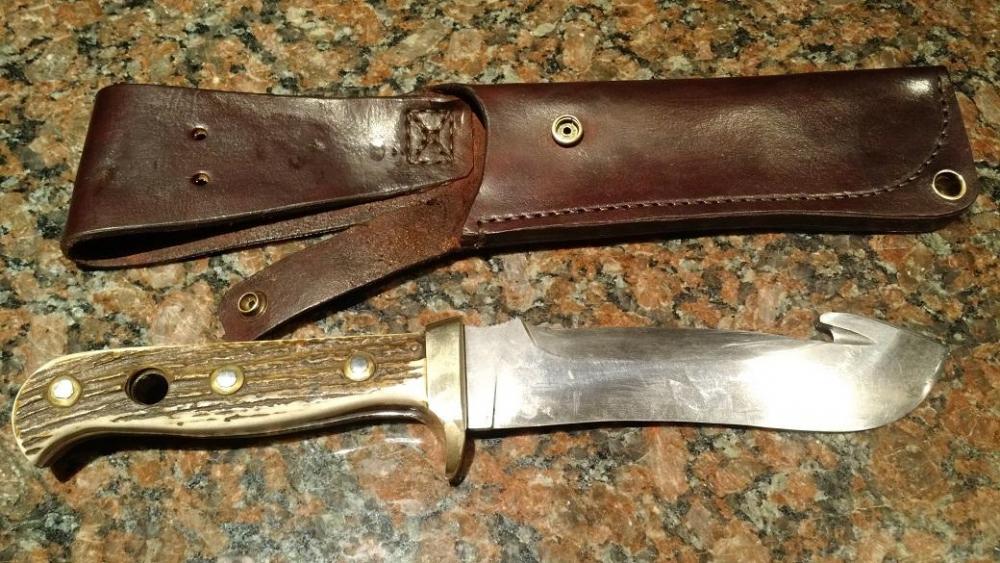
During this time at home, I have finished a PUMA White Hunter style knife. Thank you all for watching. Brds
-
Excuse me, I wanted to say: YES the piece was first drawn in CAD ...
- 72 replies
-
- fortuna
- leather machine
-
(and 2 more)
Tagged with:
-
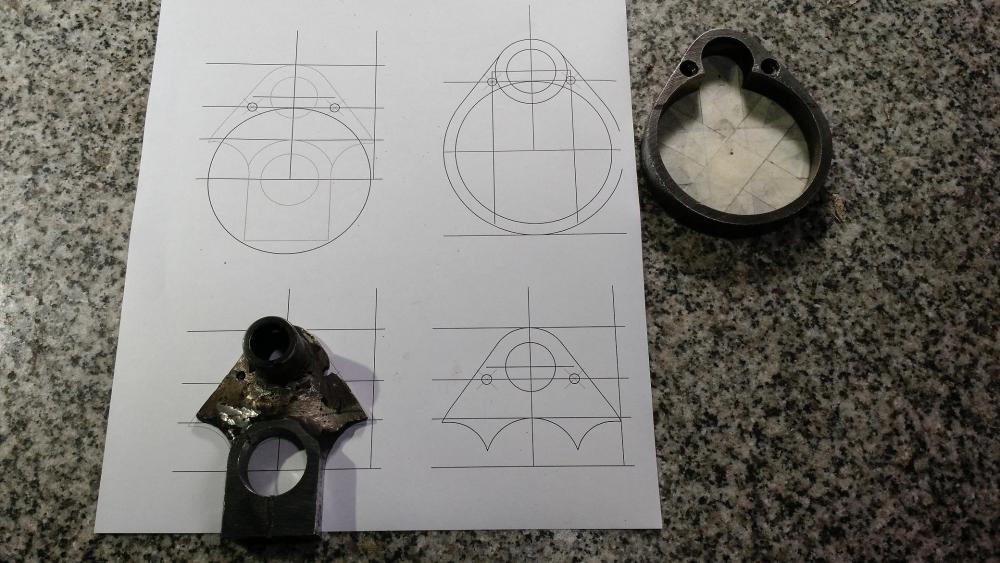
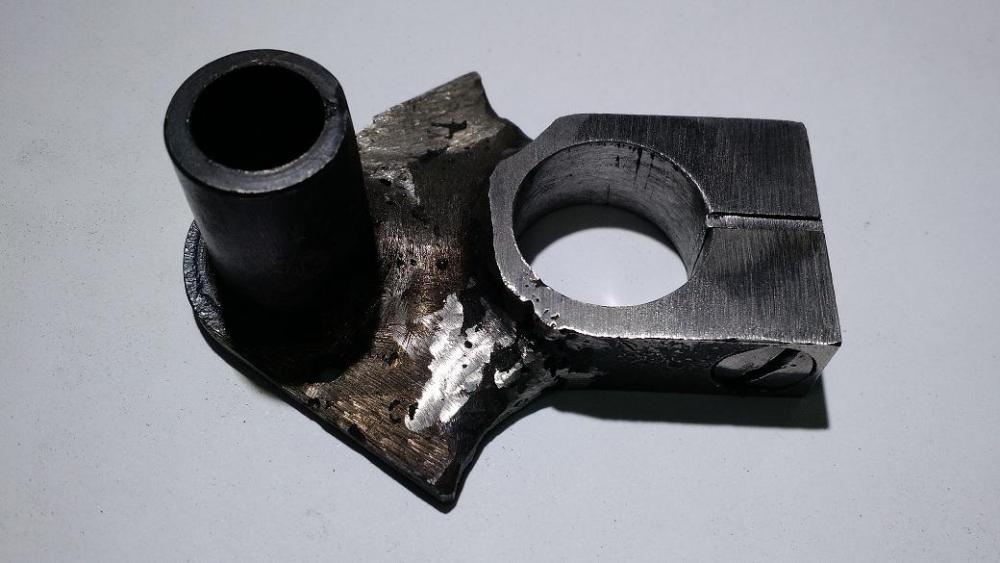
RockyAussie: If it was first drawn in CAD, with the template I cut a piece of cast iron, and it was welded to the part of the piece that was in good condition. Thank you Brds
- 72 replies
-
- fortuna
- leather machine
-
(and 2 more)
Tagged with:
-
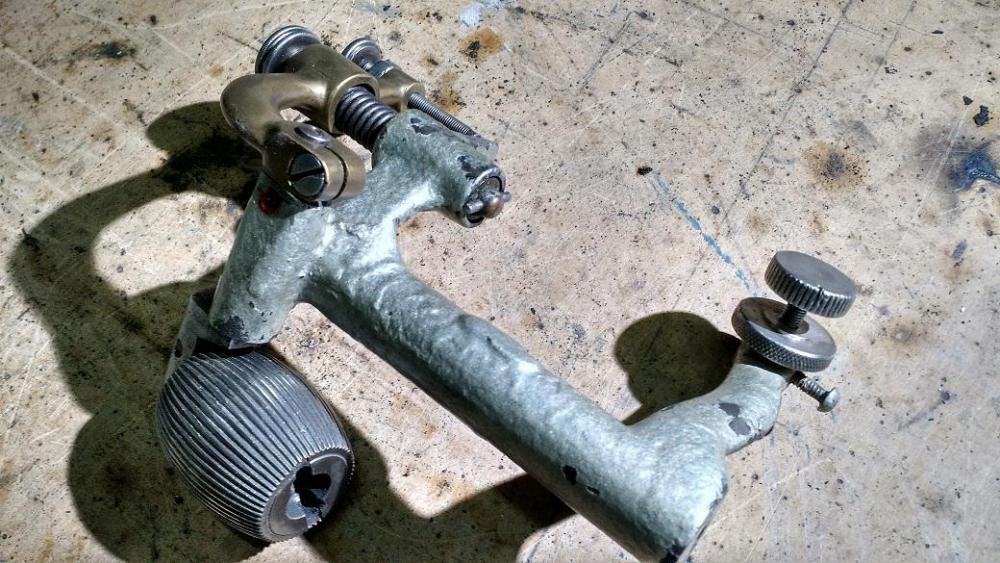
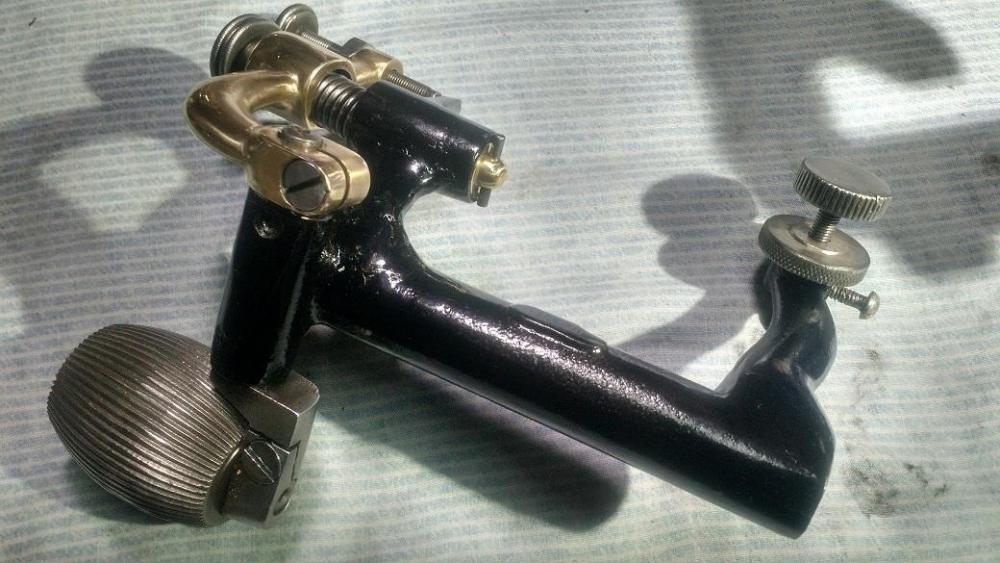
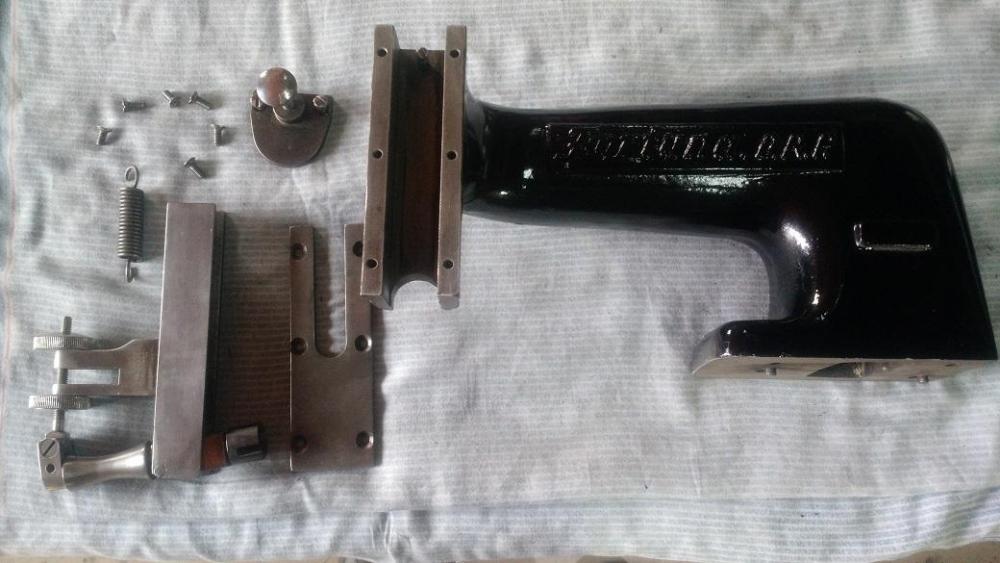
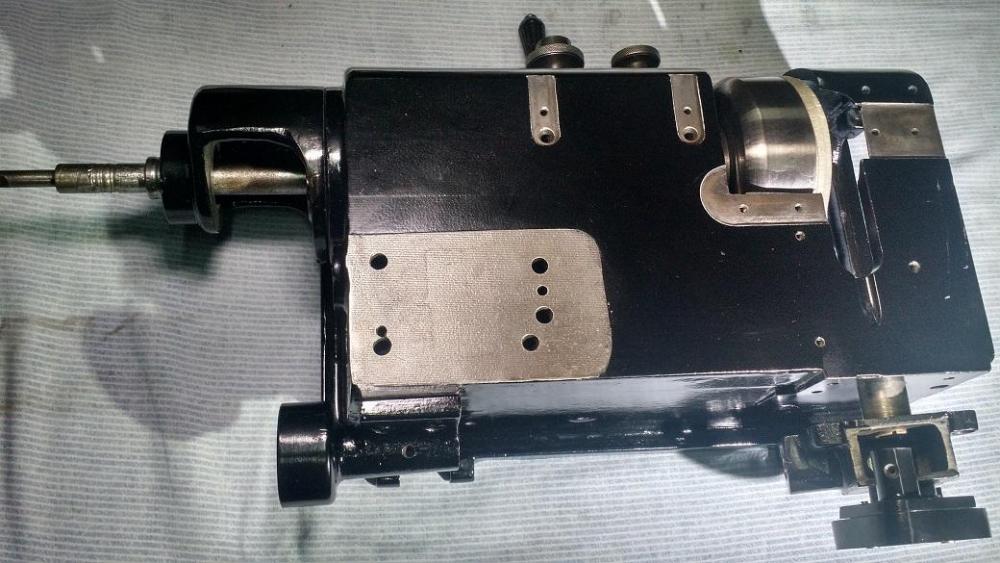
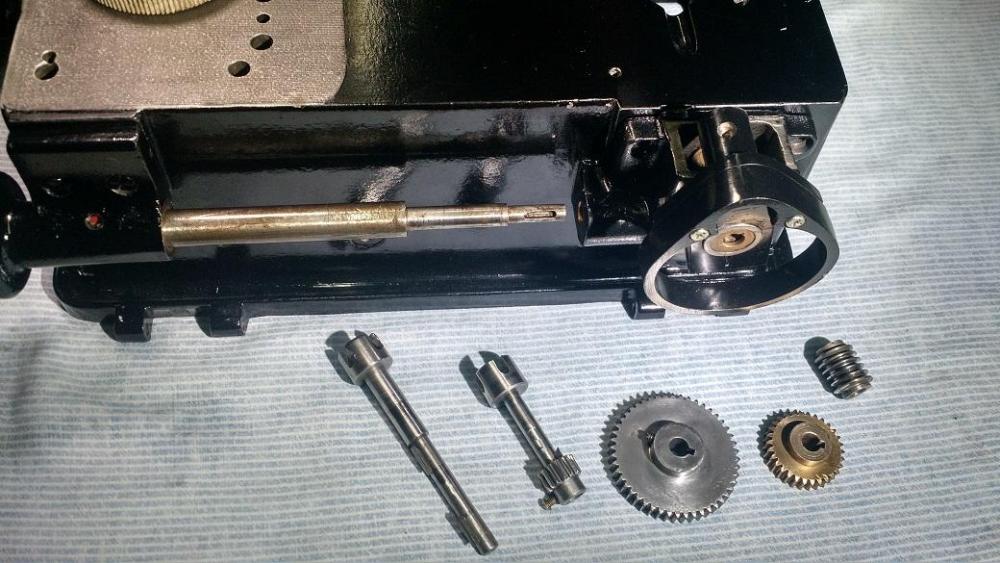
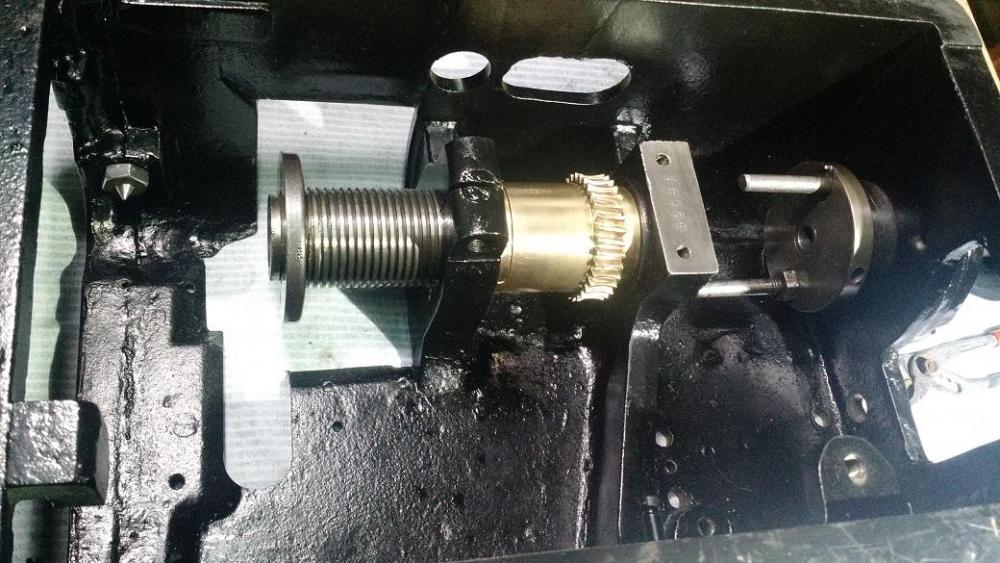
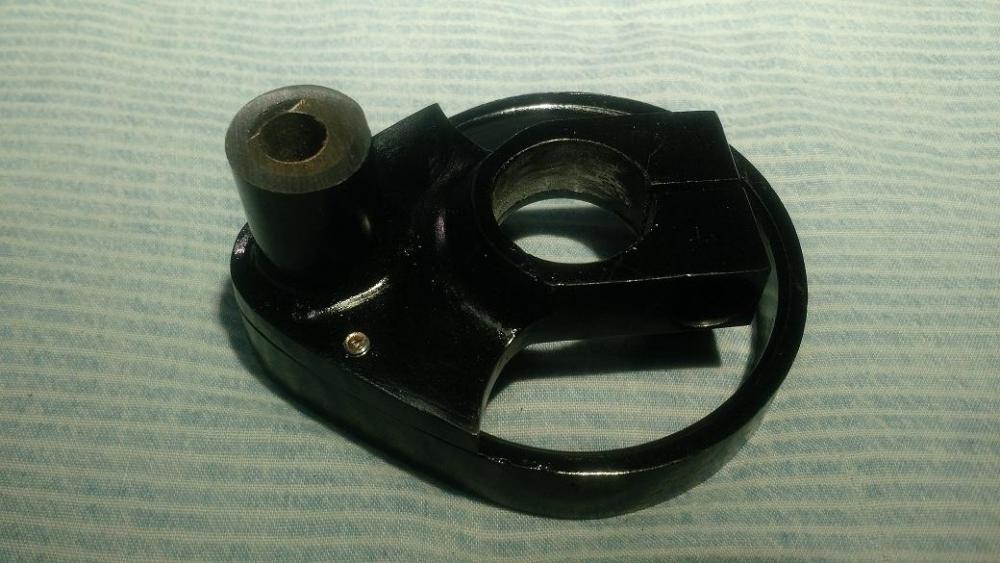
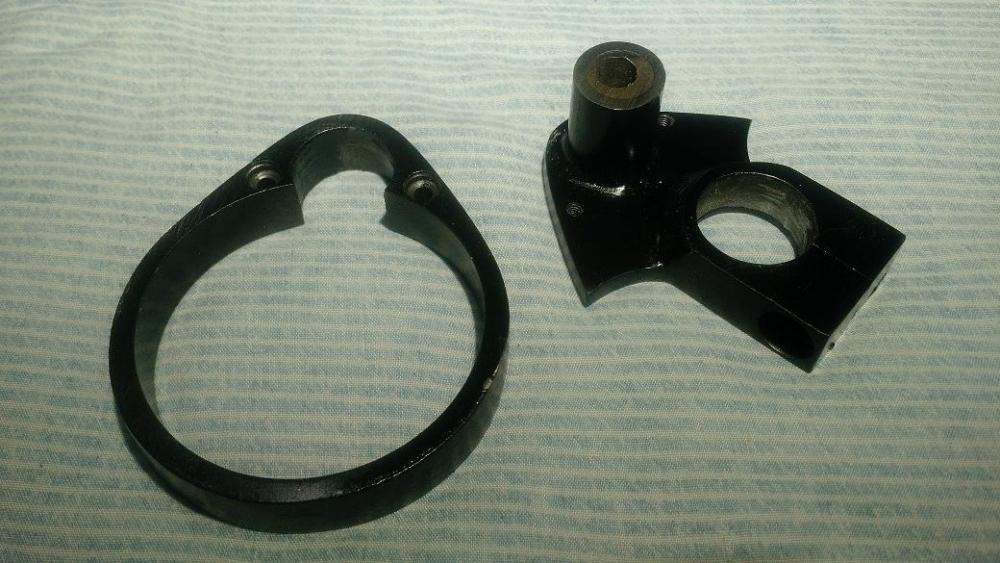
Before going further with some details I want to say that the objective I have is to achieve a restoration close to originality. For this reason the pieces were tried to preserve until they had no chance of having to manufacture them again, as was the case of a piece of the external feeding mechanism (I attach images). The choice of the original black color responds to what was outlined in the restoration objective. As a third goal is to make it work! Brds
- 72 replies
-
- fortuna
- leather machine
-
(and 2 more)
Tagged with:
-
Great job!.
- 72 replies
-
- fortuna
- leather machine
-
(and 2 more)
Tagged with:
-
RockyAussie: Yes I already had those engines. I also had the frequency inverter to control the feeding speed. I am going to use a load cell with a pedal. Thank you for your help!. Brds
- 72 replies
-
- fortuna
- leather machine
-
(and 2 more)
Tagged with:
-
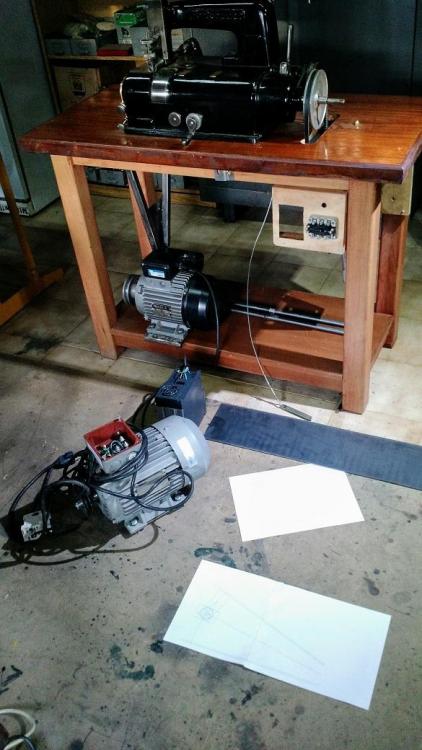
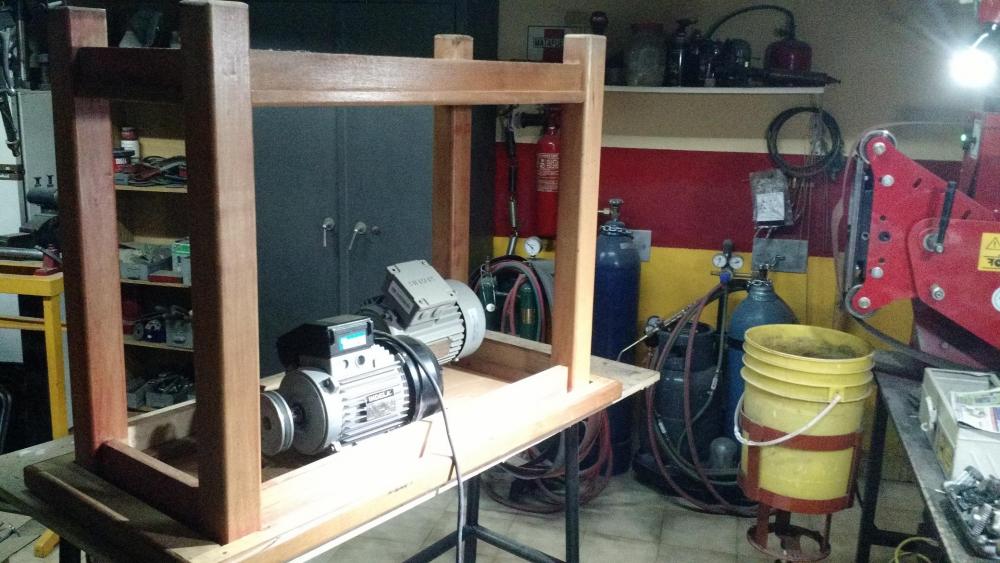
Some progress: There is little space under the table or the motors are very large! Because there is little space under the table, and before making an iron frame to support both motors in the most suitable position, I am drawing in CAD. While I have finished painting all the parts. This time there are no photos! Brds
- 72 replies
-
- fortuna
- leather machine
-
(and 2 more)
Tagged with:
-
Thinking about the position of the elements under the table: I also received the table as a gift along with the machine, but with a single motor. I was calculating that the blade will have approximately a fixed speed of 1100 rpm. While the speed of the feeding will be from 0 to 950 rpm approximately. Brds
- 72 replies
-
- fortuna
- leather machine
-
(and 2 more)
Tagged with:
-
jimi: Thank you for your prompt and clear answer. Brds
- 72 replies
-
- fortuna
- leather machine
-
(and 2 more)
Tagged with:
-
Dear, I have completely disassembled the skyver and I have realized the importance of keeping its parts properly lubricated. For the most part it uses only bushings and some old pillboxes, also my skyver has a gear box, which has a cap. Question: Please could someone tell me what type of oil should I use for the daily oiling, in the parts where the bushings are and also what lubricant should I put in the box? Thank you Brds
- 72 replies
-
- fortuna
- leather machine
-
(and 2 more)
Tagged with:


