edwardmorris
-
Posts
27 -
Joined
-
Last visited
Content Type
Profiles
Forums
Events
Blogs
Gallery
Everything posted by edwardmorris
-
What tools should I get and how do I do this?
edwardmorris replied to edwardmorris's topic in How Do I Do That?
Sorry for the double post but I've made some progress, pix here -
New to leather work, my first practice piece :)
edwardmorris replied to edwardmorris's topic in Getting Started
-
New to leather work, my first practice piece :)
edwardmorris replied to edwardmorris's topic in Getting Started
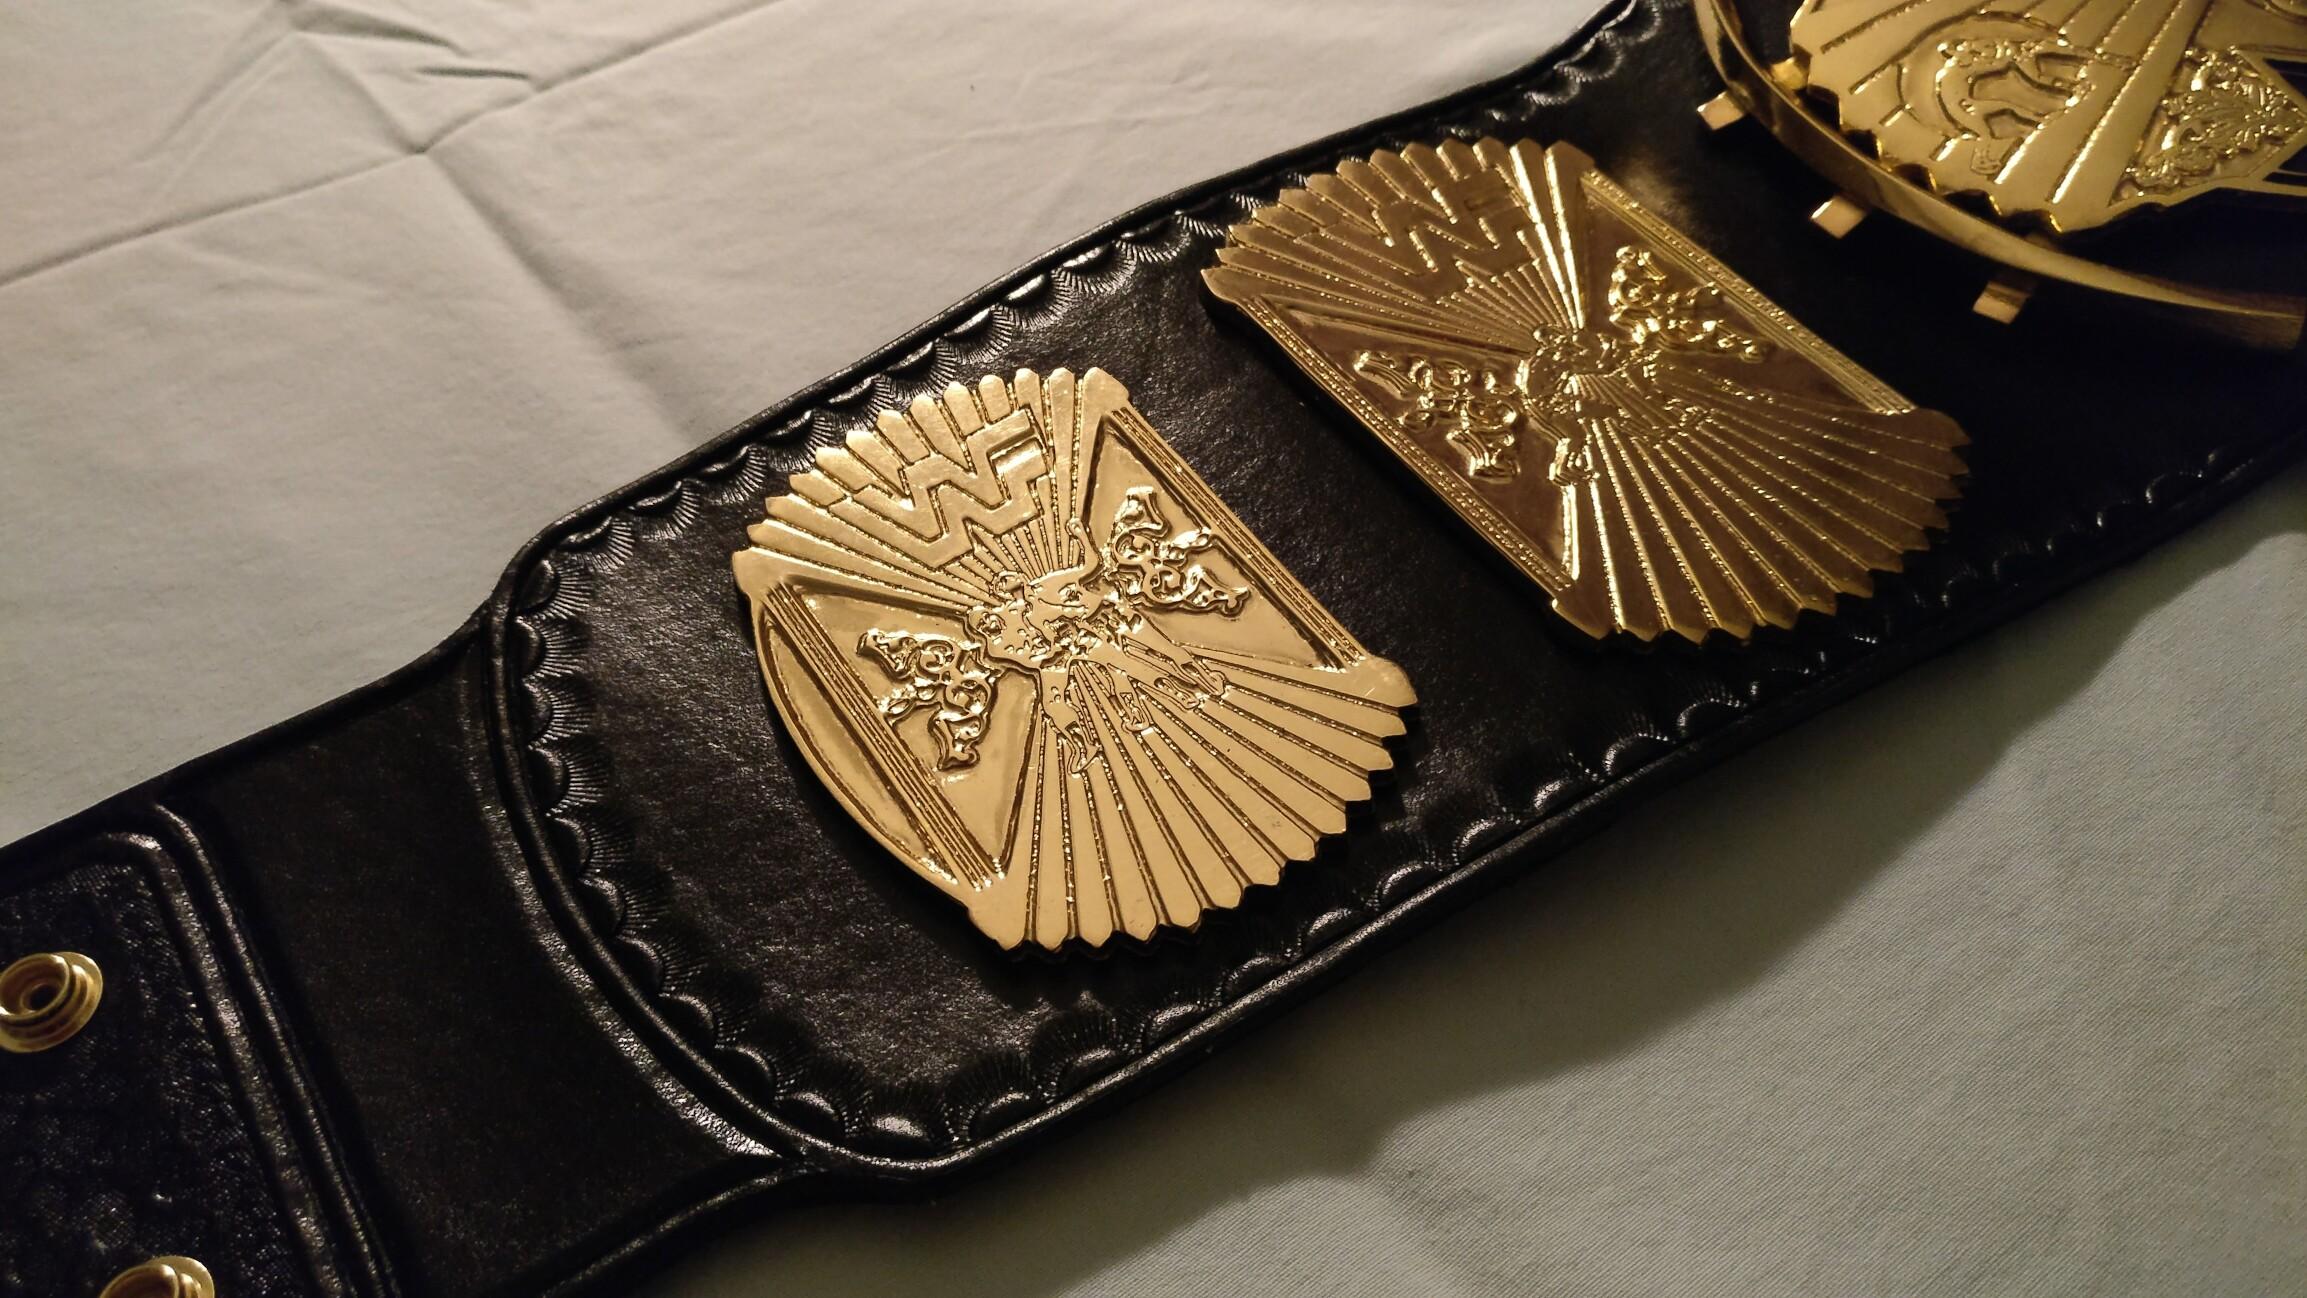
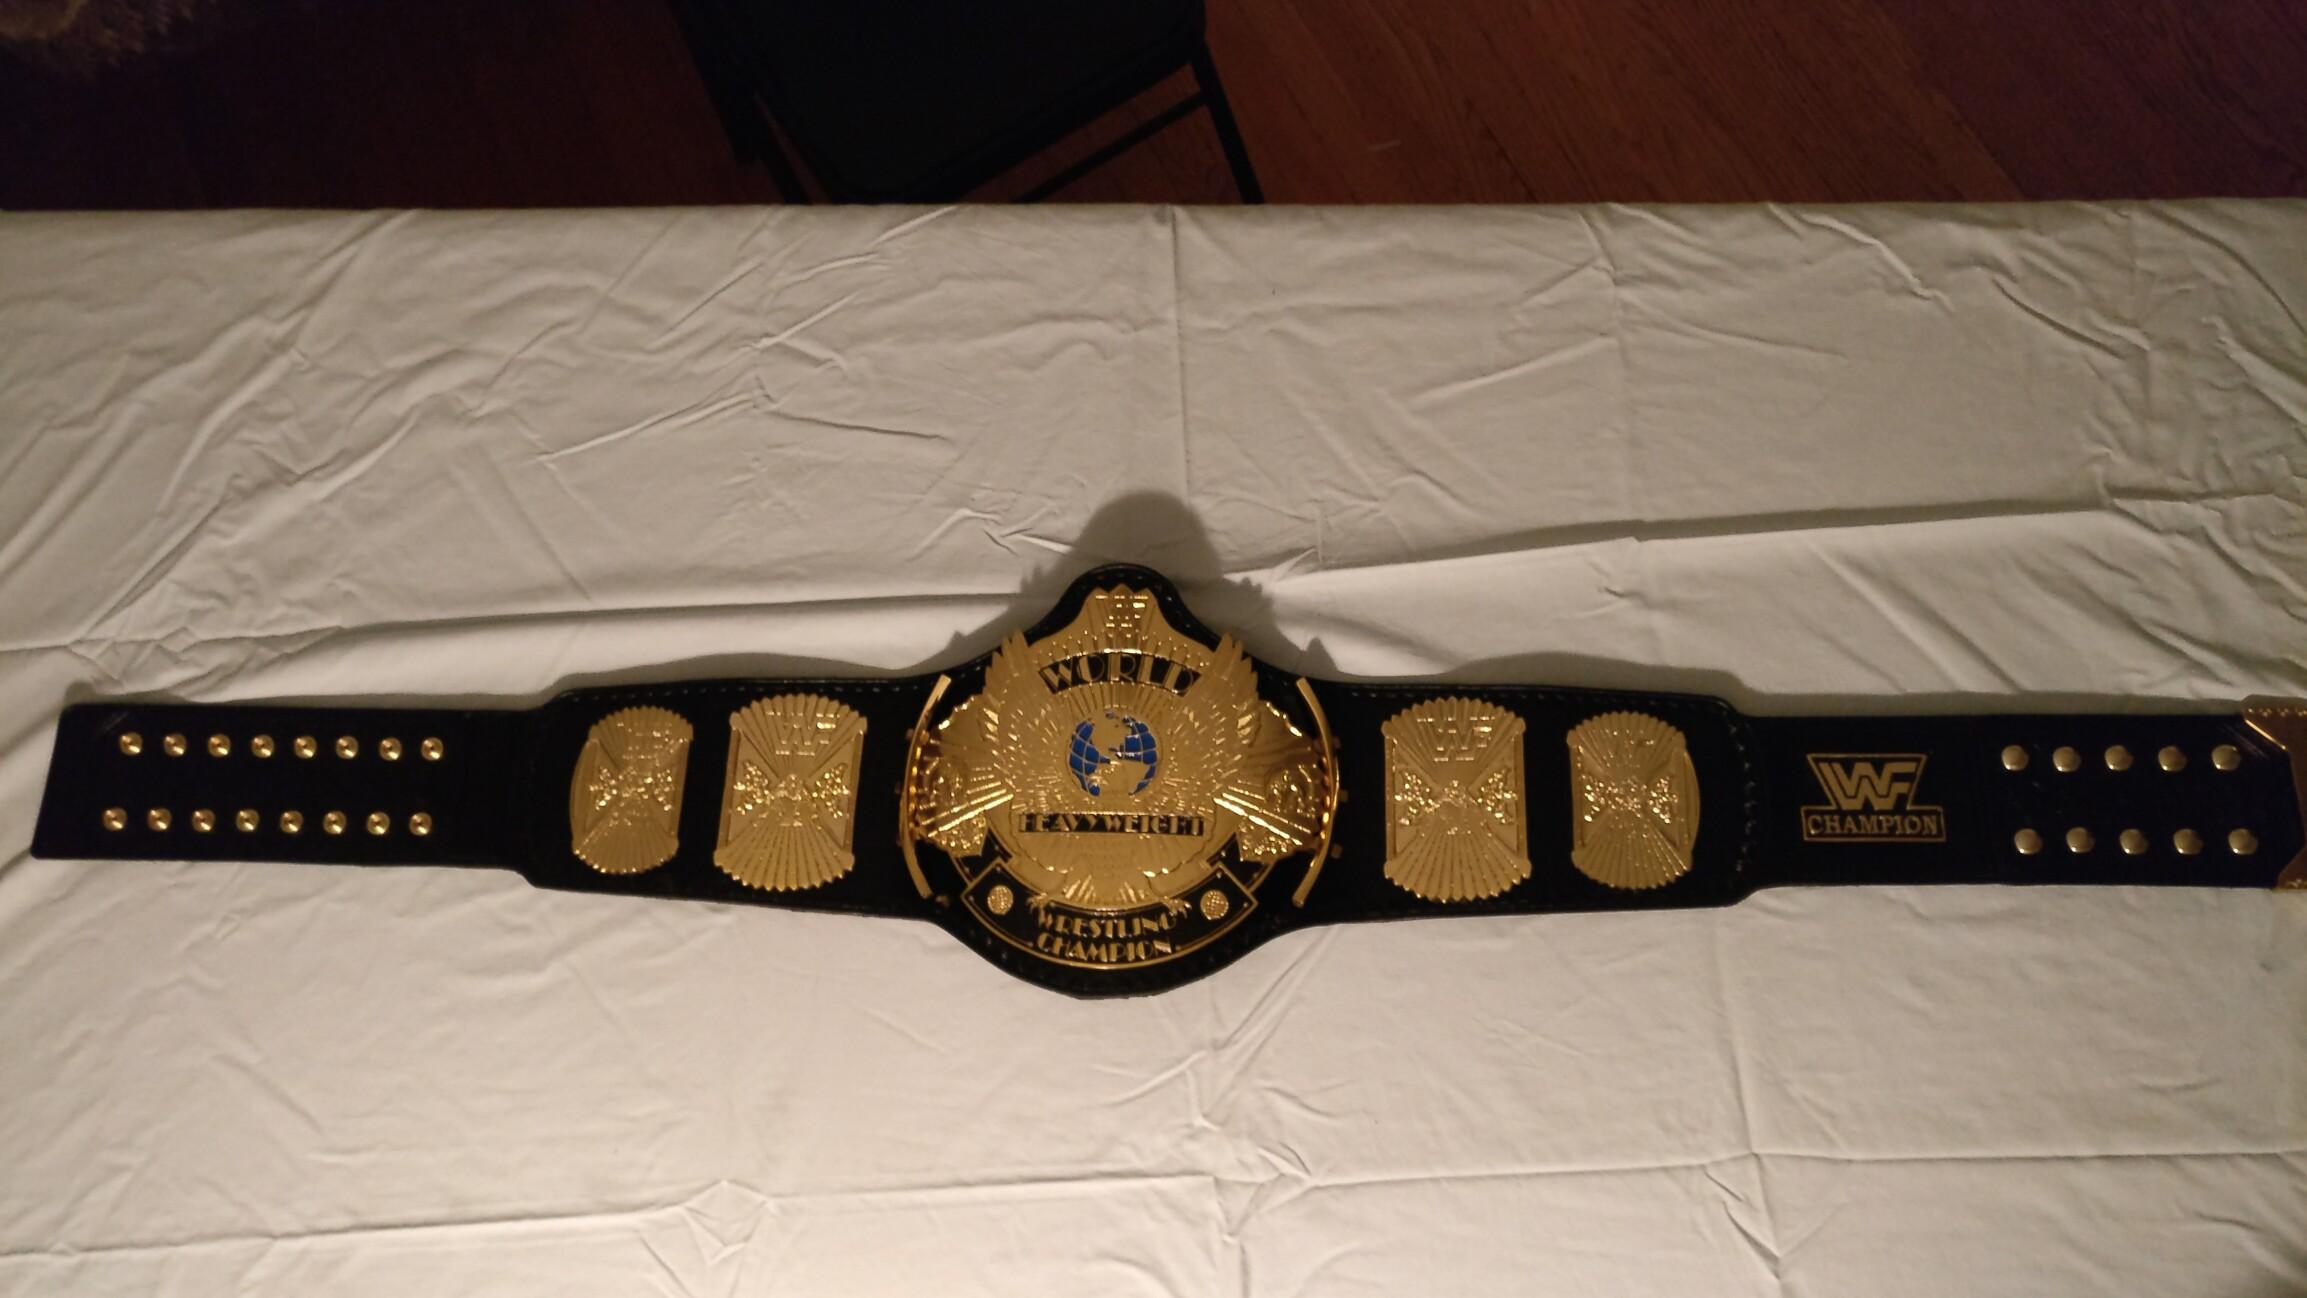
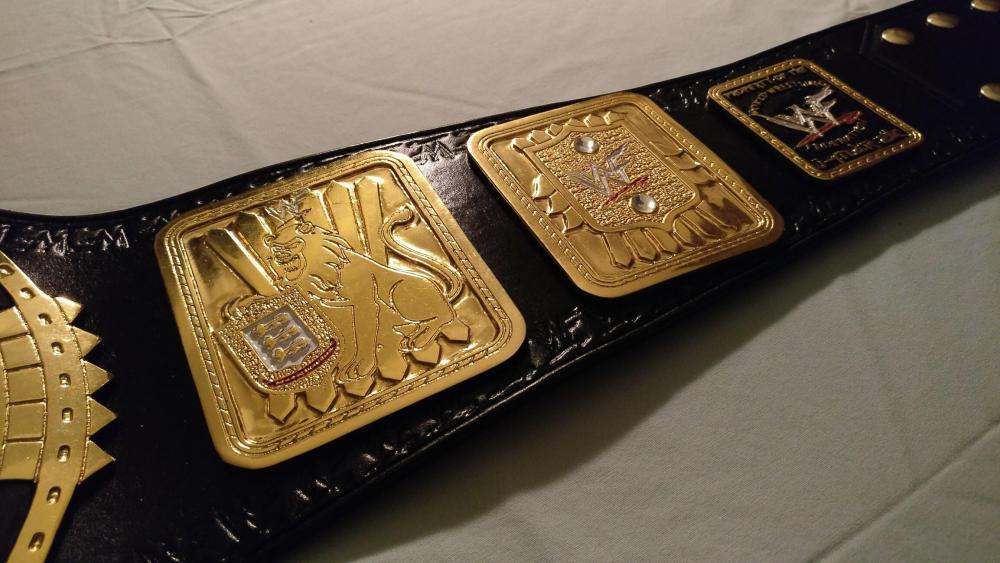
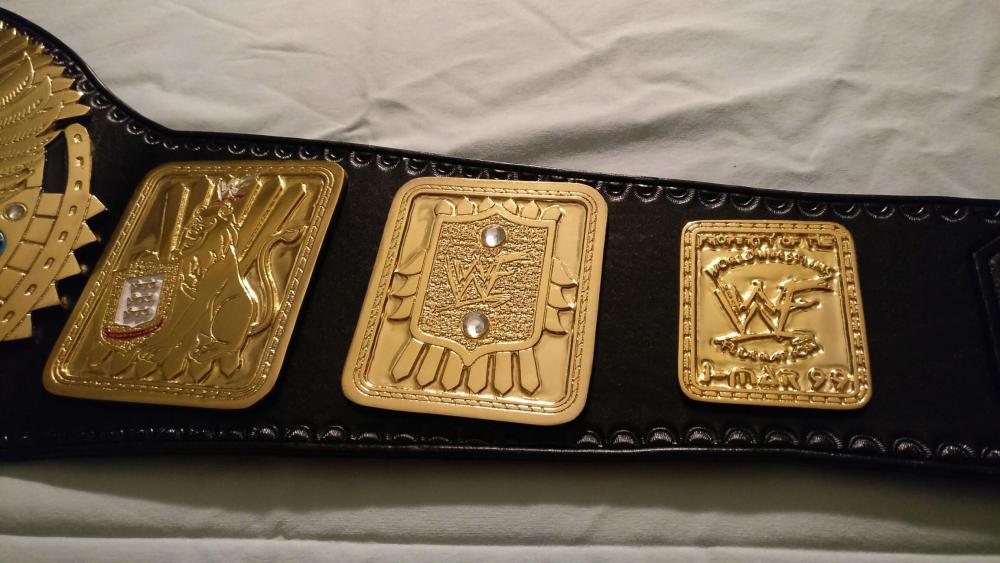
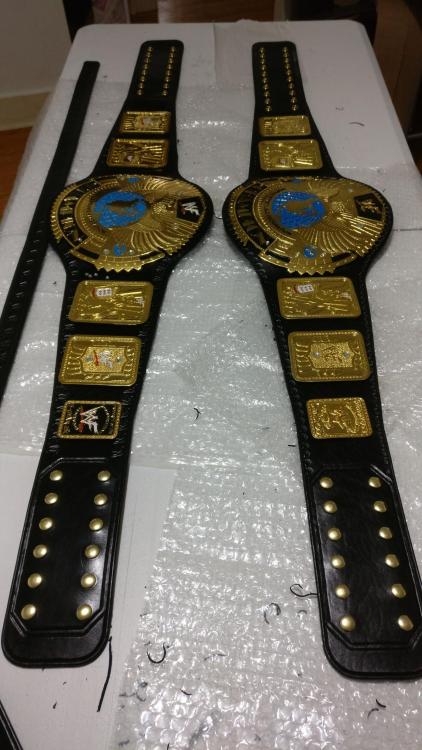
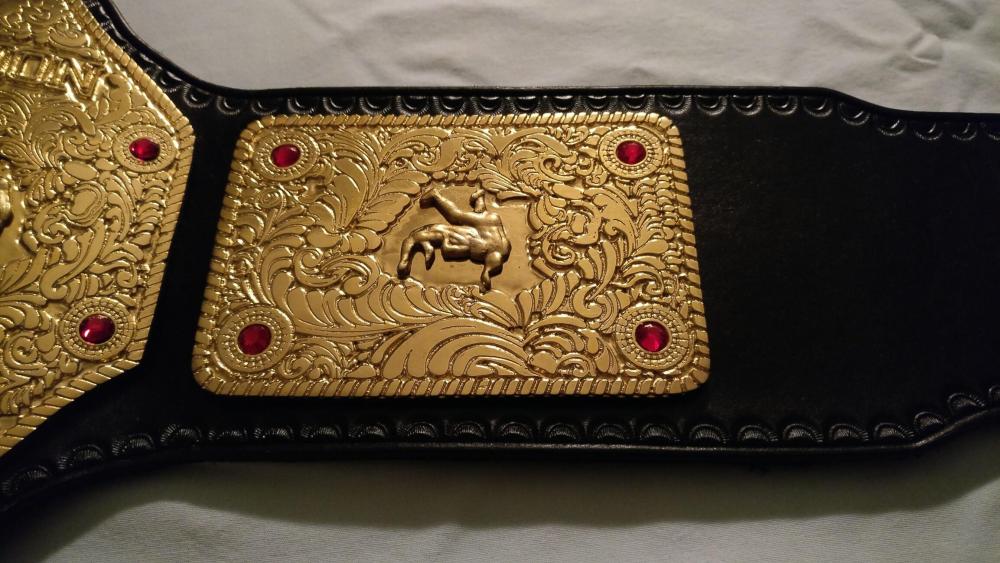
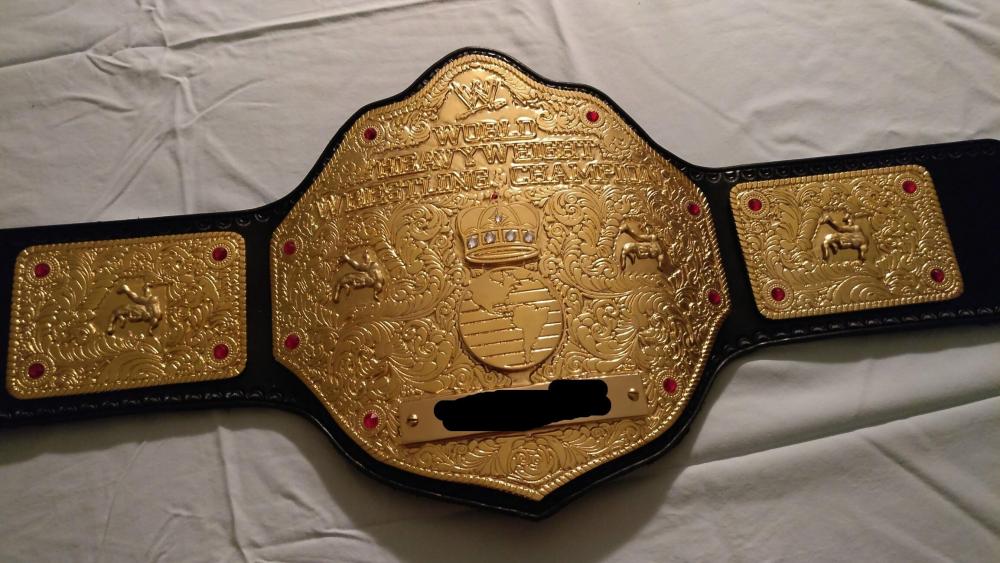
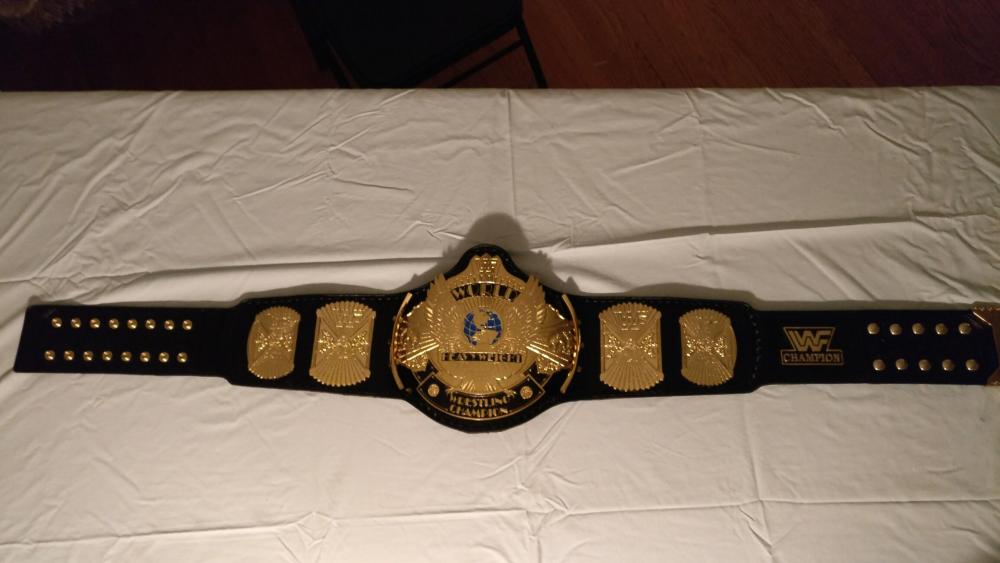
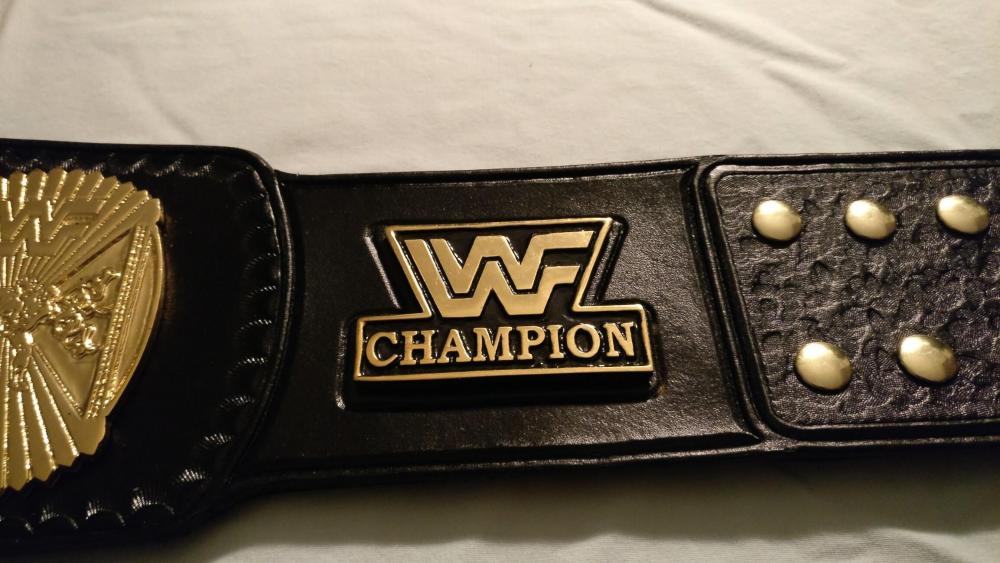
Not sure if we're allowed to say this anymore but I replaced all stones with genuine Swarovski crystals Couple variations of the same belt as it changed over the years.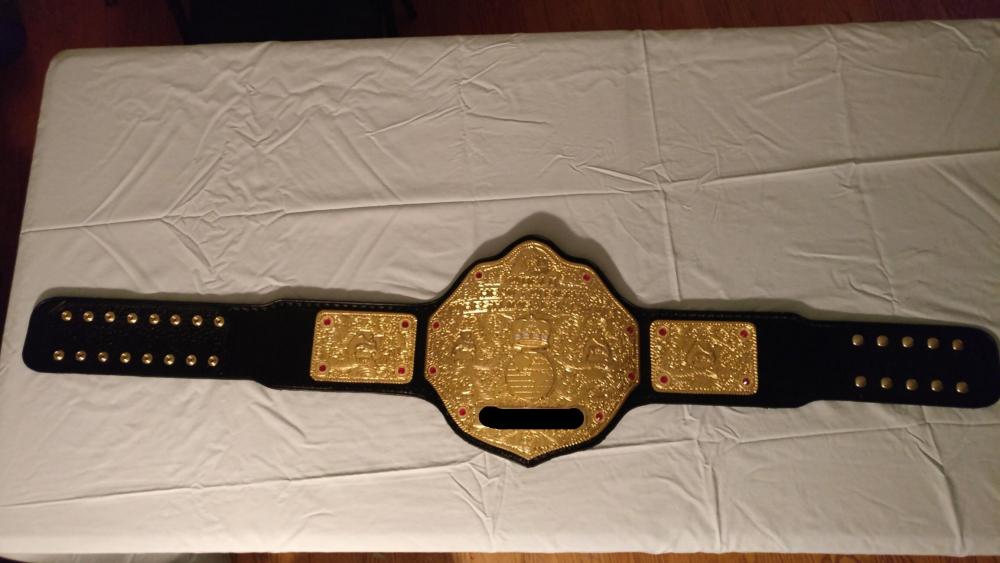
-
New to leather work, my first practice piece :)
edwardmorris replied to edwardmorris's topic in Getting Started
Thank you both Here are the others I've done as well. These things largely needed beveling and beading to be done right but what I learnt is that I will need to work with a heavier leather (and more practice) if I'm to go after perfect results.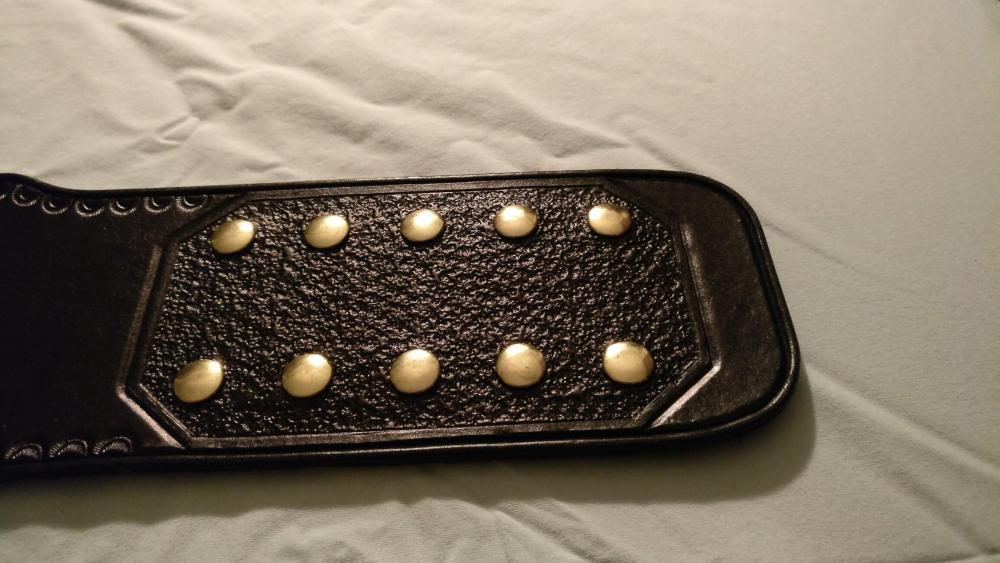
-
New to leather work, my first practice piece :)
edwardmorris replied to edwardmorris's topic in Getting Started
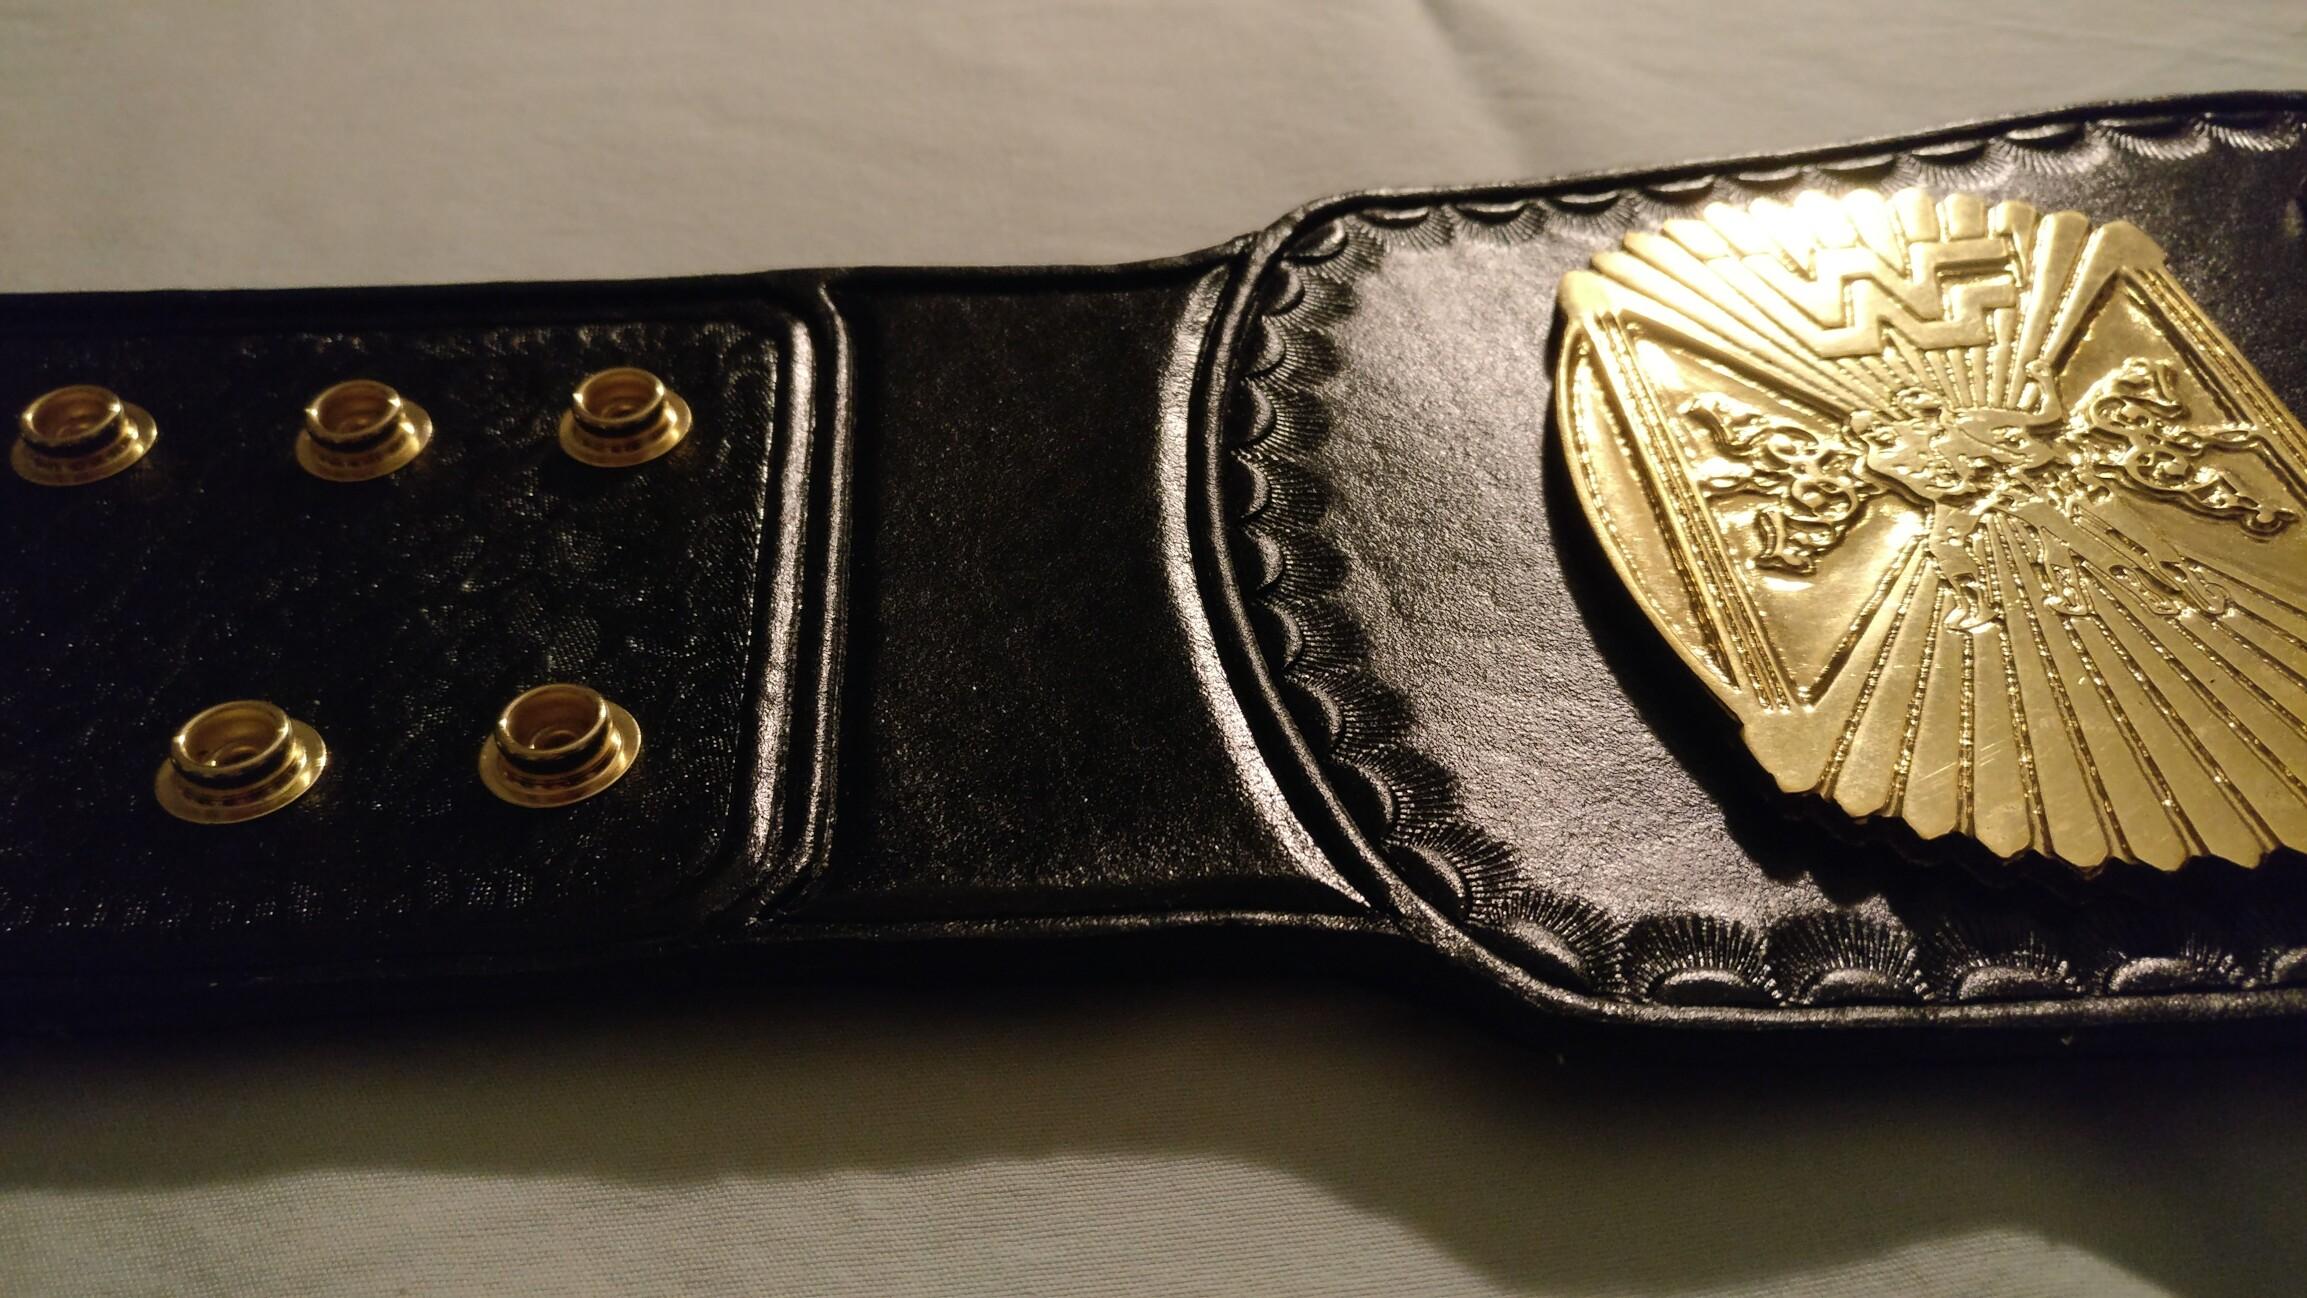
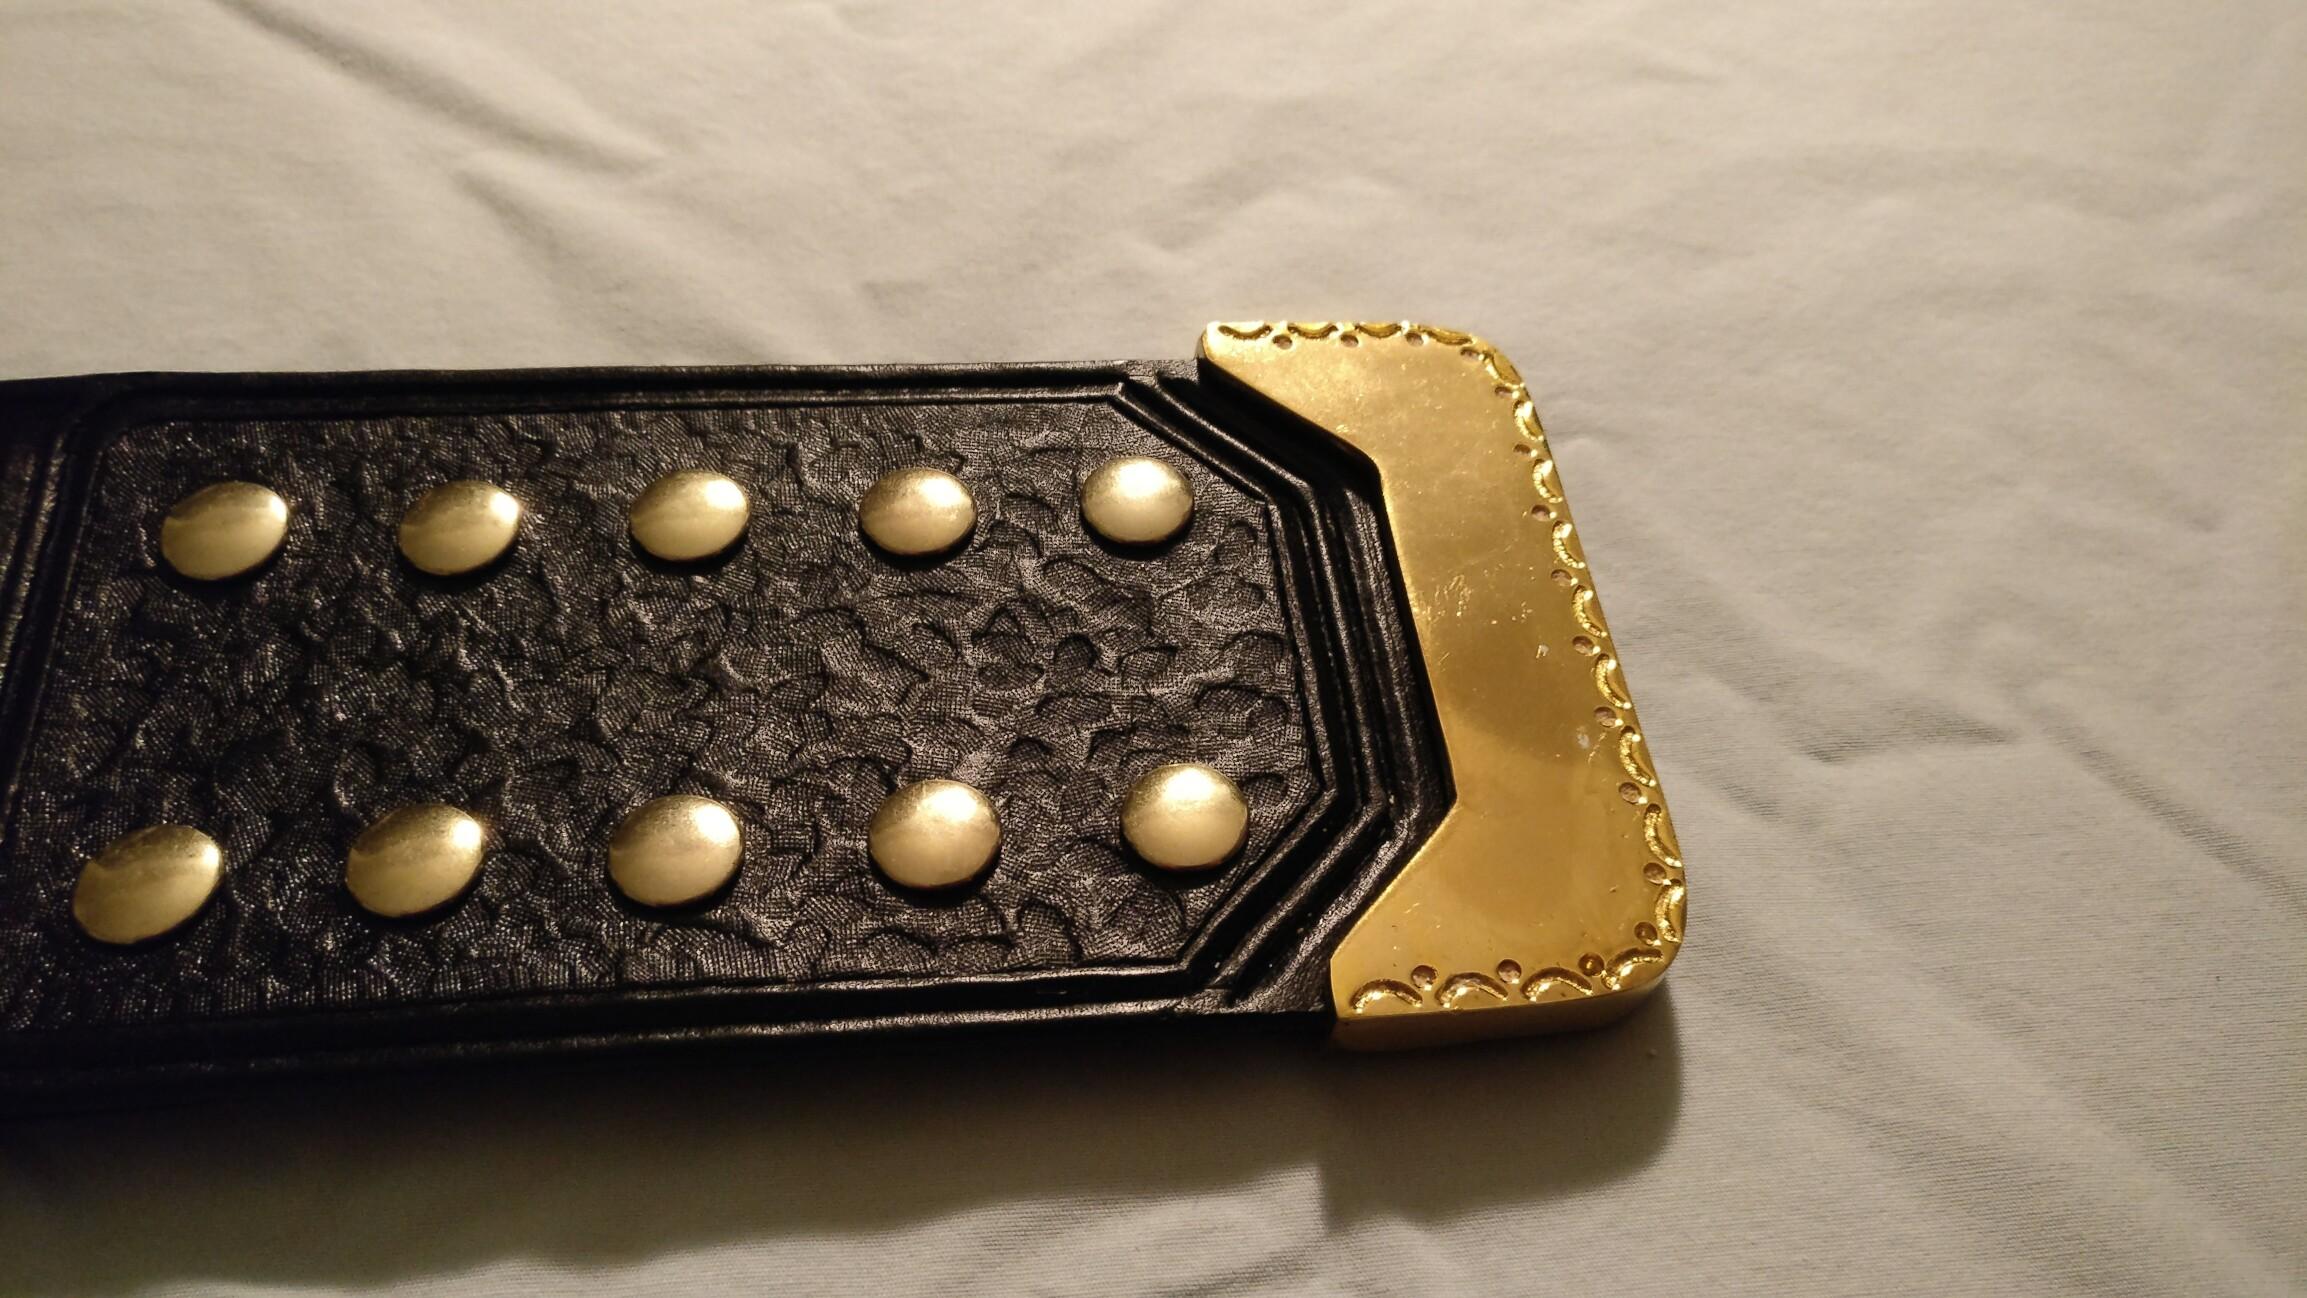
I need to figure out a better angle to get the whole length into the frame properly
-
New to leather work, my first practice piece :)
edwardmorris replied to edwardmorris's topic in Getting Started
One bad tap of the hammer very visible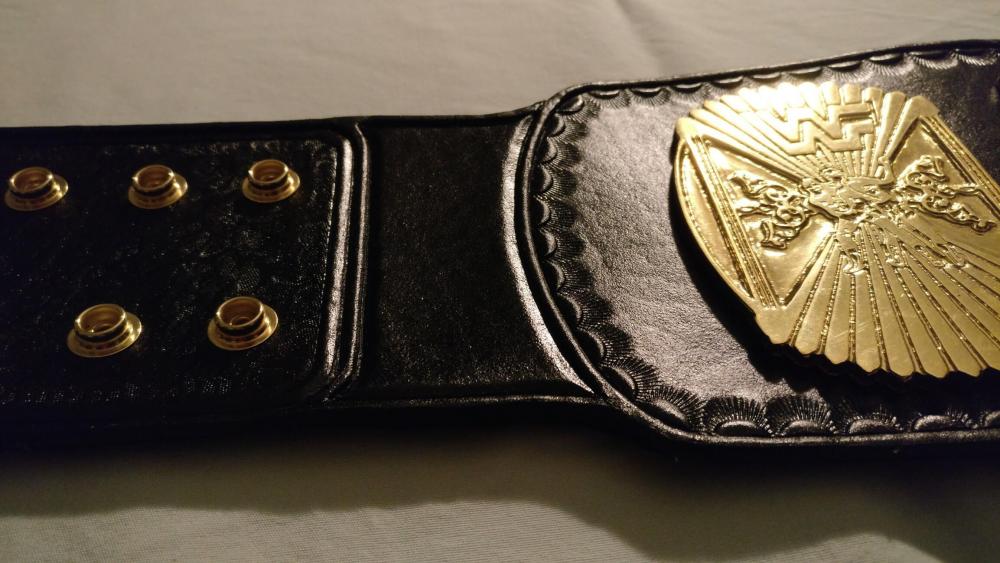
-
New to leather work, my first practice piece :)
edwardmorris replied to edwardmorris's topic in Getting Started
Thanks! Resized ones don't seem to have lost much detail, here is my first attempt using a (relatively) light/8oz tandy leather. Satisfactory with room for improvement, perhaps time to look into thicker leather and longer studded snaps etc.


-
New to leather work, my first practice piece :)
edwardmorris replied to edwardmorris's topic in Getting Started
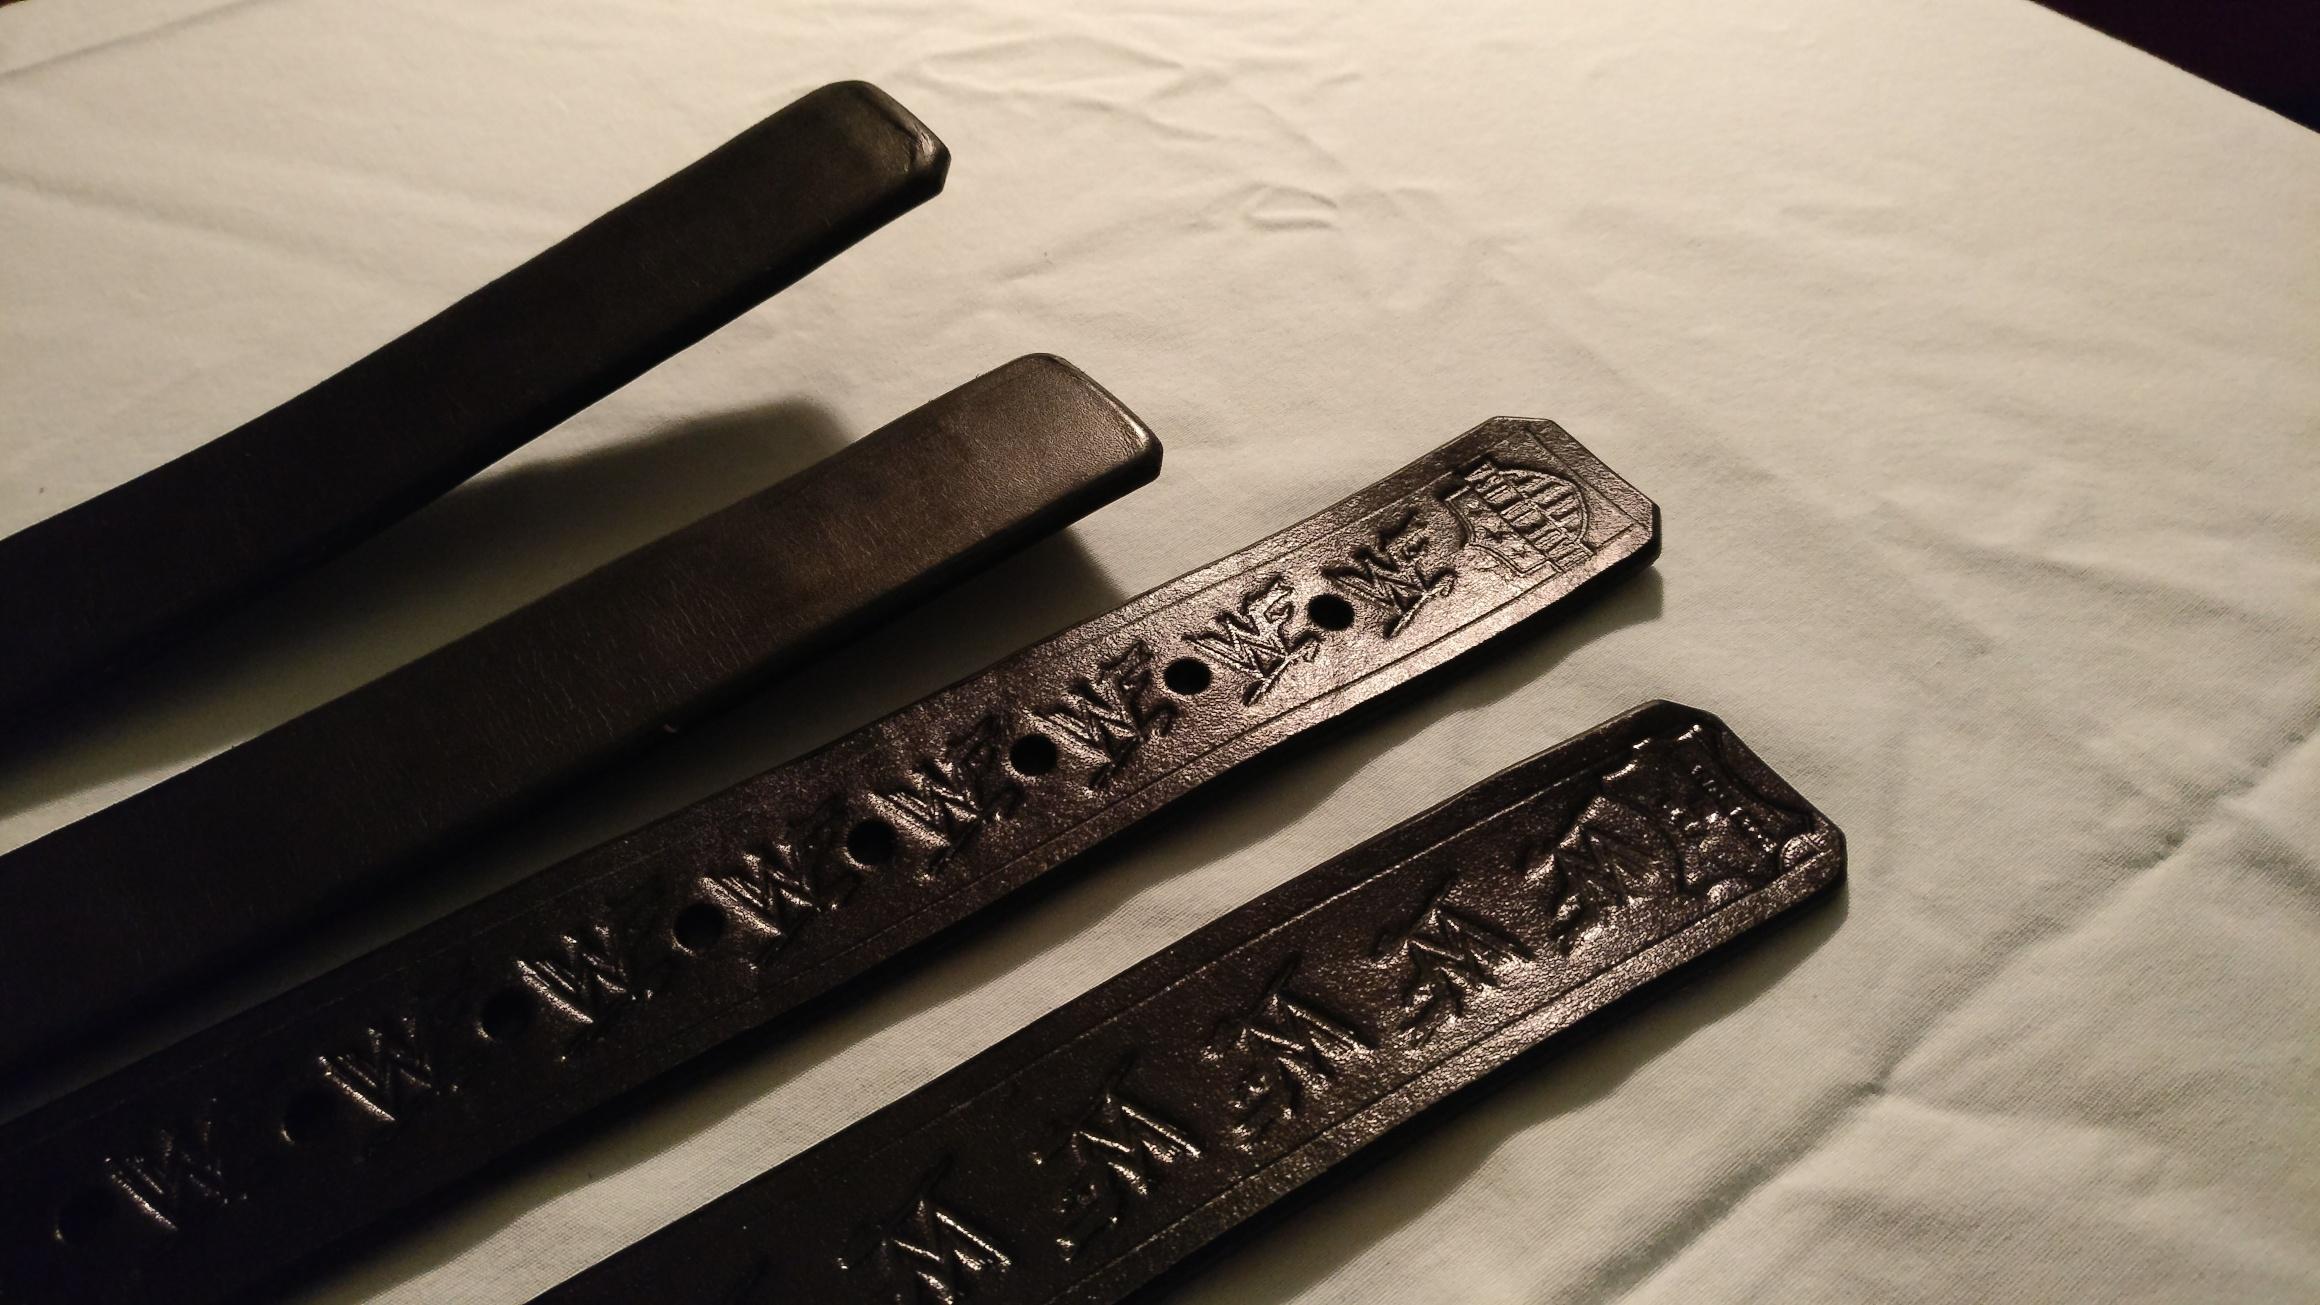
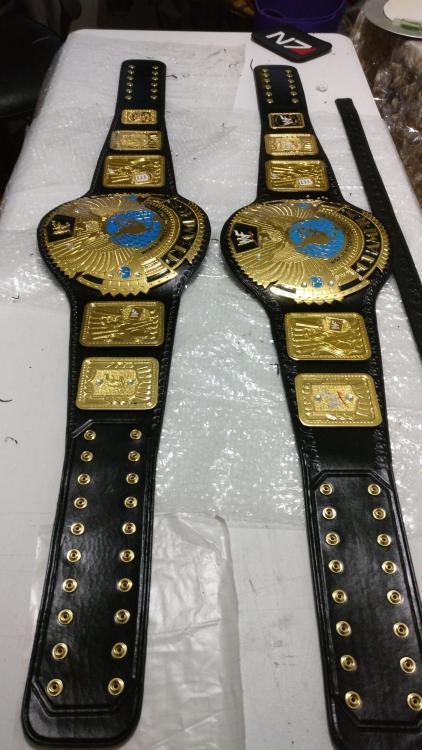
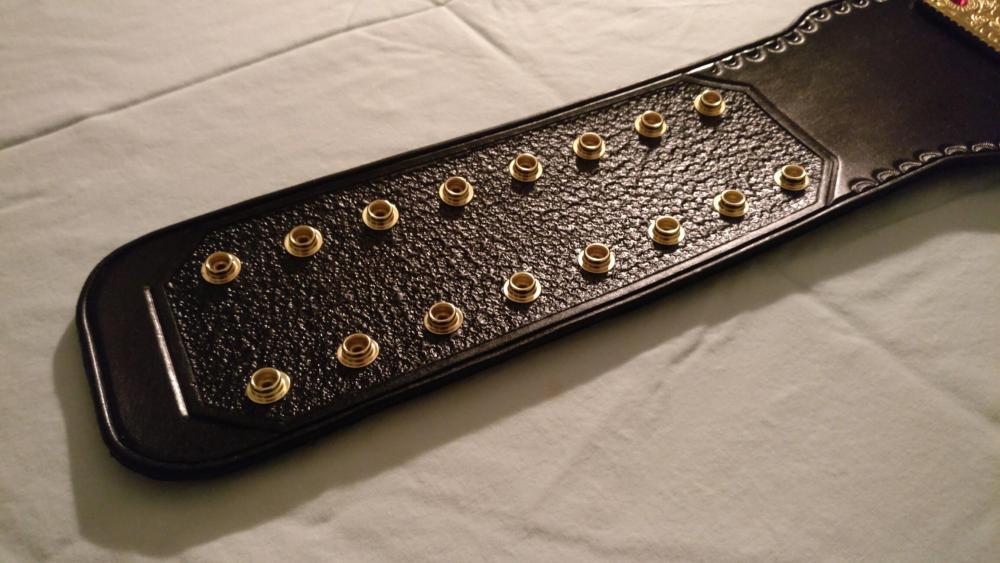
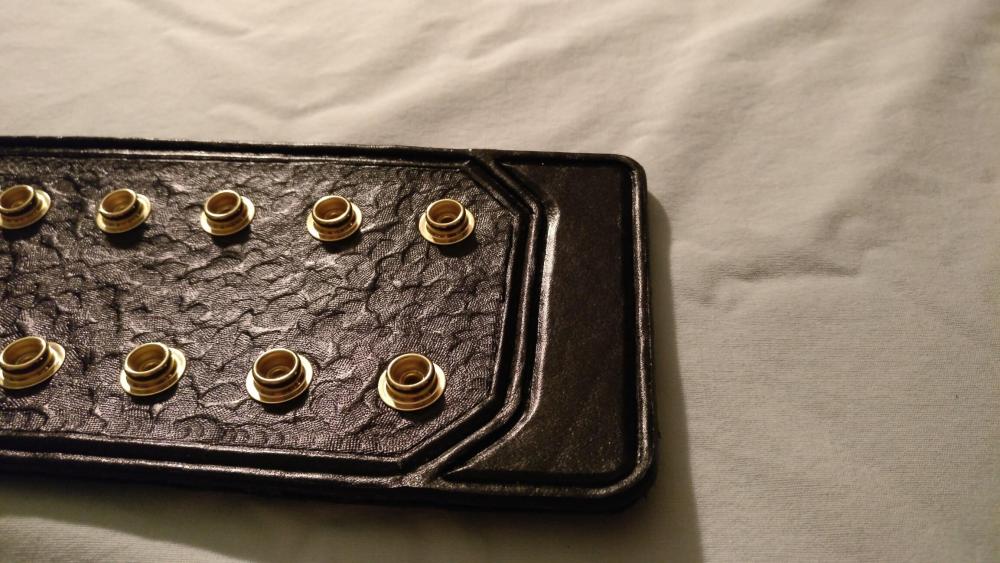
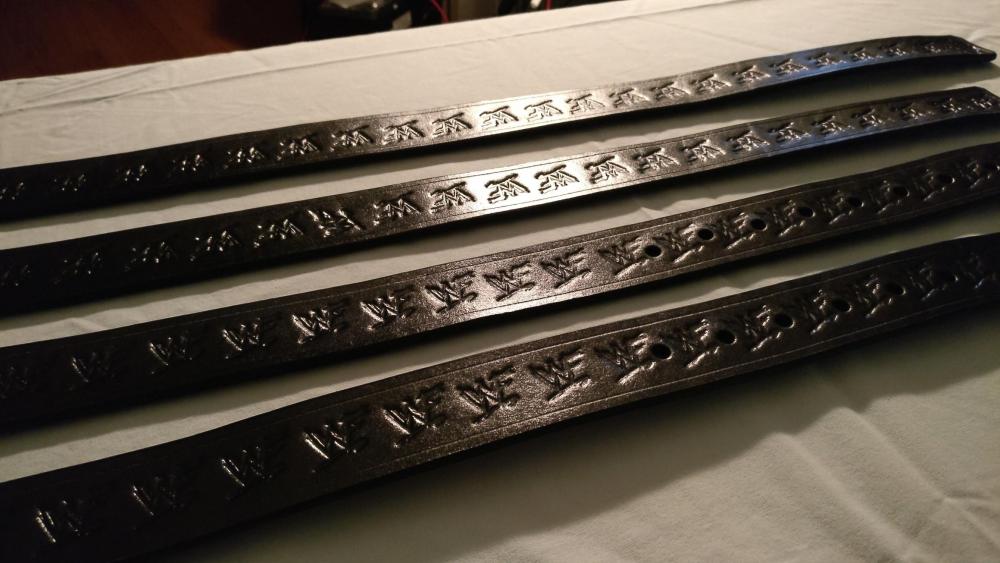
Made some belts as well! Added a backing to all of these by the way, then ended up just making the layers blend with a burnishing wheel followed by a slicker both mounted on a drill press. Probably the worst thing to do to leather but hey, I like the end result Of course, Made in USA stamps for some pride :D
-
New to leather work, my first practice piece :)
edwardmorris replied to edwardmorris's topic in Getting Started
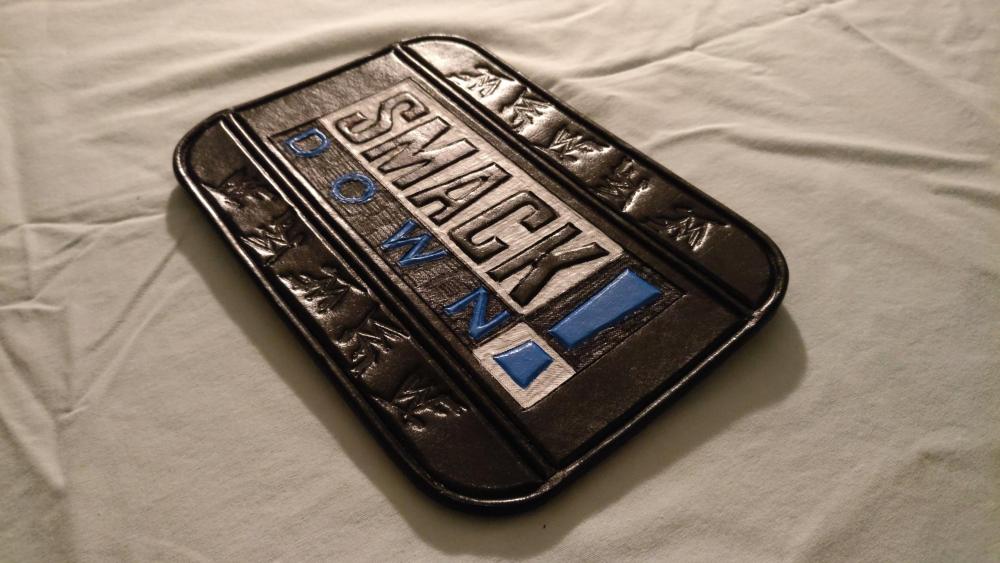
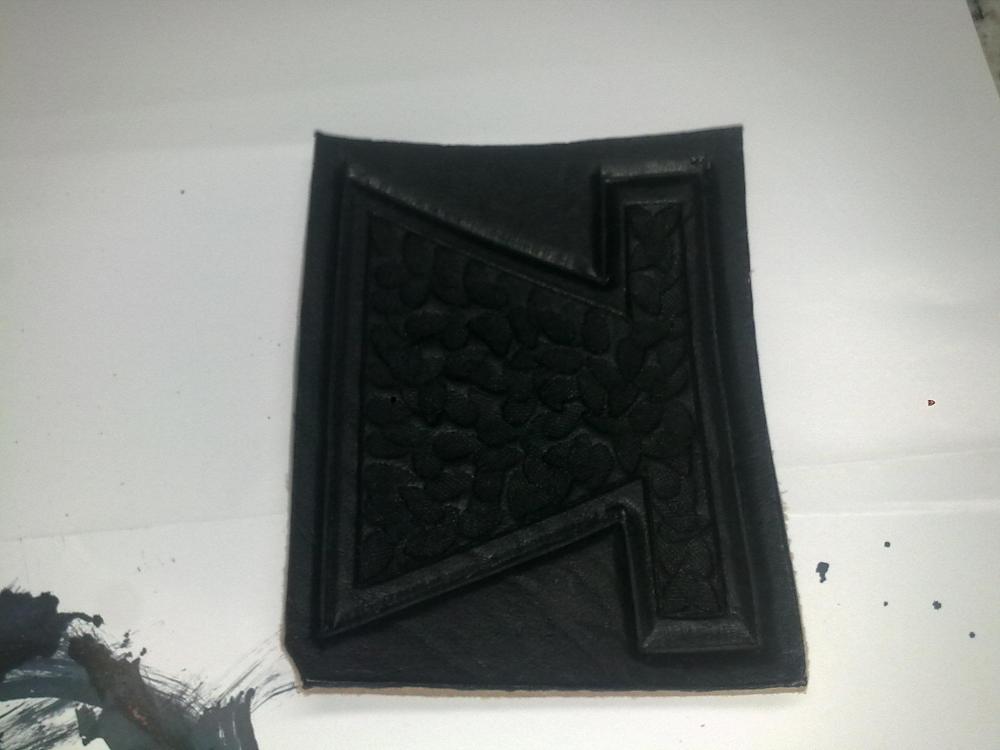
Above two are gaming, next two are wrestling Not very good at detail painting, most certainly need a LOT of work with the swivel knife on circles/tight curves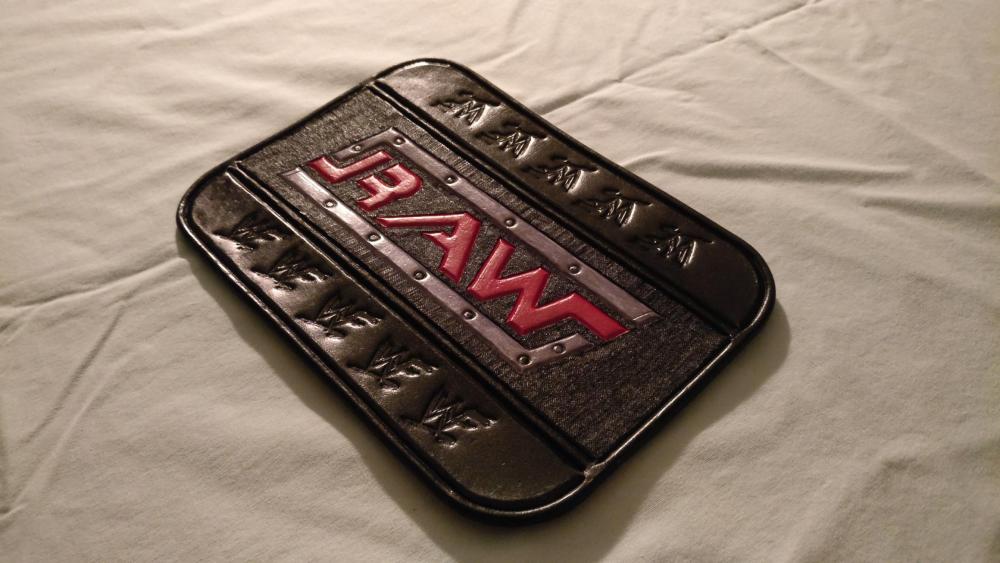
-
New to leather work, my first practice piece :)
edwardmorris replied to edwardmorris's topic in Getting Started
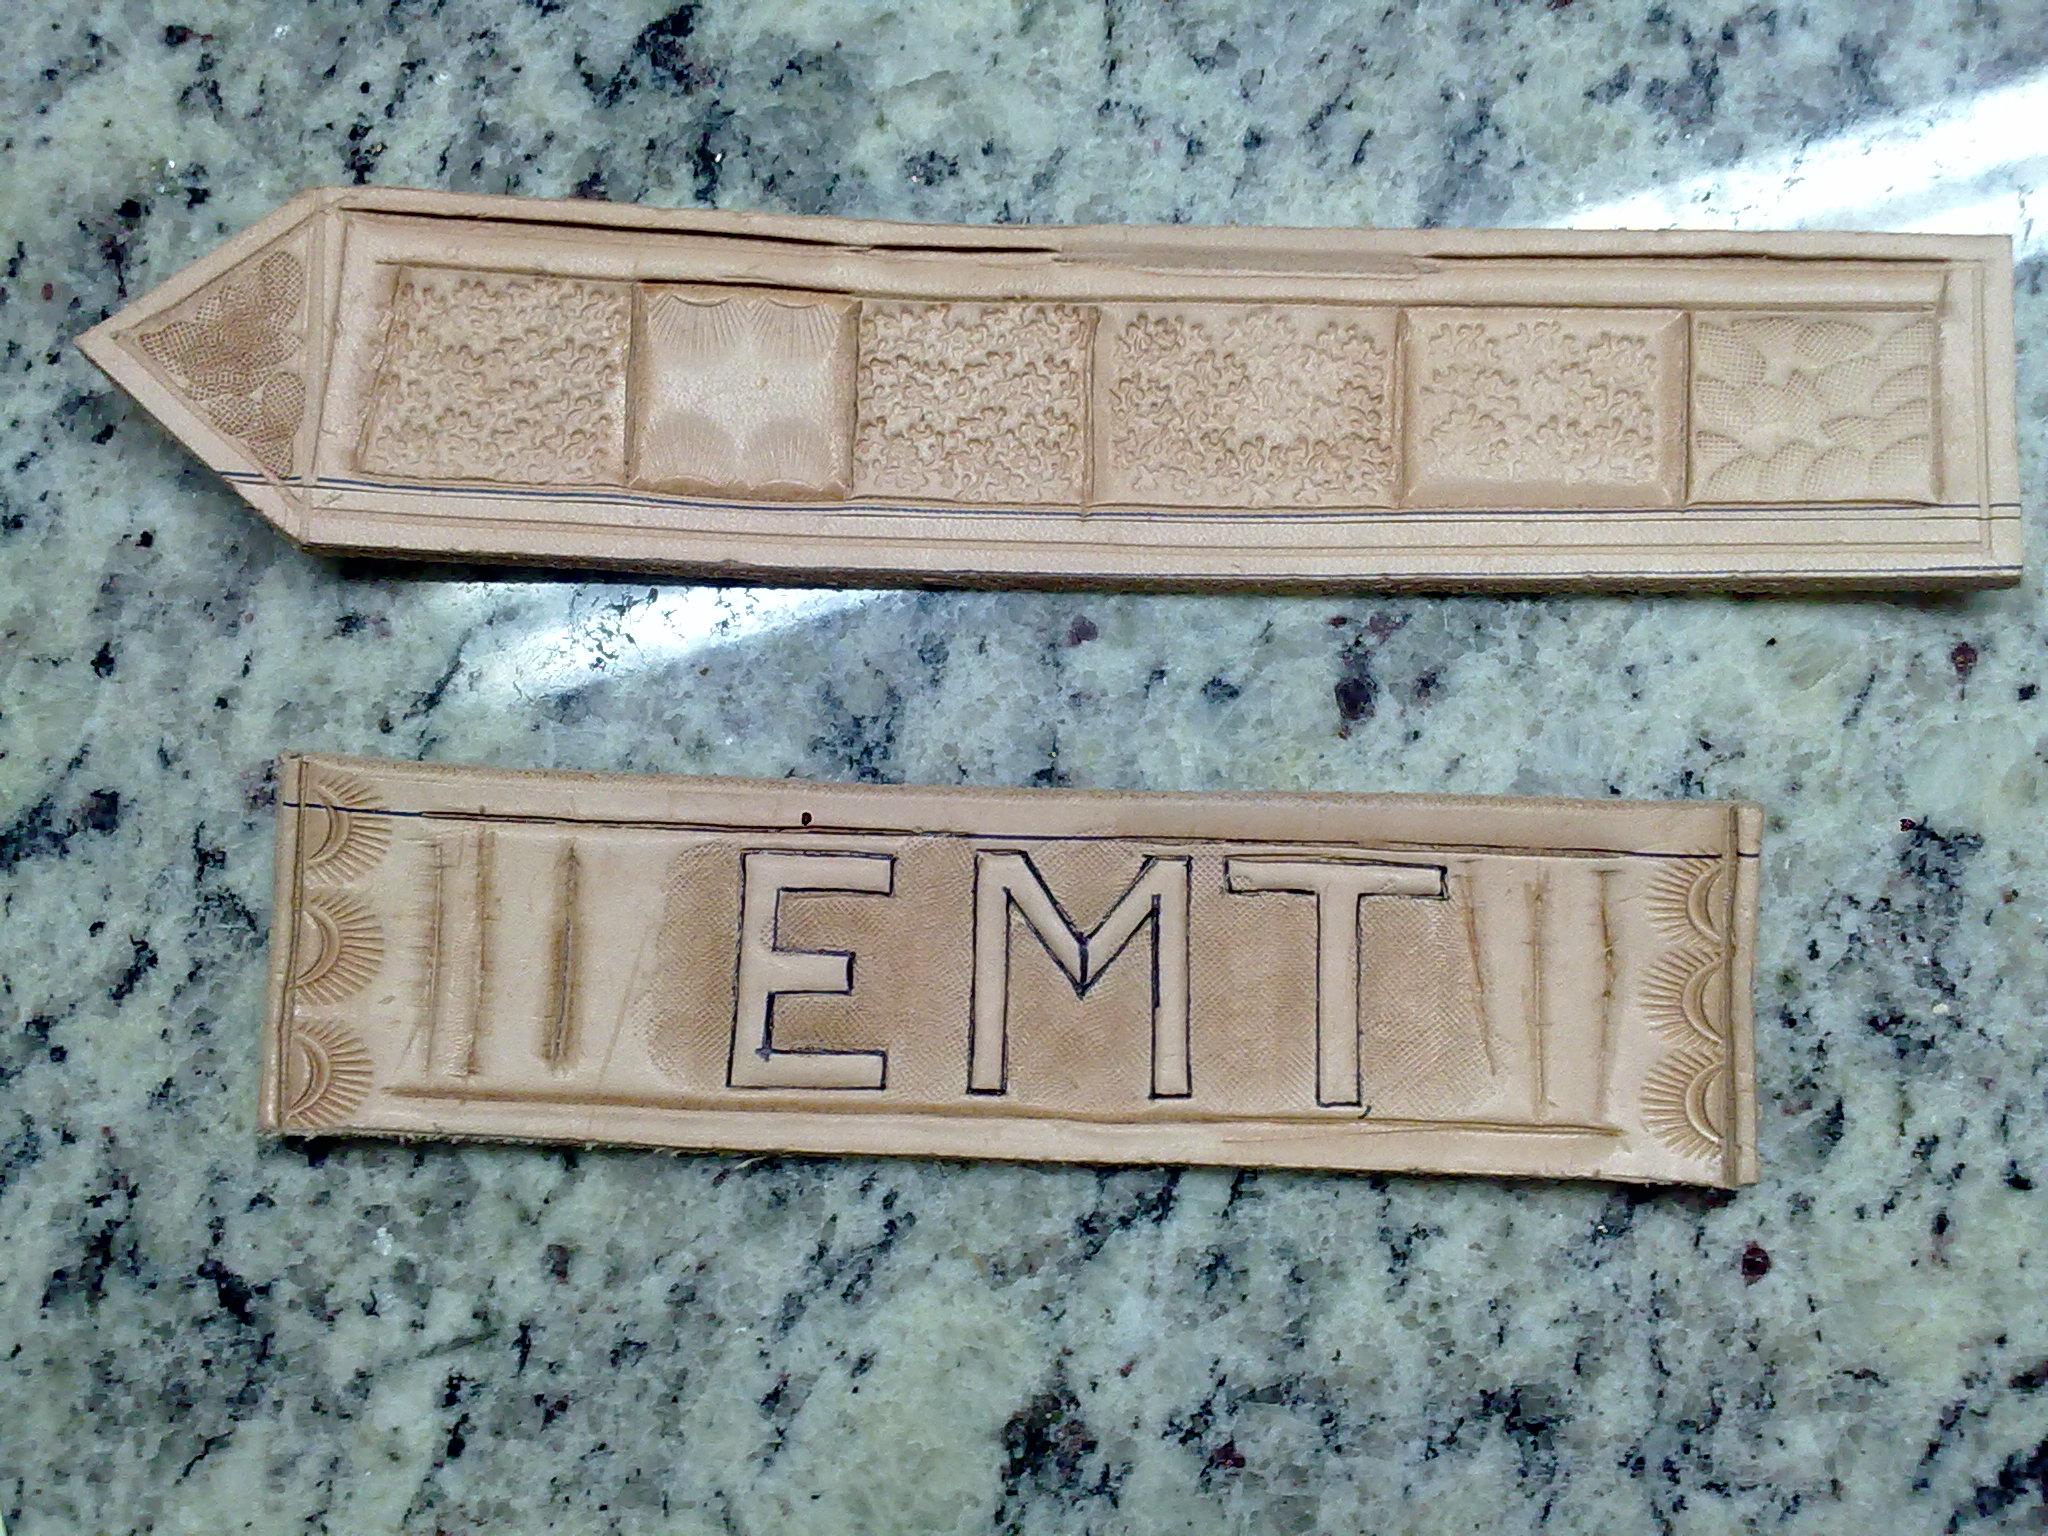
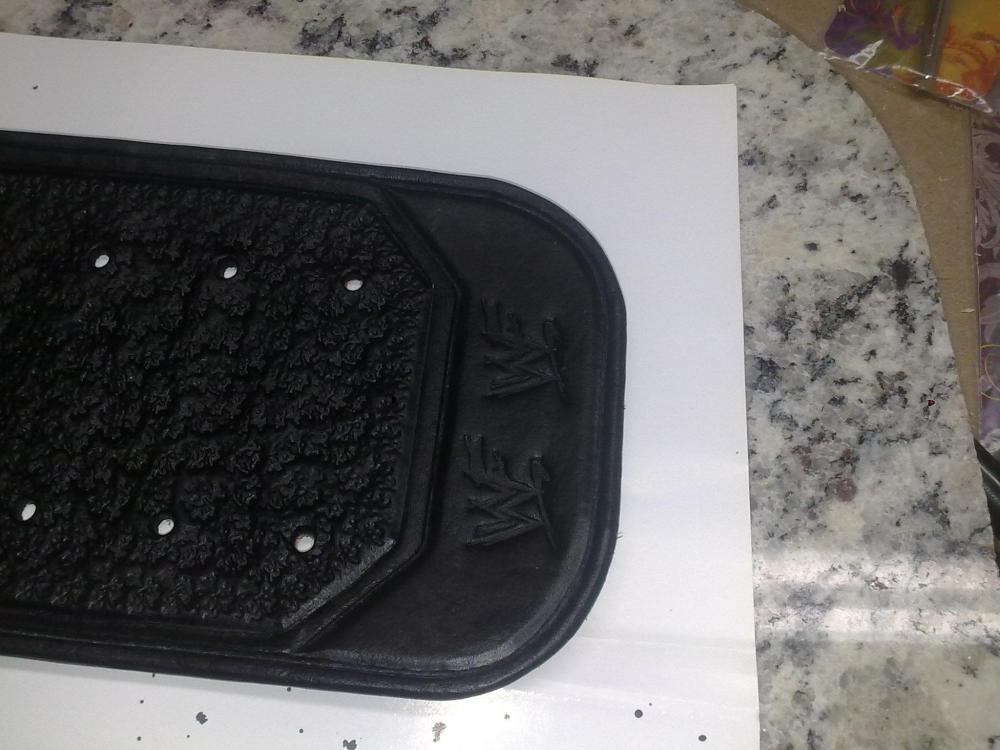
Thanks! Trying with resized pix. Made some coasters/place mats to get some practice with beading and basic tooling (backgrounding is terrible but not needed for the title belts ;)). Have to do these one at a time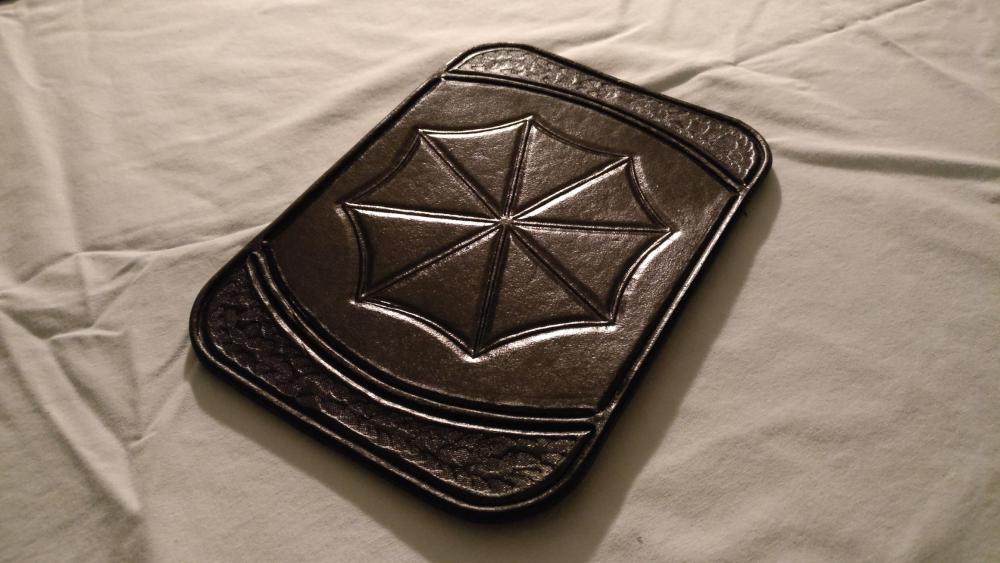
-
New to leather work, my first practice piece :)
edwardmorris replied to edwardmorris's topic in Getting Started
I've been away for a while but I've been busy practicing :). I have a bunch of pix to share but the camera on the new phone takes images in large size, how do I post pix that are more than 1.46M? -
New to leather work, my first practice piece :)
edwardmorris replied to edwardmorris's topic in Getting Started
Goal with learning how to use the double beveler is to eventually be able to do this Couple more pix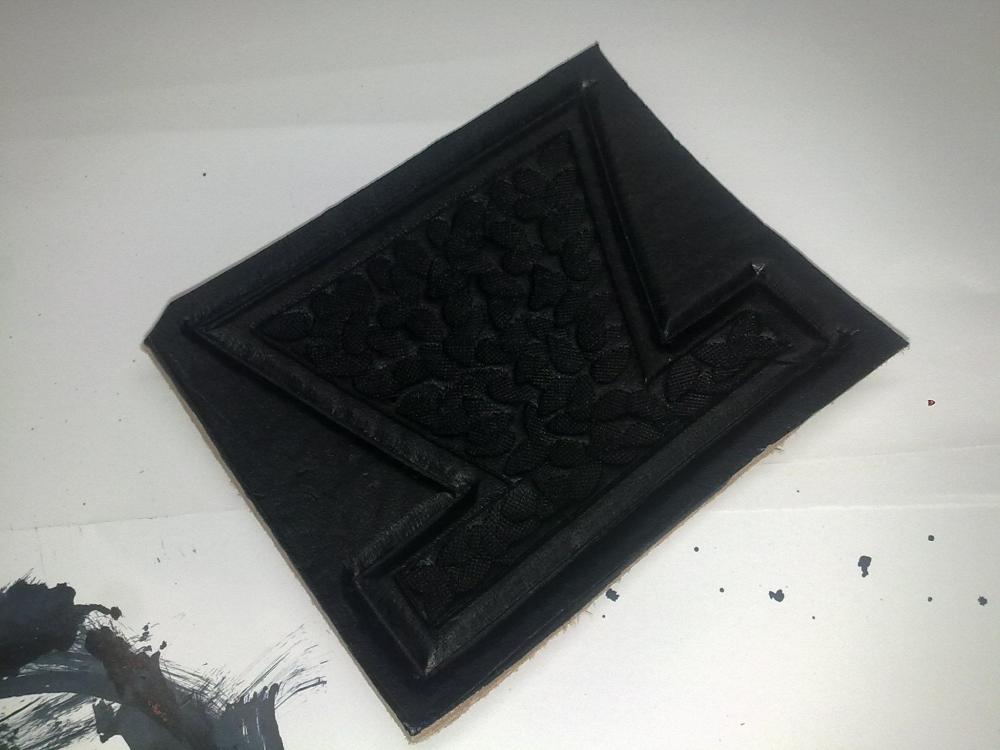
-
What tools should I get and how do I do this?
edwardmorris replied to edwardmorris's topic in How Do I Do That?
Thanks Rahere! I will try another piece with the spacing recommended and incisions using a xacto. Thanks JayEhl! I had read this somewhere and have been using shelf paper (almost 0 stretch) and getting some good results, but still not quite the best with the backgrounders, I have more details on my getting started thread (I really need to move all this to a proper project thread). It took some practice and for the look I'm after, BK tools are working out better. Tandy was great for practice and I still use it for smaller generic projects, so thankfully I'm past buyers remorse on both :D -
New to leather work, my first practice piece :)
edwardmorris replied to edwardmorris's topic in Getting Started
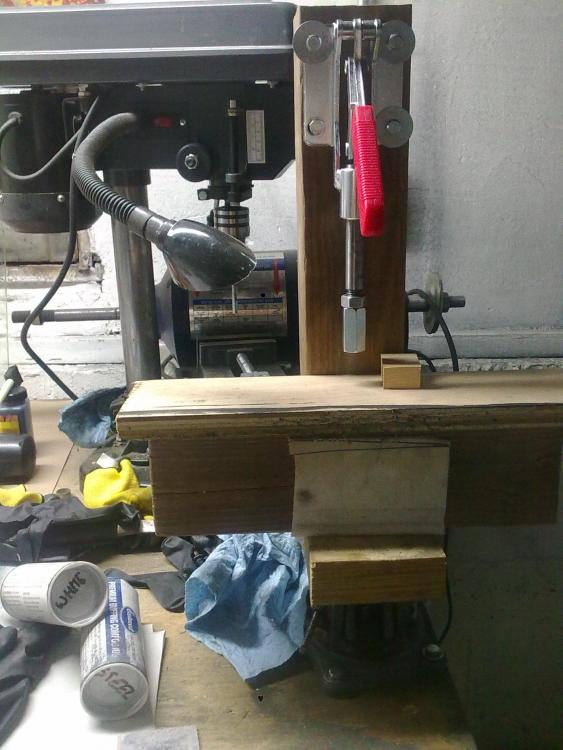
Thank you Pastor, for the encouragement :) For my day job I feel the same way, years of experience and I still make the silliest of mistakes. I have been making time to get more practice in and I'm starting to get comfortable with BK bevelers and beaders. Someone on my other thread had suggested using tape on the back to prevent stretching, and that helped quite a bit especially with the edge beading! I still need more practice with the backgrounders, even with the tape (shelf paper to be exact) on the back, towards the end the leather did stretch and warp a little. I am also getting much better with casing for the leather I'm working with. I believe I need to practice backgrounding some more with the leather less wet to prevent the stretch. I also rigged up a makeshift press using a toggle clamp I had (not my original idea, pretty sure I saw someone else do it a while ago). This is working out great for logo stamps, as well as cutting out holes for snaps. Another lesson learnt was that eventhough I didn't cut the holes until after the backgrounding, they still don't line up even after correcting the original plan lines. Next piece I shall experiment using a template that I can use the cut the holes once all the tooling is finished and the leather has had time to warp (I know 0 warp is unlikely) and settle. I also took a stab at using the double beveler from Tandy for another part of the project. The tool has too sharp an edge at the rear and as hard as I tried I couldn't avoid it leaving teeth marks. I need to check with BK if they make a steep version of it, knowing their quality the end result will likely be better than this. I have more pictures but restricted on how many I can share at a time, so I will add some more later. As always, feedback is much appreciated.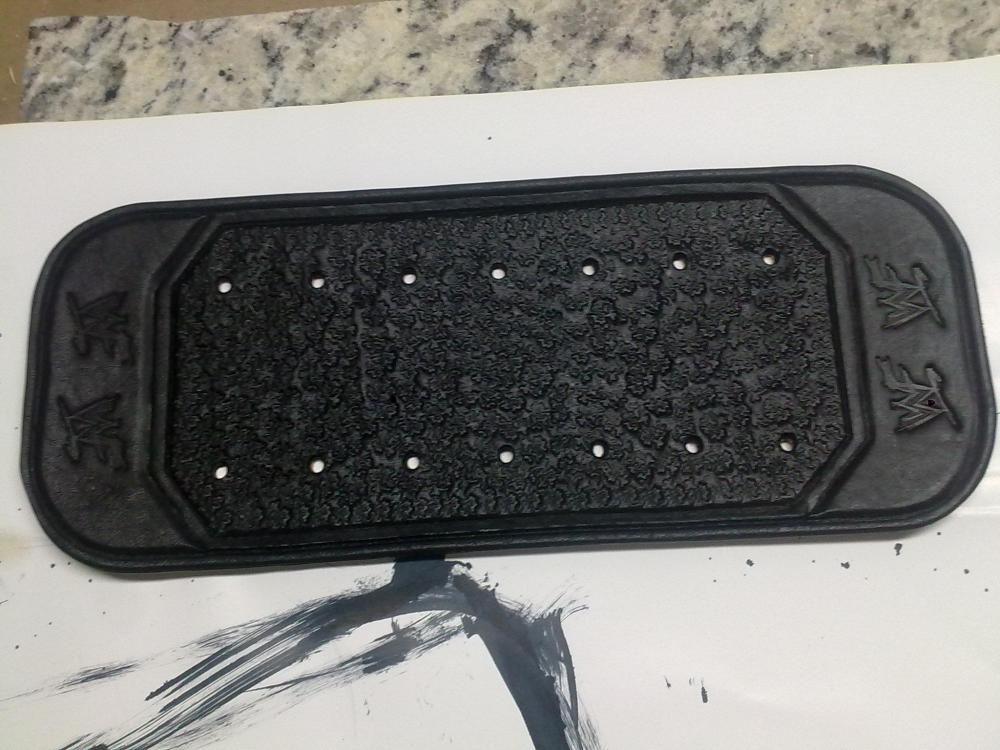

-
What tools should I get and how do I do this?
edwardmorris replied to edwardmorris's topic in How Do I Do That?
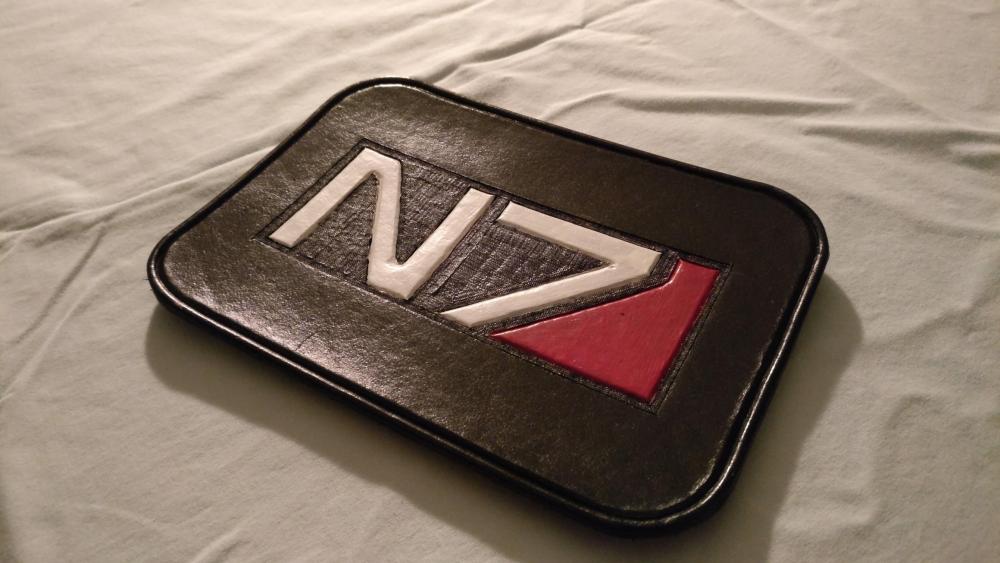
One more question related to what tools I may need. I need to do this kinda lettering with the leather around the text pressed back. I had seen a post from someone around here that had logo stand out crisp with a nice background but I can't find it again no matter how much I search. I made this with BK XX Steep Beveler and tandy pear checkered backgrounder I had purchased for the belt stuff, but it doesn't seem to be the right tool. While it seems to press the leather down enough, the lettering doesn't seem to stand out as much. How can I do this better? The other piece is just me trying a bunch of things. The B294 was right on the money!
-
New to leather work, my first practice piece :)
edwardmorris replied to edwardmorris's topic in Getting Started
So I managed to get the beaders exchanged for the next size up and also purchased Barry King 30 and 40 degree bevelers. These are certainly top notch. I've been practicing cutting as well and starting to get the hang of it. I'm getting pretty comfortable making long straight cuts using a ruler but still need a ton of practice for free hand stuff like curves. Same for the beaders. Couple lessons learned when making this belt hanger from a pretty good piece I salvaged from more scraps. Simply cutting with the swivel knife isn't enough to get a nice deep bead and actually have the leather round on top. Cutting deep with the swivel knife makes the bead come out good but the cut looks hideous. Cutting with swivel knife first, beading to establish a groove, then cutting deeper with a box cutter knife works much better as it allows the beader to go deep without making the cut look bad. There must be something I'm missing when pressing on the snaps with my goldstar press, or I punched out the holes off center as they seem to be ever so slightly off (may 1/32 to 1/16). Made several other mistakes as I kept working away at this piece, and am happy to have those out of my system. I will be trying a modest *real* small project next where I'll do my best to avoid mistakes and keep getting better.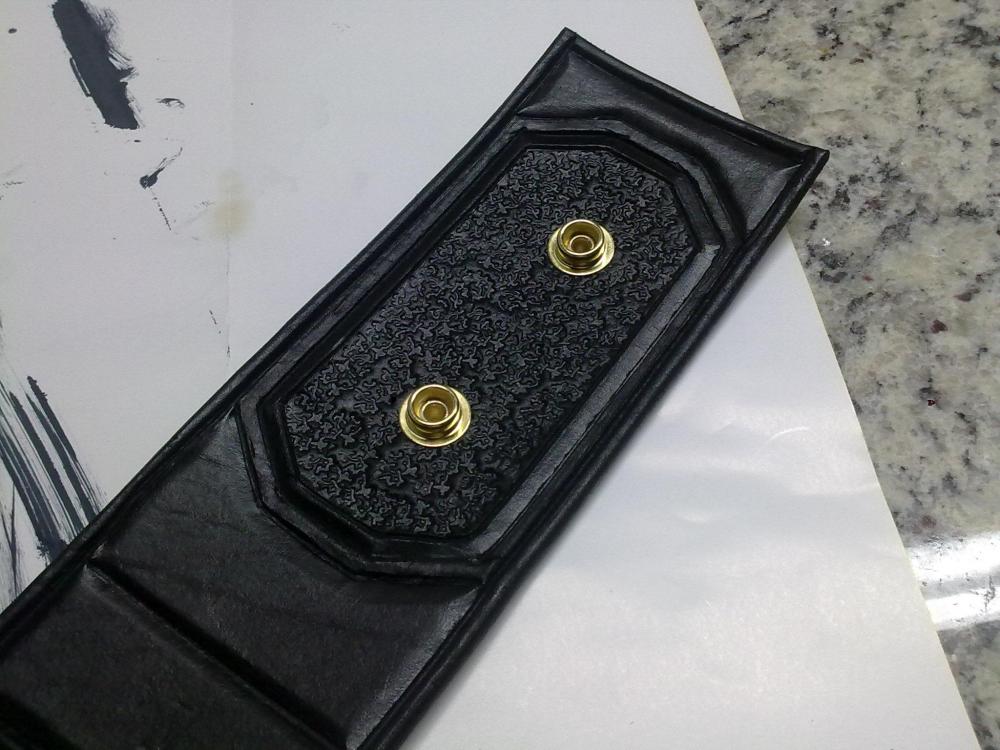


-
New to leather work, my first practice piece :)
edwardmorris replied to edwardmorris's topic in Getting Started
The variation I'm after is to make the belt TV accurate :) . When bought, it didn't even come with a leather strap, and when looking at options to buy one pre-made, I just got inspired and excited about making one myself. Same thing happened to me a few years ago with my motorcycle :D, went looking for a vintage, ended up restoring one from the frame up myself and learned a lot in the process. -
What tools should I get and how do I do this?
edwardmorris replied to edwardmorris's topic in How Do I Do That?
Continuing here Continued input and advice would be much appreciated! -
New to leather work, my first practice piece :)
edwardmorris replied to edwardmorris's topic in Getting Started
So a quick update, I had emailed BK this picture along with the type of leather I'm working with (Tandy's Superior Oak 8-9oz) and they recommended #2 Edge Beader and #2 Push Beader for the beads and rounded border. The tools arrived today and I tried them out on a small piece, and now I'm worried #2 might be too narrow Thoughts? If I need the next size up, I hope I'll be able to exchange them....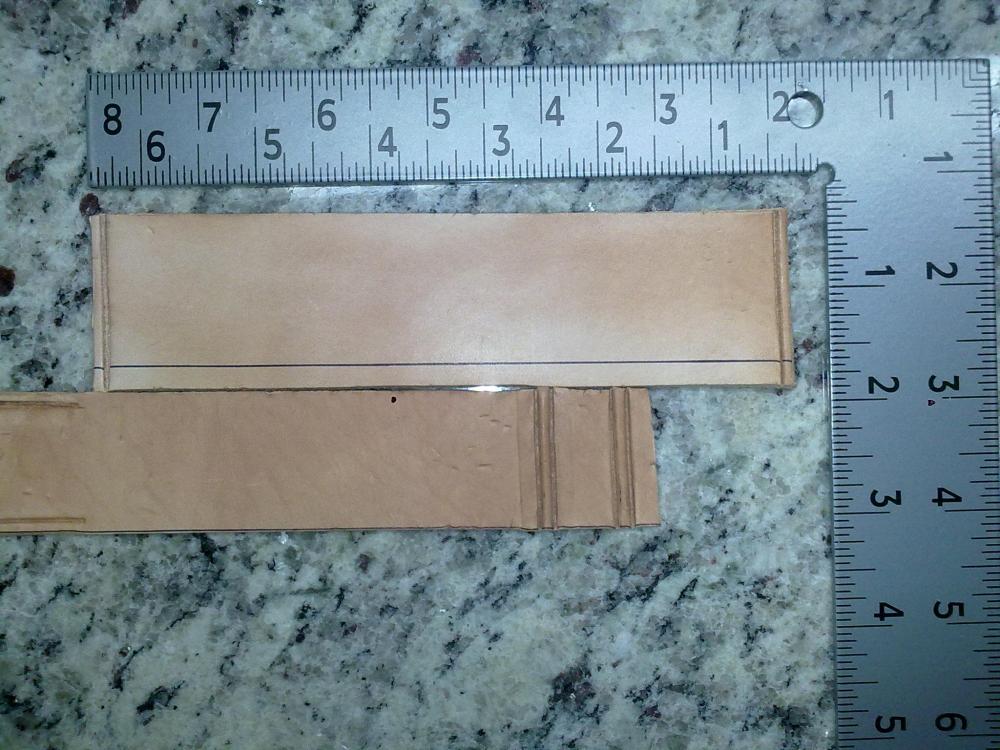
-
New to leather work, my first practice piece :)
edwardmorris replied to edwardmorris's topic in Getting Started
Thank you gents! I have bit the bullet and ordered some mighty expensive Barry King tools, will have some more to share once they get here. -
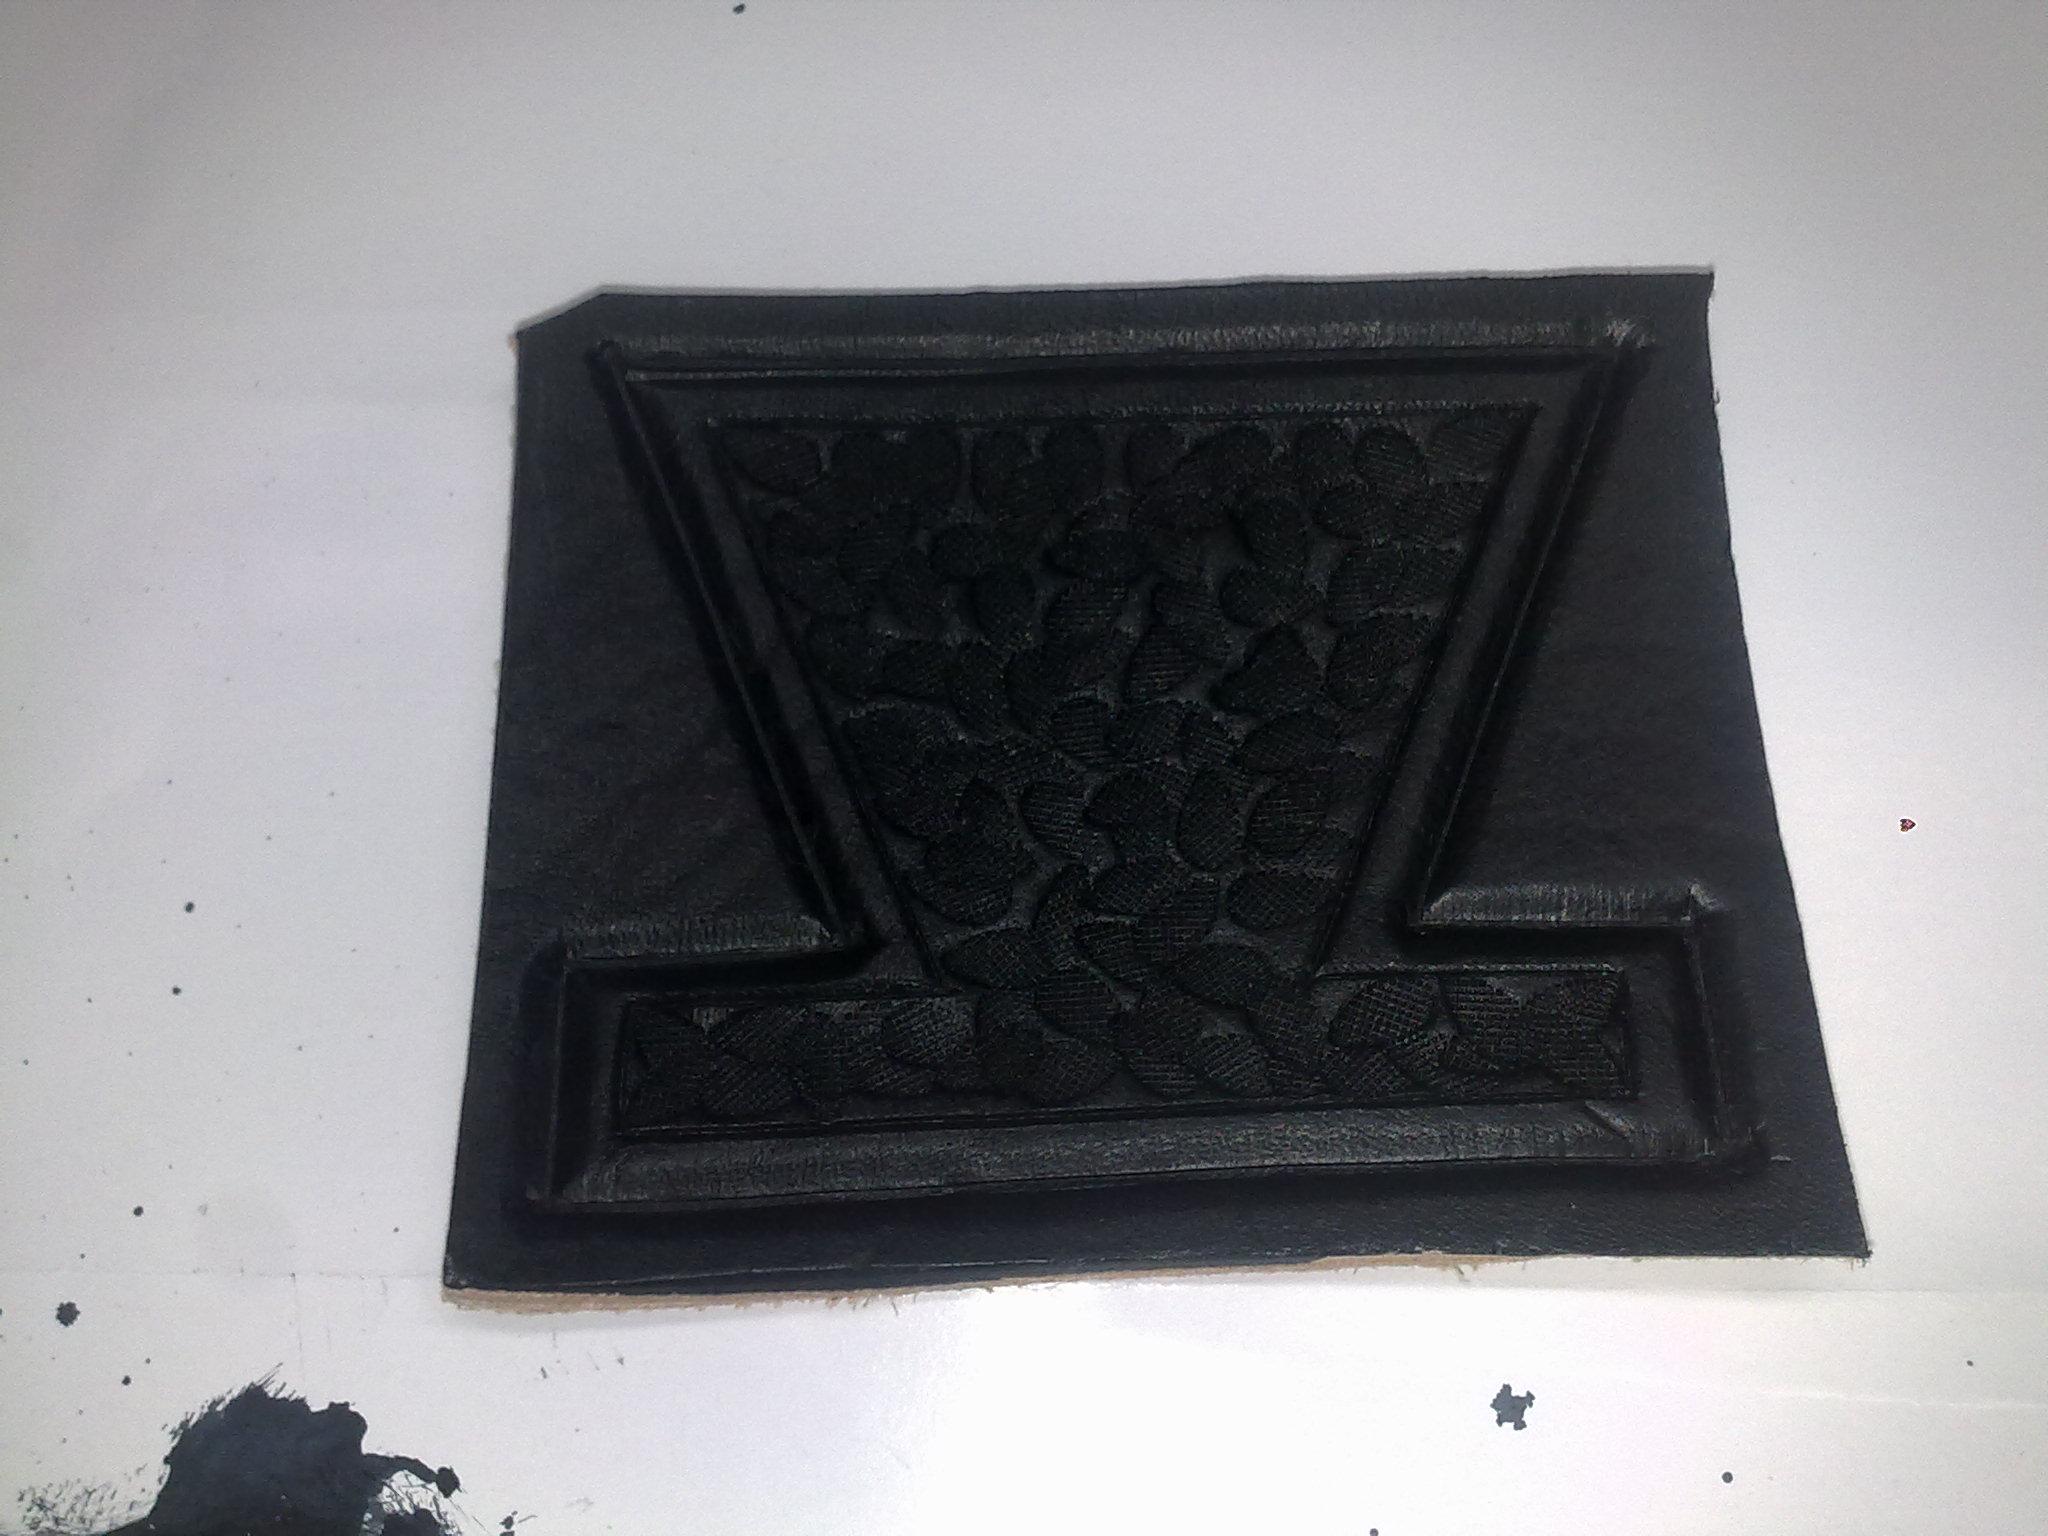
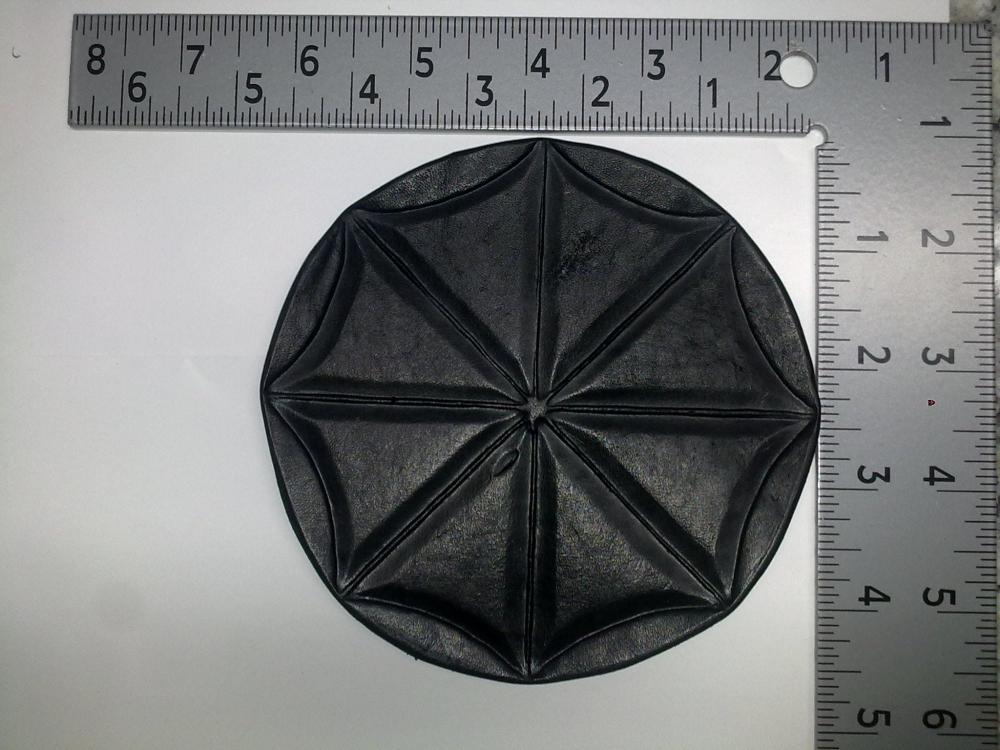
Hello, I recently joined the forum and this was my intro post I got some good advice and pointers and will be getting a few more tools to try and accomplish my goal. In the meantime, I have been practicing with the basic tools I have from Tandy on some scraps. This was the best piece among the scraps and I attempted to turn it into a coaster. I'm a big fan of Resident Evil so naturally, Umbrella Corp Logo . I didn't have a swivel knife (on its way) when I did this so its all just beveler, no cuts. I tried to leave a bead between the sectors and it is obviously all over the place, but hey, I'm practicing!

-
What tools should I get and how do I do this?
edwardmorris replied to edwardmorris's topic in How Do I Do That?
Thank you! I was able to speak with someone over there and I've sent them pics with details, hopefully I'll hear back soon and get what I need. In the meantime, I will move the conversation around my practice pieces to the getting started forum (seems appropriate). Thank you all for the help! -
What tools should I get and how do I do this?
edwardmorris replied to edwardmorris's topic in How Do I Do That?
Thank you! That does look like the right tool, but wow is BK stuff pricey! I might just have to go for it as I need to achieve that look. BK also has some steep bevelers, but I can't quite figure out what size to get as their website is somewhat user unfriendly for people not "in the know". Any suggestions? -
What tools should I get and how do I do this?
edwardmorris replied to edwardmorris's topic in How Do I Do That?
Here are some pix of the practice scraps, I will do my best to describe the experiments. 1. Is the best results I've had so far. For this, I tried the "cheat" to get to the right water saturation by spraying the back and wetting the front with a damp (not full wet) sponge, then tooling within the next few mins once the surface dried enough. Had the best results with this method, and even tried a small/mild curve. 2. Is the piece that I wet in a similar manner, but then beveled small areas as they started to dry up, going from still wet to nearly dry, with the best result happening leaning towards nearly dry (on top at least) 3. Is the piece that I submerged till the bubbles stopped (few seconds) then left it alone for 24 hrs on a flat glass sheet. The outside line came out dead straight but then the piece became too dry. I wet it again to do the inner (left) line and that wasn't as perfect (probably my haste). I also beveled the corner with the tandy #3 edge beveler and gently sanded with extra fine grit just a little to get a nice rounded edge (still not the tubing effect). 4. Is the first practice piece, submerged wet then worked on it in about 4hrs as it had already dried out quite a bit somehow. The lines came out mostly ok, then the piece warped funny after drying and look horrid now :D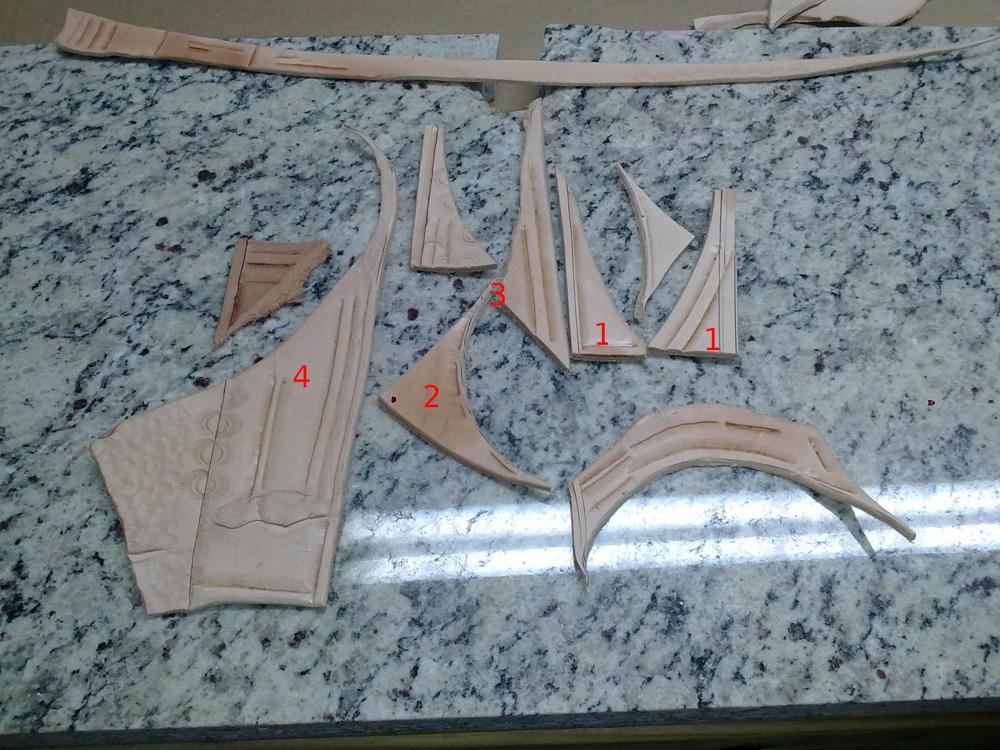
-
What tools should I get and how do I do this?
edwardmorris replied to edwardmorris's topic in How Do I Do That?
Thank you Rahere! The pix I posted in the first post are the work of a famous individual, and its all by hand (guy is amazing). I don't expect to get that good on a project budget and timeline but I will pursue something good looking and close to those designs. Basic tools aside, for specific ones that will me achieve that specific look, I will likely end up buying them as I do plan on using them for a few smaller projects as well. Just want to be sure before I buy things :) I need help figuring out a beveler that will give me steep slopes, and also a part number for the push beader mentioned earlier on this thread, I can't seem to find anything that looks like it will do the trick.