


SingerDad
-
Posts
42 -
Joined
-
Last visited
SingerDad's Achievements
Member (2/4)
-
Thank you Glenn!
-
Thank you for your quick reply. Yes you are correct as to the part number. Was taking a shot in the dark for the actual thread pitch. You are appreciated
-
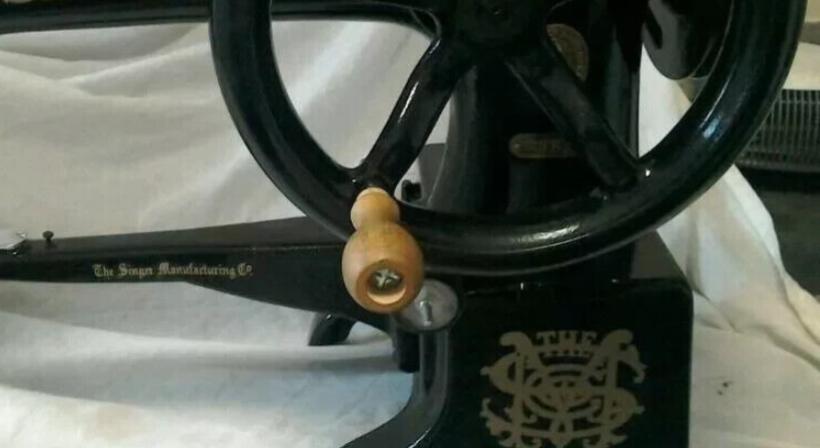
Does anyone know the correct bolt and thread pitch for the crank handle on the balance wheel of a 29k51? Yes I know I can retap to any size, I just don’t wanna go that route. I moved the balance wheel to the front and just want to be able to use the handle. Thanks for any help. Not my picture however the bolt I am looking for.
-
love these before and after pics. Good for you to keep us up to date on the progress. As for belts.... others may balk, however I have had great luck with the polybelts that you can cut to length and melt the ends together. you can get custom fit every time.
-
bed paint does not have much wear. that appears to be a low use machine. should clean nicely. I would not paint that. if the decal bothers you, you could always buy a replacement waterslide decal online. take pics
-
Singer 31-19 timing the feed dog to kicking foot
SingerDad replied to SingerDad's topic in Leather Sewing Machines
Update: after timing all again per manual, I realized that the kick foot needs to be slightly lower than the small inside pressor foot. This allows it to push against the feed dogs. This is not stated in the manual and I forgot from the last time I had it working. All is good, thanks all for your quick replies. -
Singer 31-19 timing the feed dog to kicking foot
SingerDad replied to SingerDad's topic in Leather Sewing Machines
-
Singer 31-19 timing the feed dog to kicking foot
SingerDad replied to SingerDad's topic in Leather Sewing Machines
Thank you sir. I did try that as well. It was in the manual. I will try again and hopefully get lucky. The more I look at my foot it’s just not placing enough surface area on the feed dog. I’m sure that is not pulling the fabric back as far as it should. Will try to post a video, just need to look up how. Thanks -
Singer 31-19 timing the feed dog to kicking foot
SingerDad replied to SingerDad's topic in Leather Sewing Machines
Thanks for help. Sadly, did that already as well. -
Singer 31-19 timing the feed dog to kicking foot
SingerDad replied to SingerDad's topic in Leather Sewing Machines
Yes. I adjusted that yesterday. I think I will need a larger surface area feed dog to make contact with the kick foot. The main problem is the lack of feet available. Current feet are around 50$. Way too much for this fun project. I will try a different feed dog and plate combo first. Btw. I did look at the manual and all adjustments are correct. -
Singer 31-19 timing the feed dog to kicking foot
SingerDad posted a topic in Leather Sewing Machines
Is it possible to time the kicking foot to the feed dog stroke? Any help would be appreciated. The kicking foot is a little delayed causing a little shorter stitch.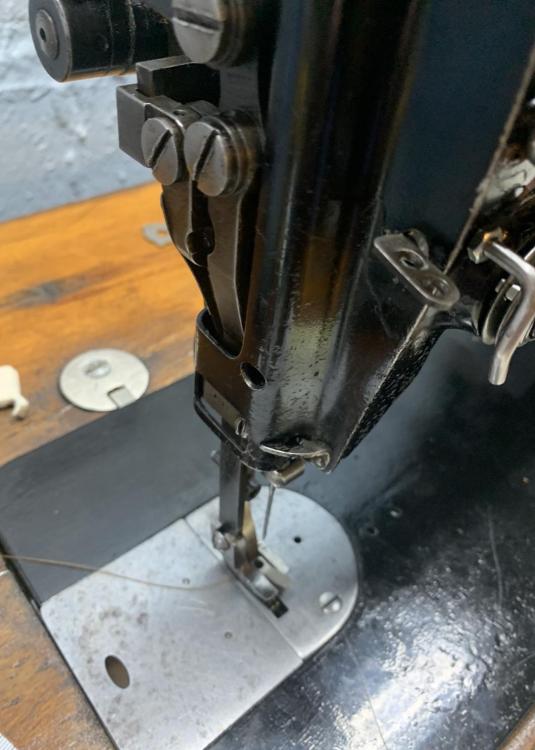
-
Pfaff 145 different hooks. What’s the difference?
SingerDad replied to SingerDad's topic in Leather Sewing Machines
Thanks Cowboy! Thats what I needed to know. I guess you can just dremel down the full gib to allow thicker thread then? -
Pfaff 145 different hooks. What’s the difference?
SingerDad replied to SingerDad's topic in Leather Sewing Machines
That’s my question. Pfaff list multiple numbers for hooks and gibs on the 145 parts list. I am questioning is it only the gib that’s really different? -
Are there differences in the actual hooks for pfaff 145? I am looking at hooks 91-010 165-91 And 91-010 850-91. Is the only difference the gib ( one is a full gib meant for “lighter weight material”). Or is there a difference in hook shape or something else?
-
You are correct. Sometimes it’s easier to just know your exact dimensions. A lot of these machines were copies of copies. I am just glad it worked out. Thanks again.
