Narf
Members-
Posts
17 -
Joined
-
Last visited
Profile Information
-
Location
UK
Recent Profile Visitors
615 profile views
Narf's Achievements

Member (2/4)
-
Just an update, sorting the spring and thus sorting the bobbin tension has solved the issue. I now have a pretty good stitch many thanks all
-
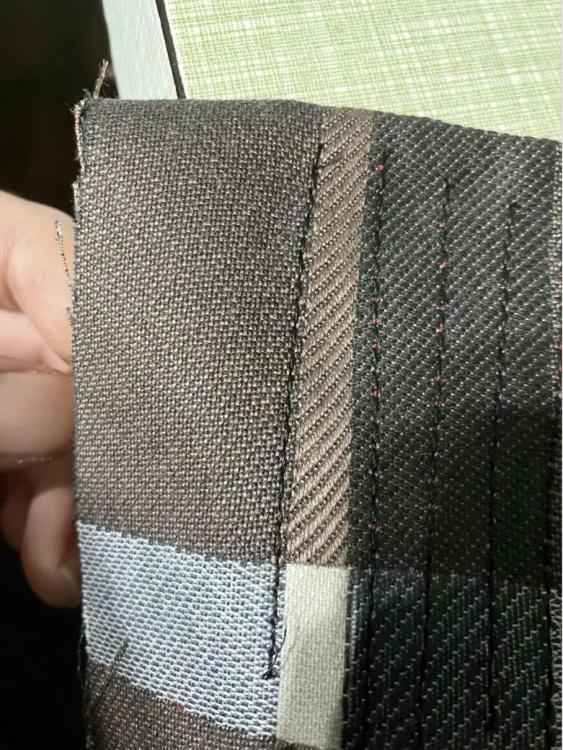
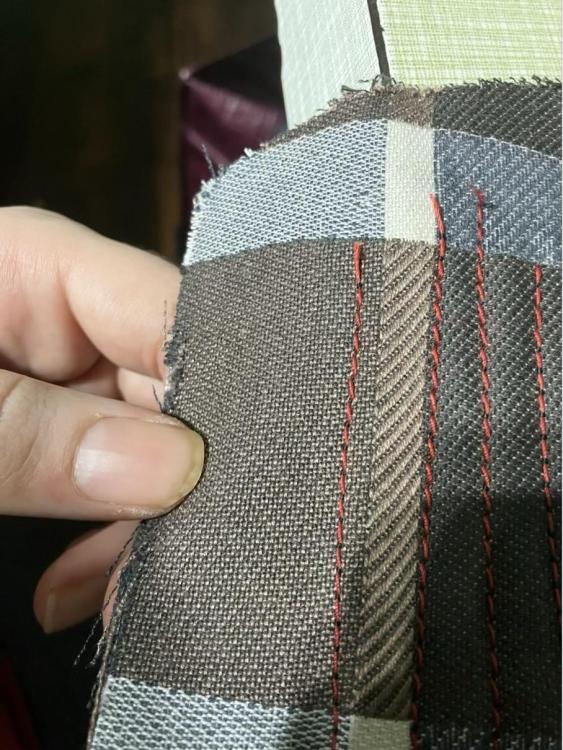
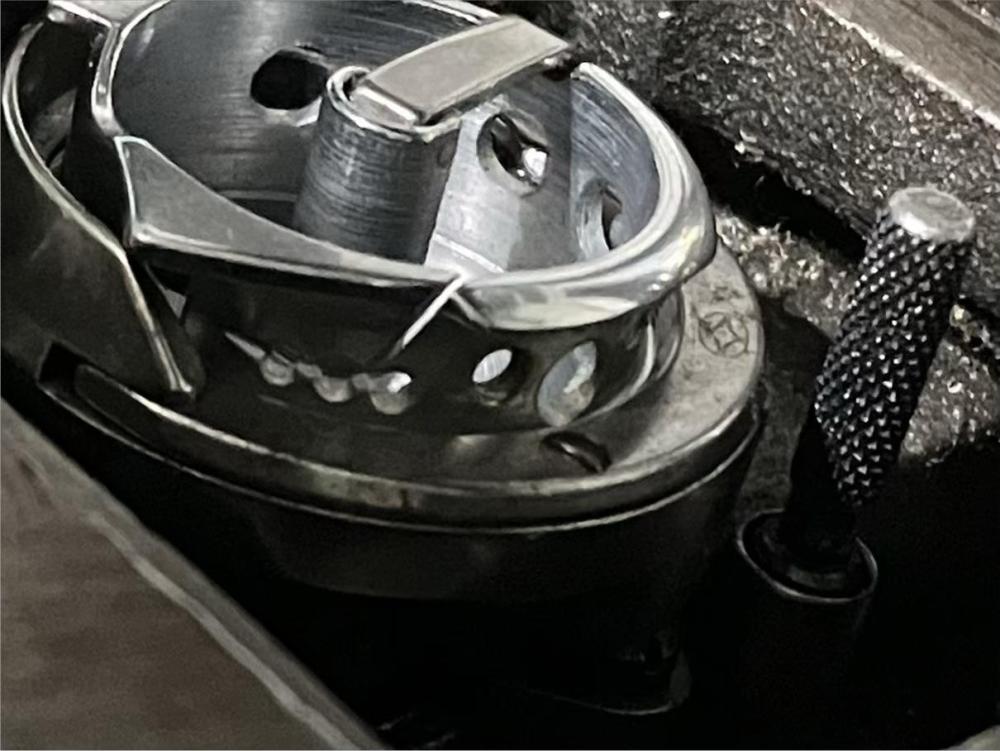
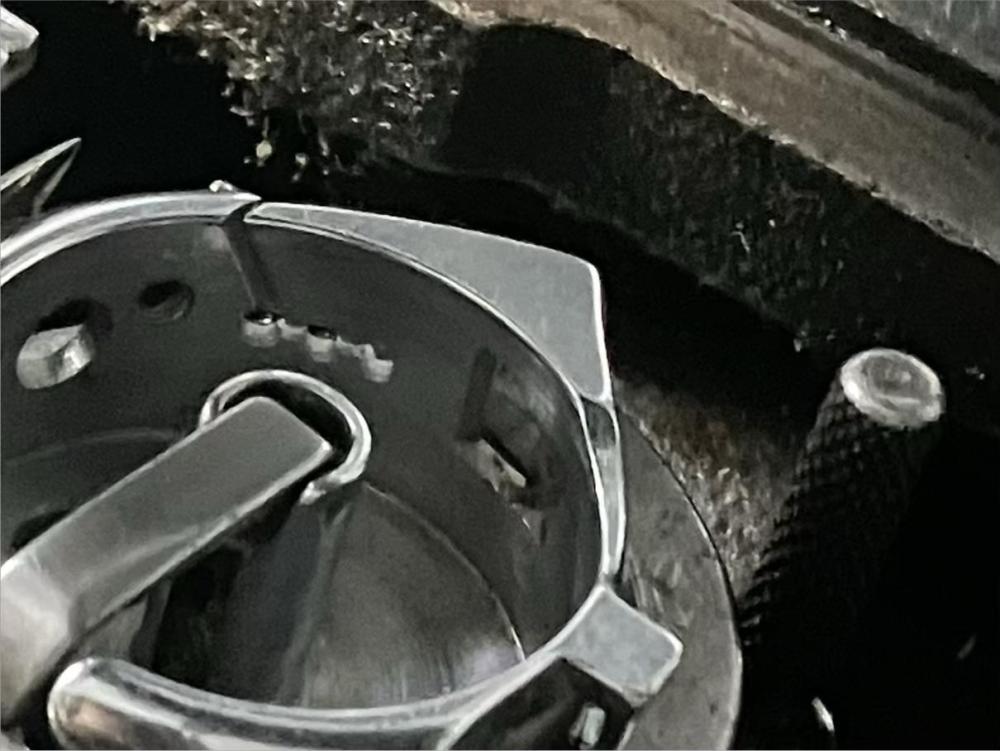
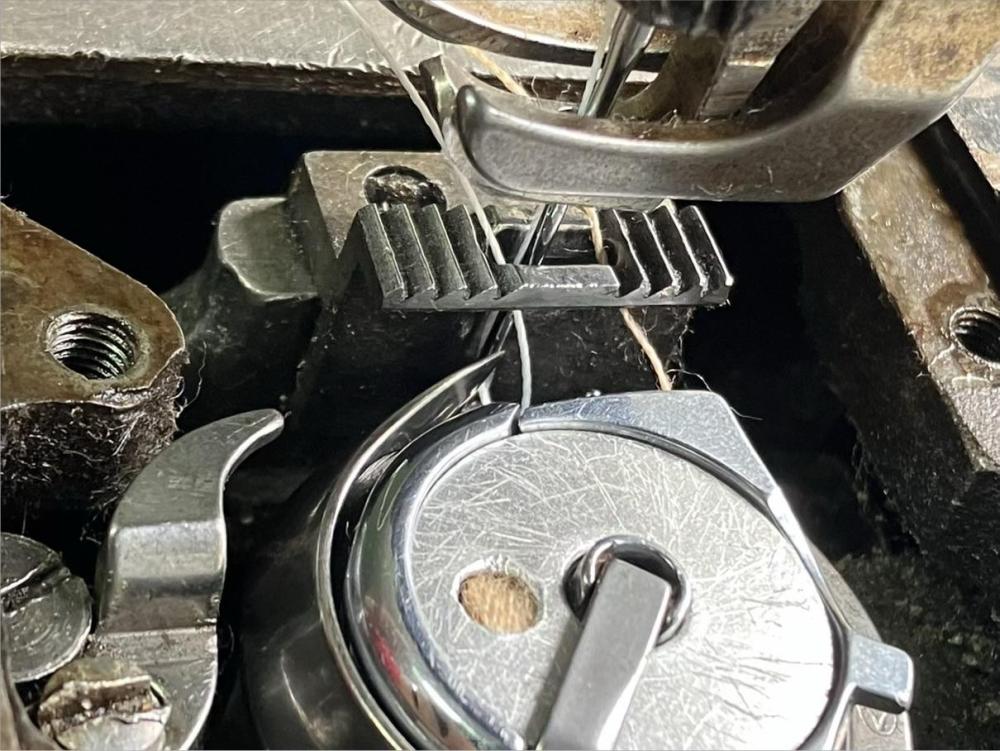
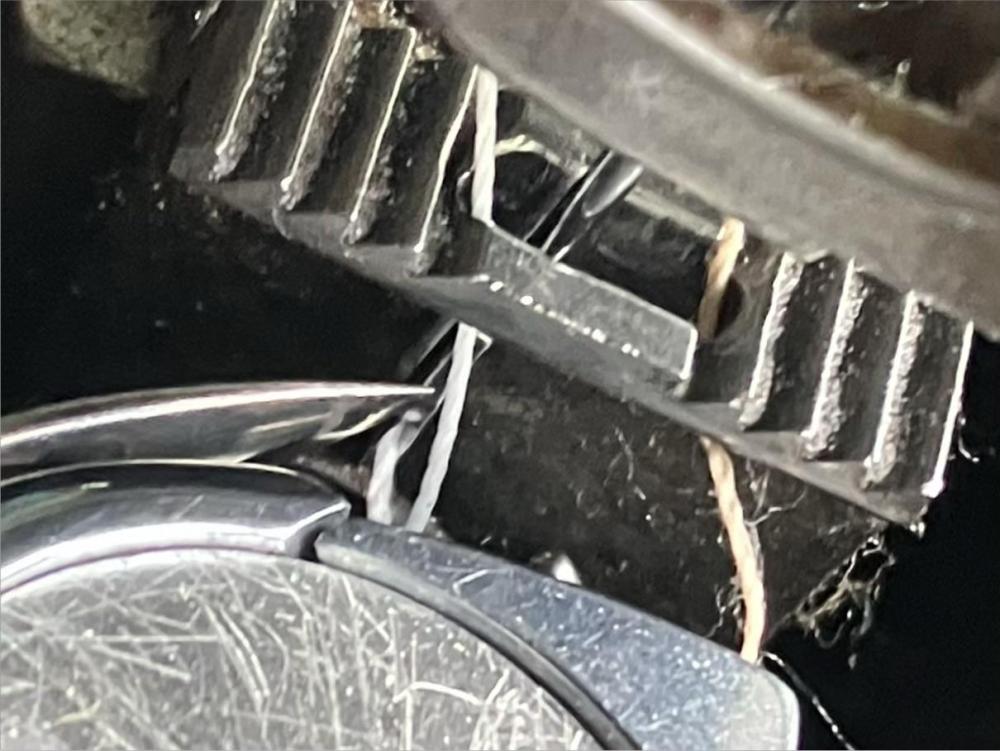
The fix on the take up lever is working well, the tension is now consistent up to the needle like with my other machines and I had to tighten the tension way more than before as my issue for the first time became loops on the bottom. However something hunky is still going on and it’s the bottom tension I think as although I know bottom tension is light, it’s virtually non existent. good call! There is indeed grooves on the thread guides but not very deep so I could just sand them out and I took the spring off the the bobbin and there is a groove which won’t be helping. Thankfully the casing looks ok so I will just replace the spring and screws I have no idea what this machine was running but it has very little slop on the internals so I’m thinking it was just a very abrasive thread. Hopefully replacing the spring wills finally solve the issue. When I put the needle plate on I do make sure the notch is in there, I had spun the casing to get to the spring in that photo I think, thanks. thanks for all your help guys I really appreciate it.
-
Possibly, it must have been pretty abrasive whatever it was.
-
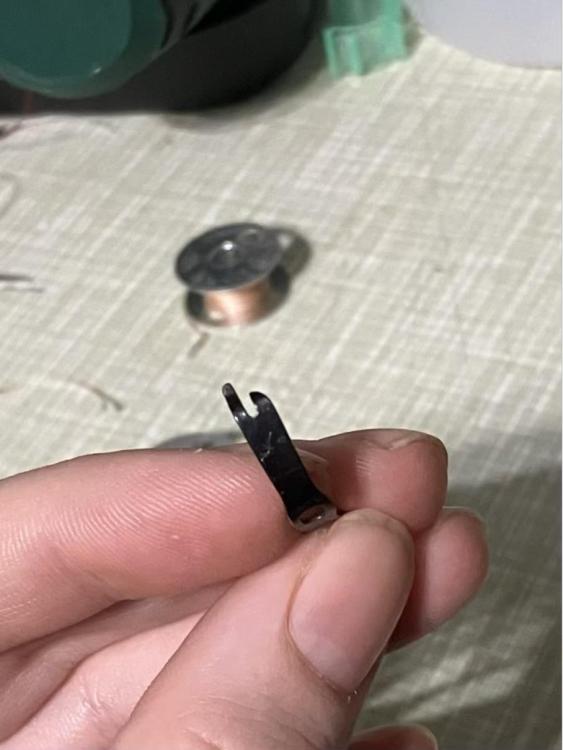
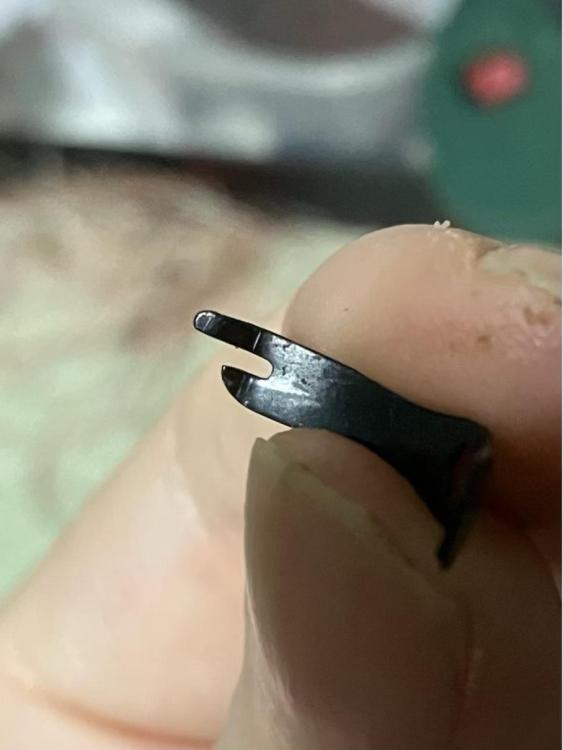
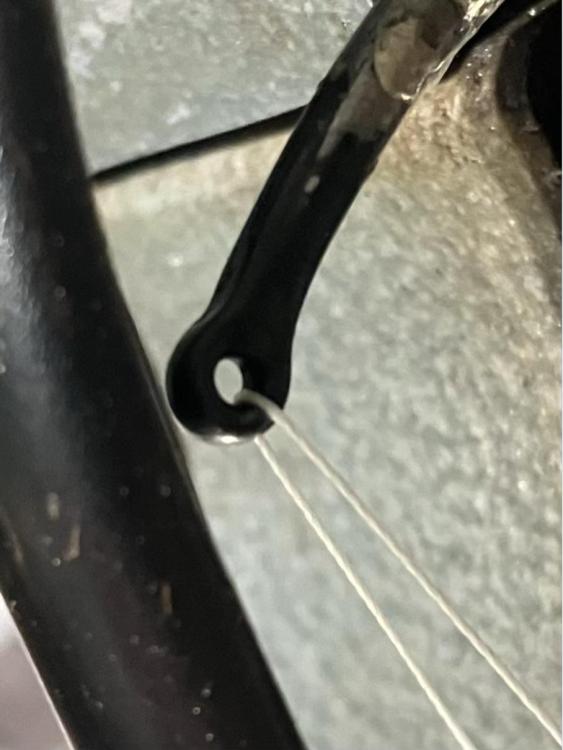
Wait for this to fully cure and then polish it back and that should at least allow me to see if it solves the problem, I can get the new arm and replace it then. I wonder what they were running through there to saw such a groove in it though. Fingers crossed this is the issue.
-
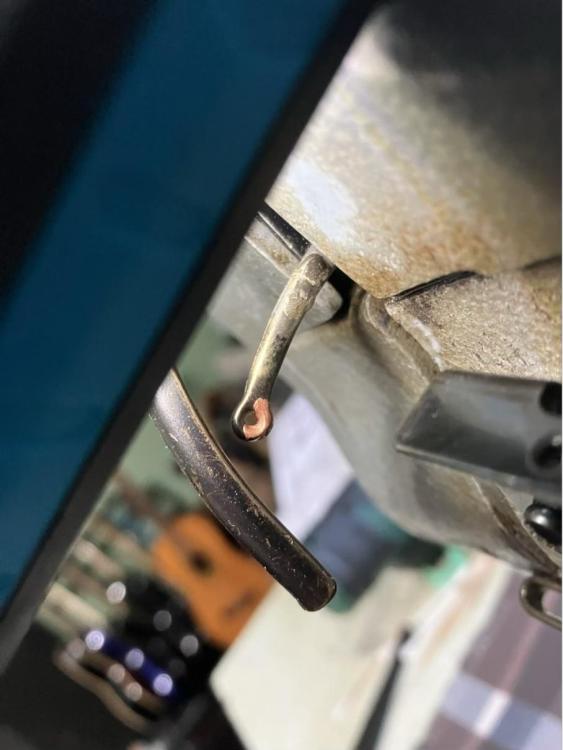
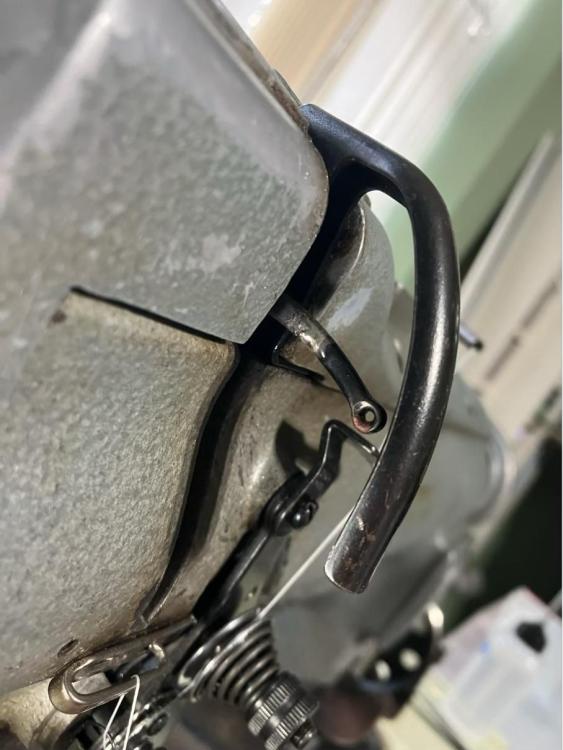
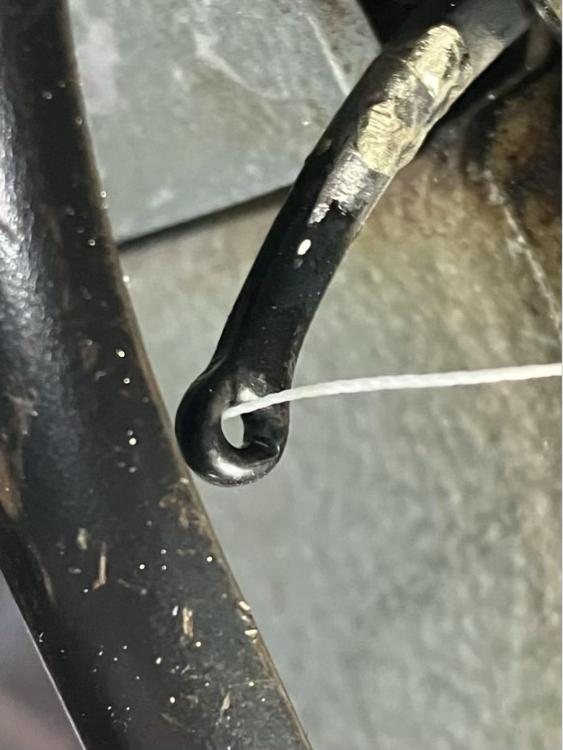
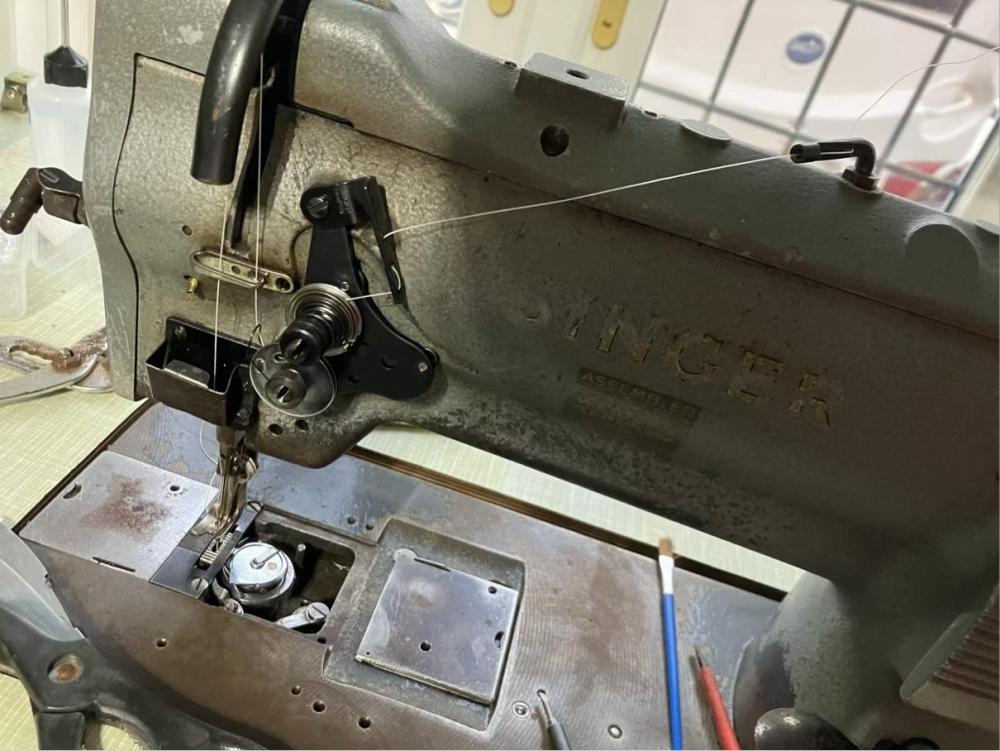
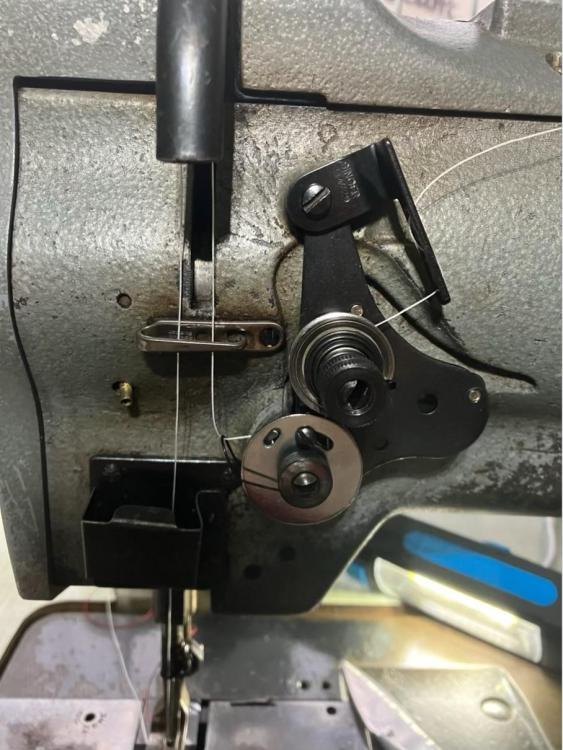
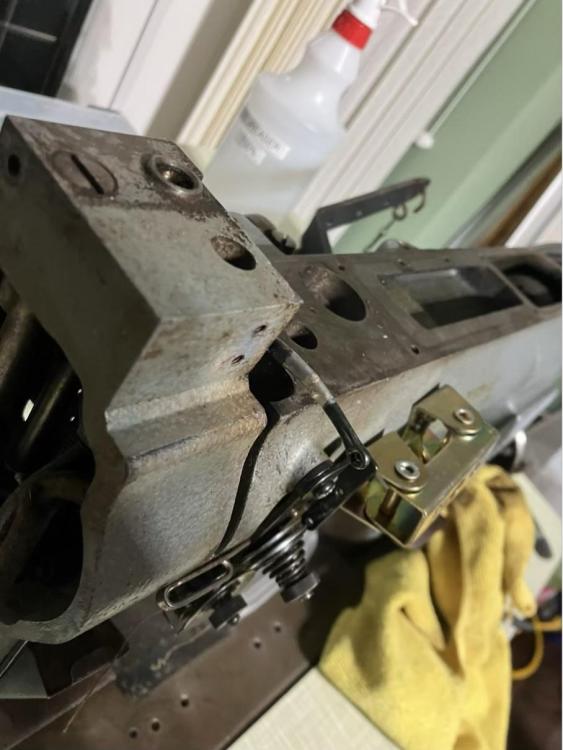
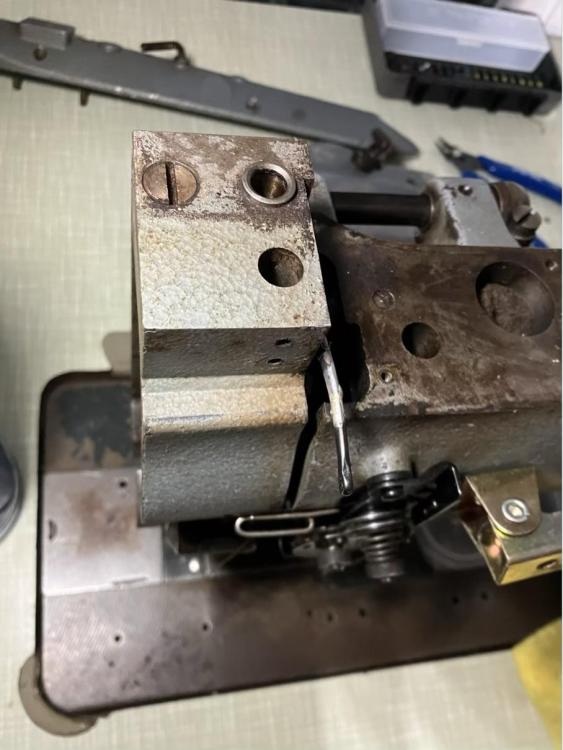
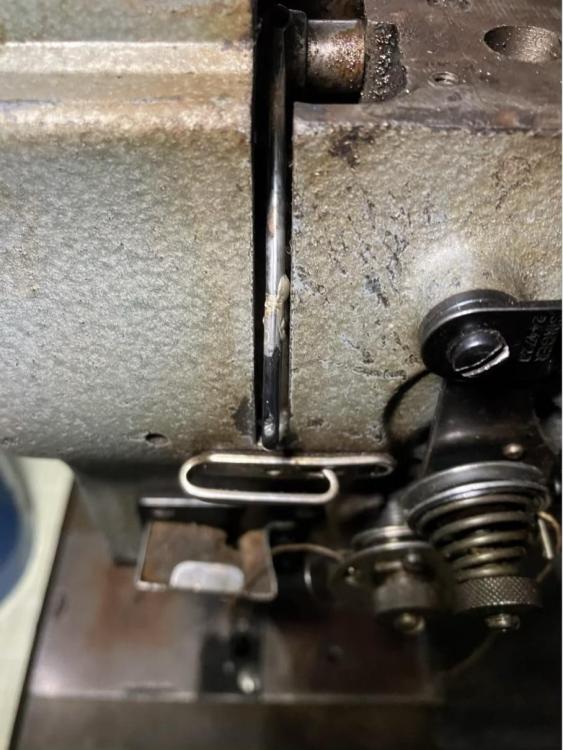
I have the tension of the spring set just enough for it to be able to return to the stop. If I hold the thread and pull with the discs open it’s very little tension from the spring and the tension seems fine up until the take up lever. Needle down needle up I have tried threading with only 2 holes and how other people have done it that I’ve seen but it made no difference so returned to how the manual says to do it. I think I may have found the issue though, the take up lever has a fairly deep trough worn into it that the thread sits in. Do you think this is enough to cause the tension issue? I’m thinking it may pinch the thread when the take up lever pulls up which is what is pulling the bobbin thread up I’m thinking I can maybe fill the trough with braze and re-grind the hole to make it smooth if this is the issue. I’ve never seen such a groove worn into a take up before your help is much appreciated.
-
I have it threaded through all 3 holes as described in the manual with the hole piece in the position in the manual but I have seen other thread it differently. I’ll try it missing the middle hole and see if it makes a difference. Thanks. I have done as you suggested and it has helped a bit but I’m still putting very little push on the spring so at the very end of the lightest tension ability top end. If I literally back it off so the spring is slack I get loose loops up top and thread showing on bottom and by adjusting literally less than a mm at a time it then starts pulling the thread up top. Is it normal to need such tiny adjustments? My other machines I adjust 1/4 - 1/2 turns at a time. I can’t help but feel it’s this tension spring as even now with your mentioned adjustments if I physically hold the check spring up off the thread it loosens the top tension off and then threads show on bottom. thanks.
-
The hook timing seems good I guess my question is is it usual for the spring to have barely any tension what so ever and still be too tight or do I have an issue with the bottom tension that seems to already be maxed out? When messing with the tension on the take up spring I am getting much looser tension on top with top thread showing on bottom so I can’t help but think I am doing something wrong on top? Thanks
-
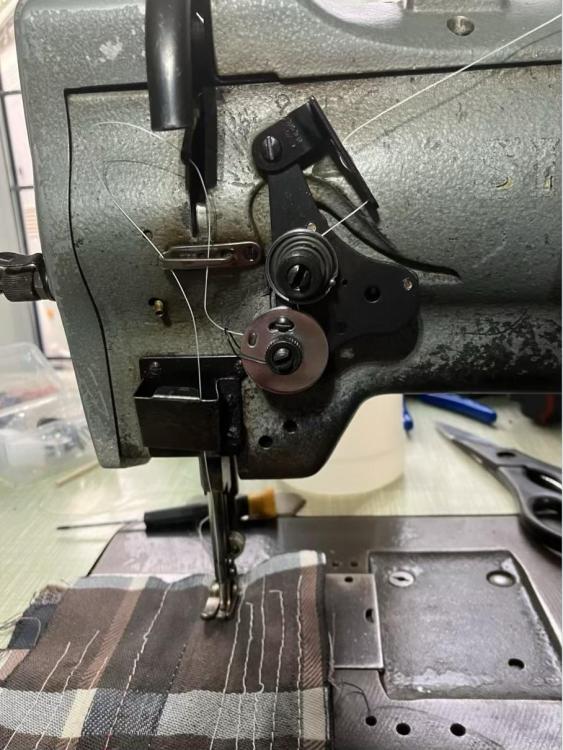
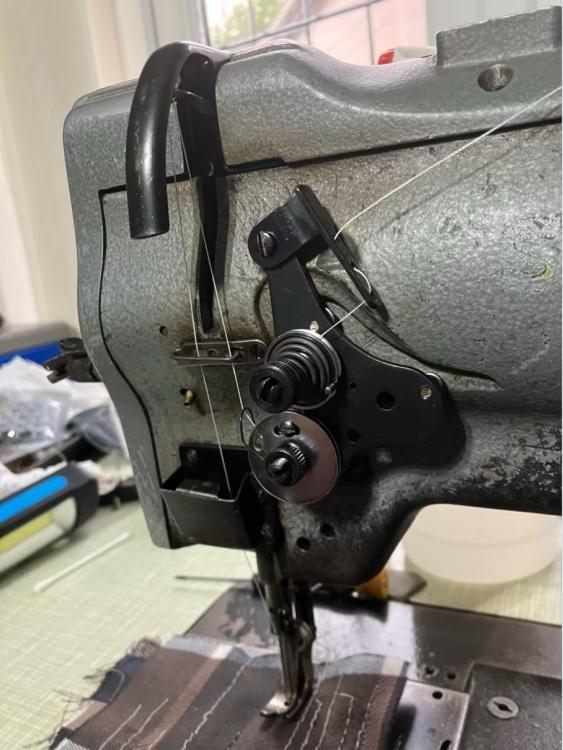
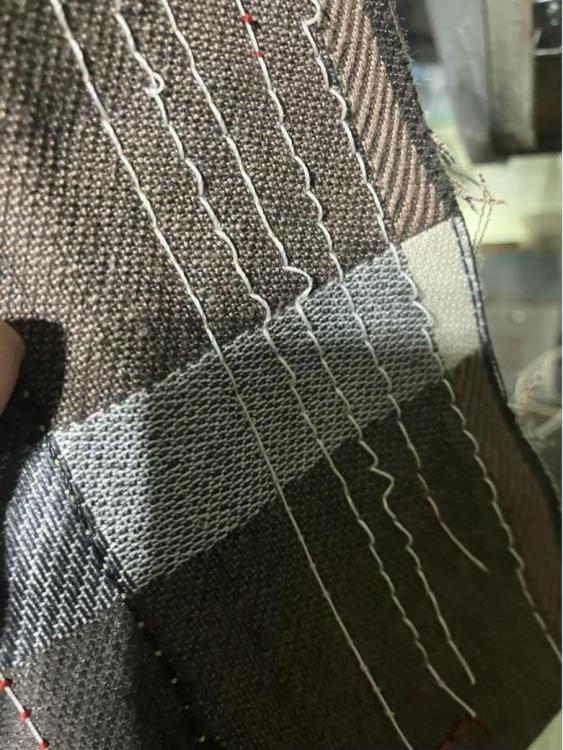
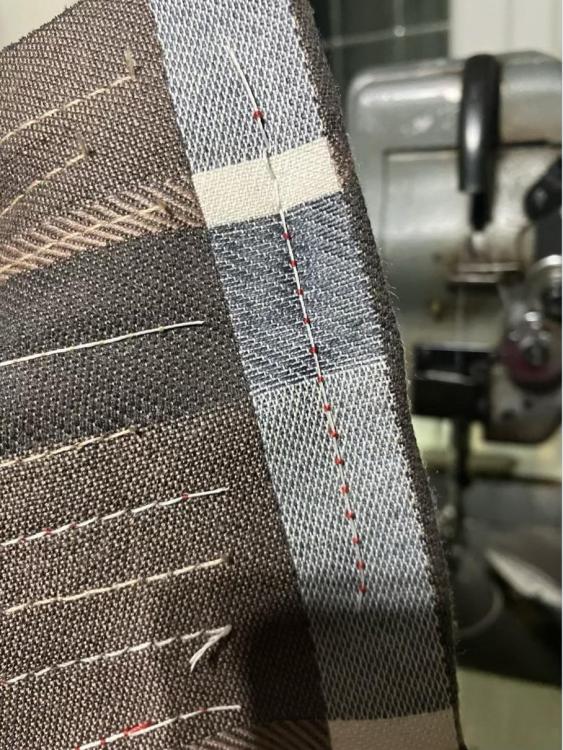
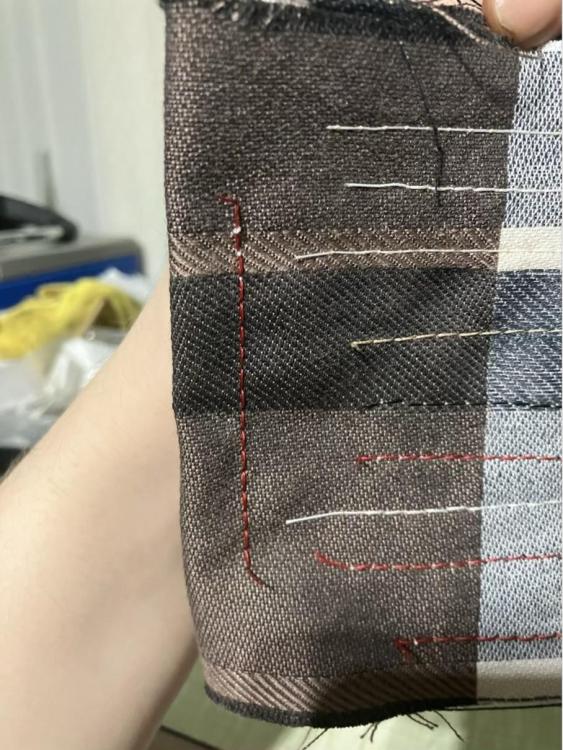
Hi again I am still trying to get this singer 211G sewing but am closer than ever now but the tension so far is being a giant PITA. I have never worked with a machine with this type of tension unit nor this type of bobbin case but from looking at videos and the manual I think I have it threaded correctly. To try and get rid of as many variables as possible I have fitted a brand new needle as per the manual, 135x17 needle as I am currently working with just upholstery cloth and not leather yet. I am using brand new spools of V92 sunfast with a 120 needle. I have also tried v69 thread with a 110 needle with same issues. The bobbin seems to be maxed out on tension and is still very loose, I cannot do the drop test with this type of case but it seems about the same tension as my other machines. I have taken the spring off and cleaned fluff from under it but cannot get the screws out to get the case off for a good look and don’t want to chew the screws. the top tension is barely compressing the spring and still causing the bobbin thread to be pulled up to the top. when I back off the disks to nothing it shows the top thread on the bottom but there is no looping as I would expect with the least possible tension. * sorry I hit submit accidentally and prematurely on the iPad *
-
Thanks, I grabbed the last stud they had in stock and also the other screws you mentioned as spares. I also grabbed a couple of the tensioner springs as I’ve noticed the original is also snapped. Thanks I’ve ordered both a cheapo replacement and the parts to repair the original so I have both options.
-
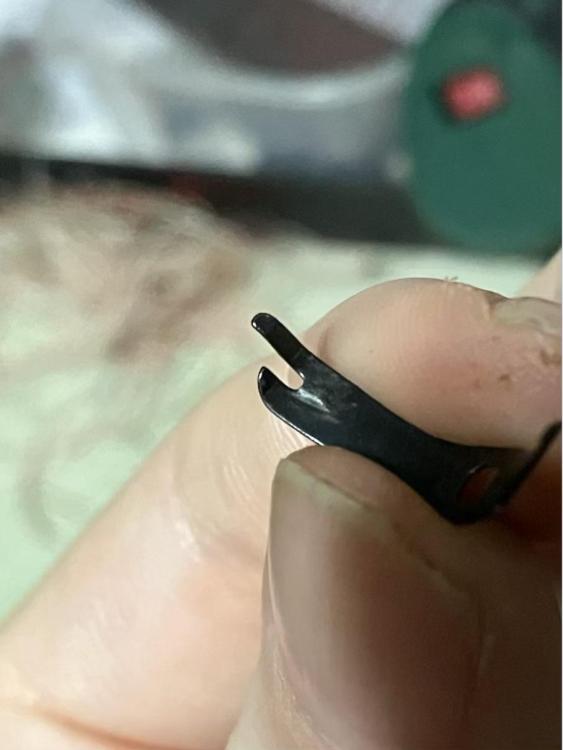
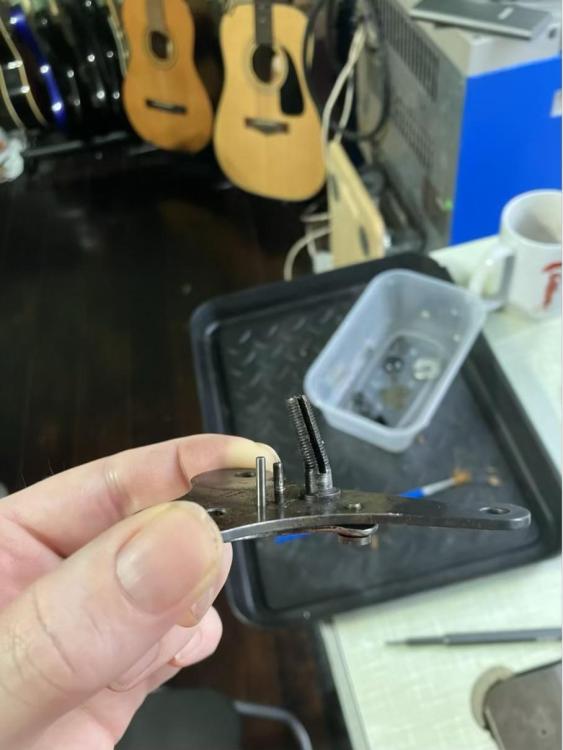
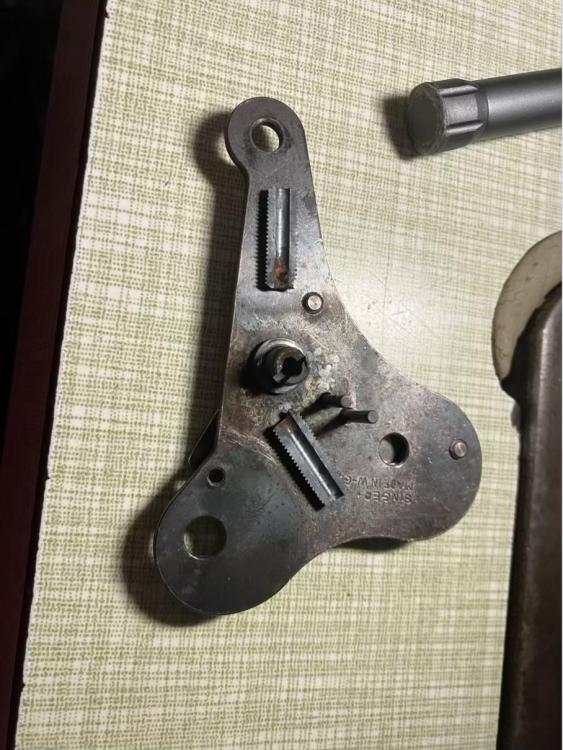
So I did some more work on my machine - singer 211G256 and found more evidence of its roll on its face. The tensioner unit was not loosening up and upon taking it apart the split stud was badly bent. I had nothing to lose so I heated it up and attempted to straighten it up but it was badly corroded and thin anyway so as expected snapped. I can get a whole new assembly from china but I’m guessing it will be of questionable quality or I could drill out the broken stud, weld on a new on and split it with the grinder but is it worth the effort to keep it mostly original? Or just fit a cheapo unit because it will work as well? i’m a newbie with industrial machines so I want the option that will cause the least headaches while sewing so if the Chinese replacements are crap I will repair the original. thanks.
-
Well I may end up eating my words but it seems very controllable, not sure if somethings been done to it but I’m not complaining…yet. I have brazed the take up lever. It was a bit awkward so it’s not the neatest but it’s straight and strong. I probably won’t even bother cleaning it up as the excess doesn’t fowl on the casing.
-
Ah that makes sense. I have just oiled everything that moves and given it a good run. I was going to just replace with a servo rather than screw around with pulleys and bar extensions etc but it’s actually super easy to control already. I’m not sure if it’s because I’m used to driving stiff clutched cars or it’s just an easy clutch motor but I can get it going a snails pace easily. The biggest issue is that it’s loud and takes a while to wind down but It will do for now. I won’t be using it every day or anything but I will be getting a servo motor eventually. thanks for all your help.
-
-
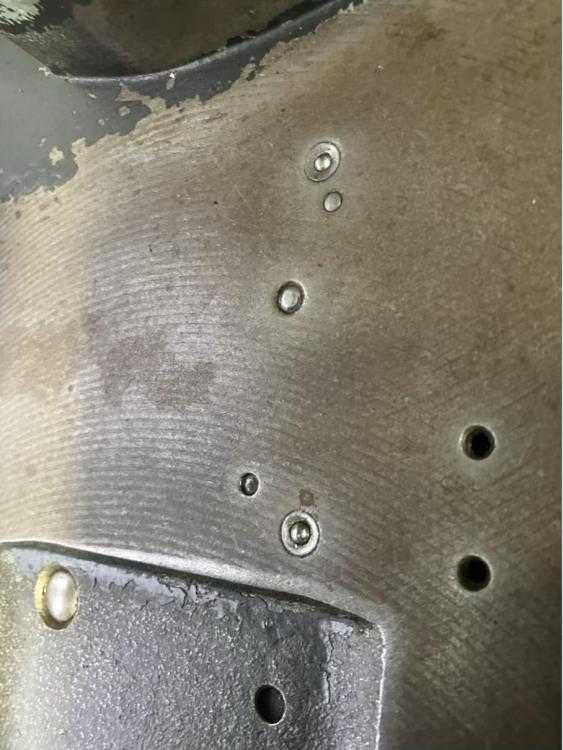
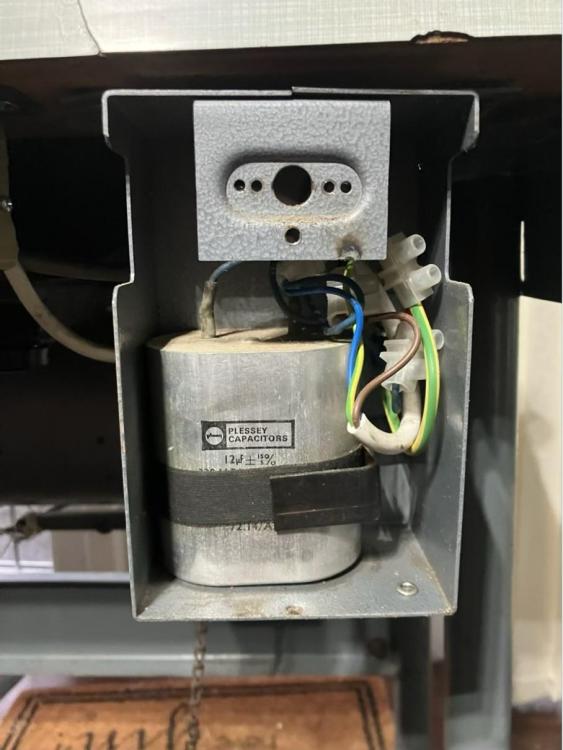
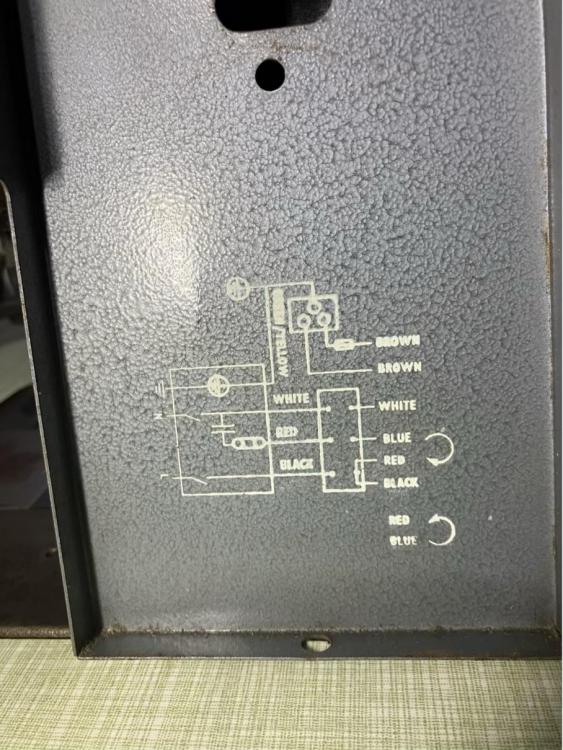
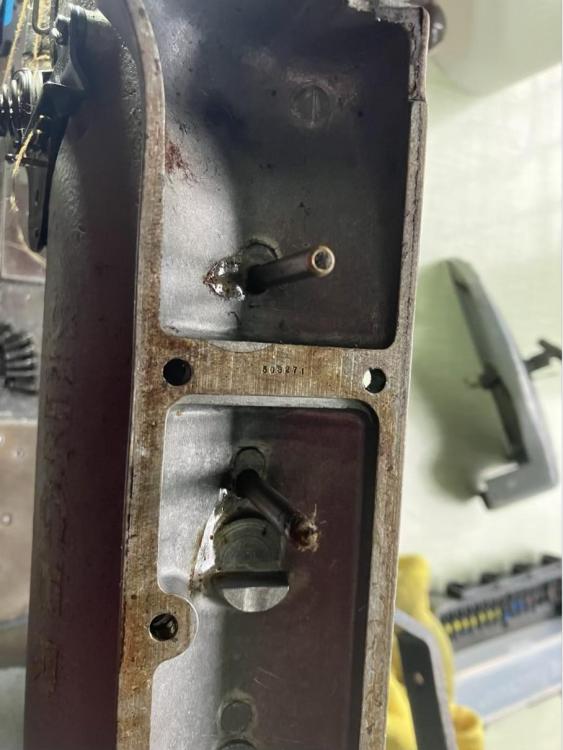
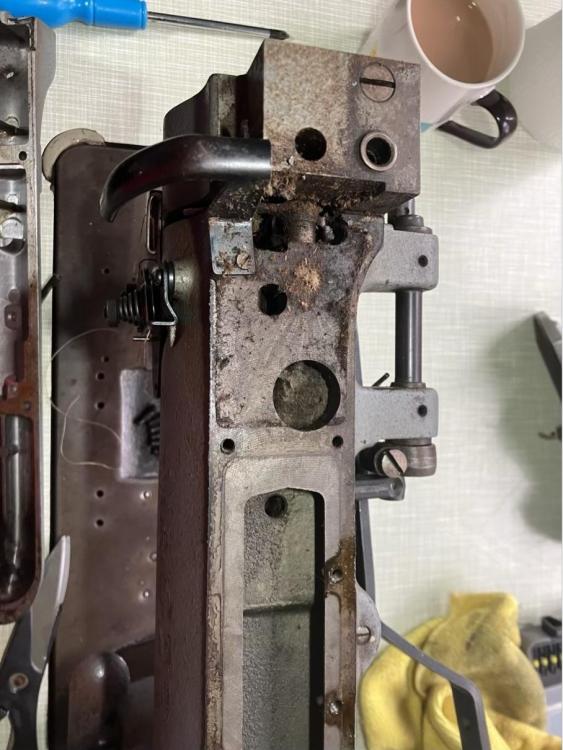
I have attached images of inside the box, it’s a big capacitor. Not sure what it’s for as the motor is 240v. I have double checked the oil tubes and both the ones on top are there and not main felt pads up top are there. From what I can see all the felt pads elsewhere are also there. Am I best off saturating the wicks and pads of oil or just adding the 1 drop each use? I may check the auto oil of the hook but I may just oil it manually as suggested. any idea what these 2 small depress-able buttons are on the bed? I can’t find what they are for. thanks
-
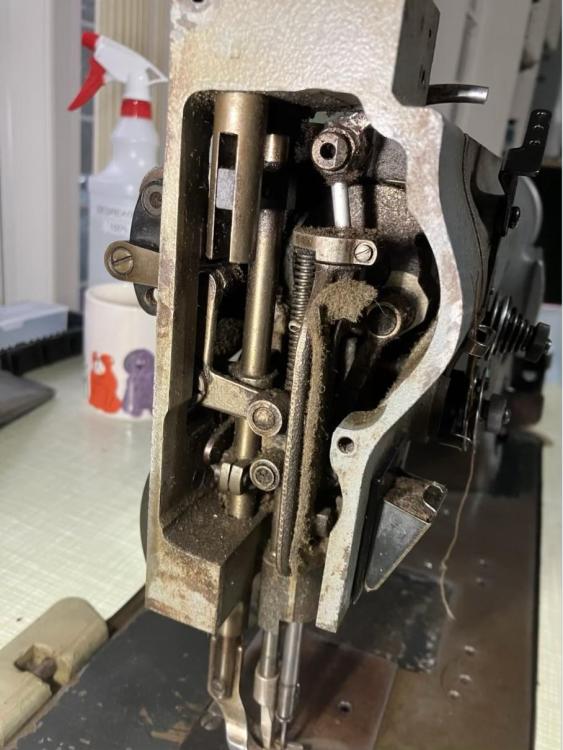
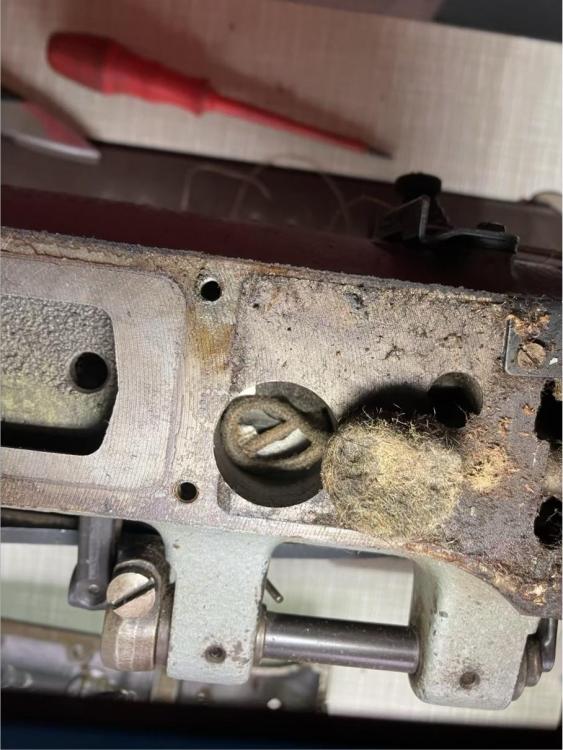
Thanks for that suggestion that sounds like a good thing to do so I’ll get that done. The whole reason I was thinking of filling any reservoirs was as it’s been sitting for a long time and I have no idea how often it was oiled before but the insides look quite clean and there’s no gum or anything I can see on the cogs or cams. I think I will just plug up the hole and let it drop in the pan. I think it might have had canvas in there before as there was a lot of deteriorated material in the pan when I cleaned it out and stuff that looked almost like straw. I’m trying to work out the thread lubrication. The manual says it is a place to add the thread lube oil (I have no idea what type of oil to use and it doesn’t say) and the nipple looking thing on the front adjusts the dripping of it on to the felt pad. I won’t be sewing at high speeds so don’t think this will be a major requirement and I’m guessing I can just manually add oil to the felt pad when needed. is there a trick to getting the bobbin out of these? It takes me forever to get my nail hooked under enough to pull it out. Might find a magnet or something to help get it out but I might be missing a trick that makes it easy. once again thanks for the help. I’m waiting on my tank being refilled to braze the take up arm. But I’m considering maybe brazing it with silver solder so I can use a butane torch and not have to put so much heat through such a small part and it should be plenty strong enough. once again many thanks for the help.


