Search the Community
Showing results for tags 'hot stamping tips'.
Found 3 results
-
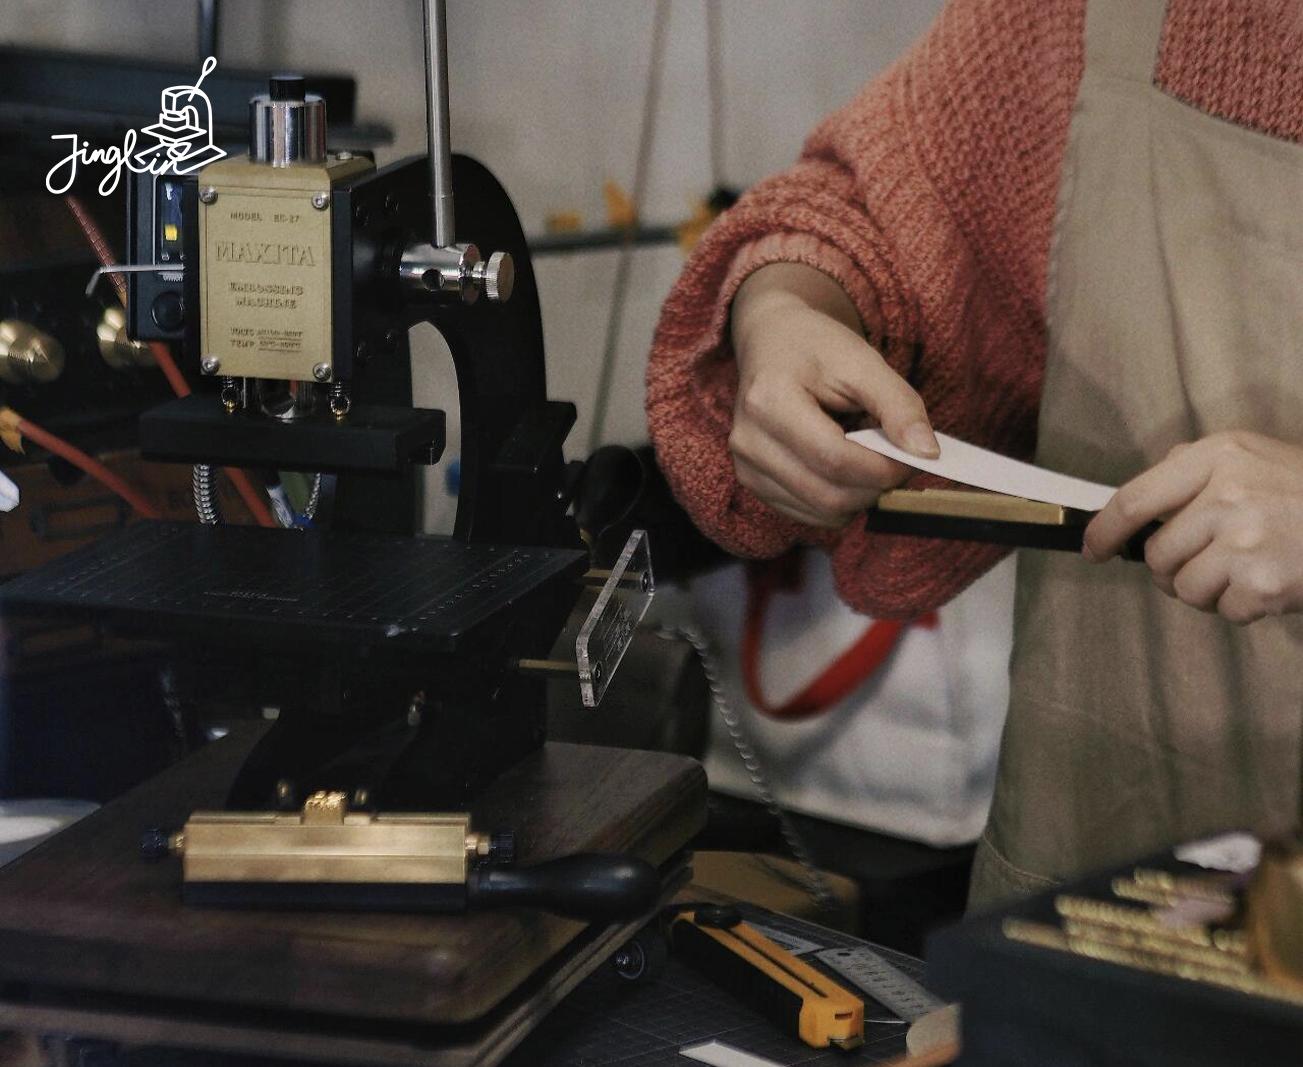
 Hot stamping is an exceptional technique for creating high-end, personalized designs. However, when transitioning to batch production or repeated impressions, maintaining precision and consistency becomes a major hurdle. In this guide, we’ll tackle one of the most frequent challenges faced by hot stamping enthusiasts—backed by real-world experiences—and explore the tools that ensure a perfect result every time. 1. The Precision Gap: Solving Misaligned Impressions The Challenge Misalignment is the “silent killer” of quality in batch orders. When working by hand, even a millimeter of drift can ruin the visual flow of a project, leading to high waste and inconsistent results. As one user on Reddit noted: The Solution To eliminate manual error, a Transparent Acrylic Positioning Holder is a game-changer. Unlike “eyeballing” the placement, this tool provides a clear, physical guide for your stamp. Key Benefits: 1:1 Positioning Accuracy Ensures every single impression is placed in the exact same spot, regardless of batch size. Visual Clarity The transparent material allows you to see the substrate clearly, making it easy to line up complex designs before applying heat. Workflow Efficiency By removing the guesswork, you can significantly speed up your production time while maintaining a professional standard. 2. The Pressure Trap: Stabilizing Heat and Force The Challenge Even if your alignment is perfect, inconsistent heat and pressure can ruin a project. This leads to “patchy” results—where some parts of the foil bond perfectly while others peel or fail to transfer. A user in a leatherworking group on Facebook shared: The Solution Consistency is born from automation and monitoring. To move beyond guesswork, focus on two key technical upgrades: Infrared Temperature Control Standard heating elements can fluctuate. Machines equipped with infrared sensors or digital PID controllers ensure the plate stays at the exact temperature required for the foil's chemical bond, preventing “heat drop” between consecutive stamps. Mechanical Stability Tools Using a positioning caliper or a fixed holder does more than just align—it stabilizes the substrate. By preventing the material from shifting or “creeping” under the vertical force of the press, you ensure that pressure is distributed 100% evenly across the die. Dwell Time Management Ensure you are holding the press for the same count every time. A machine with a built-in timer can help eliminate the human error of releasing the handle too early or too late. 3. The Blind Spot: Confirming Exact Placement The Challenge The most nerve-wracking moment of hot stamping is the “point of no return”—the second before the heated die hits the material. Because the machine head often blocks your line of sight, it’s easy to feel like you’re stamping blindly. One crafter explained the frustration: The Solution Eliminating the “guesswork” requires a bridge between your design and your material. A Transparent Acrylic Positioning Holder serves as your visual blueprint. Key Advantages: Full Visual Confirmation The transparent nature of the acrylic allows you to see the entire substrate. You can see exactly where the stamp will land relative to edges, stitching, or other design elements before you ever apply heat. Integrated Ruler Guides Most high-quality holders feature etched measurements. This allows you to center your design mathematically rather than relying on your “best guess,” ensuring symmetry across every piece in your collection. Pre-Press Micro-Adjustments Because the holder stays in place, you can nudge your material into the perfect position with millimeter precision, locking it in before the press makes contact. 4. The Efficiency Bottleneck: Scaling Up Without Cutting Corners The Challenge In the world of customization, time is money. However, the transition from making one “perfect” item to producing a batch of 100 is where many creators struggle. The repetitive cycle of measuring, centering, and double-checking each piece manually creates a massive bottleneck. As one Reddit user put it: The Solution To transform your workflow from “hand-placed” to “industrial-grade efficiency,” you need a repeatable system. A Professional Positioning Caliper is the ultimate tool for high-volume throughput. Performance Highlights: “Set It and Forget It” Workflow Once you lock in your horizontal and vertical coordinates on the caliper, the position is fixed. You can swap out substrates in seconds, knowing each one is perfectly indexed. Precision at Speed By eliminating the need to manually measure every single item, you can significantly reduce your cycle time per piece while actually increasing your accuracy. Multi-Axis Adjustment Fine-tune your alignment along both the X and Y axes. This allows for rapid micro-adjustments that stay locked in place, ensuring the 100th print looks identical to the first. Elevating Your Hot Stamping to the Next Level By integrating specialized tools like the Precision Positioning Caliper and the Transparent Acrylic Holder, you move beyond the limitations of manual crafting. These tools do more than just solve alignment issues—they transform your entire production philosophy. You can now achieve professional-grade consistency and rapid-fire speed without ever sacrificing the “high-end” feel of your brand. For users of advanced machinery like the EC27 Hot Stamping Press, the synergy is even more powerful. Combining infrared temperature precision with rigid physical positioning creates a fail-safe environment where every press is a masterpiece. Conclusion: Why Precision Is Your Greatest Asset In the world of hot stamping, consistency is your signature. Whether you are fulfilling a single bespoke order or a batch of thousands, your reputation relies on the perfect marriage of heat, pressure, and placement. The solutions we’ve explored—from infrared thermal stability to X-Y axis caliper adjustments—are designed to eliminate the variables that lead to waste. By investing in the right workflow, you ensure that your focus remains on creativity, not troubleshooting. Ready to Revolutionize Your Workflow? Don’t let misalignment hold your business back. Upgrade your toolkit today and experience the ease of 1:1 positioning accuracy. Equip your studio with the best tools in the industry at an unbeatable price. References & Further Reading Hot Stamping Precision and Alignment Techniques: Manufacturing Solutions The Vital Role of Temperature Control in Foil Bonding: Stamping Tech Review More Guides & Tutorials Expert Tips for Choosing a Hot Foil Stamper That Lasts for Years,2025, Jinglin. Which Maxita Hot-Foil Machine Actually Fits Your Bench?,2025, Jinglin. The Ultimate Guide to Maxita Hot Foil Stamping: Master Your EC-27 & EC-17, 2025, Jinglin. Maxita EC-17 vs. EC-27: Which Leathercraft Machine Is Right for You?, 2025, Jinglin. Maxita Hot Foil Stamping Machines Comparison: EC-17 vs. EC-27 and Holder Types, 2025, Jinglin. 3-Line Foil Stamping Guide: Maxita EC-27 & EC-17 Tutorial, 2025, Jinglin. Detailed Causes & Solutions for Gold Stamping Failure: Guide for Leather Hot Stamping Users, 2025, Jinglin. Hot Foil Stamping Machine FAQ: Common Issues and Practical Solutions, 2025, Jinglin. Maxita Hot Stamping Machine: Leather Craft Embossing Guide, 2024, Jinglin.
 -
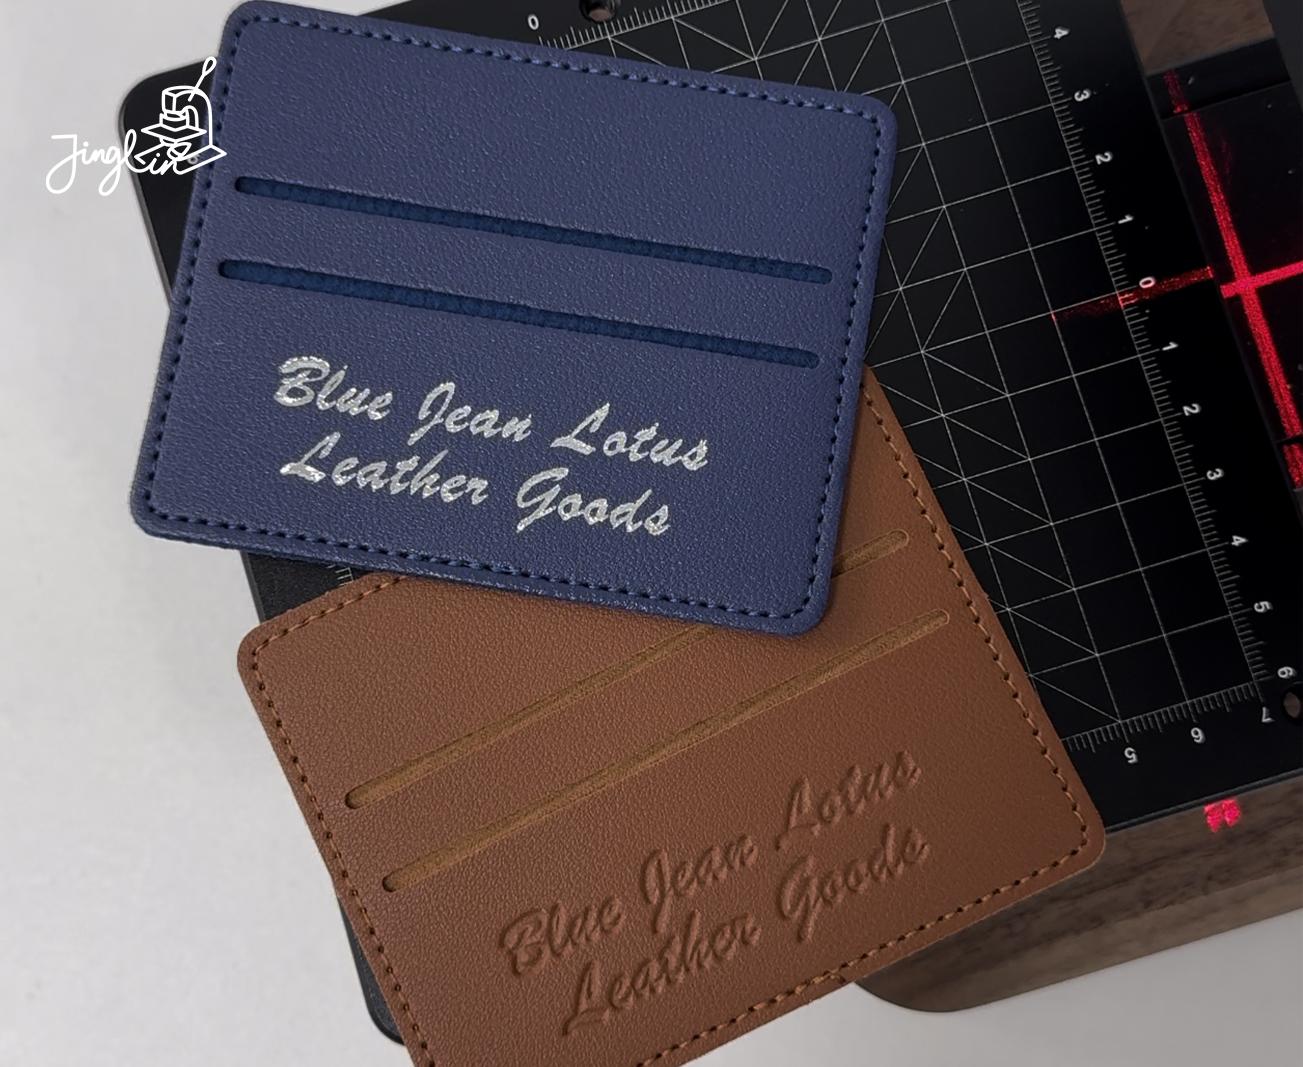
Personalized leather goods have become increasingly popular as thoughtful gifts and stylish accessories. One of the most elegant and eye-catching ways to customize leather is with foil monograms. Whether you're crafting handmade leather wallets or offering a luxury branding service, this guide will show you how to personalize leather goods using foil stamping to create professional and lasting impressions. What Is Foil Monogramming? Foil monogramming is a method of imprinting letters or designs onto leather using heat and metallic foil. This technique gives leather items a premium finish, with gold, silver, or colored foil catching the light and adding visual appeal. It's commonly used for: Initials on wallets, notebooks, and bags Company logos on promotional products Personal messages on leather gifts Foil stamping is both decorative and durable, making it ideal for everyday use items. Tools and Materials You'll Need To personalize leather goods with foil monograms, you’ll need the following tools: Hot Foil Stamping Machine: A precision heat press that applies foil to leather using heat and pressure. Metal Letter Dies or Custom Logo Plate: Used to stamp the desired initials or design. Foil Sheets: Metallic or pigment foil in your preferred color (gold, silver, rose gold, etc.). Vegetable-tanned Leather: Works best for stamping due to its firmness and smooth surface. Ruler and Alignment Tools: For precise placement of the monogram. Step-by-Step Guide to Foil Monogramming Leather 1. Prepare the Leather Surface Ensure the leather is clean, dry, and flat. If needed, lightly dampen the area to be stamped to help the foil adhere better. 2. Set Up the Hot Foil Machine Adjust the machine’s temperature and pressure according to the foil and leather type. Most leather foil stamping is done at 100–130°C (212–266°F). 3. Align the Monogram Place the metal dies or logo plate into the press and carefully position the leather item underneath. Use alignment tools to ensure perfect placement. 4. Apply Heat and Pressure Lower the press onto the leather with even pressure. Hold for 1–2 seconds, then lift. The foil should transfer cleanly to the leather. 5. Inspect and Touch Up Let the leather cool, then check the imprint. If needed, re-stamp any missed areas or carefully remove excess foil. Tips for a Professional Finish Test on scrap leather before stamping your final product. Choose high-quality foil for consistent results and strong adhesion. Use guides and jigs for uniform positioning on bulk orders. Offer multiple foil colors to match your branding or gift themes. Why Foil Monograms Add Value Custom foil stamping transforms a simple leather product into a luxurious, one-of-a-kind item. Personalized items are highly desirable for: Corporate gifts Wedding favors Holiday presents Brand merchandise Adding monograms not only boosts the product’s appeal but can also increase its price point and perceived value. Conclusion Learning how to personalize leather goods with foil monograms is a rewarding skill for crafters, designers, and business owners. With the right tools and techniques, you can create stunning, customized leather items that stand out in the market.
-
Hot foil stamping machines are widely used to enhance the texture and visual appeal of products in industries such as leather goods, packaging, paper, and plastics. However, many users—especially beginners—encounter various technical or operational issues. This article provides a comprehensive list of frequently asked questions (FAQs) and actionable solutions to help you get the best results from your foil stamping machine. Issue 1: The Stamped Pattern is Blurry or Incomplete Possible Causes Temperature or pressure is too low Stamping time is too short Poor quality die or foil Solutions Adjust the temperature accordingly: 120°C–140°C for leather, 90°C–110°C for paper Increase dwell time and/or pressure Use high-quality foil and ensure the die is clean and finely engraved Issue 2: Foil Peels Off Easily or Loses Color Possible Causes Surface material is unsuitable for foil transfer Incompatible foil used Lack of preheating Solutions Test a small area before full application Choose foil types specifically designed for the material Preheat both the stamping head and the material to improve adhesion Issue 3: Misalignment or Ghosting (Double Image) Possible Causes Die is not firmly fixed Worktable or hand movement is unstable Improper positioning system setup Solutions Secure the die tightly before stamping Use jigs or clamps for accurate positioning Choose a machine with positioning guides or an automatic system Issue 4: Foil Sticks or Leaves Fuzzy Edges Possible Causes Temperature is too high Uneven pressure applied Die edges are not clean Solutions Lower the temperature or reduce pressure Clean the stamping head and die regularly Polish or reprocess the die’s edges Issue 5: Machine is Noisy or Overheating Possible Causes Worn parts or insufficient lubrication Temperature control malfunction Overuse without breaks Solutions Lubricate moving parts regularly Check temperature sensors and wiring Allow the machine to cool down every 2 hours of continuous use Quick Troubleshooting Chart Problem Main Cause Suggested Fix Blurry image Low temp/pressure Increase temperature or pressure Foil peels off Material not compatible Test and change foil type Misalignment Die not fixed Use clamps or guide system Fuzzy edges Excessive heat Lower temp and clean die Noise/overheating Mechanical wear Lubricate and cool down machine FAQs: Additional User Questions Q: Can I stamp multiple colors with one machine? A: Yes, but you need to perform multiple passes using different foils and dies. Q: What is the average lifespan of a hot foil machine? A: With proper maintenance, machines can last 5–10 years. Q: Can I use a hot foil stamping machine at home? A: Yes, small manual foil stamping machine are ideal for home studios and custom projects. Final Thoughts: Consistency and Maintenance Are Key While foil stamping is relatively straightforward, attention to detail makes all the difference. Familiarizing yourself with common issues and solutions will not only improve your results but also prolong your machine’s life. More tutorials and expert advice, please feel free to share in the comments section.