LMullins
-
Posts
66 -
Joined
-
Last visited
Recent Profile Visitors
2,702 profile views


LMullins's Achievements
Member (2/4)
-
I've been using a standard set of Tandy Alphabet stamps for a few years now, but I think I use them enough to upgrade. I'd be interested to hear if you folks have any suggestions to look into and see if there are any that are notably nicer. thanks
-
Hermann Oak G19 Leather Holster
LMullins replied to LMullins's topic in Gun Holsters, Rifle Slings and Knife Sheathes
No, you're not missing anything. I have a habit of taking photos before adding hardware/punching slots, and then once I do, I usually send the work out before I remember to grab another photo. 😆 -
Hermann Oak G19 Leather Holster
LMullins replied to LMullins's topic in Gun Holsters, Rifle Slings and Knife Sheathes
I've had the same experience with the Angelus being more prone to rub-off as well. it's a bit of a trade-off. The Angelus is indeed darker and more deep, but far more inconvenient. Fiebing's isn't quite as dark, but I find it applies much cleaner. I imagine it would be a lot easier to airbrush the Angelus, but I have not yet felt the need to purchase one. Either way, they're both good and it's good to have options. I have not tried Tandy's Satin Sheene but I just might give it a shot at some point. 🍻 -
I usually make pancake and bucket styles for revolvers. I’m mainly curious about how others standardize stitch-line spacing for consistency and efficiency. Some earlier replies steered the conversation away from the topic, but this is really just about refining the process. Everyone has their own method, and I’d like to hear what works for different people. Maybe there is some techniques I can pick up on. That's why I'm on the site. 😎👍
-
Sounds like you and I approach it very similarly. in my experience, semi autos are very straight-forward to work with. 1911 style pistols, Glocks, etc. are always pretty predictable as far as stitch lines and adapting goes. Larger revolvers are where pancake holsters become more nuanced for me. While I haven't had any issues producing a proper fit, accommodating the cylinder does require just a bit more consideration compared to something flat. I'd made a pancake holster for a 5.5 barrel .45 Vaquero and it came out really nice. Revolvers definitely are the prettiest when paired with leather.
-
Hermann Oak G19 Leather Holster
LMullins replied to LMullins's topic in Gun Holsters, Rifle Slings and Knife Sheathes
Thank DieselTech. it's probably worth mentioning, I was always after a deep rich Black color and never really got it with Fiebing's. I used to do a base coat of blue dye, and then fully dry and buff, and then come back with black. This helped get a deeper dye but still not quite what I wanted. I find Angelus tends to apply more evenly and with a deeper color. Just my observation 😎 -
I never said I didn't know how to make them. There's several ways of patterning a holster for a firearm, which I won't be listing here because I could go on and on. Especially for SA Revolvers... I'm simply asking for ways to make the process more efficient and discuss different methods of achieving that goal.. which is a normal part of refining a workflow. That assumption doesn't add any insight to the topic at hand. That’s like responding to a question about better edge finishing by saying someone shouldn’t sell belts if they’re asking.
-
Hermann Oak G19 Leather Holster
LMullins replied to LMullins's topic in Gun Holsters, Rifle Slings and Knife Sheathes
Thank you. Holsters are one of the few projects where I'll reach for Resolene instead of Tan-Kote, so it always looks a little jarring to me. definitely gives a nice deep color though 😎 -
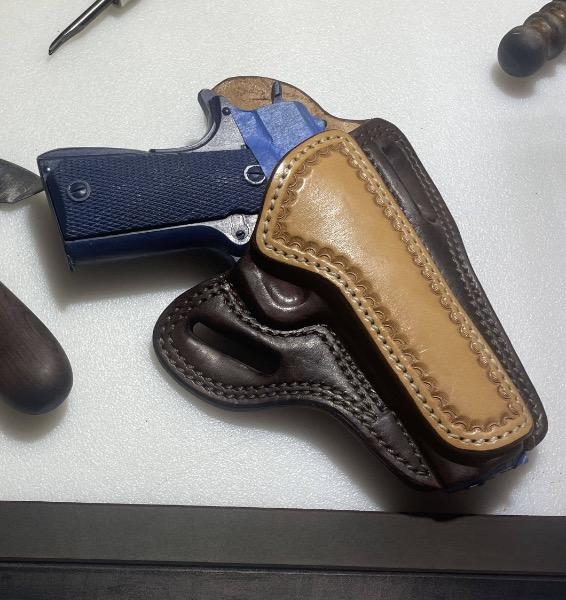
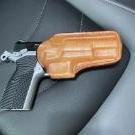
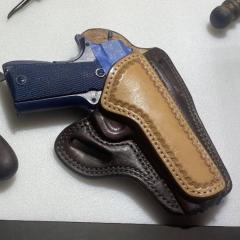
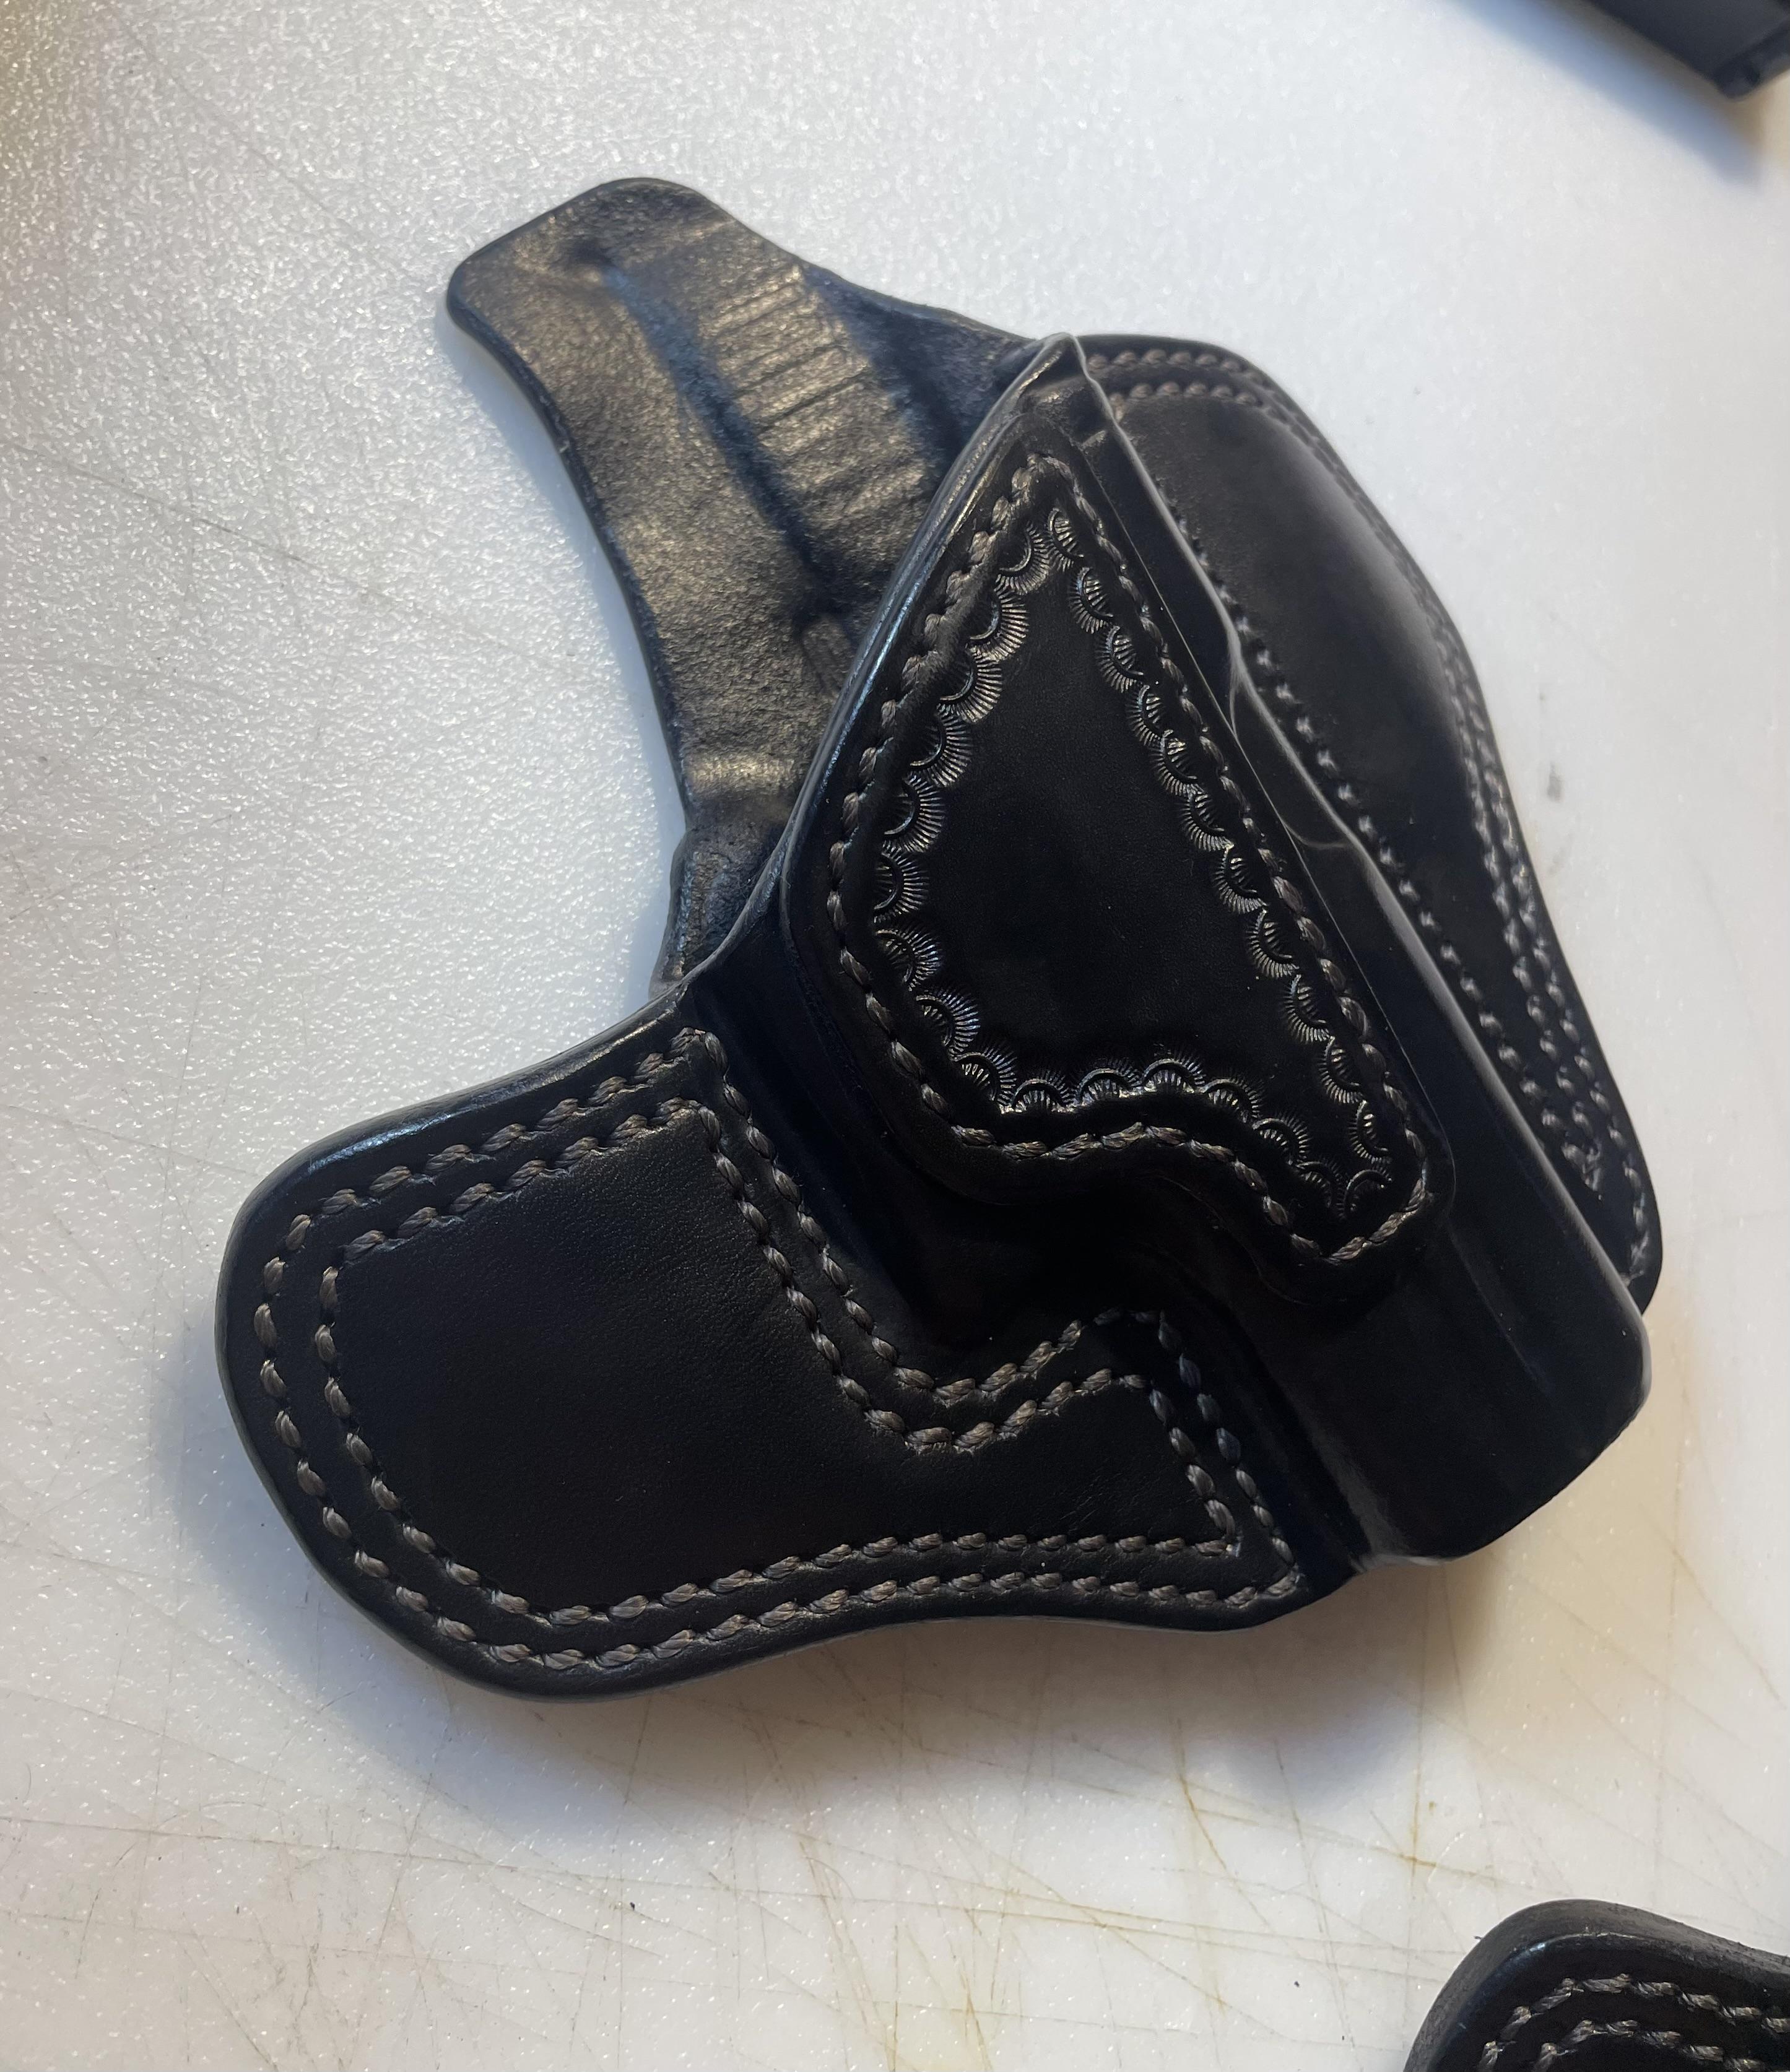
Hey folks, Just wanted to share a cool photo of my latest Glock holster build. 9-10oz Hermann Oak and Angelus Jet Black Leather Dye
-
Hey folks, I've been getting pretty deep into holster making as of late. Lot of orders coming my way, primarily for revolvers. It's not too bad to guesstimate pancake holster stitchlines, but there's gotta be a method I'm unaware of to consistently calculate the distance based upon the dimensions of the firearm. Any good resources dedicated to this topic? Would be interested to know how you folks do it. thanks!
-
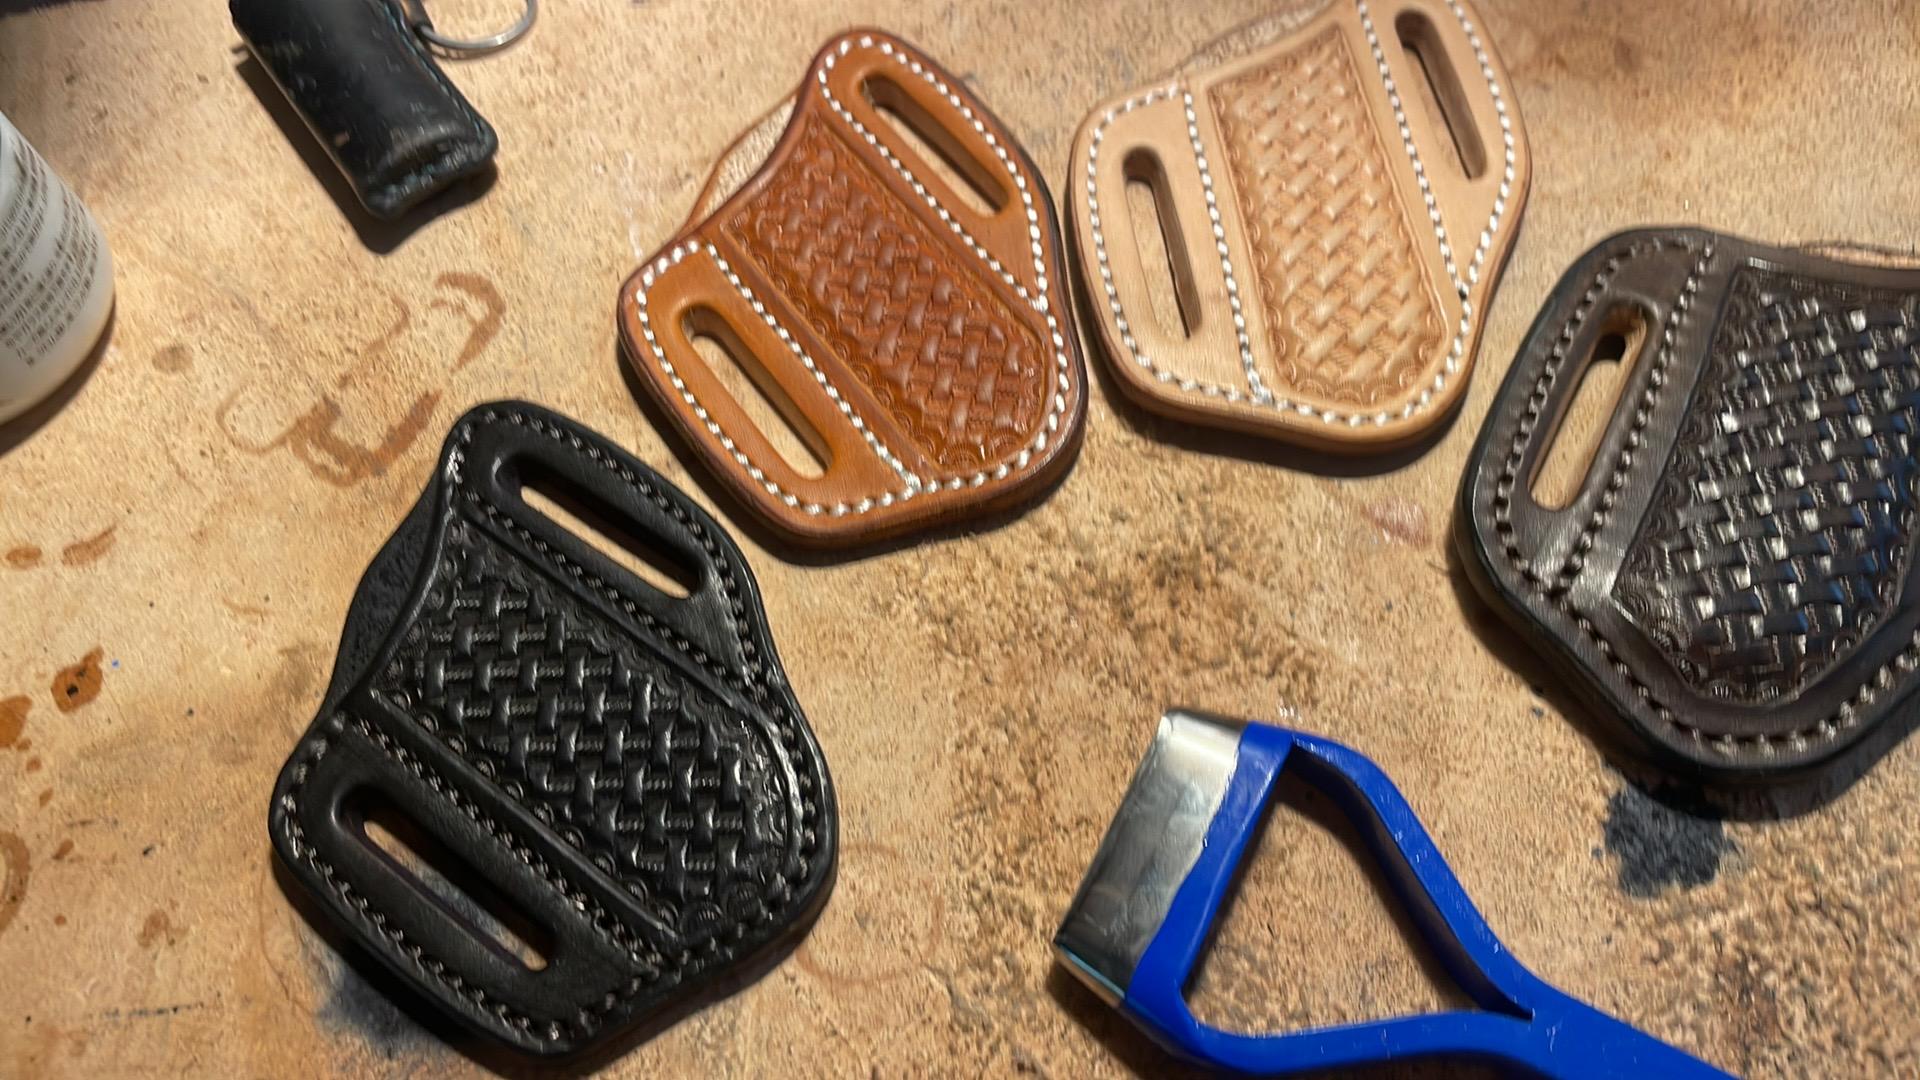
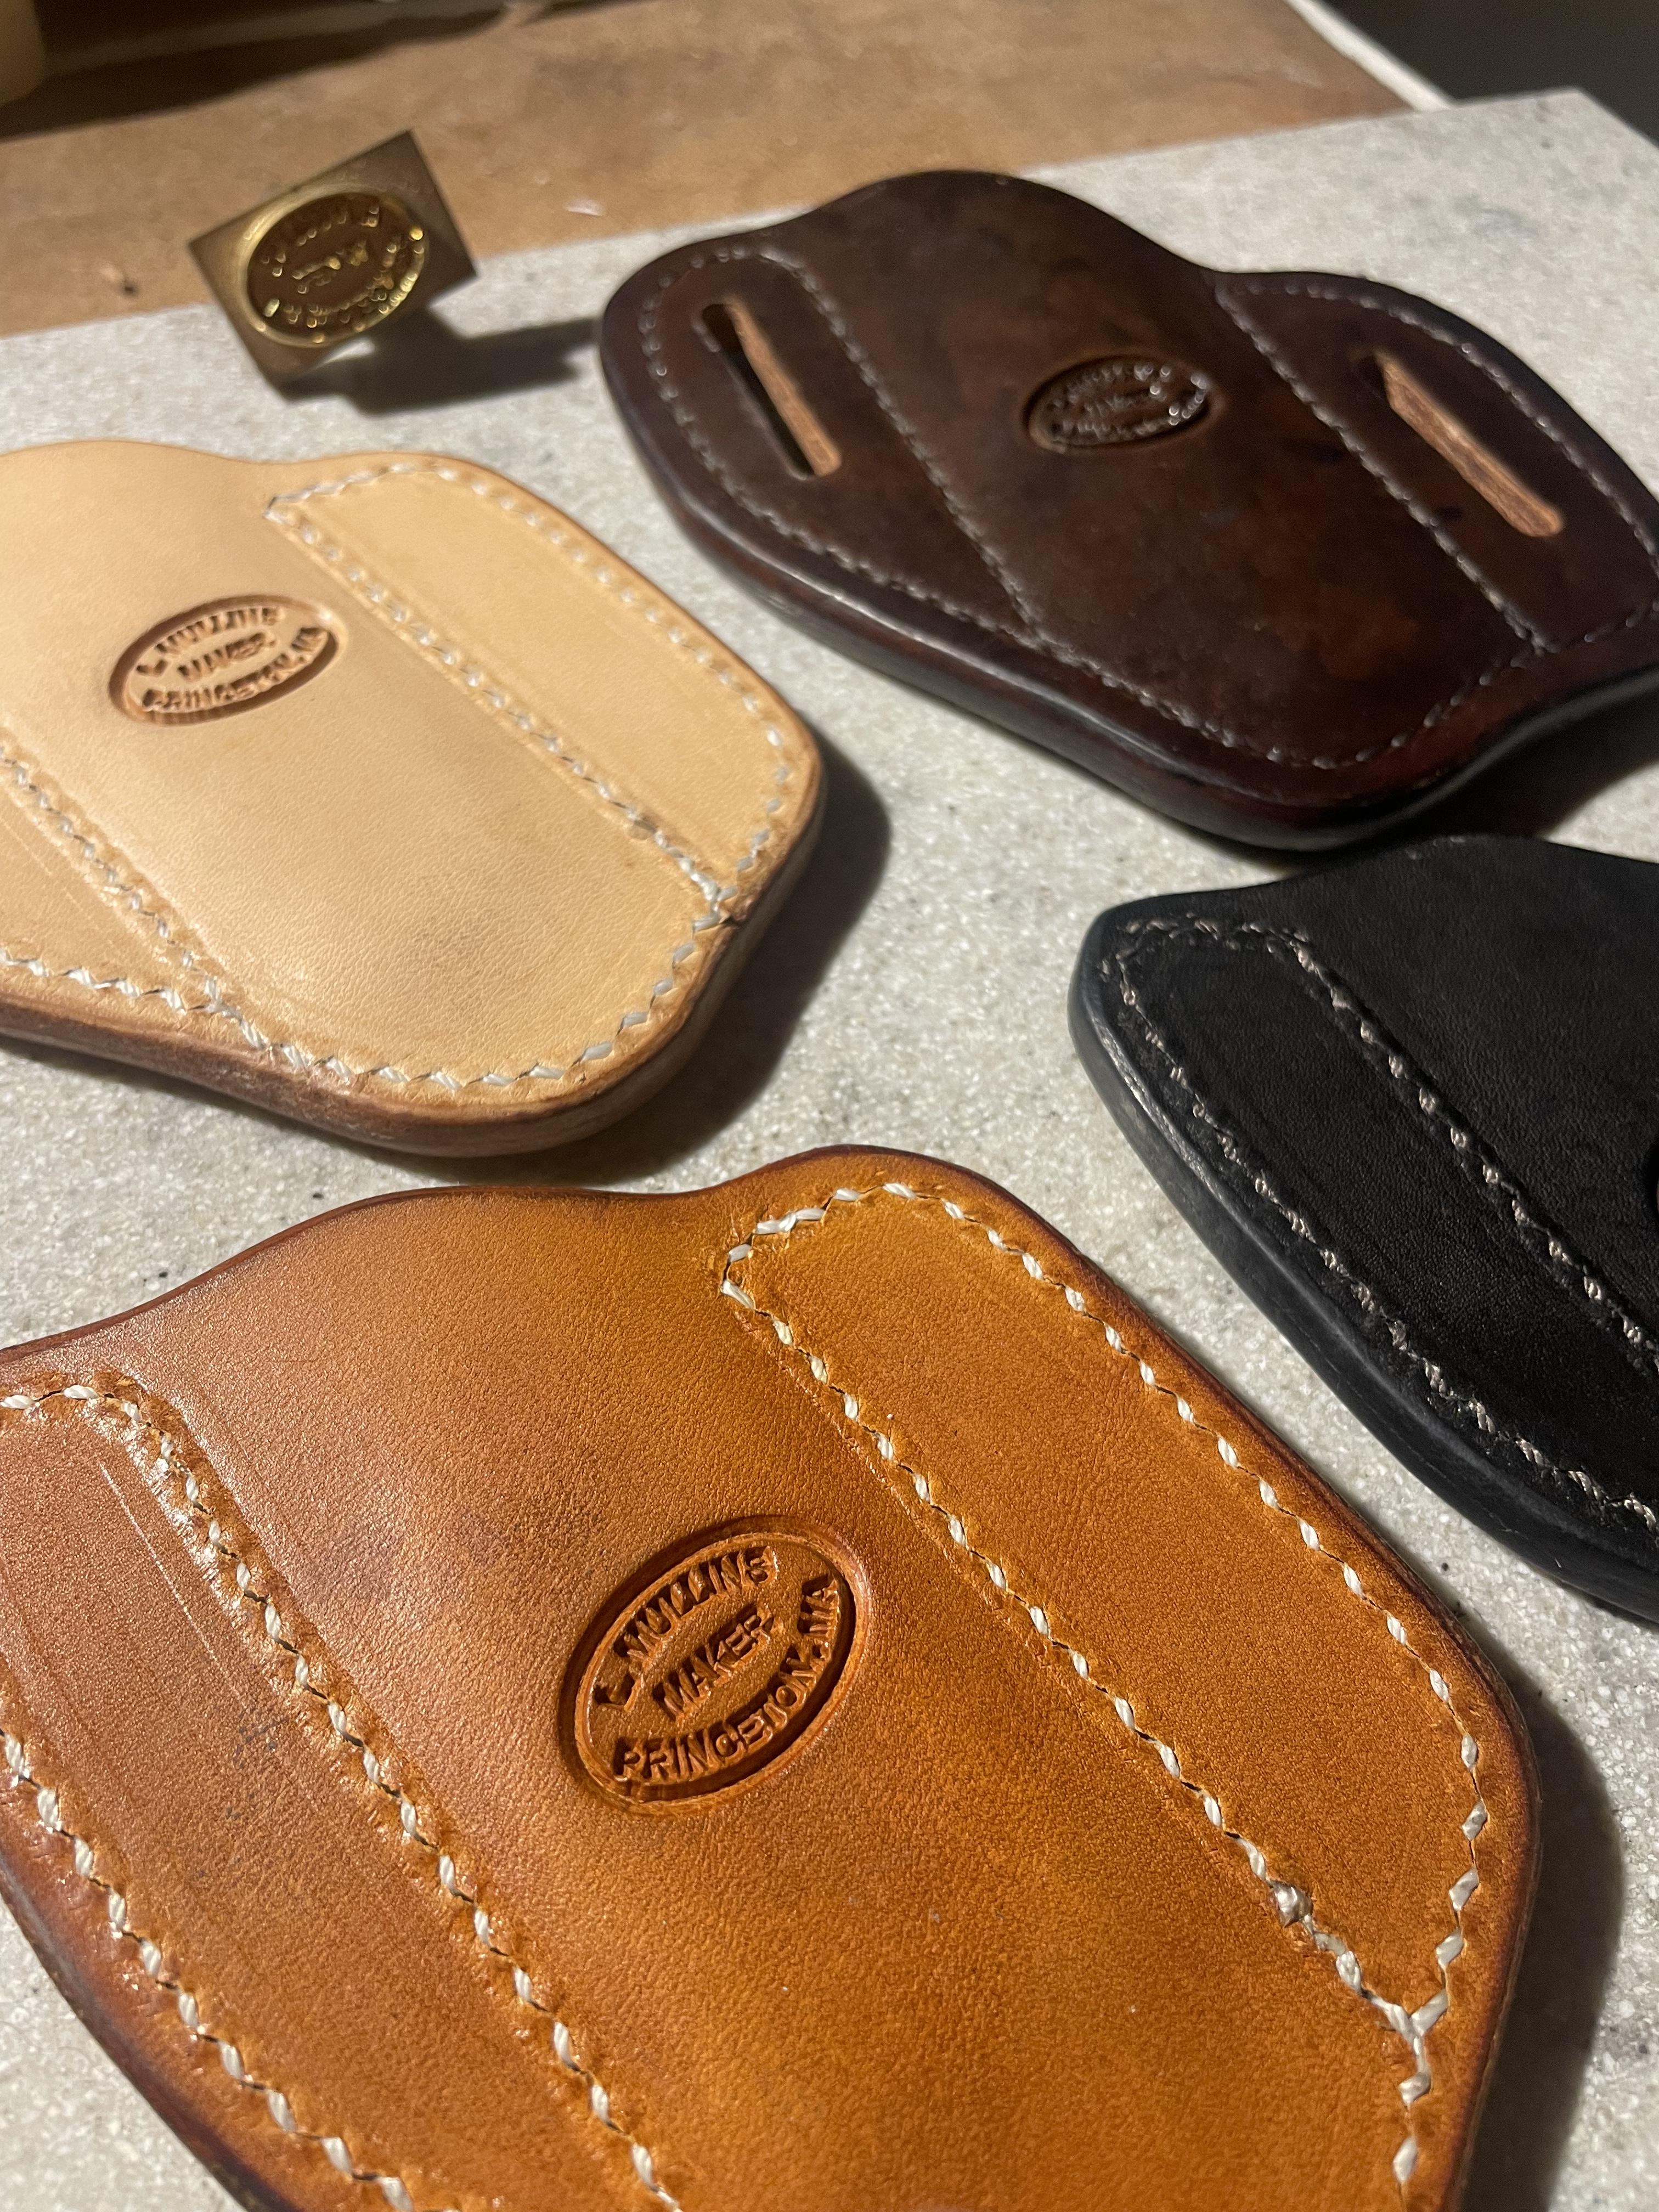
Yes, sometimes it's just easier to have a few colors to select from rather than building them up custom every single time. These three colors cover the majority of orders for me.
-
Thank you
-
I've considered making a pancake sheathe as a magazine accessory but I haven't drawn up a pattern I've liked yet. Would be pretty convenient though!!!
-
That's a nice machine! I have the Cobra Class 4, and it does pretty much everything I want it to do. I don't see myself really using this Adler, although it is nice. it does run, it does lay down a stitch, etc. I think I'd keep it if it was the walking foot variant though
-
Hey Folks, Here's a few pics from a while ago showing off some simple knife sheathes. These tend to sell pretty good so I decided to carry them as ready stock goods. These were the three color combinations I decided to go with. They are excellent for eating up the offcuts of leather, and extremely convenient. Easy to ship too!