


Loft Leather
-
Posts
16 -
Joined
-
Last visited
Content Type
Profiles
Forums
Events
Blogs
Gallery
Store
Everything posted by Loft Leather
-
I bought some Uniters paint and primer and followed a step by step process I saw online with heat and sanding. On two test pieces, I have results I'm happy with. It took 4-5 coats, sanding, and heat to get there, but it looks professional. My previous project was edge painted with bad results. I just smeared it on and it looks far from professional Now that I can do this level of work, I'm much more excited about working with chrome tanned leather going forward. These are my first two attempts. One with two pieces and the other single. I don't feel like I have to hide the edges if I can do this good of job.
-
What you describe is exactly what I'm planning. My chrome tanned leather is floppy/spongy so I'm going to add a stiffener between the leather and the micro suede lining. I'm planning to terminate the lining edge on the outside edge of the stitching holes. This way the stitches will cover the edge of fabric and not be in the edge painting. the stitches going through the microsuede will probably keep all the fraying contained. I'm shooting for Hermes results with very little experience. I've spent a lot of time planning and will start the project tonight with gluing the stiffener to the leather.
-
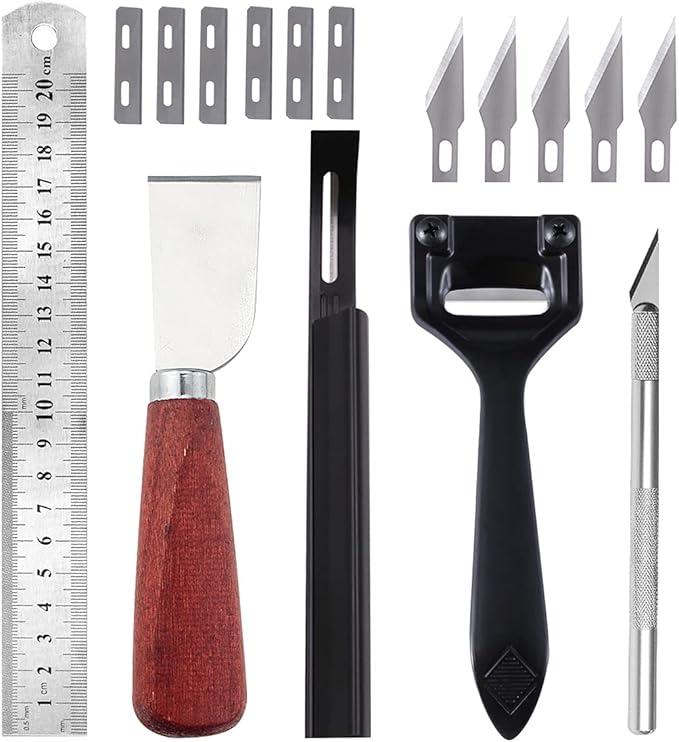
I have the first one and haven't had good results...it scraps instead of cutting. I assume the blade was sharp when I bought it. I have replacement blades. I have something that looks a lot like the second one, but it is different. Maybe I have a bad knock off of a better design? The third one is considered a French skiver? I thought that type was for thinning out the surfaces of leather...I didn't know if was for edges. My whole life I've lived by pushing blades away from me, so the French design might be better for me. The two razor blade models in the picture are pulling toward me which is awkward. It seems like my trouble with skiving is holding be back from doing the types of projects I'd like to work on. Maybe I'll break down and buy a machine and have no more excuses... So far, I've had my best luck with the wood handled knife that came in this value pack, but it's such an uncomfortable, unpleasant experience:
-
I'm trying to figure out what skiving knife to buy. I have pull skiver, one that looks like a potato peeler, and a little flat blade knife from amazon. None of these work very well for me. I'm looking for one I can buy that's going to provide better results. I don't really want to make a skiving knife myself.
-
I'm using a product I believe is similar to Alcantara: https://www.onlinefabricstore.com/wine-microsuede-fabric-.htm I don't know how the quality compares, but this stuff it pretty nice. Years ago I looked over a Louis Vuitton bag that was lined with something similar...I believe the LV material was superior to this stuff. Alcantara is over $135 per yard...maybe it's worth it, but that seems pretty expensive to me. I can see now that rolling pressure is not the way to go with gluing this to the raw side of the leather. I want to make sure I have good adhesion without soaking through the microsuede. I guess I'll just lay it as flat as possible on the glued leather and pressure with heavy book to make sure it bonds well. I think I'll take your advice and glue the edges of the fabric. I don't want to have trouble later and wish I had done a simple step like this. I'll think about which side of the holes I want to terminate the lining. I don't know how well I'll be able to paint the edges if there's a layer of liner mixed in with the edges.
-
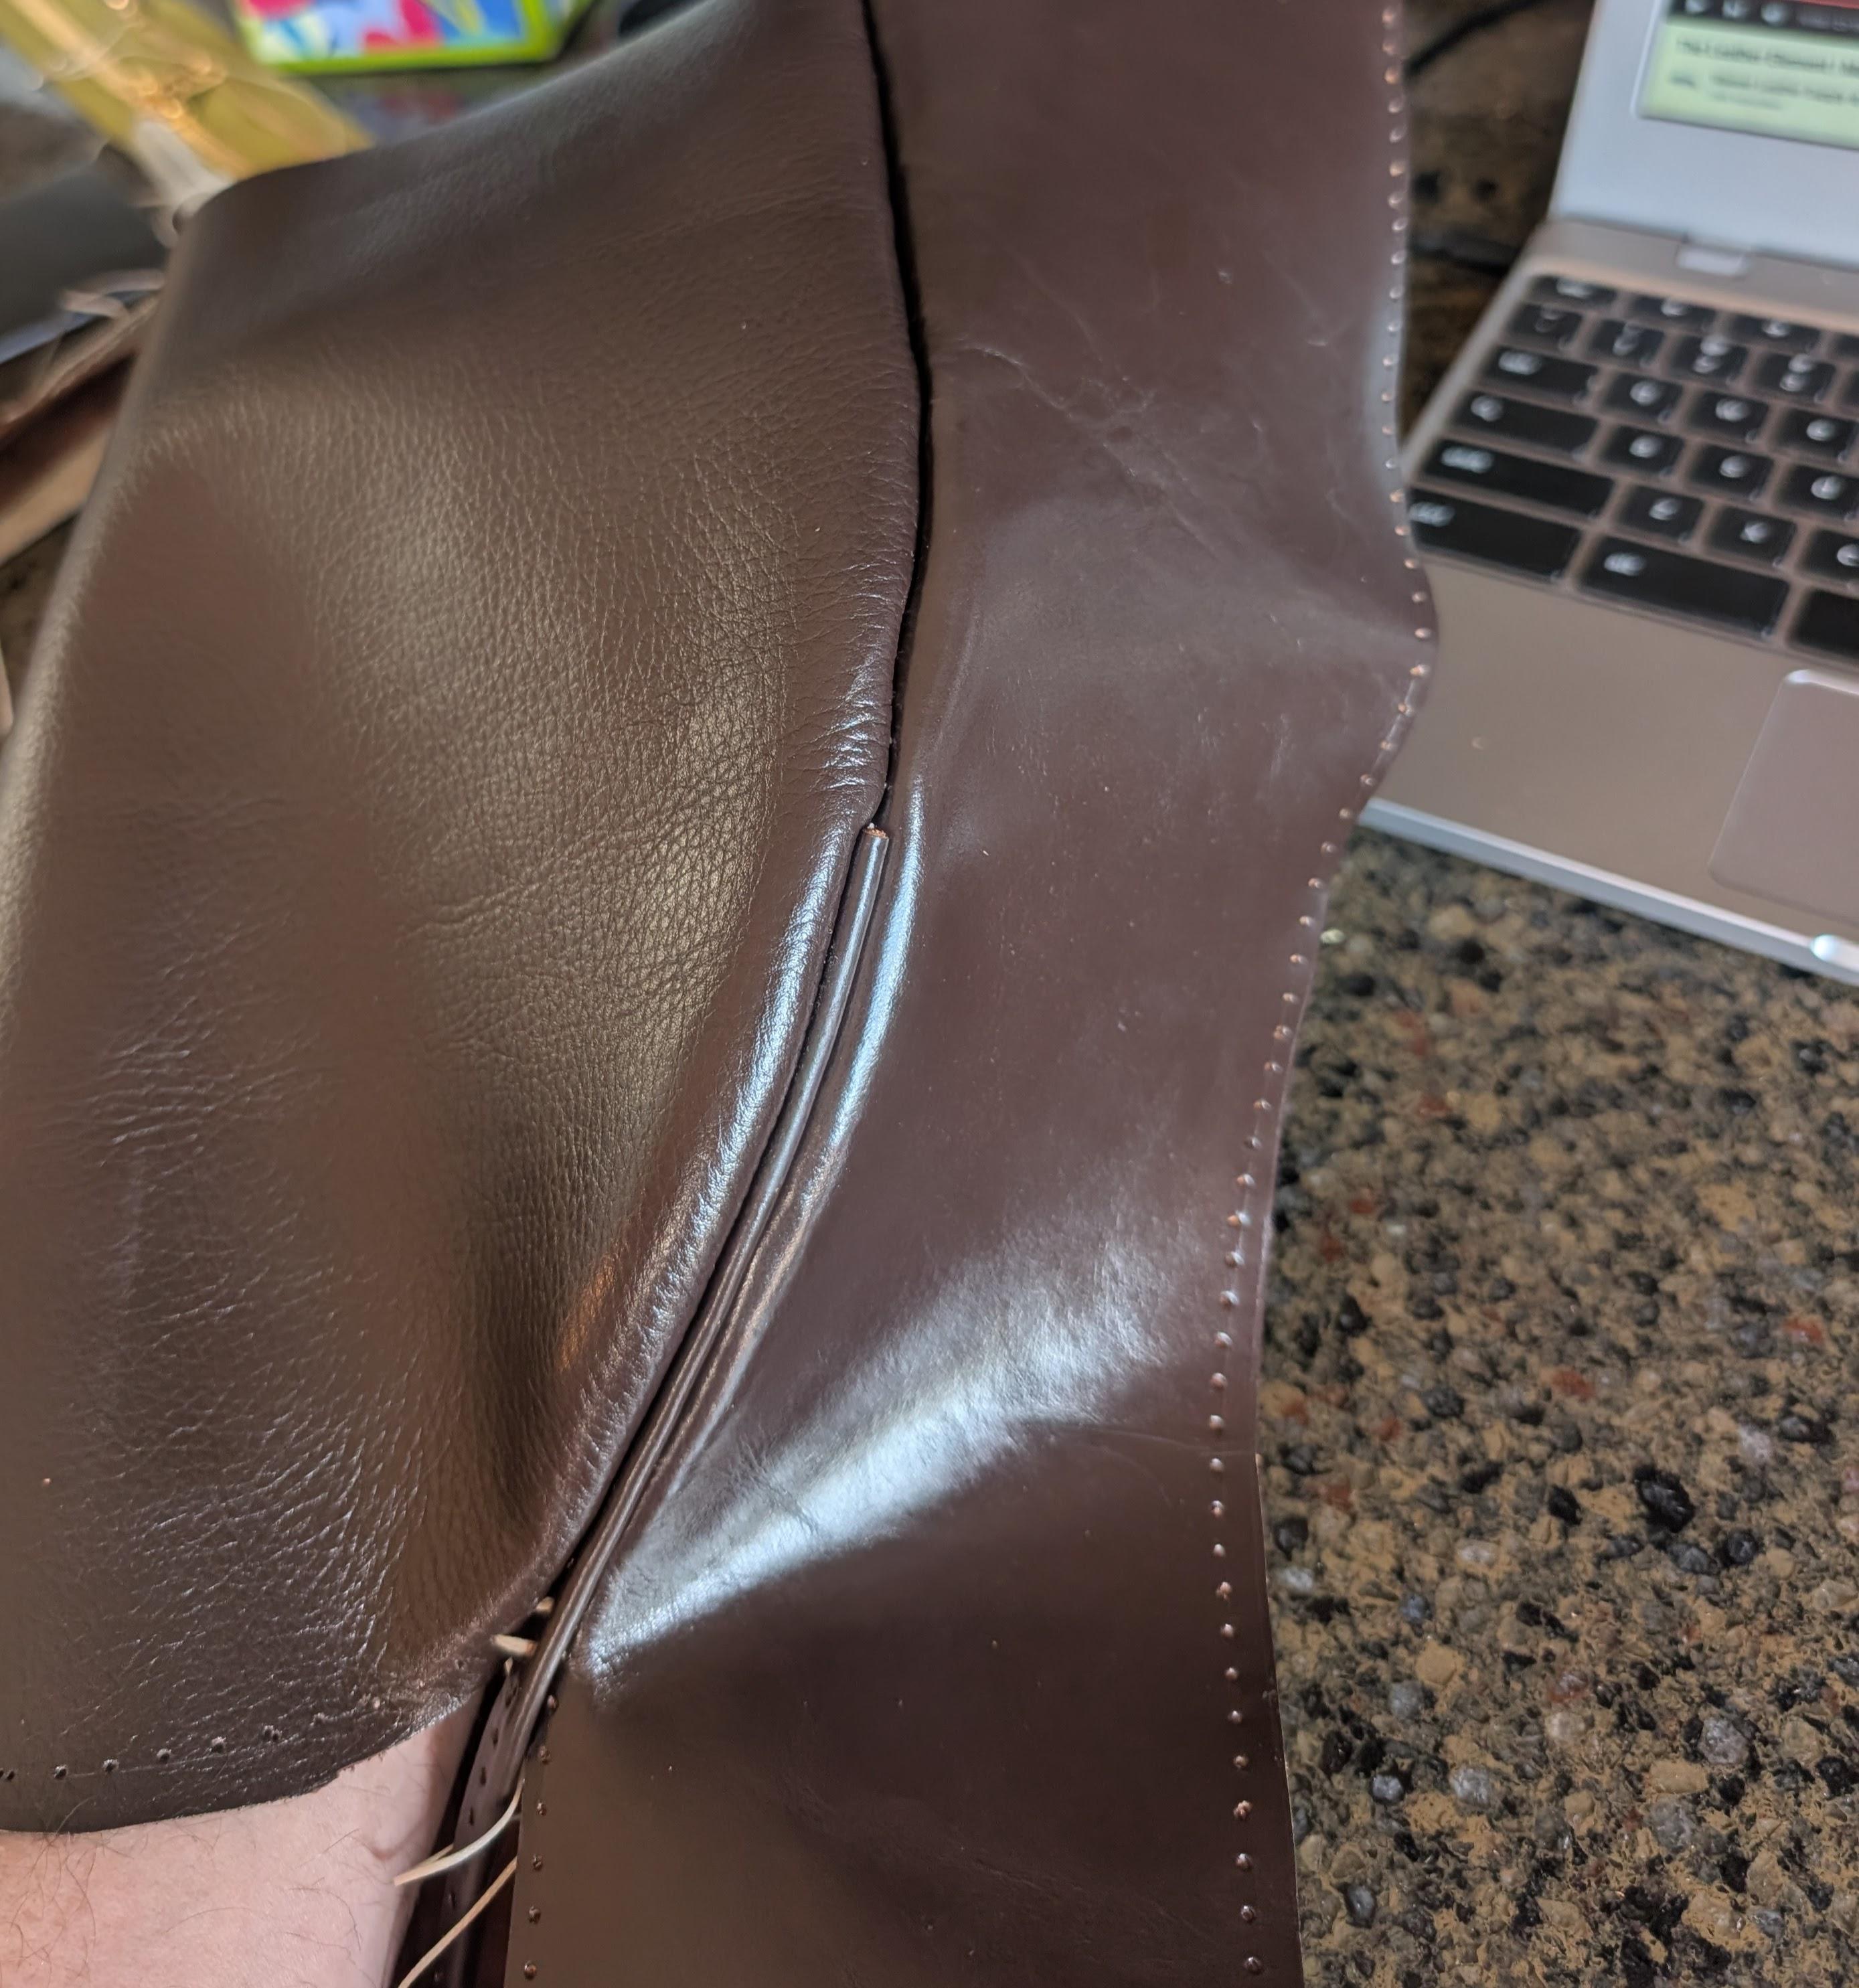
I'm currently working on a duffle bag I plan to line with microsuede. I didn't realize it at the time of purchase, but the chrome tanned leather I'm working with is very soft, floppy, and spongy. I did a test and glued the microsuede to a section of the leather. I used a bakers rolling pin to join the two surfaces. I was surprised by the results. The leather stiffened up on the lining/glue side and tends to wrinkle when I flex it that direction. Flexing it the other direction, it remains soft and spongy. I think the rolling pin stretched the leather out as it pressed onto the liner...this caused the wrinkling. I think if I glue the microsuede to the leather without using the rolling pin, this might not happen. I'll do another test before I start applying the liner to the bag leather sections. I also noticed the edges of the microsuede are showing some fraying after I cut it to a uniform size. I'm not sure how much of an issue this will become after the duffle bag is put together. I think the glue on the surface might hold it all together after a little fraying. If that's not the case, I want to deal with it now before the bag is stitched together. Any thoughts about this?
-
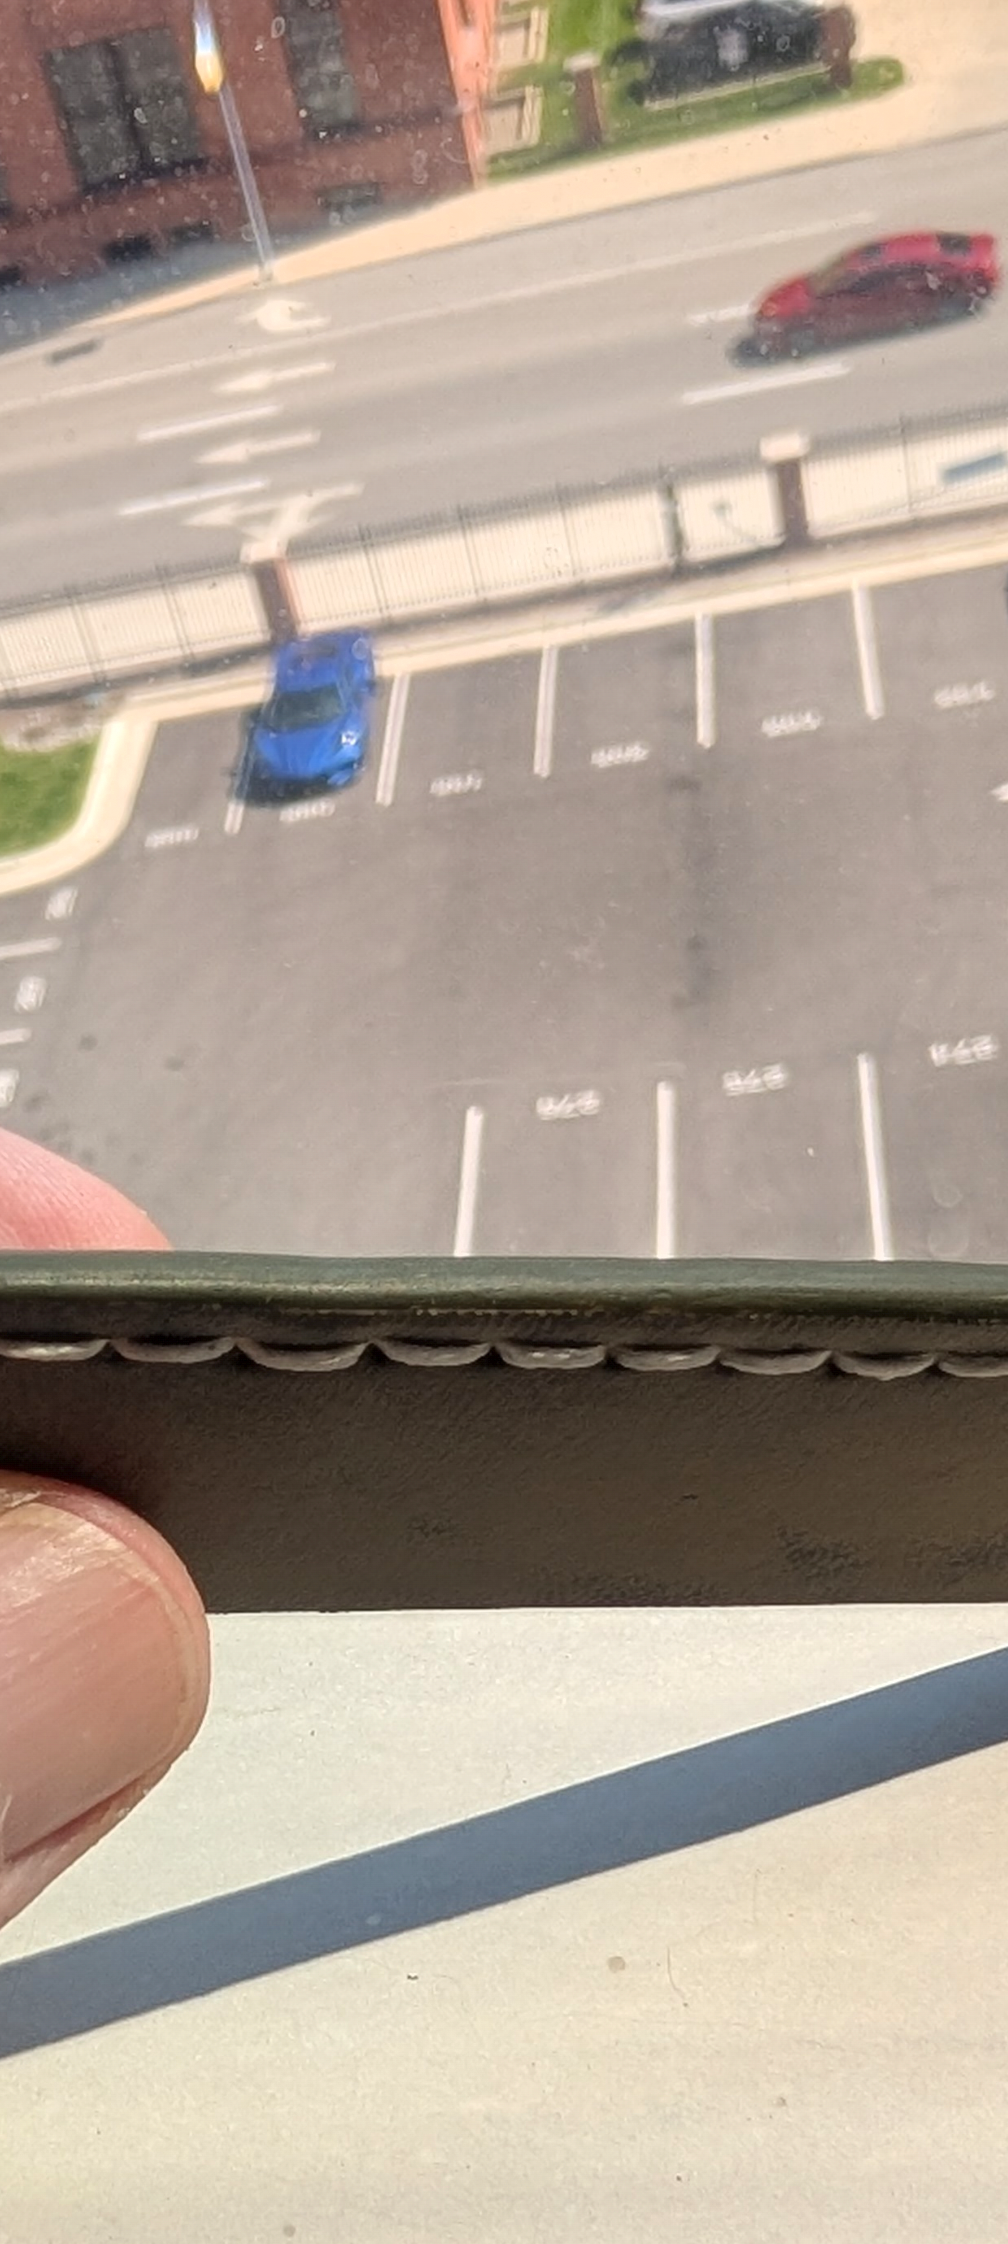
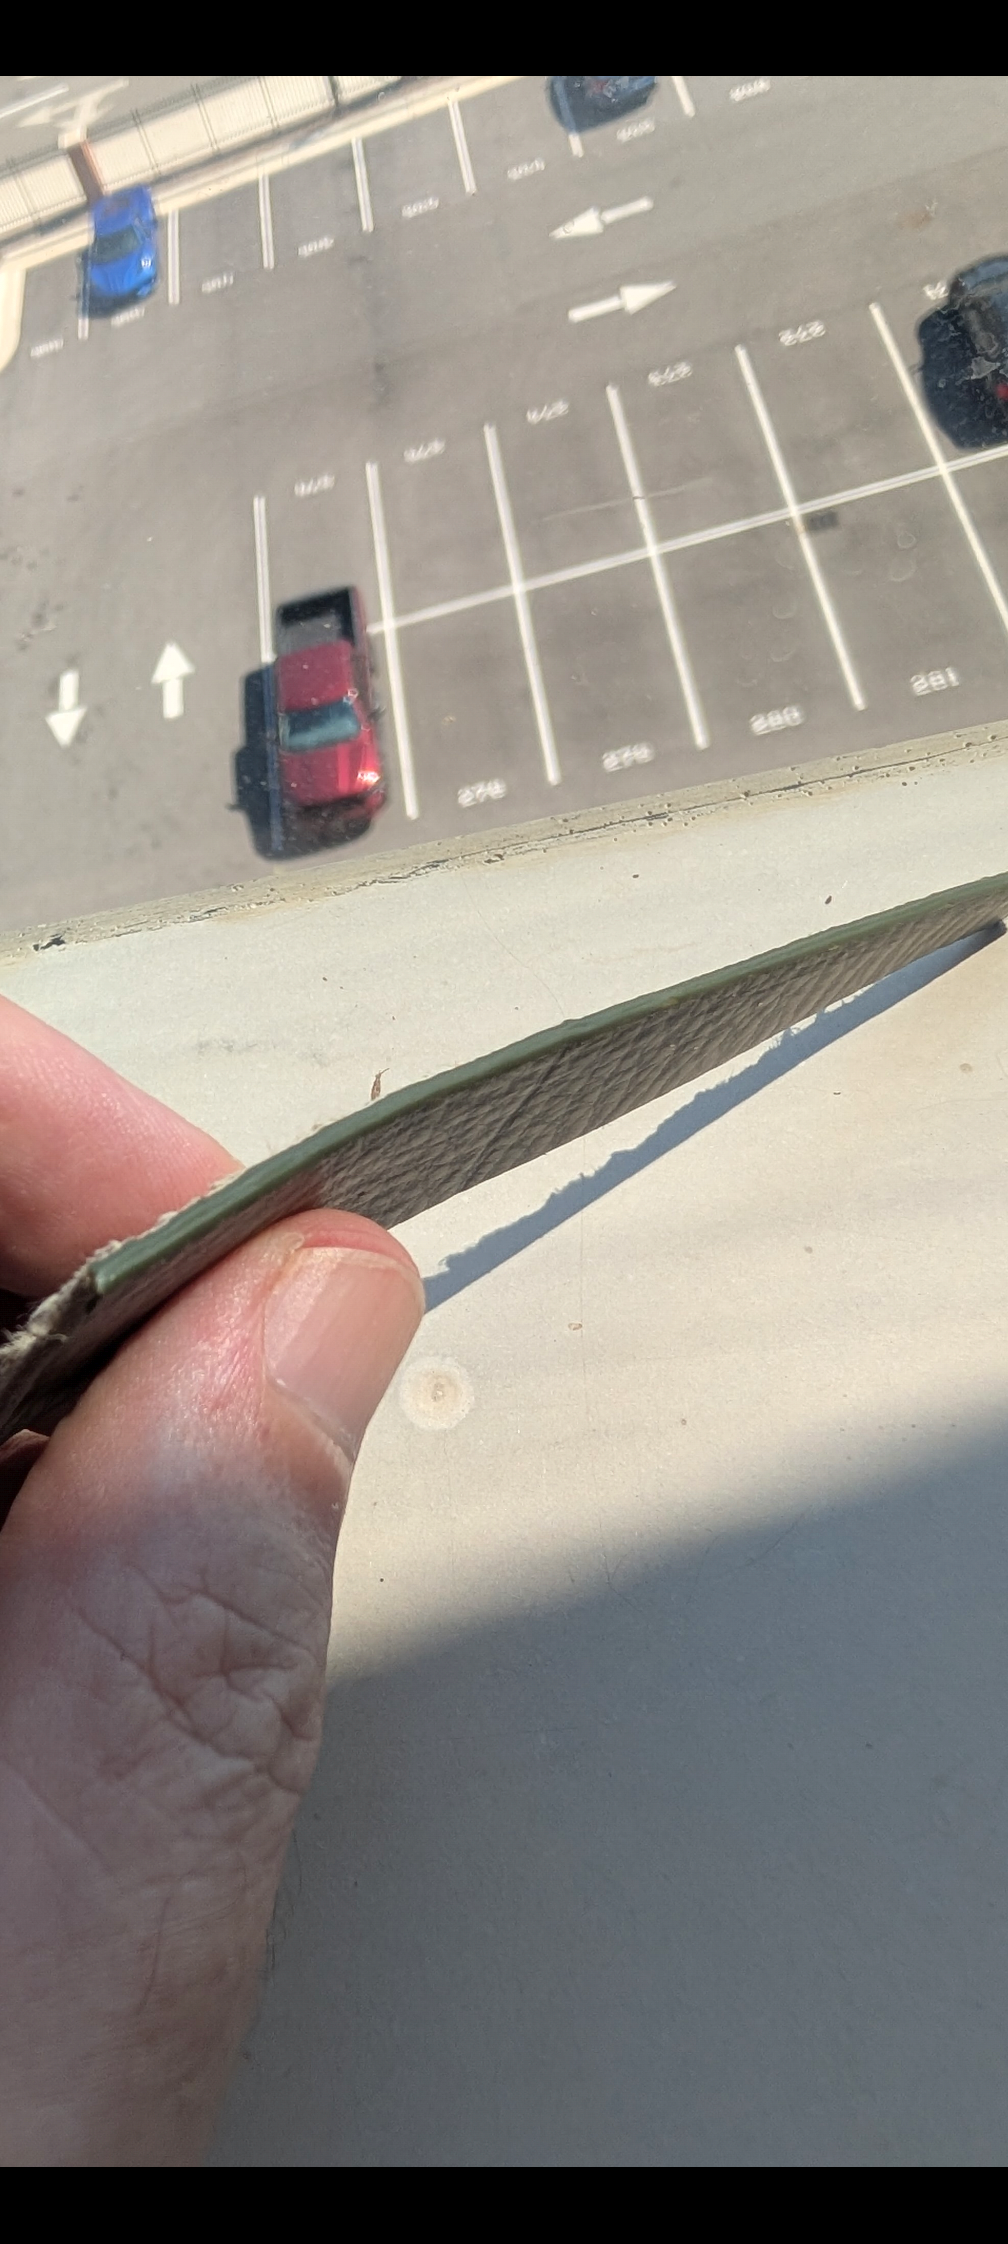
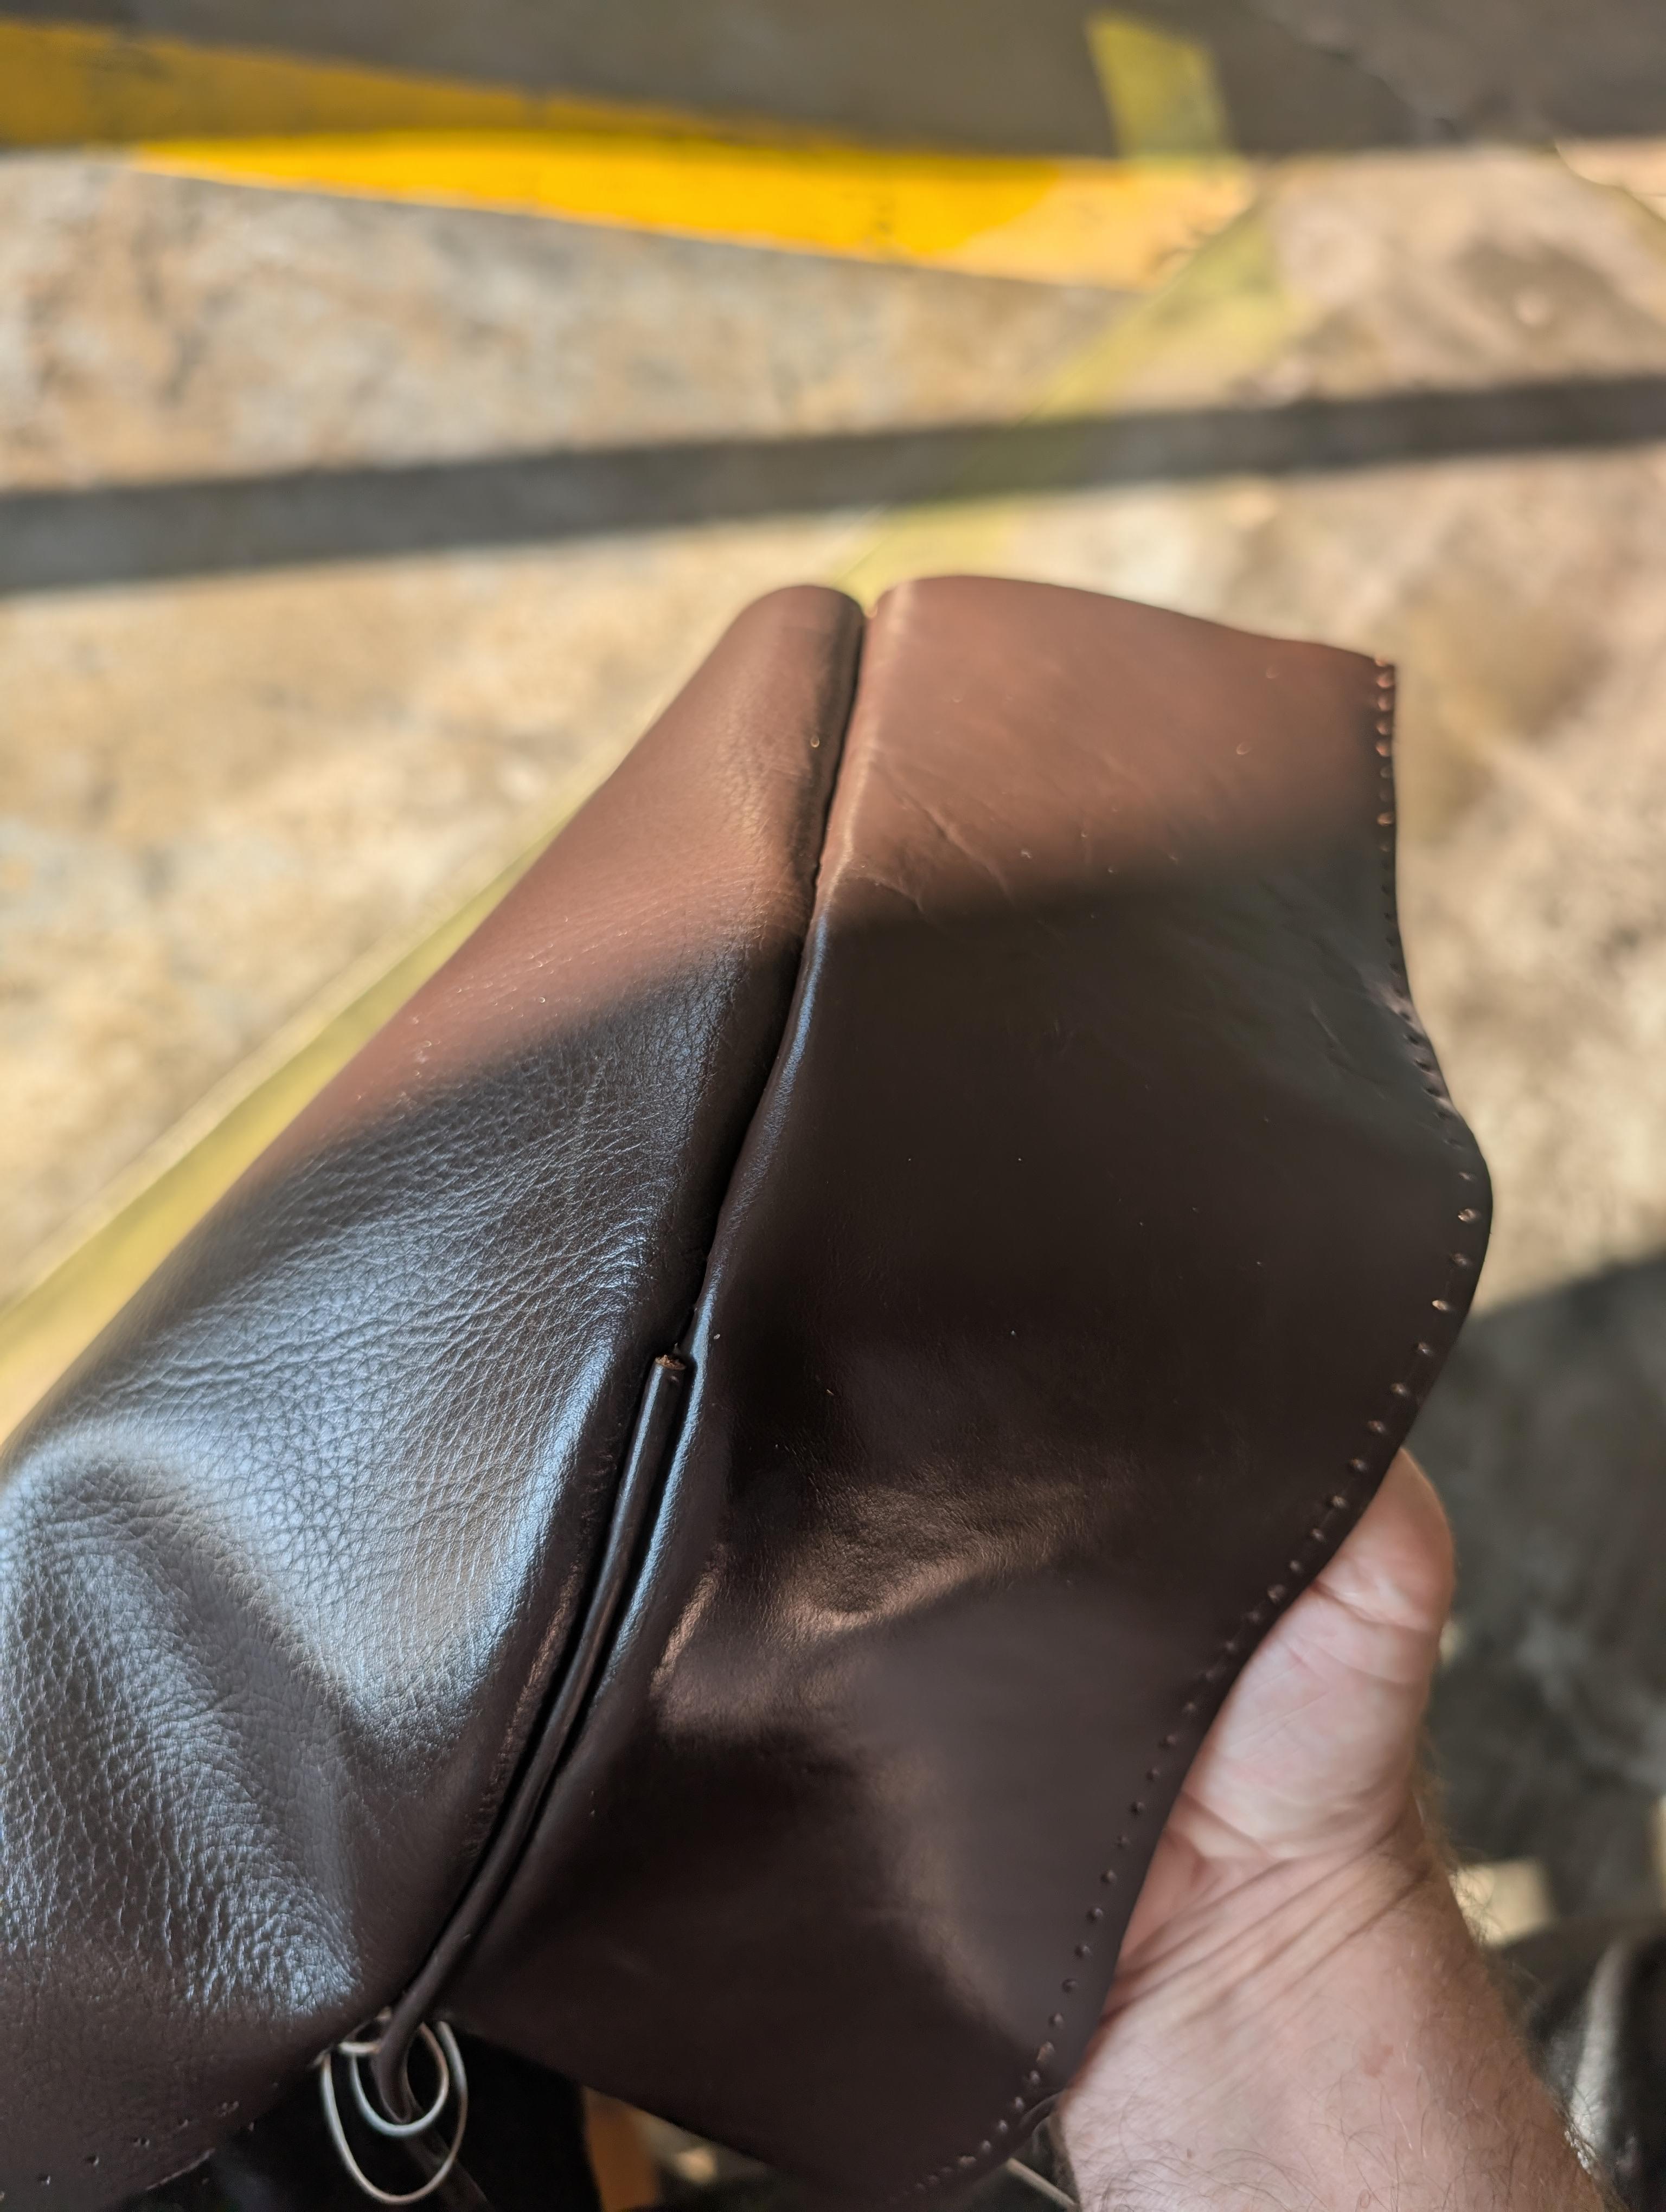
I'm experimenting with different ways to stitch leather pieces together. Without the piping, you can see a little bit of the stitching when I turned the panel from the gusset. When I added the piping, the stitches disappeared entirely and the leather became much more cooperative with making the curve of this bag. I didn't skive the piping, panel, or gusset. I didn't add a wire/string in the piping. I just cut a narrow strip of leather from the gusset leather, applied glue, and forced it over with a bone folder, then punched the holes. I'm working with two $10 rolls of chrome tanned leather from a local hobby shop...low end stuff. I'm working on a tribute handbag of the highest end French maker. I didn't find any already produced patterns for this design, so I created the plan myself with help from chatgpt. AI is useful in the process, but I had to make adjustments for what seemed like faulty planning on its part.
-
Skiving tip to get an even surface
Loft Leather replied to DoubleKCustomLeathercraft's topic in How Do I Do That?
I have a cordless electric Ryobi wood planer. I can shave down a 2x4 nicely with it. I wonder if a stiff piece of veg tan would be "plane able." Running it over softer leather sounds like a recipe for a tangle up in the blade and might be unsafe. Maybe if I skive perpendicular to the edge instead of trying to run it lengthwise it might stand a chance of allowing for a nice rolled edge? The heavy veg tan this would likely work well on seems like the type I have the best chance of doing a decent job with a knife skive by hand anyway. The softer chrome tans are where I think I'll make a bad skive and screw it up. -
Looks good. Did you put edge paint on it?
-
Cool little lights. Are those add-ons or where they part of the machine? I'm over 50 and my eyes require more light so I'll have to figure something out.
-
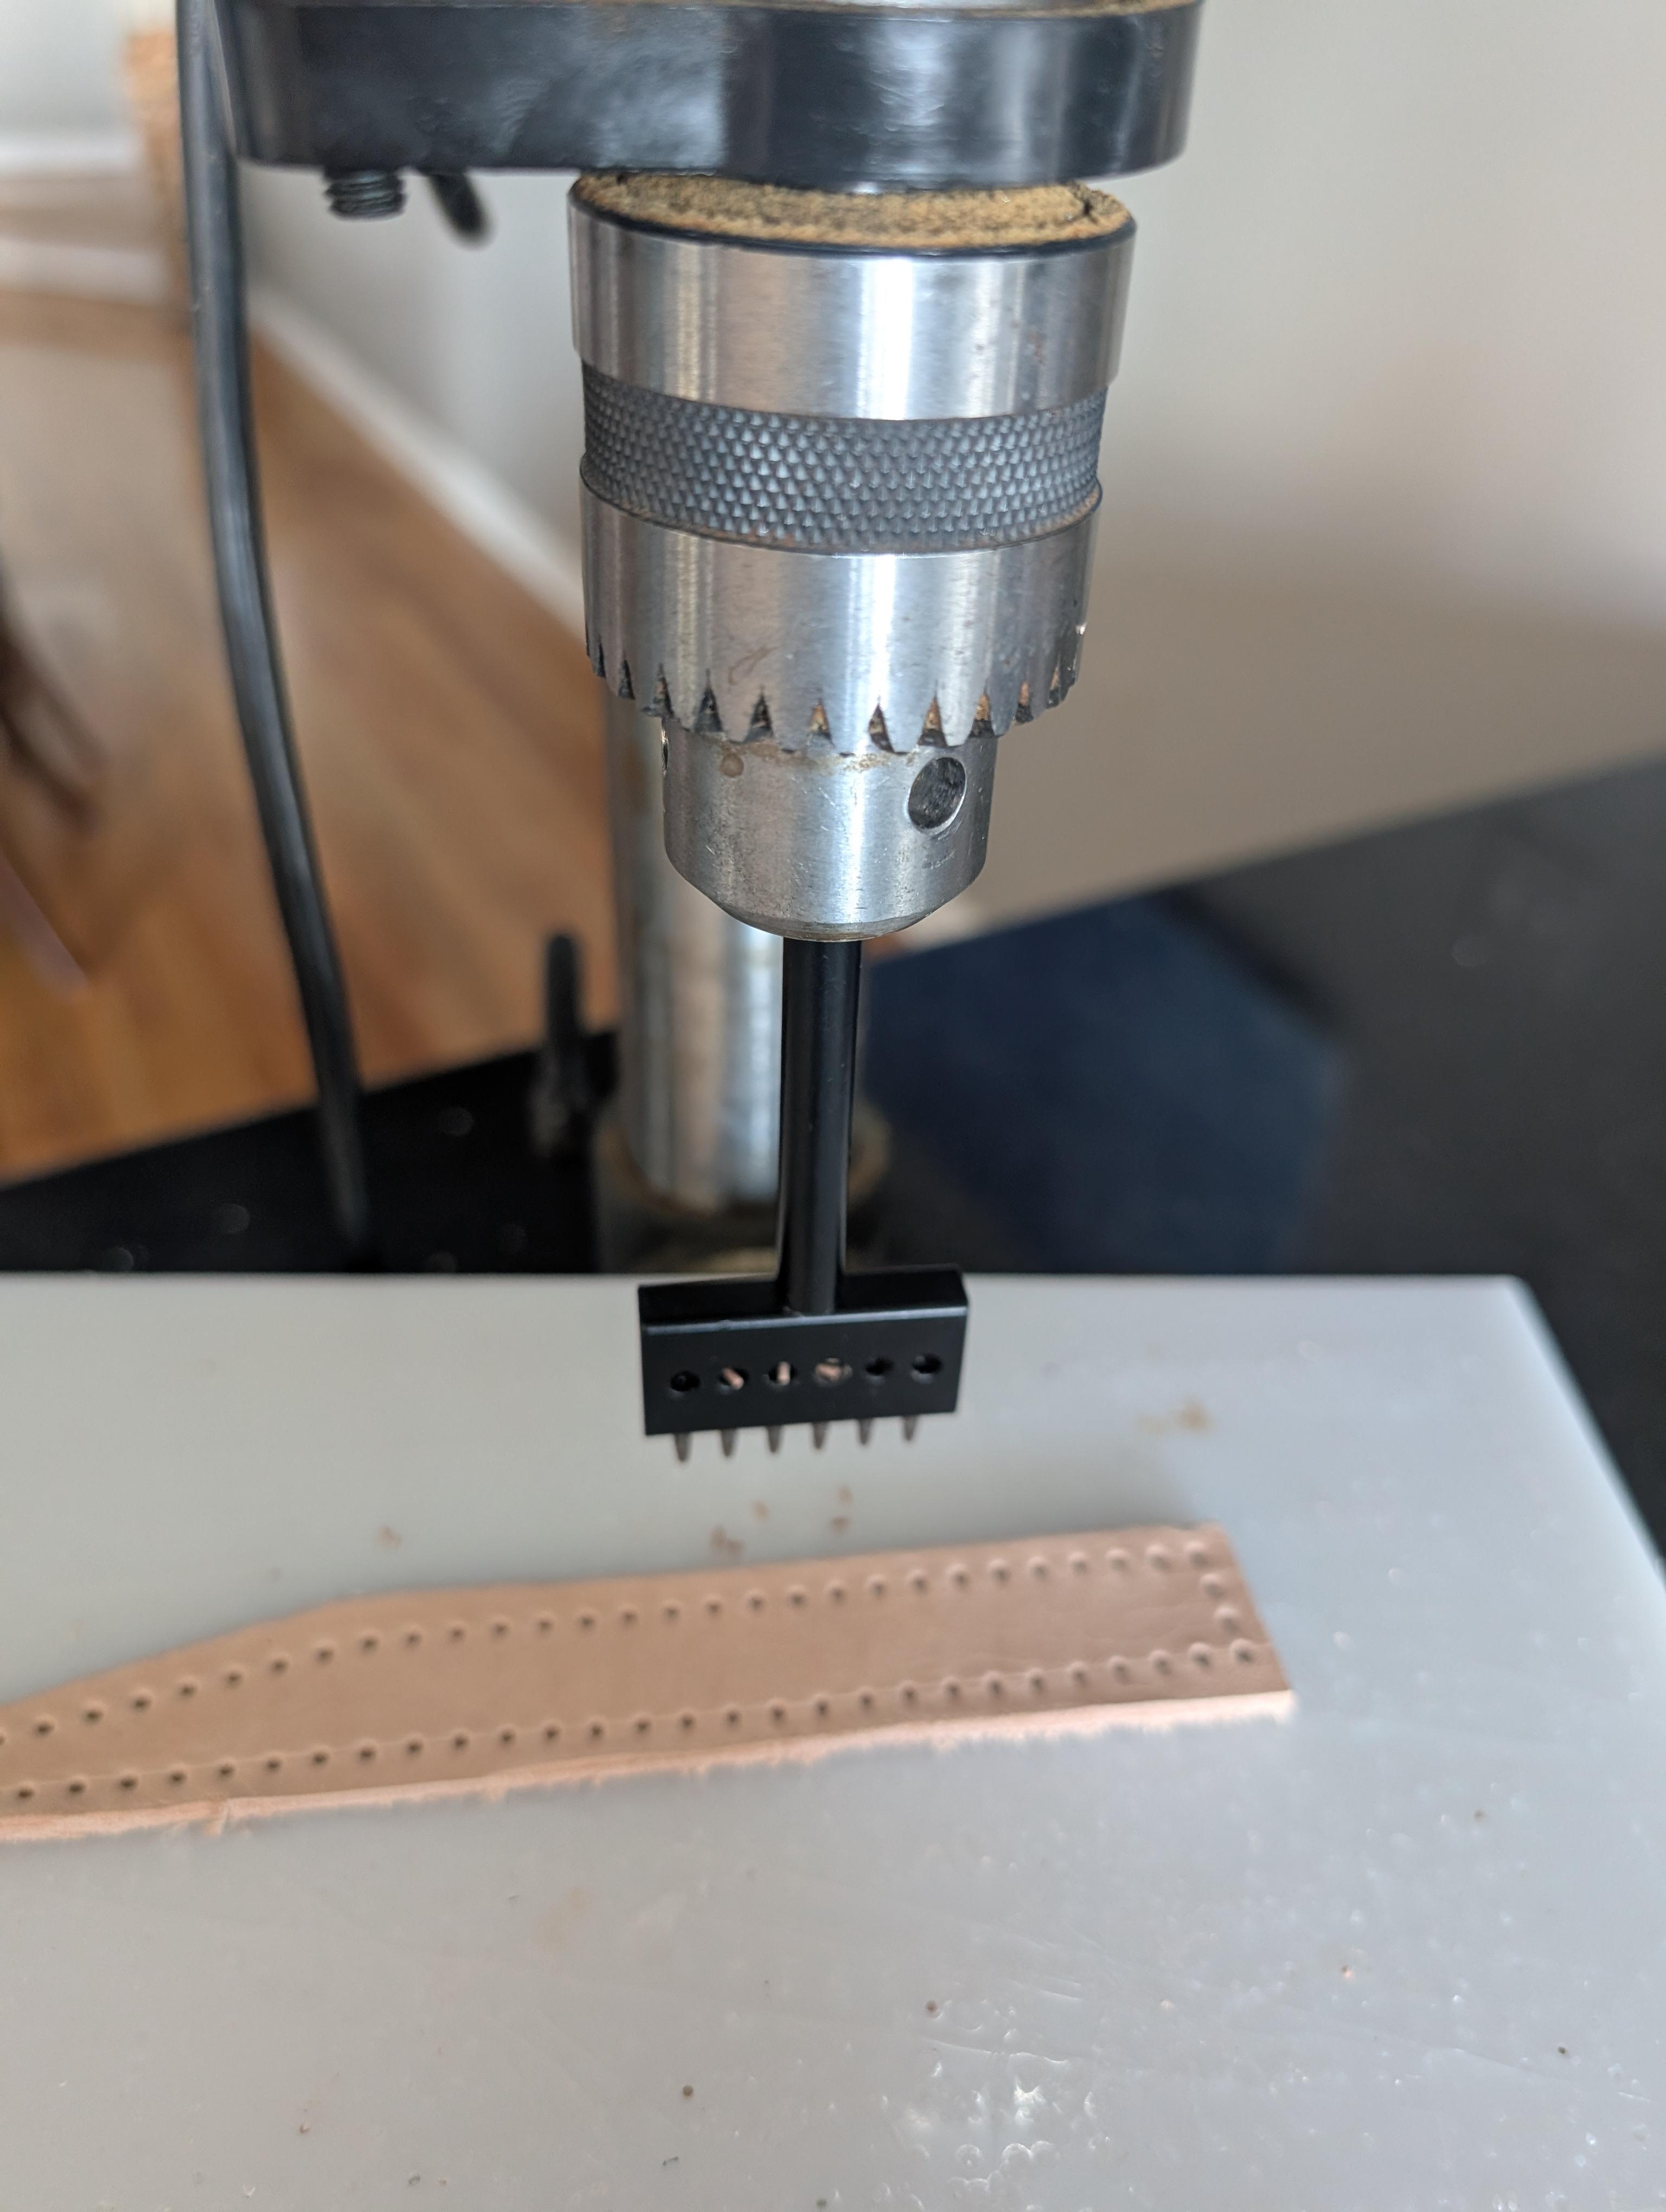
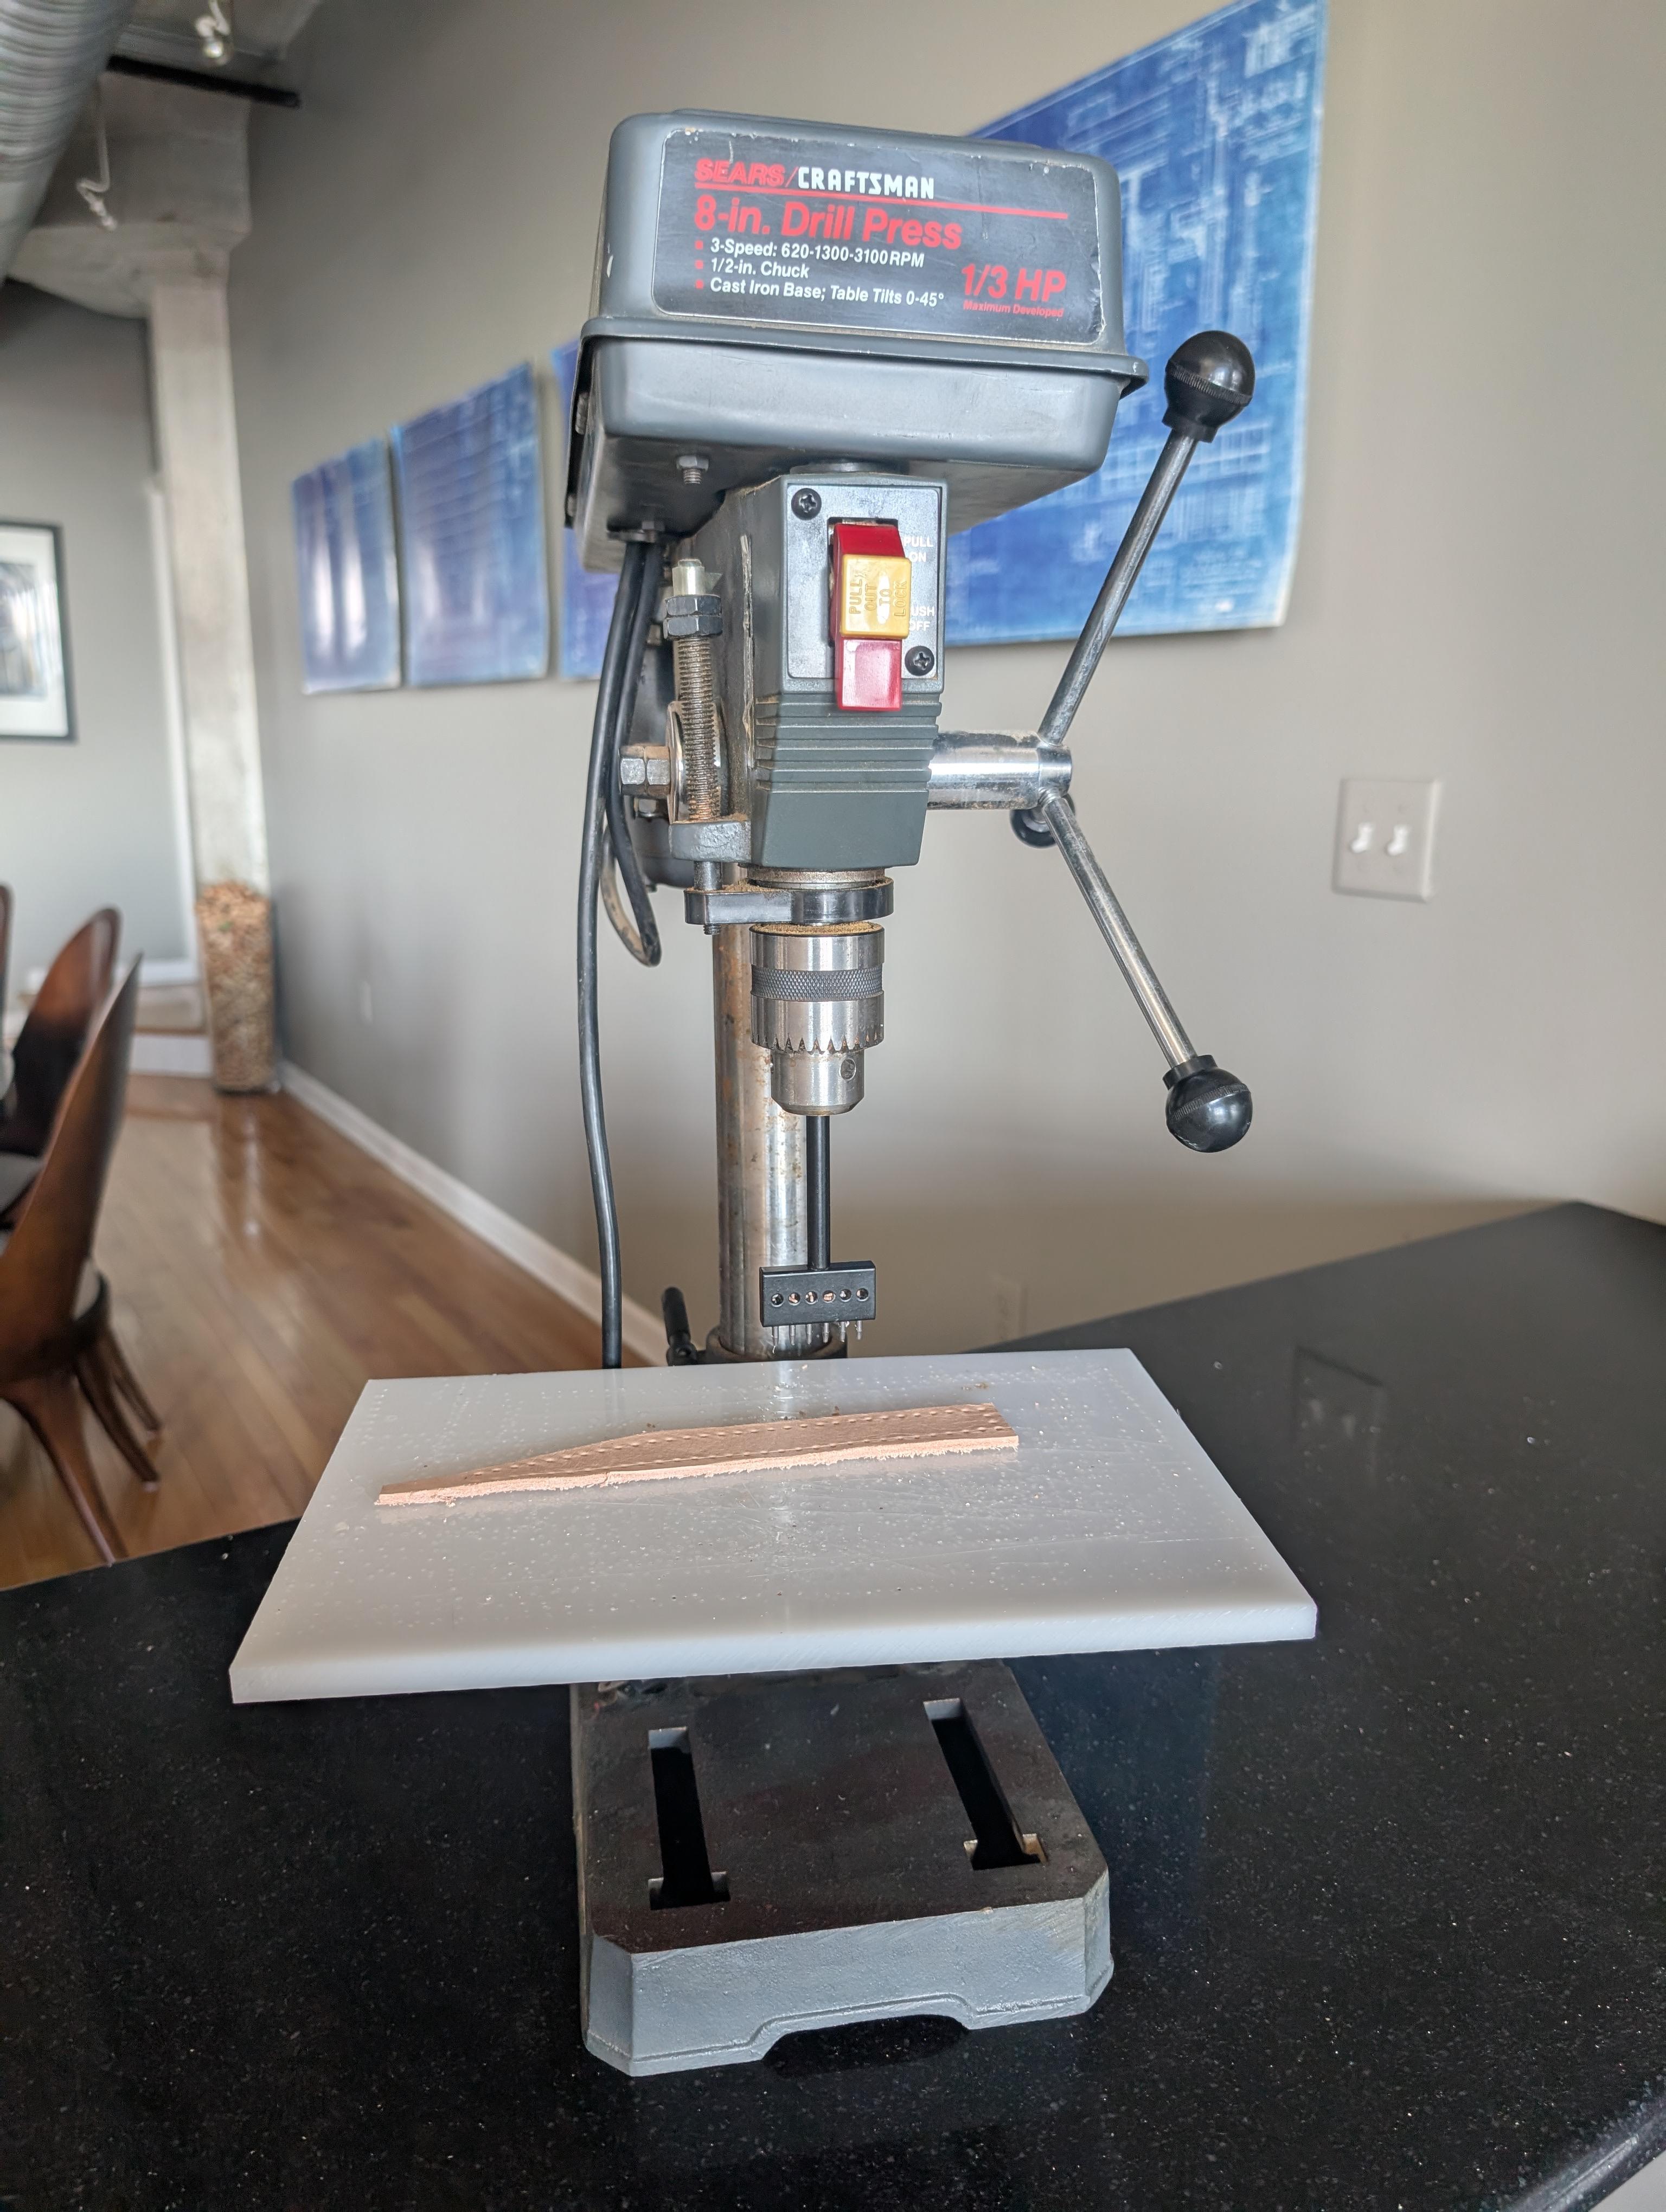
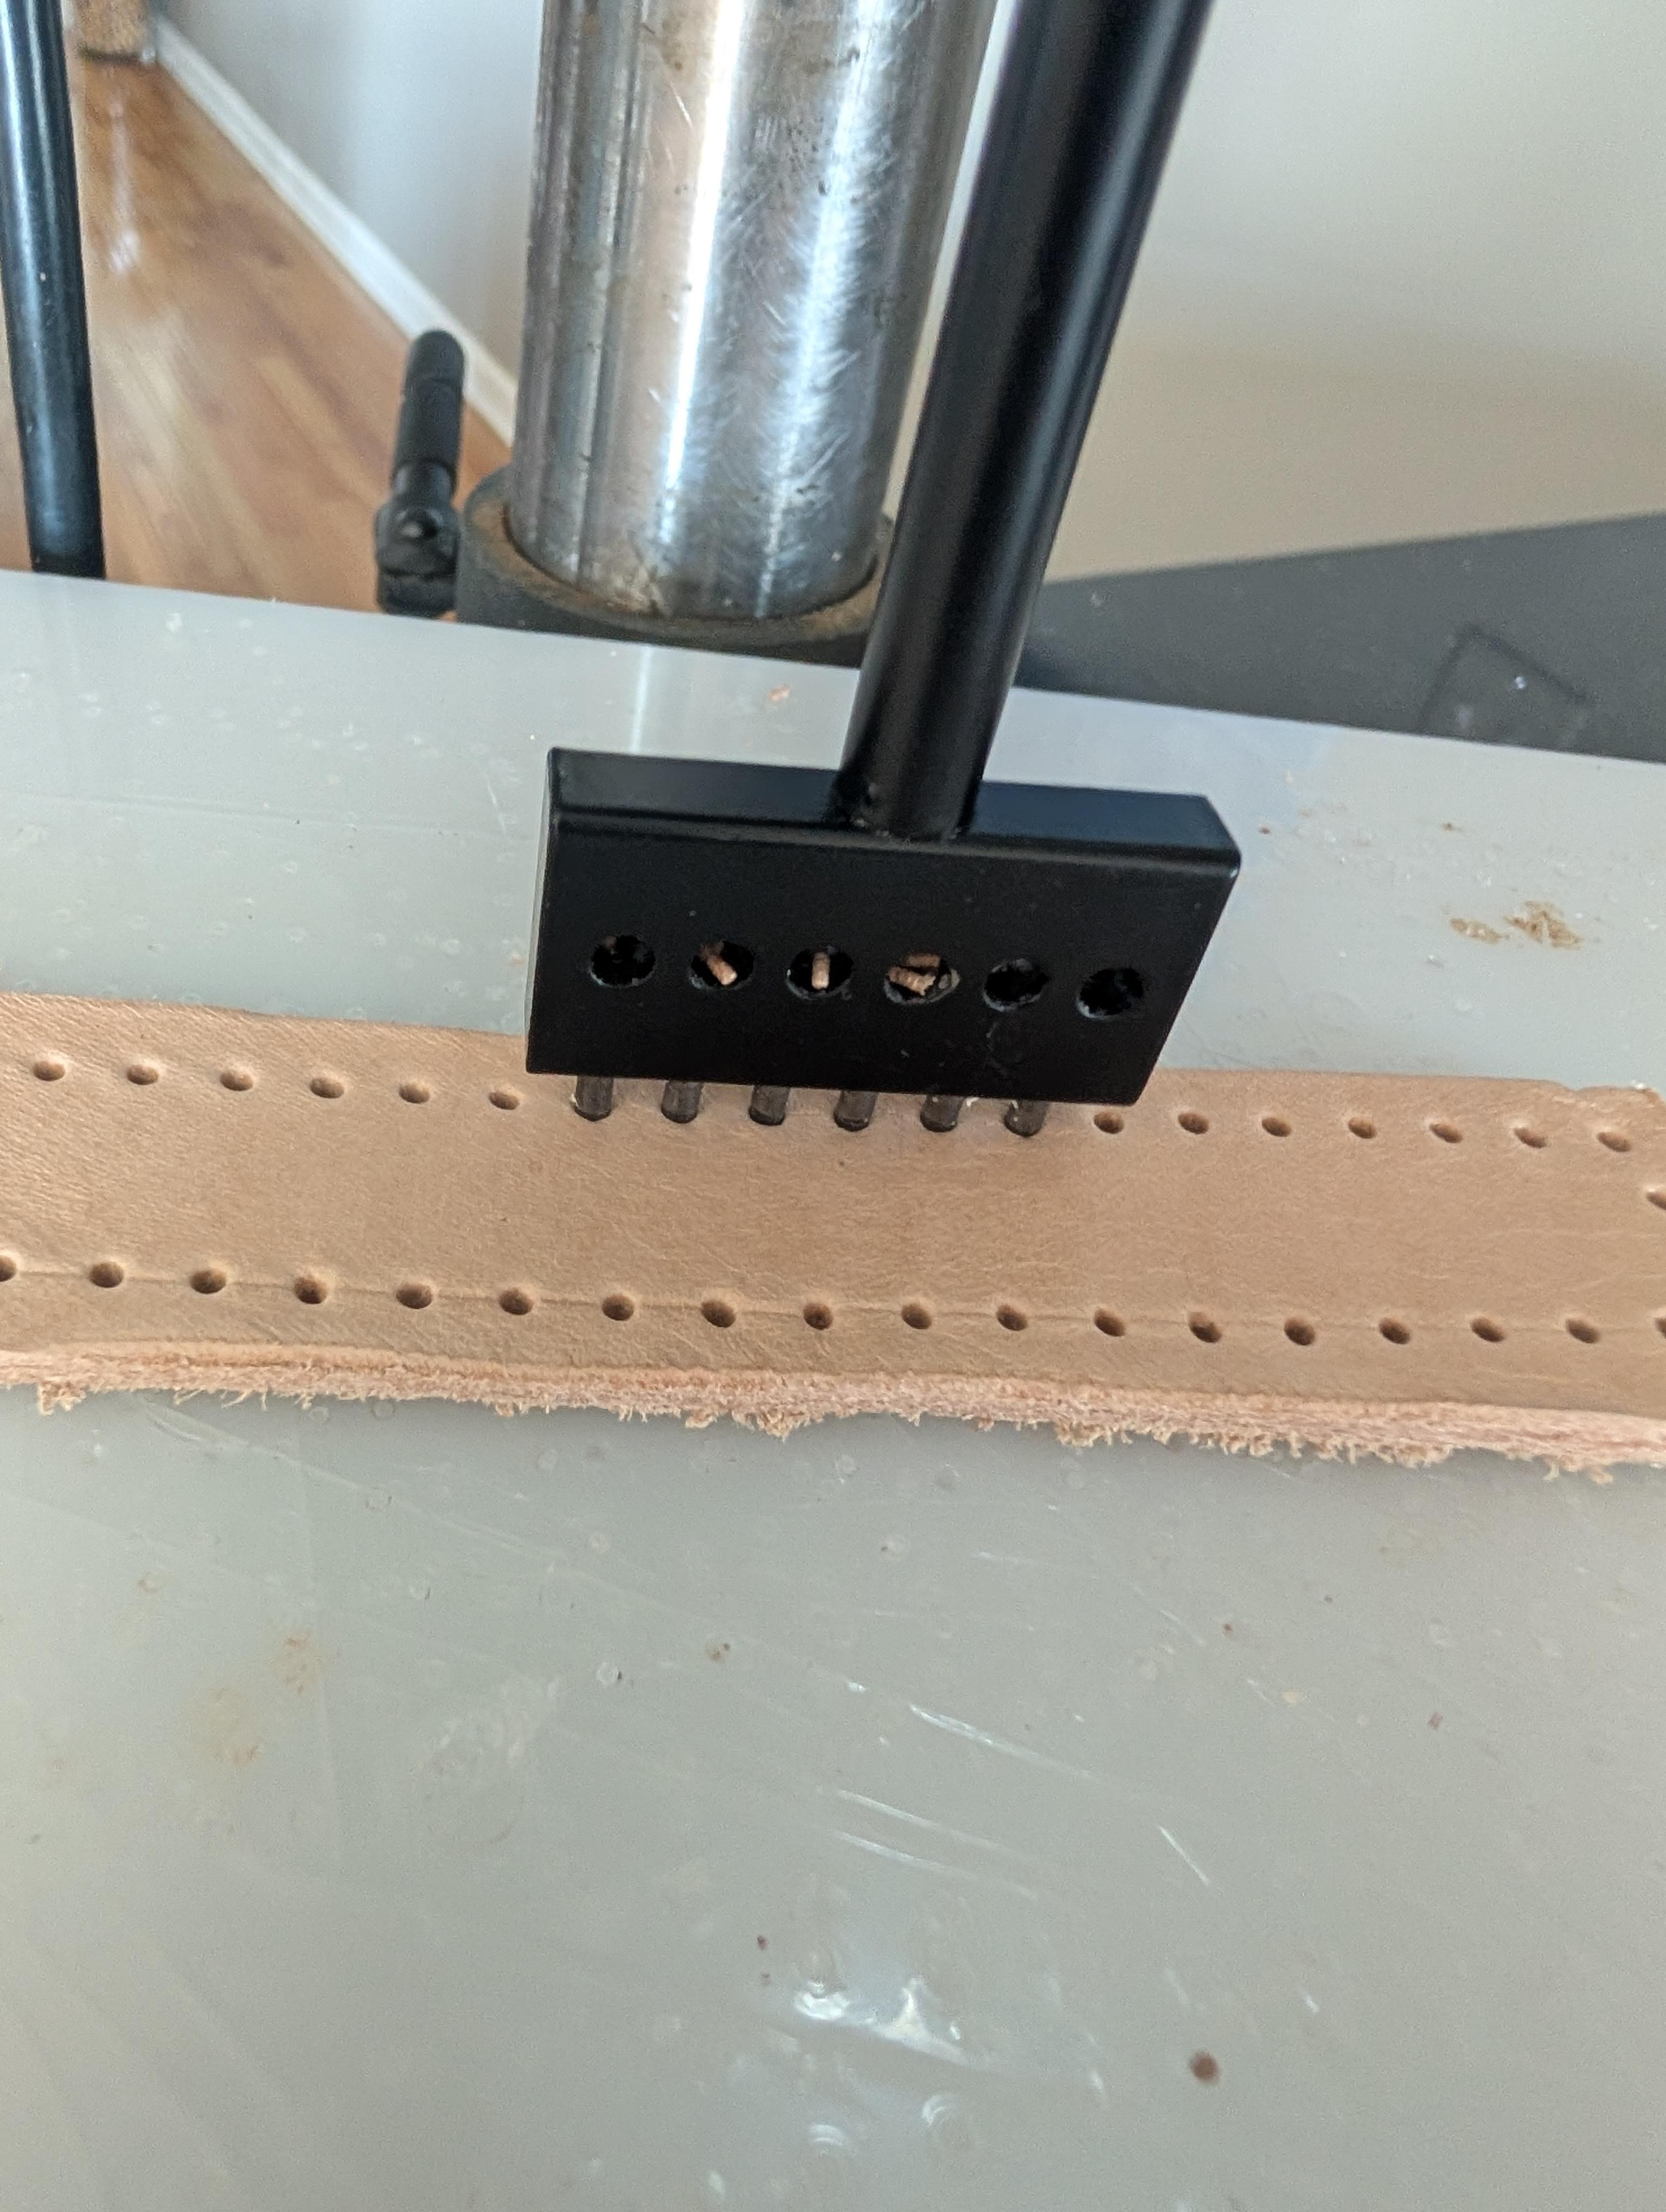
I haven't searched that way before. Thanks for the tip. I'll give it a try. I just put my 5mm hole punch into the drill press and didn't turn it on. It was easy for me to go through this heavy leather just pulling down on the handle. Is there a benefit to the spinning other than making it easier to go through the leather? Using the press like this is a game changer for me. I think I'll be able to get my stitch lines straighter and do it without damage to my body or upsetting anyone else with the noise. Working with heavy leather, I can probably go faster too vs hammer the 6 prong punch 4-5 times to get it through. Maybe I'll invest in a dedicated press eventually, but for now I can use this and get good results. I'm not sure if the drill chuck's ability to spin with the punch in it is a good or bad thing for this yet.
-
Yes, but didn't see anything. Maybe I didn't look hard enough or maybe this is the first post on the topic?
-
I'm sure someone else has already thought of this and it might have been posted already. I put a six prong hole punch into my drill press and it works really well. I was considering buying a press so I could avoid waking up the neighbors and the jarring to my hands/arm from hammering. Some of my mistakes on my first project were a result of shifting the punch ever so slightly as I pulled the hammer back to hit. I think this is an approach that will help me and maybe some others.
-
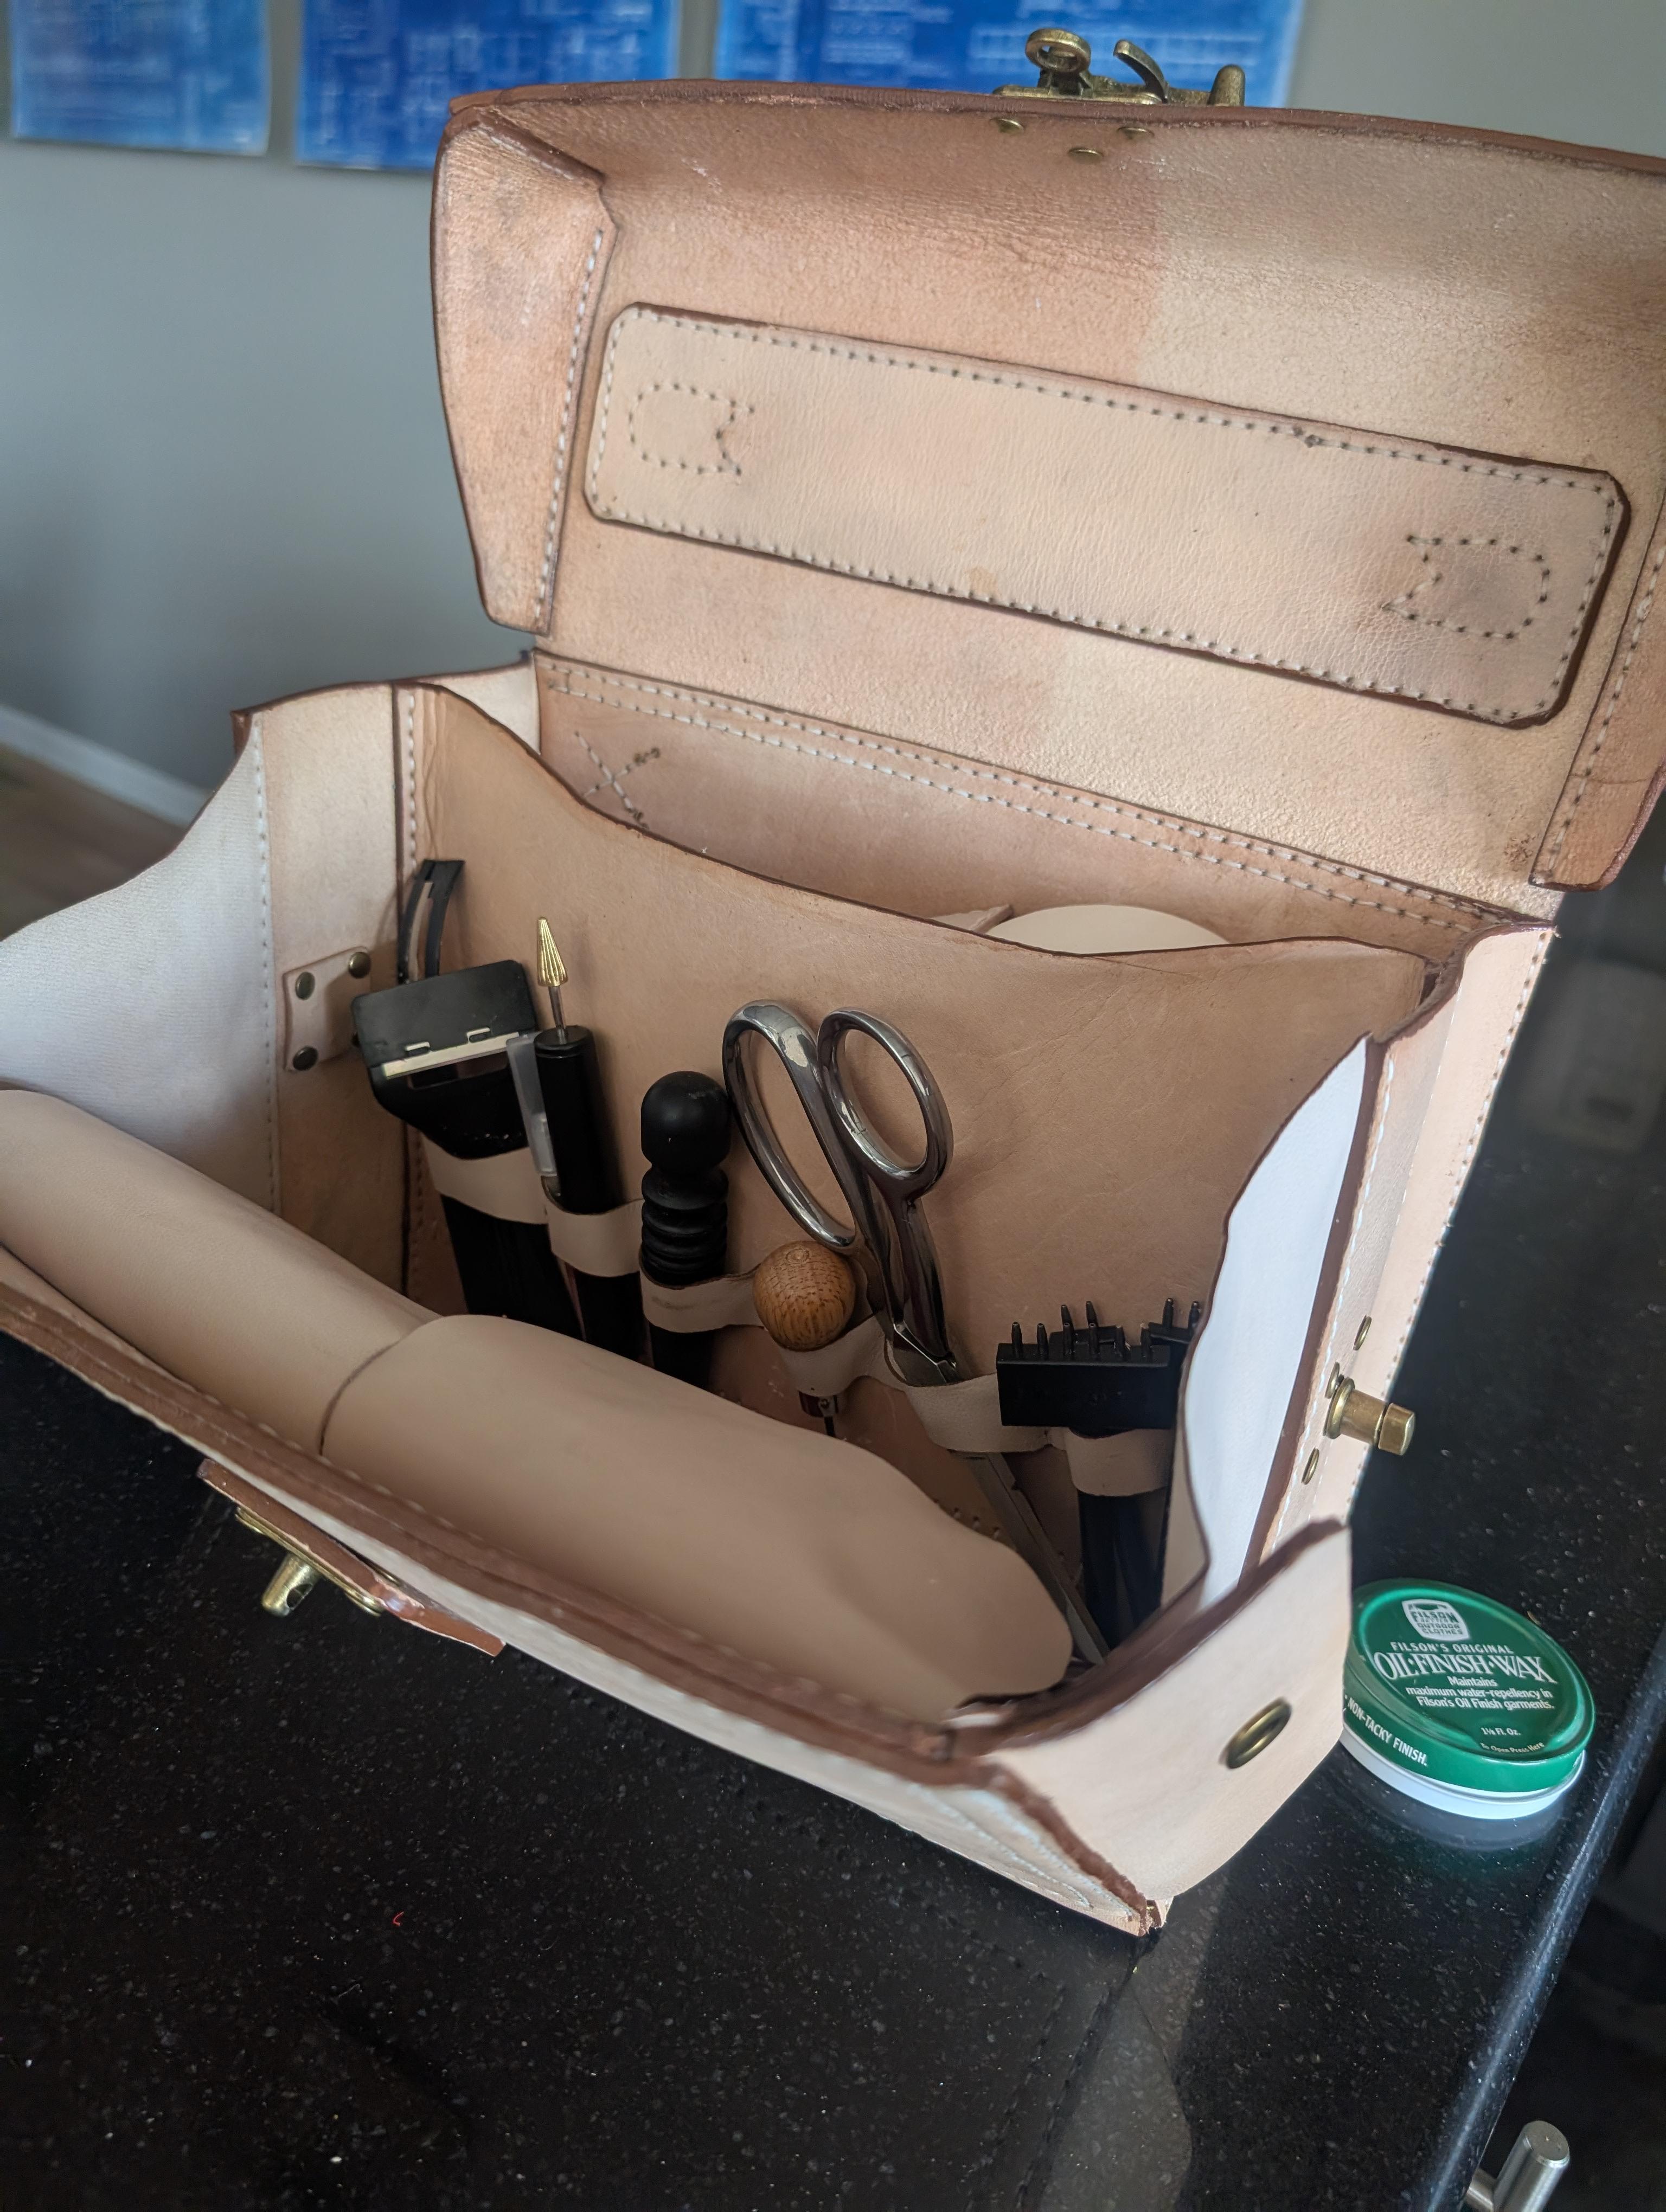
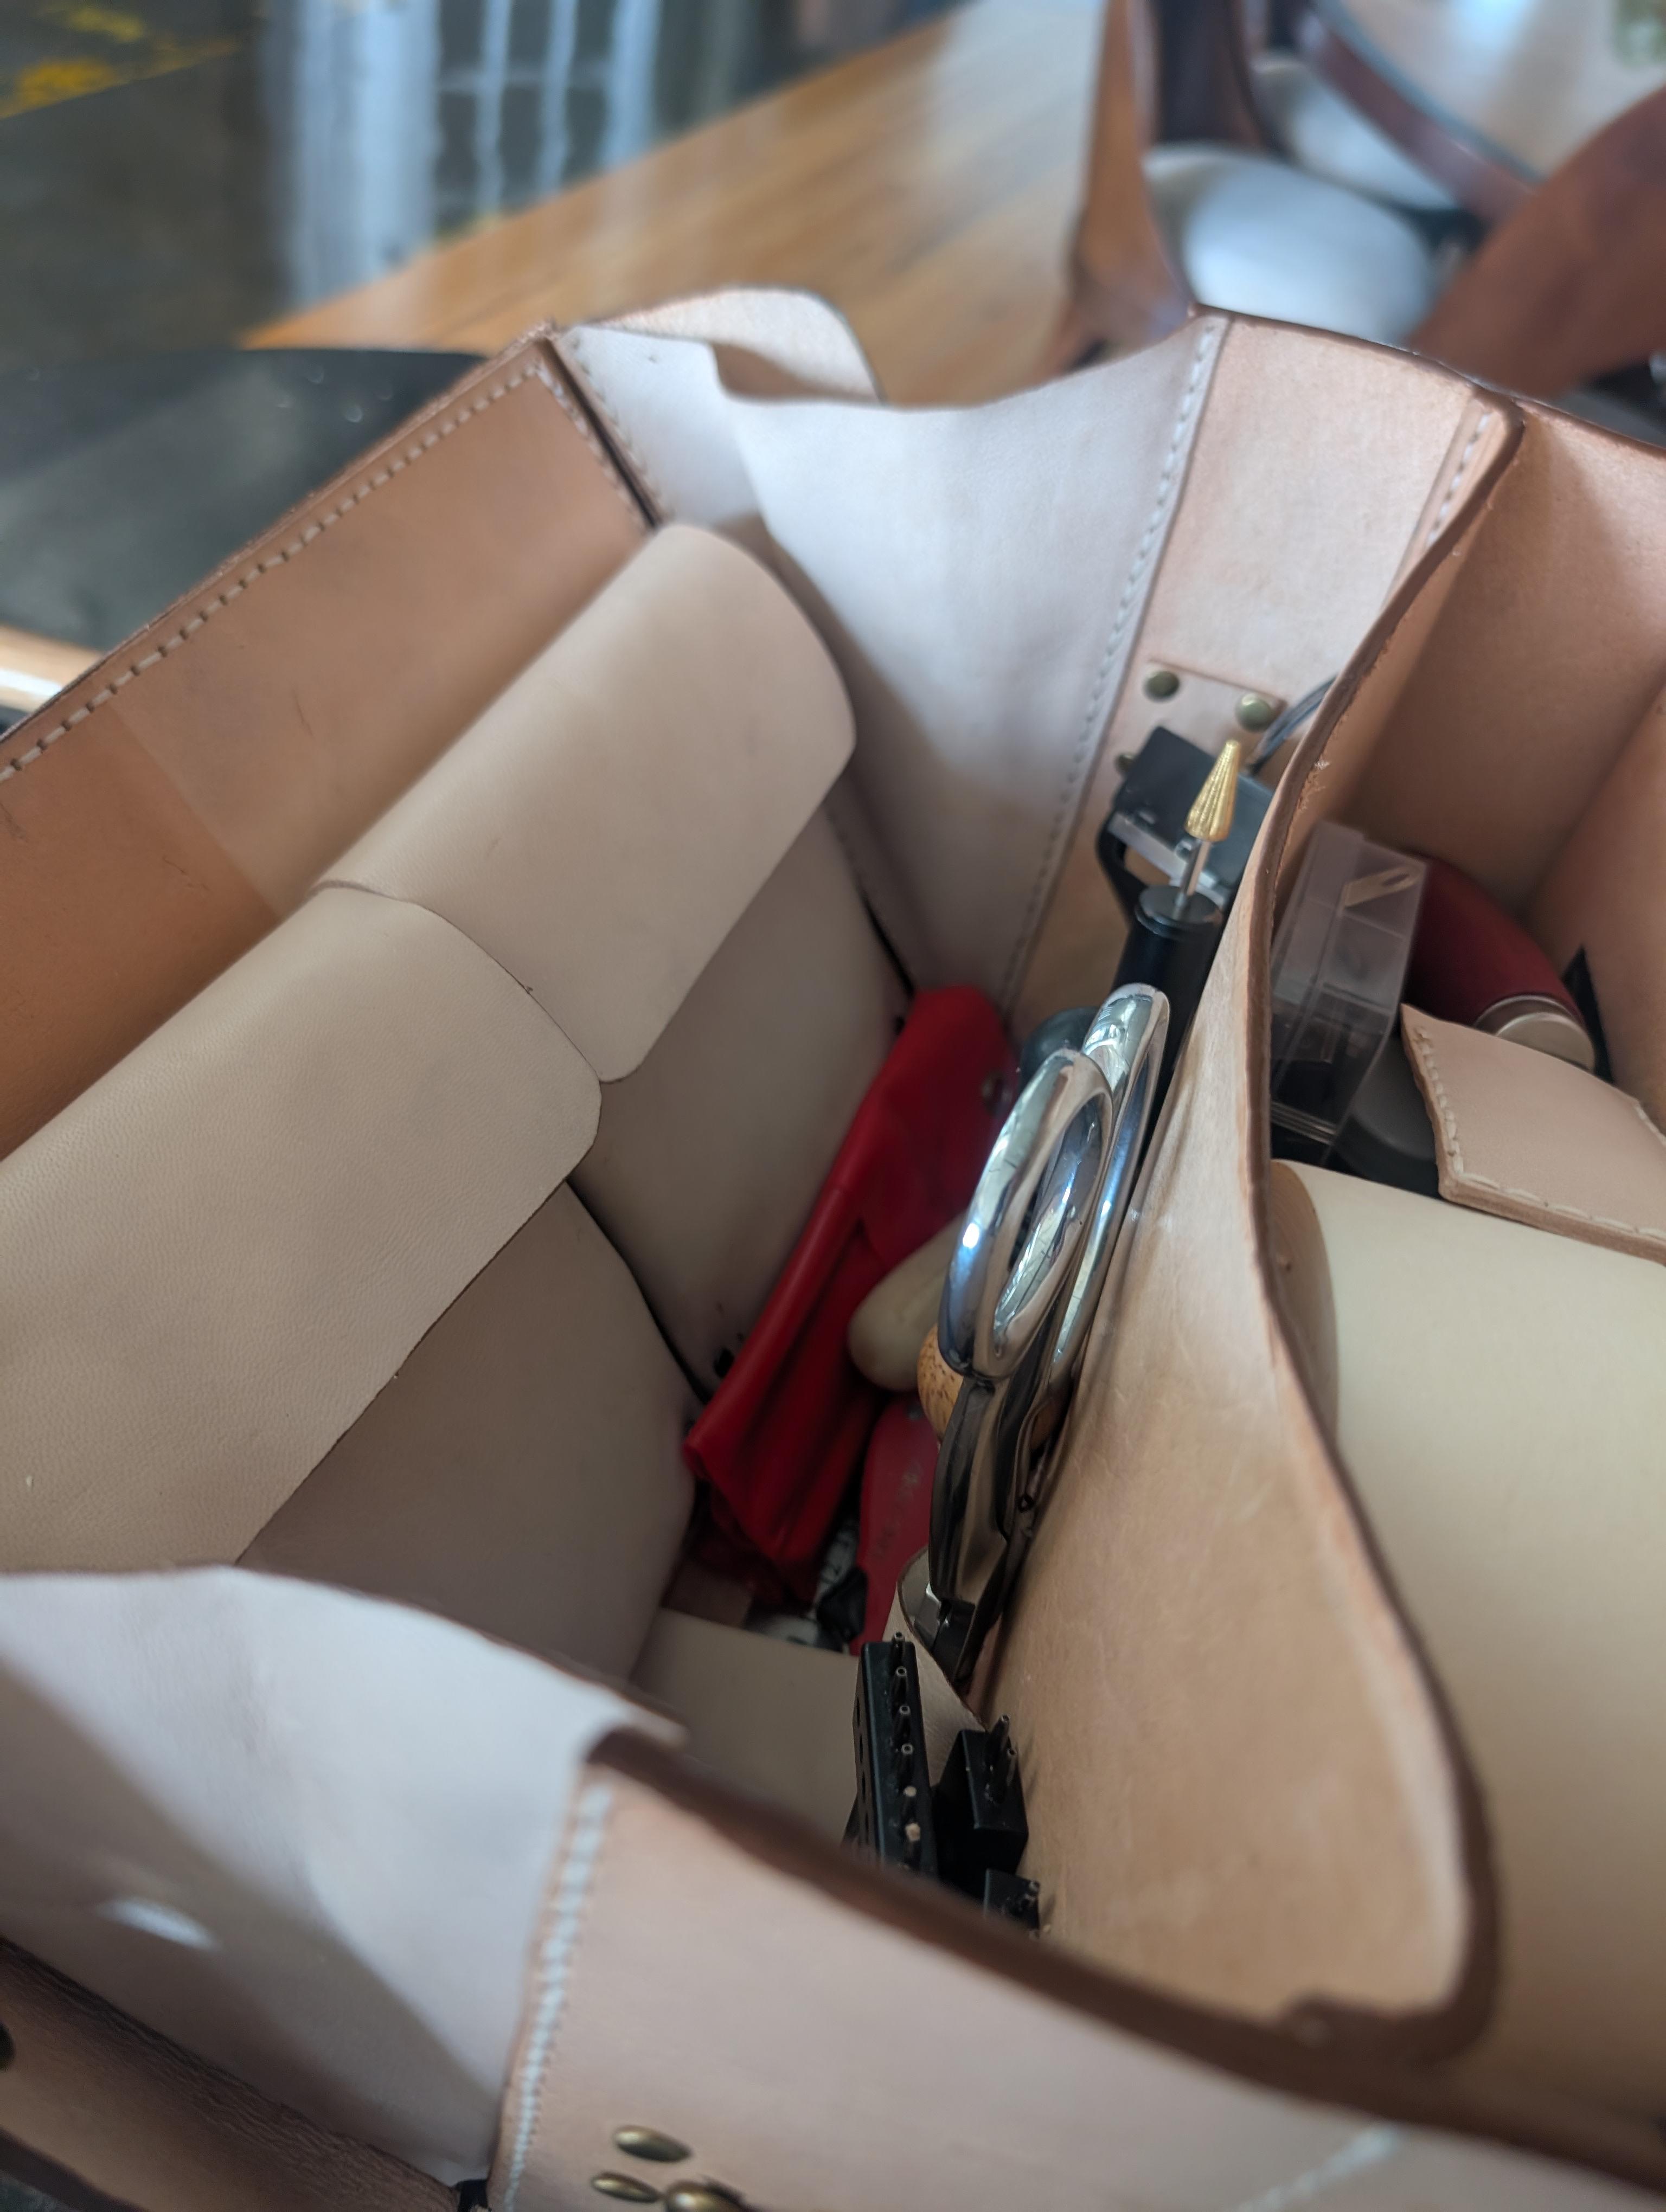
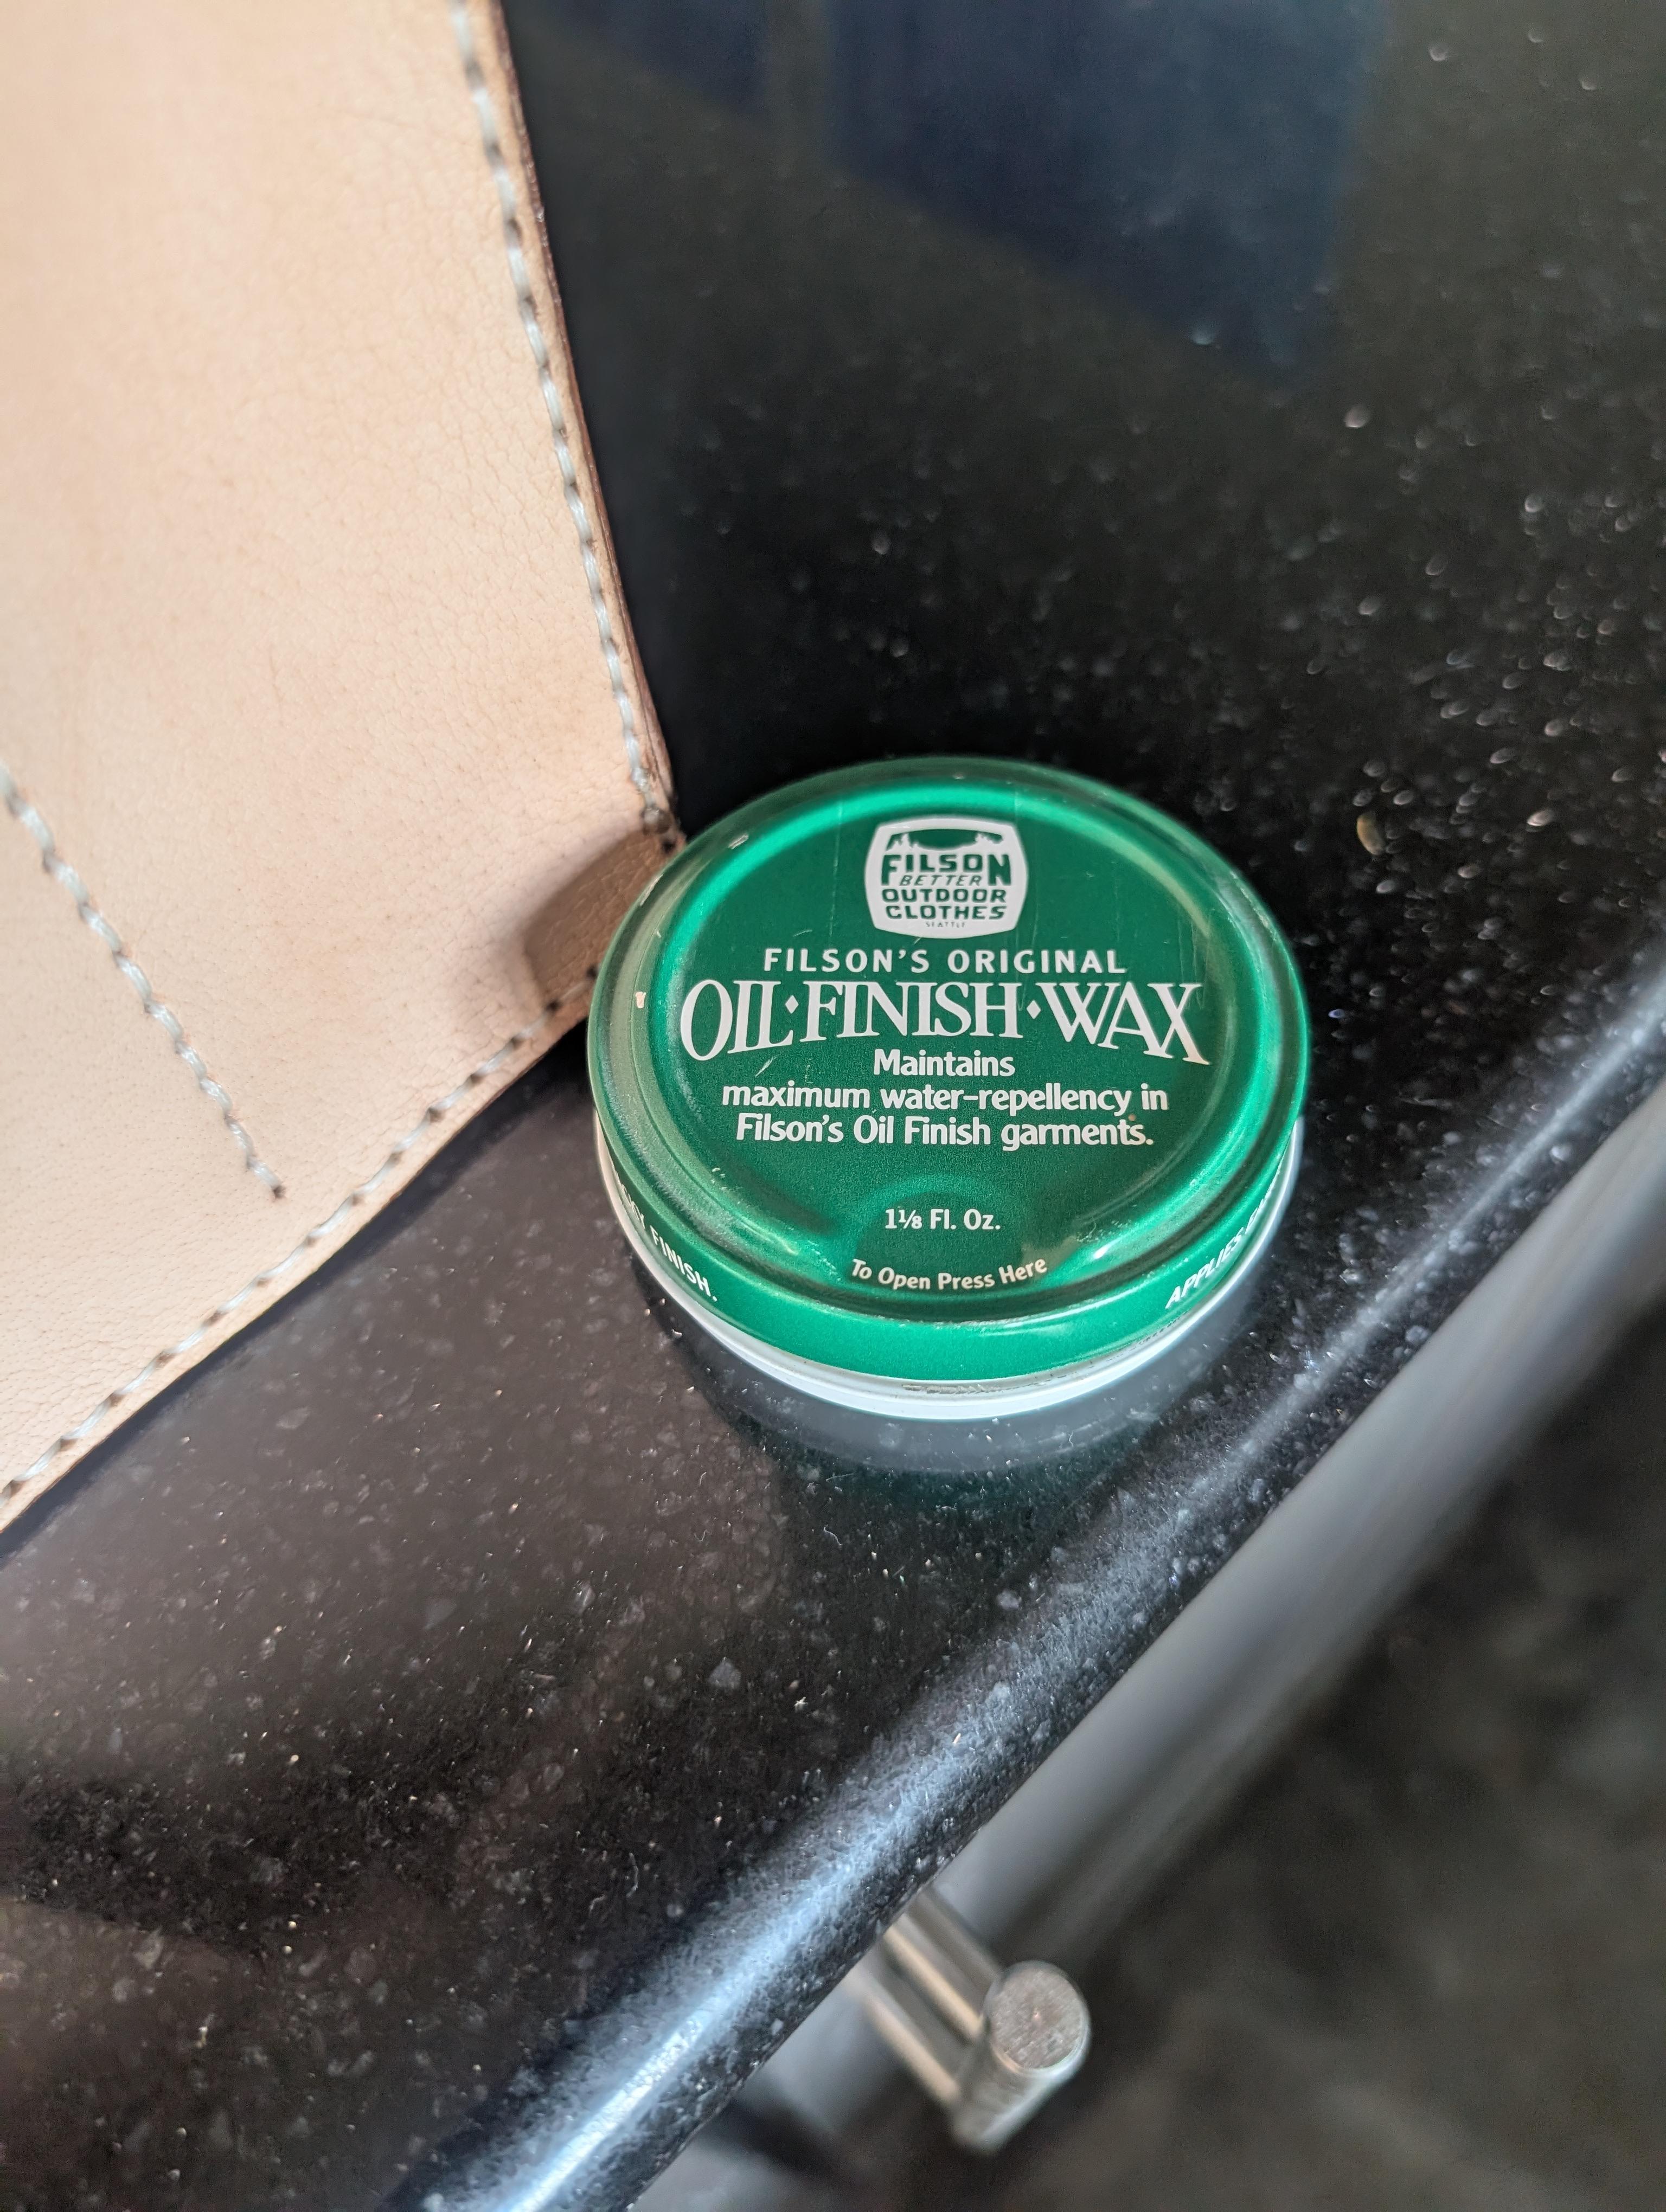
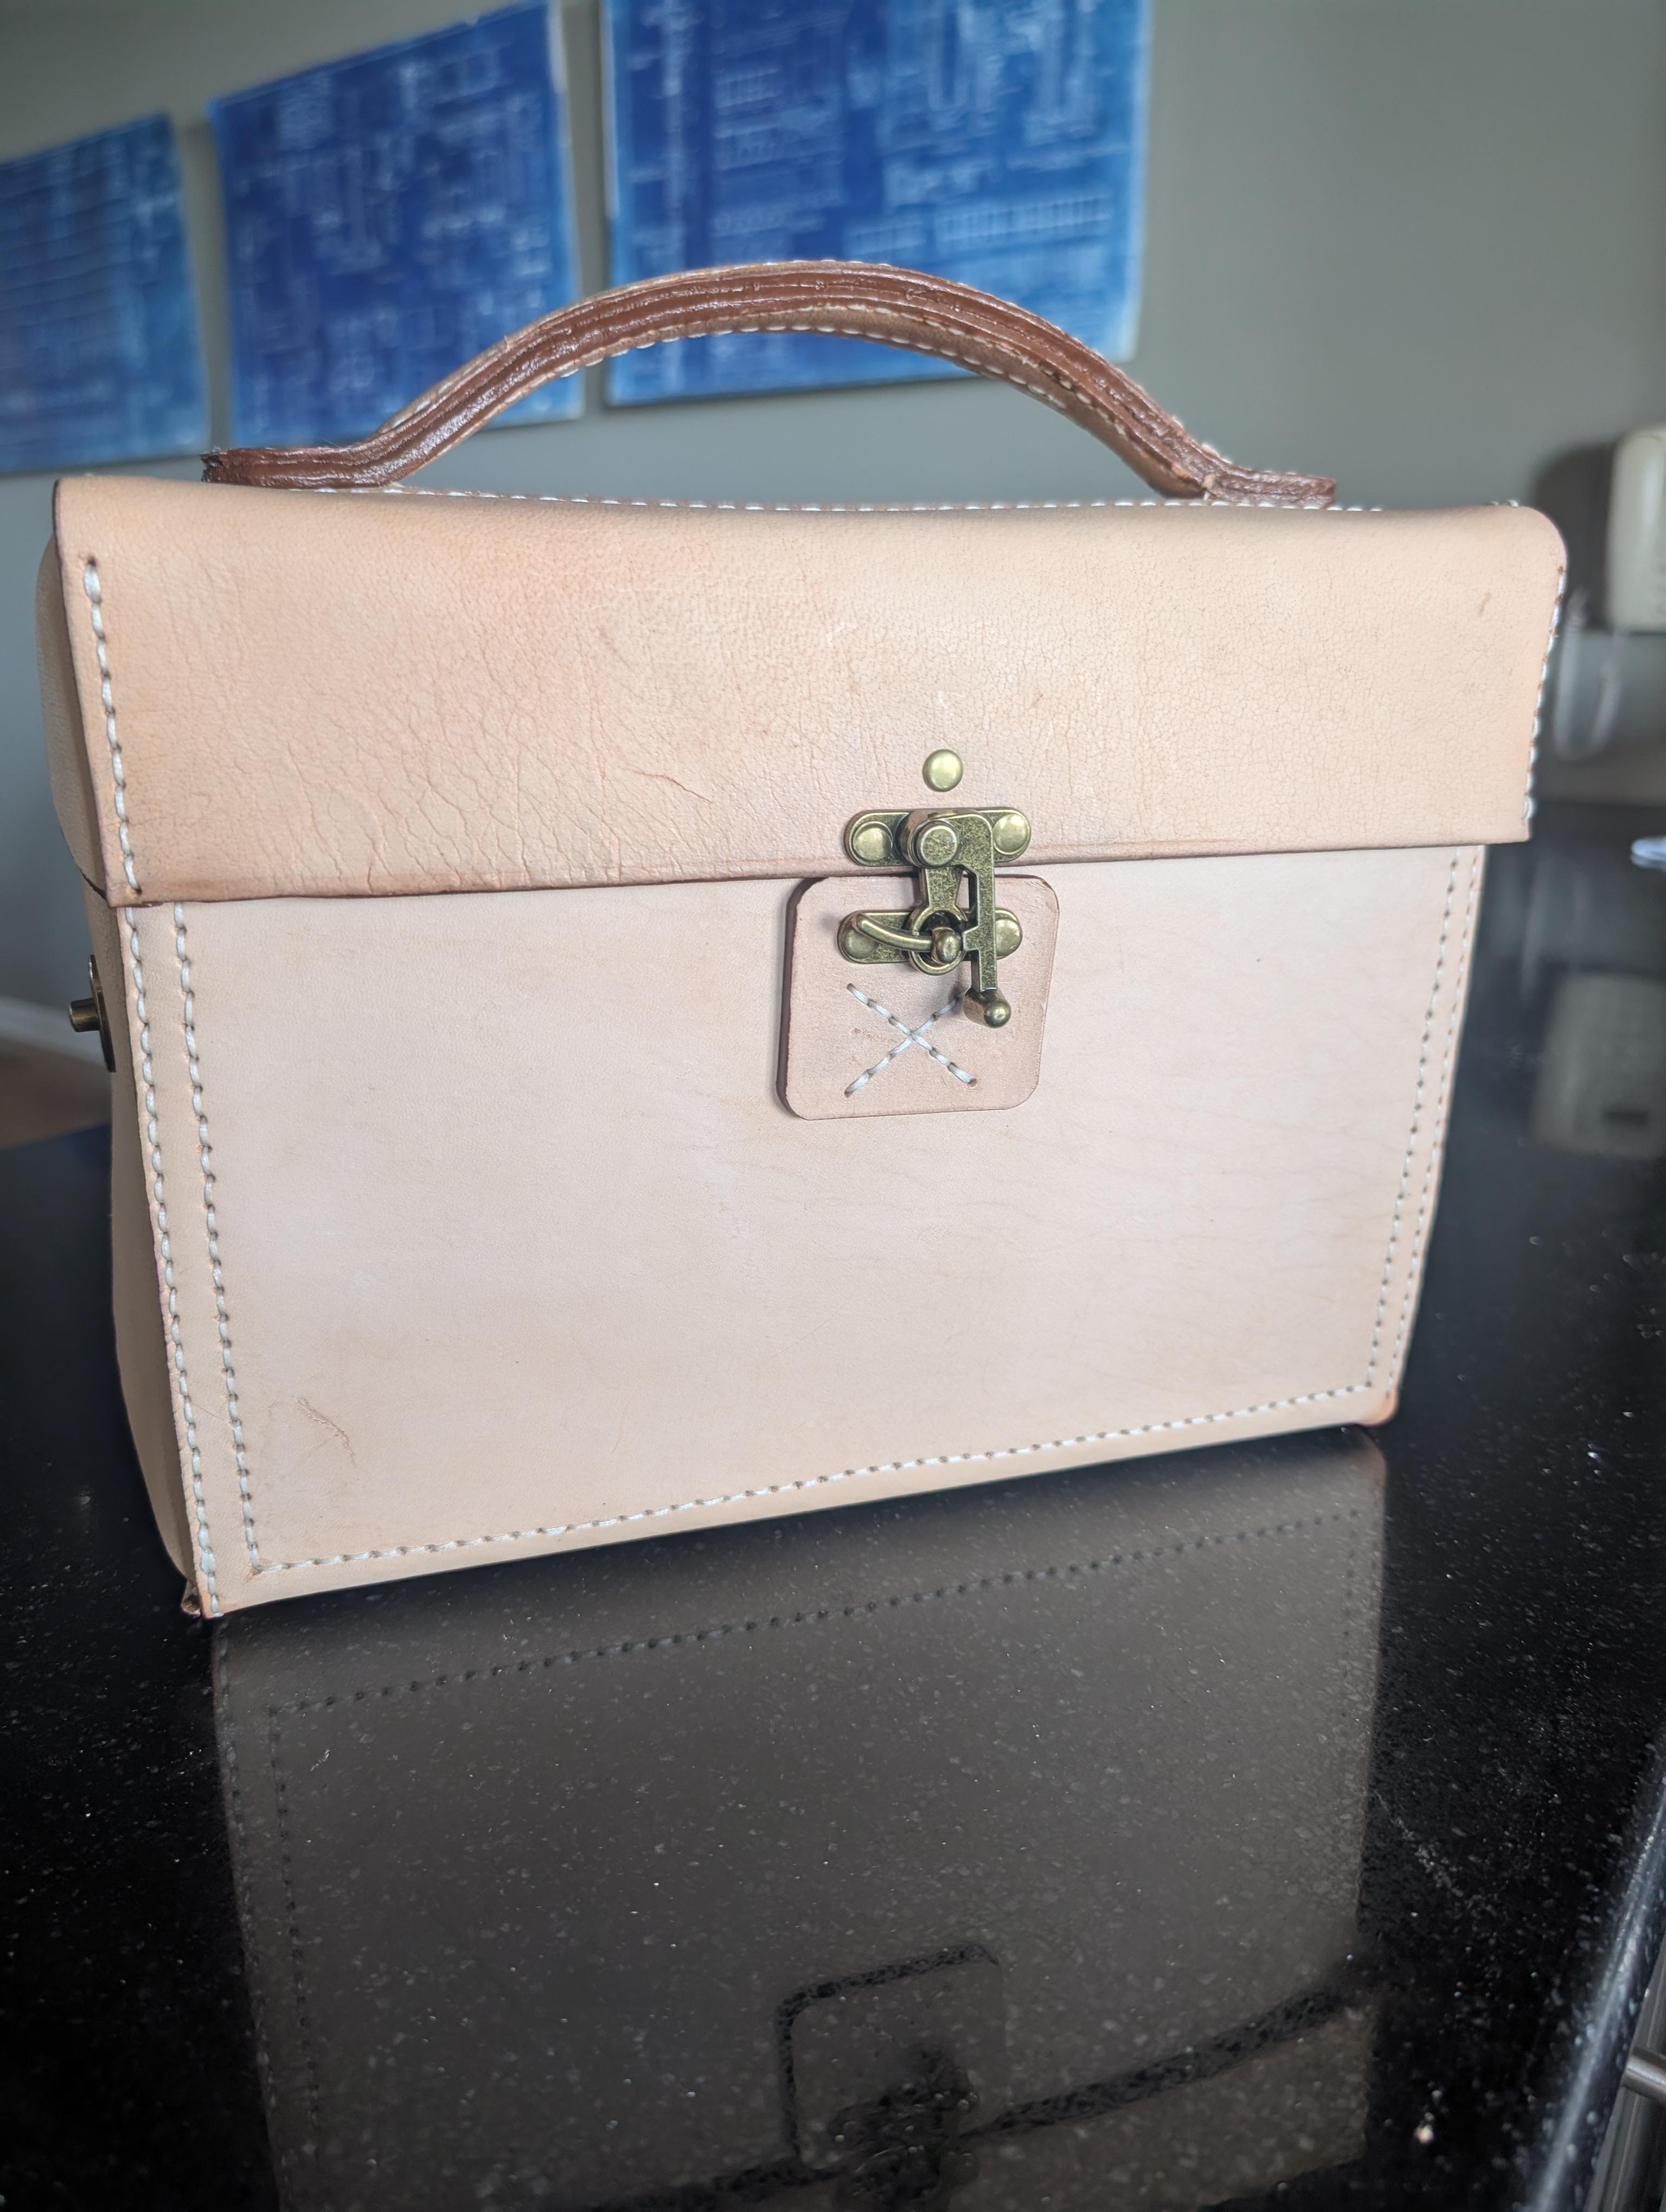
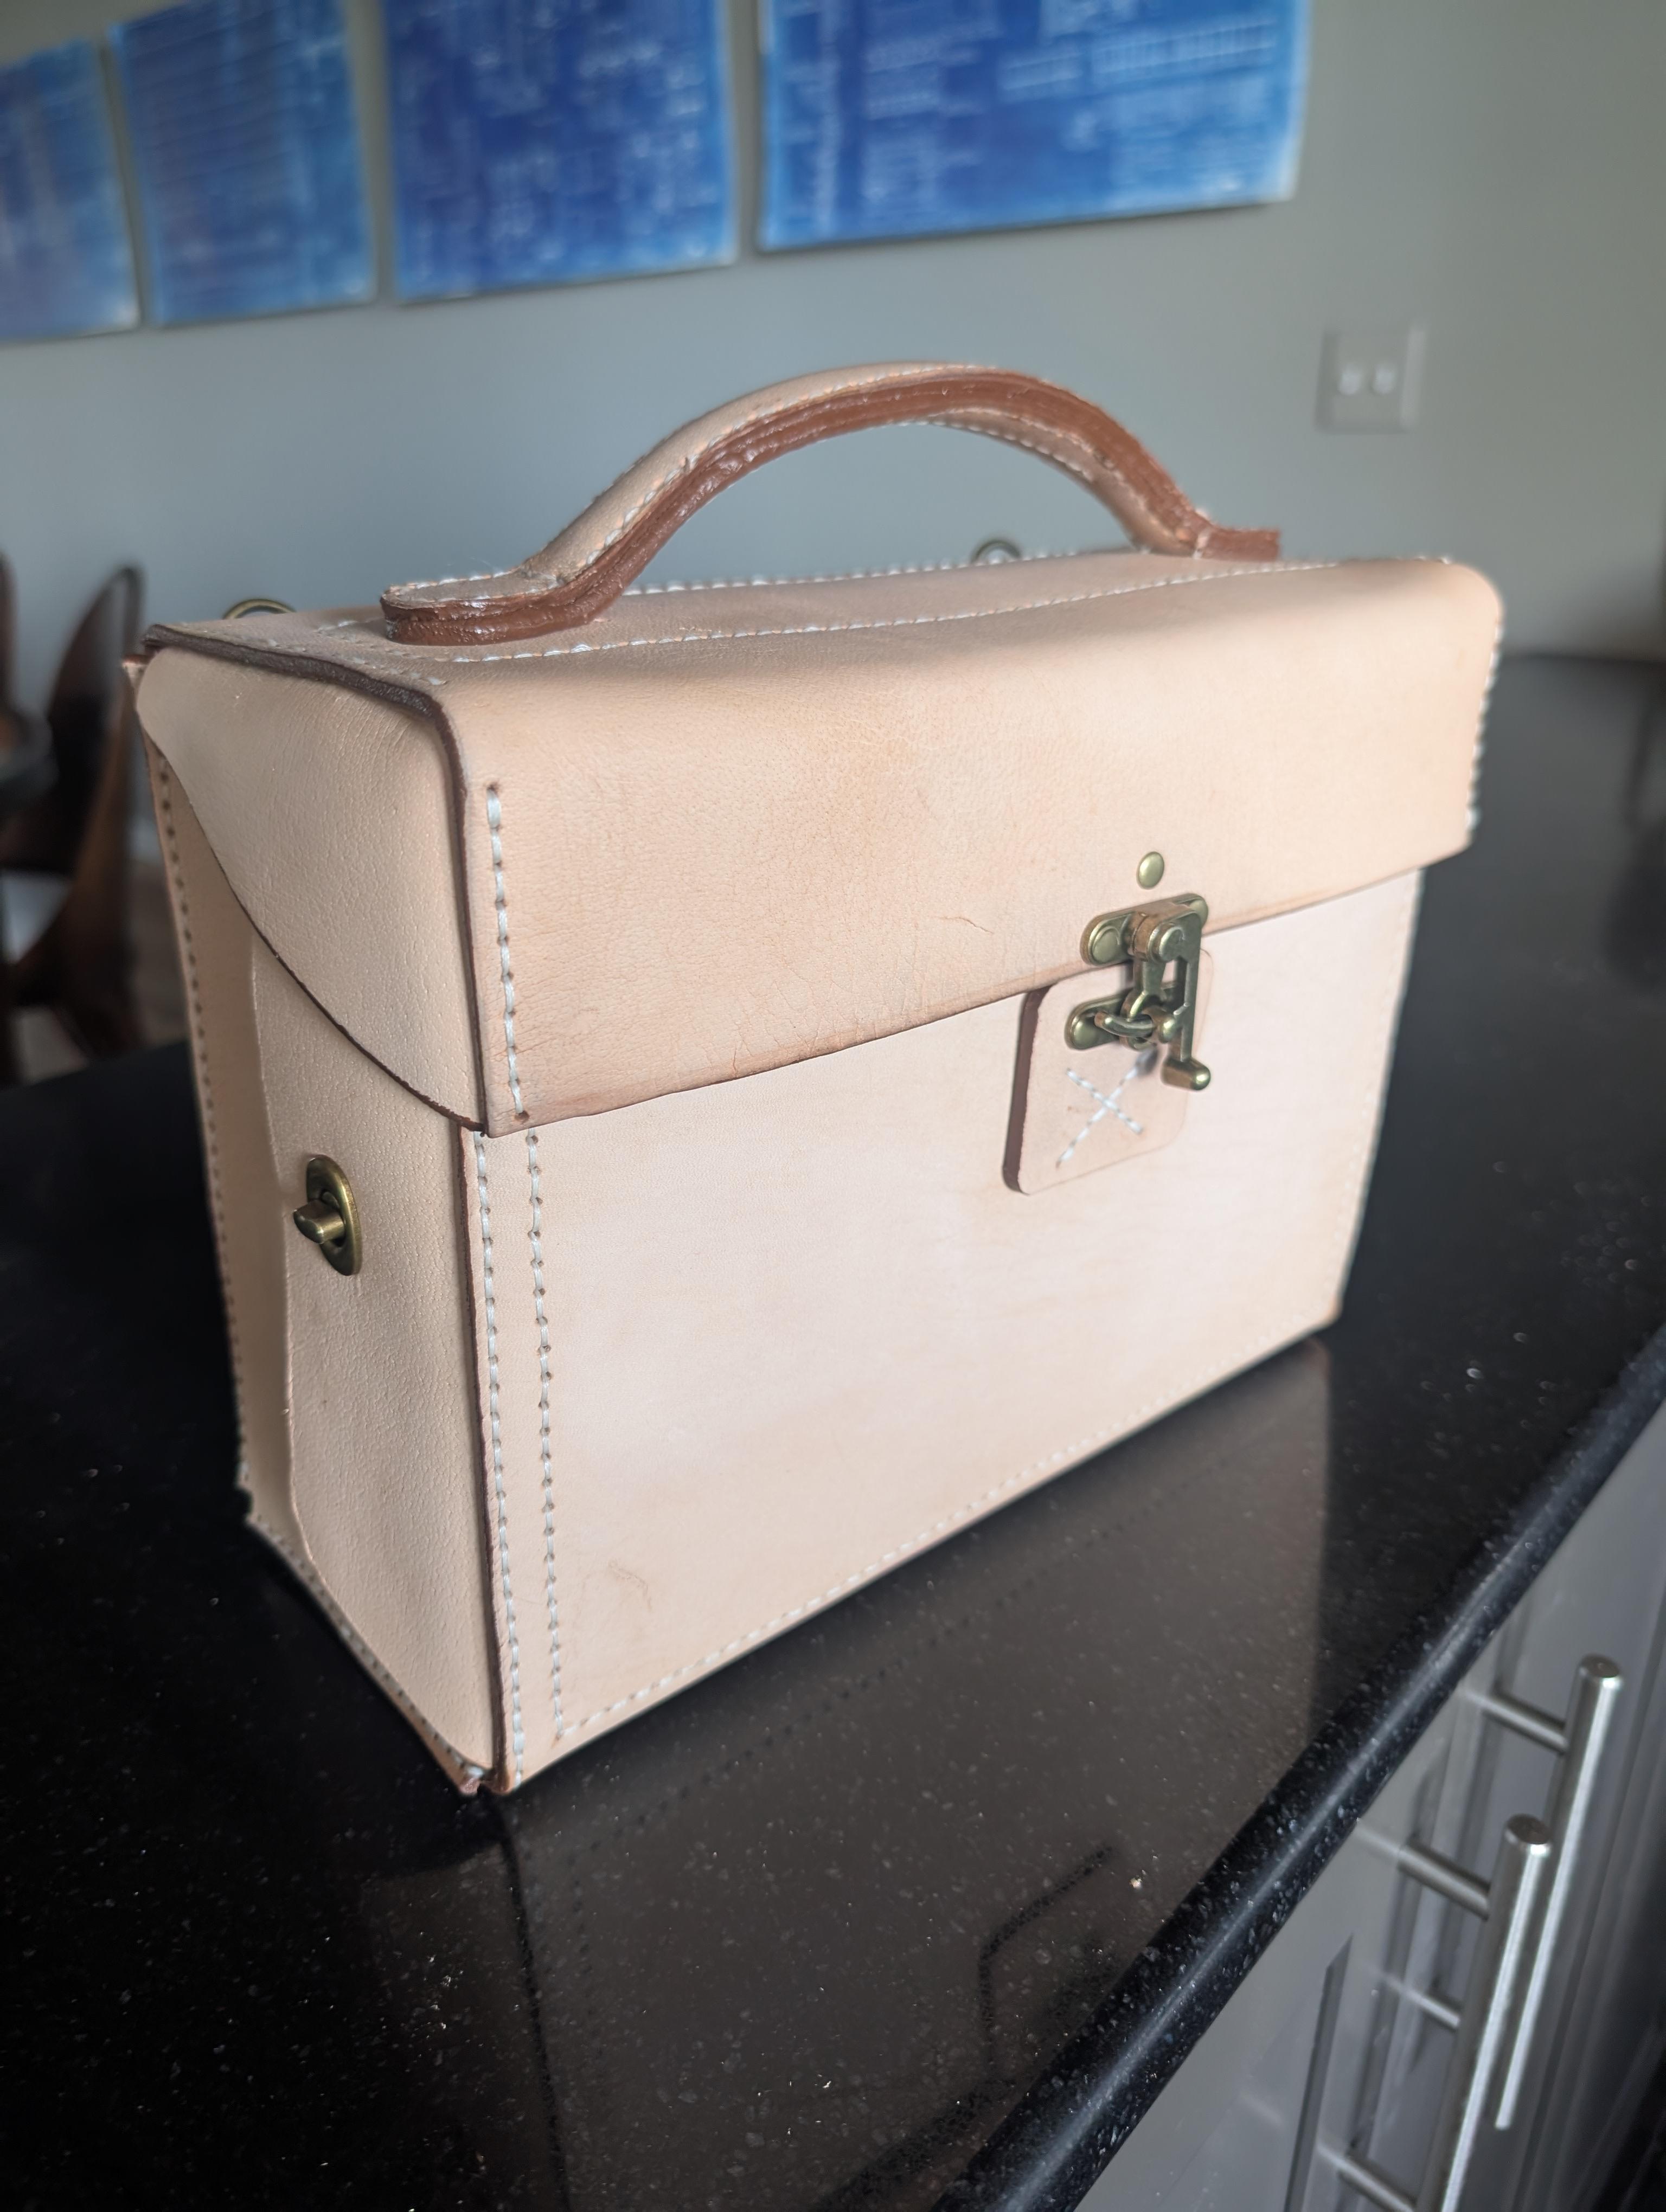
The pattern called for 7-8 oz veg tan. I bought the thickest I could find at Hobby Lobby called tooling leather; I'm guessing 3/16ths (4.5mm?) inch thick..maybe 12-14 oz? Much thicker than what Tony (Diesel Punk) used in the YouTube video. I thought a tool bag needed to be thick and tough and at this point had not been to a real leathercraft shop where other options are available. I used a 1, 2, 4, and 6 hole punch for the holes. It took probably five hits on average to get the 6 hole punch through. I'd say I'm above average in hammering strength. I wore noise canceling headphones throughout or I might have had hearing damage. 1.5 mm holes and 1mm white waxed thread off Amazon. The edge are painted with brown ArtMinds edge paint. I bought a little roller tool off Amazon and it got a little sloppy...the roller head keeps falling off. I used a fine beveler. I was hoping for better results overall. Most of the edges are not even and my stitch lines are not straight in several areas. The leather didn't bend as nicely as I hoped where the side and the front/bottom/back come together. Cleaning up the leather from my dirty hands caused some creases/wrinkling on the surface. The handle is the worst for part for bringing two edges together. The leather edges were pulled inward instead of making a nice square edge. The stitches were too close to the edge to sand and make it even...I would have sanded the thread. I didn't have an awl to start, but bought one and found it really helped with lining up the holes for stitching. I broke probably 10 needles. They kept snapping at the eye. Eventually I started using needle nose pliers to pull the needles through as my hands ached from the work. If I followed instructions of 7-8 oz, stitching probably would have been easier and the edges might have matched up better. I ordered some hardware from Amazon, but my wife said it was cheap stuff and encouraged me to return it. I went to Tandy Leather Shop in Livonia MI and found the clasps I used. I'm happy with the quality of the clasps from Tandy. I had to make some modifications to use this hardware. The rivet above the swing clasp was a hole for the original Diesel Punk plan. I just put that in to fill the hole...I don't think anyone would think it's to cover up a change in plans mid project. I'm going to clean the bag a little more than apply some Filson's Original Oil/Finish/Wax to protect it from staining. I'll test the product on some scraps before I apply it to the bag. I'm currently using the tool bag to hold my leather tool. I'm also planning to add magnetic clasp/buttons to the inside pockets to old them closed...I haven't looked into my options for this yet though.
-
Yes, dieselpunk.ro.
-
I used a pattern from a Romania leather guy off of YouTube. I think he's probably pretty well known. My hands hurt afterward, but I learned a lot and am excited to start my next project. I want to make large leather goods like this...maybe a duffle bag, hand bags, or a backpack next. I don't want to be a seller of my projects. I hope to become good enough where I can gift these items. I included a link to two pictures of my tool bag. Tool Bag