


jana
-
Content Count
143 -
Joined
-
Last visited
Posts posted by jana
-
-
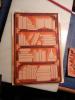
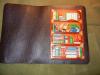
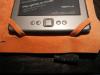
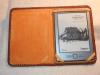
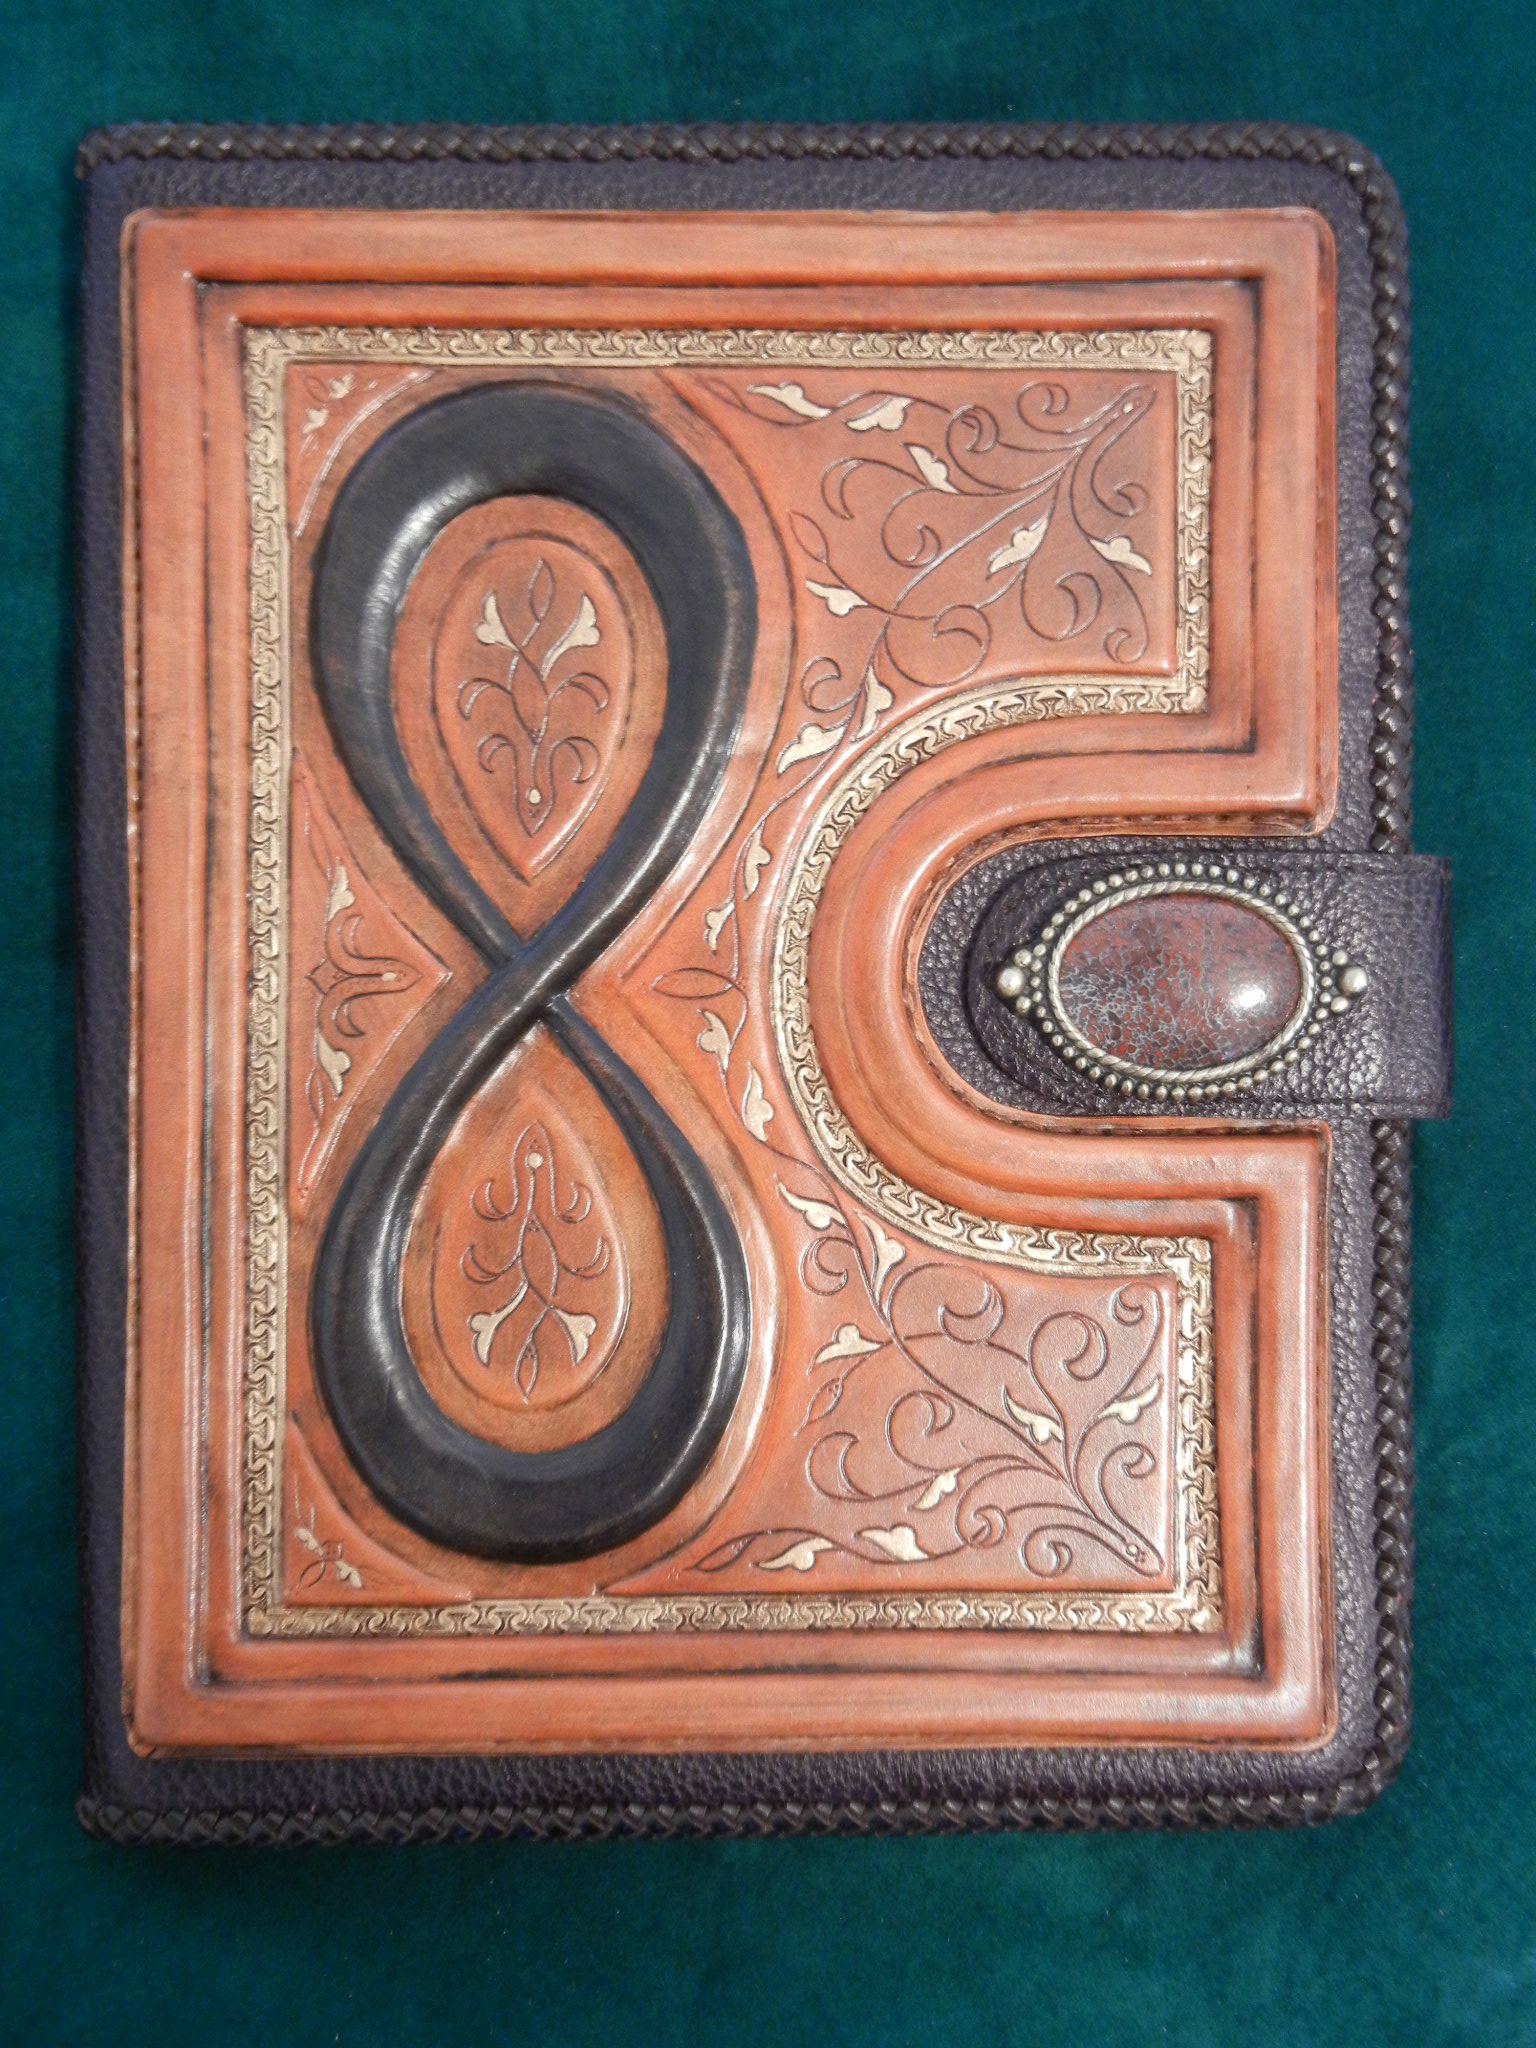
Wow, This is Really Nice! What is that on the end of the strap?
It is Very cool!
It looks like the snap snaps on the side of the cover and there is a
the stone (?) in the setting with a magnetic closure on the other side of the strap end?
Very Nicely Done!
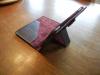
The stone is fosslized dinosuar bone, the only snaps on the strap help with allowing to make the srap into an eisle and yes there are magnants placed under the stone.
-
I did. Changed to Public for the time being. See if you can open the link one more time.
Jana
[/
Phooey, I still can't see it. Thanks anyways.
Here you go!!

-
That's really nice! How long have you been into it?
I will answer with: Long enough, while always learning something new with each project (and there have been a lot of projects!) ;-}
-
Nice - lotsa detail there

Question for ya - how do you find the round braid takes bending in the long term? I'm doing a pair of saddlebags right now and shyed away from doing the braid around the whole flap because I was concerned about the braid breaking down where it gets repeatedly folded over etc. Mind you saddlebags put up with a lot more abuse than an ipod cover will?
Thoughts?
I am not concerned because it is not a sharp or cutting bend but rounded to accomadate the thickness of the Ipad and the holder... I used it on a cover for a kindle also and there is no problems.
-
Still doesn't work. Do you have your privacy settings that you have to be a friend to view your page?
I did. Changed to Public for the time being. See if you can open the link one more time.
Jana
-
I'd love to see this but the link does not seem to be working.
Hmmm... I know you have to be a Facebook member, Try to type the address into the browser and see if it works that way.
The link does work for me but it is my page so not sure why you are having troubles.
Jana
-
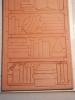
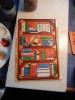
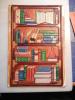
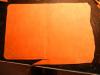
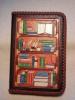
This is a custom cover for a gentleman that is in both the SCA and Steampunk... I really like the way it turned out
]

-
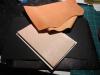
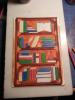
This is gorgeous, as a total newbie to this wonderful craft this is totally inspiring! Can I ask a couple of newbie silly questions?
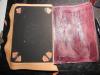
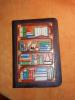
What type and weight of leather did you use for the different areas? the lacing is awesome and I think I get the width but what 'thickness' did you use?
thanks in advance and thanks for the inspiration!
Kat
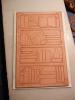
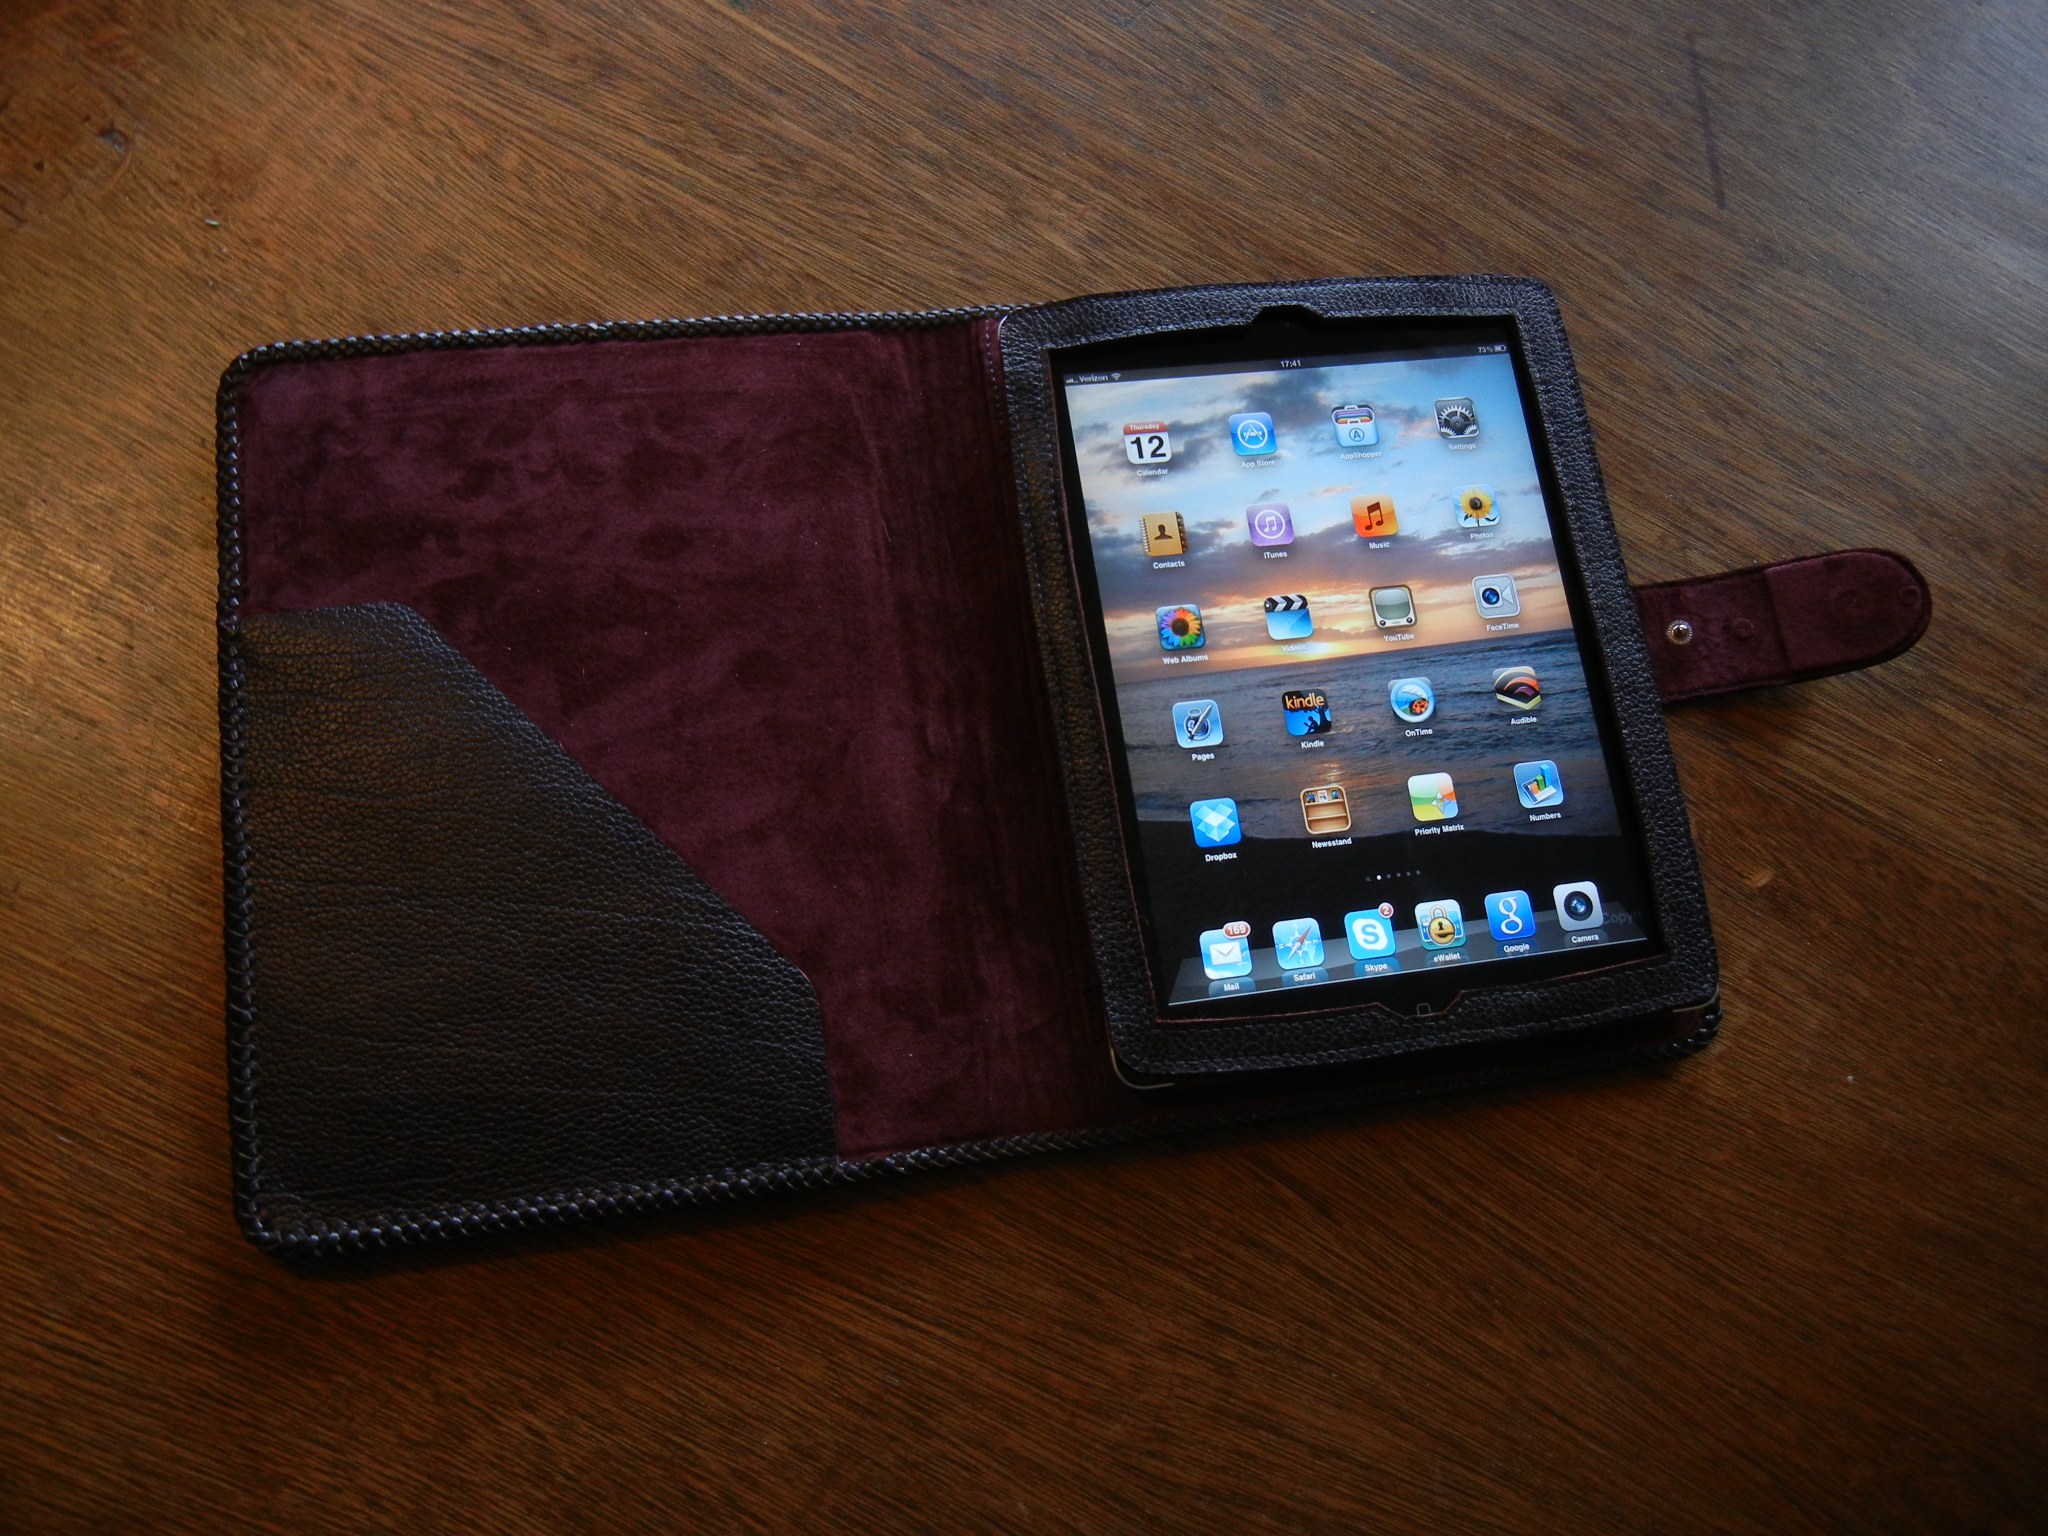
Kat~ The tooling leather is 4/5 oz, the cover leather is chrome tanned upholstry weight about 3oz, the interior was lined with garment weight pig skin approx. 1 to 2 oz.
There are stiffeners between the cover and lining made of black illustration board and the lacing style is called mexican basket weave done in 1/8 inch calf lace... if you are a member of FaceBook, I have a page with picture albums that shows a picture progression of it. www.facebook.com/janlynent Have fun with your project... I did!!
-
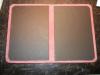
A commission to make a personalize cover for an Ipad. It was quite interesting to work on because of construction concerns and the use of magnets to make the closure.

-
Thank you Ray! I have gotten a chance to go through the books written about the various items found on the Mary Rose but your pictures make it a bit more "real".
-
This is an interesting piece, in order to show the feet the belly fur would have to be intact. Was it a complete hide? cuts at the neck and under the tail area?
-
Just an amazingly beautiful piece! Thank you for posting.
-
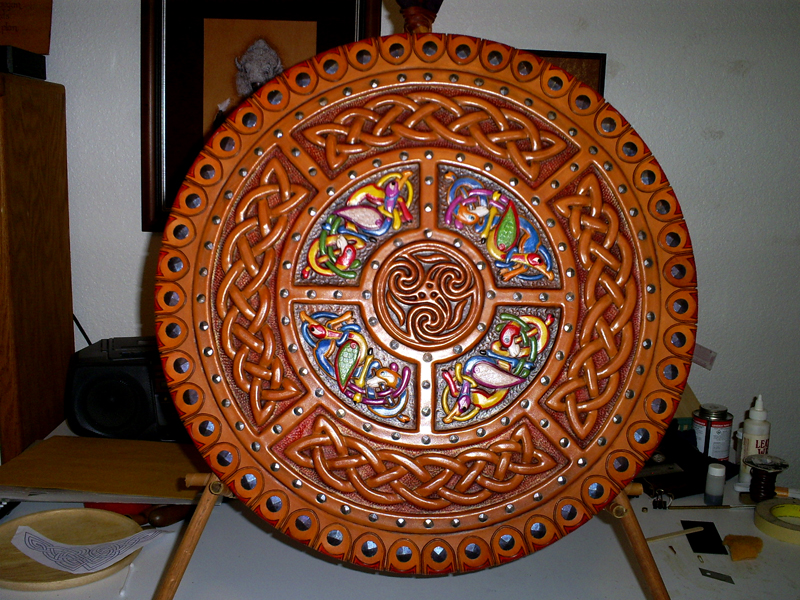
This is so stunning that I would be terrified to actually USE this! How in the world can you even display this? The back is as beautiful as the front! I wouldn't know which side to show!!!
It is displayed in my home safe and sound... When I take it somewhere I display it on its tripod and hover!! I encourage people to pick it up and examine but I am not very far away from it and I show the front most of the time!!
Thank you for the wonderful comments,
Jana
-
There is a solution that stain glass makers use to antique/darken the leading and copper that they use to construct the window. I have used it to darken brass plates and findings. You can soak the buckles or brush it on then wash off the excess, then buff to get the look you want. Try calling a glass crafter supply shop to see if they have any. One type will give you black tones the other brown. Sorry, I don't know the name of the solution, as my friend who used it just call it "Antiqueing".
Good luck
-
I would suggest highly a piece of granite or marble, sometimes you can get them rather cheaply at kitchen/bathroom remodeling center that use it for counters. Sometimes they have broken pieces that are available. At least
1 1/2 to 2 inches thick. I have talked to others who have bought broken grave stones (true!) For years I put a thick towel under the stone to dampen the noise while using the kitchen table.
-
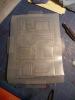
That is absolutely one very fine piece of museum quality of work!
But I must ask...
is it a arm held shield?
Is the leather covering a hard surface of some kind?
Again, very cool! You are an artist of the highest quality.
Joel
Joel,
I used 3/4 inch cabinet grade birch plywood for the core, originally a targe would've had two layers of wood laying cross grained to one another and then pegged.
This targe was a challenge and I am very glad it is now finished.
-
Thank you for all of your nice comments!
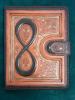
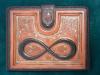
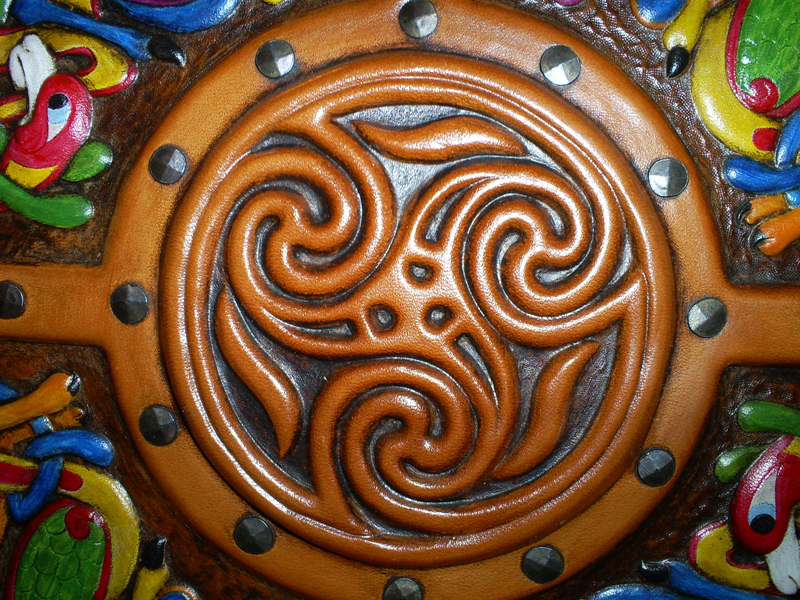
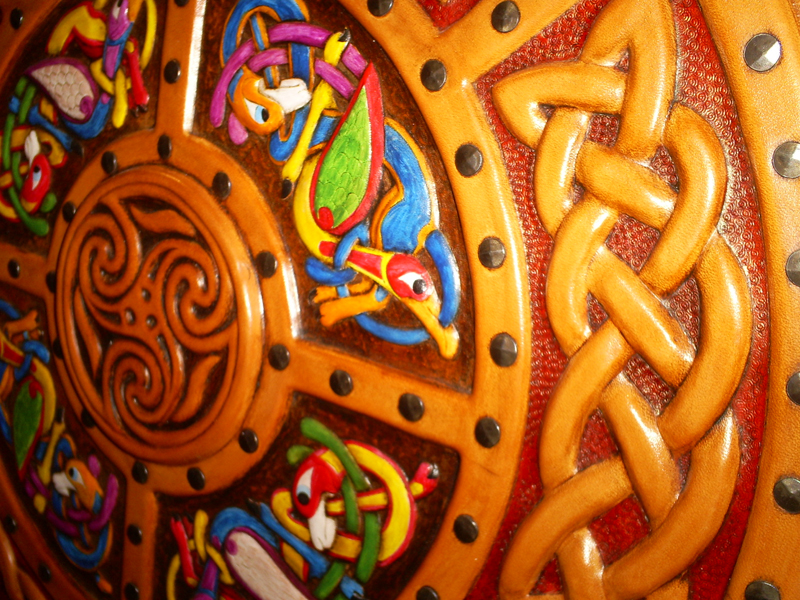
Ken- The full front is plugged embossed, from the outer circle to the center. The attached close-up pictures should show you more detail. The nails came from Restoration Hardware. The large heads that are on the tabs around the edge were originally 3 inches long and were cut down.
Druid- I quit counting after 200 hours... most of the hours are in the embossing work. I would guesstimate somewhere close to 300/350 by the time it was done.
Leatherroo- The close-ups are attached!!
Thank you again,
Jana


-
Hello to all!
I thought I would show off this piece after a bit of an absence. It is one of those projects that take on a life of their own and took way too long to finish.
But now it is and I can say that I really like the results.
Happy New Year!
Jana

-
" Does it count as profit when you buy leather and steel with all the proceeds?"
i have asked myself this question many a time as I go to restock the latest 'I need this, this, and of course more of this' after the sale of a piece. Unfortunately I still have to work a 40 hour job to pay for rent and the like, so I spend the profit from the projects to restock. It works well for now...
A money changer purse... is it going to be a 'mother' or a 'father'? and please post when you are done.
-
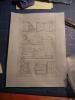
It is nice to see more of your work, you certainly are staying busy. Also, it is really great to see these pieces 'come to life' from drawings and illustrations that are in the book. Thank you for sharing.
-
Thank you for sharing, you have inspired me to pull my copy of the book out and get busy!! The problem is that I have too many projects that are not finished as it is and I promised myself that I would get them done before starting anything new... Thank you again.
-
Very nice looking, what I find interesting is that they look very similar to midevial style turnshoes in the way you have constructed them. Thanks for showing them!
-
What a great piece! I also have the book and intend to make various pouches but got a little side tracked by the wax tablets and case and had fun re-creating it. Thanks for the insight in the rings... I like the idea of the drawstring for the inner pouch, I was playing with the idea of a flap cover for the bag that was big enough to cover both inner and outer rings. Again great piece! Thank you for sharing.
-
The Dictionary of Leather-Working Tools, c.1750-1950, has a section on tooling. The author says that incising knives were used mainly until the early 1900's and that "This knife, which largely displaced the incising knife, is of American origin of c.1900." pg.198. I have tried to find patented information but haven't had much luck... Hope this helps.


Ipad Cover
in Purses, Wallets, Belts and Miscellaneous Pocket Items
Posted · Report reply
J'