metallurgynerd
-
Posts
12 -
Joined
-
Last visited
metallurgynerd's Achievements
Member (2/4)
-
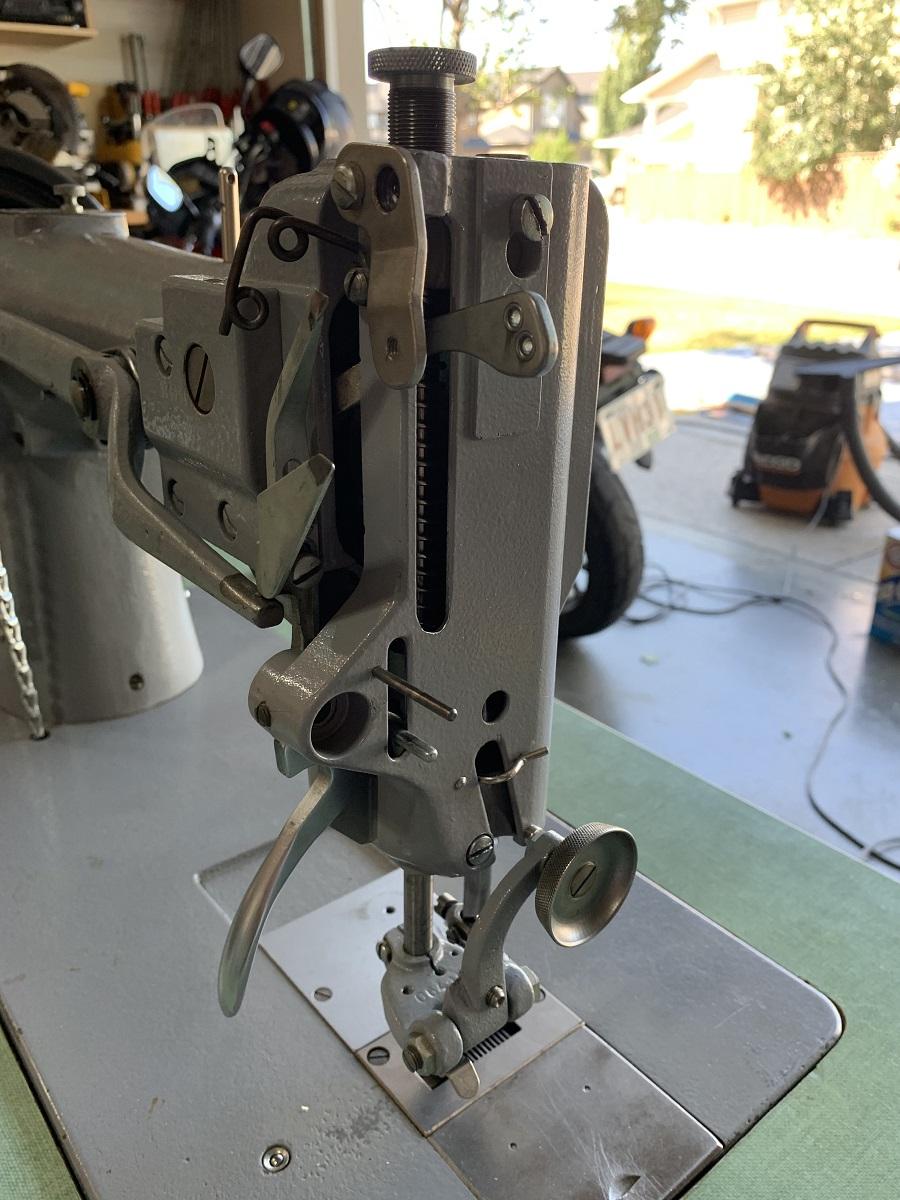
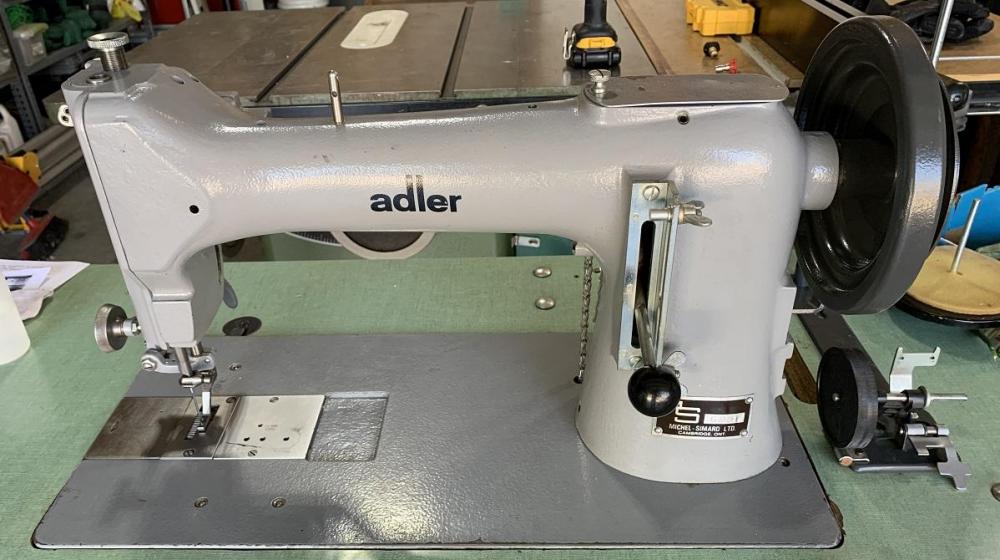
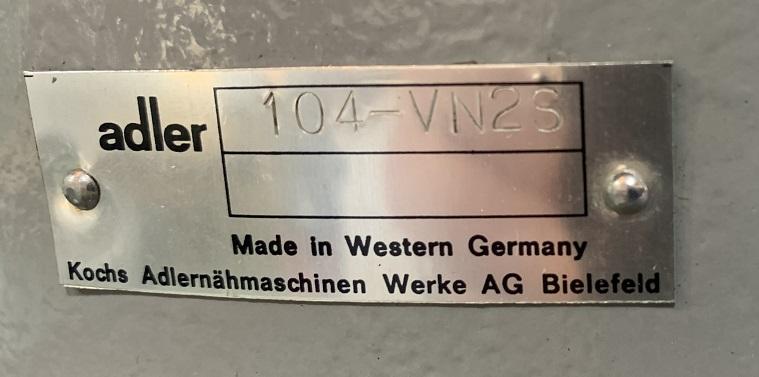
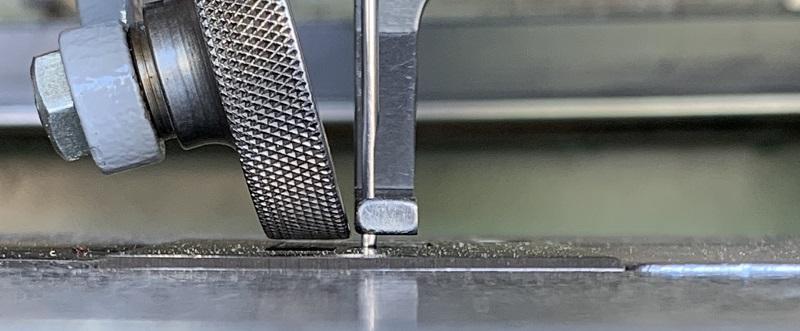
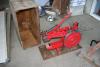
Last week an Adler 104-VNS2 came into my possession for FREE when a local boot factory was changing locations and decided to leave behind a few sewing machines that were in various states of disrepair. The Adler seemed to be mostly complete, turned freely, and the price was right so I took it home. It had a 3 phase 1725rpm motor on it, so I've ordered a 110V servo motor and speed reducer pulley. The Adler 104-VNS2 was manufactured as a double needle machine (closely spaced needles with slight front-to-back offset for decorative stitching), but it appears that at some point in the past someone started converting it over to a single needle machine (essentially a 104-2). They left the roller foot and dual needle plate (elongated diagonal hole) on, but switched out the dual needle clamp for a standard single needle clamp and for some reason removed both the upper and lower thread tension assemblies (???). I've ordered new thread tensioner assemblies that I'm hoping will fit (fingers crossed!), which appears to be all that's needed other than 110V motorizing. I've gone through the machine, cleaned and oiled, adjusted the hook timing/needle bar/needle clearance/feed dog per the Adler 204 instructions (couldn't find 104 instructions), but noticed that the presser foot and roller foot sit a few mm above the bed rather than resting on the feed dogs. With the presser foot raised by the lever only (not the foot pedal), the clearance is about 15mm to the bed, so perhaps the presser foot height just needs adjusted down a few mm (to 12mm? same as a Singer 45K it's based on?). So my question is: can anyone think of a reason why the boot factory might have intentionally raised the presser foot so it sat a few mm above the bed? To reduce presser foot tension and reduce marring by feed dogs? Something else? Should I just try it out as is, or lower it? My intent is to use it for some leather sewing, maybe some heavy fabric/webbing if I think my Juki DNU-241HS compound feed machine won't handle it. But mostly leather sheaths, belts, holsters, and only occasionally (I don't do that many projects these days). A few layers of veg tan leather, nothing too crazy (I'm aware of the limitations of the machine). I've owned a few machines over the years and just sold a Luberto Classic simply because it deserved to be used more than I did. I thought the Adler 104 with a roller foot might produce some decent looking work if I do a good job managing feed dog height, presser foot pressure, and use good feeding technique (i.e. help it through). If it doesn't do what I want it to, I'll get it working properly and sell it to at least recoup the cost of motor and parts.

-
Double Bar Buckles?
metallurgynerd replied to metallurgynerd's topic in Purses, Wallets, Belts and Miscellaneous Pocket Items
Kinda what I thought. Thanks! Looks like it might also make the incoming strap lying flatter against the buckle. I think I'd like that. -
Okay, maybe a beginner question, but can anyone explain to me how to use a double bar buckle? What's the other bar for? How do I route the leather through/around the bars? Here's an example: Thanks in advance.
-
Thanks, that's just what I was looking for! Eric.
-
I have access to all kinds of metallurgical equipment including OES, XRF, a scanning electron microscope, inverted table microscopes, polishing equipment, etc.
-
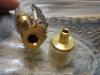
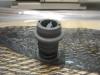
I don't own a head knife but I'm thinking of making one myself. As a metallurgist with some knife making and woodworking experience I figure it can't be that difficult to make a superior knife for a reasonable cost. The biggest question for me is, how thick should the blade material be? If anyone out there with a head knife could take a quick measurement with a caliper and let me know how thick your blade is I'd really appreciate it. I'm guessing you don't want the blade so thin that it flexes or is flimsy, but not so thick that it binds up while pushing through heavier leathers. Thanks in advance!
-
Vacuum Press Anyone?
metallurgynerd replied to metallurgynerd's topic in Gun Holsters, Rifle Slings and Knife Sheathes
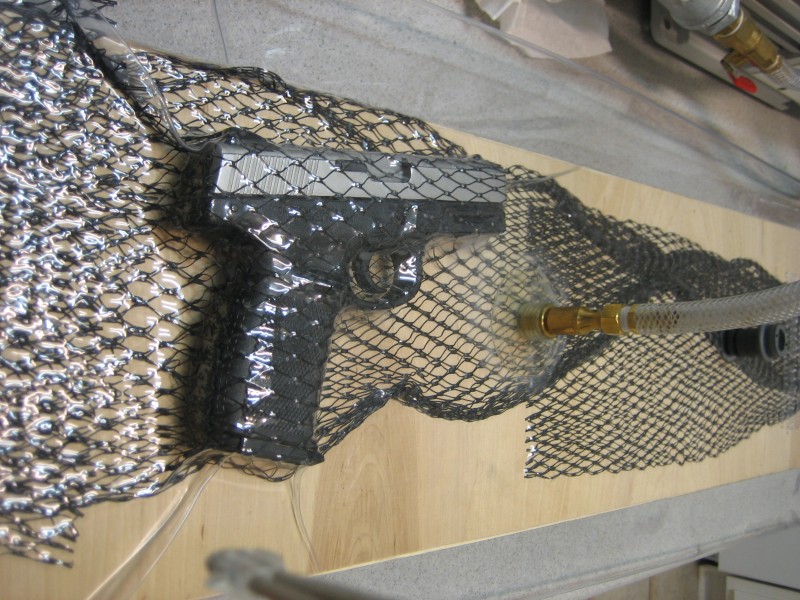
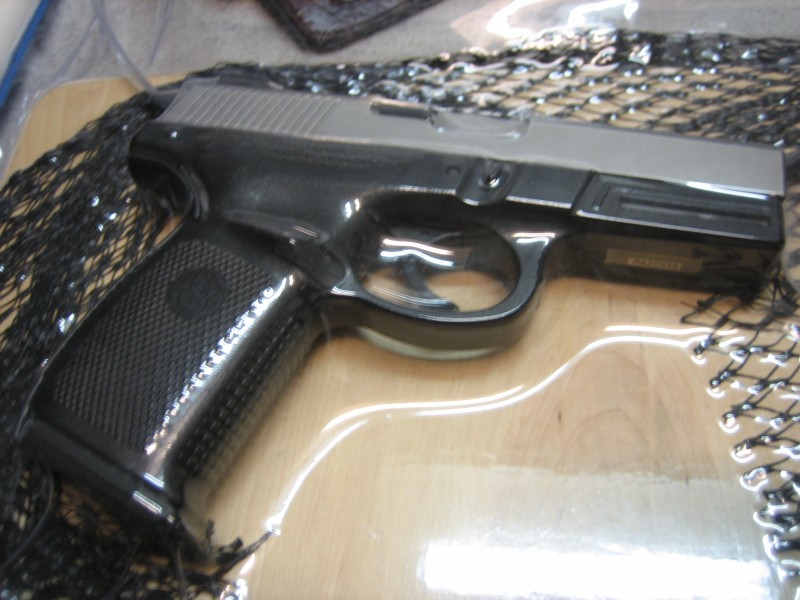
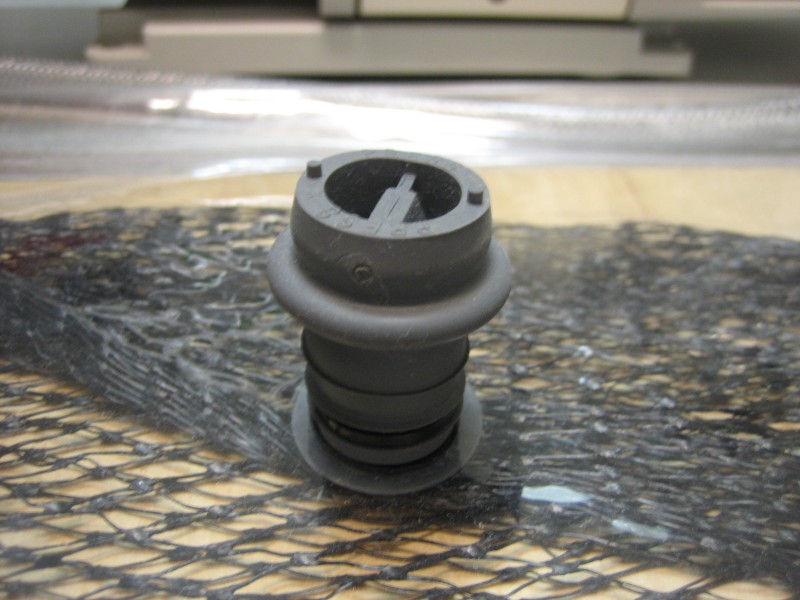
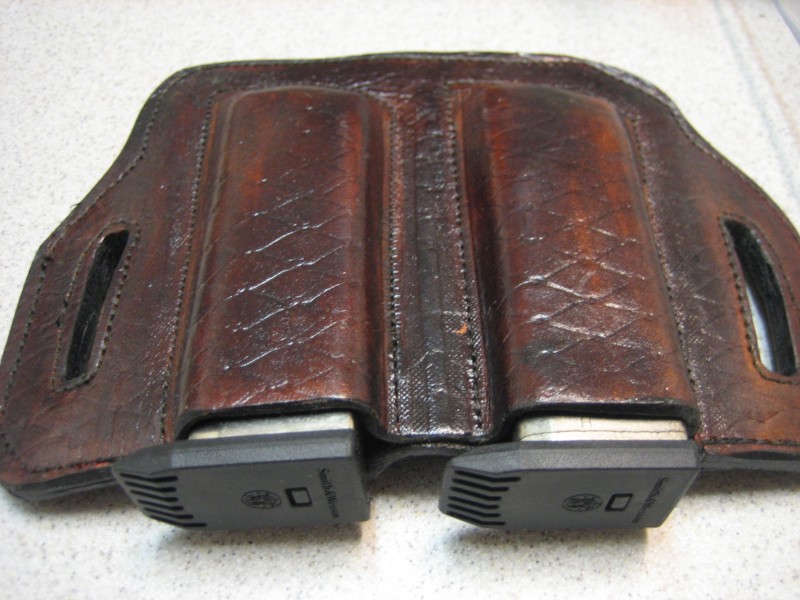
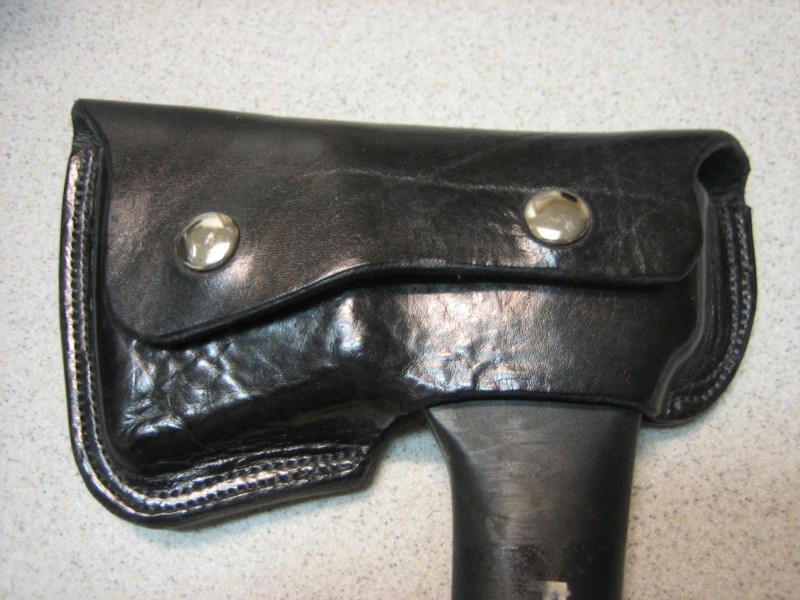
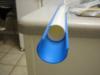
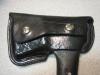
Okay, here's some pictures of my current setup. Bear in mind that I don't have a project on the go at the moment so I can't show you a piece of leather in the press, but I put a pistol in there just to show you how the vacuum press stretches around it. Trust me, it does a great job squishing the leather down around whatever you put in there. I have one shot with the pistol INSIDE the breather mesh, and one with the breather mesh ADJACENT to the pistol. Either way gives good results, but of course putting your item INSIDE the mesh will leave little criss-cross marks like you see on the picture of the double mag holster. The hatchet holster was formed with the mesh ADJACENT. The plywood board in the bag allows you to stretch from one side only if you want a case or holster that is flat on one side. If you want your holster formed equally from both sides, just take out the board. Both the mag holster and hatchet sheath were formed by the press only without any additional hand forming. Oh, and the mag holster and hatchet sheath shown are definitely NOT my best work. They were quickly thrown together to test the capabilities of the press, so please excuse poor edge burnishing, crappy stitching, uneven dyeing, etc. I have a Luberto Classic on it's way to my house this week so I can finally do some nice stitching. My vacuum bag is 13" by about 48" and was purchased from Roarockit. It included a hand pump (that works with the larger gray valve on the bag) and some sticky black mastic to seal the opening. I discarded the mastic pretty quickly and switched to the blue and white plastic clip-type bag sealer. It works great with the added benefit that it isn't a sticky pile of tar. I added the smaller brass valve to the bag myself and it mates perfectly with the brass clamp on the end of my vacuum pump hose. My vacuum pump is a laboratory-grade BOC Edwards RV12 that sells for about $3000 new. Fortunately I got mine for free from a lab that was shutting down and planned on throwing it in the scrap bin just because they didn't need it anymore even though it was barely used and in perfect working order. It's way more pump than I need for this press, but the price was right! You should be able to get a good vacuum press for well under $300 that will do the job just fine. Or you can order a Roarockit kit for about $50 and it will include a hand pump that draws almost as much vacuum, but obviously takes a little more effort than just flicking a switch! My pump weighs about 65 lb so I plan on making a rolling cart for it (with hose storage of course) as soon as I dig through my plywood scraps and find some suitable pieces. Anyone interested in learning more about vacuum pressing just needs to start searching online for "veneer vacuum press" and you should find plenty of info. Eric.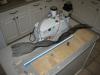


-
Vacuum Press Anyone?
metallurgynerd replied to metallurgynerd's topic in Gun Holsters, Rifle Slings and Knife Sheathes
Hmmm. Hadn't though of letting it dry completely in the press. I would have thought that if you have a good bag with no leaks, it would take a long time to dry since there's no air flow removing moisture. In my limited experience thus far I've found that if I case my leather just like normal, all I need is about an hour in the press and it will hold it's shape very well and can be taken out of the press to dry in open air over night. Like I mentioned you can deepen the impressions by hand with a bone folder if you like right after removing from the press or just take it out and let it dry. On the subject of vacuum tables, I think I've seen plans online for a DIY vacuum table for veneer pressing using a simple wooden frame and a sheet of heavy polyurethane. Apparently the biggest challenges are getting the frame to be warp-free, the table to be very flat, and getting the right kind of adhesive-backed foam gasketing to seal the frame to the table. If I recall correctly, veneersupplies.com sells the gasket material as well as the polyurethane sheeting. -
Vacuum Press Anyone?
metallurgynerd replied to metallurgynerd's topic in Gun Holsters, Rifle Slings and Knife Sheathes
If you're looking for heavy vacuum bags or the material to make your own, the best website I've found is: http://www.veneersupplies.com/categories/Vacuum__Press__Items/ No, I have no affiliation with the website, in case you were wondering. I've ordered some stuff from them and have been satisfied with their products and service. They sell everything you could possibly need associated with a vacuum press. I already have a vacuum bag sold by Roarockit (intended for making laminated skateboard decks, not that I ever have or would!), but I'm thinking about ordering some of the super-stretchy urethane material from veneersupplies.com and making my own bag. Even with the vinyl bag I have, I've had no problems with the bag wrinkling and leaving marks. One thing that is a big help for vacuum pressing is using a breather mesh that basically provides very small passages for all the last little bits of air to get out of the bag. Only trouble is if you place it over the leather it will leave a diamond-pattern imprint that you might not want (or you might actually like?). So I usually just place a "trail" of breather mesh from the evacuation valve over to the piece of leather all around it's perimeter. That usually does a real good job of getting the air out. If anyone's interested, I can post pictures of my setup. -
Has anyone else tried using a vacuum (bag) press for at least the initial shaping/forming of holsters? I have a vacuum press setup which is normally used for veneer work (woodworkging) but I've been experimenting with it for forming cases. It's worked out pretty well so far, though you may want to use a bone folder or similar tool to sharpen the impression (as you do with other presses). I'm just wondering if anyone else has done this and if they've learned any valuable lessons in the process that they'd be willing to share? One of the biggest advantages I've noticed is that I can press multiple items at once. I'm only limited to the size of the bag. I happen to have a two-stage industrial rotary-vane vacuum pump (got if for free!) but you can buy hand pumps that pretty much do the same thing with more effort.
-
Yeah, I thought it was a steal too, that's why I bought it! Actually I found it first in a Craigslist ad and contacted the seller directly since he was trying to sell it both on eBay and in Craigslist. We settled on $1900 and I agree, it's a steal. Anyway, they managed to find the original VHS video and user's manual, so I guess it was a bit of a false alarm on my part. However, if I need any parts or other accessories I'll definitely head straight to Luberto's. In the mean time, here's a picture of it, just about to be crated up. I swear it looks brand new! Eric.
-
Have you checked with Tony Luberto to see if he will sell or give you one. Do you have the machine with no manuel? I have a classic stitcher I bought new 2 years ago. If you needed a page or two I could copy and send...Jeff
-
Hi. I've spent a fair bit of time here on LW.net, but this will be my first post so here's a quick intro (I hear that's the polite thing to do on some forums). I'm a metallurgical engineer by trade but have enjoyed leather work since I was about 12 years old, making cases and sheaths for just about everything I could get my hands on. I volunteer with Boy Scouts of America and occassionally teach the Leatherwork merit badge. These days I mostly seem to make custom holsters and items. I learned how to properly hand stitch my leather projects the old fashioned way, but in an effort to squeeze the most out of my free time I've switched to using industrial machines instead of spending hours stitching. I have a Juki DNU 241HS walking foot upholstery machine and I just sold my Singer 29K172 long-arm patcher to raise funds toward a machine that could handle heavier leather, heavier thread, longer stitches, etc. I was considering a Luberto Cub, but was hesitant to spend $1500 for a smallish hand-cranked machine. The Tippmann Boss didn't interest me (no disrespect to those who like it). Well, sometimes you just get lucky and I managed to secure an little-used 8-year-old Luberto Classic #9 stitcher for $1900 including shipping, two feet, two holster plates and some other bits and pieces (no stand, motor, etc. but I didn't want those anyway). Considering a new one is $6000+ I think I got a heck of a deal! It hasn't arrived yet, but I can't wait for the brown truck of happiness to get here! In the mean time, does anyone know if there's a simple owner's manual that covers threading, maintenance, etc? Thanks, Eric. Houston, TX