


Jumpout
-
Posts
56 -
Joined
-
Last visited
Content Type
Profiles
Forums
Events
Blogs
Gallery
Store
Everything posted by Jumpout
-
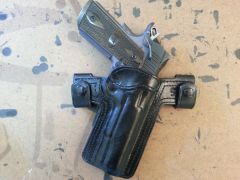
From the album: Holsters
-
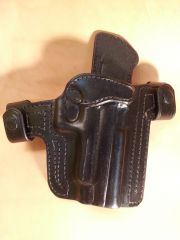
From the album: Holsters
-
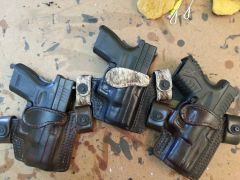
From the album: Holsters
-
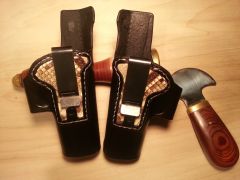
From the album: Holsters
-

Wet molding and Boning a holster
Jumpout replied to jlopez's topic in Gun Holsters, Rifle Slings and Knife Sheathes
I wet my leather jsut enough so that it changes color all over, inside and out. I reckon for about 8 - 10 seconds in the sink filled with water. I like to start with the trigger guard. Otherwise I have found if you do that last the leather will shift on the gun when you push down to get a nice mold in the trigger guard. Not much, but enough that I don't like it. So I start with the trigger guard and then go to the ejection port. These two places are where I get the retention I want on the holster. The line between the slide and the frame is next and then any other lines on the gun I want to accent. I let the holster sit with the pistol inside until the outside of the holster is dry. Then I will remove the pistol and let the inside dry, being careful not affect the fit when I remove the gun. Once the holster is dry I dye it. I prefer oil dye as it penetrates better. I have found that depending on the detail I put into the holster the boning will close the cells on the leather and regular dye will take several coats to penetrate those closed cells nicely. The tools I use to mold my lines in the holster are a modeling tool sold by Tandy and that black edging tool that is rounded on one end and looks like a knife on the other. For my edges I use glycerine soap and a wooden knitting needle I found at Wal-Mart and cut the top part off of. It is tapered at one end for getting into tight curves and about 3/8" wide throughout the thickest part. I've found it is reall good for edges. -
Revolver Thumb Break Question
Jumpout replied to Eagle Crest's topic in Gun Holsters, Rifle Slings and Knife Sheathes
I use the same technique as Supercub.