


WoodBoneAndStone
-
Posts
131 -
Joined
-
Last visited
Content Type
Profiles
Forums
Events
Blogs
Gallery
Posts posted by WoodBoneAndStone
-
-
The one I have has a backing plate so in this case the tabs would be bent inward toward each other over the plate.
-
I purchased one of these the other day but have yet to use it on a project. You are correct that there is only one place for a rivet. Maybe they were referring to the two parts of the rivet.
With clasps in general I always attach the part that goes on the bag first and when the bag nears completion (most of the stitching is done) I adjust the flap length if necessary and determine the placement of the other part of the clasp.
-
I am in total agreement that instructions shouldn't be necessary for such a project. I'm just not in the market for a kit. I almost always make templates for my projects to facilitate reproducing them if I choose to do so. I just prefer to use my own designs, as simple as they may be. If I was inclined to sell my templates I would certainly include some directions. Not that hard to do. The more information you provide the customer the more they are inclined to buy.
-
I'm not in the market for this sort of thing but I would think that some sort of explanation or direction would be incumbent. I would think it would be well worth you time to write up a little instruction if you really want to sell this.
-
The sheath matches the old knife perfectly. Great job distressing and antiquing the leather.
-
Very good restoration! I'm sure someone is very pleased!
-
Fantastic! Very cool! I love the colors!
What did you use to do the cutting?
-
Looks great! I like the color. Nice to see something other than black on a bike.
-
I have yet to buy black leather. I would definitely dye my own for smaller and medium size projects. For something like saddle bags or a garment type project I would consider factory dyed.
-
I think you meant first piece this week?

I see nothing wrong with that! Nice work!
-
I'm not sure what I'm seeing in your pic. It almost looks like what they call bronzing but that may be a result of the lighting in your photo.
I know contact cement on leather will prevent leather from taking dye. Is it possible that glue accidentally got on the leather?
-
I like the minimalist design. A belt clip would be nice but I have sold them with and without.
-
I know what you mean by it becoming a job. That is exactly why I, for the most part, only sell finished items that I was inspired to make and avoid custom orders. On rare occasions I will accept an order but only if I am inspired by the challenge. Don't even ask me to do multiples of the same thing! Talk about it becoming a job!
-
What Bill said!

-
Impressive! Love the flap!
-
Very nice looking work. You seem to have a grasp of the design aspect of the craft.
Very interesting look with the stamping. Kind of an old world look. Reminds me of really old maps.
Do you use regular stamping inks?
-
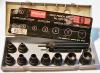
The odd time I use a rotary punch I put another piece of leather behind the one I'm punching. It is easier to penetrate all the way through the first piece of leather without putting undue stress on the tool. It also prevents dulling the edge of the punch on the anvil side of the tool.
I prefer interchangeable tube punches that screw into a handle over one piece drive punches. For larger holes I have a great set of English made wad punches.
-
That fringe is nice! I didn't see it either. Thanks for the tweak, benlilly!
-
Very nice! I like the red accents on black. Very cool design.
What you said about getting excited and wanting to post made me smile. I know the feeling. It seems like most of my projects near completion early in the morning and it's a race to get it done by dawn so I can take photos out on the porch before the sun hits.
-
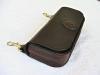
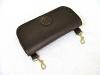
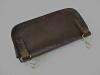
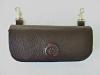
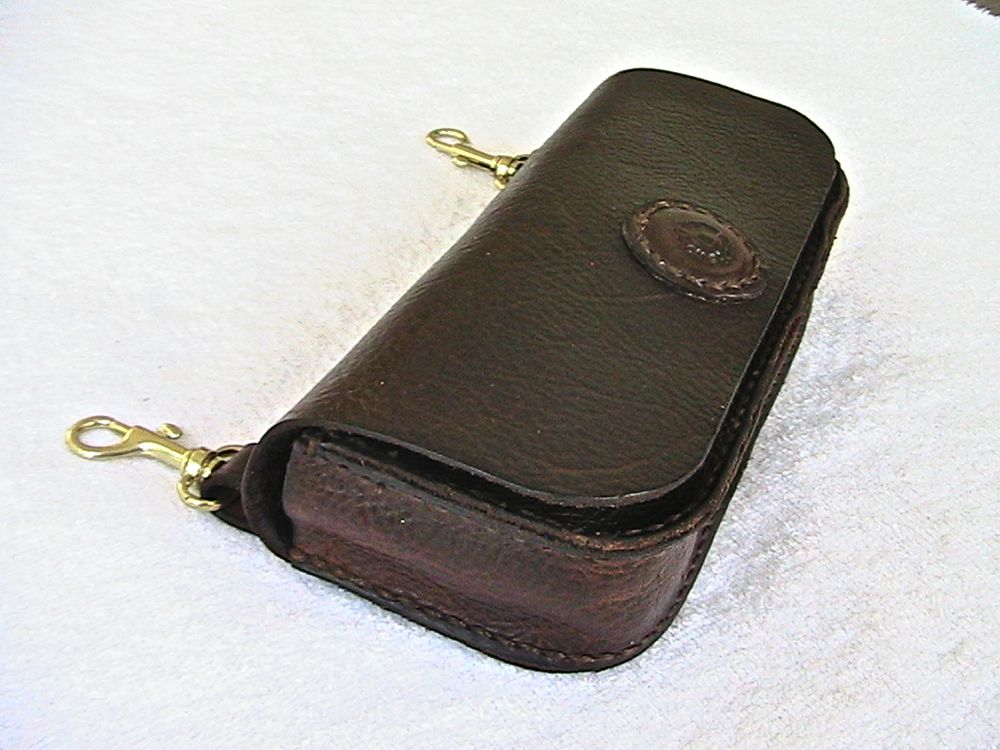
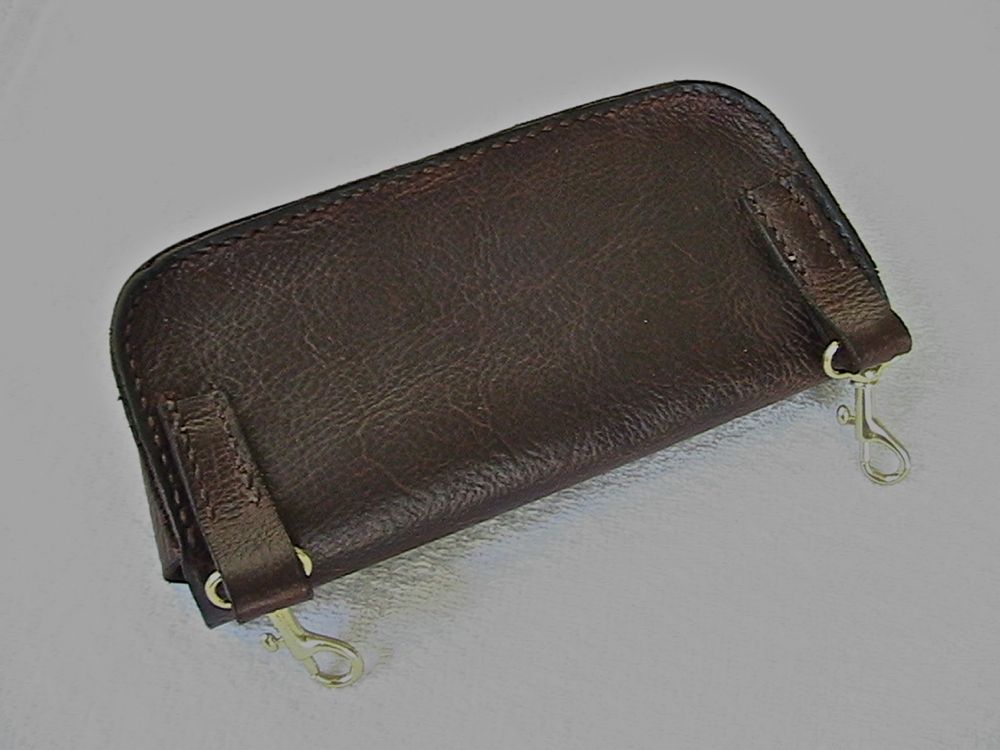
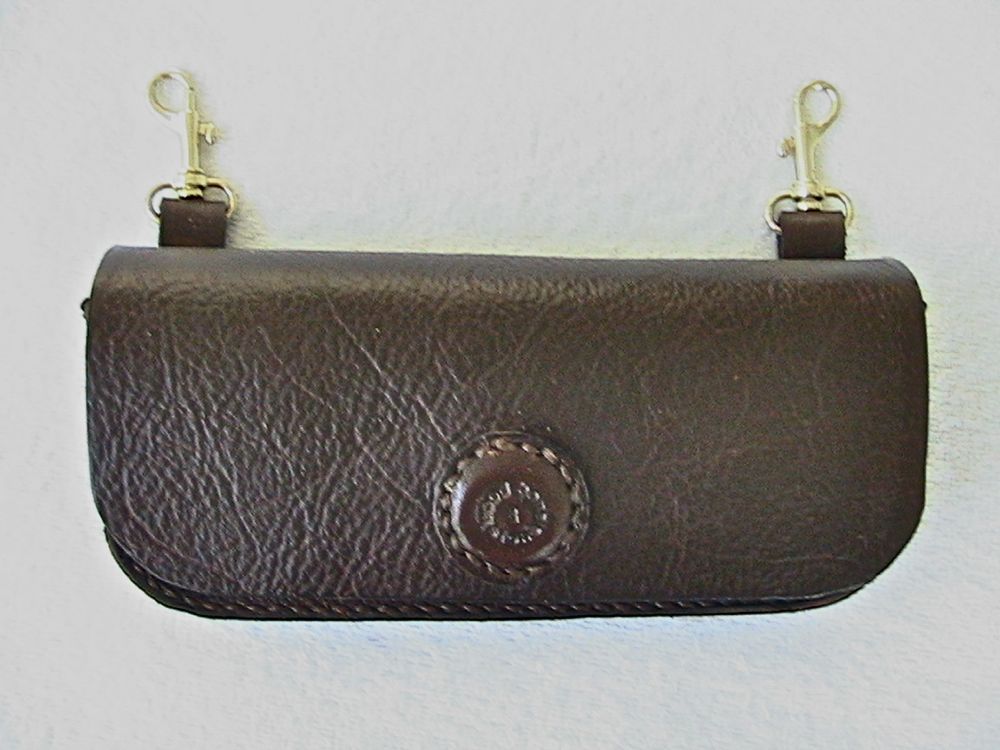
I'm not sure what an insulin pump looks like or its dimensions. I once made this case for carrying two Epipens. The customer wanted it to attach to blue jean belt loops.
-
Thanks. Etsy is one of the better options out there especially just getting started.
-
-
Thanks! I'll have to look into getting a belt sander. That would be useful for a lot of things.
-
Beautiful work! Negative comments?!! I don't think so!!!


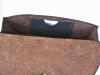
Purse - No Hardware...
in Purses, Wallets, Belts and Miscellaneous Pocket Items
Posted
Very nice! I often avoid the use of hardware, especially on rustic and renaissance type pieces.