rtgibbs
-
Posts
21 -
Joined
-
Last visited
Content Type
Profiles
Forums
Events
Blogs
Gallery
Store
Everything posted by rtgibbs
-
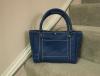
took some time this weekend to make a new bag for the sister-in-law. Hope she likes it.
-
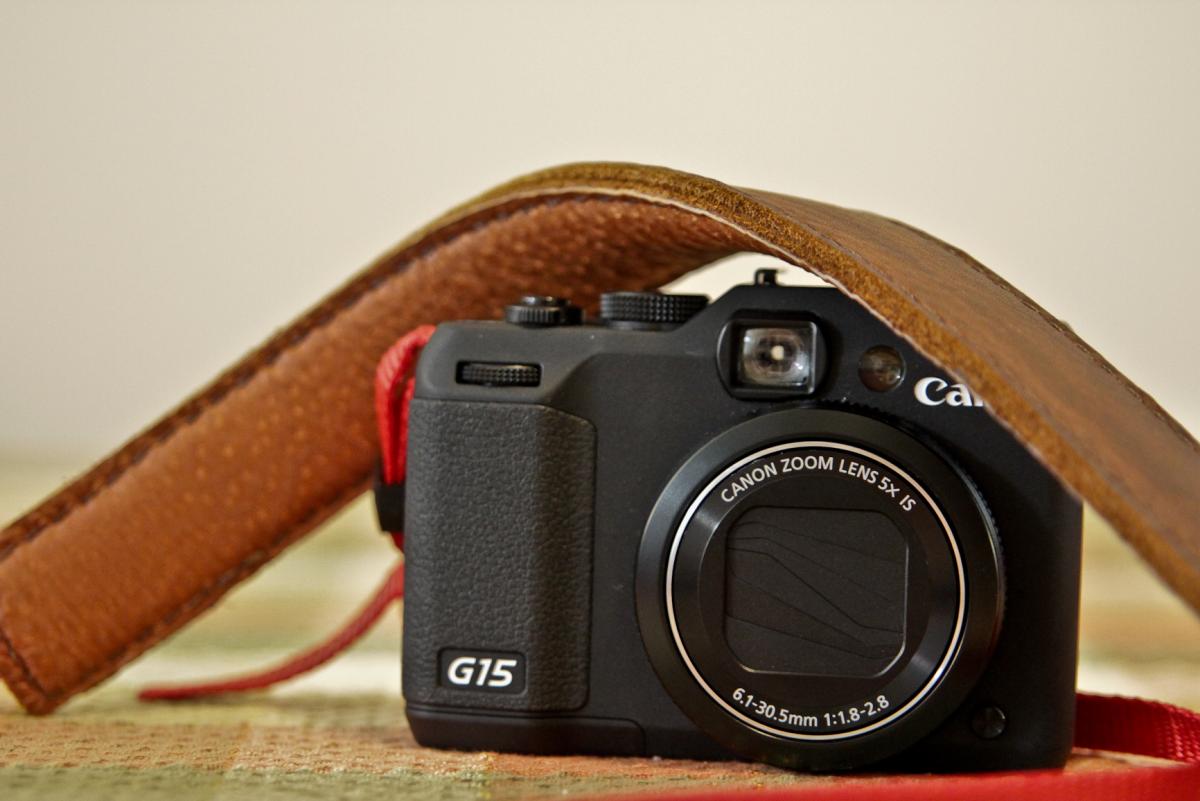
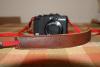
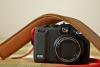
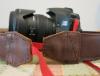
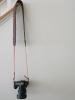
A couple of camera straps I put together on Columbus Day.
-
From the album: First Breifcase
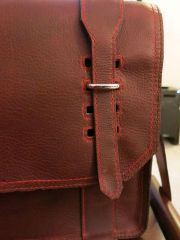
The cGlad I Glad I thought to make the closure adjustable. When the computer is inside I needed to go to the next hole to close the bag. -
From the album: First Breifcase
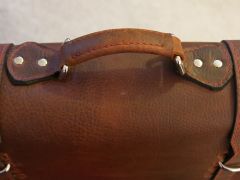
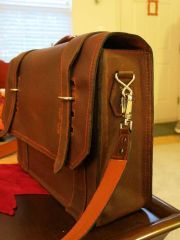
Here is the handle, I attached it just slightly to the back of the bag. The only drawback is that when you use one of the lower closure holes the handle becomes more off center. -
From the album: First Breifcase
The bag closed from the side. -
From the album: First Breifcase
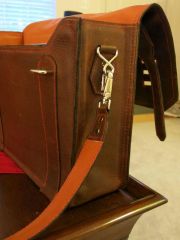
The strap attachments. The strap is also lined with Pigskin and stitched with red stitching just to ensure it matches the bag. -
From the album: First Breifcase
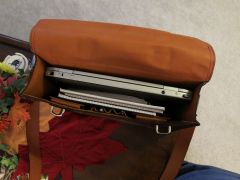
The The purThe her Here is the bag loaded and ready to head to the office. This is a 15.6" laptop, but the bag will also hold my 17" personal laptop, but it will be right up against the side. There is foam padding in the sides of the briefcase for protection though. -

From the album: First Breifcase
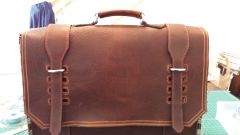
Here is the finished product. Im very happy with the way the bag turned out. There are a couple of areas where I could have done better, but overall I couldn't be more pleased. -
 Thank you for the compliment. I have actually only been into leatherwork for about two months now. The materials came from tandy or amazon. The leather is tandys kodiak oil tanned side in tan and the lining is tandys glazed pigskin lining.
 -
 The leather is a 4-5oz. Its Tandy's kodiak oil tanned cowhide side in Tan.
 -
From the album: First Breifcase
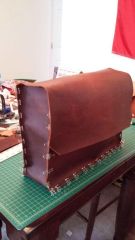
This is another mock up before contemplating the final stitches to put it all together. I am hand stitching the entire bag. -
From the album: First Breifcase
Here is the inside of the bag during mockup. The lining has been glued into place, and although I tried to hide all of the stitching of the straps etc, you can still tell where they are I should have put the foam and interfacing on after stitching the straps, lesson learned. -
From the album: First Breifcase
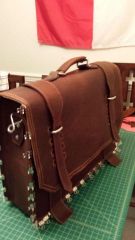
I didn't want traditional buckles on the front of my bag, so I tried this as a closure system. The metal pieces are one inch strap loop with Plate, I punched quarter inch holes and fed them through and attached them to the inside of the front of the bag before covering it with the pigskin liner. It does leave a bump under there, but they sit almost under the lids of the pockets I put on the front liner. All of the exterior straps were also sewn on prior to lining the inside so they would not show on the liner. -
From the album: First Breifcase
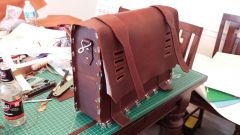
Another mock up on the bag, this time the straps are sewn on, the closure system holes are cut, and the D ring attachments are sewn on. The small strops of leather on the bottom will be wrapped under and sewn back on itself to act as sort of feet for the bag. -
From the album: First Breifcase
This is the first mock up of the pieces. -
From the album: First Breifcase
This is the bottom of the strap pad covered with tan pigskin -
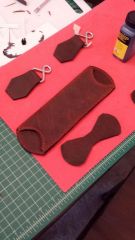
From the album: First Breifcase
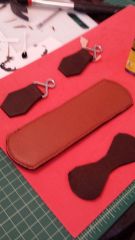
This is the shoulder pad top, This is the first part I completed. I used some craft foam on the bottom to add a little padding. The items on the side are the handle attachments, as well as the D ring attachments. -
From the album: First Breifcase
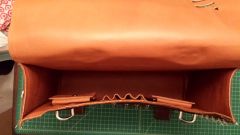
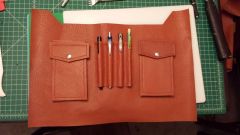
This is the inside front of the briefcase, I had to add expanders to the pockets so my cell phone would fit, a slight miscalculation on my part. I also did not sew the bottom of the pen holder even though I made the stitch holes to do so. -
From the album: First Breifcase
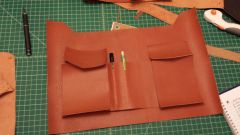
This is where I was laying out the inside front of the briefcase.