LuckyRabbitsFootLeather
-
Posts
63 -
Joined
-
Last visited
LuckyRabbitsFootLeather's Achievements
Member (2/4)
-
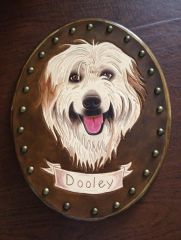
2015 09 11 16.58.51
LuckyRabbitsFootLeather commented on LuckyRabbitsFootLeather's gallery image in Gallery- Our Leatherwork
 Size is 11×14, it's for a gift from a shriner to the El Maida Shriners.
 -
 wonderful
 -
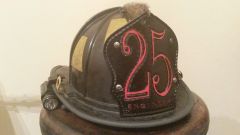
RedonBlackBurnerHelmet
LuckyRabbitsFootLeather commented on DOUBLETAP's gallery image in Gallery- Our Leatherwork
 very cool
 -
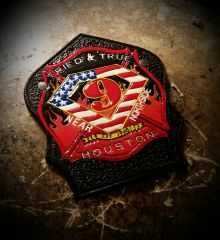
Tried and True HFD Station 9 fire helmet shield
LuckyRabbitsFootLeather commented on DOUBLETAP's gallery image in Gallery- Our Leatherwork
 wow
wow -
Help Restoring Hd Police Solo Seat
LuckyRabbitsFootLeather replied to LuckyRabbitsFootLeather's topic in How Do I Do That?
Thank you! -
My First Bobber Solo Seat Step By Step
LuckyRabbitsFootLeather replied to pzarkov's topic in Motorcycles and Biker Gear
Very cool. Nice presentation too. Hope my first coming up goes as smooth as you made it look. Do you mold it over the foam and pan? -
Help Restoring Hd Police Solo Seat
LuckyRabbitsFootLeather replied to LuckyRabbitsFootLeather's topic in How Do I Do That?
Some of my products came from Leather World Technologies. Their prices were easier for me to handle compared to leathertoucchupdye. Plus they have a large selection of products that I could mix and match. Everything worked the way it was suppose to so I'm a satisfied customer. For sealing I used the pitch blend balm this time and I'll try Pecard's on the next, so I can get a feel for all the products. Thank you again for your help...and my customer thanks you too! (I'll send you the 30% commission soon.) -
Help Restoring Hd Police Solo Seat
LuckyRabbitsFootLeather replied to LuckyRabbitsFootLeather's topic in How Do I Do That?
final results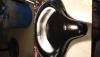
-
Help Restoring Hd Police Solo Seat
LuckyRabbitsFootLeather replied to LuckyRabbitsFootLeather's topic in How Do I Do That?
Thank you for your help. -
Help Restoring Hd Police Solo Seat
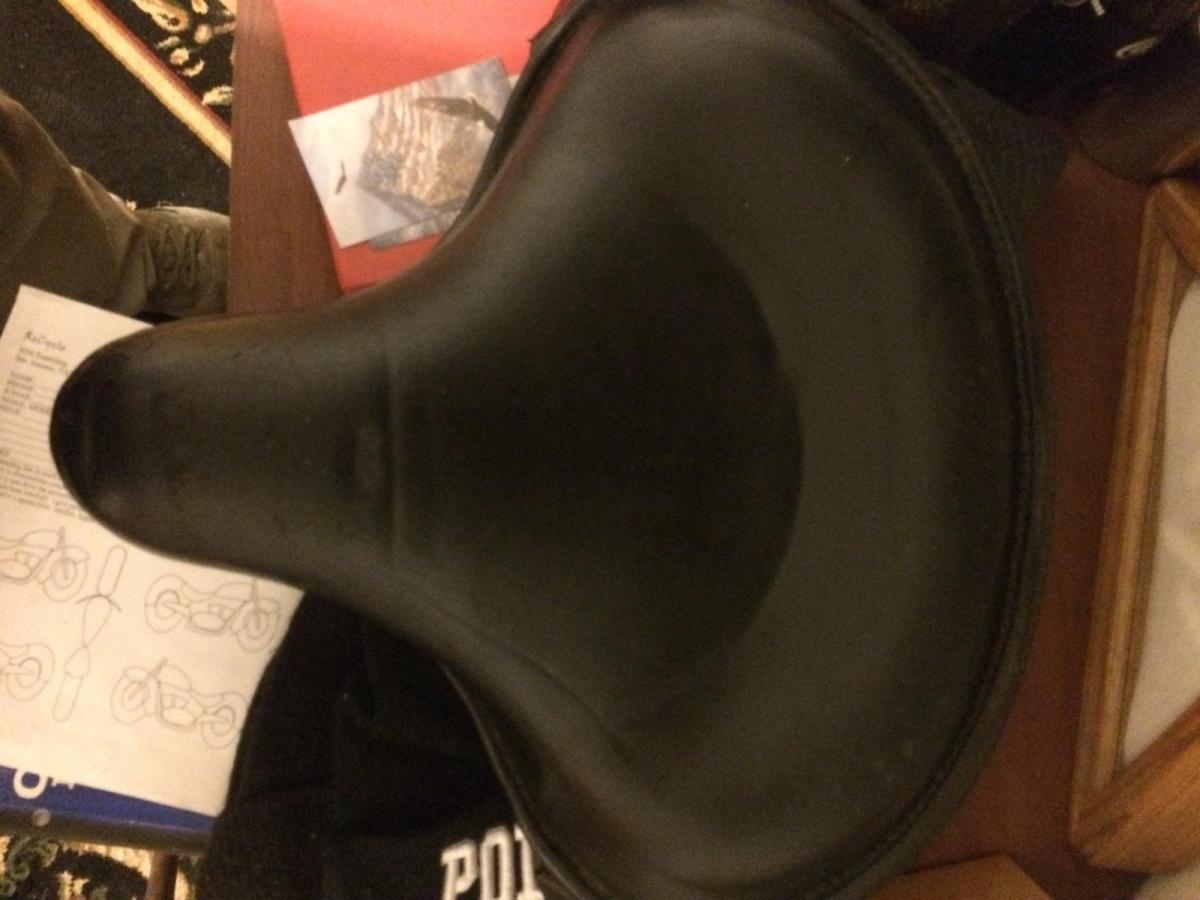
LuckyRabbitsFootLeather replied to LuckyRabbitsFootLeather's topic in How Do I Do That?
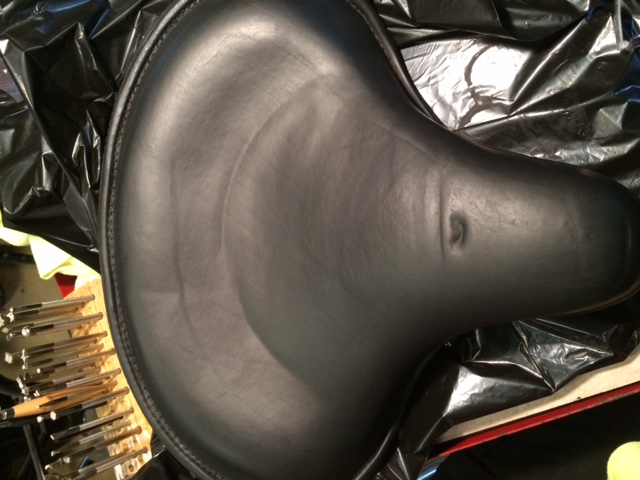
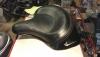
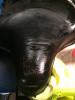
Ok, color is done. I had to apply more coats than I'd like to admit and also removed the filler in the large indentations. They weren't taking the color as well. I'll seal when it's ready and post pics. These pics are at different stages of the dyeing process, but the full shot is the "final" color. Final in quotes because I am not sure how much it will darken once sealed. I am not completely satisfied but this is all going to take some practice.


-
Help Restoring Hd Police Solo Seat
LuckyRabbitsFootLeather replied to LuckyRabbitsFootLeather's topic in How Do I Do That?
I am using a professional grade leather filler that can either be used under or mixed into the dye. I bought the dye from the same company so they "should" be compatible. I made sure to research the type of leather I was working with so I could buy the appropriate products. I am flying by the seat of my pants though so I have no idea what the final product will look like or if it will hold up. I asked for customer approval before I started anything. The company said to use a 600 grit sand paper, so I lightly sanded it down today and put another layer on to build up an even surface. I'll start the color process on Tuesday; suppose to slowly build up the dye as well. I'll keep everyone posted. -
Help Restoring Hd Police Solo Seat
LuckyRabbitsFootLeather replied to LuckyRabbitsFootLeather's topic in How Do I Do That?
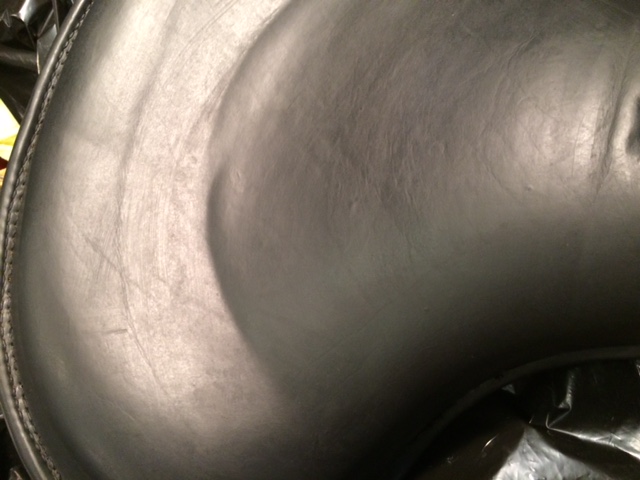
After letting the seat dry for 24hrs I realized it was tacky, so I used water then moved on to denatured alcohol to get as much soap out as possible. I didn't know how else to solve that problem. I should have asked. After letting it dry over night I started the filling process. Quite nervous about this stage. I'll let it dry over night again. Tomorrow I'll sand it and refill as needed. I am concerned about the dent that I filled in will not survive the wear and tear of someone sitting on it. The surface there was not ripped and I am concerned the filler wont have anything to grab on to. Any ideas on the grit of sandpaper to use? I was thinking 2000.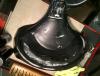
-
Help Restoring Hd Police Solo Seat
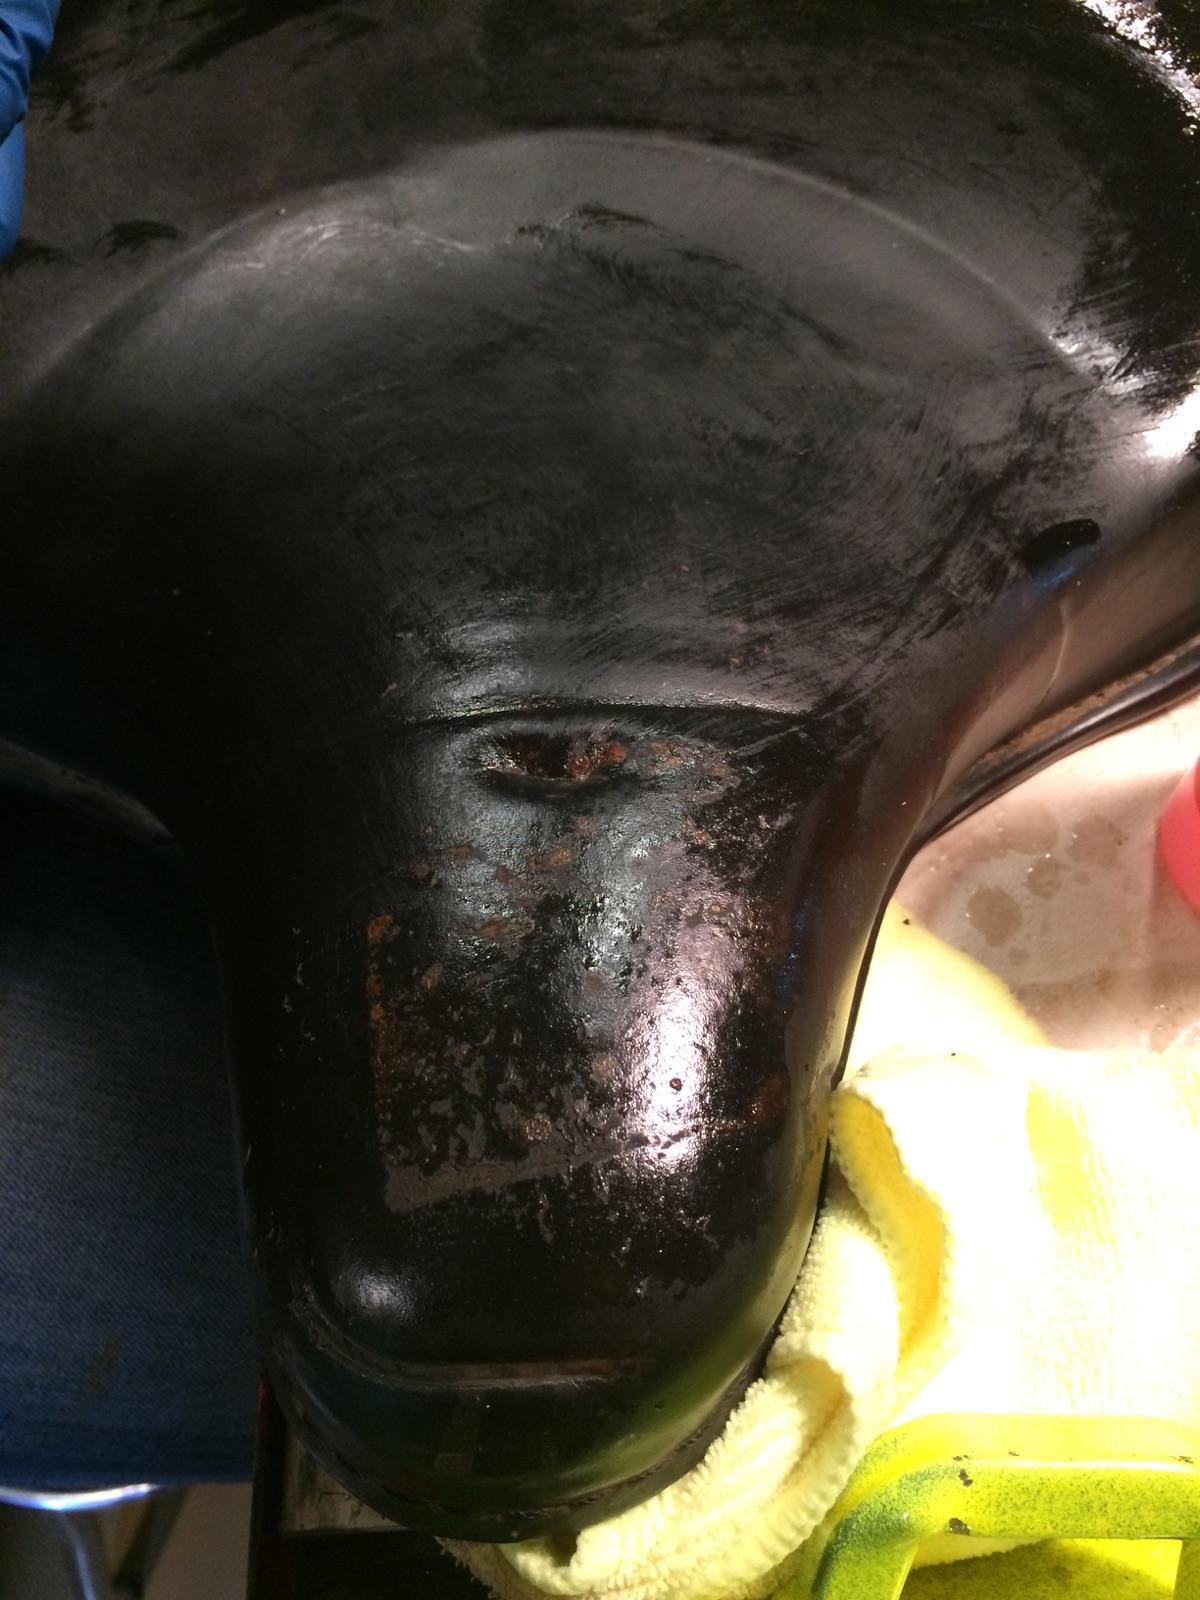
LuckyRabbitsFootLeather replied to LuckyRabbitsFootLeather's topic in How Do I Do That?
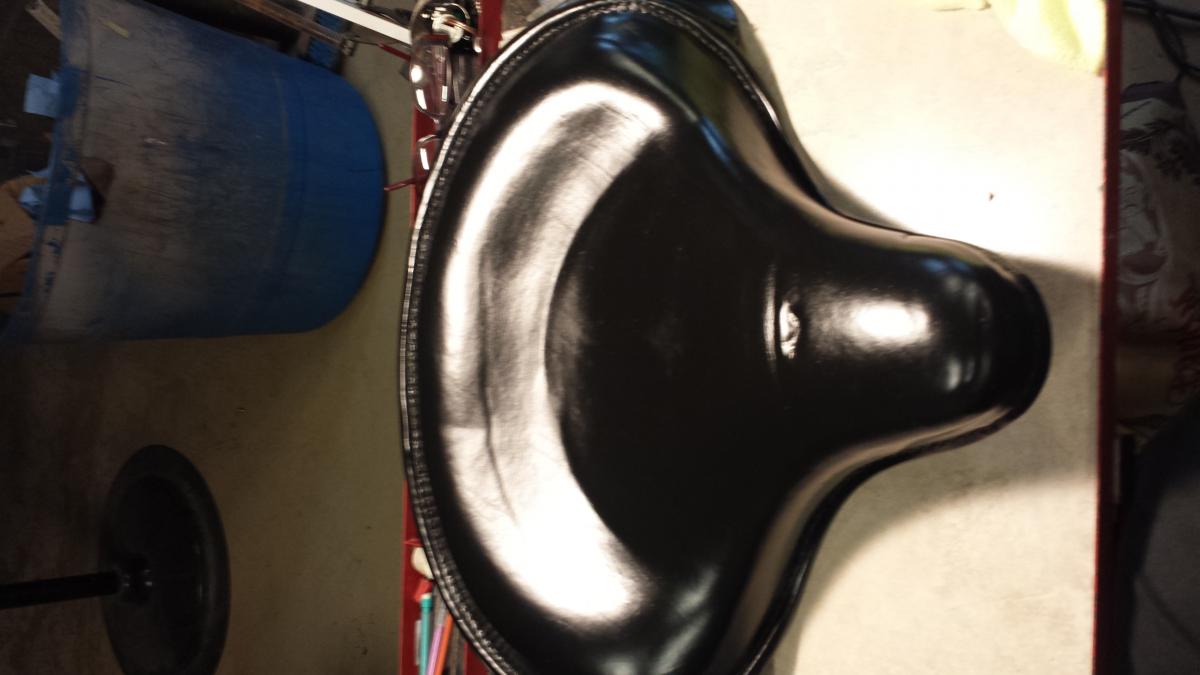
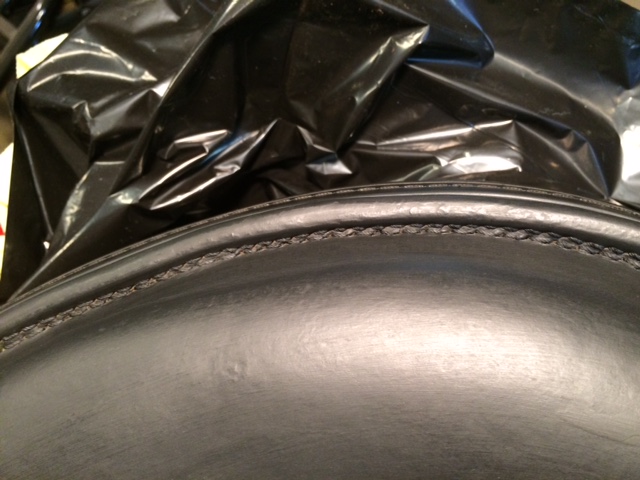
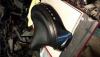
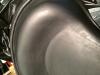
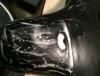
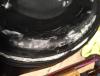
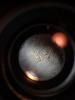
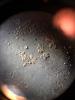
Sorry for the wait. My products finally came in. I started with a soft cleaner but quickly realized that it wasn't going to cut it. I moved on to the super cleaner and with five hours of elbow grease got the seat to the point you see below. Since the rust was very stubborn I used a razor blade to lift it off the seat once it had softened from the cleaner. The magnified images show the rust right before I scraped it off.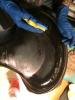

-
Very cool.
-
Help Restoring Hd Police Solo Seat
LuckyRabbitsFootLeather replied to LuckyRabbitsFootLeather's topic in How Do I Do That?
Youre on to me! Thank you. I'll post pics soon.