


bentley
-
Posts
200 -
Joined
-
Last visited
Content Type
Profiles
Forums
Events
Blogs
Gallery
Posts posted by bentley
-
-
Very nice, do you want to share how you make it glow?
-
Welcome to Arizona, I will be sure to stop by and say hello.
Mark
-
Very nice work, I like your designs.
Mark
-
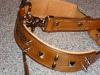
Question on the d-ring "tab" stitched on to the collar. I've been doing some with a similar lining layer on them and used the lining layer to hold a d ring captive at the top of the collar but the d ring goes around the entire main piece of leather vice stitched on with a tab. Your way is much nicer looking, not to mention there is no way I could do that wide a collar with a 1 3/4' d ring wrapped around the main body - would look like a fitting on a boat!

So have you done many with this design, and has that method of attachment for the d ring held up alright? Just a bit concerned about the strength factor - I know you mentioned that it's more for show, but I like the detail and was curious how it stands up with shall we say *excitable* dogs LOL
Nice work BTW!

I have not had a failure with the D-ring yet and have sold/given away many to Boxer owners which have been pretty good sized pets. Been using a small piece of rawhide inside the leather loop to give it some added strength, seems to be working. I also have a D-ring down by the buckle and use copper ritets and glue at the buckle. Some owners do not want that center D-ring because they say their dogs are pullers and they don't want the buckle in the dogs throat. That is what is nice about custom work, they get everything they ever wanted but could never find at a big box store, have not received any complaints from owners yet, knock on wood.
Thank you for the compliments.
Mark
-
Mark;
I totally agree with you on the strength in the stitching, I don't think it will be a problem but as the collar gets wet and it penetrates those areas it could weaken the leather over time.
Considering a dogs life span I don't think it would break in that time.
If the dog spent a lot of time in the water it might be more of a concern.
Kevin
Thank you for the input Kevin, I may have come off a little cocky to your first post, my apoligies and I respect your opinions.
Mark
-
I was going to make the same comment that Tree Reaper made, b/c I also saw that mentioned in the same sewing book. However, I think your probably right that it's not likely that the collar will fail b/c you sew perpendicular to the length of the collar. IMO, the collar almost looks unfinished when you don't sew that line. Your collar looks great, by the way...
Thank you for the comments and compliments. Tree Reaper does know what he is talking about and I think I will make some adjustments, perhaps a much longer spacing in the stitch that is perpindicular so it still has that finish look with less damage to the strength. These collars are mostly for show off, have not sold this design to anybody using this collar for hunting, tracking or pulling dogs such as Pit Bulls, not even sure leather would be the right material for such things, see more seat belt material for those.
Each time you make something you learn something new it seems when working on individual projects vs. mass production stuff. That is what makes this Forum work so well and fun.
Mark
-
Your collars and leads are beautifully done. There's only one thing that I would change... Those cool looking spikes could hurt the dog that wears that collar.
I would switch from those pointed spikes to a flatter diamond or spots. Dogs try to scratch around or under their collars, and getting a sharp spike in the foot would not make for a happy dog.
Other than that small detail, your work is really nice. Thanks for sharing.
I understand your position, just making what the customer ask for, get very few request for spikes actually and I think they use them more show when walking their dog, not an all day collar. Thanks for the comments and compliments.
Mark
-
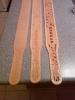
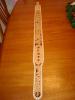
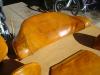
3" wide strap lined with pig skin and white buckstitch. From left to right, just started, finished tooling, completed. Actually there was a fourth strap for his friend that was already delivered.
-
If you have some place to mount a peg board that can be very helpful, also can find a lot of organizer type bins at a sewing/crafts store usually.
-
I have a very large collection of Tandy tools that were purchased over many years, some fairly new. Never had one bend or break on me. May want to try and get more moisture in your leather before stamping so it will take the impression without having to hit it so hard. This seems to be the most difficult part of carving and tooling for noobies. Try to find some scrap leather to practice getting it cased properly to take the impression with less effort, careful not to get it so wet it acts like a sponge and the impression disappears when it dries out.
Good luck and have fun.
-
Hey Mark;
Not criticizing but my sewing book warns against sewing across the end of the strap because it creates a weak spot in the leather.
Nice point and I would agree on a horse harness and even a tree strap but I know that your shoulder will be dislocated before that dog collar breaks if your dog pulls that hard.
-
Thanks for all the help and answers. I'll definitely give it a shot. Couple more questions. What color is that? And how did you get the lettering so dark? Thanks.
You are welcome. I think it was Tan, I used Eco-Flo Gel Antique with two coats of Resolene sealer mixed 50/50 with water. The antique will be much darker in the impressions if you put it on heavy and then wipe off excess on smooth areas.
Good luck, experiment on some scraps.
Mark
-
This part confuses me a bit. At what stage do you from the inside piece to the collar? You do this after you wet it, fold the sides around back, and put it under a marble slab?
Yes, I leave it under the slab a few hours to get a good crease but it will still be damp when you remove it, now place inside collar and wrap both around something like a roll of duct tape to get a nice curved shape to both pieces. When all is dry start the gluing process.
-
You can email me at bentley.leather@gmail.com if you are still looking for help.
-
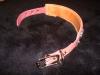
Beautiful!!! I'm new. Would you mind describing the 2 oz, double over leather in more detail? Like what kind of leather and how you doubled it over. Planning on making a collar for my dog soon. Thanks for your help.
It is veg tan thin leather that I wet and fold over both sides so they meet in the miidle on the back side, put a nice crease in the edge and put it under my granite slab for a while. Then open up the flaps and put some glue between the layers and also glue to the back of the collar then sew. Make sure you form the inside piece to the collar when it is damp and roll the two pieces while gluing so you don't get any puckers and it will want to stay in that curved shape, I usually put a roll of duct tape inside of the two before gluing while the moisture dries to give it a nice radius. I leave it natural so no dye rubs off on the dogs fur and treat it with mink oil. So if the collar is 1 3/4" wide I cut the back piece 4" wide so there is a little overlap. I have more collars on my blog if you would like more examples, www.bentleyleathergoods.blogspot.com
-
I sent you a message. If you tell us where you are located maybe someone close by could help you out to avoid shipping cost.
-
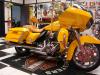
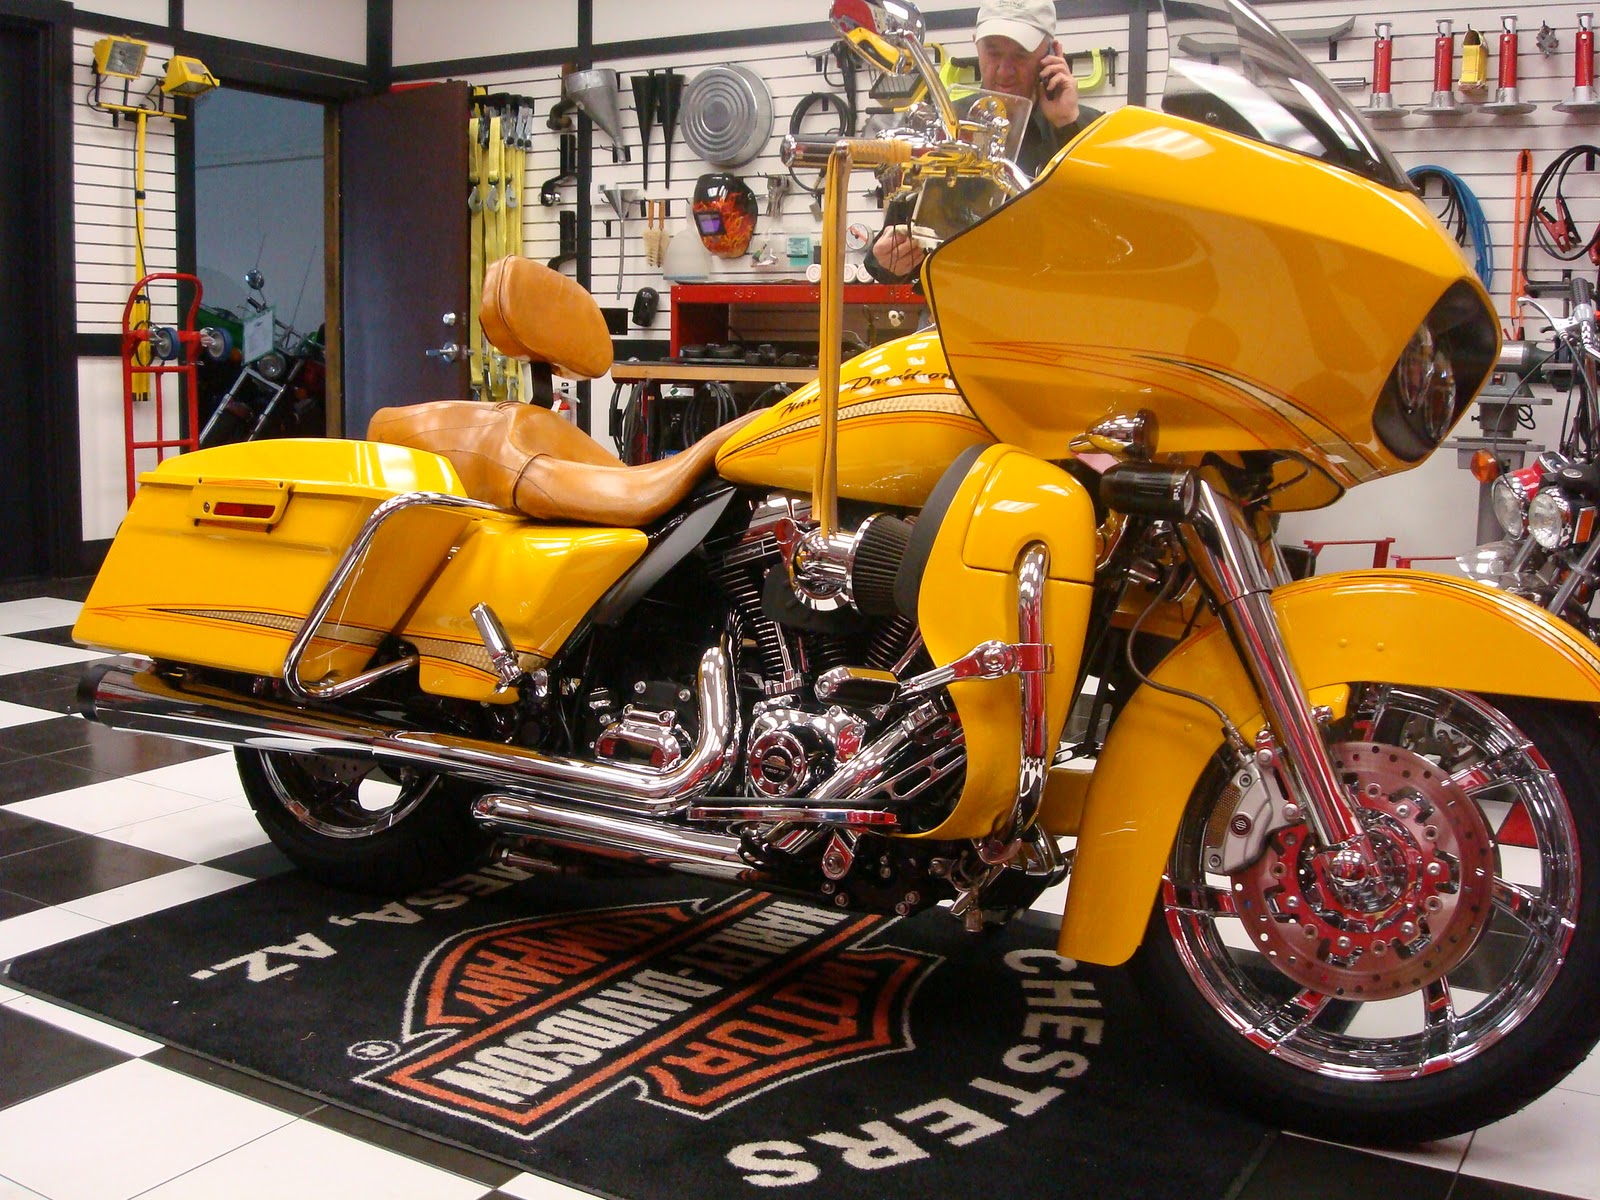
Getting closer to finishing the bike, plans on leaving in March for a six month tour.
-
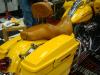
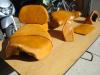
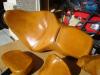
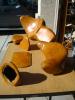
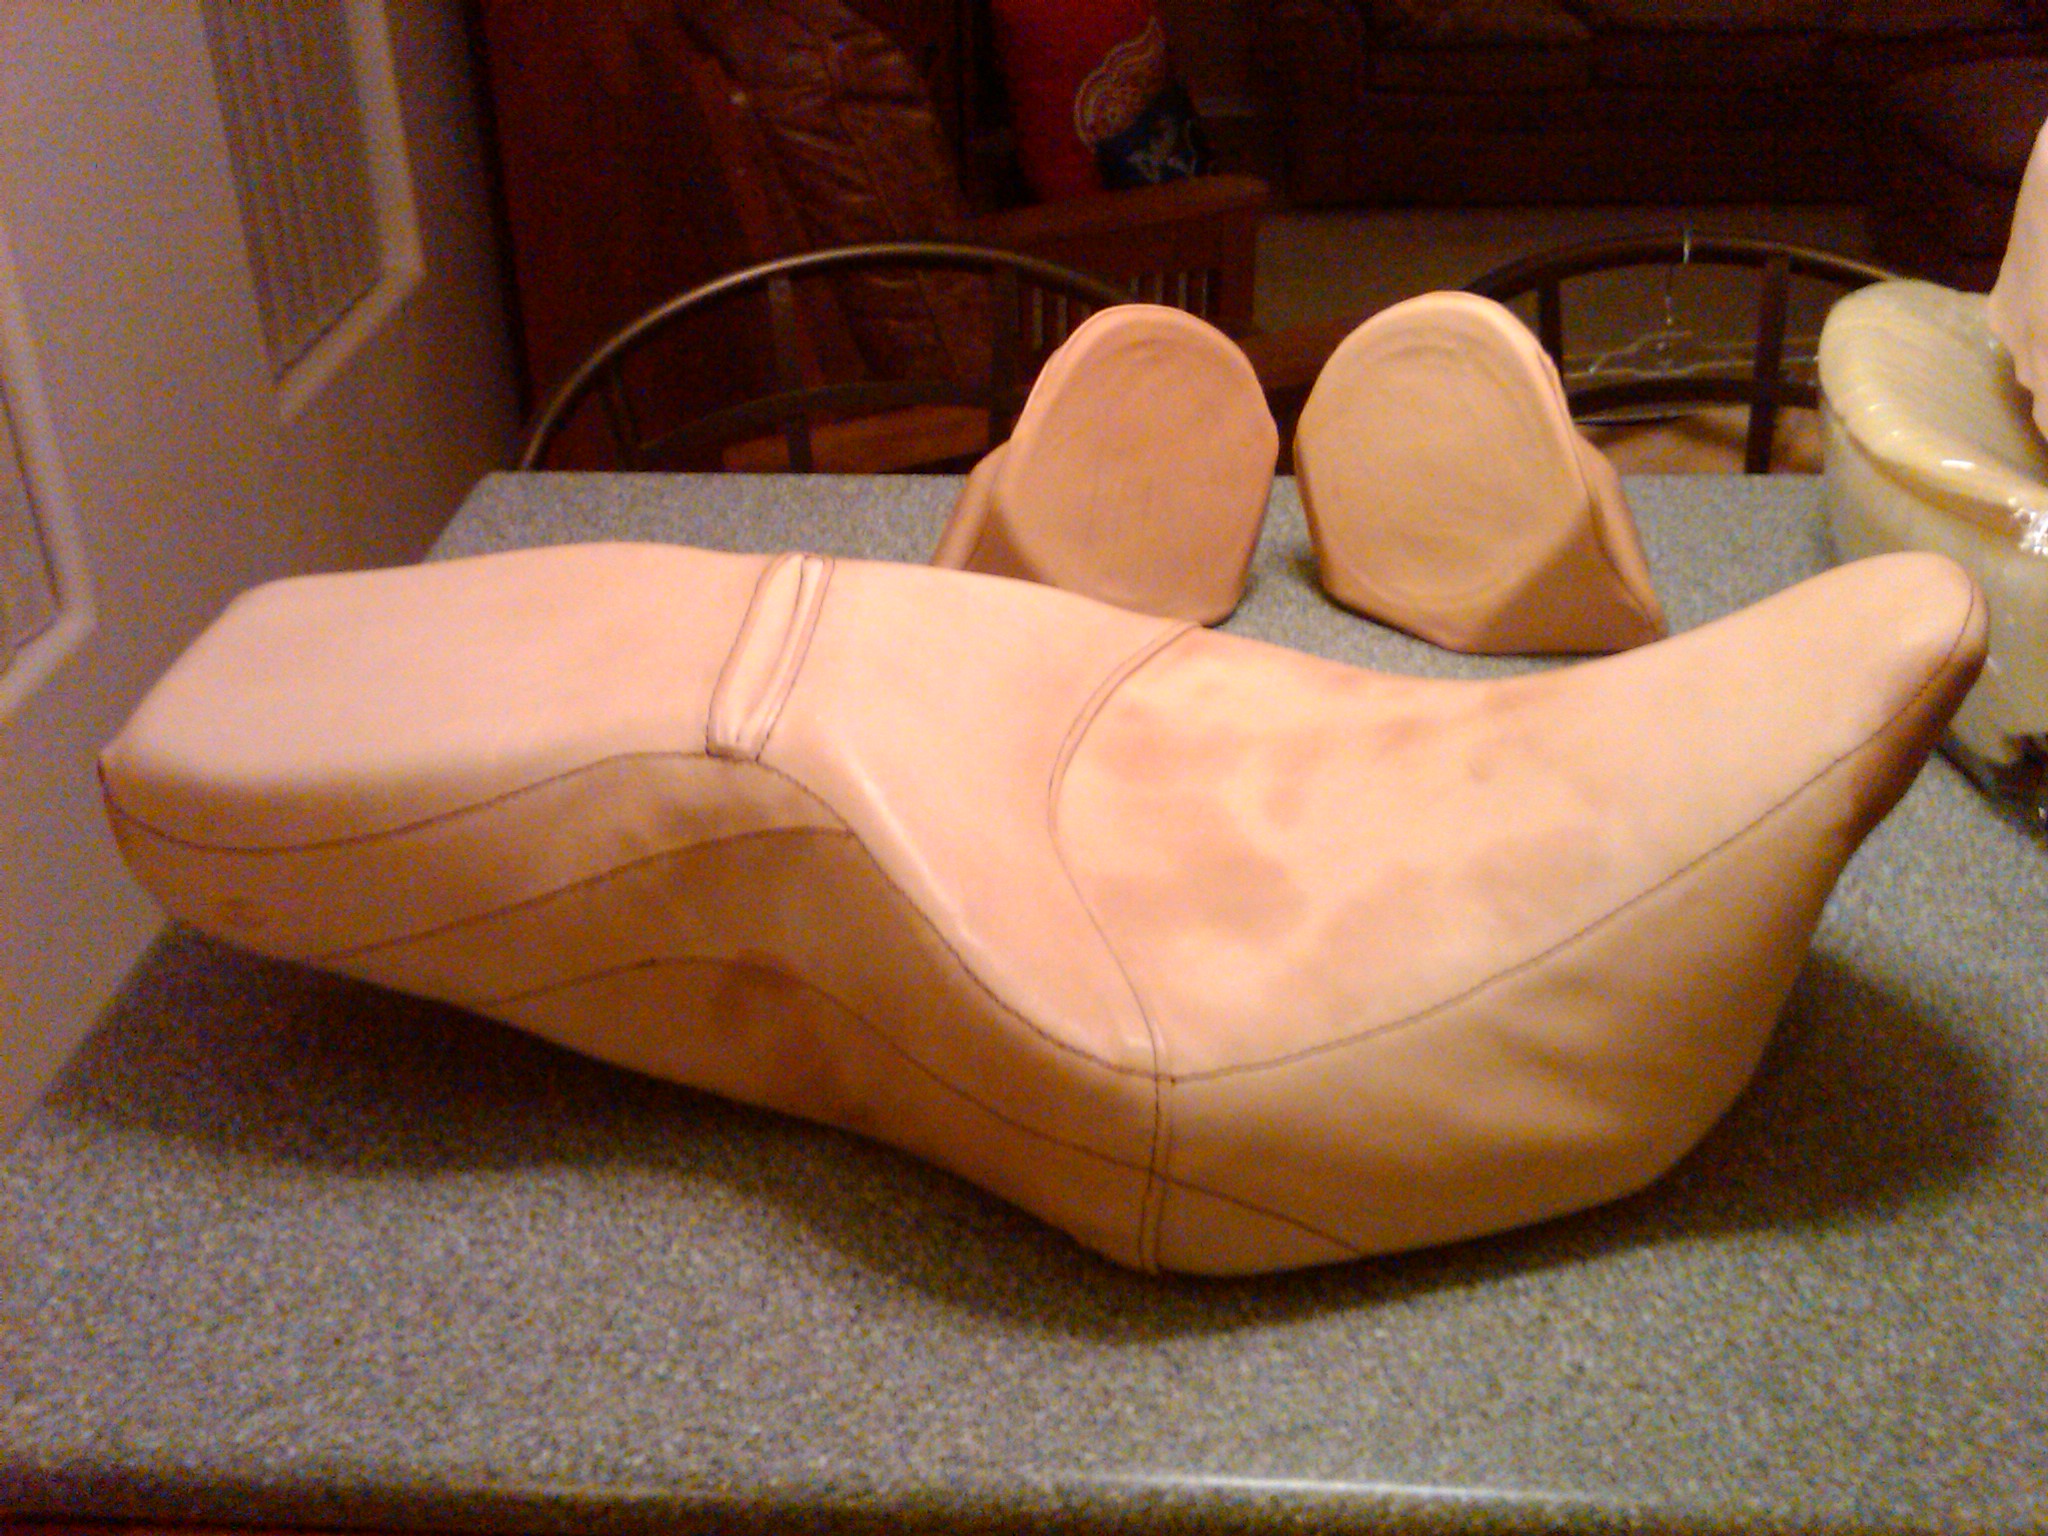
Finished parts, hopefully will get pics of the bike soon. Owner wanted a brand incorporated into the seat somewhere so I put it in the backrest.
-
You might want to see if there is a local 4H group that could use them.
-
Been doing leather work for many years but never did any bike stuff. Got an order for a two up full dress Harley seat, backrest, speakers, etc. Managed to connect with an 80 year old craftsman that only works in vinyl seats and is a wealth of knowledge, also loves to talk about his work, great mentor. Not sure my work is worthy of posting in this section with you great bike builders but here are some progress pictures.
Bike is yellow with gold leaf on the tank, Owner did not like black on yellow so it will be a light brown when finished. Gentleman owns a Harley dealership and also rides horses, wants the seat to look as close to stock as possible in regards to stitching lines but to feel like one of his saddles. No tooling at all, likes his saddles smooth but wants natural scars and some distress.
Feel free to critique and thanks for viewing, Mark

-
I messaged the guy about a mo ago - think he is dead.
Guess that means no Christmas presents under the tree this year.
-
I am so happy I've found this page!! I have a very lovely style of wallet I have had for over 30 years. My sister dearly loves this style and I was wondering what it might cost to have it replicated as a Christmas present for her. I have pictures but don't know how to attach them. The wallet is very old (but I treasure it!).
If this is something you might be able to do, please let me know and give me some idea or range for the cost of such a project.
Thank you!
If you can send me an email with pictures I can discuss with you, bentley.leather@gmail.com
Thank you, Mark
-
Want your leather to look like copper patina? Clean with oxalic acid and dye with Fiebings light blue, not the look I was trying to achieve but there is some reaction with the acid I guess.
-
Some of the banks are going to charge a fee for having a debit card, when my bank decides to do that I will turn my card in and start carrying my checkbook again.


Is There A Leather Guild In Arizona?
in Resources
Posted
Let me also know if anything gets started.
Mark