-
Posts
49 -
Joined
-
Last visited
Content Type
Profiles
Forums
Events
Blogs
Gallery
Store
Everything posted by JeffHami
-

Singer 153W 100 Needle and Foot Timing
JeffHami replied to JeffHami's topic in Leather Sewing Machines
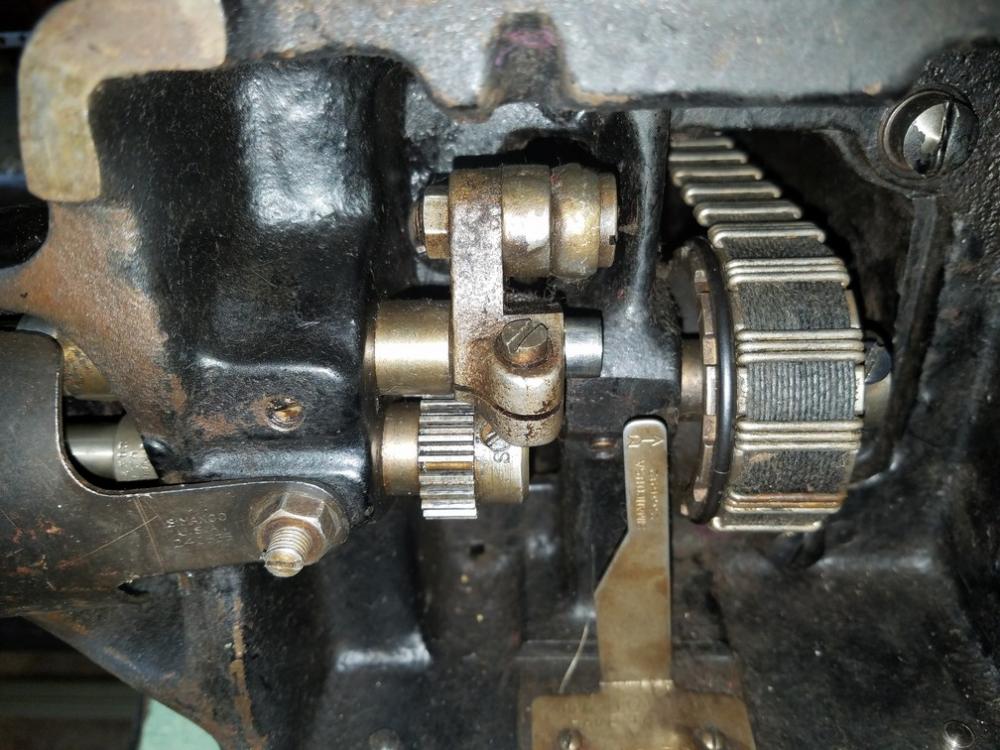
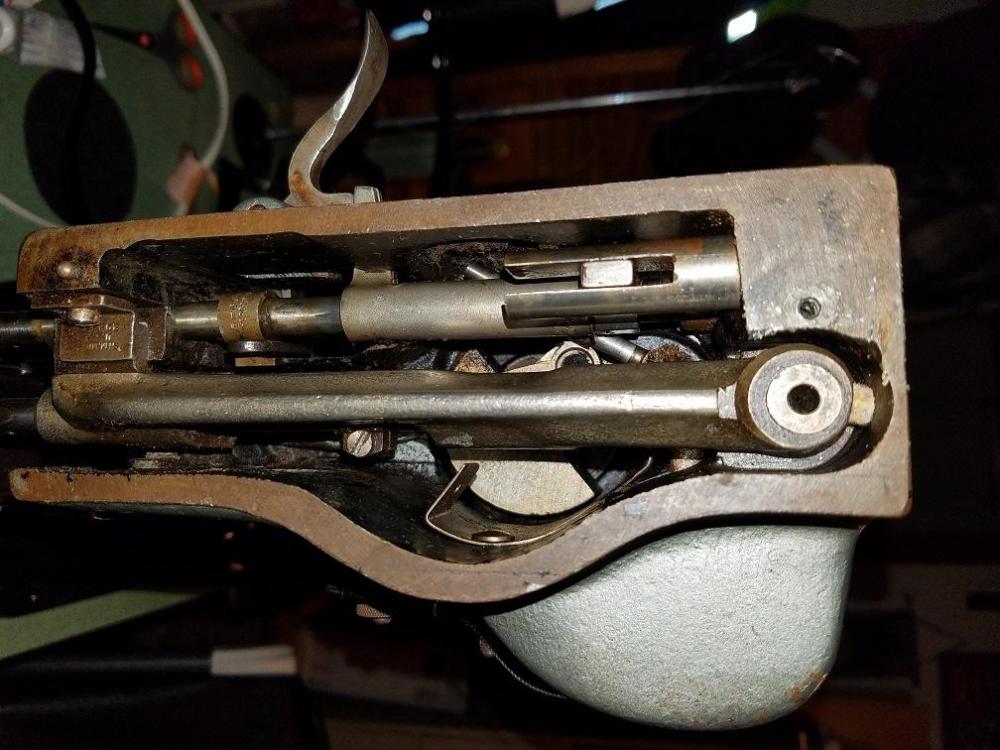
I believe so. The foot is raising at the front and dropping as it gets to the back. Had to loosen and adjust the large screw you see in the middle of the last picture to get it were it wasn't jamming against the plate as it began and ended its arc. From what I figured that arm if somehow connected to the stitch length so I set it to the largest stitch and then made the adjustments. Not sure if I am right but it is working on the test pieces I have tried. Could find anything written about how to adjust it so I did the best I knew how. -

Singer 153W 100 Needle and Foot Timing
JeffHami replied to JeffHami's topic in Leather Sewing Machines
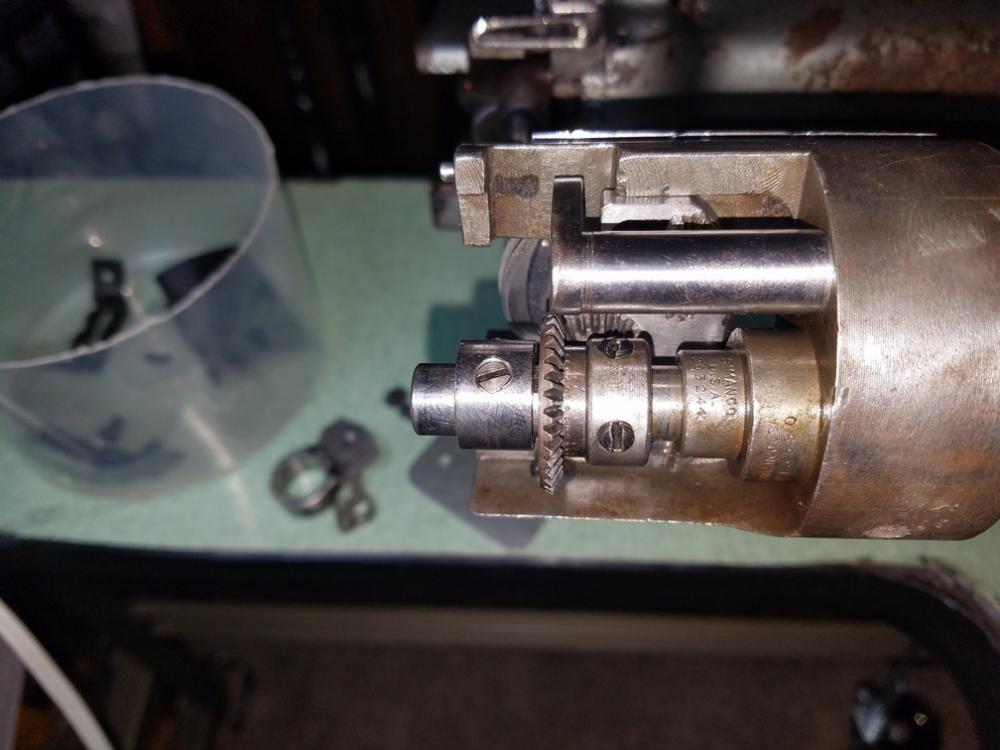
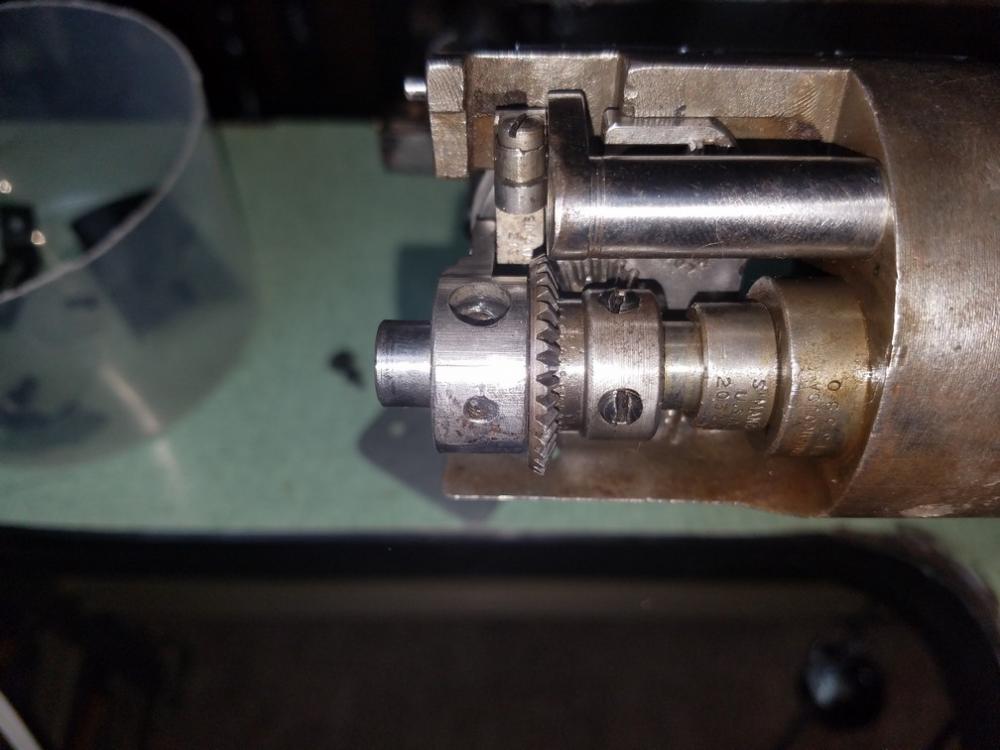
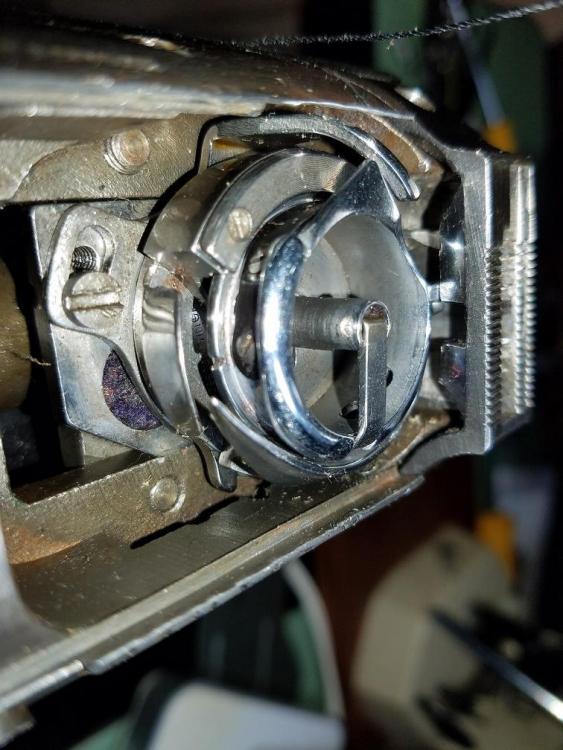
Well I think I figured it out. The oval bushing in the 1st pic has two holes. One is for the screw that goes into the slot and the other is just a set screw. They are booth the same thread and when I took off everything to clean and oil it I had put the set screw in the wrong hole and thus the timing was off. -
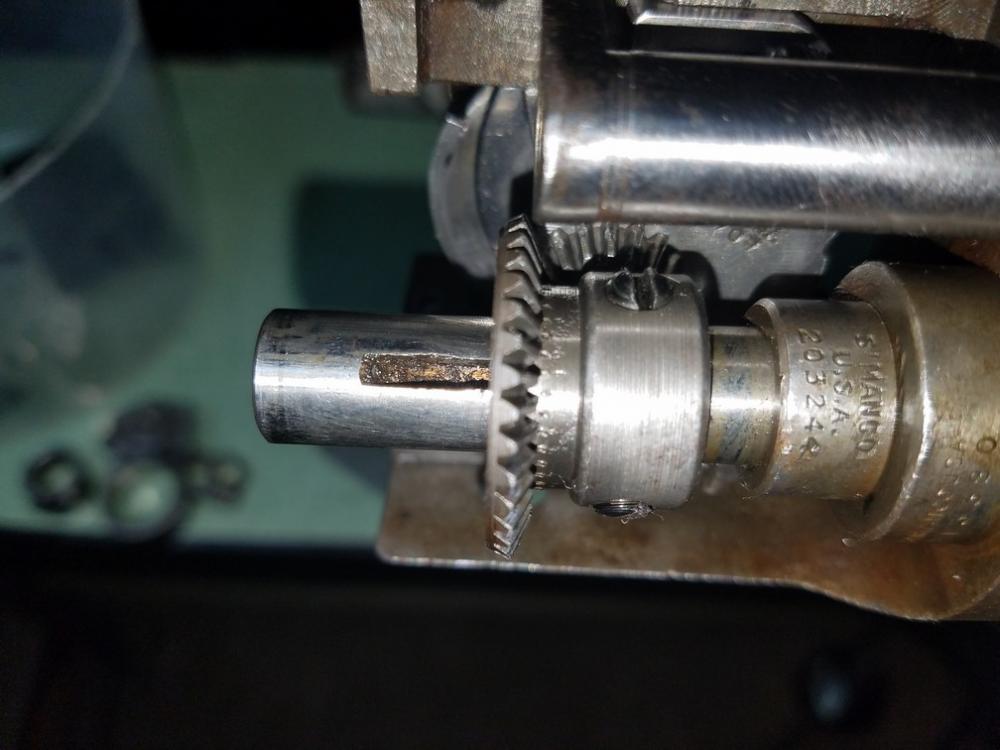
One of these days I will get this right. I was working on getting the needle timing right on my machine and after a few tries I got in right on the money I noticed I now have the timing for the foot movement messed up.I loosened the three set screws that lock the beveled gear in place and slid it back so the bobbin assembly moved freely. I loosen the two screws that held the bobbin assembly in place then I adjusted assembly so it to the right spacing between the needle and the pickup point. After I had the right spacing I tightened the two bobbin assemble screws from the bottom and moved the beveled gear back in place and tightened it up. When I was turning the machine by hand the needle timing and spacing were great but it appeared the presser foot motion was wrong. The needle was entering the front of the hole in the presser foot and exiting the back. The way I remember it is the needle entered the back and exited the front. I see on the spline that the oval bearing that makes it move back and forth has a groove that it locks into so it can't be adjusted. On the other end of the shaft is a bar that moves back and forth (image00004.jpg) and has a set screw but I not sure what that will change. Can anyone help me get the presser foot and needle back in time I would greatly appreciate it.
-

any issues with putting a servo on a Singer 153W103?
JeffHami replied to ELeBlanc's topic in Leather Sewing Machines
I converted a 153W 100 over to a servo with no problem but I did find I needed to install a speed reducing pulley so I could drop the speed down slow enough to do leather. -
It is 1/4 longer than the one I removed and didn't have a flat spot to lock the set screw into. When I pulled it part way out everything went back to moving freely. I push it back in and you could feel something strike it. Trust me I never would have guessed it was possible and that is why I didn't remove it first thing. I was going all over the machine looking for loose screws.
-
Well after going nuts the better part of the afternoon I started retracing my steps. I had installed a thread retainer, but thought that could not possible have anything to do with it, but after doing everything else I decided to remove it and now everything works. Now I will spend tomorrow retiming and getting everything back into adjustments. All this work because of a damn $5 part.
-
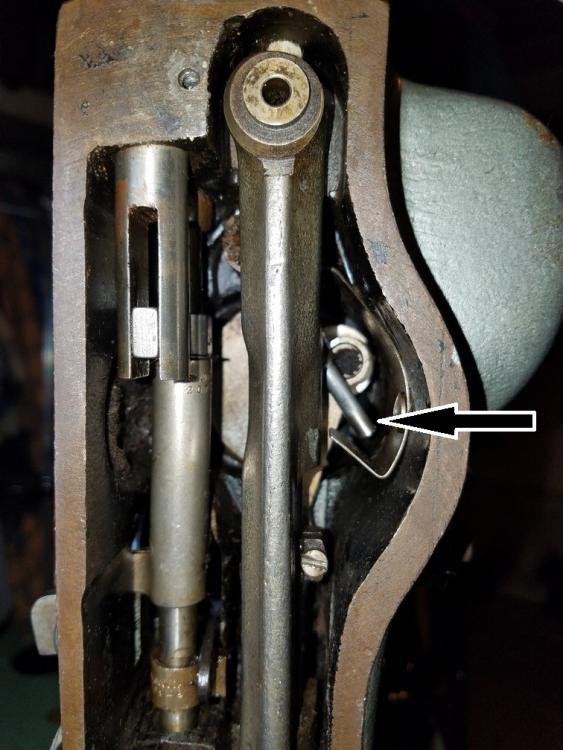
There are days I think this machine just likes to screw with me. I just installed a speed reduction pulley system and tested the machine with no thread and it worked great. Turned everything off and came back to run a few test with thread and leather and before I did a thing I checked everything was moving fine and the machine will now only turn 1/4 of a turn. It will turn back to the original position put no further. I disengaged the bobbin assembly to make sure there are no jams there, I removed the needle, the needle plate and feed dogs. The only thing that I see that moves in that limit is an arm that I have an arrow pointing to in this pictures. Also it appears to stop as the takeup lever is at its extremes. I have looked for loose screws, but I can't see a thing.
-
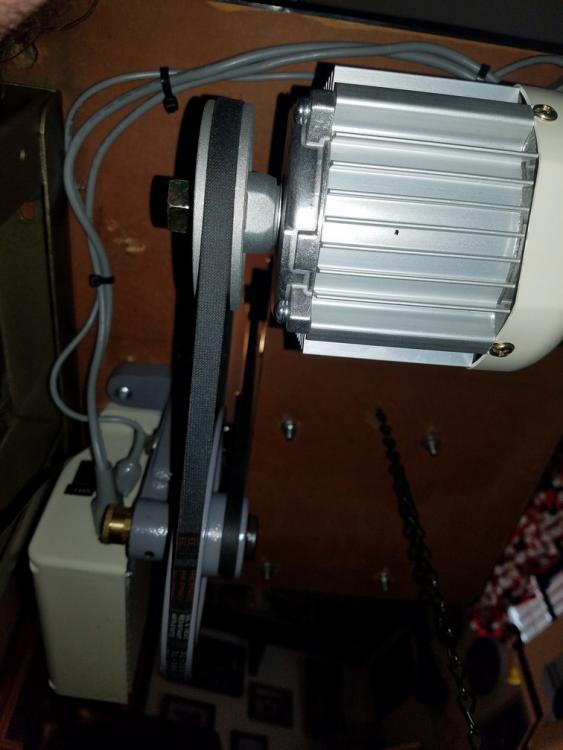
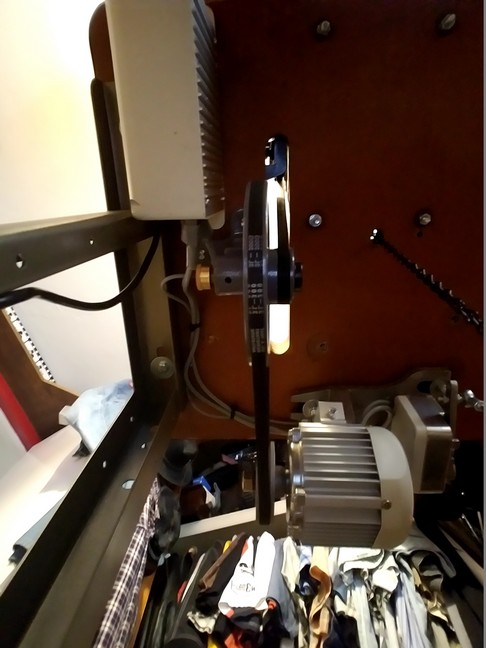
I want to thank everyone for all their help and let you know the upgrade went great. I had to move the motor back and over to get it to work the way I wanted. I used 3 carriage bolts to hold the motor and I mounted the speed reducing pulley with the three large wood screws it came with. I bought my belts from Grainger Supply, they have just about every size belt you could want.
-
OK one last question on this subject. The new Techsew pulley will be in Thursday and I'll have to move the motor and mount the new pulley. Does anybody have any advice on what type of screws/bolts to use in the wood for mounting the motor and pulley?
-
I've done a web search and found them at Tractor Supply https://www.tractorsupply.com/tsc/search/3L Type V-Belt and Granger Supply https://www.grainger.com/category/v-belts/power-transmission-belts/power-transmission/ecatalog/N-cc2Z1yzazhm If they don't work I'll try one of the sewing machine suppliers.
-
Is there a local store that might sell belts like Ace Hardware or a mower shop?
-
Gregg, What my original idea was to make a box that would go inline and limit the RPMs so I could run the machine slow no matter how hard I pushed on the pedal. After all the advice on the forum I decided adding the pulley was the best idea because it also increases the torque while slowing the machine speed. I am going to remove the machine and flip the table over then rework everything when the new pulley comes in. I hope to be able to buy the new belt sizes I need at my local auto parts store.
-
Thanks, I never thought of that.
-
It looks like an electronic speed reducer is out so I decided to go with the Techsew speed reducer. I didn't want to mount all the pulleys and bearings on the top of the table and the Techsew had the smallest footprint and looks well made. Thank you to everyone for all the help and ideas.
-
Just watched it thanks. I think I may go with this idea.
-
Wiz, Where so I buy this 3:1 speed reducer? Does it mount under the table and do I have to move the current position of the motor? The unit has a 3" pulley Jeff
-
The unit only allows for a minimum speed of 500 rpm. When I press lightly on the pedal and get a nice slow speed that works well and is easy to keep up with, but it's hard to keep your foot in that position. I would think I could some limiter inline that would not allow the unit to go over that speed. I was thinking about having a large pulley made that would slip of the original pull and locked in the place with two set screws that go into the original belt grove.
-
I purchased a Consew CSM1000 Servo Sewing Machine Motor and it is working great on my Singer 153W 100 but I would like to install a speed limiter. While working on Christmas presents for the grandkids my wife got out her sewing machine to help me do so light sewing. She was showing me how she could set her machine to turtle mode and no matter how hard she pressed on the foot pedal it would still go slow. I was thinking it should be easy to put a speed limiter inline between the speed controler and the motor. This way you could set the max speed and if your foot slipped it would not speed up and mess up your work. I'm no electronics guys , but this seems like something that could be made. Is there a reason this couldn't be done?
-
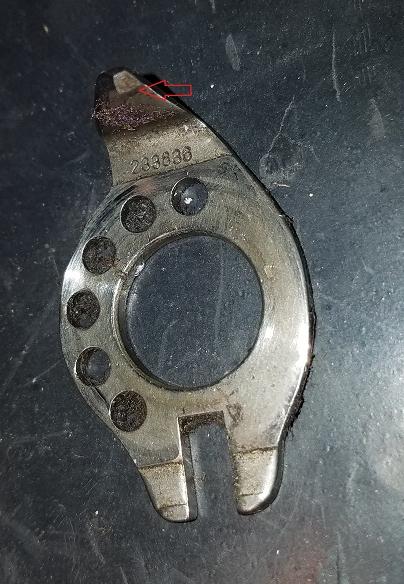
When I went to go put the needle plate back on I notice that the finger of the bobbin lever was striking it and causing a jam. The only thing I saw that would solve that problem was to remove the small section of the needle plate where it was hitting and everything appears to be working now.
-
Thank you very much. I don't know how I missed seeing that second hole. The screw did work and now my adjustment is about in the middle. There are days I think I will go nuts before I work out all the issues on this machine. The good news is I am learning a lot as I go.
-
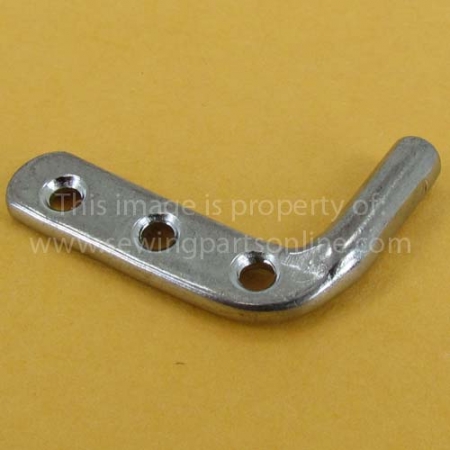
Got my new bobbin case lever in yesterday and installed it this morning. As you can see from the picture I have a problem. The adjustment is set to as far as it will go and it still pulls back to far. If I mount down the needle plate it will jam everything. I either have to modify something or put the broken one back in. What would you do?
-

Singer 153W 100 Presser Foot Position change
JeffHami replied to JeffHami's topic in Leather Sewing Machines
Thank you very much for the pictures and explanation. Going to take a look at rotating the shaft and if it does not come out as I hope I will be contacting you about some of the feet you have for sale. Still learning the machine and what to do and not to do. Sewed a guitar strap and that did not go well, I believe it may be because of the broken bobbin case lever tip and the bobbin thread messing up. -
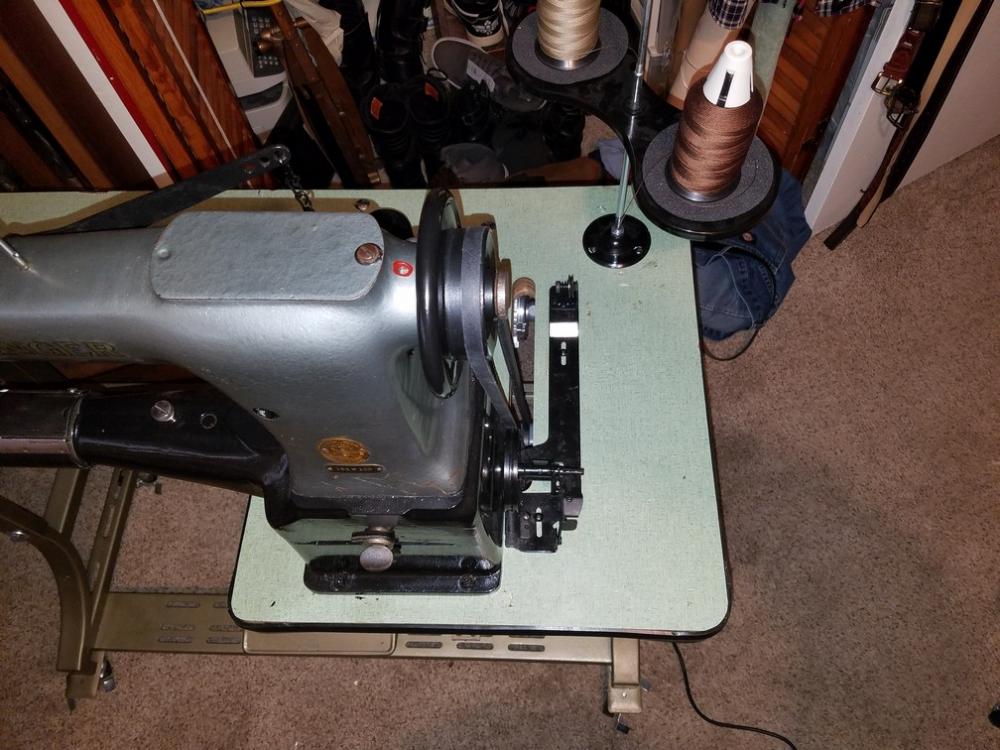
I have a Singer 153W 100 and I would like to change the presser foot orientation. The foot is currently mounted with the holding screw coming in from the back making the flat mounting area parallel with the machine. Most of the presser feet I find are designed to mount with the mounting bracket front to back and not side to side like mine does. I was told I could loosen the presser foot mounting shaft and turn it 90 degrees but I can't see any screws that would allow me to do that. Any help on the matter would be greatly appreciated.
-
Thank you very much for that explanation. I saw where the square tip was locked into the needle plate and there was some motion, but the bobbin case lever tip didn't make any sense to me. It looked like someone set it to pull back too much and the tip broke off.
-
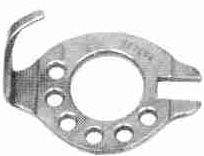
Thanks for the help. I have taken all that section apart and I'm going to clean it and set everything back to factory specs. I did notice that part of my bobbin case lever tip is broken off, do you think this could be a problem. Picture of new and mine attached.


