eddo
Members-
Posts
26 -
Joined
-
Last visited
Content Type
Profiles
Forums
Events
Blogs
Gallery
Store
Everything posted by eddo
-
Hi, I know this is a late comment, but I have exactly the same problem- did you ever resolve this? Thanks, Ian.
-
216X1 Needles - 214X1 Nedles - Whats The Difference?
eddo replied to Constabulary's topic in Leather Sewing Machines
Late reply to this thread, but just an addition as I was here researching as other will ... if you put the proximal ends of the needles together- ie.the blunt ends, then the eyes will be level, which is all that matters for timing, regardless of extra point length, and surely scarf length matters little, only depth. -
Hi Hi, sorry I can’t help, I killed it effectively- don’t be impatient! I fractured an internal link arm and bent and broke the stitch length adjuster knob with impatience (heating / hammering)… I salvaged what I could. I should have found some old diesel and drowned it for a while perhaps.. instead I mistook bending for movement and pushed parts to breaking without knowing. I did use an electrolysis bath which worked in places but did not solve the seizure issue. Possibly it was too far gone in the first place, but it still haunts me that it best me looking at it again now. I thankfully kept the fantastic heavy flywheel which is a great addition to a singer 133 k8. Good luck with yours…
-
Sounds like I still need to resurrect the 45… in the meantime I’ll see what I can do with the Seiko. In do have a singer 54 post bed with wheel.. but with the thread size I want and machine power in think it will struggle with the task. The landis is hard to come by where I live in Tasmania, Aus.
- 6 replies
-
- presser foot
- singer 132k6
-
(and 1 more)
Tagged with:
-
I might be ahead of myself thinking I can sew boot soles with a flat bed straight stitcher… ( I’m new to shoe making) please forgive ignorance there if this is an impossible task. I have plenty of other projects in mind.
- 6 replies
-
- presser foot
- singer 132k6
-
(and 1 more)
Tagged with:
-
Thanks for your replies.. I’m Intending to stitch outsoles..ie vertically rand through to outsole. regarding the flywheel I’m installing a new servo motor and a new deck on the table so will line up accordingly.
- 6 replies
-
- presser foot
- singer 132k6
-
(and 1 more)
Tagged with:
-
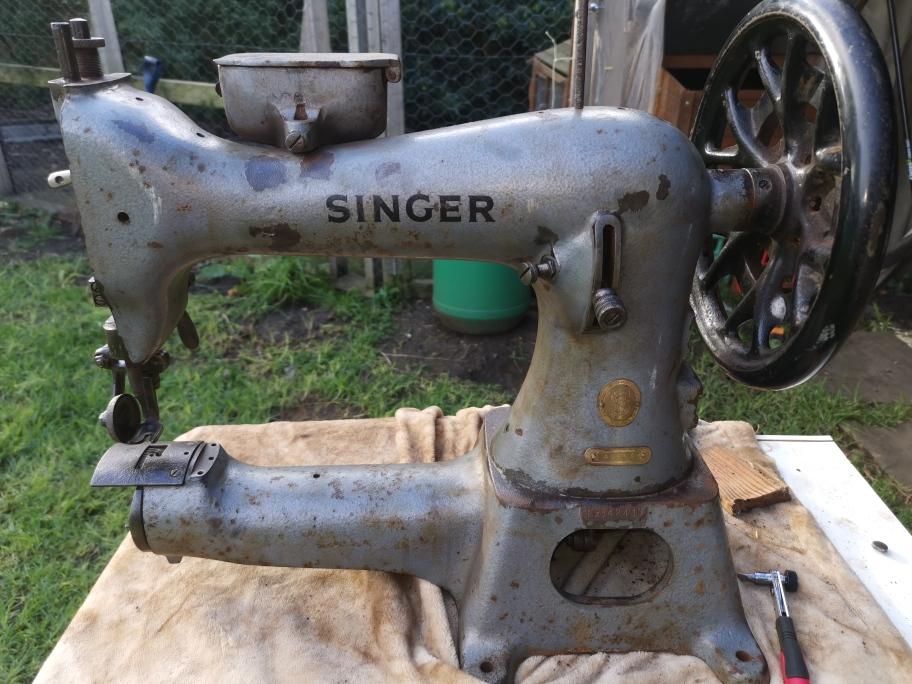
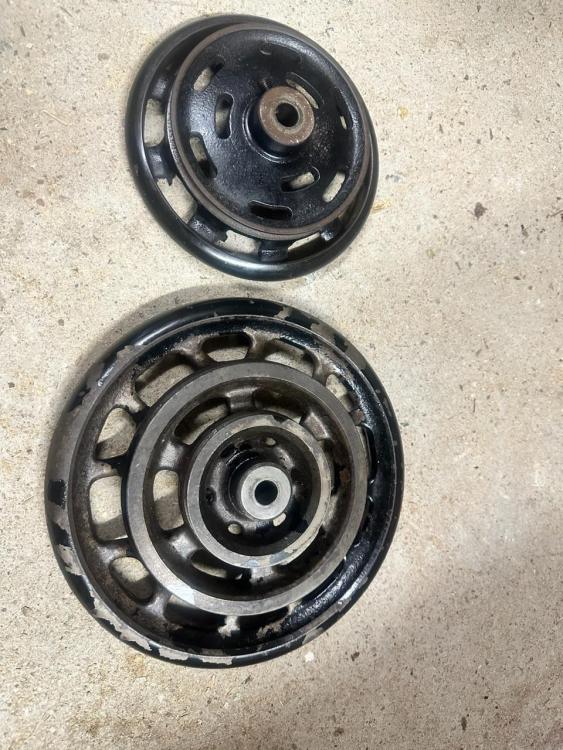
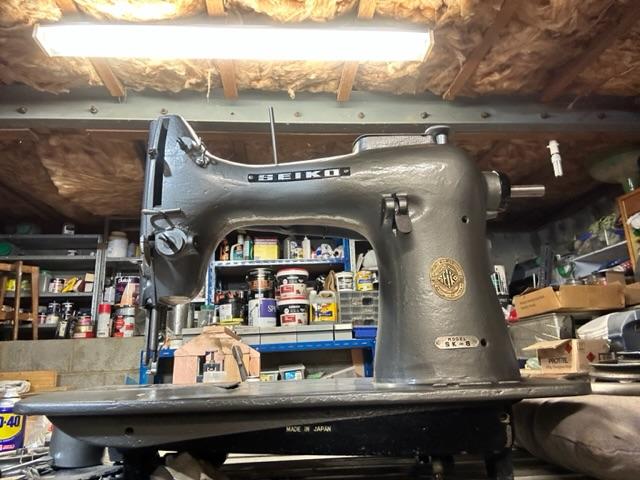
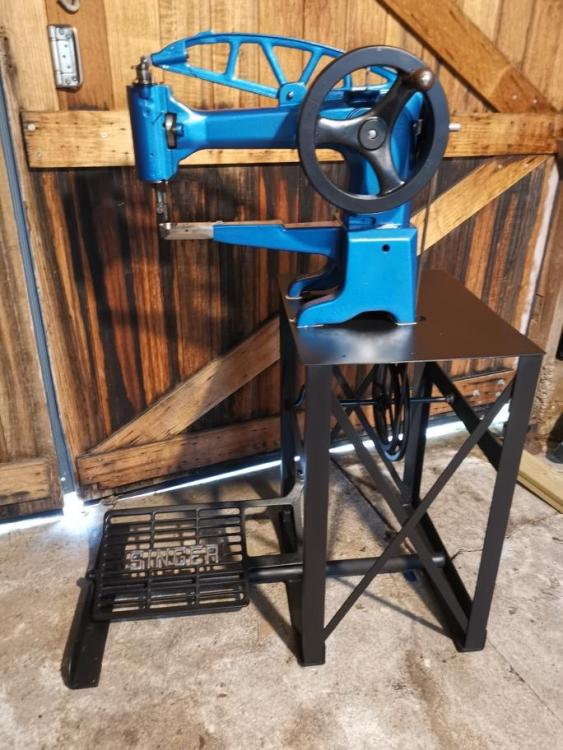
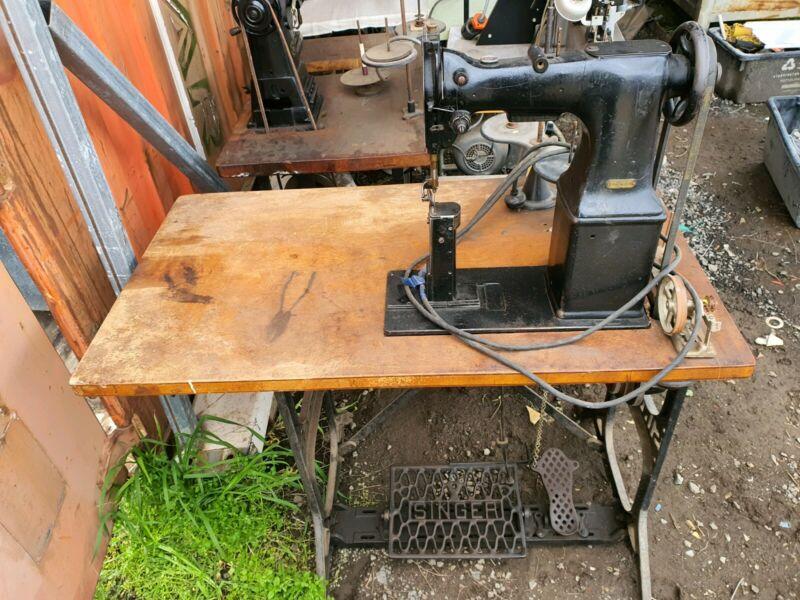
I’ve recently purchased a seiko sk8, basically a singer 132 k6. two questions.. I have a failed renovation project- a singer 45 -and I’ve found that the massive flywheel from that will fit the sk8. Is this a good modification- I’m hoping to use it for slow work and for thick shoe outsole stitching? Also on that note There’s only seems to be one presser foot type I can get.. a wide two-prong outer foot and narrow inner. I’m thinking for the outsole stitching I’ll need to grind off the right hand toe of the outer foot to get the needle close to the shoe edge.. so it will end up a one toe walker (or jumper).. Any thoughts on this? Image of the machine below part stripped for a spruce up, and the size of the 45k flywheel next to the original.. it’s a beefy change!
- 6 replies
-
- presser foot
- singer 132k6
-
(and 1 more)
Tagged with:
-
Hi.. sorry my reply might be a bit late now.. but I converted my 51 54 with a cheap needle bar for a consew 226.. so now happily uses the same commonly available needles as my consew.. it fit with no modification required.
-
Thanks all.. For my 51w56 the 111w needle bar arrived yesterday and fitted fine.. Didn't need to trim at all as the excess length fits inside the machine head. A 5 minute changeover. Hope the $11 Chinese bar holds up! Happy to post any pics if requested.
-
Singer 29u171 needle and foot synchronisation
eddo replied to eddo's topic in Leather Sewing Machines
Thanks.. Yes I think I Answered my own question as I wrote.. I rotated the main pulley 180 and the problem was immediately solved... Foot and needle in sync and sewing beautifully.. And what a pleasurable sound. Thanks for responding.- 13 replies
-
- singer 29k 171
- singer 29 rebuild
-
(and 2 more)
Tagged with:
-
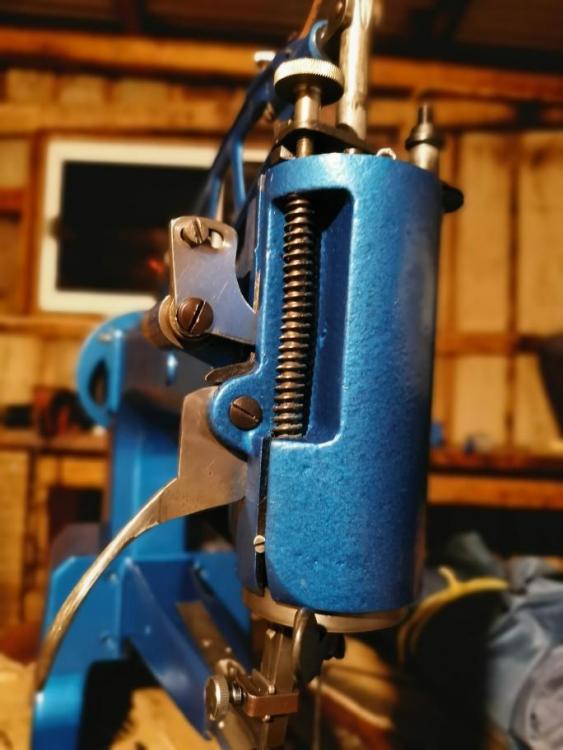
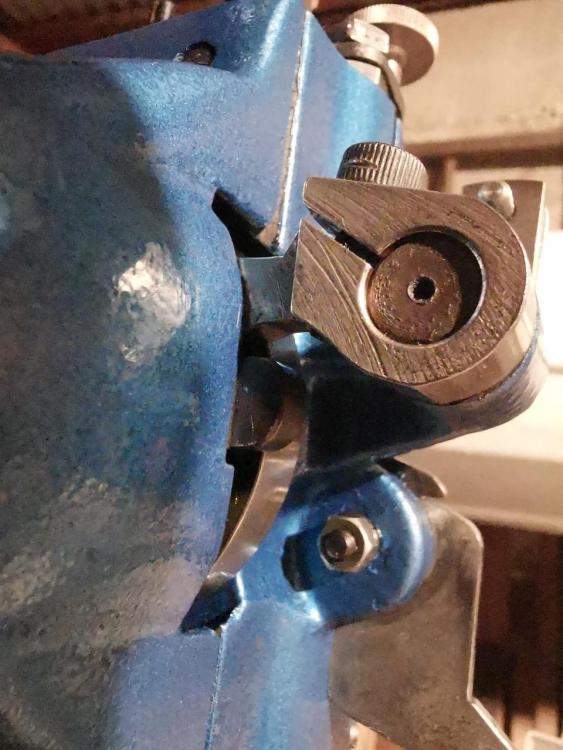
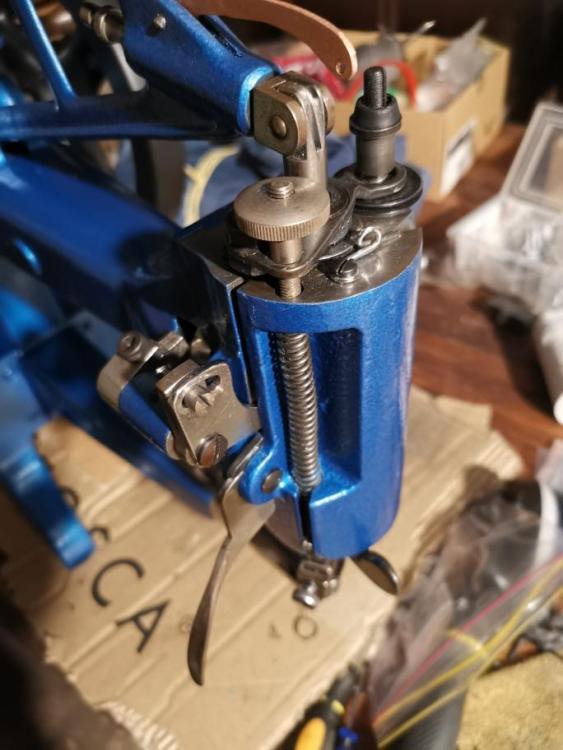
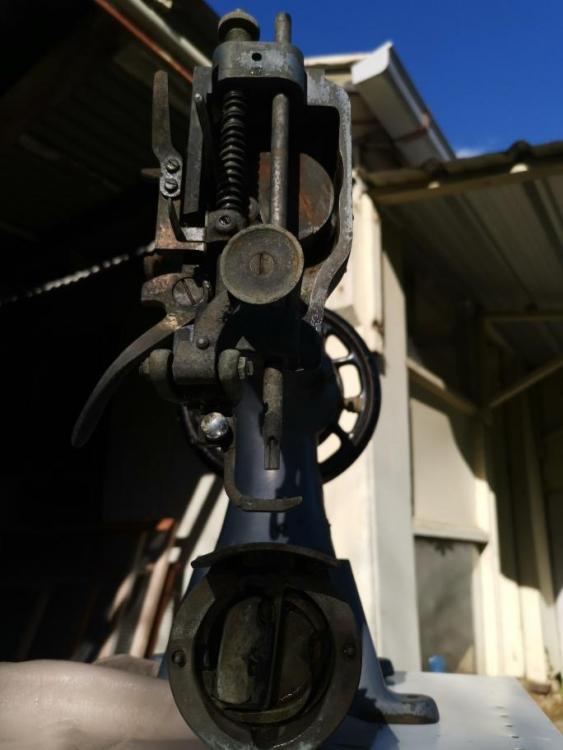
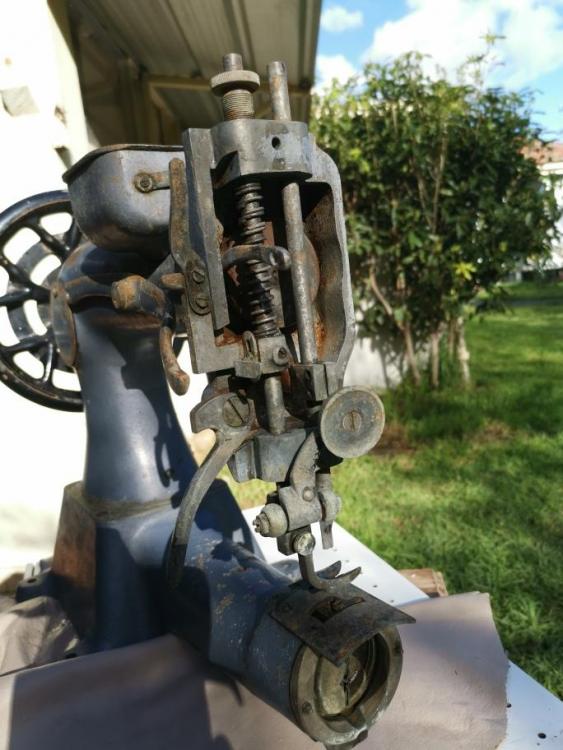
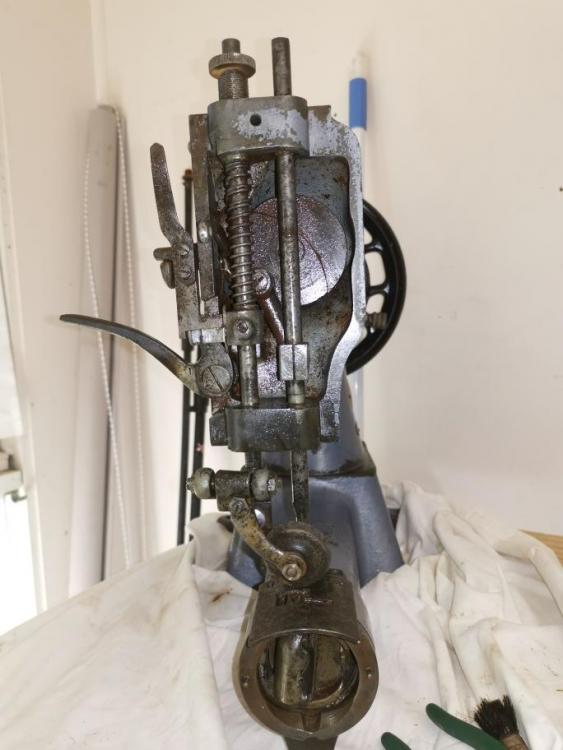
I've dismantled and repainted a singer 29U171 (the earlier Japanese made singer, not the 'A' subclass). When I've put it back together, the needle plunge and walking foot are completely out of sync - i.e. the foot is trying to walk the material when the needle is at full plunge). I'm struggling to find out why. I've not internally touched the head components as all was fine and tight, and on reassembly I've put the main drive pulley on as removed.The main drive pulley seems the logical place where the problem can be fixed- i.e the relationship between the drive shaft and the needle bar driving lever has been compromised by the pulley position on the shaft. I am unsure about the rear side elements of the head (i.e. how they work exactly- any help there appreciated) but pretty sure they are installed OK, and the only other thing taken off there to paint was a single screw (locking screw?) at the base of the foot pressure spring. Please see attached images. Yes... colour is a tad over the top... paint supply/ location issue!
- 13 replies
-
- singer 29k 171
- singer 29 rebuild
-
(and 2 more)
Tagged with:
-
Thankyou- I was thinking (also in relation to your link to the green machine dude) that just shortening a new bar would work fine. I do however notice a 'plug' in the top where a second bushing could be added for extra guidance with a longer bar- this might just tap out and might make for better bar guidance... I like your adaptation of presser bar screw to do the job of a second top bush. So.. I have measured by needle bar diameter with the not-so-good plastic vernier I have here to be around 6.3mm as you state for the 111w bar, so I will just purchase one of those initially and see how it fits. My Consew is 400km away on the other side of another Covid border closure unfortunately, but I'll work that out. I'll report on results down the track. As an aside, the 51W came with nice old singer table with one of those separated inline clutches (4 pulley options)- I re-used one of these with success as a speed reducer pulley set on my Consew by locking in the 4th pulley, so I might use this one here in the same way- and I should share this idea as well...
-
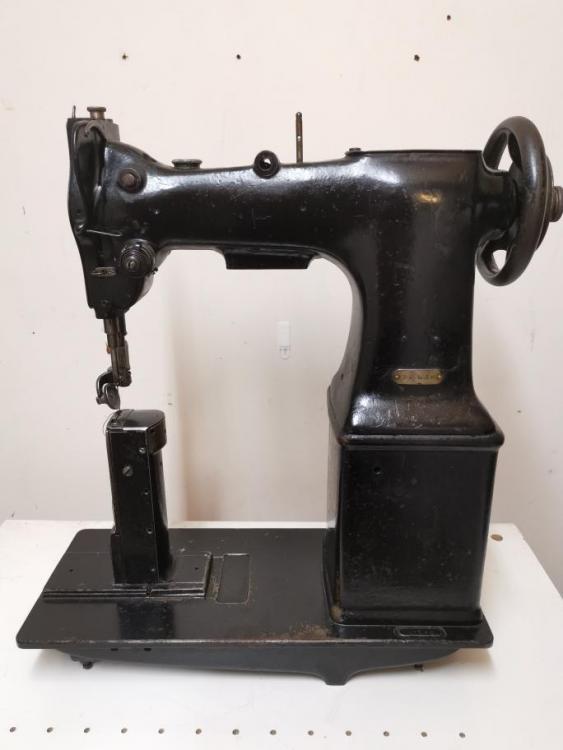
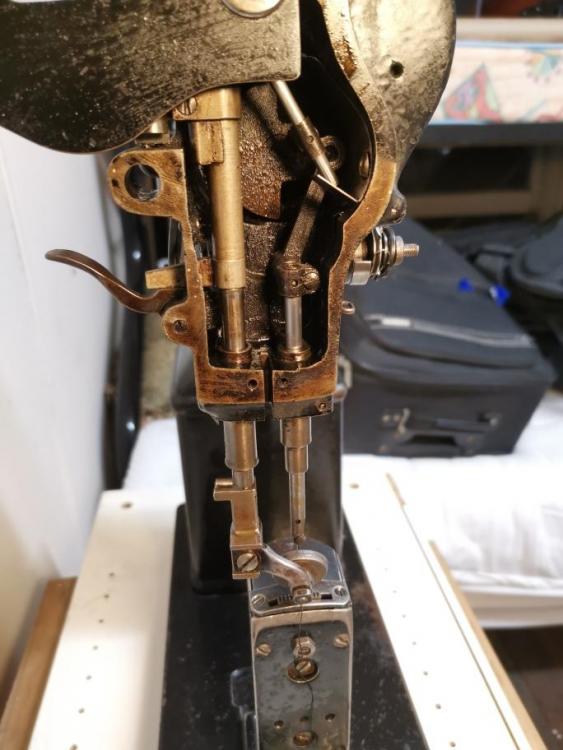
I've picked up a singer 51W56, well worn, missing a few small screws around the post, but very tight and in good condition internally. Interesting to see one of those cotton/ string drive belts as used in the much later Singer 306. I understand a couple of you at least have done a needle bar conversion on similar machines? I'm finding it hard to decide. My hook is in fine condition- so do I need to change the system? I probably don't want to push the machine beyond M40/ Tex70 thread size/ size 21/22 needles, given I have the 45k for heavier stuff. There is one schmetz 110 size needle which came in the machine- not sure if it the right system though- the hook passes very close the eye on the upstroke as if this needle is too short. So looking for advice: What needle system should I use- I understand its 128, but does anyone have any idea of what the different variants of the 128 system mean? i.e. 128-2, 3 and 4 I think I've seen in manuals...Any idea where I'll find needles if I choose to keep this odd system- seems there are US based suppliers but not easily acquired elsewhere (US postage to Aus seems expensive)? How difficult is the changeover if I do it? - My 56 has a short needle bar that terminates at the bar clamp- i.e.does not project to the top of the machine- Constabulary your special variant model has a much different looking needle bar, and looks a beefier machine in general with a different internal drive setup. Dikman I think I recall you doing a conversion on a different 51?? I'd like to change my bar out it if it will work well and allow me to use the same 135x17/ DPX17 as with my Consew 226r.
-
Singer 51W SV 2 Post Bed Machine Restoration
eddo replied to Constabulary's topic in Leather Sewing Machines
DON'T paint that one ! -
Wow... I was feeling envious of your machine restoration skills, but now you have lifted the bonnet.. and raised the bar. This is an incredible piece of restoration work, with some practical elements too meet spatial needs... please never change out that motor, it is just too nice to look at as part off the whole. I am about to purchase an old 51W56 on a similar table... I will be revisiting your restoration posts on this one and most likely pestering you for information.. and yes, my 45k is still seized, but the electrolysis bath is ready- I'm just stuck in another part of the country with Covid lockdown again... so too much time for searching for new projects!
-
Great thanks - the link to your 2016 restoration was inspirational to say the least.. good to know a place to start to free up- hard to know when nothing moves. I'll see if I can get some movement around the needle bar, and give it an electro bath to release the last bits of rust.
-
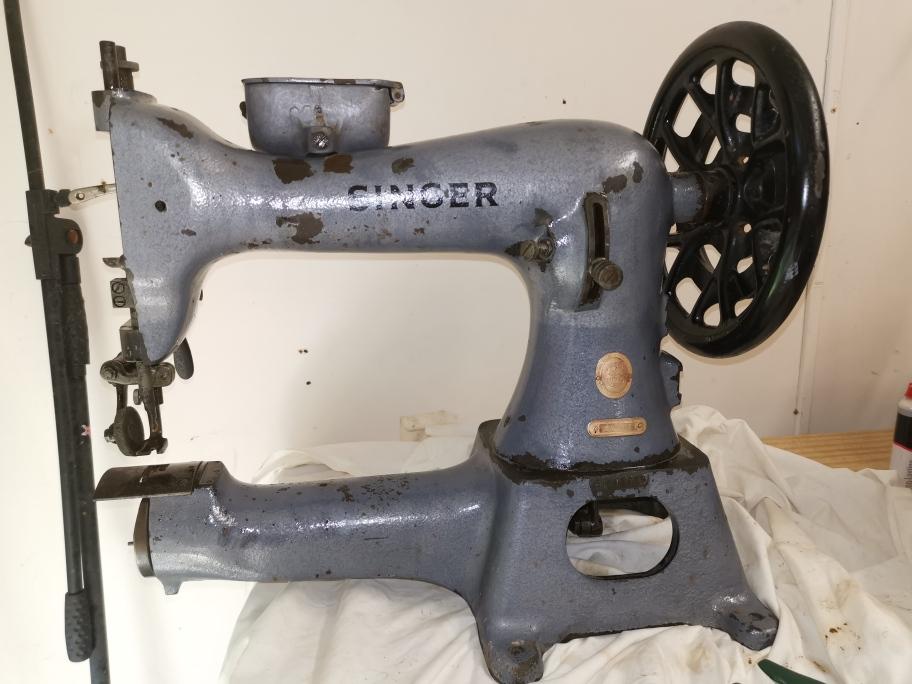
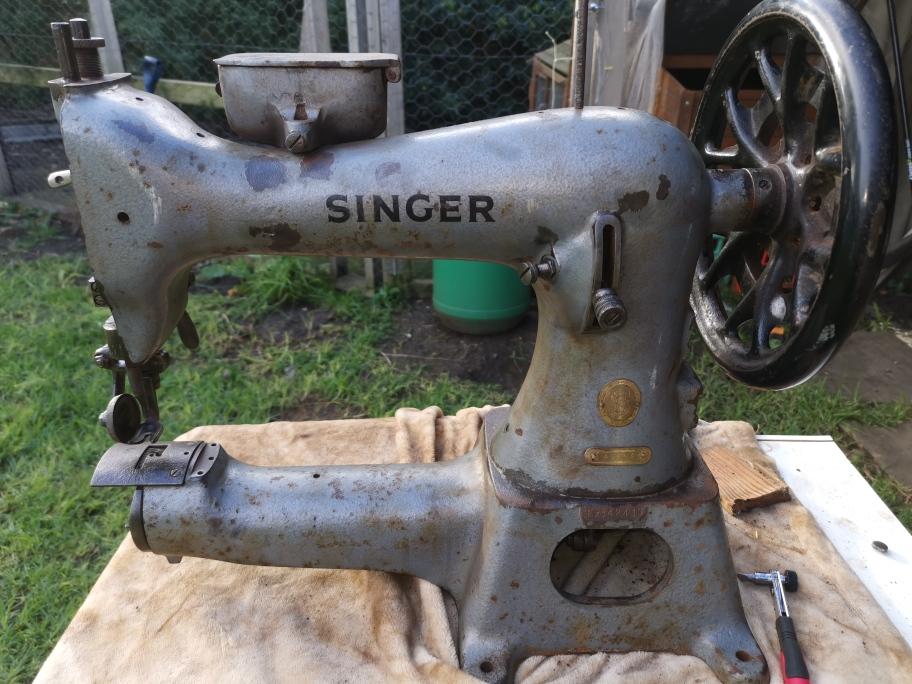
OK... so I've now shipped my 45K93 back home to my familiar world of tools, and as it is still well seized after the initial acid bath de-rusting, a couple of weeks of oil, wd40, off the shelf penetrants.. I can only guess theres still some gunk between joints that is not allowing enough movement despite hefty weight, levering and tapping applied the the flywheel. I've been doing a bit of heating, cranking of parts that i can get to (Jimi's vid was useful see what actually moves, thanks...), but I just can't free it up yet. I've decided that given its shoddy state and the fact that I want a 'user' rather than a seller, I'm going to give it a lengthy electrolysis bath and see how that goes- even if it eats a bit of metal.. I would appreciate some advice about how to go about this- I know the basics, and have a low voltage car battery charger, just not sure what to hook up to for best results, given the machine will be complete when it goes in. Any tips at all welcome.. i.e. what do I best add to the tub to attract the rust, steps on process, timing etc..
-
yep.. my son has confirmed that the part is there inside the old 95k1... and has also asked when it will be moved from his shed! I couldn't open that vid Jimi...? below are some progress shots. First, the machine out of the oxalic acid bath after 15 hours.. comes out a bit greyish and dulled but major rust gone, paint fine. Then penetrant, wd40 dousing and lots of oil.. Still seized but I've got 1mm of play in the flywheel, so I'm rocking that back and forth every so often..I'll try to coax the needle plate screws off with some heat applied to the plate, and do some gentle tapping... When I get it back home in a couple of weeks I'll probably go the diesel bath route if it is not moving by then. I can't even get the presser foot bar to shift yet. My $100 investment is sure providing me some entertainment at least.
-
Guys, I've also found that same link arm part 52165 supposedly on a 95-1... and I have one of these at home for scrapping so might be in luck- just not there for a couple of weeks so will hang in suspense. Thanks again for leading me in the right direction.
-
Bummer indeed... just too keen to get movement. As long as I can get the part off... there are two bolts, and I notice, from what I can see, one at least has a screw slot on its other end (behind that main link arm to the left in the image above. It also seems like I'll have to get it moving to access both bolts which poses a problem given the weakness I've generated
-
Thank you Jimi... this is all helpful once again. I now for some people this one might be a bin job- but this is where my machine interest started- I'm attracted to the rescue, but this is not a two hour free-up like I've had in the past. Its a shame it was left exposed to the elements, as it is so intact- which probably means the mechanics are good beneath the rust. I'll douse it with WD40 then oil once it is out of the bath tomorrow, then try some heat this week... it seems well bound up- I need to observe some vids of moving parts to know exactly which bits should move and how far- this is a new machine to me. My son is a fitter, so I should be able to get that part machined if I can't fix it any other way or find a replacement.
-
Great thanks- I have it soaking in oxalic acid at the moment- couldn't find enough bulk vinegar near where I am so went for another mild solution- its quite a hefty machine so I needed the full 2kg to immerse, with a few bricks, then I'll roll it over tomorrow. The Repco product I will check out in the future... I have in mind you did a restoration once on a 45k am I right? Let me know if you can offer any advice on the part I've cracked (see earlier post), or any general 'releasing suggestions (apart from telling me to take more care..!). Cheers.
-
Please note I've now created separate post relating to this cracked component.
-
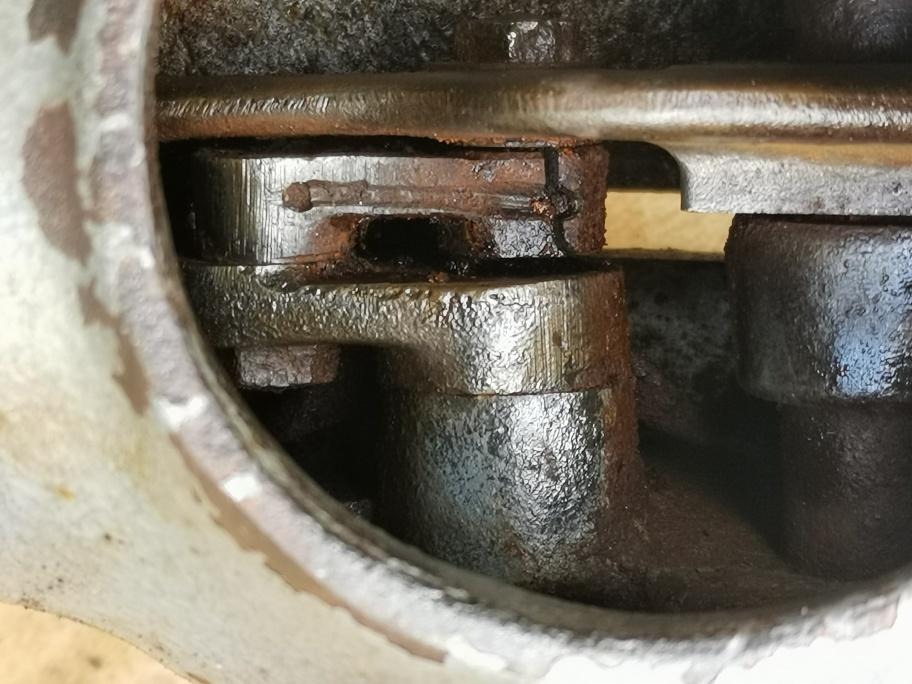
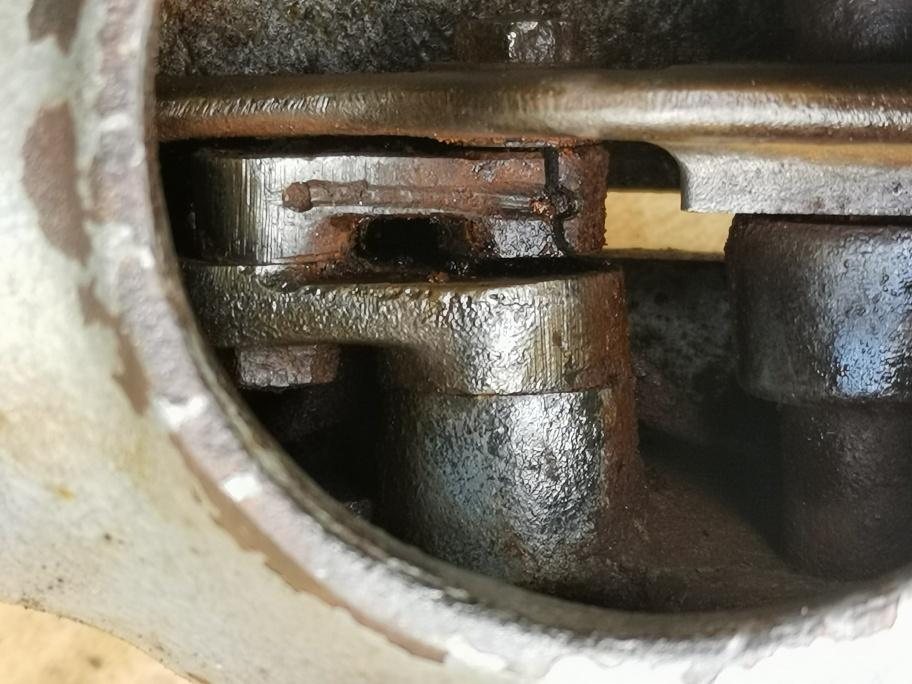
Hi, I've cracked a major drive component in a 45k-93- this is a 1964 late model 45 with reverse- image below. I am seeking a replacement part, which I believe works in a cam- type arrangement? and links the main drive shaft to a rod which goes to the bottom of the machine. As the machine is not yet freed up (thus the cracking!) I'm not sure what it does, or how exactly it works under movement- but given I can't find the part in other exploded views of 45's I think it must be associated with the reverse function (not than many 45s have reverse)- image below shows the cracked part (view through top inspection hole with the top of the machine to the right)- about 5cm long fixed with two bolts. Hoping someone can help, or guide me to parts list or supplier of odd bits... I think this may be hard to find her in Tasmania, Australia. Oh, when tapping parts with a hammer to free things up, remember to see what they are attached to before you decide how hard to tap... (and use a soft face hammer and/ or something like a piece of wood...hmmmm).
- 1 reply
-
- singer 45k
- parts and supplies
-
(and 2 more)
Tagged with:
-
Hi Jimi, I am communicating with you as you seem to be the manual guru. I have cracked a major linking component trying to free up a singer 45k93. The part is a small linking arm (around 5cm long) located at the top end of a main machine shaft- seen below with top to the right. The part links to an arm to the lower end of the machine- feed dog or perhaps reverse related- I say this as cannot find it in other parts manuals for other 45's (most of which have no reverse). The 93 is a late (1964) version which does have reverse (image below). Let me know if you have a manual for any model 45's with reverse and I can begin my hunt for the part... Thanks.
