


ddiuni
-
Content Count
60 -
Joined
-
Last visited
Posts posted by ddiuni
-
-
Esther B, are you good at controlling your touch?
If you tighten it with the thumb screw, does it stay locked?
After tightening it with a thumb screw, I just rotate the pulley and it turns.If the stitch spacing of the Regulating Handle is set to 5 or 6, the touch control button will be fixed without moving.
however
Symptoms include:
From stitch number 8 to 25, it just quickly returns to the 25th stitch as if the elasticity decreases. (When the spring is pulled, it returns to the 25th position with some elasticity, like returning to the original length.)So, it is controlled with the thumb screw of the regulating handle.
When I set the stitch to position 12 and turn it with a thumb screw to secure it, it doesn't seem to be fully fixed. So, when I rotate the sewing machine's pulley, the Regulating Handle is not fixed and the problem occurs that the stitch interval moves toward the longer side.So I loosened the thumb screw,
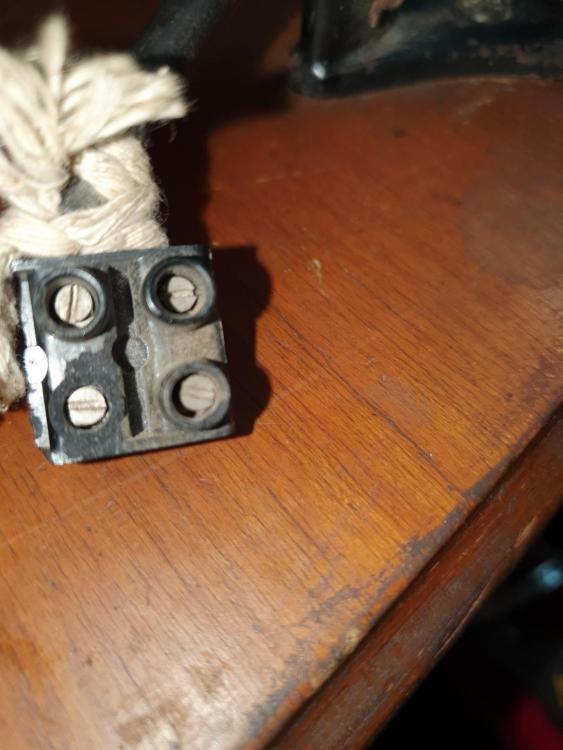
I confirmed that the inner diameter of the circular ring inserted into the thumb screw was large and moved back and forth.
So it seemed like it couldn't be fixed accurately.
So, I replaced the circular ring with a coin-sized circular ring and fixed it.
When fixing it, I turned it with a screwdriver and tightened it tightly.
(Originally, the thumb screw of the 172k sewing machine did not have a straight slot for the driver. However, a slot has been created.
Perhaps the Regulating Handle was not fixed well at some point and the existing user created a straight groove. )In short
Problem 1. Regulating Handle #106046 Parts cannot be adjusted.
-> Existing user solution: Make a straight groove in the handle and fix it.Problems occur even after doing the above
Problem 2. A problem occurs where the inner diameter of the circular ring inserted into the groove of the screw (#ss714 part thumb screw) of the regulating handle does not match the thread groove of the thumb screw.
- So, when turning the Regulating Handle, a problem occurs where the circular ring inserted into the thumb screw is not centered and is shifted to one side -> As a result, a problem occurs where the Regulating Handle cannot be fixed.-> Problem 2 solution: Change the circular ring to the size of a coin.
-> Result after changing the circular loop: First, it is properly fixed and sewn at the desired stitch interval.# There may be cases where it doesn't work again in the future, but we will wait and see.
Same thing, what about the 172k1 you have? Is it well controlled?
I'd like to hear your opinion. -
Could you please tell me the diameter and length of the handle screw on the stitch adjustment handle?
regulating handle thumb screw #ss714

-
Is the stitch length easily adjustable?
What I have is that if you set it to 10, it automatically moves to 12 after a while. It seems that the stitch lock is not working properly.
What kind of sewing machine do you have?
Is there a solution? -
Are you using a singer 172k sewing machine?
-
Could you take some pictures of the parts and post them?
needle bar thread guide #parts 106059
Please take a picture of this part and post it. from different directions.
I don't have this part. -
Does anyone have a singer sewing machine 172k parts manual and user manual?
-
On 4/28/2017 at 3:26 AM, alexitbe said:Thanks Eric, Bob and Trash Treasure... Glad you found it interesting.
Eric, thanks for the kind offer, but I have managed to a parts list, just not a maual. It would be nice to somehow find a manual.
Today, I had another play with it and it managed to sew some shearling really nicely. The thread was too thin really, but here are both sides of the same piece.
needle thread
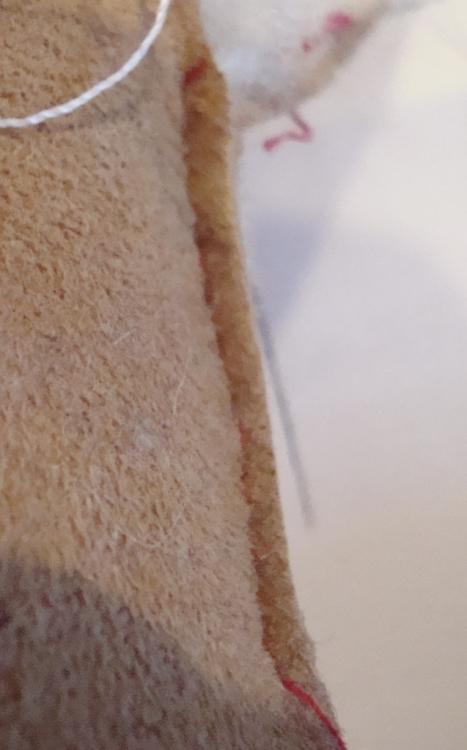
Spool Thread.
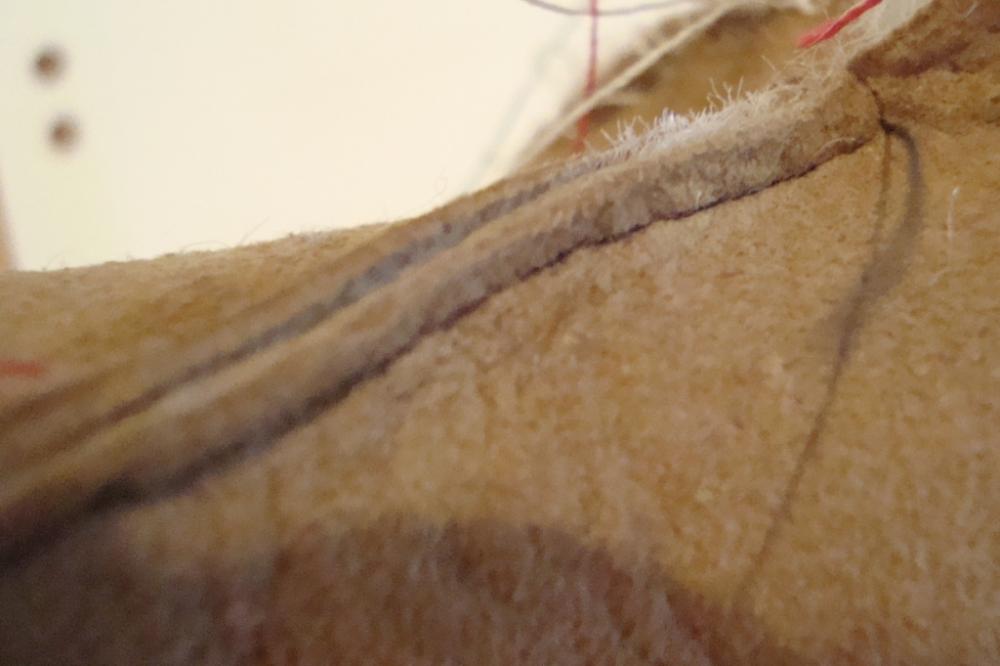
I might try making a tester shearling mitten just to see how it gets through it.
I would say that thread size of upper and lower have to be the same...Otherwise it doesn't sew. well..
I am using Gutermann 120, which is a little thinner than the Gutermann sewall thread. It is used particularly for sergers and I would say that it is happy in 80 nm sized needles..
Cheers
Alex
hello.
Can you send me the parts manual? -
On 2021. 1. 9. at 오전 12시 39분, EstherB said:hello.
Could you send me the parts manual if you have one?
Or could you please post it here. -
On 2017. 4. 28. at 오전 12시 8분, gottaknow said:여기 아이다호에 있는 장갑 제조업체가 몇 개 있습니다. 그들은 확실히 찾고 재미 있습니다. 필요한 경우 부품 책의 pdf가 있습니다.
감사합니다, 에릭
hello. Can you send me the manual by e-mail?
-
이 재봉틀은 천에 실을 끼우려면 "FEED ROLL"을 앞으로 당겨야 합니다.
그래서 이 부분은 무릎 리프터와 연결됩니다.
저는 이 부분이 없습니다.
가지고 계신 분 계시면 사진 올려주세요.
이 부분을 얻고 싶습니다.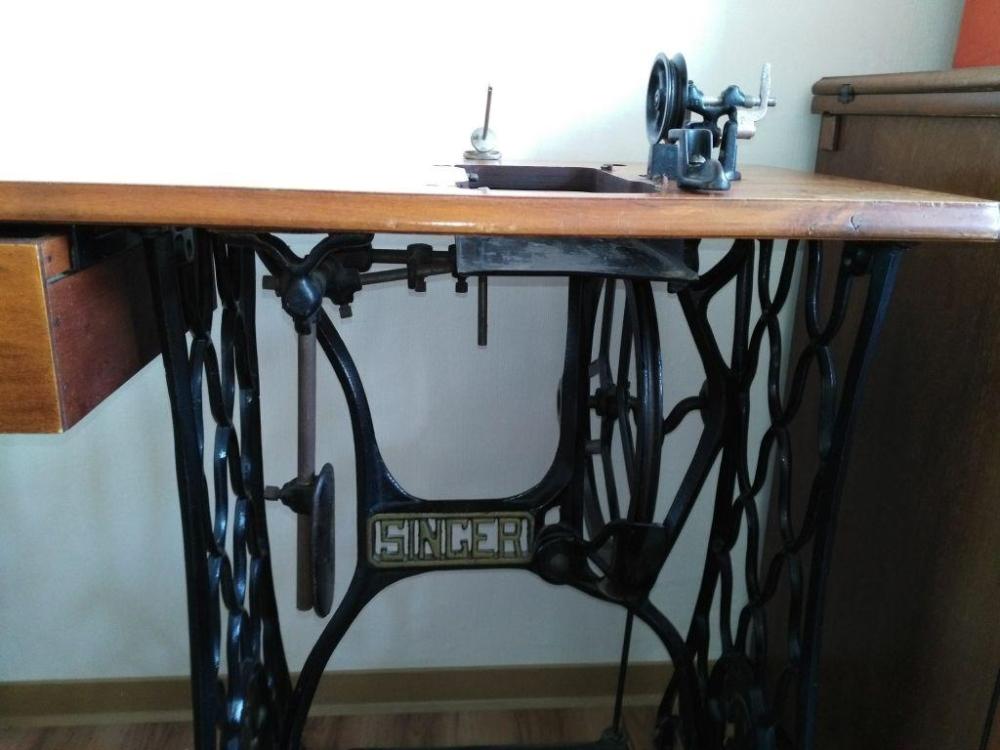
-
As you said, this motor is a motor that stops by friction when stopped. The connecting line is cut, but I don't know why it was cut. Perhaps, as you said, there was a problem, so I cut the line.
First of all, I plugged in the connection jack of the singer motor at home and tried to drive it, but the motor runs normally.
Perhaps the clutch motor is loud and has problems with stability, so it would be better to replace it with a servo motor because of stability problems like your opinion.
So what is the use of the existing clutch motor?
Anyway, I'll have to get a servo motor from Ali Express.
Thanks to both of you for commenting on the uncertain safety of motors. -
18 minutes ago, Constabulary said:지금까지 내가 본 모든 모피 재봉틀은 시계 방향으로 돌아가서 핸드 휠이 당신에게서 멀어지는 것을 의미합니다.
KGG는 이미 언급했습니다. 힌트 섹션 참조(7페이지)
기계를 작동할 때 항상 운전대를 돌리십시오.
6페이지 상단에 힌트가 있습니다.
기계를 작동할 때 밸런스 휠이 사용자로부터 회전해야 합니다.
특정 재봉기 모터 의 회전 방향을 변경할 수 있습니다 . 귀하의 Singer 모터는 독일에서 "Anlasser 모터"라고 부르는 것과 비슷합니다. 오른쪽/발 페달에 있는 레버를 아래로 밀 때 접촉하는 금속 프롱 스택이 있다고 생각합니다. 프롱이 많을수록 모터가 더 빨리 작동합니다. 그러나 그것은 일종의 가변 저항을 가지고 있을 수도 있습니다. 이 유형의 대부분의 모터에서 와이어 터미널 플레이트 또는 금속 프롱 스택/가감 저항기 근처의 모터 내부에 있는 배선 및 지침을 변경할 수 있습니다. 하지만 솔직히 말해서 이런 유형의 Singer 모터를 만져본 적이 없기 때문에 여기서는 확실하지 않습니다.
By "turning the balance wheel away from you" you meant clockwise.
Then the motor that was previously installed may have been installed incorrectly.
In this motor, there is a connection jack as shown in the picture below.
The connection part is missing or not. I think it's probably a connection jack that connects to the switch.
Right now I can't change the rotation direction of the motor, so I'll have to change it to a servo motor or take some time to figure out how to change it.
Thanks for the detailed explanation.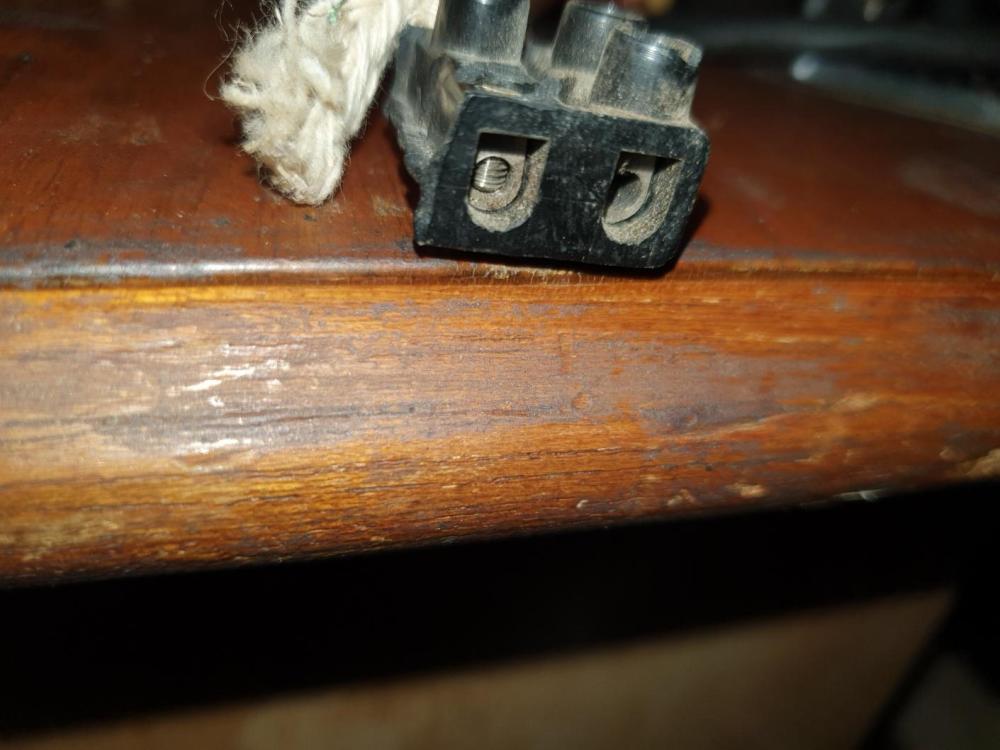
-
9 minutes ago, kgg said:Under the section Hints in the manual " In operating the machine always turn the wheel from you." From that statement I would assume the hand-wheel turns in the clockwise direction.
I have attached the manual.
kgg
Thank you, but the manual you gave me doesn't show the direction of rotation.
This is the motor installed first.
Can this motor change the direction of rotation?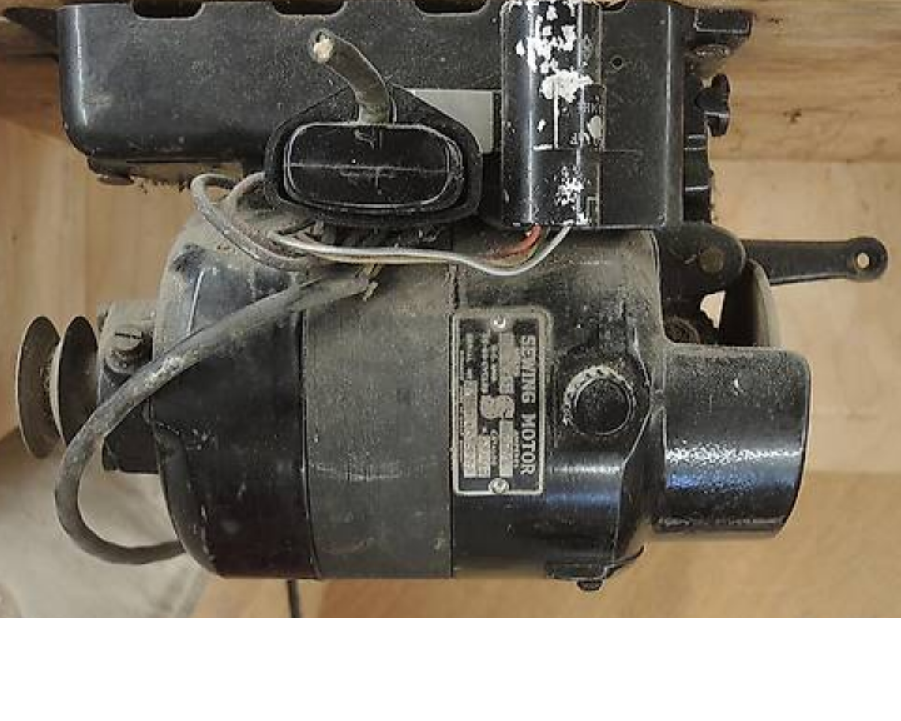
-
hello.
I have a singer 46k15 sewing machine.
The timing wasn't right, so I got the timing right.
However, when I turned the balance wheel counterclockwise, sewing did not work.So, I turned the balance wheel clockwise and it started sewing.
However, there is a motor installed, but the motor was installed to rotate counterclockwise.
The question here is...
Is 46k15 originally set to be sewn when turned clockwise?
I don't know this part.
If anyone knows, please let me know. -
hello. It's singer 45k15. If you know how to attach a thread to a needle, can you draw a picture and let me know?
-
Can I modify the singer 45k56 like 45k25 and use it?
I have a singer 45k56.
Is it possible to remove and write parts like 45k25?
Please let me know if anyone knows how to change norubal. -
On 2022. 1. 27. at 오후 11시 23분, DrmCa said:바이스에 루퍼를 넣고 막대에 열을 가하고 비틀고 당깁니다.
thank you. I don't have a vice at home, so I just stayed for a while and fixed it.
While applying heat, the looper was moved and pulled out.
Thanks, I took it out and replaced it with a new looper.
So the sewing machine works well. -
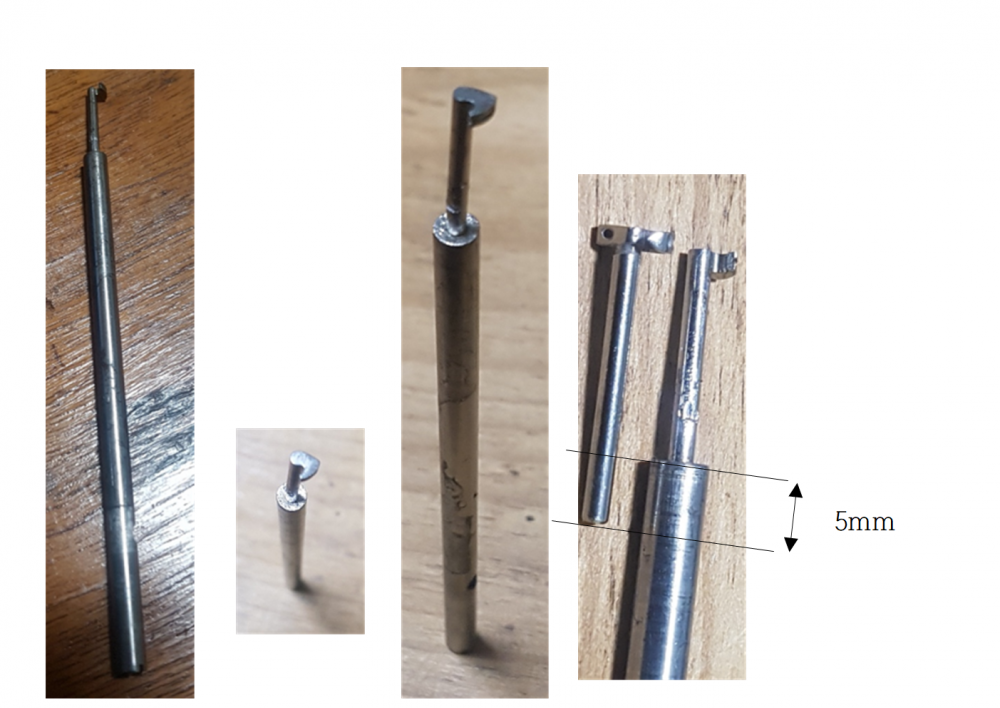
I need to remove the looper of the sewing machine 91k5, but I can't.
If anyone knows a way to remove it, please let me know.As you can see in the picture, the looper is plugged into the top. I need to take this looper out, but it won't fall out. It seems to be about 5mm in.
-
I use a 45k56 sewing machine.
I have only one type of presser foot.
So I'm looking for a few other presser feet.
Please let me know if you have any.If anyone has one, I would like to purchase it.

-
I set the soldering machine to 400 degrees and scraped it off with a sharp object, and it was still lead.
It seems that the lead has been removed, but the looper is still not removable. -
Has anyone tried replacing the 91k5's looper?
I looked at the installed looper and it was not just plugged in.
When I looked at the part where it was plugged in, it looks like it was fixed with solder or something.
The looper cannot move while rotating, so I think it was fixed with a solder lamp.To disassemble this and put a new looper on, you have to remove the lead...
It doesn't seem easy.
I'm asking if anyone has removed it.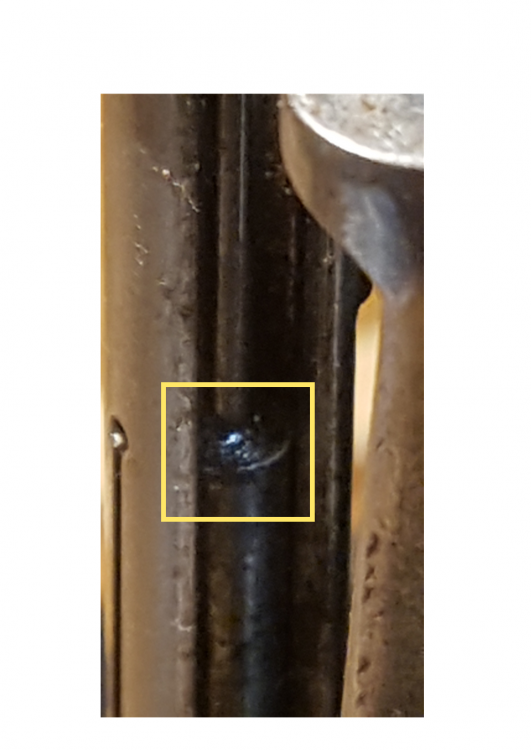
-
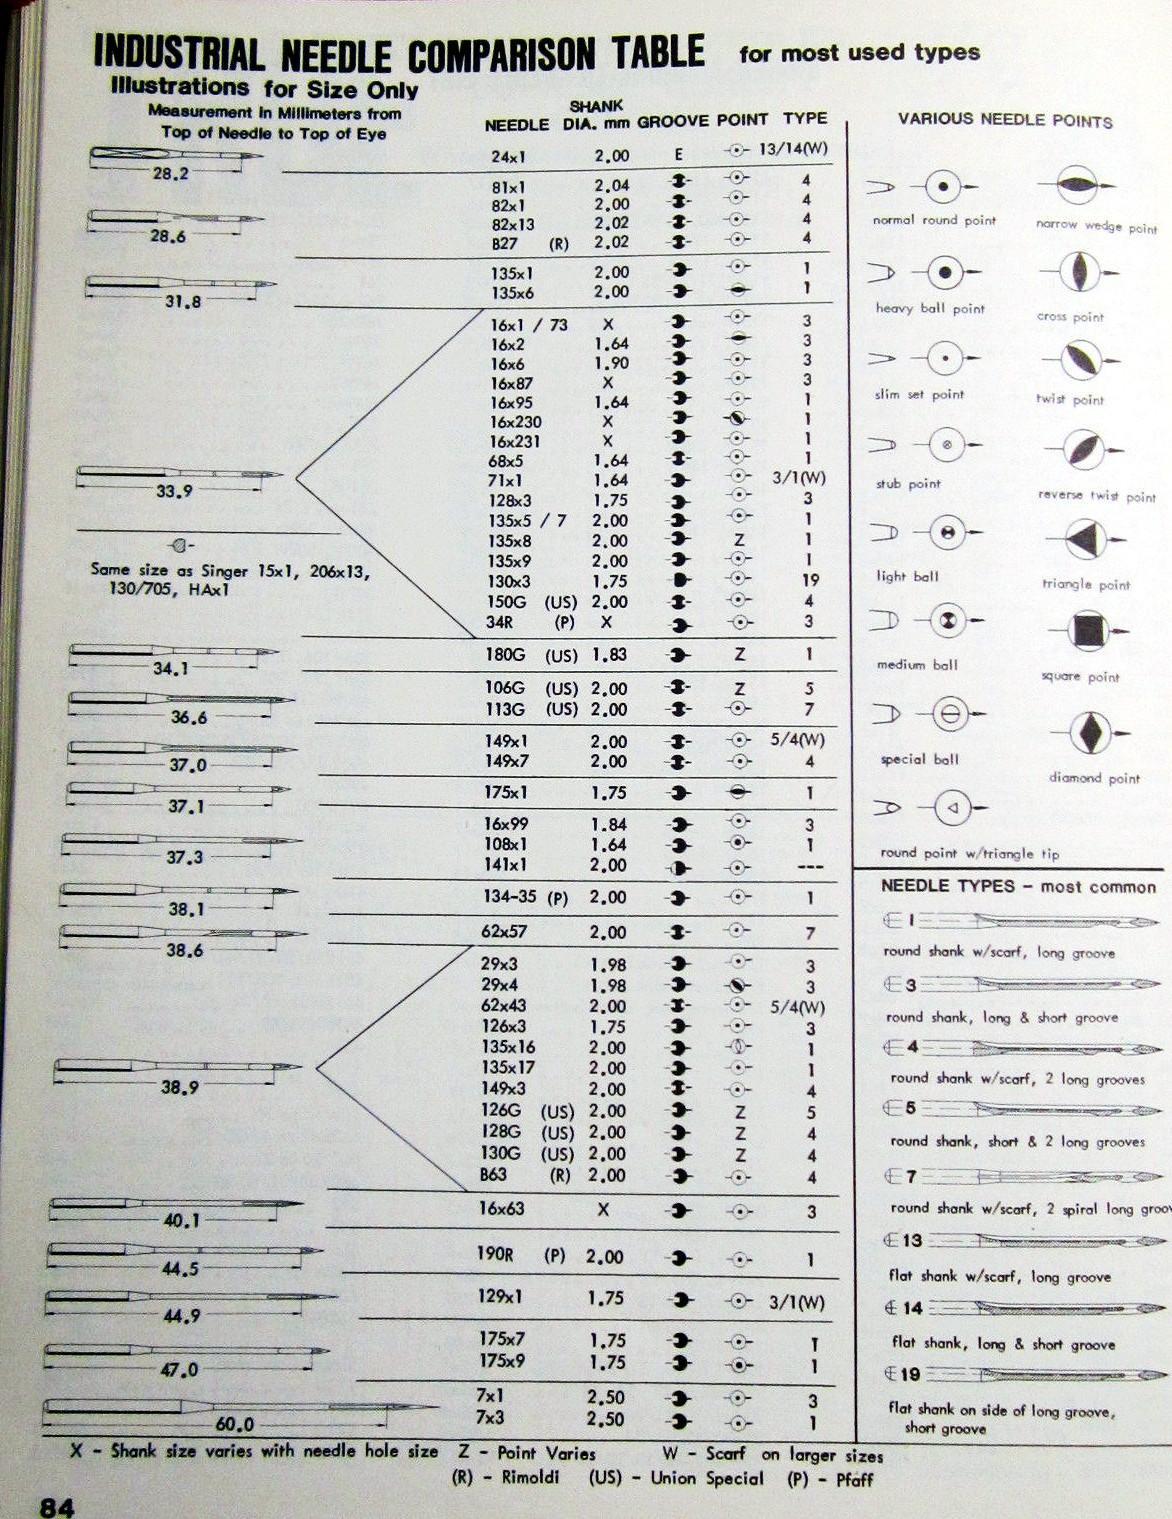
On 2021. 11. 19. at 오후 6시 26분, RockyAussie said:Yes, thank you for your kind notice.
Thank you for looking into this information for someone else.
I know this site through a lot of searches.
First of all, the needle I got
Only got 70/10, 80/12, 90/14. In just one month, 65/9 and 75/11 were sold out.Referring to the table you provided, I think I will need to find a replacement.

-
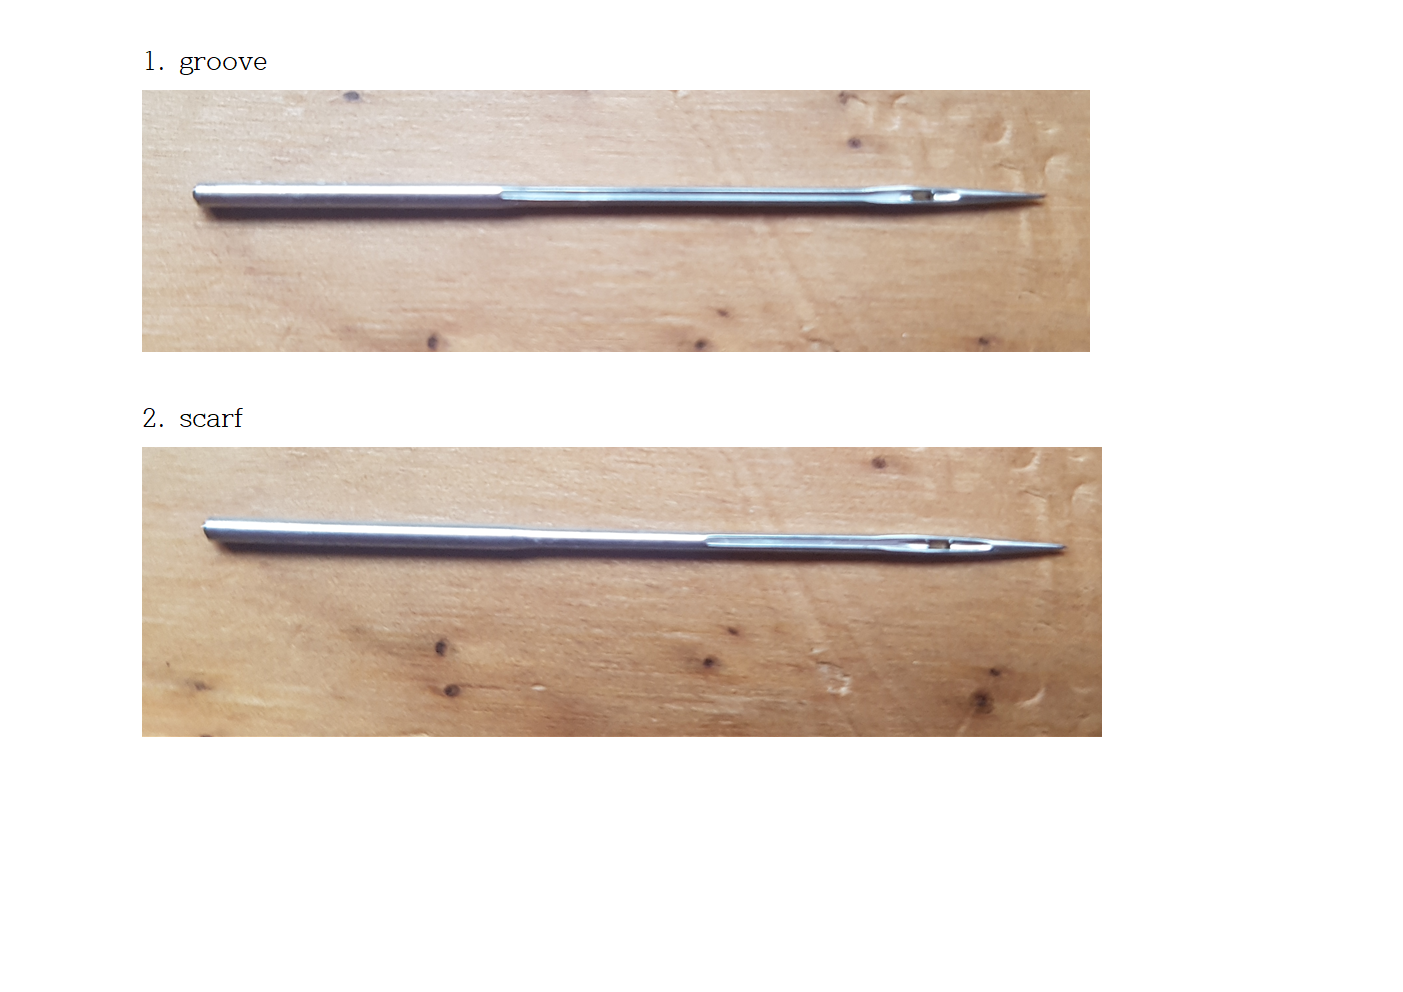
The result of checking the shape of the needle groove is as follows.
The shape of the needle groove for inserting the needle is as follows.
ㄷ
So the right screw secures the needle.
And the diameter of the needle groove is measured to be possible up to about 1.9 mm.
However, if it is this thick, the tip of the needle can touch it when it passes the hook, so it is judged that the diameter should be smaller. -
18분 전 RockyAussie가 말했습니다.열심히 합니다.
우리의 길을 따라가는 길 때로는 직경이 올바른 크기 인 경우에 맞게 약간 줄일 수 있습니다 . 여러 가지 작업을 해야 합니다.
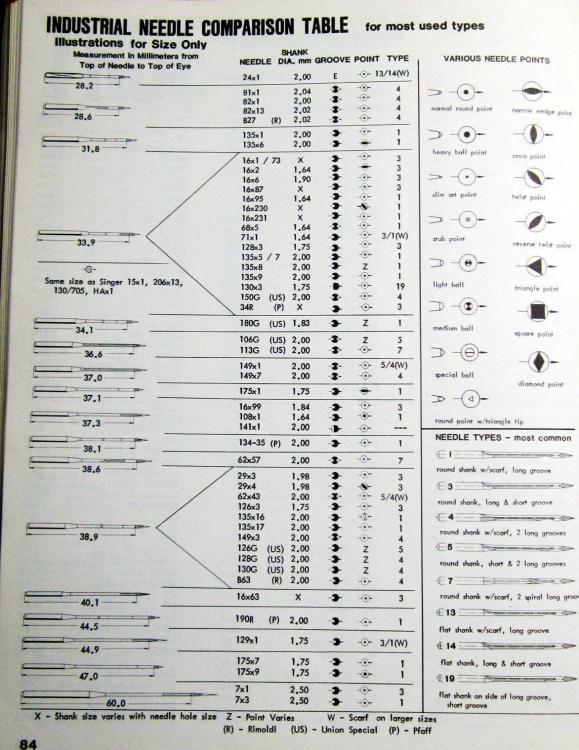
Features of 46x1 needles:
#One. Diameter 1.1mm
#2. Total length: 42.2mm
#3.The length of the groove: about 24.5mm
#4. Length of needle eye and shark: about 13.8mm
#5. Length from the tip of the needle to the eye of the needle: about 35.7mm


Singer class 172
in Leather Sewing Machines
Posted · Report reply
thank you
I bought it from AliExpress, cut the edges, reduced the inner diameter, and installed it. Also, the groove was not in the right position, so I used a drill to widen the groove a little and installed the needle set screw.
I'm glad I was able to solve this problem without any parts.