Woehlk
-
Posts
60 -
Joined
-
Last visited
Content Type
Profiles
Forums
Events
Blogs
Gallery
Store
Everything posted by Woehlk
-
Hehe I know. But for me, I cant wait. I like the used look. When I get a leather bag, I tend to ruff it up before use THANK YOU so much!! really took some time yes, but she looks perfect in my living room right now. Next up, is custom building a table from scratch. I have a big thick oak slab in the basement I want to use! When I start, I will post in the same thread, if someone else would find that interesting maybe I sell dog collars in my shop, all hand sewn, but some people want a full harness, and that takes forever by hand!, That's where Karen comes ind. She will now make dog harnesses, with quilt and bindings. I must say, special thanks for you all people, I met a lot of residents from my friends, and you guys/gals cheers me on, really helped! Without sewing Danishman and Jimi threads about this machine, I would not dare to start by myself
-
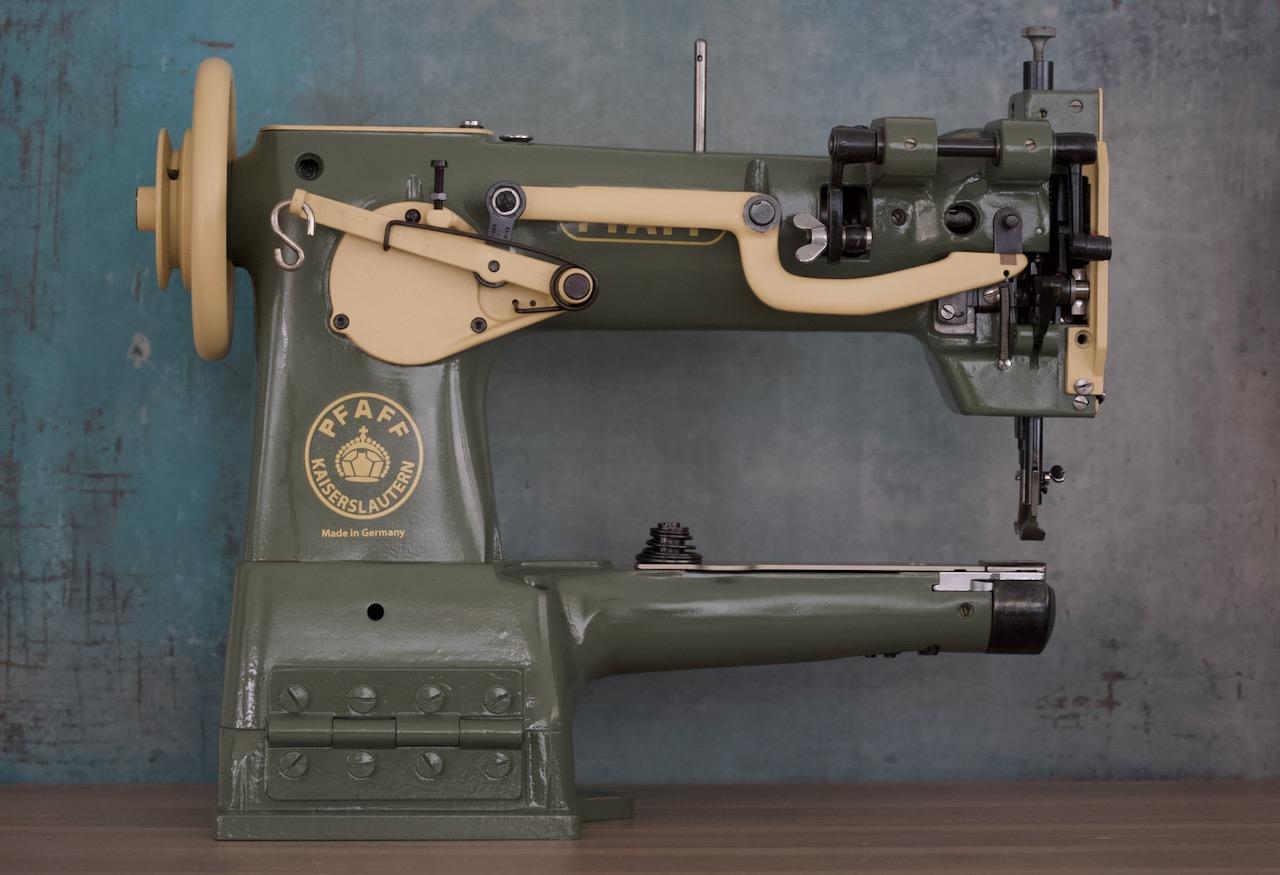
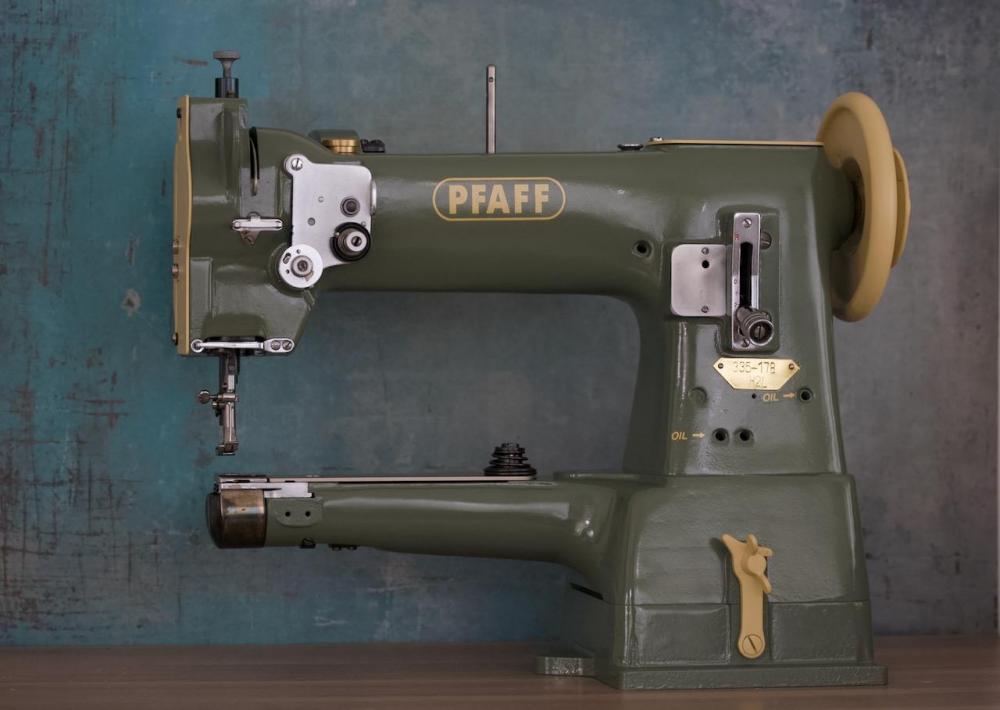
Im not gonna keep you waiting anymore :D Tada, Karen is all finished ! :D I still need help with all the nerdy stuff, timing ect. So if anybody want to chime in, please do :D

-
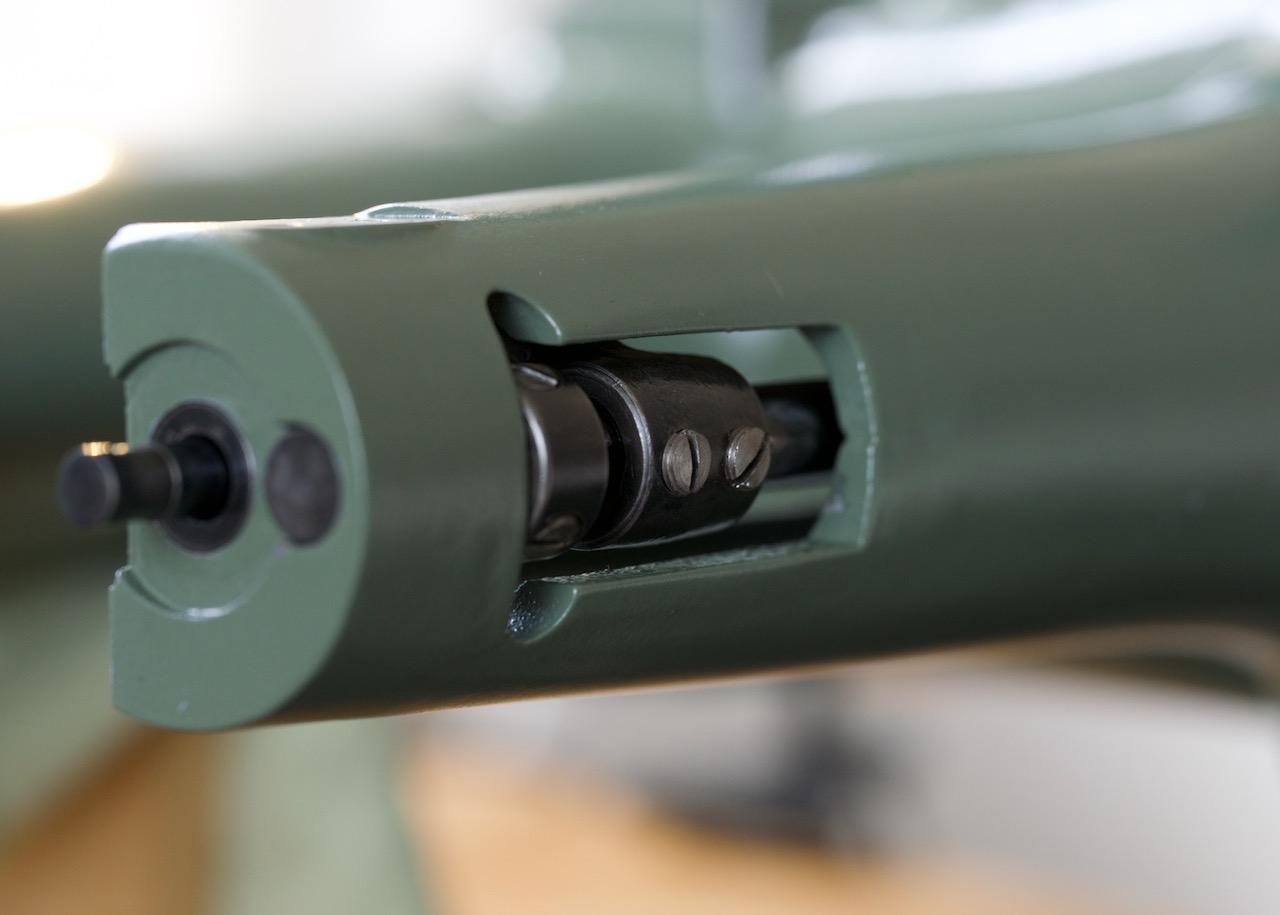
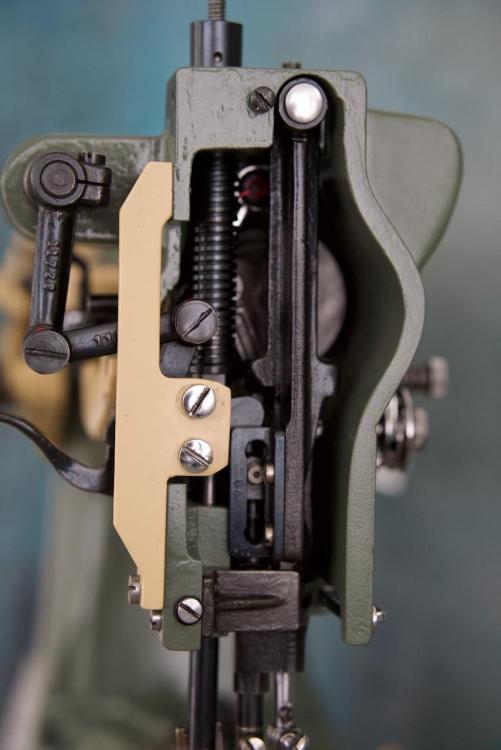
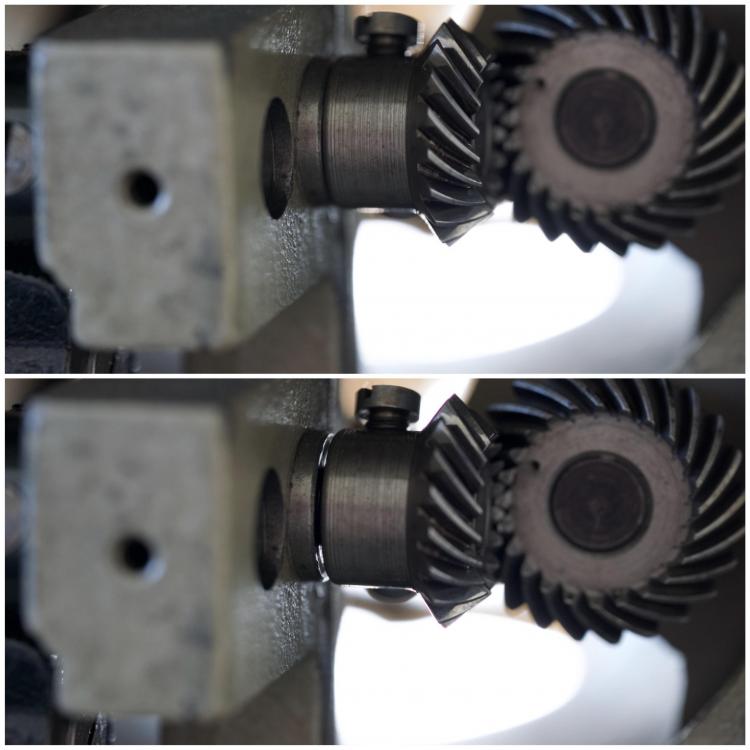
Just missing to find places for these screws now And figuring out how to time the machine. What position the bobbin basket should be in, when the needle is down, and ect.
-
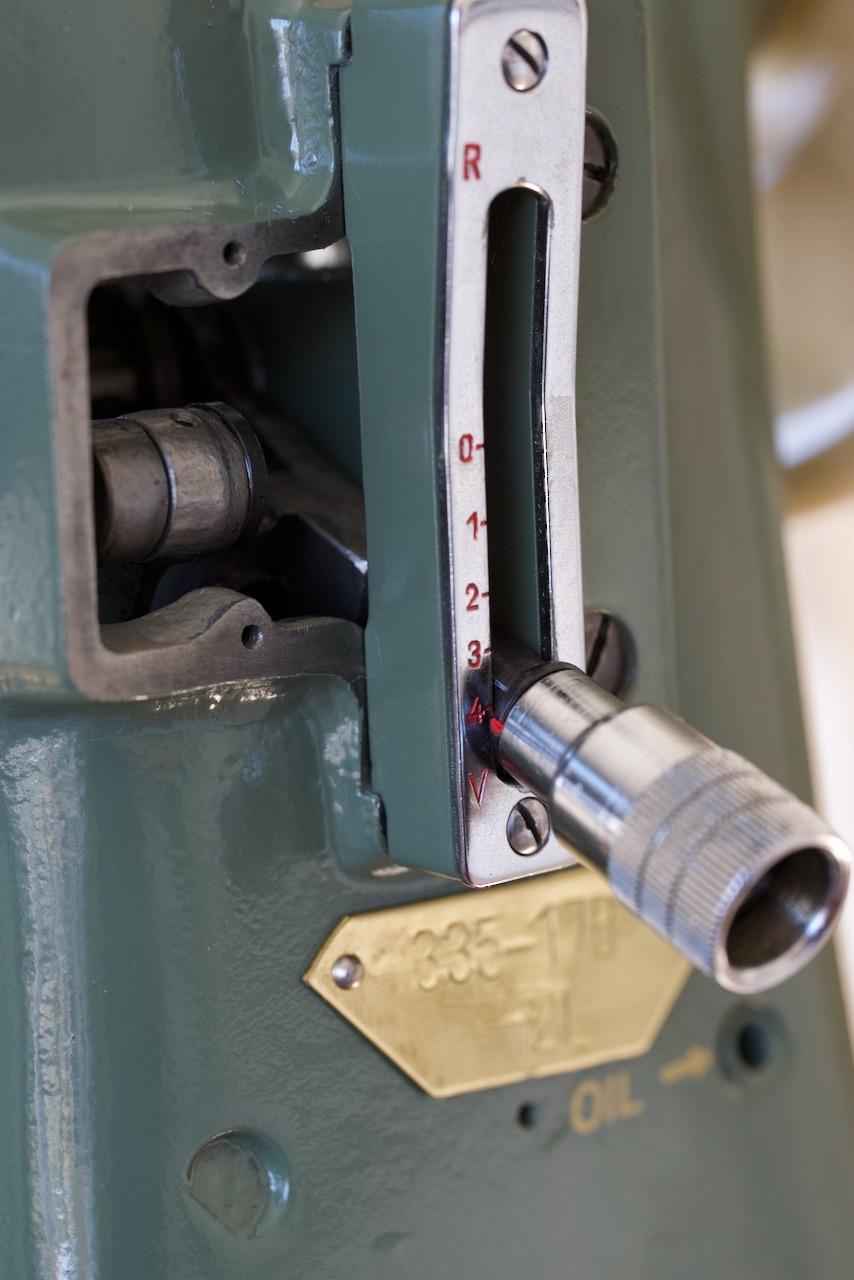
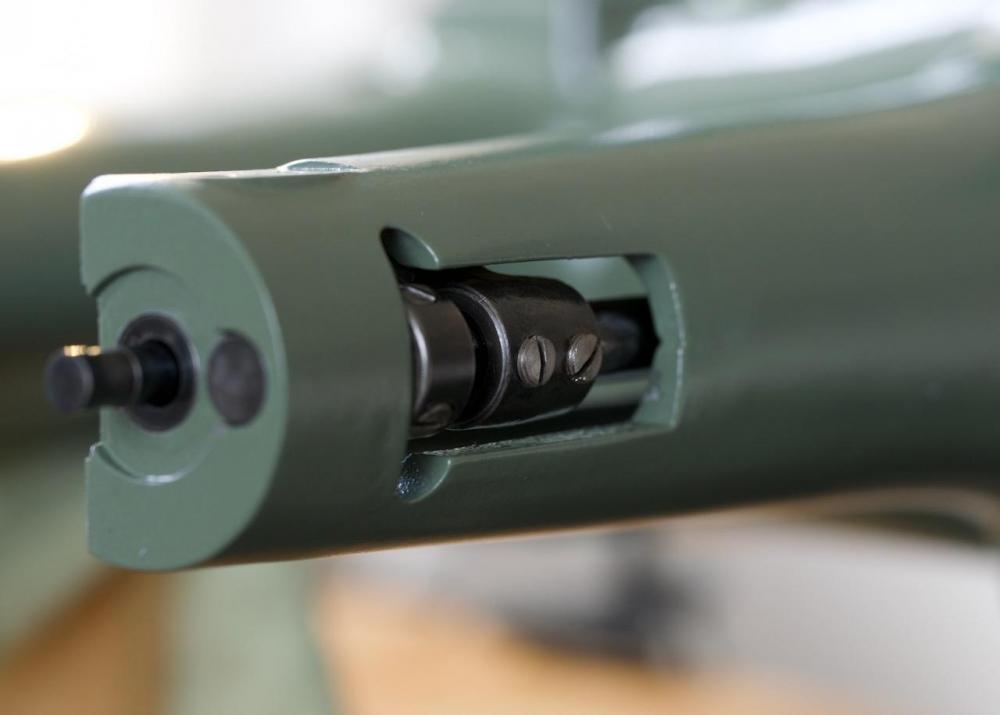
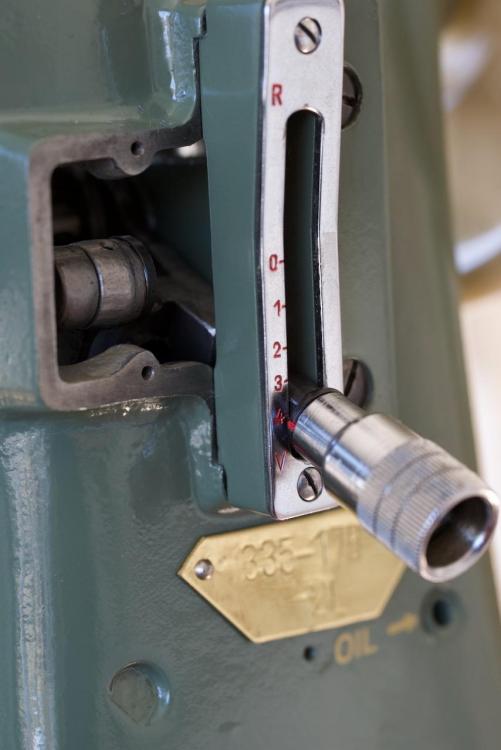
Today I started rebuilding her. Couldn't resist paining in the numbers on the lever Have not encountered any problems yet, but I will bet they will come plenty in time! There is some play in the needle bar however. Don't know how to fix it, since its only fastened with the bobbin basket at the one end, end the cogwheel at the other. Any suggestions?

-
Sorry I dont work that fast :D im waiting for paint to fully cure before clear coat. then I can rebuild it :D
-
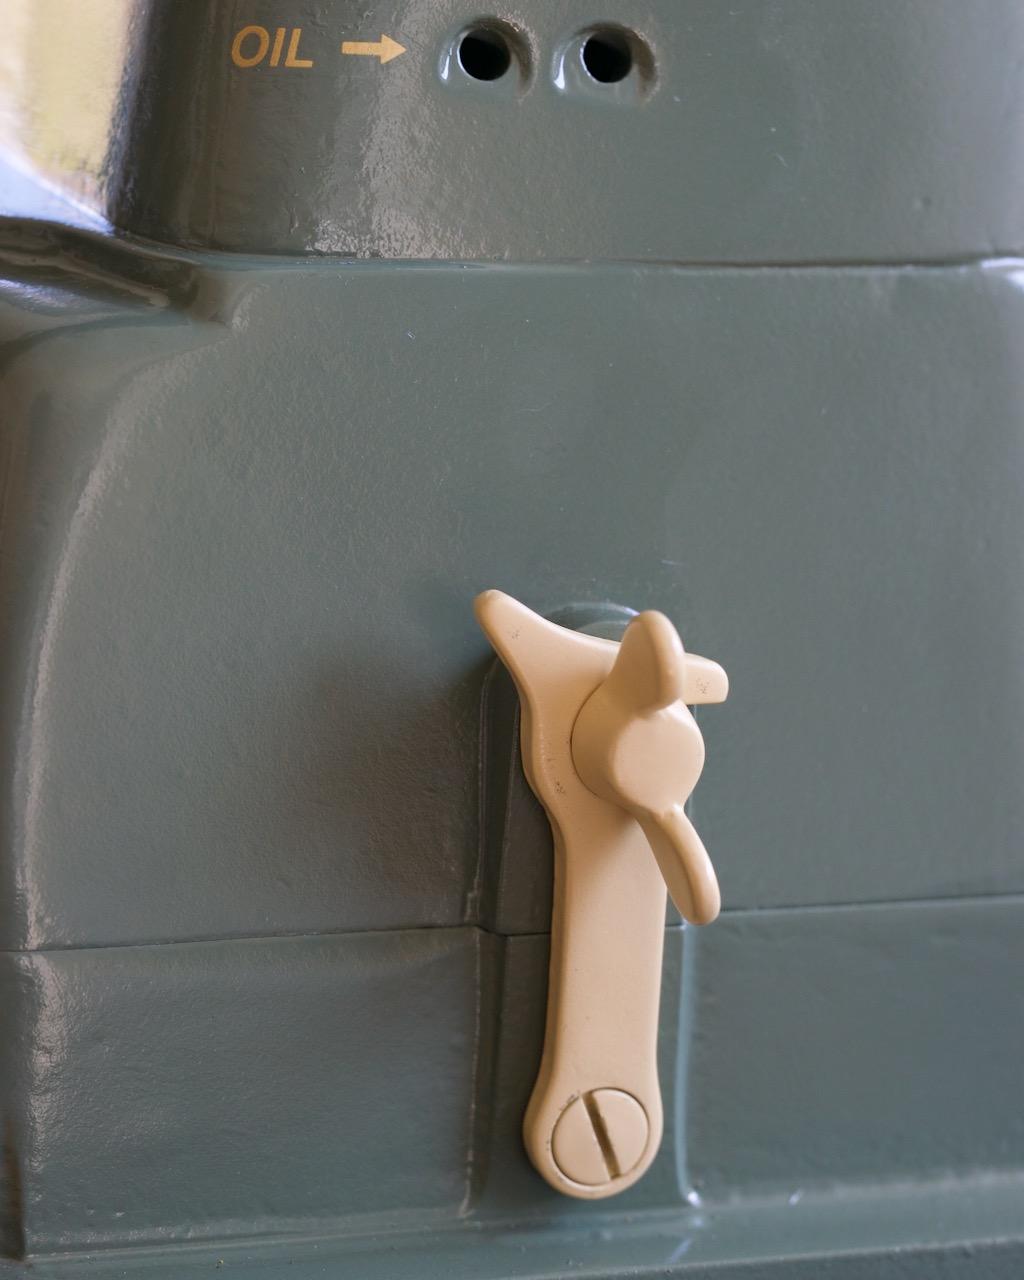
Hehe, thank you guys/gals! No experience in painting, other then on hobby basis, painting my sons toys ect. im one of those people, who really struggled in school, had such a hard time learning anything. Anything with my hands, I find really easy. The pro can see lots of problems in my paint job, most noticeable the "bumpy"paint. It called orange peel effect. Its hard not to get when painting at home. For me at least. Something to do with the right temperature, moisture ect. Got the decals on now, even the little "oil" here ones. That green just loves the gold colour huh? Now it only need the satin clear coat, and then I can reassemble it again.

-
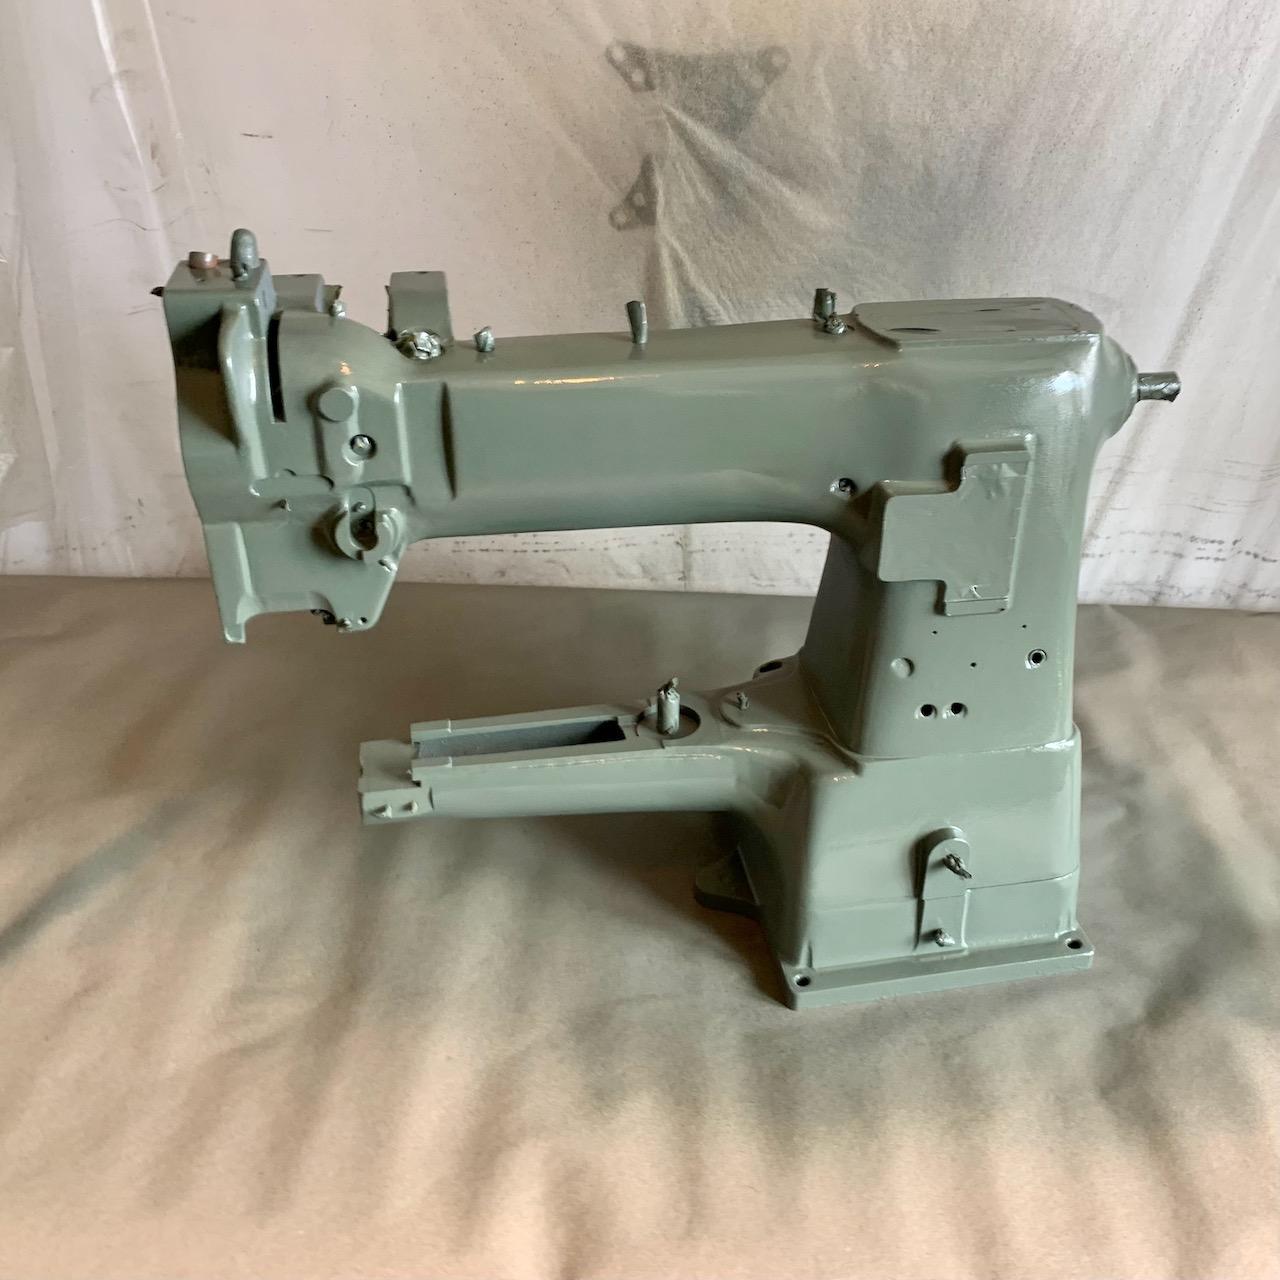
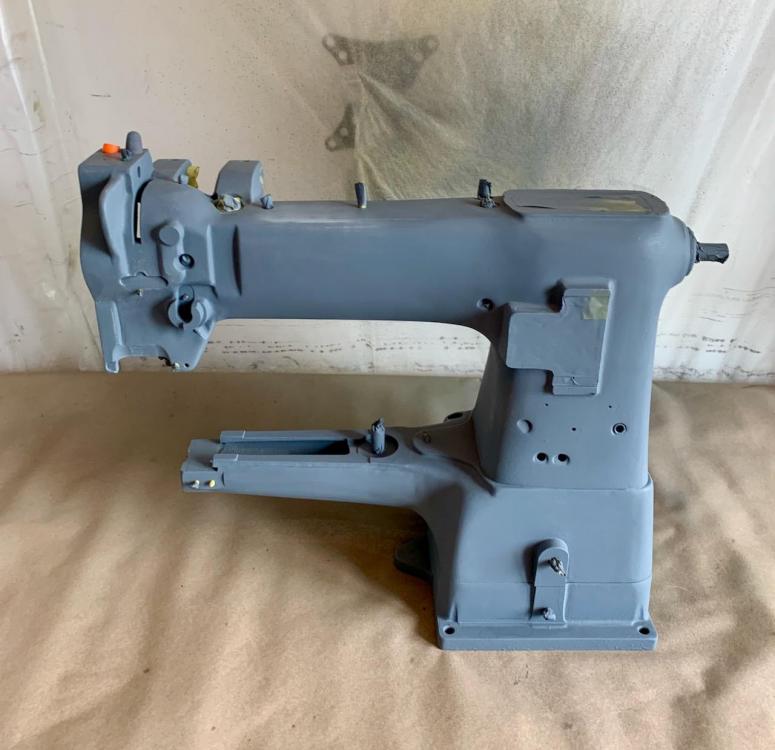
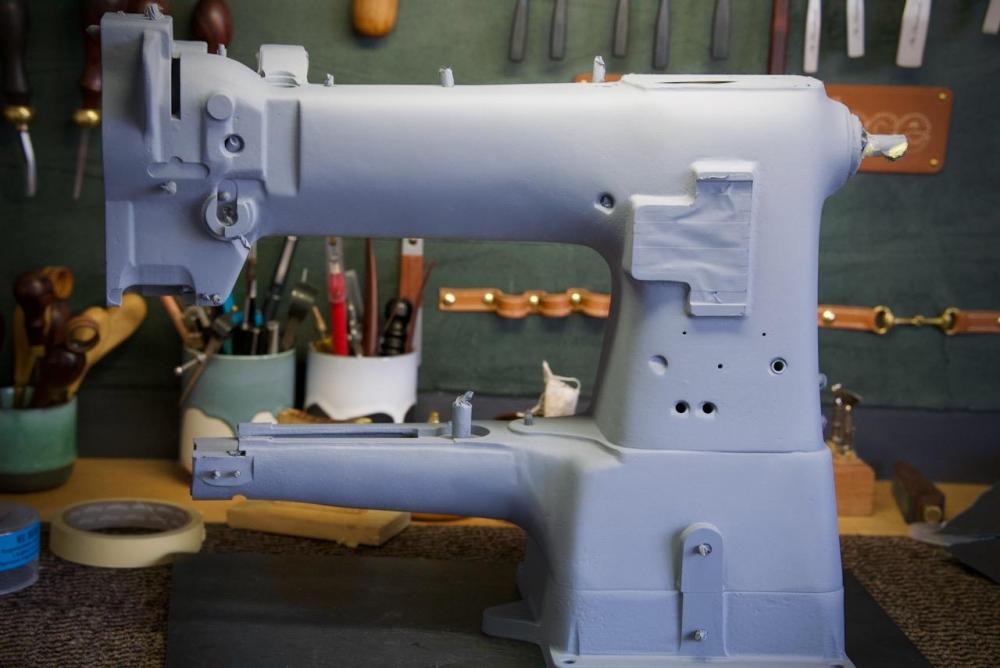
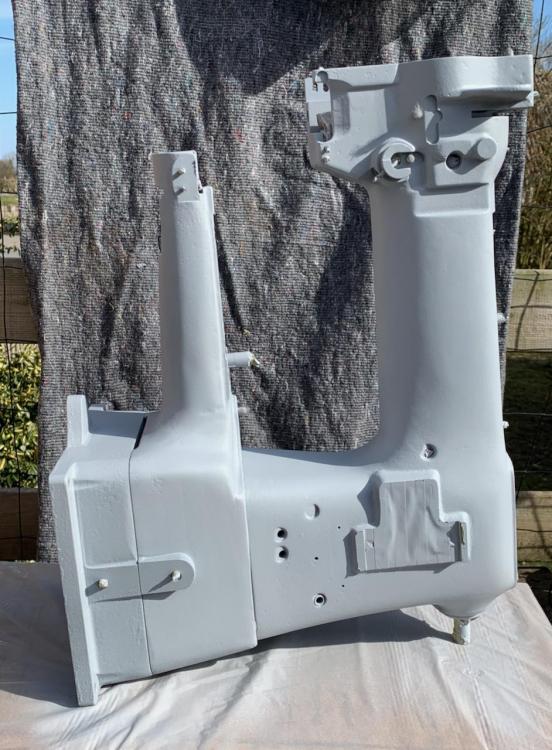
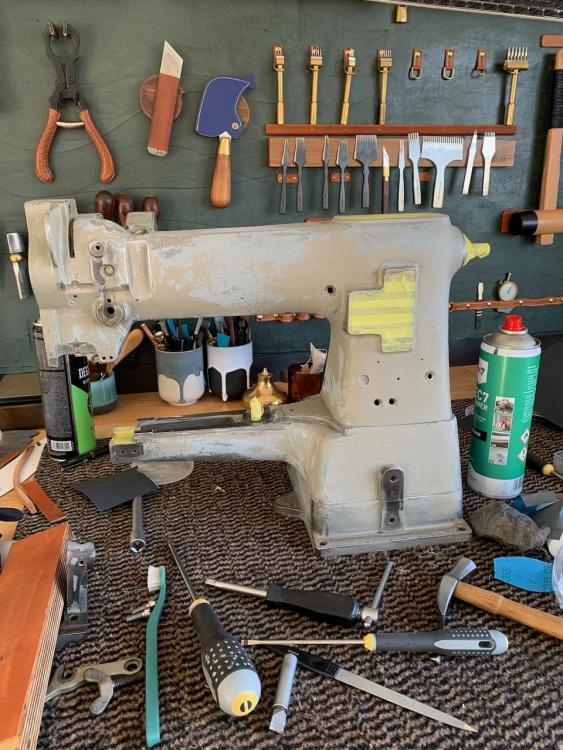
SO the big day is her, got the paint down!! Gray primer... Just to tease a little Im so happy with this color! It feel like its fits, since the paint was made around the same year as the machine. Also, it being German made. :D It will be less shiny, once I paint it in the satin primer. And the new paint scheme. Think this will look so good when all the little things are painted. They will be finished in flat mat, as on the picture. To kind of resemble leather or the fabric of seats in the car.

-
Problem is, the green I wanted was this. Is has a lot more blue in it. The dark RAL greens, all seam a little John Deere to me.
-
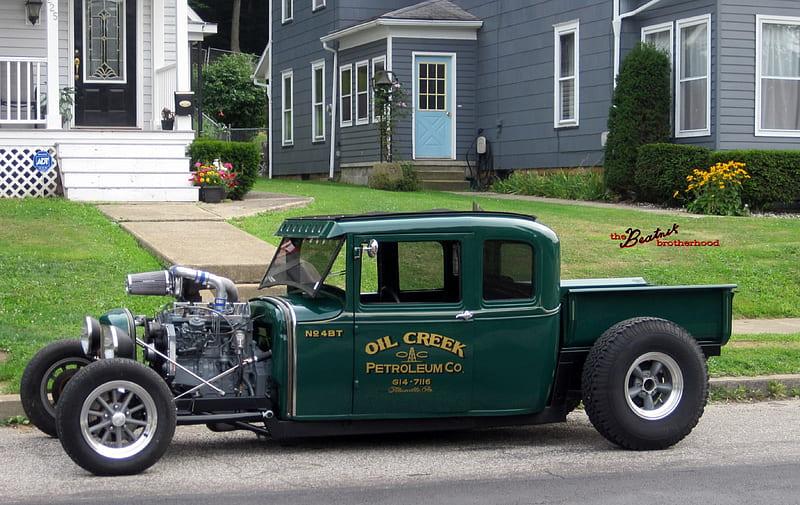
Haha I love that memory!, Be sure to find a picture for me some day! I love old cars, like sewing machines, Cars had soul back then, don't know when they lost is The VW red is also super nice. was looking at the VW tangerine also.
-
I was thinking that, but even RAL 6005 is looking vary different on google. Some om them I like, other I dont.
-
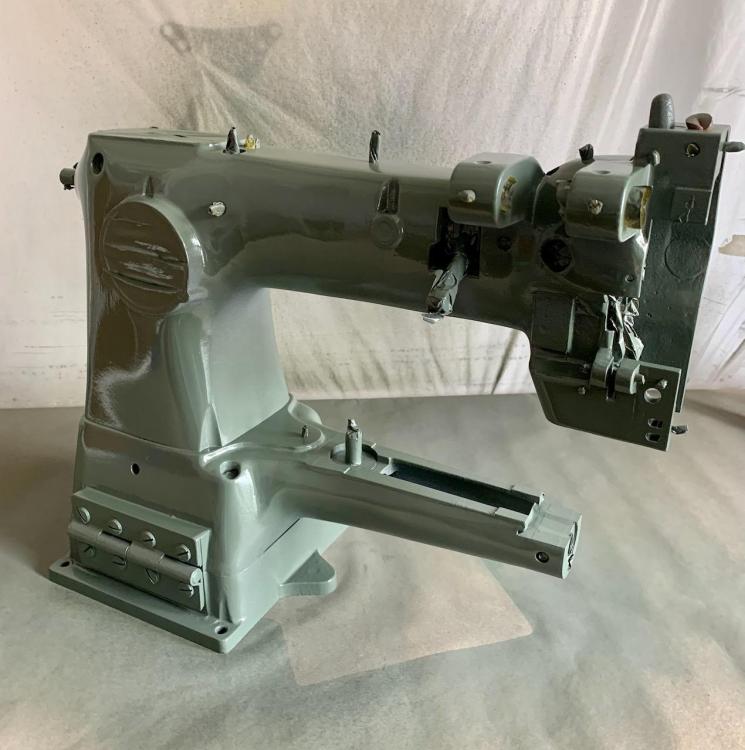
Soo, a little update. Getting the right dark green paint, was kind of next to impossible :O The auto painter, that makes the paint, only uses RAL, OEM, and car make colors. Most dark green car colors have metallic ind them. and I did not want what. to "new", for and older lady. The more I thought about it, im giving a 76 year old lady a makeover, fair enough, but then to put her in colors of today. Hmm, did not like that. SO, color change. THIS, is the new color. still green, but from her childhood, so it should fit a lot better. Sure, I need to repaint the smaller things I think, a lighter tan to go with it. But my gut says its for the better
-
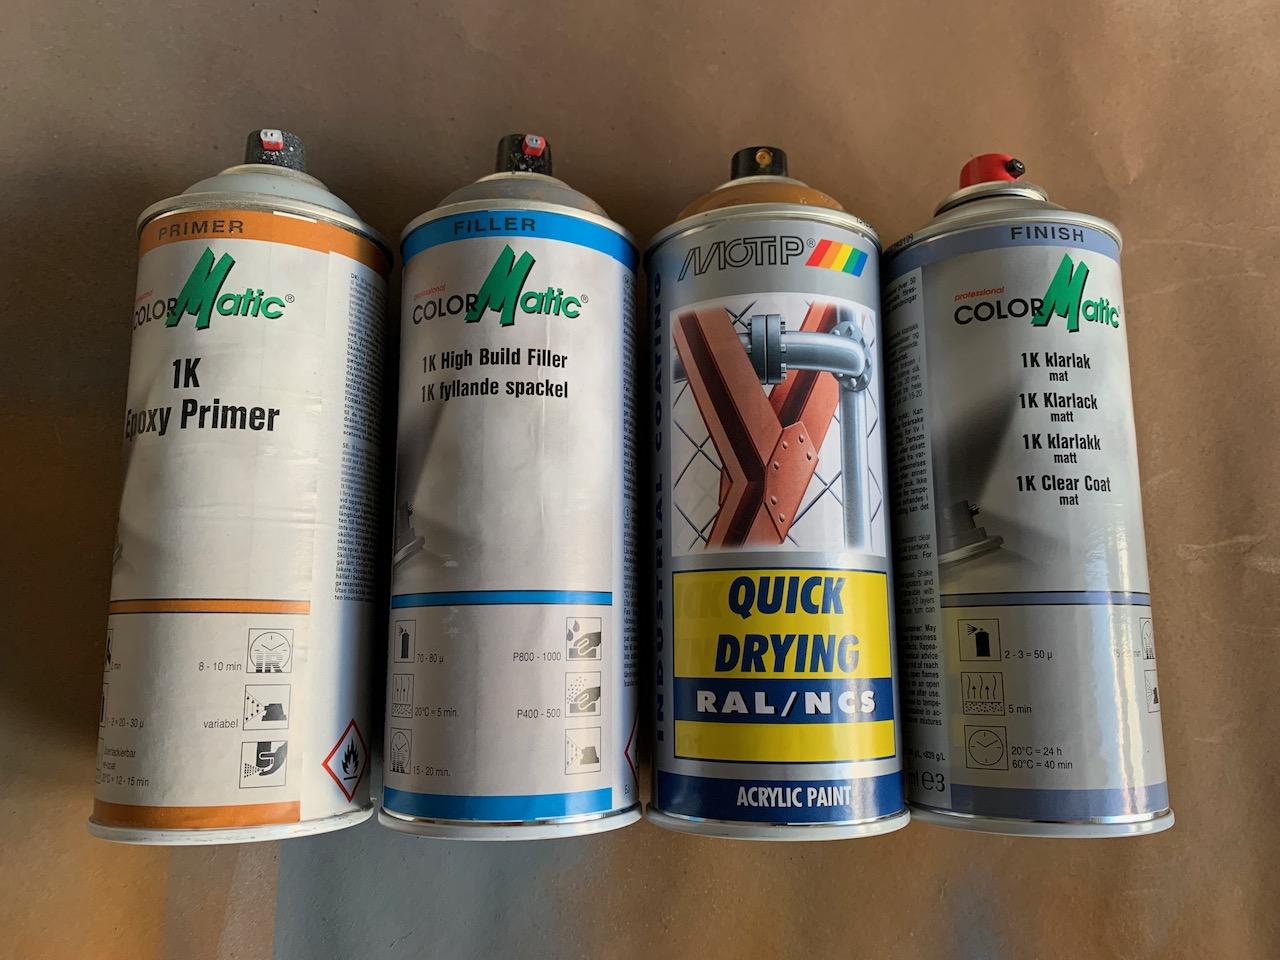
Thank you so much Suzelle! And yes, the color scheme is really bold, and believe me, I been over, about every color in the book Mint green was leading a long time :D, also dull yellow. Real 1950 Colors. Well, I have gotten this far, painting should be a breeze :D also, easier to repair chips in the paint, if I have all the paints on hand. So the sprays I use is a semi pro painting system, made In germany I think. They are not too expensive, compared to the named brands in my country, prices are the same. about 10-15$ Prepping is key when painting. First, epoxy primer, 2 layers, then sand it lightly, then filler primer. (magic on spray) fills out tiny imperfections in the casting ect. Really nice. Then sand again, then 2 coats of color, and then 2 coats of lacquer. The main body will have a 2 component lacquer, that is much harder, and can stand oil and hard chemicals when dry. I knoooow this a lot of work for most people, but I suffer from depression, and the way for me to keep it at bay, is to focus my free time on something :D I love patina, tells a story. But I want to put on my own patina. Every crack in the paint from now on, will tell my story. The machine will be right in my living room, where my workshop is. So it have be be kind of pretty, fitting in with my furniture ect. I do mostly dog collars, sewing by hand. I will continue to do that, but I want to make harnesses, and these require a lot of sewing, and doing it by hand, my customers won't be able to afford it So, Karen, as a call her now, will be a workhorse the next decades im my little shop, and daddy gave her a new dress for the job


-
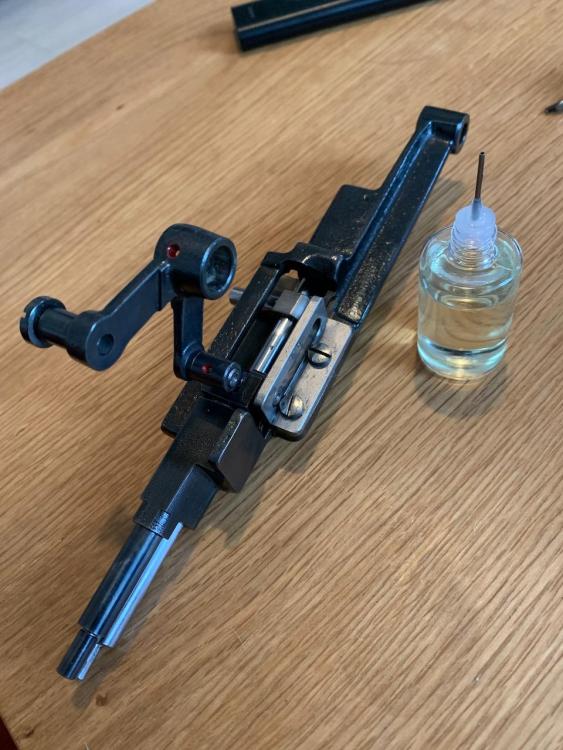
Was a little bored today, so had time to assemble the needle bar frame. Also, bought my first nail polish today, to paint the red parts for oiling Went to the painters yesterday, they had a 3 month waiting time :O Sooo, im painting her myself this weekend.
-
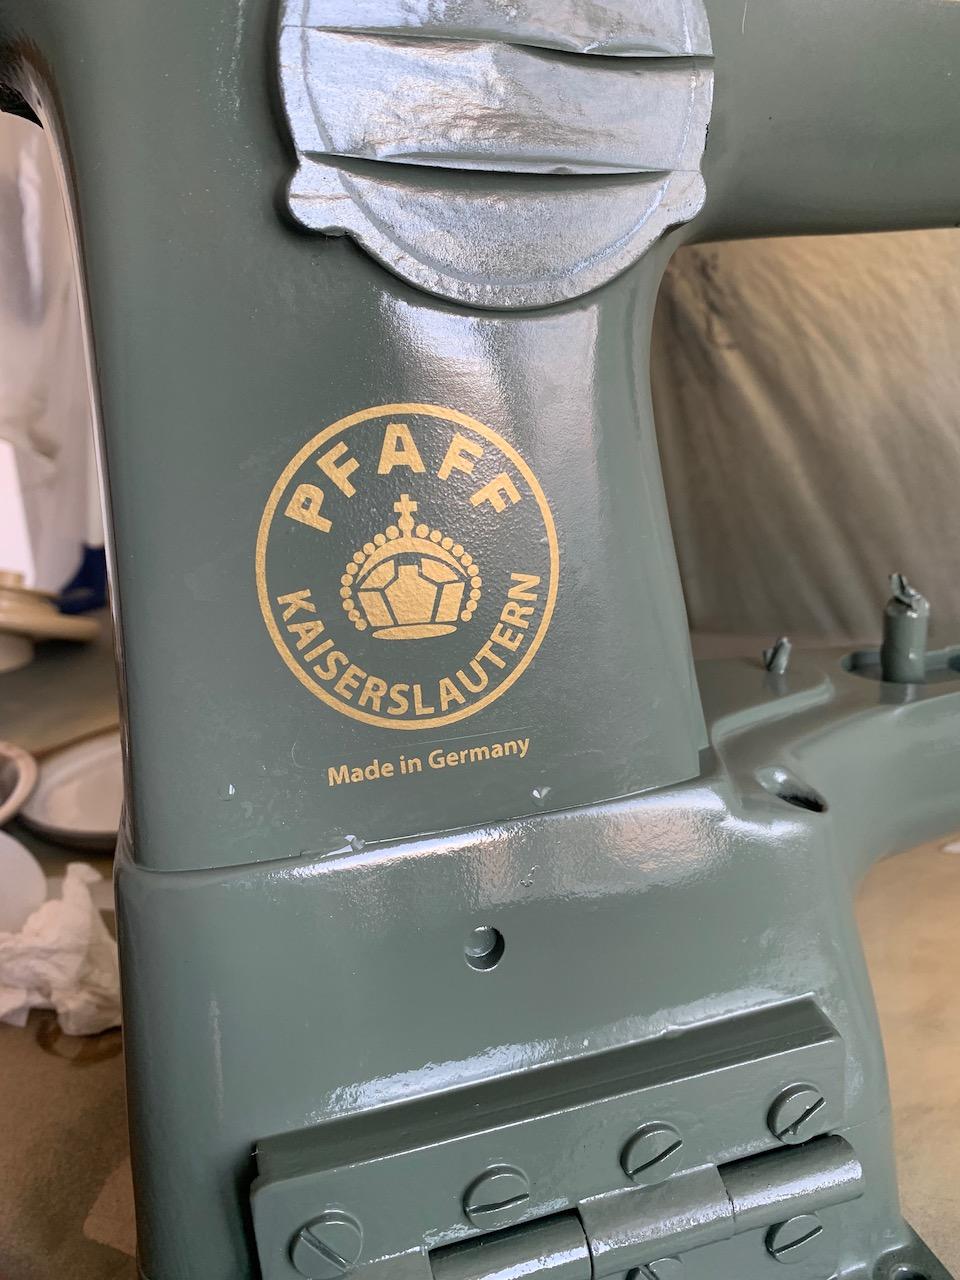
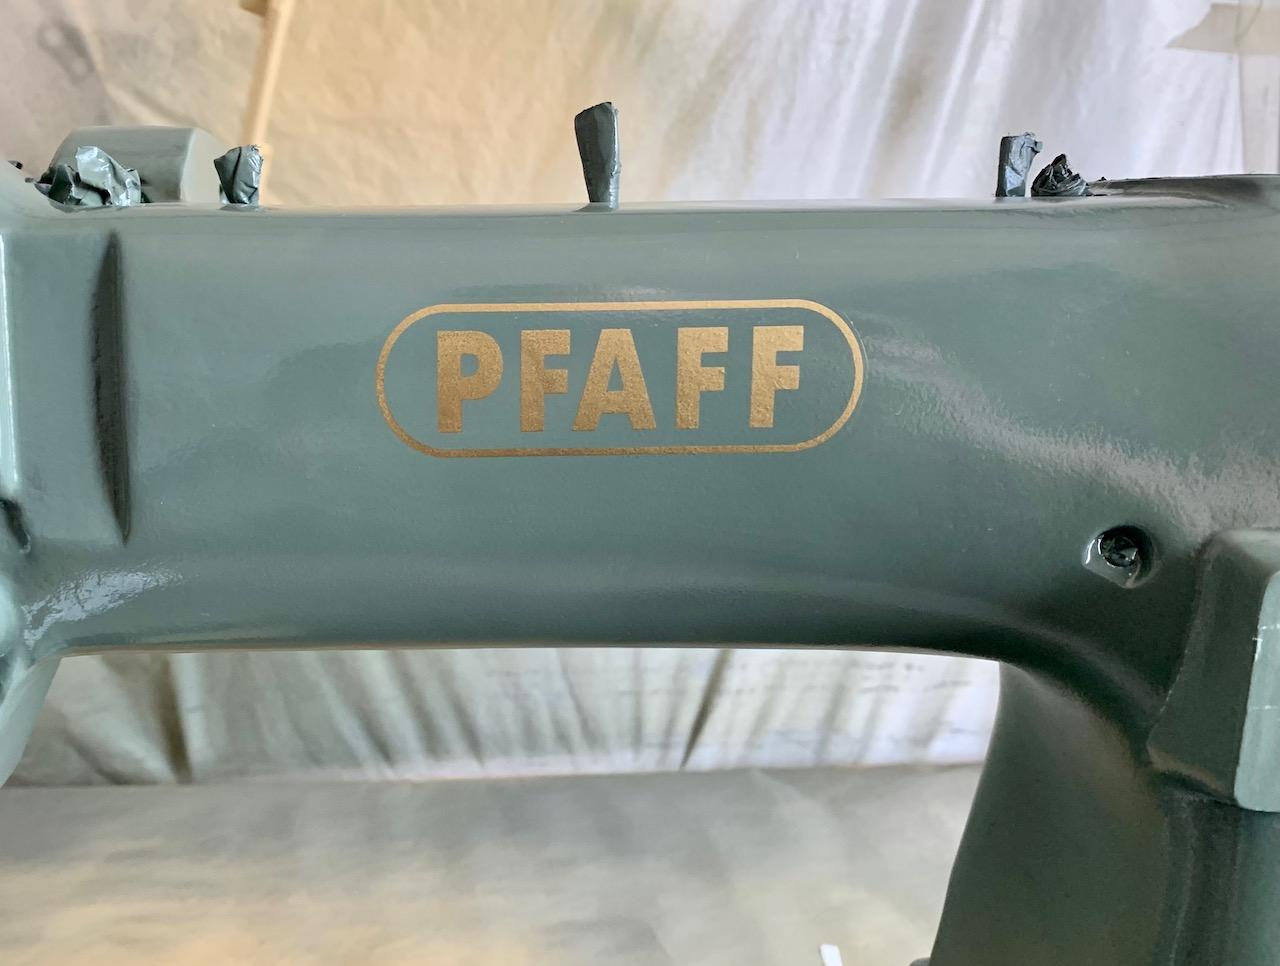
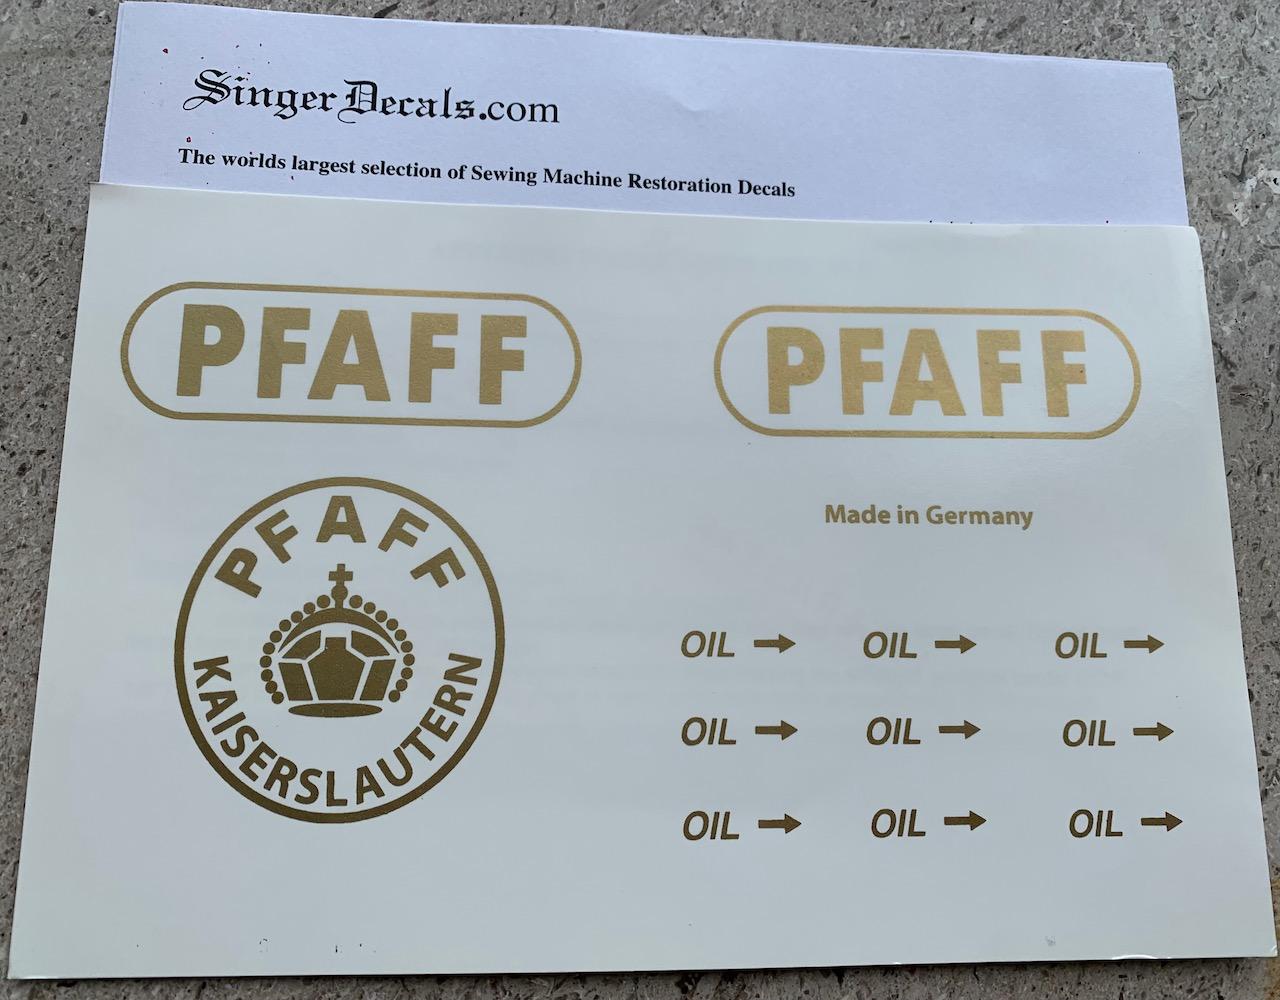
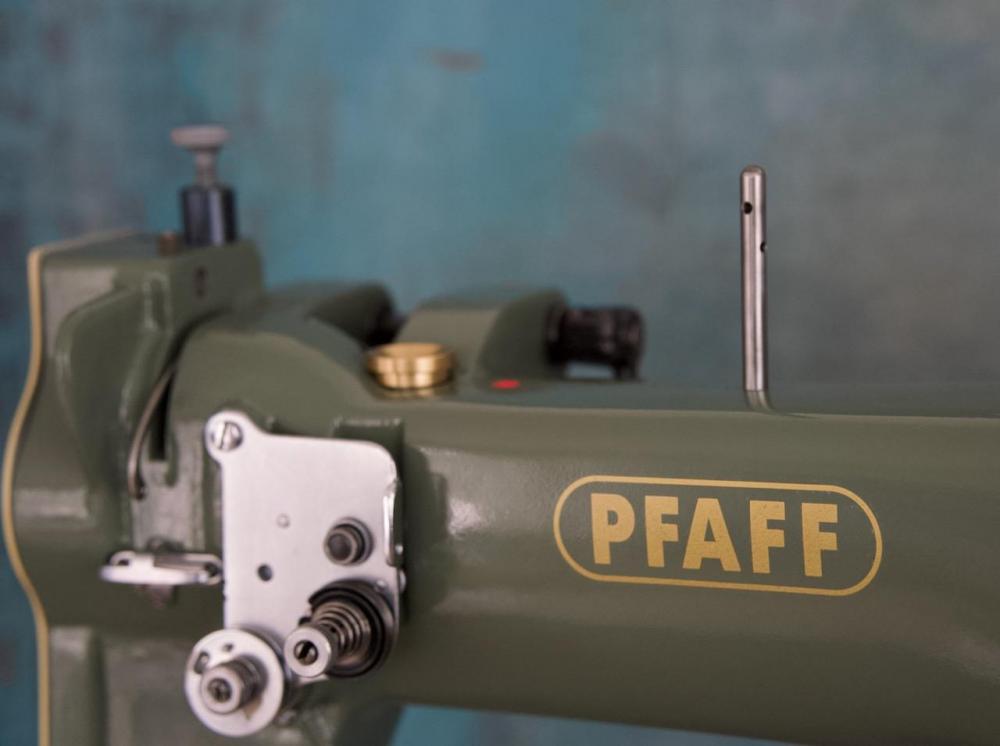
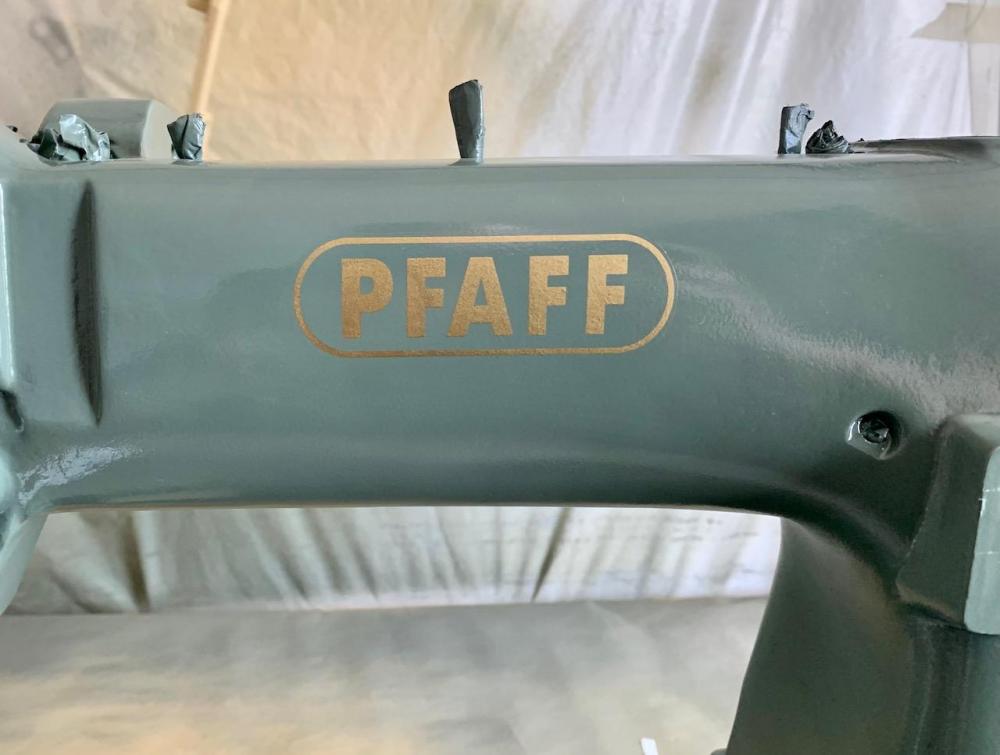
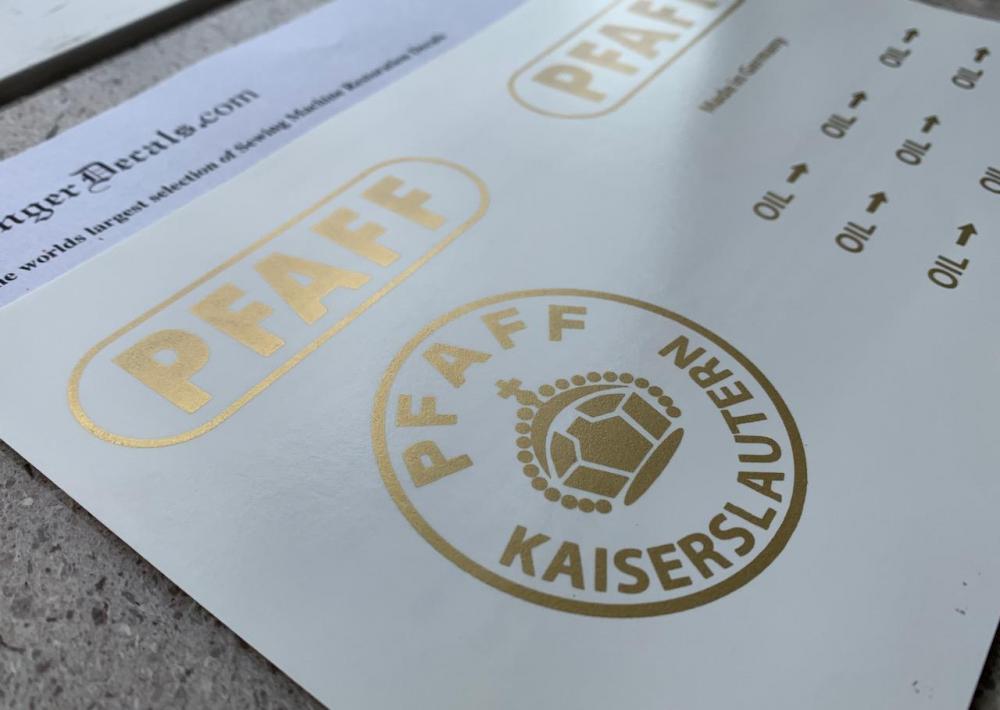
Look what I got today!, the decals! and wow, they are perfect. the gold color is so good! Can't wait to see them on the dark green machine

-
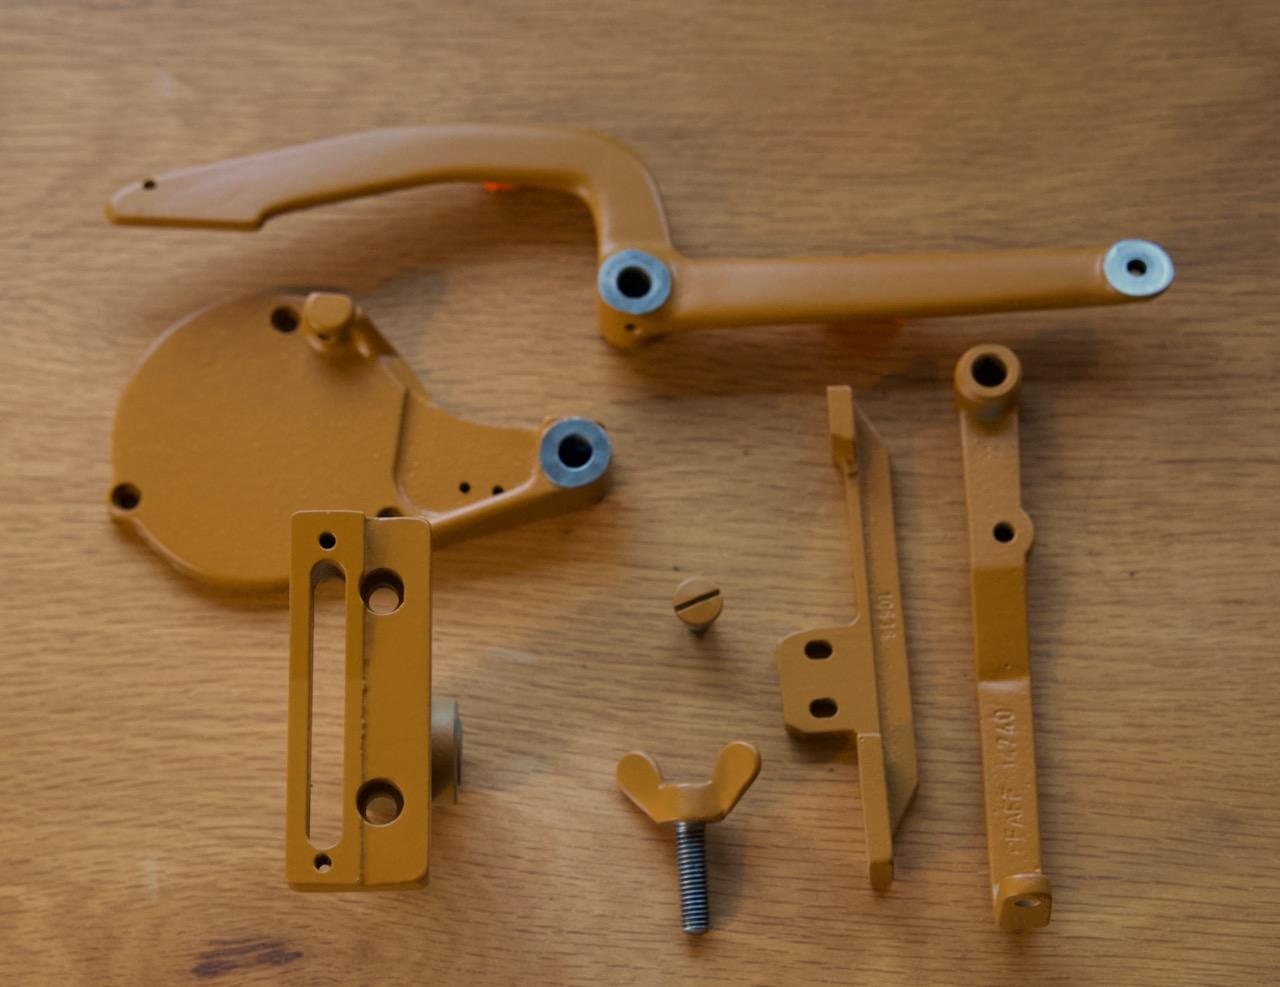
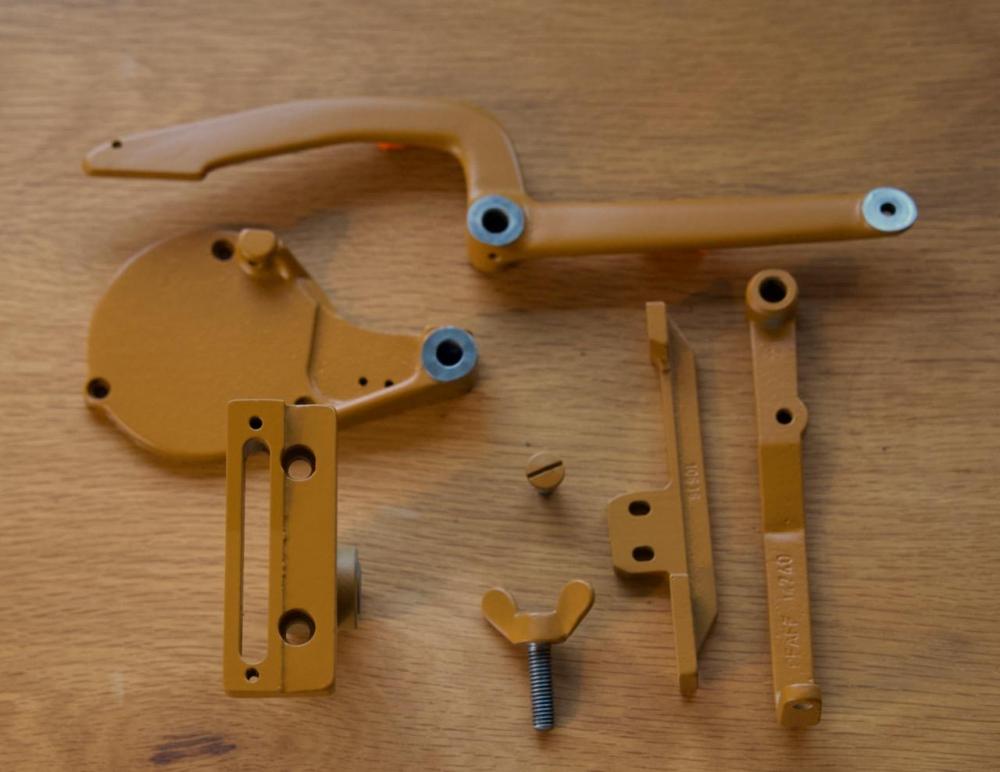
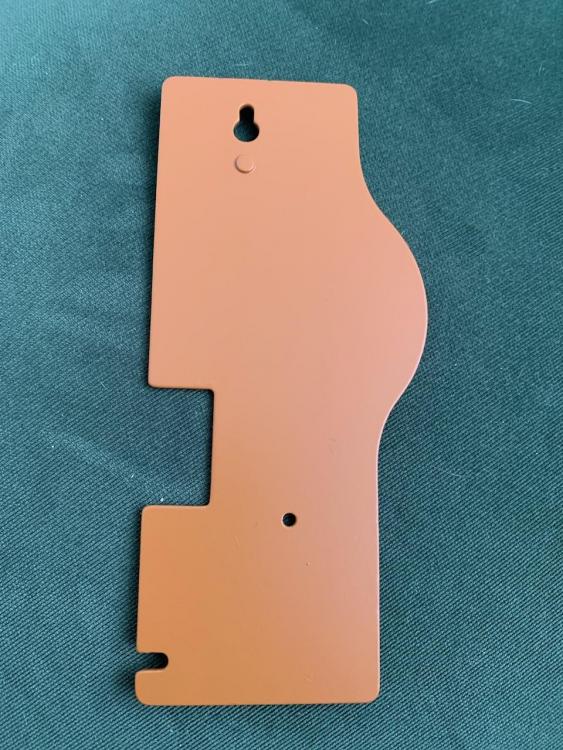
So only missing painting the hand wheel, and latch for pivot lock. Correcting the color in my computer for this photo, so the color matched the original better. But still lowing somewhat iffy. Don't know why, but this type of brown, is super hard to photograph!
-
haha, im just glad anybody want to hear about it. My family and friends think im insane. "Please dont talk about that stupid machine again! Why didn't you just buy a new model???"
-
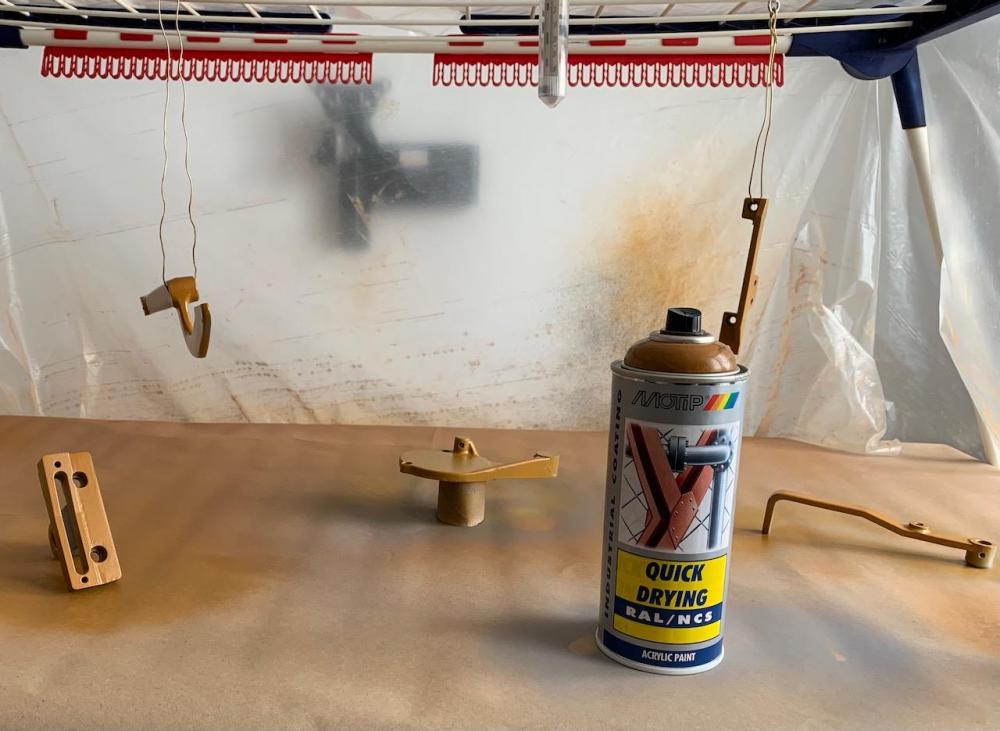
So made myself a little spray area. Old table, clothes drying rack and some plastic Work like a charm Im going this color scheme. The brown color by itself, its kinda ugly, but together with green, I love it :D Finished in flat mat. The machine will be satin :D

-
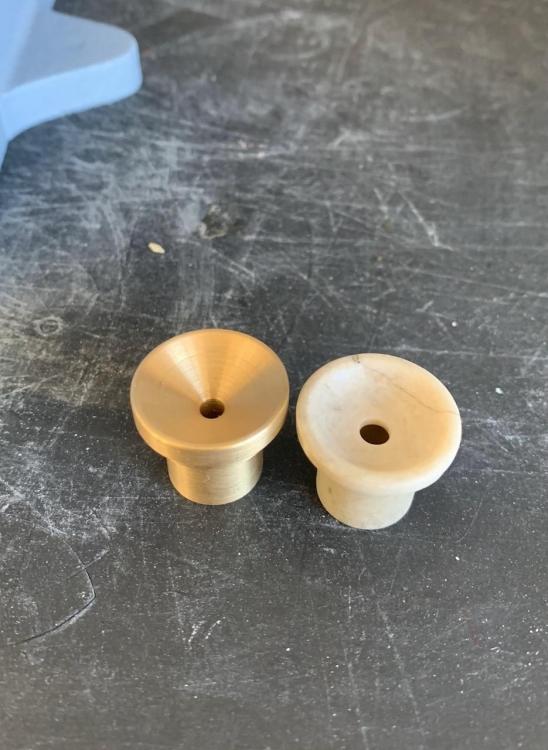
Soo, a little update. All parts have been primered, and are ready for painting, will go by the car painters tomorrow I think. Also, I broke the little oil cup at the top. Glued it on, but did not like it. could not find any online, So had a new brass one made
-
This reminds me so much of when I was younger, and build WW2 models. I painted Germans tanks, and they was also painted this shade of gray Also has a little submarines vibes? :D
-
So today was a productive day. Got her sanded, and went over the surface with a scotch pad. This is 1 coat of epoxy primer. When its light gray like that, you can really se all the little marks and scratches. I will putty the larger ones, and the filler primer should take out the small scratches. Im not going eccentric over this, at the end of the day, its a sewing machine, not a Car Doing primer work is vary forgiving, in the sense, that its easy to sand, go back and coat it again. Im still living the color painting to the pros
-
Thank you Jimi!! Manual did not mention it, slight variations of models I guess.
-
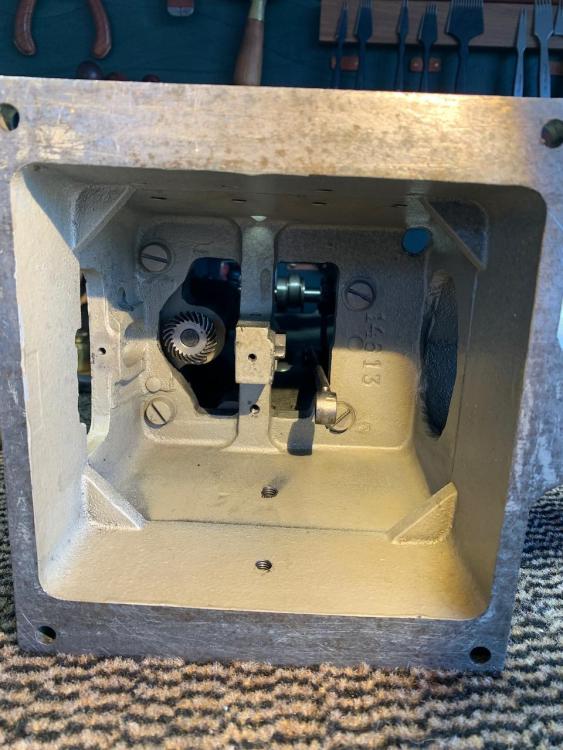
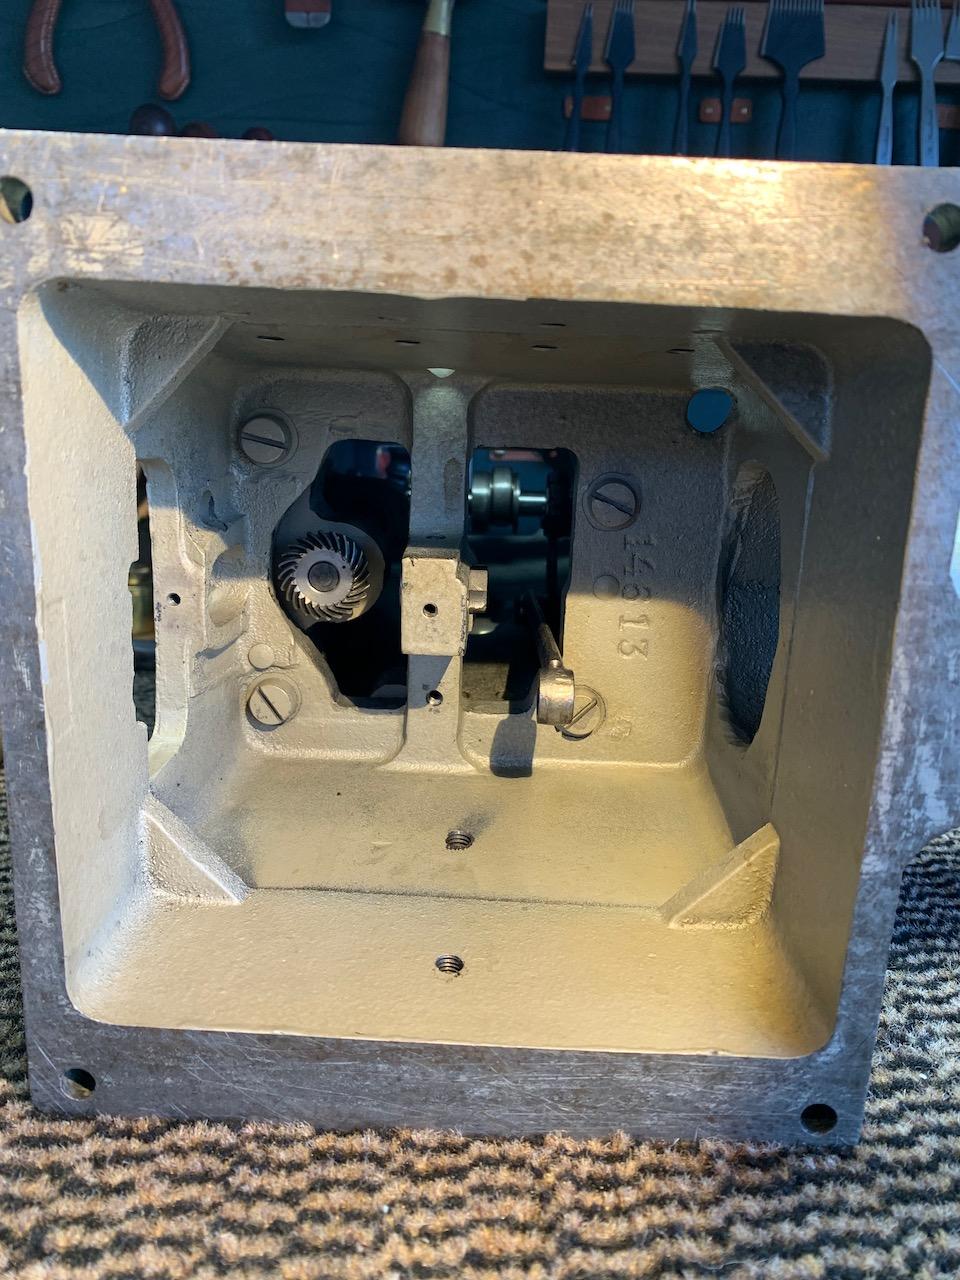
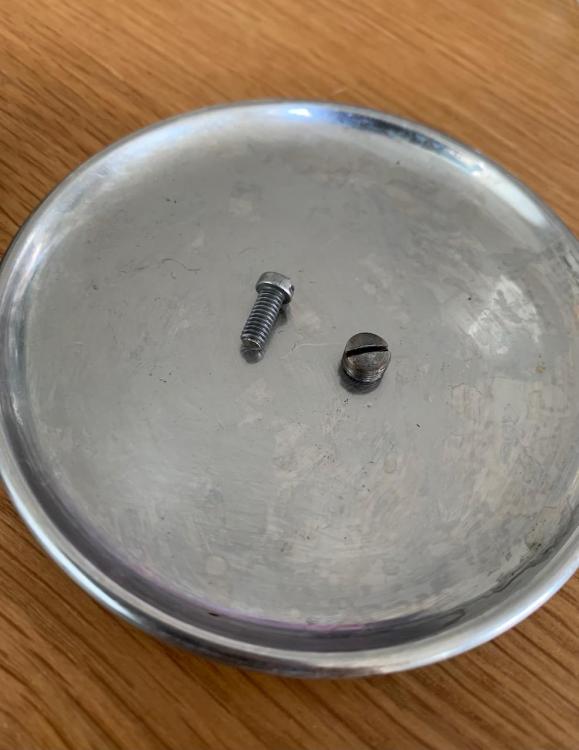
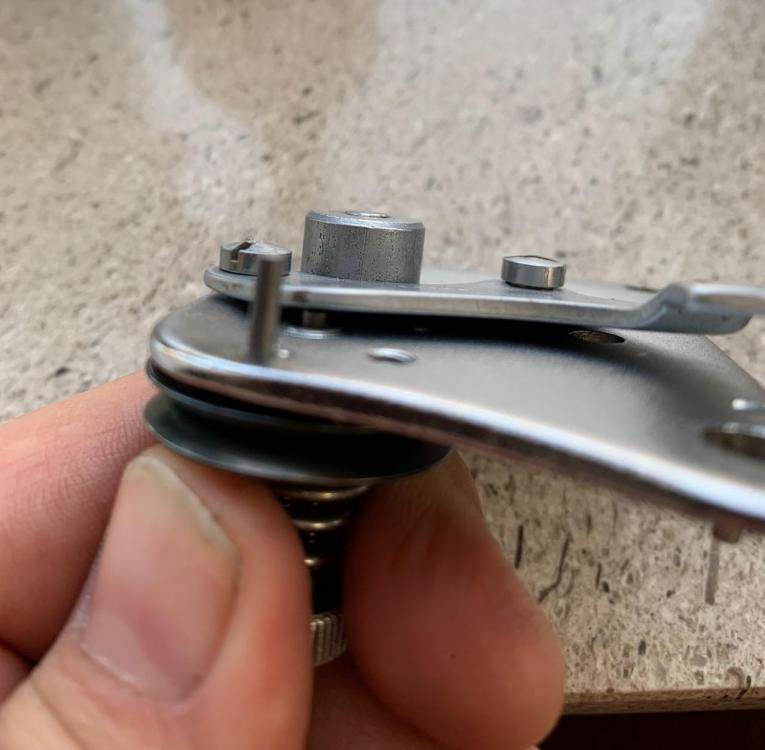
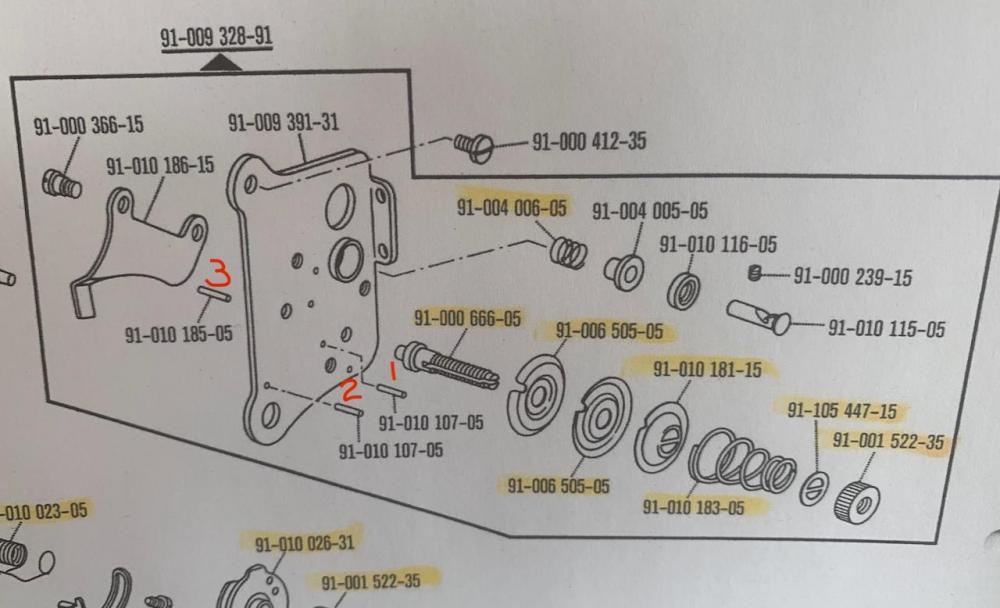
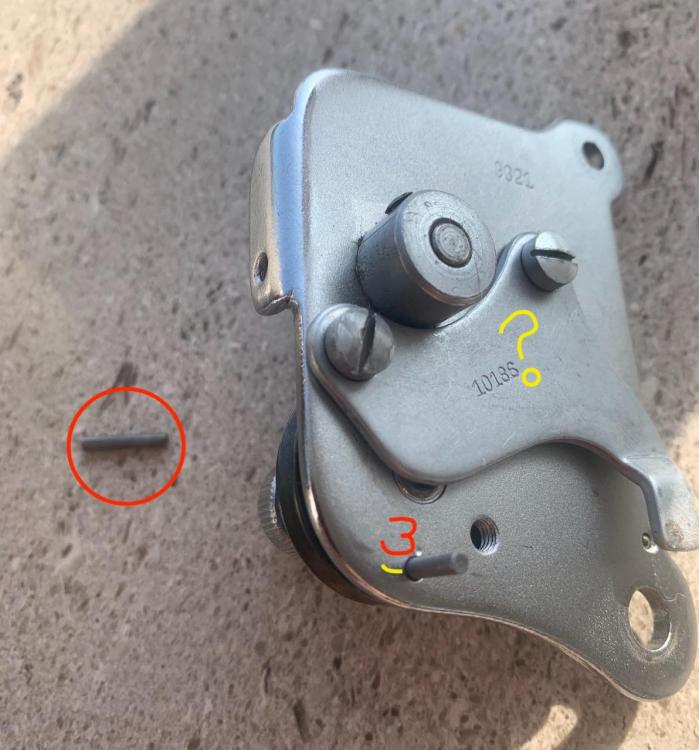
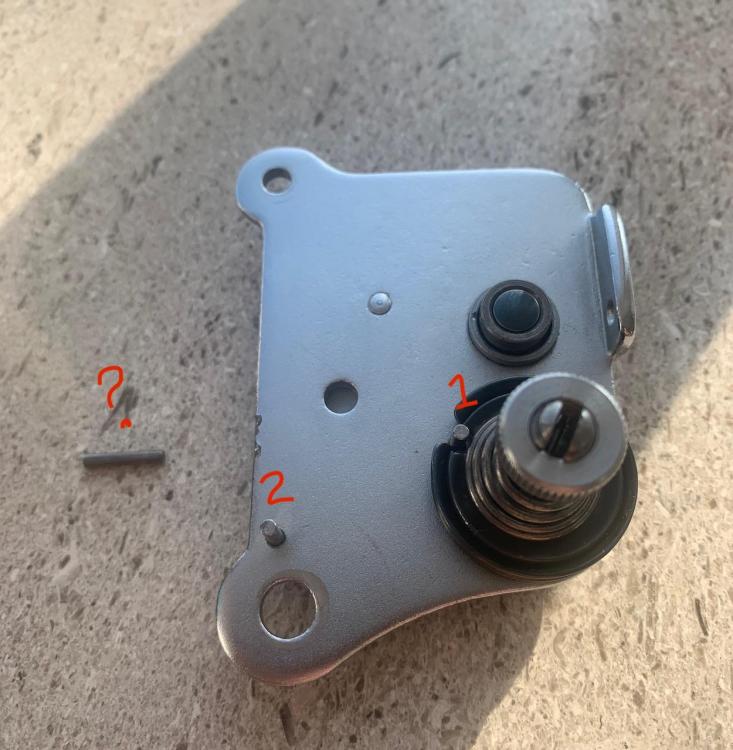
No problem :D we are all here to learn something, I dont mind So, are you guys and gals ready for a little mistory? I was ultrasonic cleaning the thread tension assembly and this pin was rattled loose. Manual says 3 pins needed, I now have 4. Soo, 2 options here. 1. I somehow invented a duplicator machine!! 2. The pin was use on some other part of the machine, and had hidden, and first noticed it when taking out the other part. if that's the case, where is it needed?? Also, hos is the back part supposed to fit? I can tighten it, and it rattles a little. I fully admit, am not the sharpest tool in the shed, this could be obvious to you folks
-
Yes I have. BUT, that would require taking all the paint and primer of. And I heard that is a vary hard job Also, since going in the oven, I would have to 100% strip the machine. Right now, she have some of her cuts lefts
-
So here is the status, im sanding down by hand, getting it somewhat smooth to prepare for the primer. Im coating the primer myself, to self some money at the auto painters. ,
-
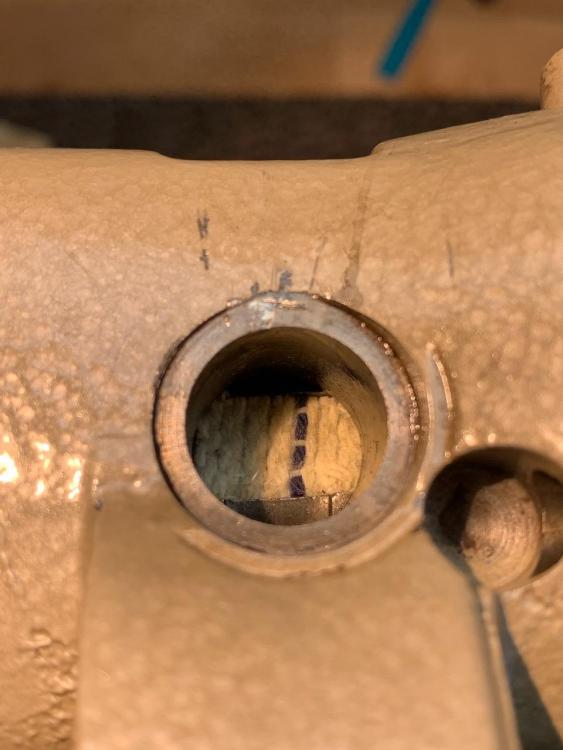
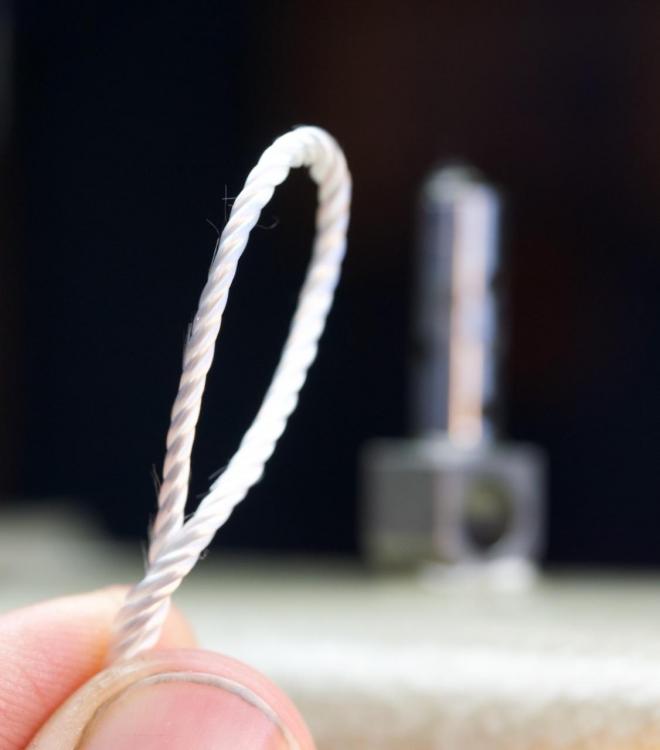
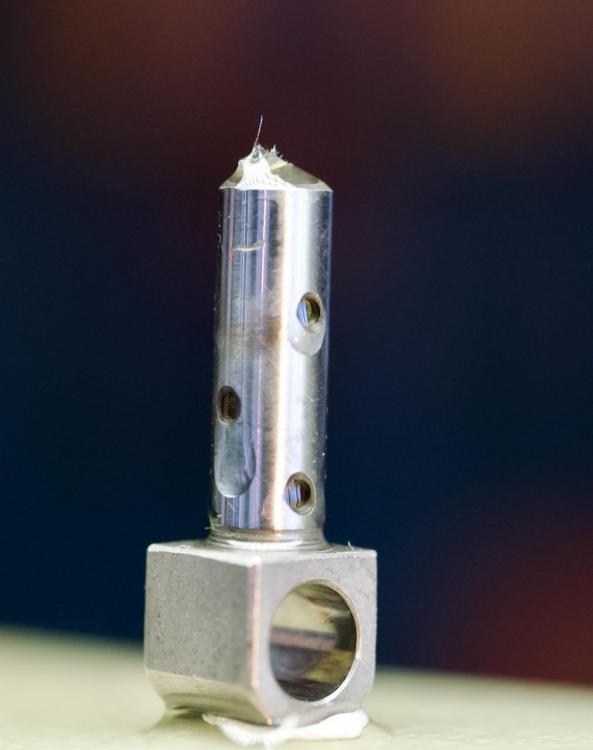
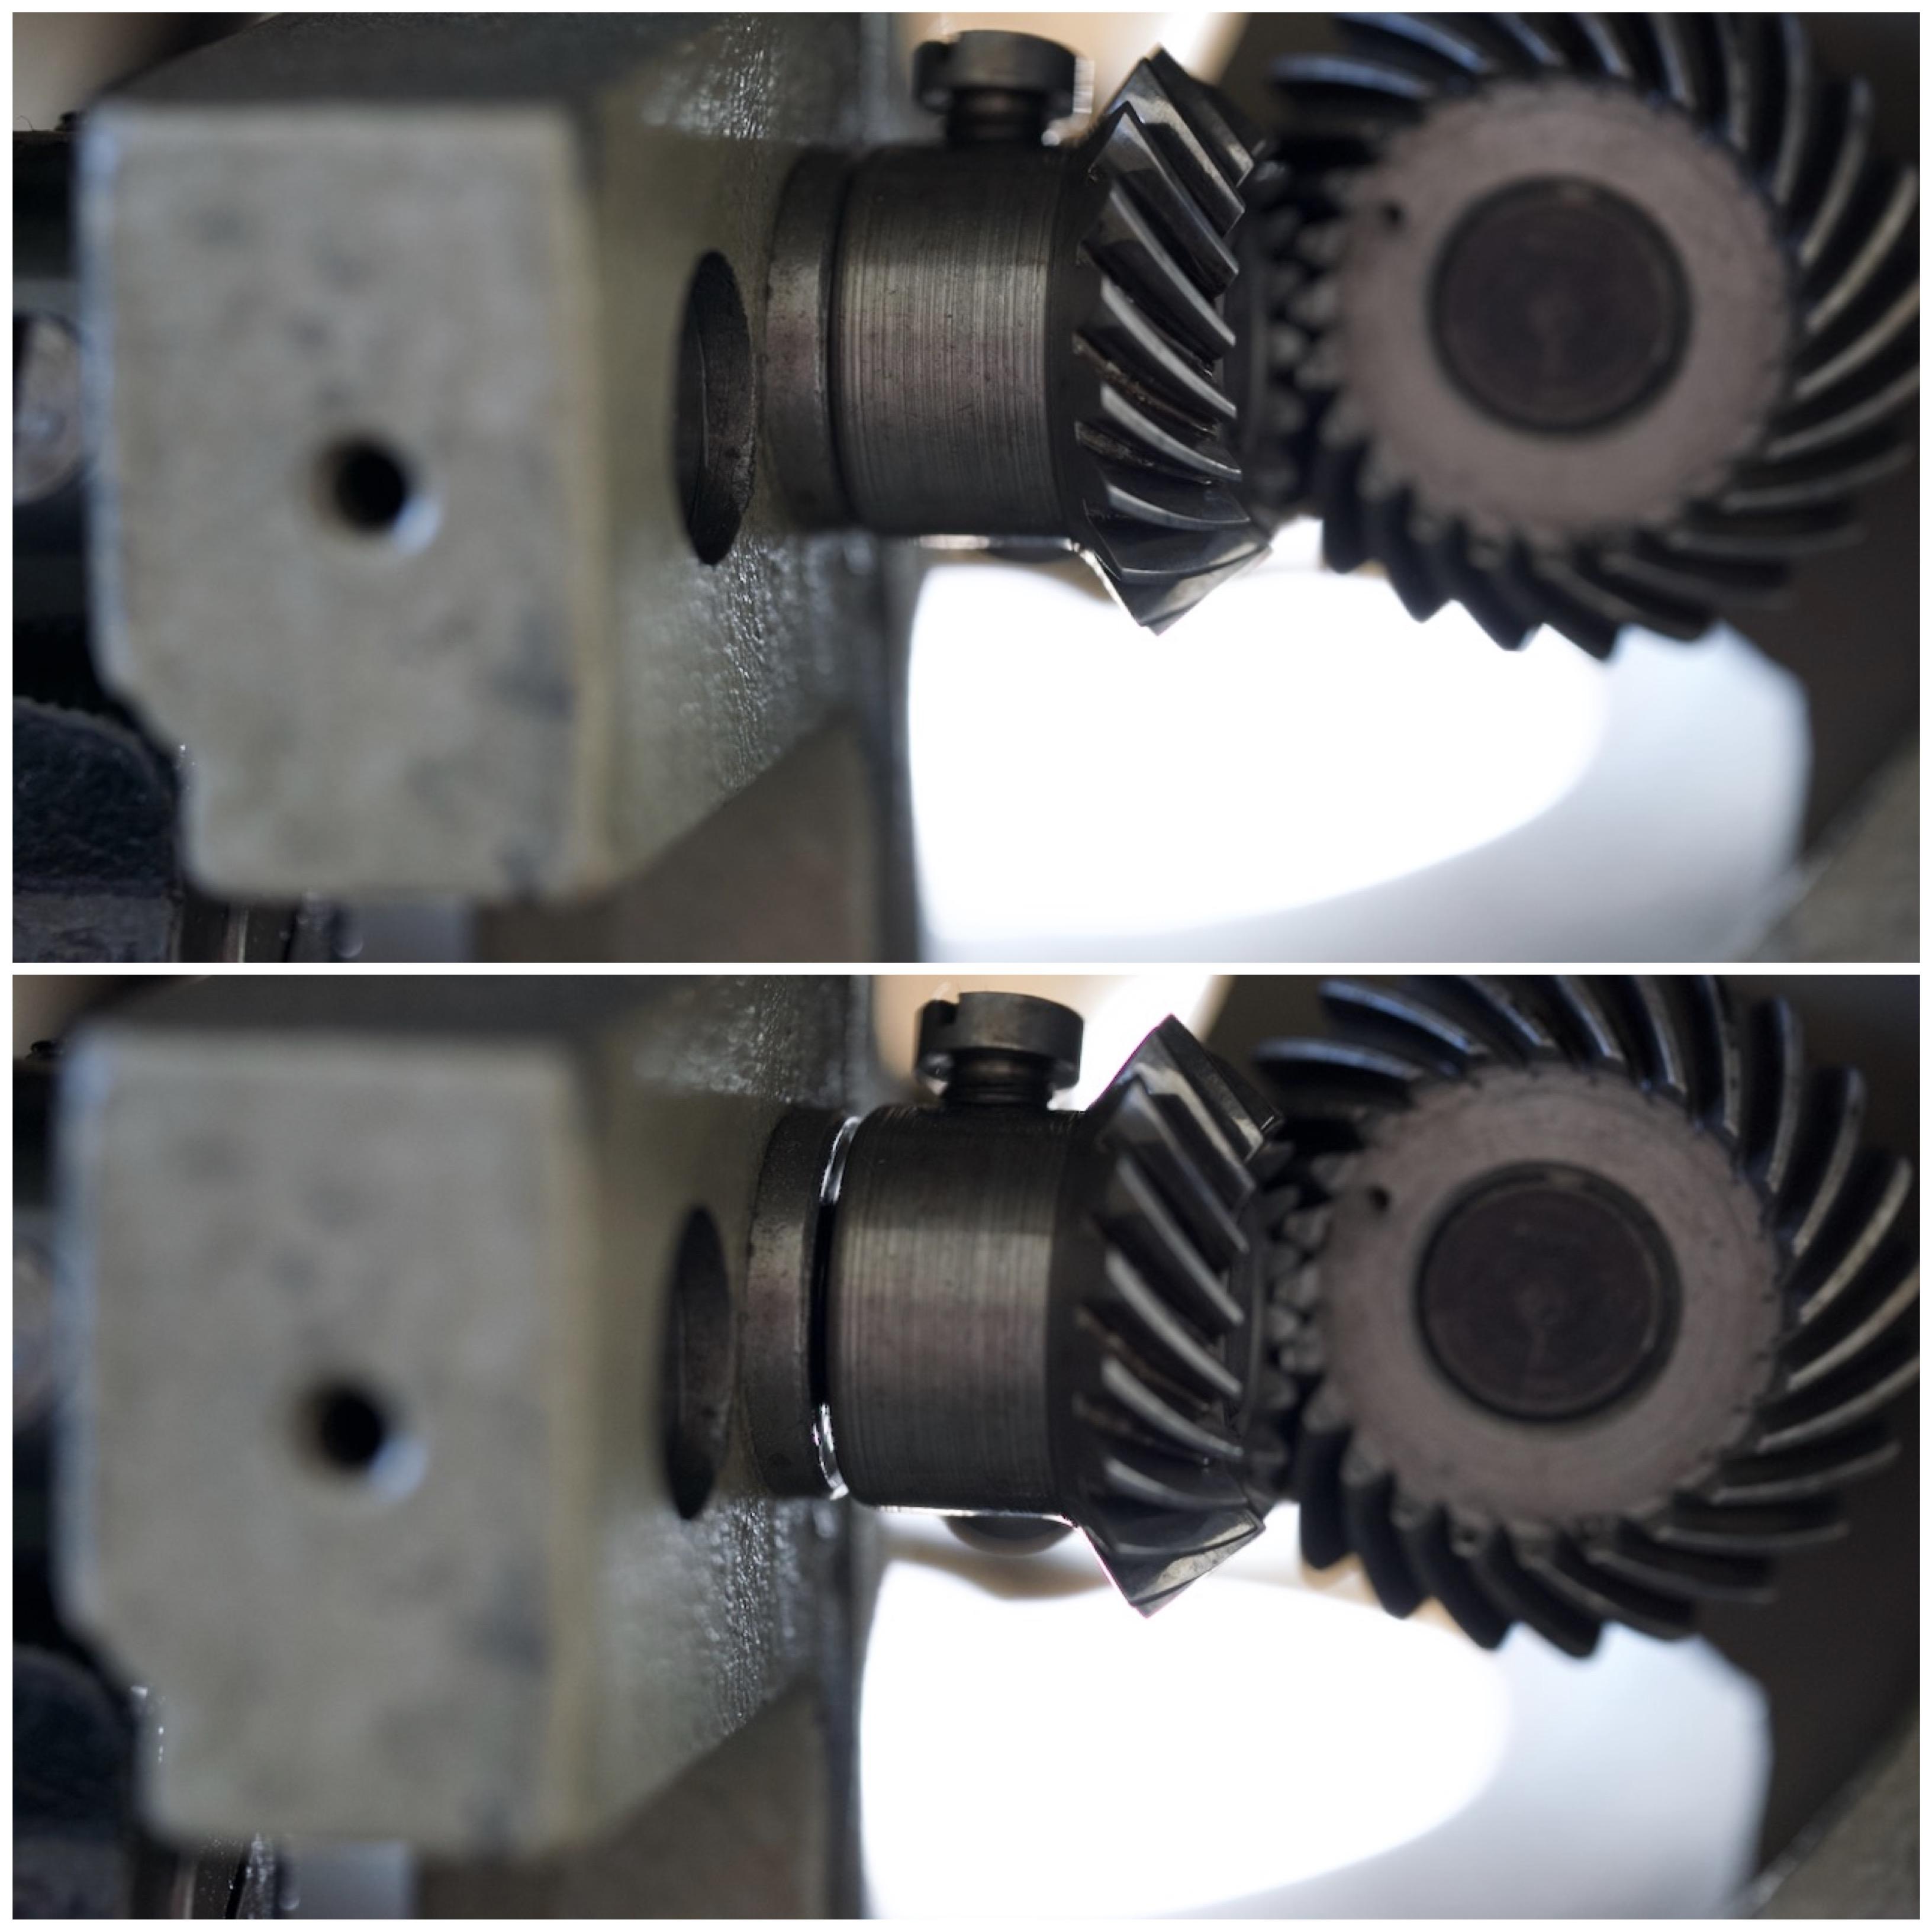
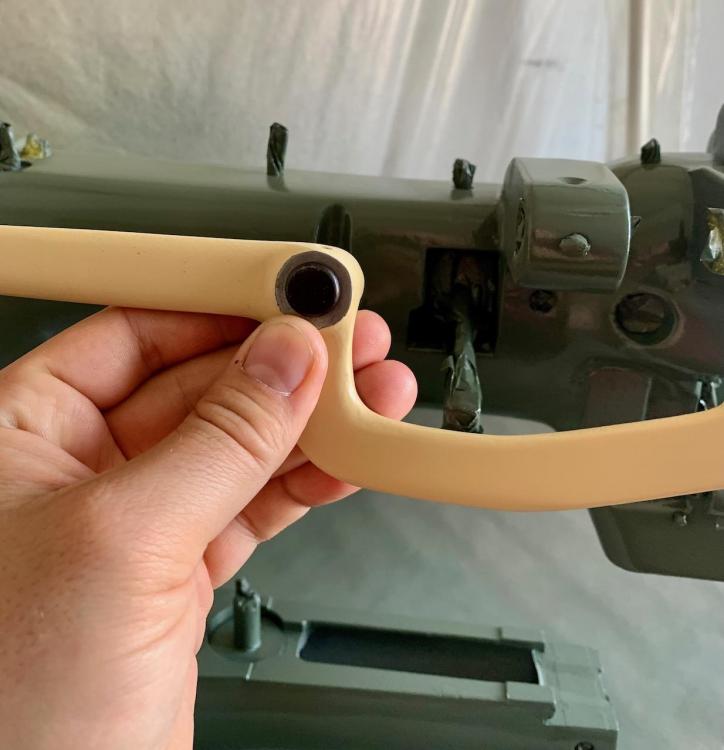
So I tried the new synthetic wig I bought, this is some strange stuff. cant burn, glows orange hot when put under heat :s The whetting capabilities are super!, much better then the cotton wick I testet. AND, it will not decompose and turn to dirt The big hole at the top, I used some oil burner wick, that fit perfect in the hole :D Also did a lot for cleaning, with some unknown green cleaner I got from the local auto body shop. Its nasty, makes the paint to goo is not rinsed with it water right after. I am going ahead with painting it. I have chosen British Racing green in semi gloss. and ordered gold Pfaff decals. Its going to look amazing I think!. and since the color was invented in 1903, I thinks it appropriate enough. Of course, silver would be better, being the German color, but hey, I like the green.