hanzosbm
Members-
Posts
28 -
Joined
-
Last visited
Content Type
Profiles
Forums
Events
Blogs
Gallery
Everything posted by hanzosbm
-
Thank you all
-
Thank you very much. And yes, for all intents and purposes, this is my first project. (I made a simple belt pouch ~23 years ago, but that was it) Of course, as soon as I showed my 3 year old the completed set, he immediately said he wants some like Daddy's. We'll see what happens. Thank you. And yes, the German club I belong to has our Oktoberfest this weekend, hence my timetable to complete them. I'm really looking forward to showing them off.
-
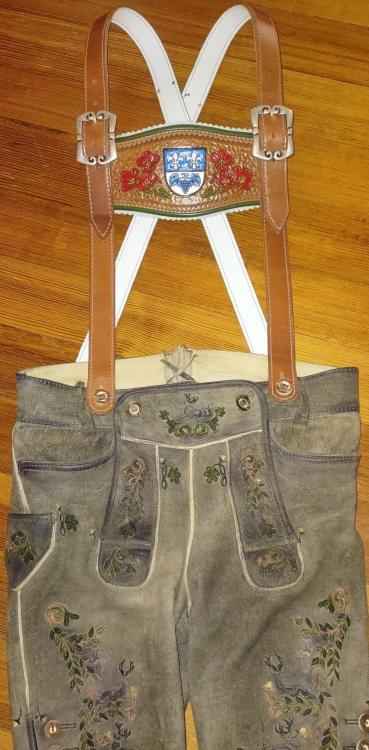
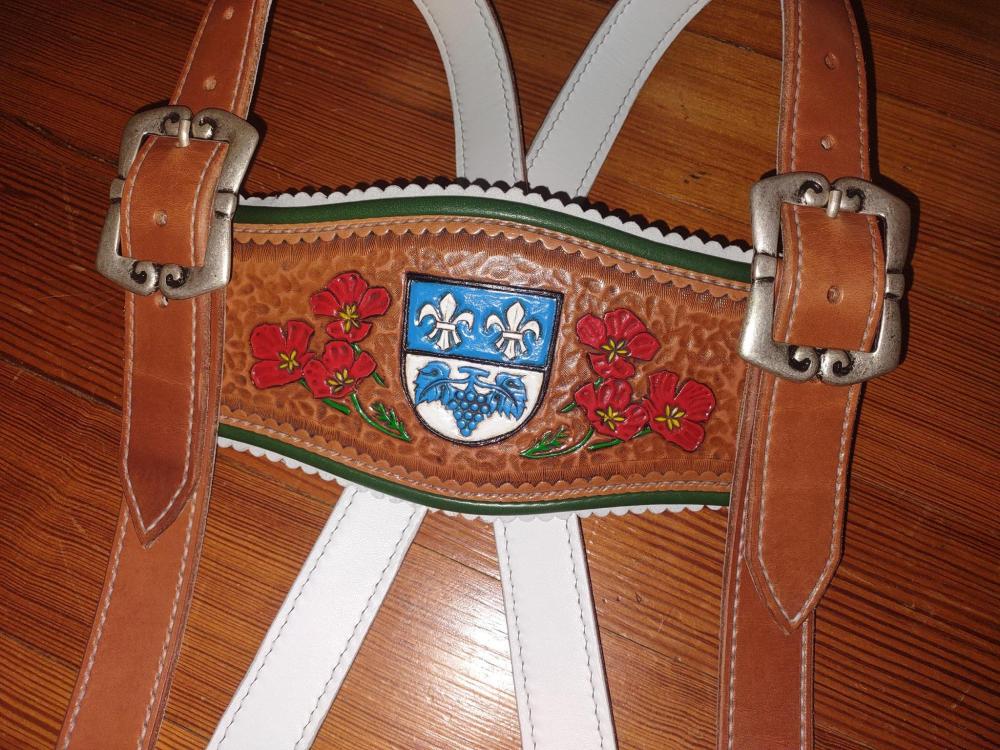
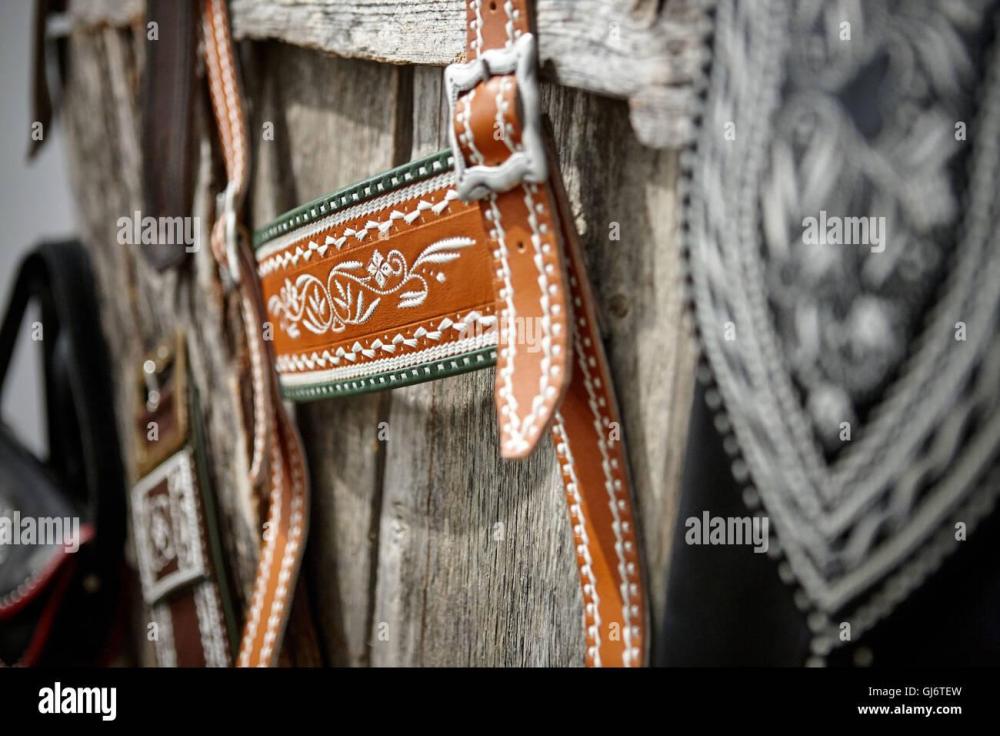
I think I probably spent twice as much on tools as it would've cost to just have someone make them, but it was a fun introduction into leather working. Who knows, after a bit of a break, maybe I'll try a second project. Hermann Oak ~9oz with a white lambskin liner. The green piping was buffalo calf I bought pre-dyed and the buckles and buttons to attach them were ordered. Closer look at the chest piece
-
Well, I wouldn't say it's so much a phobia as an apprehension. You make a good point about trying it first. I'm really not worried about being able to perform the stitches, it's more about not knowing which needles to buy, and not knowing if it'll punch through the leather. But, I suppose if I just stack up 4 pieces of scrap leather and try it out, I'll find out pretty quick. I just have to act fast. Time has gotten away from me and I need the buttons added and the back straps of the suspenders finished in 3 weeks. Plenty of time if things go smoothly; cutting it close if I have to pivot. As a back up, I found an old pre-1930 sewing machine that the previous owners of our home left behind (never realized it was inside of the table we've been using for years). I found a downloadable instruction manual, but it is FAR from straight forward (for me) and it might take some heroics just to get it running.
-
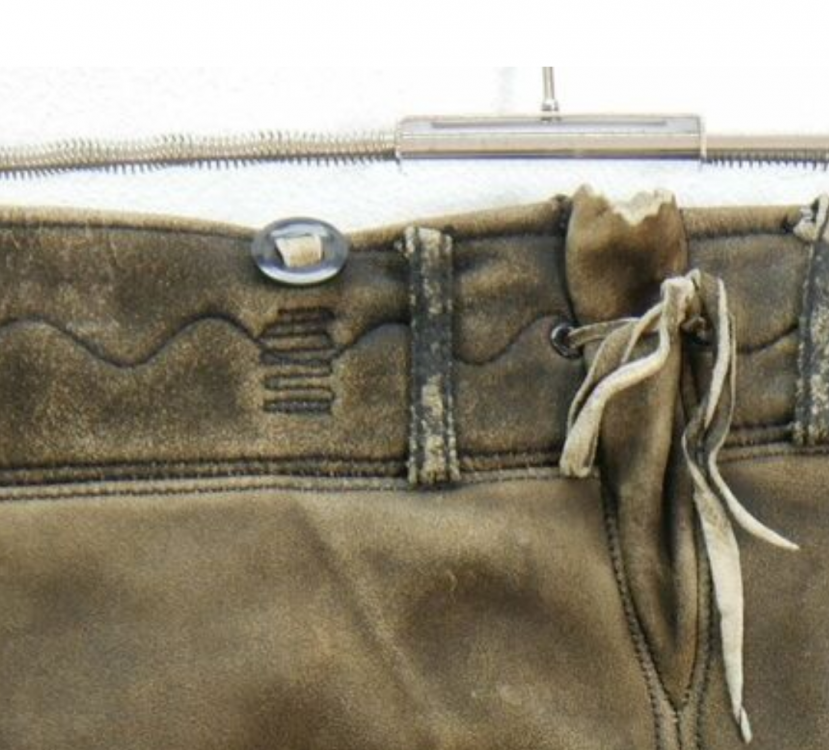
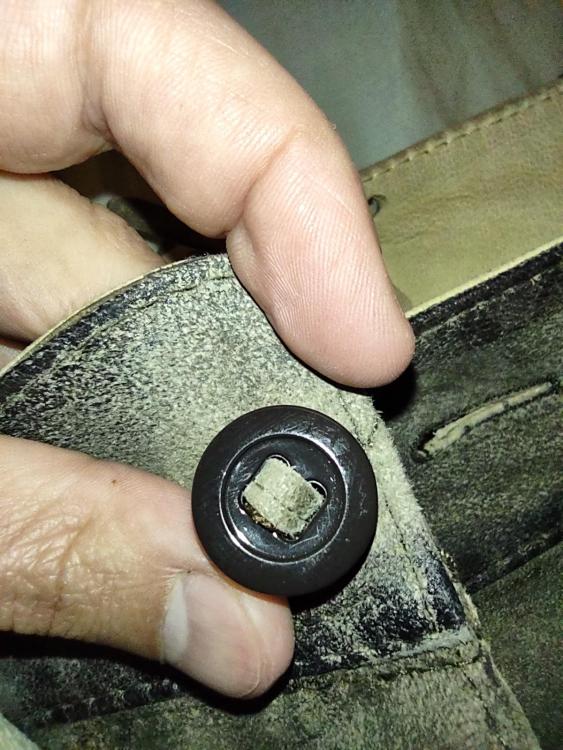
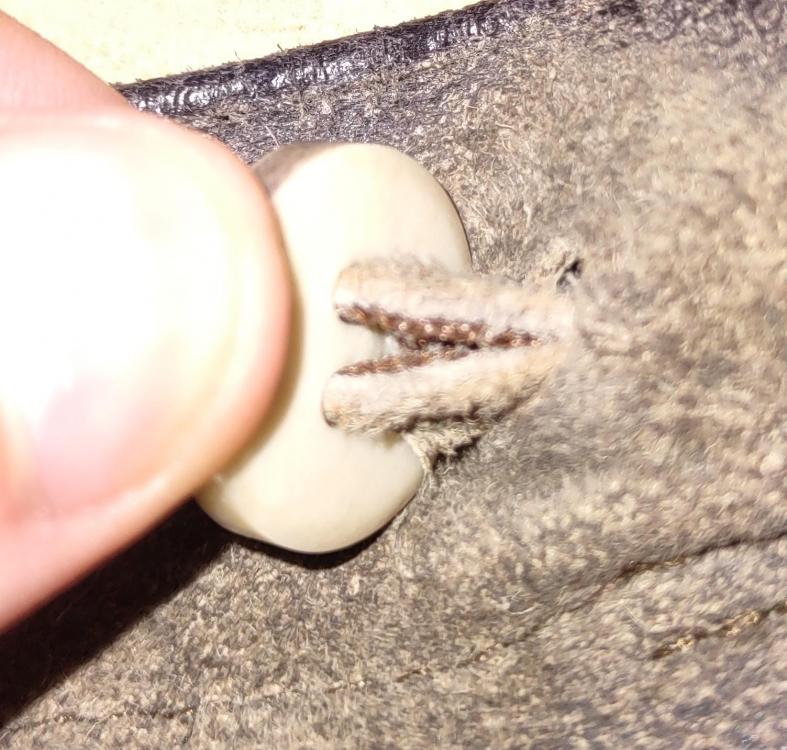
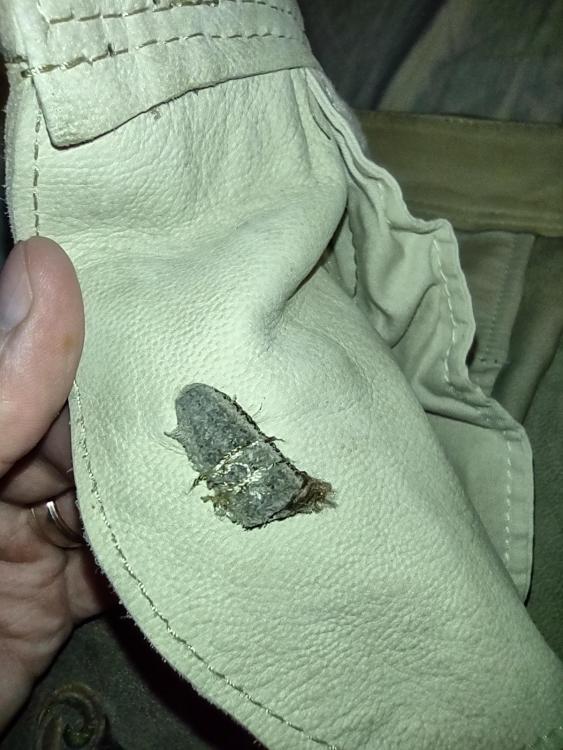
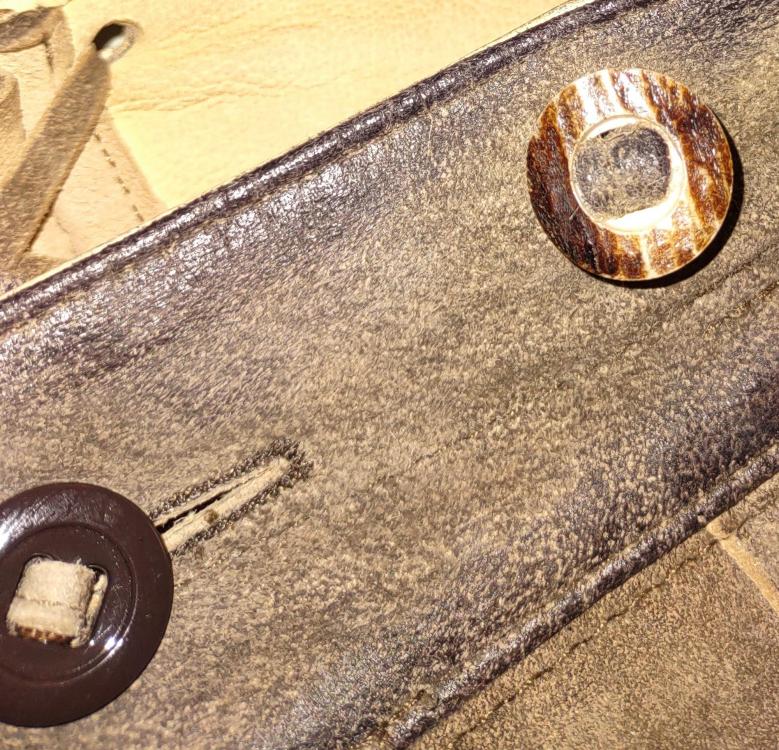
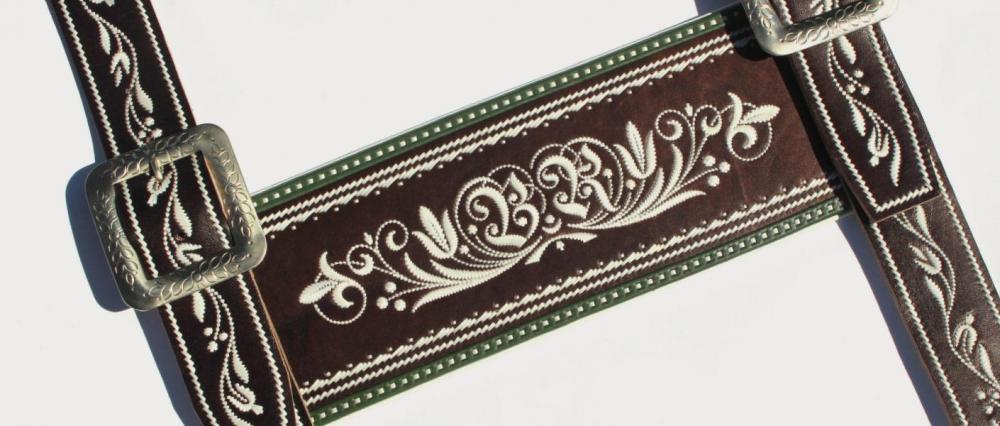
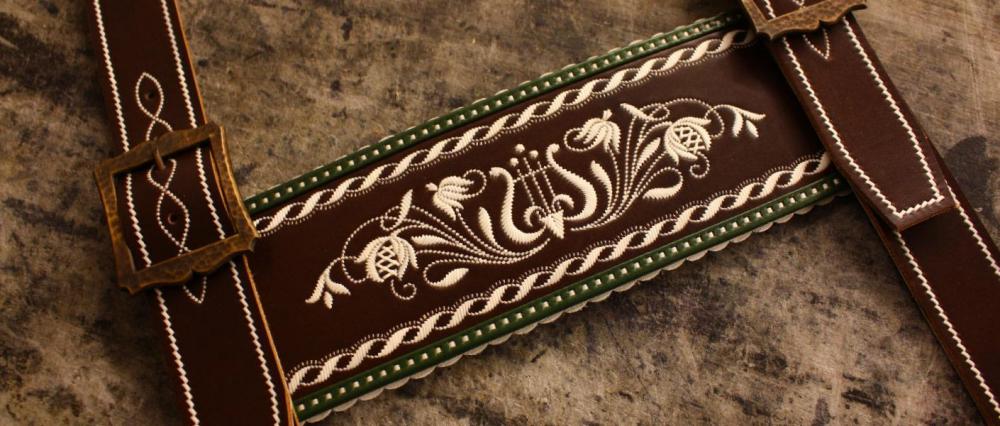
Hi Klara, In retrospect, I should have numbered the pictures to be able to refer to them easier. The second picture of the first post, and the first picture of the second post are not MY Lederhose, but rather a pair I found online to try to show how the buttons are often attached. The rest are mine, but, for good or bad, the manufacturer did a REALLY nice job of hiding the stitching so it's hard to see. I agree that a curved needle likely isn't necessary, I just have no experience with hand sewing besides saddle stitching. From what I have learned, the typical method is to take a thin thong of leather approximately 2-3 inches long and sew a ribbon/backing along the length of it. That piece is then passed through the button. A small hole/slit is then made in the waistband of the Lederhose (all the way through) and the tails of the thong are fed through the front and come out the inside. Those tails are then sewn down to the waistband (usually all the way through). I also found a video online where the tails were sewn down around the circumference of the tails rather than back and forth across it. Either way, I'm looking at trying to sew through two layers of the waistband, the two layers of the thong tails, and the ribbon backing them. I don't have any experience with hand sewing in this regard, so I'm not sure how difficult it would be or what gauge glovers needle I'd need, etc.
-
Thank you, Fredk. I've only ever done saddle stitching after pre-punching the holes with a diamond chisel. I don't think that would work in this case. Is there a different kind of needle/method I should use?
-
Any suggestions on this kind of sewing without a sewing machine? Is it possible, or do I need to take it somewhere to have it done?
-
Doesn't appear to be
-
Quick bit of information for those unfamiliar: The typical Lederhosen most people are used to have suspenders to hold them up which attach via 4 buttons. In recent years, the fashion trend has been to forego the suspenders in favor of a belt. Normally, this would be fine, but some manufacturers have used this trend as an excuse to leave the buttons off. Being an American, I had to buy my recent pair online, and didn't realize it was missing the buttons till they arrived, and now I need to add them. I've already sourced the buttons, now it's a matter of adding them. The way they are attached (as shown in the pictures) is with a strip of leather passing through the button, then that strip is passed through the waistband via a small hole and then sewn down. As the leather is traditionally chamois tanned deerskin (mine is chrome tanned goat, but similar properties) it stretches a bit, so a very narrow backing ribbon is seen onto the back/inside of the leather strip. So, I know how it's constructed, so what's the problem? I don't own a sewing machine. I'm used to saddle stitching veg tanned, but this is very different. How do I go about doing this? Should I take it somewhere to be done? If so, would a tailor be a better place than a leather shop? Maybe a cobbler?
-
Okay, that makes me feel a lot better
-
Okay, that's good to know. It looks strange, but maybe it's an impression left be the tool removing the flesh.
-
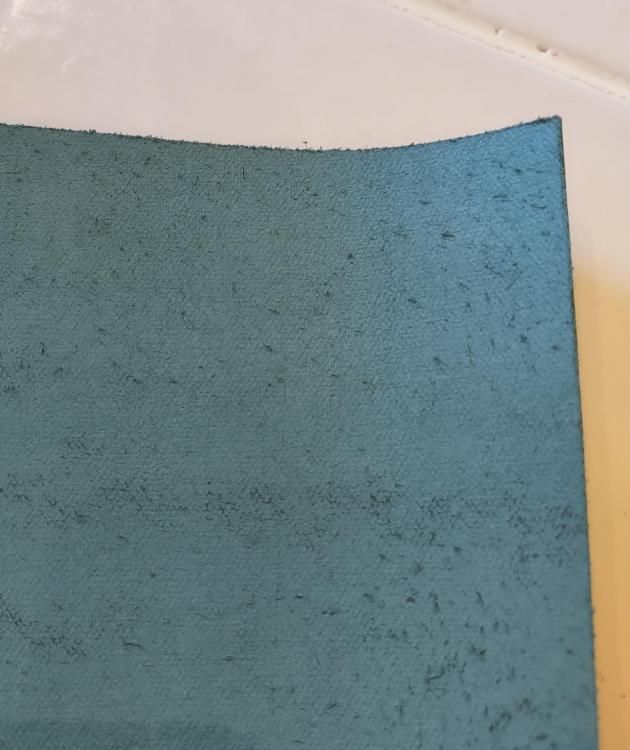
I needed a small piece of thin, green leather and my attempts to dye some scraps didn't go well. I found the website buckleguy.com and they had a piece described as Korba Buffalo Calf veg tanned burnishable leather that seemed like it would fit the bill (price was good too). It just arrived, and the flesh side looks... synthetic. The hair side looks natural, but I really don't know what this is. Anybody have any experience with it?
-
Thank you! I'll definitely keep this in mind. In retrospect, I don't think I let the antique sit long enough before wiping with the Tan Kote, meaning it probably smeared wet antique more than it cleaned off what was on the surface. One other thought I had; how do you typically choose your color of antique? I went with Mahogany (the lightest color they had) because I was scared of going too dramatic. But looking back on the sample, I think that was a mistake. The antique is close to the color of the base leather, so rather than helping the details stand out, it looks like the paint is missing in places. Should I go with a darker antique so as to look more intentional?
-
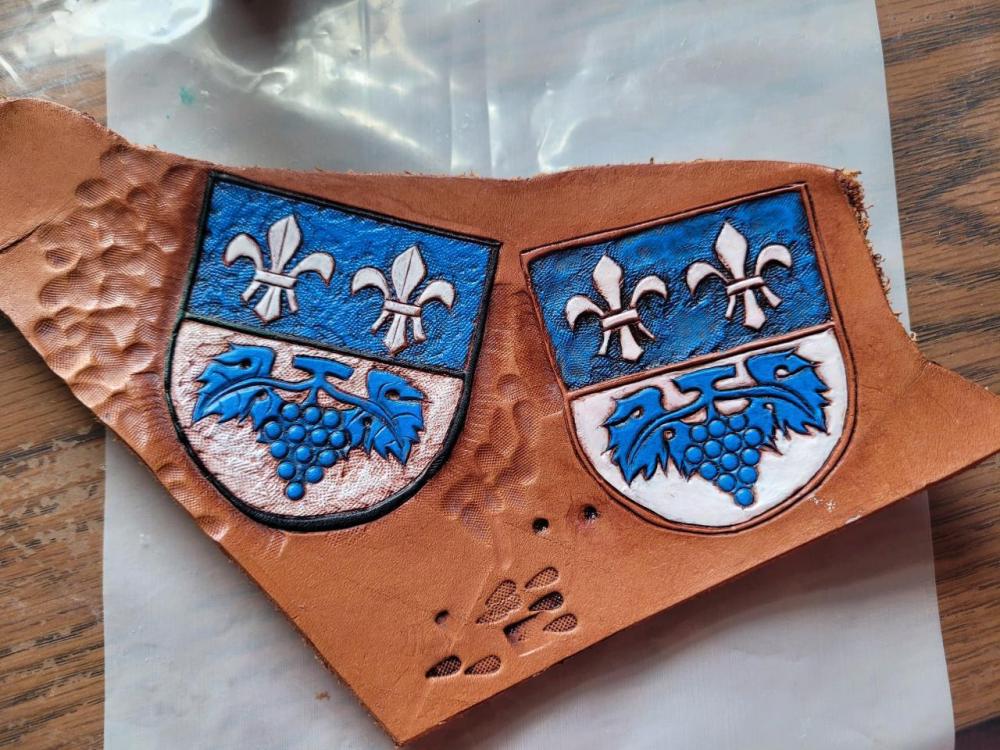
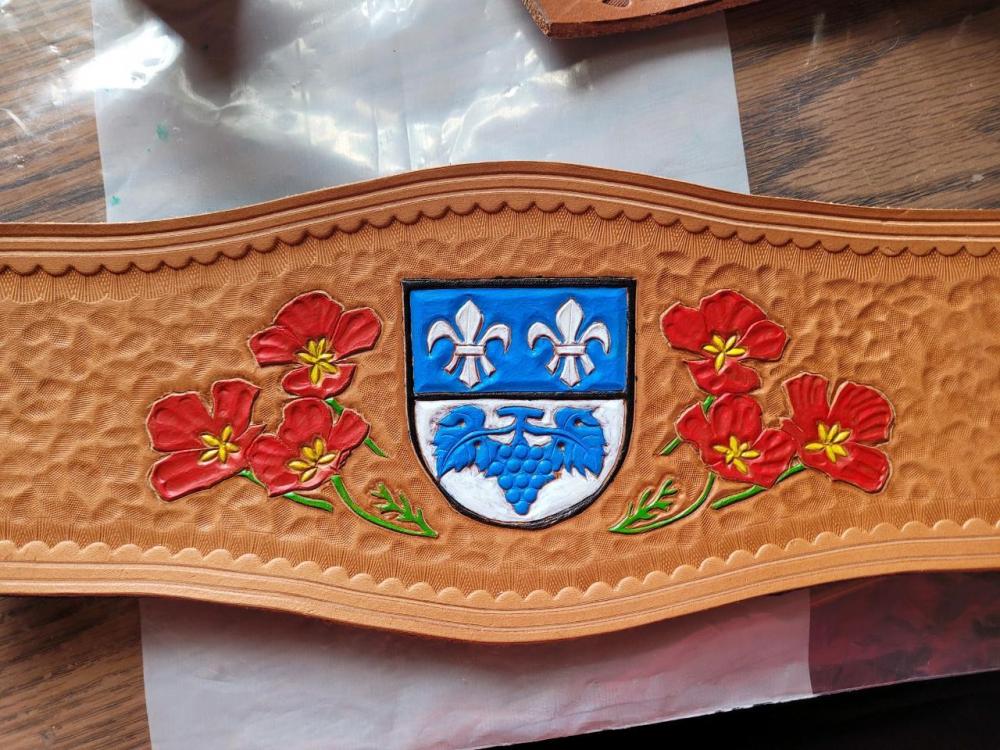
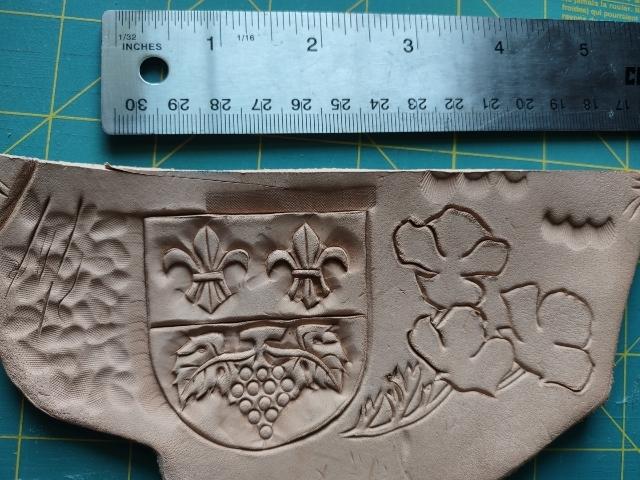
I'm working on my first real leather working project and I've come to the antiquing step and I'm a bit concerned. I have a sample piece that I've been working on to test out each step before I move on to the real piece. Antiquing the sample today, it came out looking more dirty than defined like I wanted. In the picture of the sample (the two crests), I had applied 2 coats of paint, then applied Tan Kote using a piece of sheep wool (big mistake, fibers got everywhere) and let it dry overnight. Then, applied Fiebings mahogany antique and immediately wiped it off with paper towels. The good news is that even with hard wiping, the paint stayed put. The bad news is, it came out looking dirty. I tried some more Tan Kote and it helped a bit, but it also dragged more of the antique out of the cuts and smeared it around. I tried a q-tip dipped on Tan Kote and that helped. The crest on the right, I even tried painting back over some of the white. As you can see in the samples, I was playing around with texturing the background and on the final piece, I decided not to. Given the bottom right portion of the sample is smooth and looks the best, that is the most representative of the final product, but I'm still a little worried. I really wanted to use the antique to better define the work I did (and cover up tiny mistakes in painting) but I'm worried about how it's going to look. Did I do something wrong? Any other steps I should try? Would a darker antique be better for defining, or would it look even worse? I've also included a picture of the actual piece as reference. I still need to do a few more coats of paint, so disregard any areas where I didn't get down into the fine details.
-
Thank you all! I'll keep going. And dikman, yes, the plan is to do it matching along the top. I've still got a ways to go. Finish the tooling, oil it, paint it, stain part of it, antique it, clear coat, then stitch a rolled edge in green leather over the top and bottom, then glue and stitch a liner on the back. Not to mention the straps. I'm just pushing hard to get them done by the last week of August when the first of many Oktoberfest parties in the area begin.
-
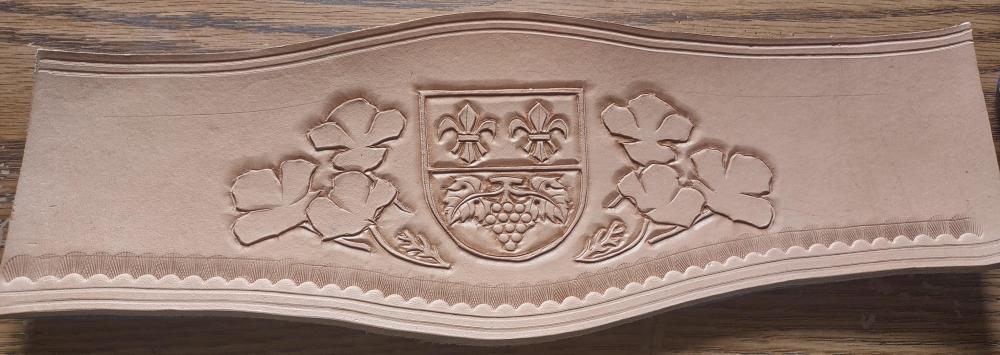
I accidentally created a line along the bottom of this piece while planning the layout. I was hopeful that the border stamping would cover it up, but it's still pretty noticable. I'm planning on filling in the open center area with a checkered background tool, but somewhat unevenly to give a look similar to hammered metal. But with the line ending up right at the transition between the border stamp and the rest, I'm worried it'll be very obvious. How noticeable do you think this will be? Should I just go ahead and start over?
-
I actually bought it hoping for exactly that. There were two issues. First is that the stamp isn't quite the right size (a bit too small) and I'm having a hard enough time with the grapes without trying to reduce their size. The other issue is that the stamp fluer de lis is a slightly different style. It's a bit more flowing, which looks nice, but just doesn't match the original coat of arms unfortunately.
-
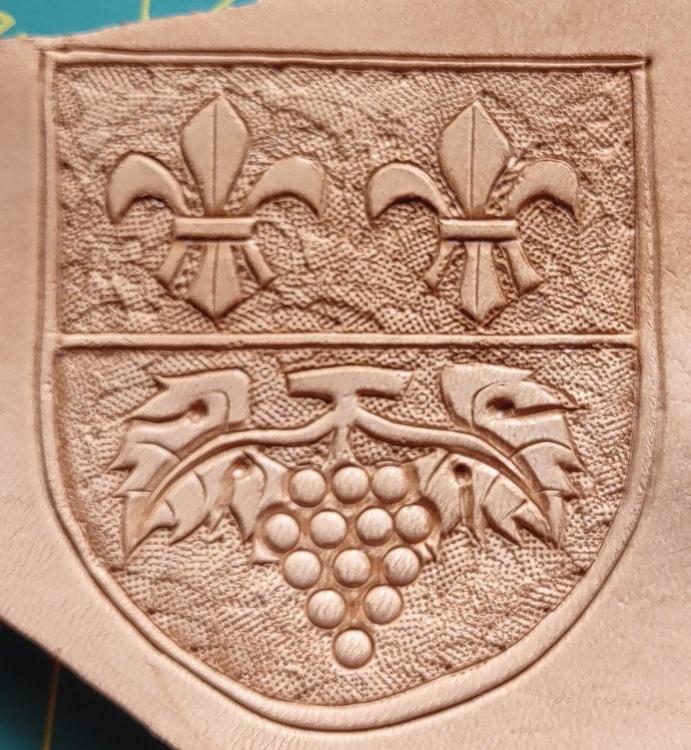
Well, I gave it another go today. A few disclaimers, I didn't case the leather; rather, I just wet it with a sponge. Also, I didn't use a mallet or maul, all impressions were done just pressing the tool in by hand. I think I'm going to try it again but with deeper impressions. I also added a border to the lines of the shield. I think it really helps, but also brings up the question of colors. My intention is to paint and antique this, so then, what color to do the border? I've included a picture of the original coat of arms for reference.
-
As promised, here's a picture of the small practice piece I did. Besides not getting the beveling even (that's a different issue) as you can see, trying to bevel away from one line quickly runs into another. I'm starting to think that I need to do a double cut around the shield section and then essentially bevel everything with a texture besides the grapes, leaves, and Flur de lies. I'd love to hear some ideas here because while the burnishing on this leather is great, I feel like the design is a no-go unless I can work this out.
-
I'm working on a piece that at its center has a coat of arms with some fine details. I've been practicing on some scrap leather and it was turning out...okay. I recently bought some 9/10oz Herman Oak that I planned to use for the final piece and cut off a small corner to test. I wanted to try actually casing it overnight versus just spraying it and see how it would react. I'll upload some pictures later, but suffice to say, it didn't go well. For starters, I began while the leather was still too wet (lesson learned). But one of the big issues I'm having is that trying to get good burnishing around the very small details in very tight places. It got me thinking, are there different techniques used for small details than for larger ones? For instance, should I cut/tool more shallow? Like I said, when I get home tonight, I'll take a picture and upload it to show specifics, because what I did yesterday clearly isn't working.
-
I'm working on a project that will have a rolled piece of leather going around the edge. I want to keep the edge as tight as possible to the main piece, and the method I've found that works best is to get it good and wet. I've included a very rough mock up picture (the roll would be a bit tighter, but the main piece of leather had an edge that wasn't cut perpendicular) The issue is that the main piece of leather needs to be tooled, painted, and antiqued prior to attaching the edging. I'm obviously worried about spending all that time finishing the main portion only to have it destroyed by getting it wet while forming the edge. Is there a better method? If not, would this cause problems on my finished center piece?
-
So, not to be argumentative, but the more examples I've seen, the more I think that the colored edge is actually a separate piece of leather. I'm thinking it's basically glued and rolled over the edge and either stitched through or with a separate stitch running below it.
-
I agree that there are some beautiful oak leaf and acorn designs that come out of the black forest. However, the ones I linked are made by Max Töpfer out of Ergolding, a bit north of Munich. Regardless, the central design isn't what I'm going for, but that edging caught my eye.
-
Thank you so much!


