Search the Community
Showing results for tags 'adler 105'.
Found 3 results
-
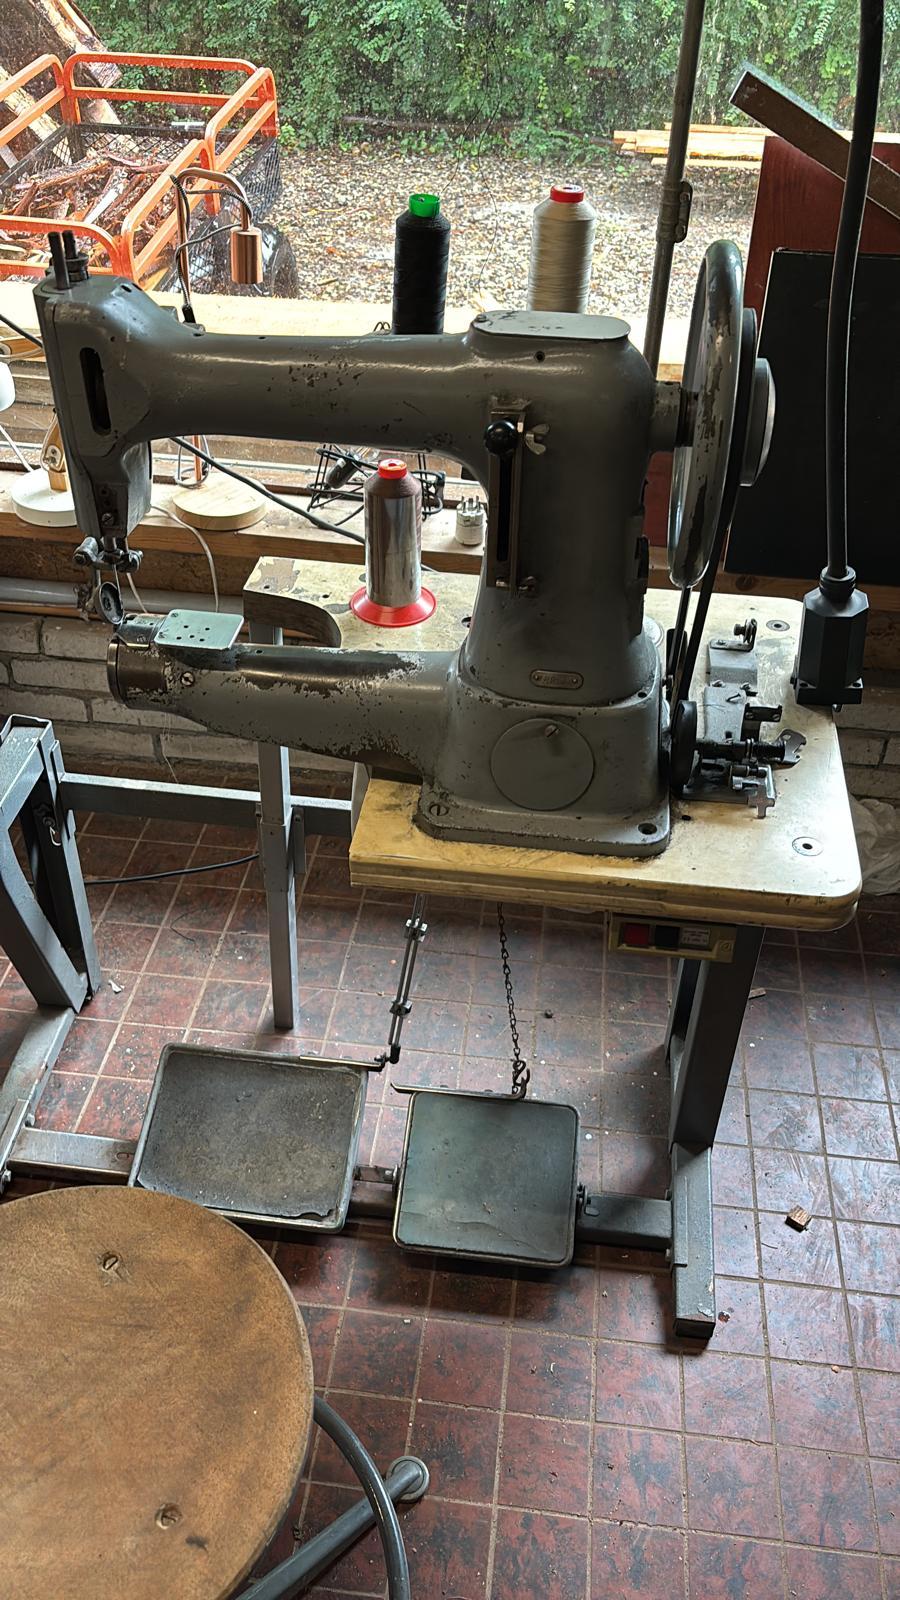
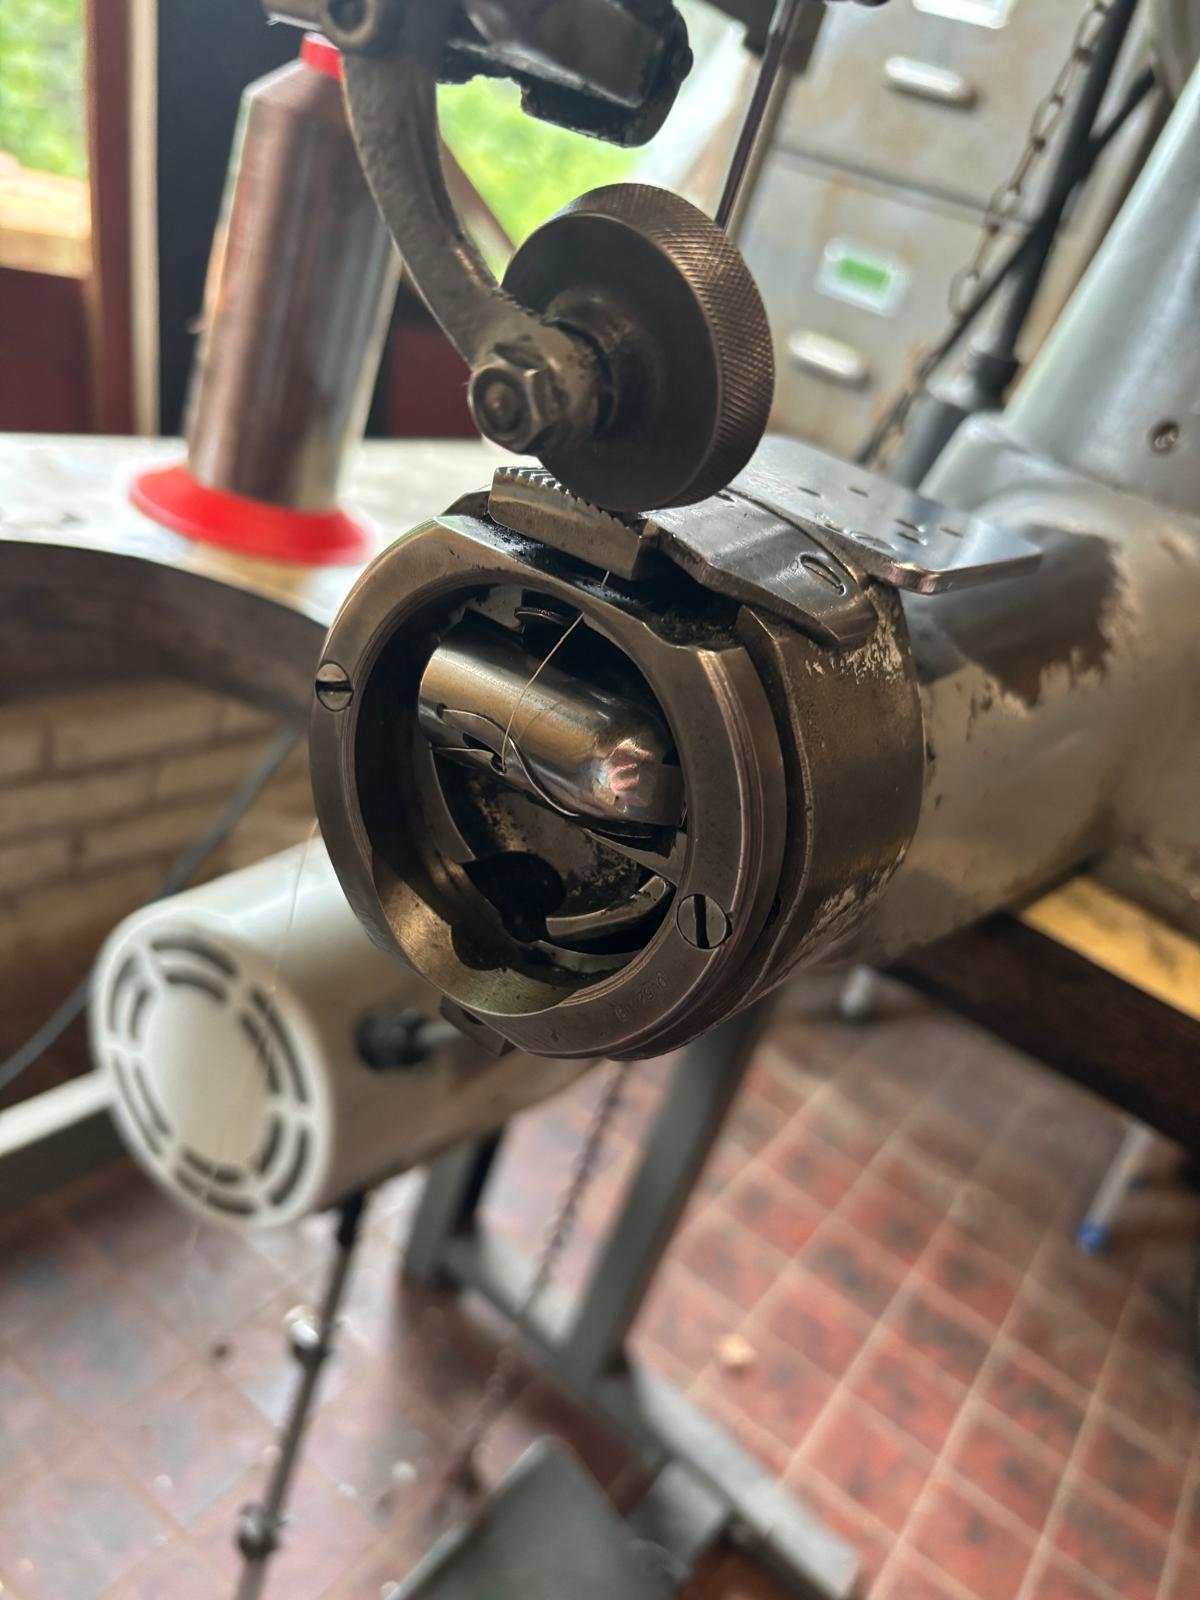
Hello everyone! First time , I've read the rules but if I am missing something let me know! I've had leatherworking as a hobby since 2022 now, and I've been enjoying it a lot. After 3 years of sewing by hand I wanted to look into a sewing machine. After doing some research and looking around locally at what was available (the more crucial to the search of the two), I found and fell in love with this Adler 105-27. But as any young man who has fallen in love. I am not sure how to get it to work. I have watched videos and read posts on how a sewing machine generally works, so I am not completely out of my depth... Sadly I seem to have chosen amachine on which there is not a lot of information online. I've found the manual online, and read through some posts about the 105 but was unable to come up with a solution by myself. I did read that the 205 and the singer 45k are models similar to the 105, but am not sure of that enough to use the manuals for the fixing of my machine. The problem I am running into is that my top thread seems to be breaking after a couple of stitches (2 or 3). I've lowered and increased the upper thread tension, exchanged the needle. But to no avail. I've included a slowmotion video of the side of the machine whilst stitching and a couple pictures of the machine in question. In the video the top thread seems to be jumping around a lot during sewing. Not sure if this might be the culprit. If anyone is able to offer me any advice I would be very grateful! If there is any information that I have not included let me know. Thanks in advance! Video of stitching in slow motion, shot (poorly) on my Iphone:
-
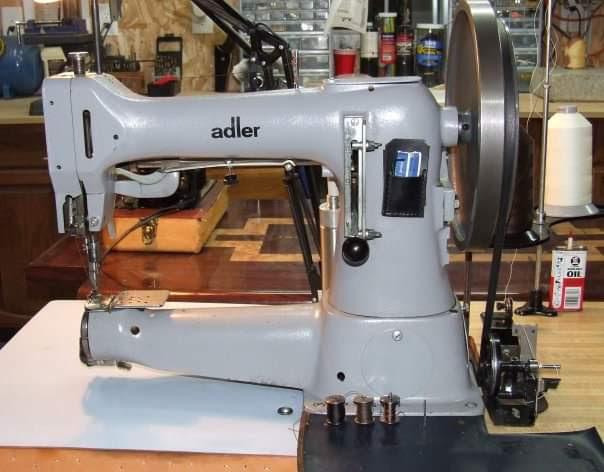
finally broke down and will sell my beloved Adler 105, she has been a work horse for my hobby and never let me down. Will stitch close to 5/8" of about anything you want to sew. Have been using from 98 thread all the way to 346. Has bottom foot/needle fed. Comes with large industrial table with lockable coasters under neath, flat working area can be removed or dropped for free cylinder arm work. Has air lift foot set up if needed. Strong servo motor and HUGE hand wheel attached for max torque!! Have 4 extra bobbins, several new packs of different needle sizes, comes with extra base plate and two pressure feet. Never had any issues with this machine, been making bags, belts, holsters, scabbard's, even larger wallets and book covers. Running right now 207 on top and 138 on bottom I have owned this machine for many years and it has been taking real good care off. You can call me @ 276-6 nine zero-508 four Will trade plus $$$ for Cobra #20
-
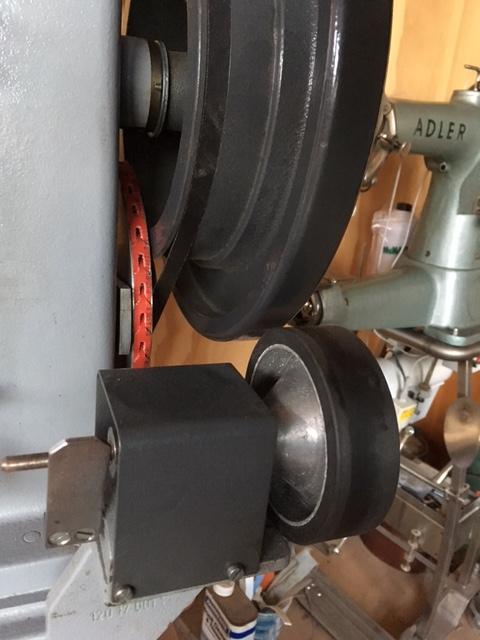
Hi Sewers, thanks for your interest - this is how I slowed-down and torqued-up my 120-2 with a cameo by my 105-27. I turned the huge hand wheel around to get it's v-belt groove closer to the machine so that the motor wouldn't have to be cantilevered too far. The first photo also shows the new bobbin-winder drive wheel which was in my pile for 20 years. I have no idea why I have it or what it's from. There's no reason to think it's for a sewing machine but it has just the right offset and is much nicer than the original plastic-hubbed Adler part. The second photo shows how tight the fit is. The swing arm is 1/4"x 1-1/2" stainless steel. I like to mount the intermediate pulleys on a swing arm so that the belts' lengths are not critical. The third photo shows the pulleys I turned out of aluminum, the smaller one is press-fit into the larger and has two bearings pressed-in; one each side. I try to use skate bearings whenever possible because they are common and inexpensive. If they can handle a 200lb knucklehead hucking massive air, they are up to this job. That's engineering. As I mentioned, it's my policy to not make any irreversible changes to a machine, so the positions of existing holes somewhat dictate the design. The big pulley has a hole in it for the hex key to tighten the swing arm pivot bolt. On the 105, I pressed-in a sintered bronze bushing for the pivot shoulder bolt but that was unnecessary for a pivot that's rated for 0 RPE (Revolutions Per Ever) The 120 has its big plinth with holes in opportune positions for the aluminum angle bracket on which I mounted the motor, controller and box of electronics. I milled vertical slots in the bracket to allow tensioning of the v-belts but one weakness of this design is that I have to remove the electronics box to loosen/tighten the motor bracket bolts. The controller is mounted diagonally so that the arm doesn't stick to far out the back and it doesn't intrude on the clearance between the spine of the machine and the needle. They are much more expensive than a regular rubber belt, but the twist-lock style belts allow me to vary the design as I go without a hundred trips to buy wrong-length belts. I like the twist-lock belts but they aren't too happy with small pulleys because they offer less contact area than solid rubber belts. I wipe contact cement or gasket dressing onto the contact surfaces, letting it dry before installing the belt, to make them a little stickier. But that's just me, Gary