Search the Community
Showing results for tags 'custom table'.
Found 3 results
-
Hi I'm looking to remount my Landis 16 head onto a sitting table. Has anyone an example they can show me. I like the idea of retaining the swing out oil drip tray...very cool feature. It may require custom design and fabrication...unless a standard cylinder arm table is up to the task or if someone has plans or one for sale. Silverd
-
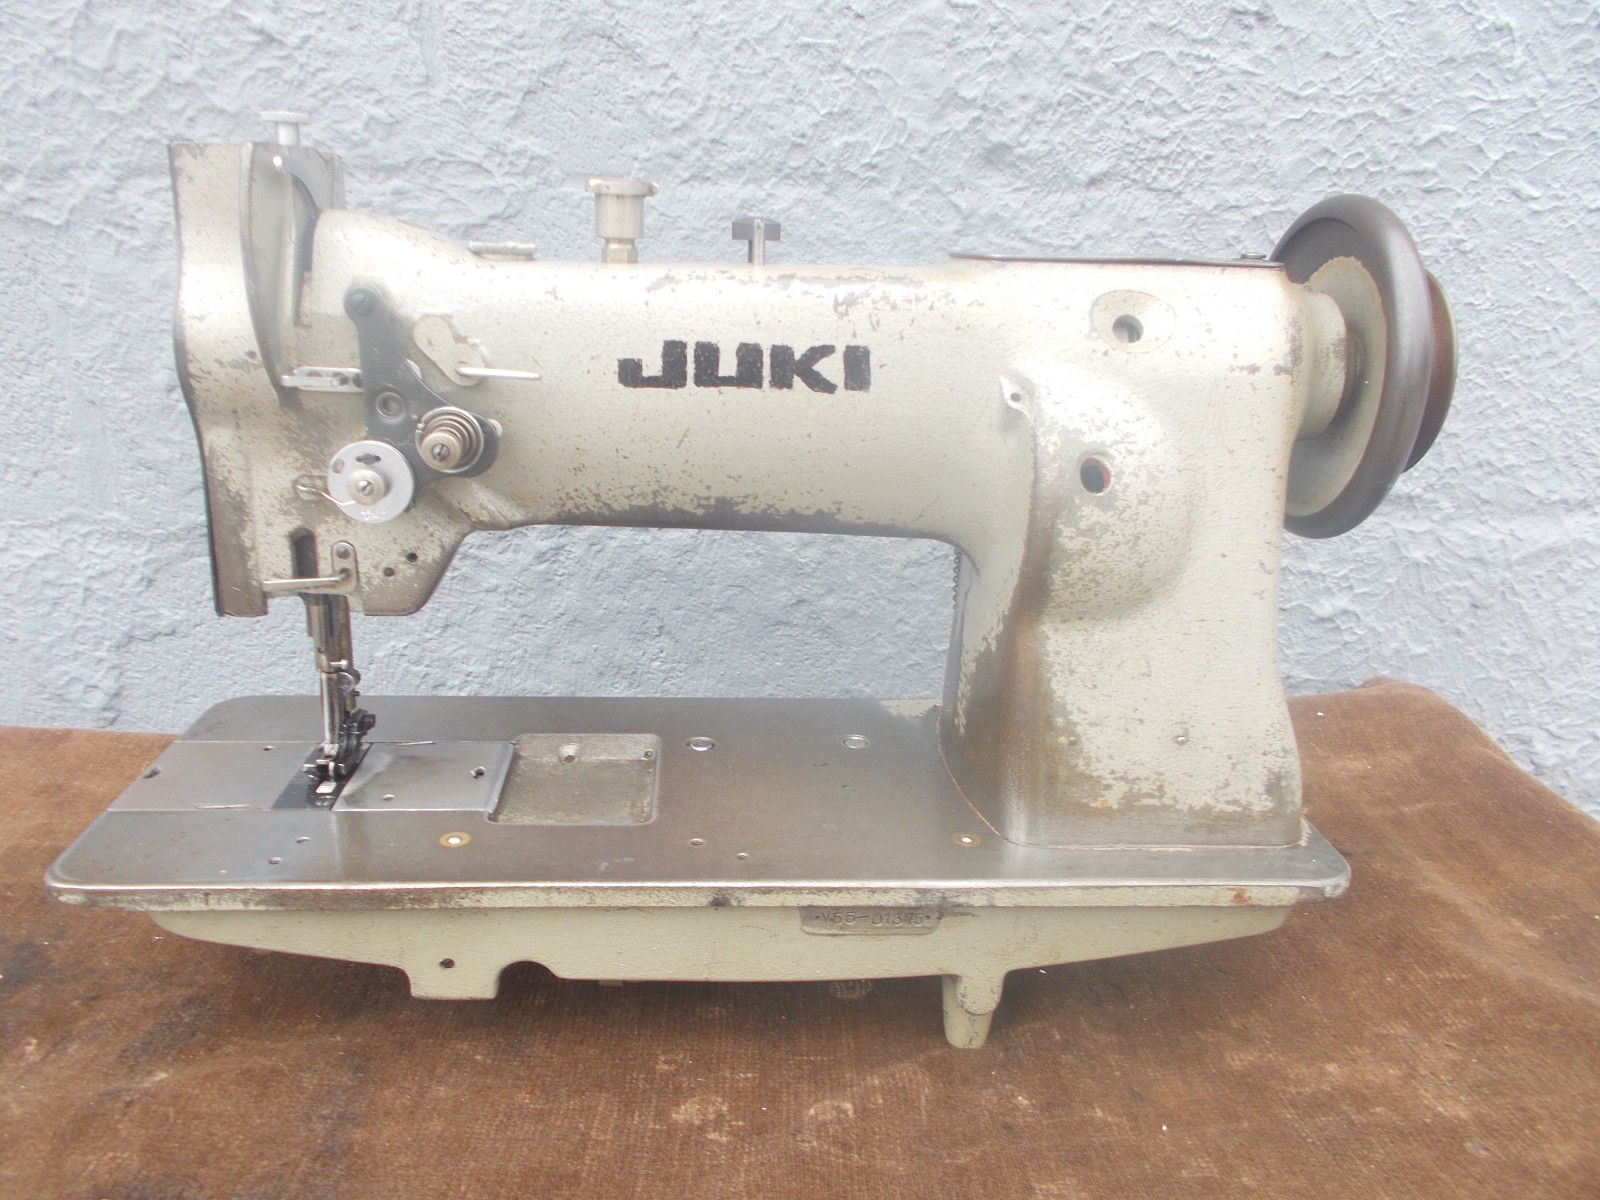
Long story, but here's the quasi short version ... Always been a hobby craftsman, wood work, welding and metal fabrication, electrical, plumbing, ranch construction, tractors, and a little sewing on the side ... etc. etc. I grew weary with a cheap Brother machine after repair and tuned ups, moved onto Janome HD1000. Happy with it, except for anything heavy (thread and/or fabric). So I purchased a Juki LU-563 with a new servo, bobbin winder, foot pedal, knee lifter, thread stand, led lighting, and various storage add-ons. Using scrap steel (1x3 schedule 40 structural tube) I had in my shop, I've fabricated a really stout table frame. I'm refinishing a 300 lb sold wood door as the table top (approximately 3' x 7'). I plan to end up with a pretty large and yet semi mobile (frame has casters) industrial sewing set up. I'm at the stage now to start assembling the technical stuff and I have a few questions you MIGHT be able to help with. CUT OUT - Does anyone know where I could find a cutout pattern for the table top? Ideally something specific to Juki 563, but if not then even something generic would be a great starting point. VIBRATION - My set up will end up weighing 400+ lbs and should be very stable, but I still have concerns about shake/rattle/vibration. I plan to set up the table on top of a 1/2" dense rubber floor (commercial gym flooring) and I am also using cut pieces of the same rubber mat between the wood table top and the steel framing, again to reduce vibration transfer. Any thoughts, is this overkill as usual? V-BELT LENGTH - What the heck is the standard/typical length V-belt most commonly used for a servo-juki set up like this? I figured there would be a couple of standard sizes, but found there are seemingly infinite variations! TOP FINISH - Table top finished with HD "heavy traffic" gloss urethane? Any thoughts on how this will serve the sewing purpose? My thought is the gloss will make moving fabric around much easier and a prefer the natural wood look over anything painted, especially when the wood looks great already! 110 OR 220 WIRING - new servo is 110 wired, but I know with my table saw I had it rewired to 220v and it has been more reliable and significantly more powerful. Anyone had a new/modern servo set up for 220v? HEAD LOCATION - I was planning to mount the machine toward the lower right hand corner of this larger table top, leaving more space on the left for fabric maneuvering but thinking about it last night, I started thinking that right in the middle might give me even more flexibility. What am I missing here? Apologies for asking so many questions all at once, my top question right now is really the cutout pattern (#1) but the others are semi-dangerous ideas bouncing around in my head! LOL PS ... I will post some pictures of the table, motor and head when I get a chance. That might help your understanding too.
-
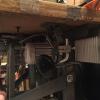
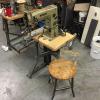
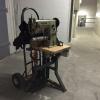
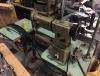
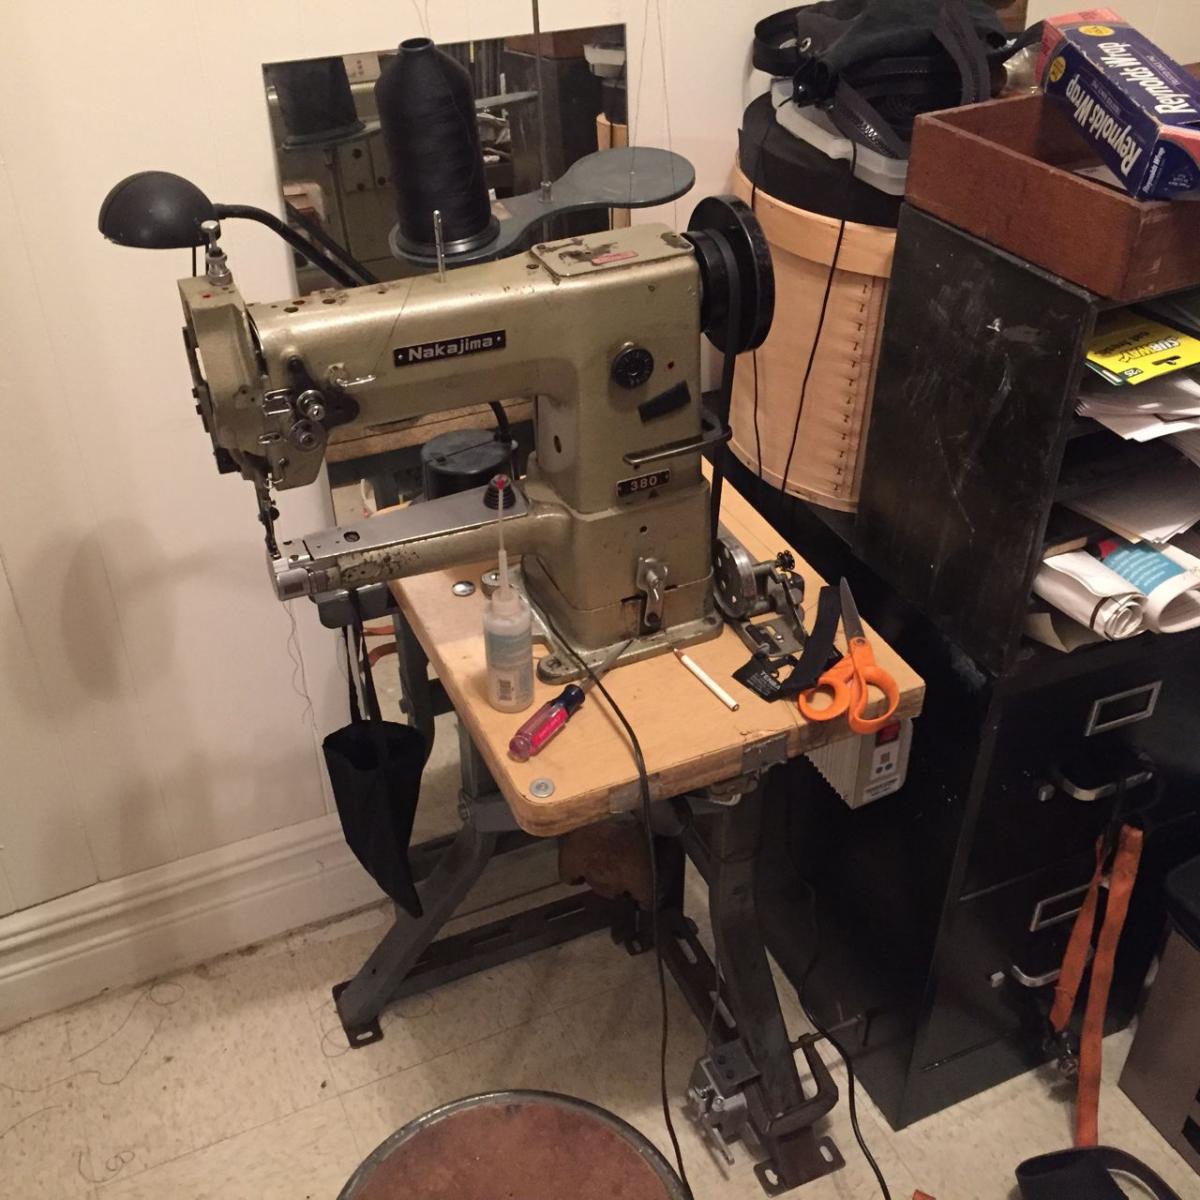
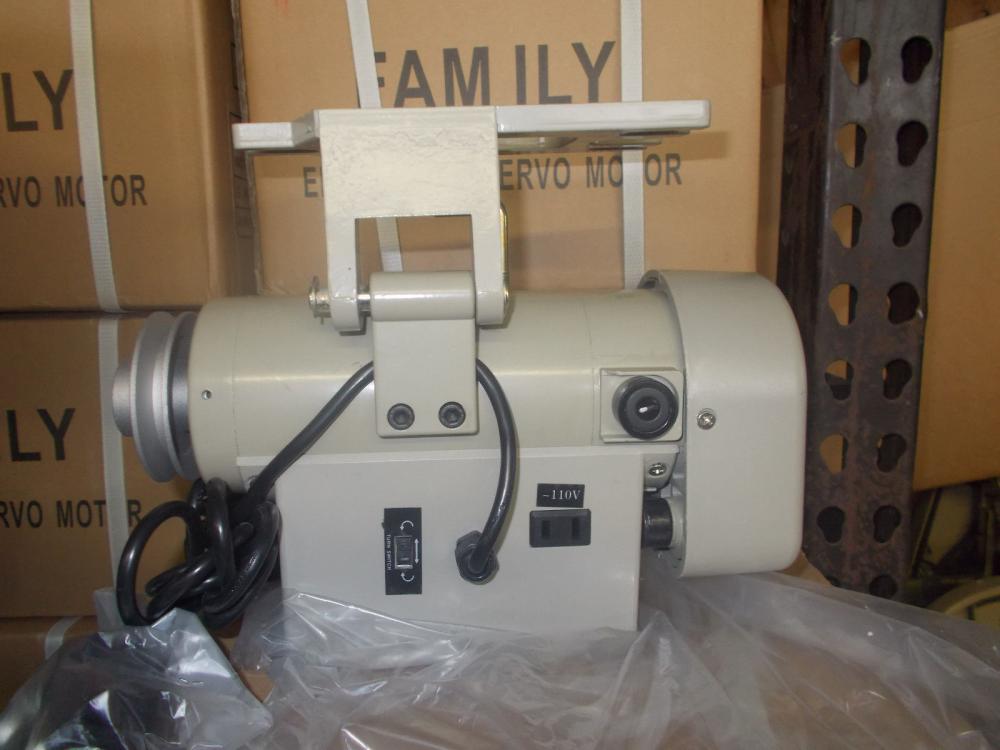
Industrial machines are awesome. Apartments are tiny. I just got a great deal on a Nakajima 380 from a shop that was closing up, and wanted to bring it home. With a 42" wide table, that simply wasn't going to happen. So, with a little tinkering, I put together a very rough-and-ready tiny cylinder-bed table. It's not the prettiest by a looooong shot, but it works, and it's about two feet square. I thought I'd put up some photos in case anyone else wanted to try doing the same; also happy to answer any questions folks have! So, the machine came to me like this: 3-phase clutch motor, decently solid K-leg table, mint-green top, and way way too big for the space I had. So the Nakajima actually came as part of a package with a couple other machines (the old New York story, everything had to be out by the first of the year), and I'd trimmed a chunk off another industrial table to make it fit into my shop. I was going to use that smaller square chunk and fabricate a post base for it - a nice welded 4x4 with some angle iron bracing, yadda yadda. I have the equipment & materials for it, but it'd be spring before I had the time to actually put it all together. And then inspiration struck. K-legs are kinda like tinker toys, right? So just bolt them together! Some cutting and drilling later, I had three brackets: My apartment (sadly) doesn't have 3-phase power, so off with the clutch motor (if anyone wants it, let me know!) and on with a new Consew servo from my local Sewing Machine Guy (everybody should have one). A little on the pricey side, but soo nice, and I haven't even hooked up the EPS yet. That, plus the bolted-together K-legs (and a diagonal brace bodged together from the back strut of the table), gave me this: Going for space-saving over ergonomics (this is a hobby, not my day job), I wanted to convert the presser foot from pedal to knee lift. Another visit to Sewing Machine Guy came up with a knee lift bracket, and a bit of strategically bent steel rod did the rest. It ain't pretty under there, but everything works and everything clears (barely) - and most importantly, almost everything is off the floor. And now it was actually movable! So I took her home! Pro tip: Don't do this unless you are very very familiar with your local sidewalks and have a short trip. Many new and creative profanities later, she arrived safe and ready to go. Well, good enough - sharp-eyed folks will see that the "pedal" is just the servo controller C-clamped to the side rail of the K-leg. For now, it works. Eventually I'll figure out how to tack that controlled on the side of a real pedal, but that means longer wires and some bracketry, and I wanted it Done and Usable rather than staying a project forever: And lastly, yes, she sews! Even with a terribly dull needle, it went through 3/16" of leather like butter: Now for the downside: Very sharp eyes will see that there's a strange object tucked up where the two legs meet, two photos up… it's a counterweight. The reason this table won't be a permanent solution is that it's just a liiiitle bit unstable. If I put more than 30# of pressure on the cylinder arm, the machine wants to make friends with my lap. So, it's a bodge. It took about 4 hours and basically $0, let me put an industrial machine in my apartment, and lets me see what the ergonomics of a post stand are actually like so I can build a better one when I have the time. Maybe it'll provide some inspiration to other folks out there trying to do something similar. Best, -Zac