hamradio
-
Posts
5 -
Joined
-
Last visited
hamradio's Achievements
New Member (1/4)
-
Can anyone help me with a running a 3-phase Juki at home?
hamradio replied to williaty's topic in Leather Sewing Machines
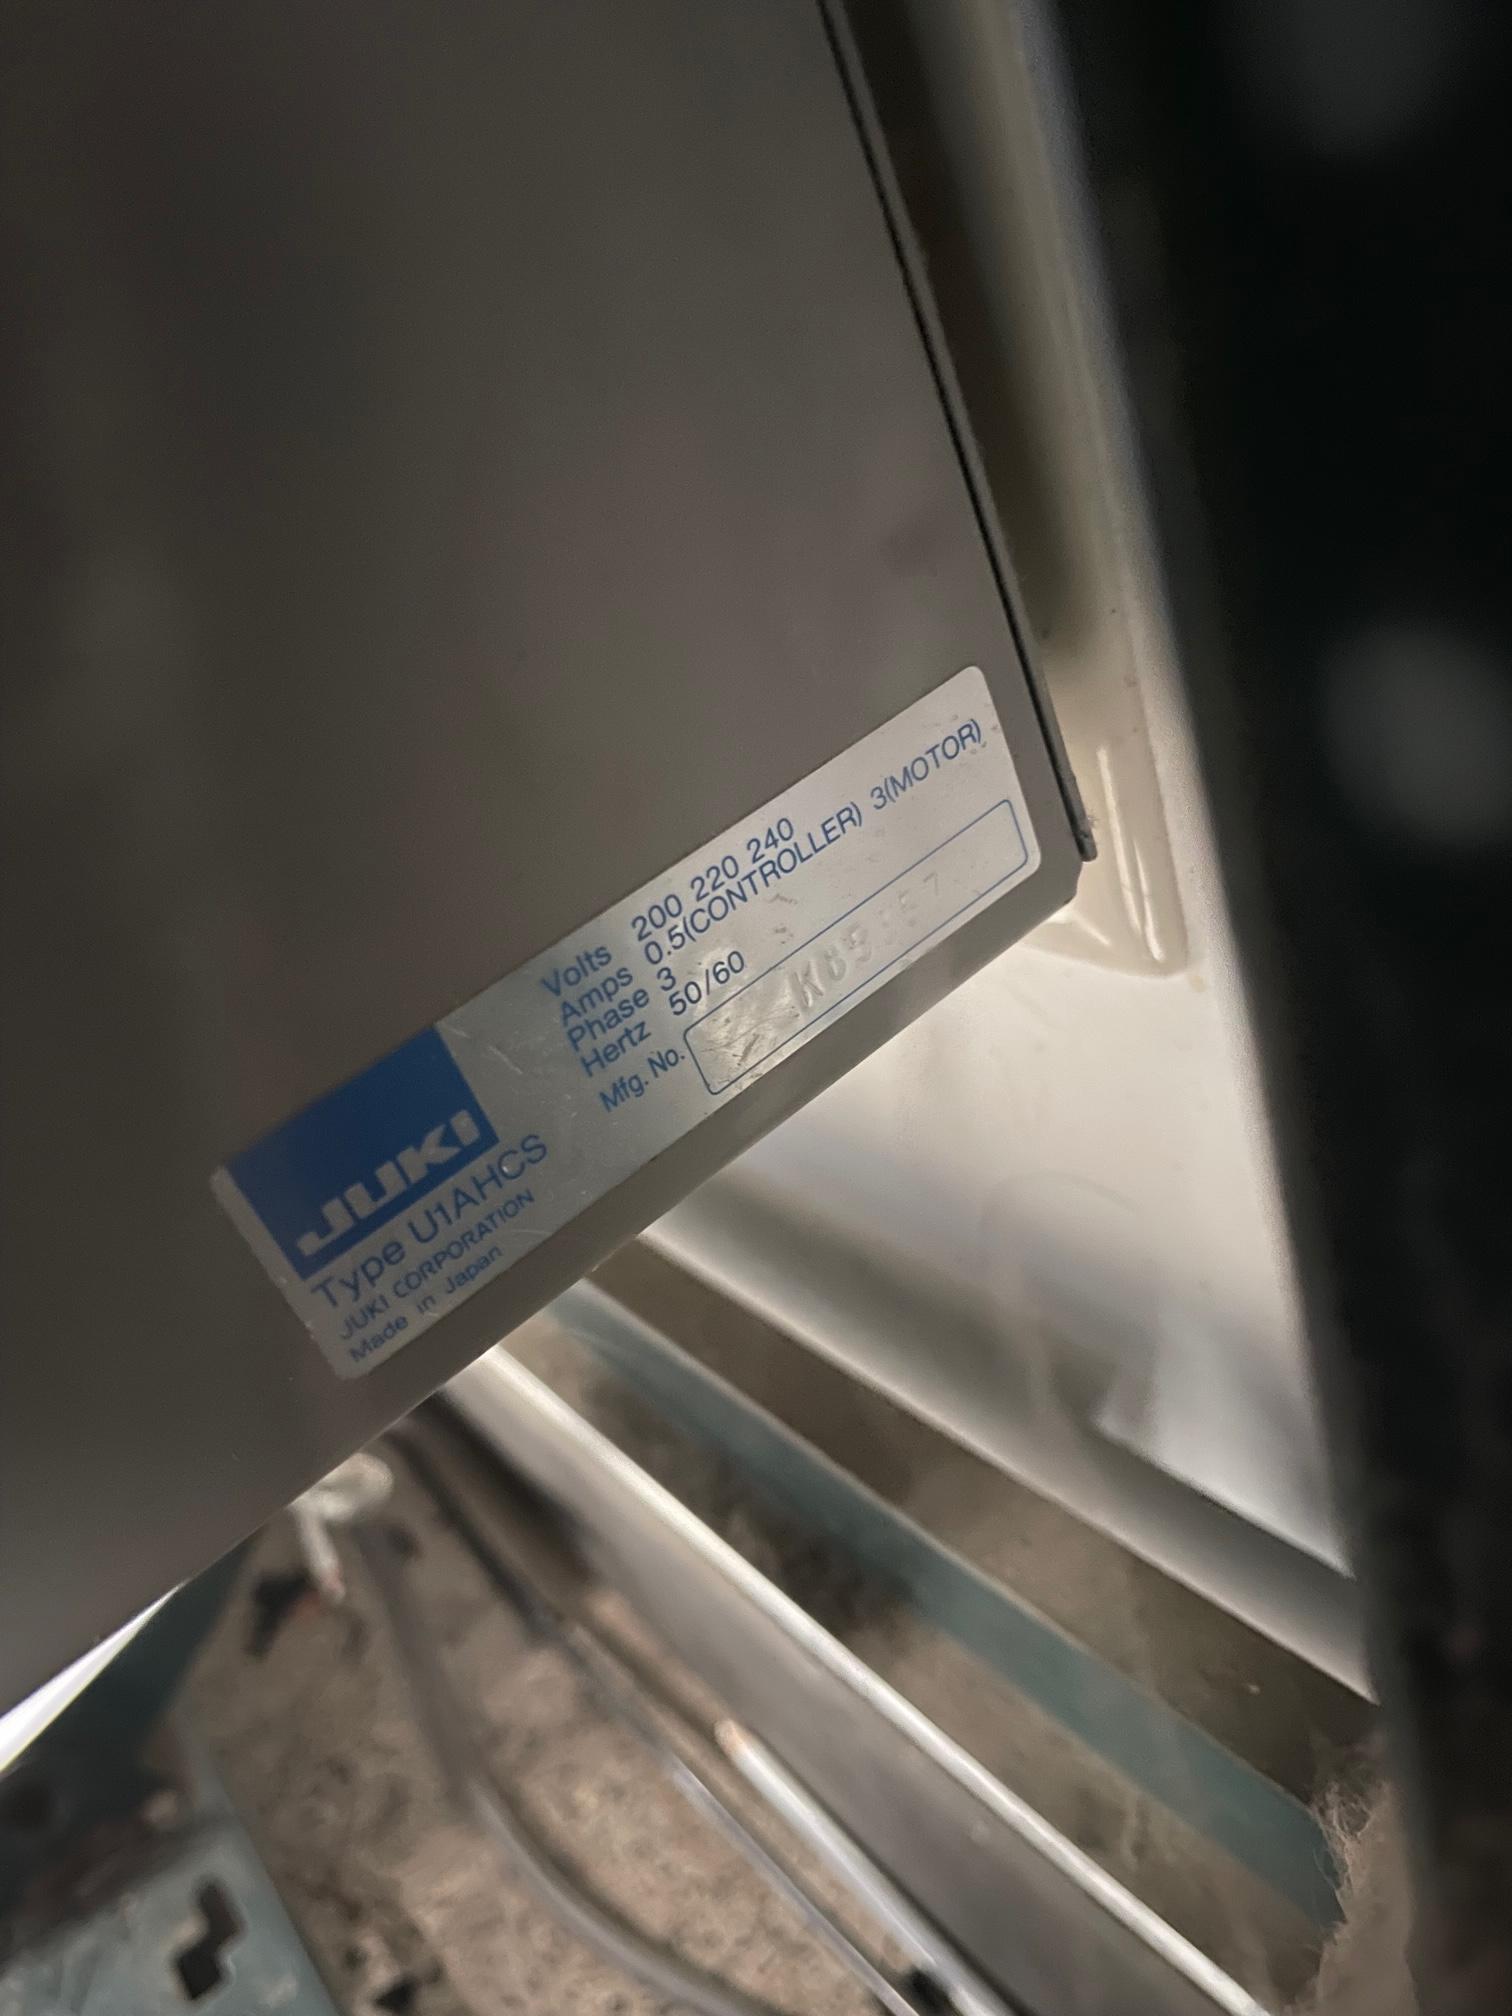
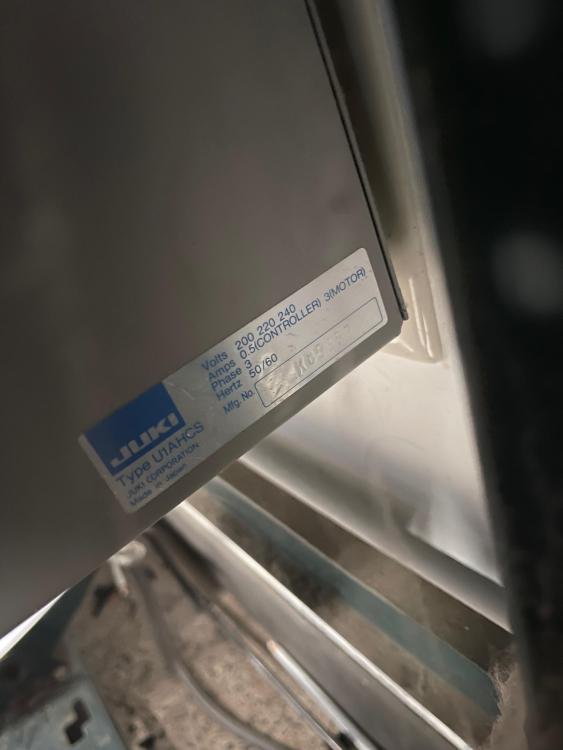
This is a somewhat old thread that I found while searching for something adjacent, but I have direct experience with what looks to be the same servo, and thought I’d chime in. In the engineer’s manual for these older Juki servos, it states that for single-phase applications, one may just omit one of the legs of the 3ph wiring for the motor and proceed as usual. If I recall, it did specify which wire to omit. In my case with all of the factory wiring intact, this was the black wire. Red and white are hooked up to the source. Obviously, read the documentation for your own application and look at how your own machine is wired up before attempting any of this. I’m running two DLN-5410-6 this way with no issues whatsoever, and also tried it out on an older Brother servo and it seemed to work fine, until the controller began having issues a year later. The same issues were present with a static phase converter, so I’m not sure if they were related or not to the power source. It seems like a lot of the power supply circuits for these just rectify each leg of the power individually and then it goes into a transformer, and some of these designs are kind of agnostic to whether all three or only two of those legs have power. IMO, it’s worth the hassle to get this stuff running versus swapping in a generic servo motor and losing all of the nice automatic bits, thread trimmer, foot lift, etc. Even just the factory servos themselves just work so many leagues better and smoother than the retrofit motors ever do.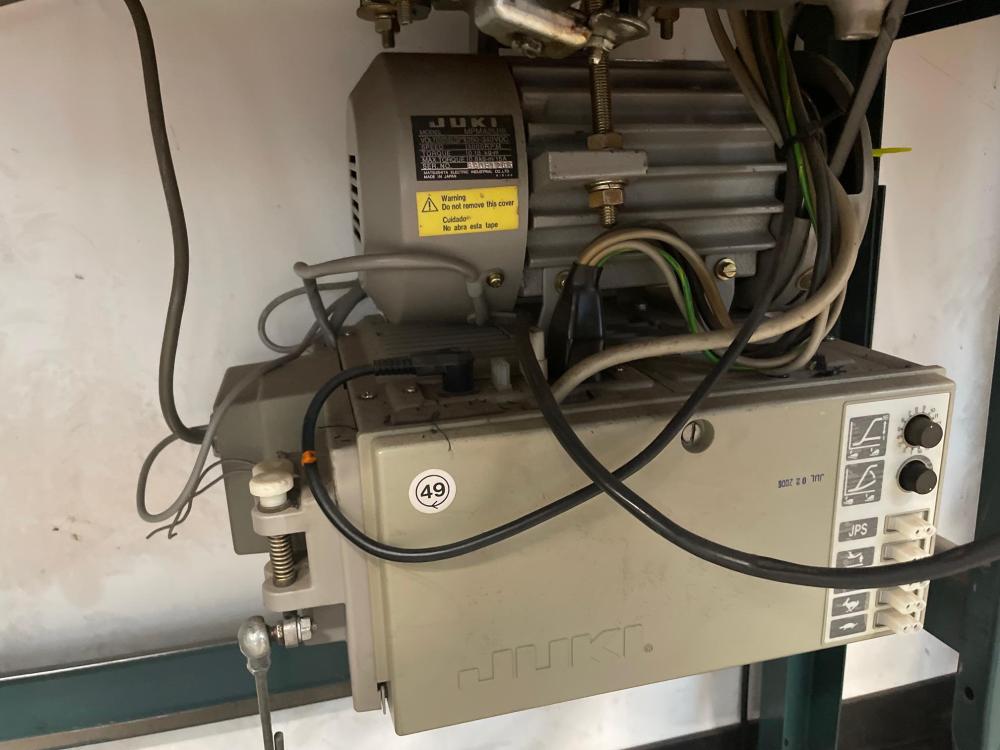
-
Yeah, normal old drop feed machine for garment work and other light stuff. $500 isn't a particularly great price; I've seen many similar machines for $50-200.
-
Thanks for the heads-up on this one! The trimmer is a bit different, but it does have a nice troubleshooting table at the end. Interesting to see some design changes...this one looks far more user-friendly to adjust. I ended up solving the thread trimming issue on the Brother. Still struggling on the 5410. If anyone stumbles upon this thread in the future, here's how I sorted out the brother LT2-B842-905: The service manual offers two different, contradictory ways to set the resting position of the moving knife. The first is a measurement between the tip of the knife and boss in the bed casting of 26.6mm (on the right side). The second is a specific alignment with the bobbin thread retention spring. The problem is, these two lead to different moving knife positions. This might be due to the fact that my knife isn't OEM, but every other sewing machine and overlocker knife I've bought from this mfg (Eagle/Strong H) has worked as expected. Anyway, if one sets the knife resting position according to the bobbin thread retention spring drawing, it'll end up too far forward, and the tip of the knife will protrude a couple mm into the notch in the throat plate that the bobbin case tab interfaces with. The top thread snags a little bit on it. Setting it to the 26.6mm spec solved the problem completely, and the tip of the moving knife is just out of the way of the thread when resting. Machine is doing a beautiful job of trimming.
-
Howdy. I've got a couple machines with auto thread trimmers that I'm currently ripping my hair out over, and have poured way too many hours into them. I've never felt completely competent working on thread trimmers...any time I've ever had to fix them in tackers, etc., I've mostly just tried to set everything up by the service manual and hope it works. This has been an OK approach, but I still don't have a great understanding of the fundamentals behind it (what needs to be timed where/when during operation). Issue 1: Juki dln5410n-7. I've got another one of these that runs perfect, but it's an H designation. This one is not. This came to me with an inop trimmer...someone must have jammed it hard and broke the thread guide below the feed dog. I put a new guide in and sharpened the fixed knife. It does a beautiful job trimming threads, but always loses the needle thread if I don't start sewing with it underneath the foot. Adjusted the thread tail length excessively long, no change. Thread trimmer cam timing is spot-on via the manual. Hook timing is also book-perfect, and set identically to the other 5410. However, it's hard to use the working 5410 to cheat off of, since the H uses a little different trimmer configuration. My working theory is that the H has a spring to retain the bobbin thread, whereas the normal (non-H) one doesn't, and it's not picking up the bobbin thread easily? The H has no problem starting even with a fairly short thread tail. Issue 2: Brother LT2-b842-905. Kind of a long shot here, since there aren't a ton around... I'm just using this one to sew labels and have the left needle removed. This was another one that I got with thread trimmer missing parts, and I pieced it back together. Trimmer cam timing was way off when I got this one. I fixed that, sharpened the knives, and adjusted the tension release. It can consistently make a clean cut, but always leaves an extremely short thread tail (~.5") and comes unthreaded on the next cycle. I've tried everything I can think of...moving the timing belt around a tooth or two in each direction to change trimmer cam timing, playing with thread controller tension and timing, the pre-tension discs before the main tension, etc. Nothing seems to have any noticeable effect. The manual sucks for this one, and offers a bit of contradictory information to itself on trimmer timing and adjustment. The cam on the lower shaft is also non-adjustable, so changing timing on this one involves popping the timing belt off and moving the whole shaft. It's not a great time. Material and thread aren't anything too demanding...1000d cordura and T70 thread. Thanks much in advance to anyone that spends the time to look over this and offer suggestions!
-
Hello! I hate to make my first post a question, but, Is anyone aware of a supplier of brass or nickel-plated conway buckles in relatively small sizes? I recently bought twenty of these, in hopes they would work on a project: http://store.ryanspr...m/1cobubr1.html Upon receiving them, I realized they are way too big. 7oz leather doubled over in it looks kind of ridiculous, and the hole the center post requires is around 11/64". Far heavier duty and larger than my little thing requires. I had been previously using cheap center bar buckles identical to this: This buckle allowed me to use a 5/64" hole, which I preferred over the large hole. The down side to this buckle was that it would sometimes snag clothing in my application and open up slightly. The conway buckle seemed to be the answer to my problem, until I discovered that finding small sizes is difficult. The strap end I'm using with these buckles is a hair shy of 1/2" wide. The cheap brass 1/2" conway buckle I dealt with ended up being more in the neighborhood of .53" wide. My center bar buckles were a little closer to .5". It appears that all of the 1/2" conway buckles I'm finding around the 'net are exactly the same as the ones I'm currently dealing with...very thick, beefy, and a large center post. I'm hunting for something with a smaller center post that isn't as beefy. Anything out there? Thanks! -Devan