


kurtalderson
-
Posts
16 -
Joined
-
Last visited

kurtalderson's Achievements
Member (2/4)
-
I had not heard of Nikwax but I’ll pick some up for my work boots and give it a go. Thanks!
-
Tried these on piece of scrap: Clear Lac- no color effect. Almost no water resistance. No tack. No sheen. Mink oil- slight darkening, pretty good water resistance but leaves a little tackiness. No sheen. Resolene- more darkening than mink. Good water resistance. No tackiness. Noticeable sheen, not objectionable. Neatsfoot- slight darkening, less than mink. No tackiness. No water resistance. No sheen. For a saddle, Resolene is my choice. Thanks, AIZilla for the Blackrock’s Leather n Rich reference. I’ll look for that on the next project!
-
What’s a good finish for saddles, motorcycle gear? Neatsfoot, Resolene, mink oil, Clear Lac are products I’ve used but none are perfect. Minimum coloring, water resistance, ease of use, long-lasting, easy to acquire.
-
Buying a ready-made case is the best way to protect your instrument!
-
Simply beautiful!
-
Desert bighorn holster is finished
kurtalderson replied to DoubleKCustomLeathercraft's topic in Show Off!!
Beautifully done. -
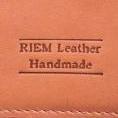
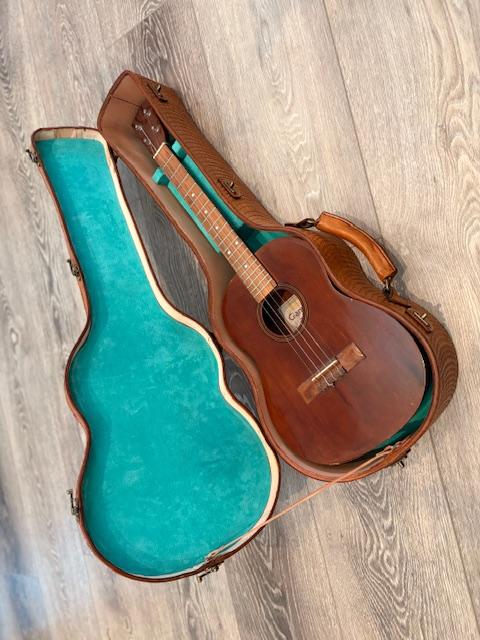
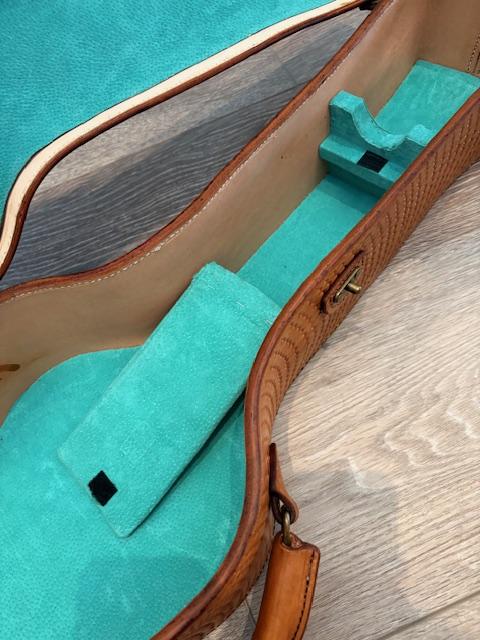
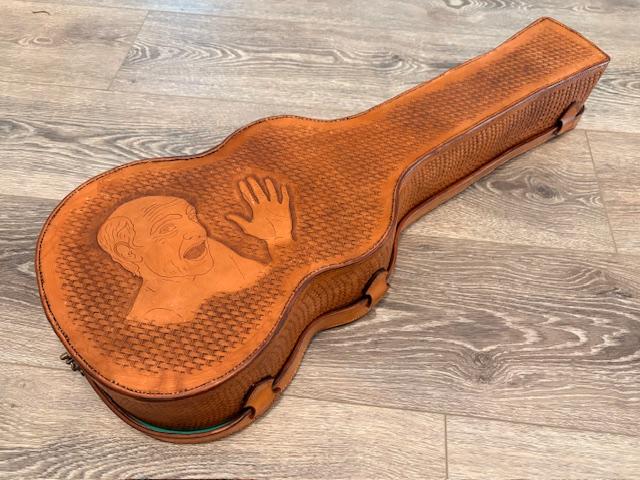
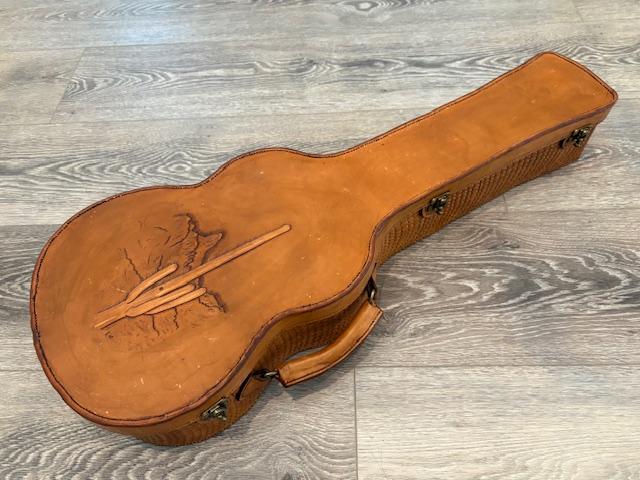
I'm getting ready to go back to work again after a break and would like to show off this ukulele case. Perfection it is not, but labor of love it is. Like many loves, it looks terrific as long as the magnifying glass stays in your pocket. Al Stohlman's instruction on making a guitar was used for this. I even visited Tandy's leatherwork museum in Dallas the see the master's work. All in all, I think the project stacks up well. The front carving is from a photo I took in the Arizona's Superstition Mountains of Weaver's Needle. The back carving is a self-portrait done by my brother, Tony Alderson, who loved to hike "the supes". He's been gone about 25 years and the baritone uke belonged to him. It took me almost 4 years to finish this case, what with going off to work and carrying on, so this feels like a milestone in leather work.
-
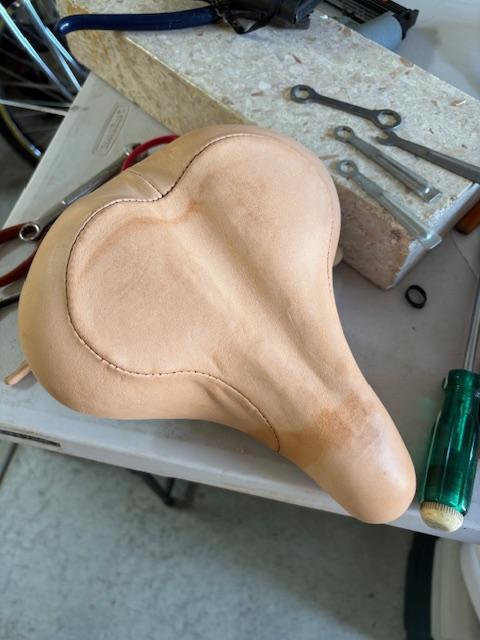
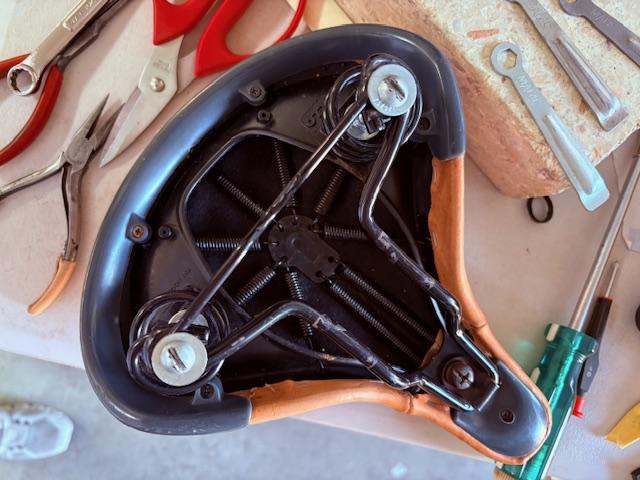
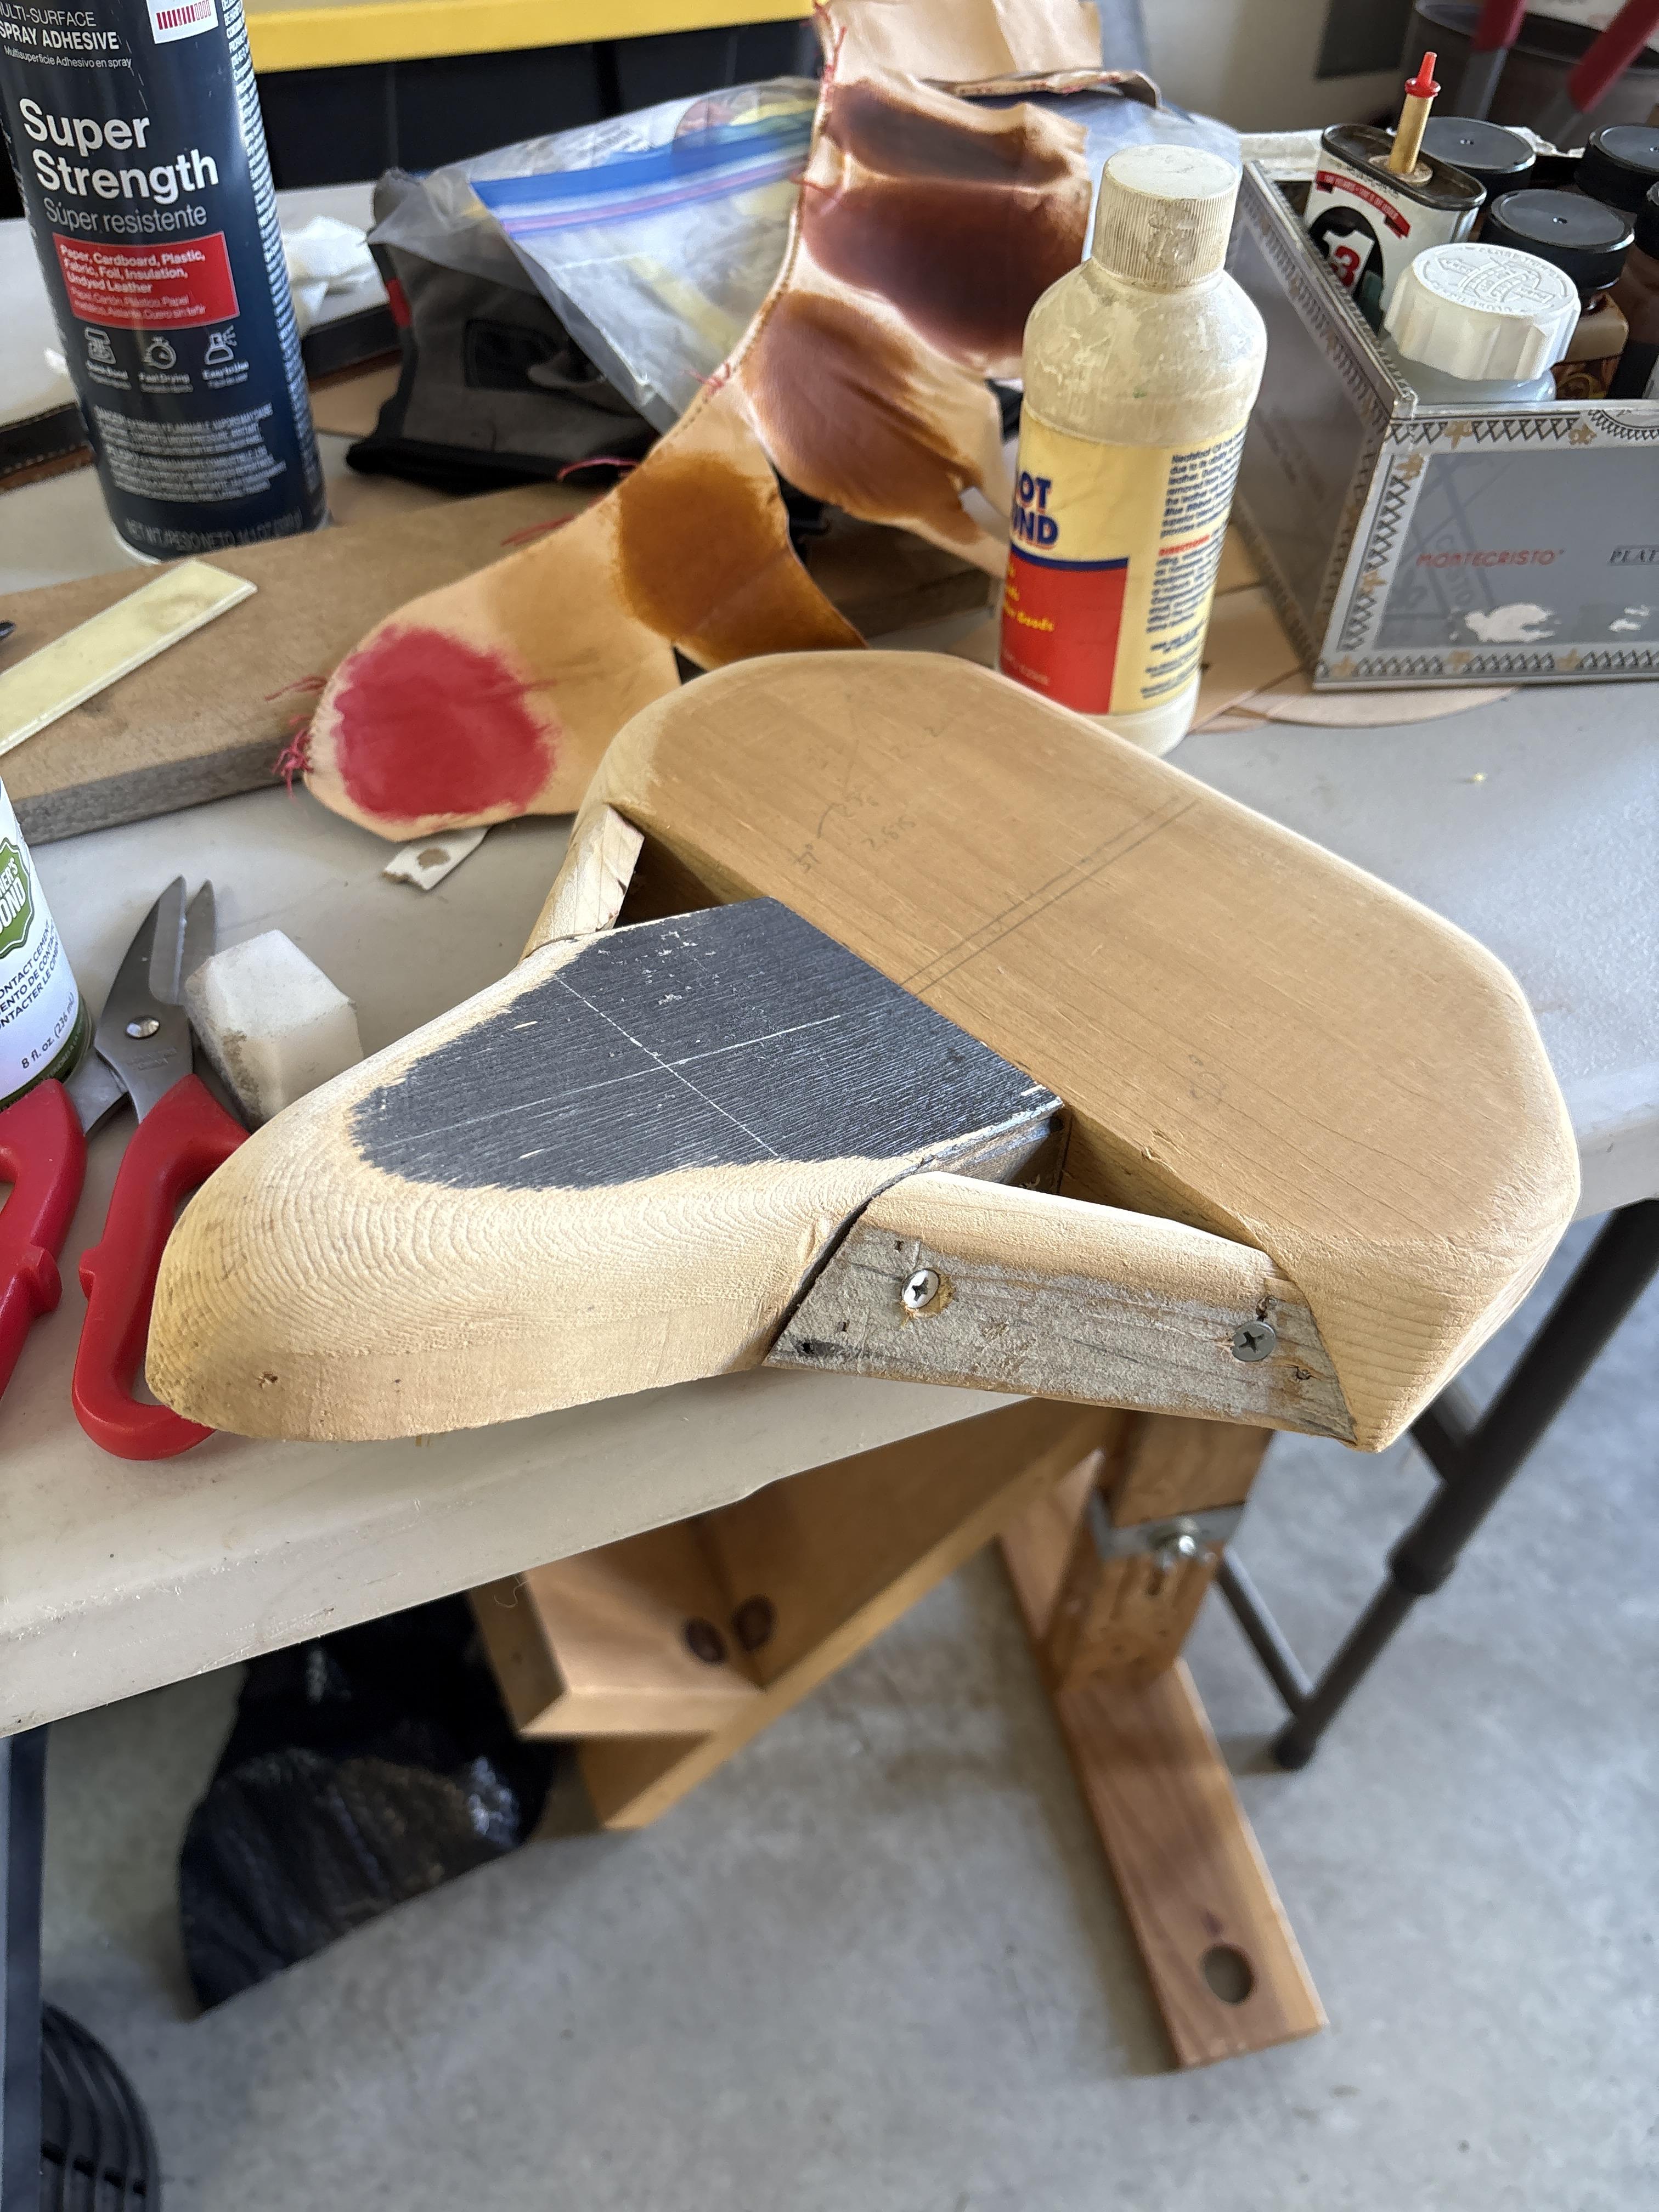
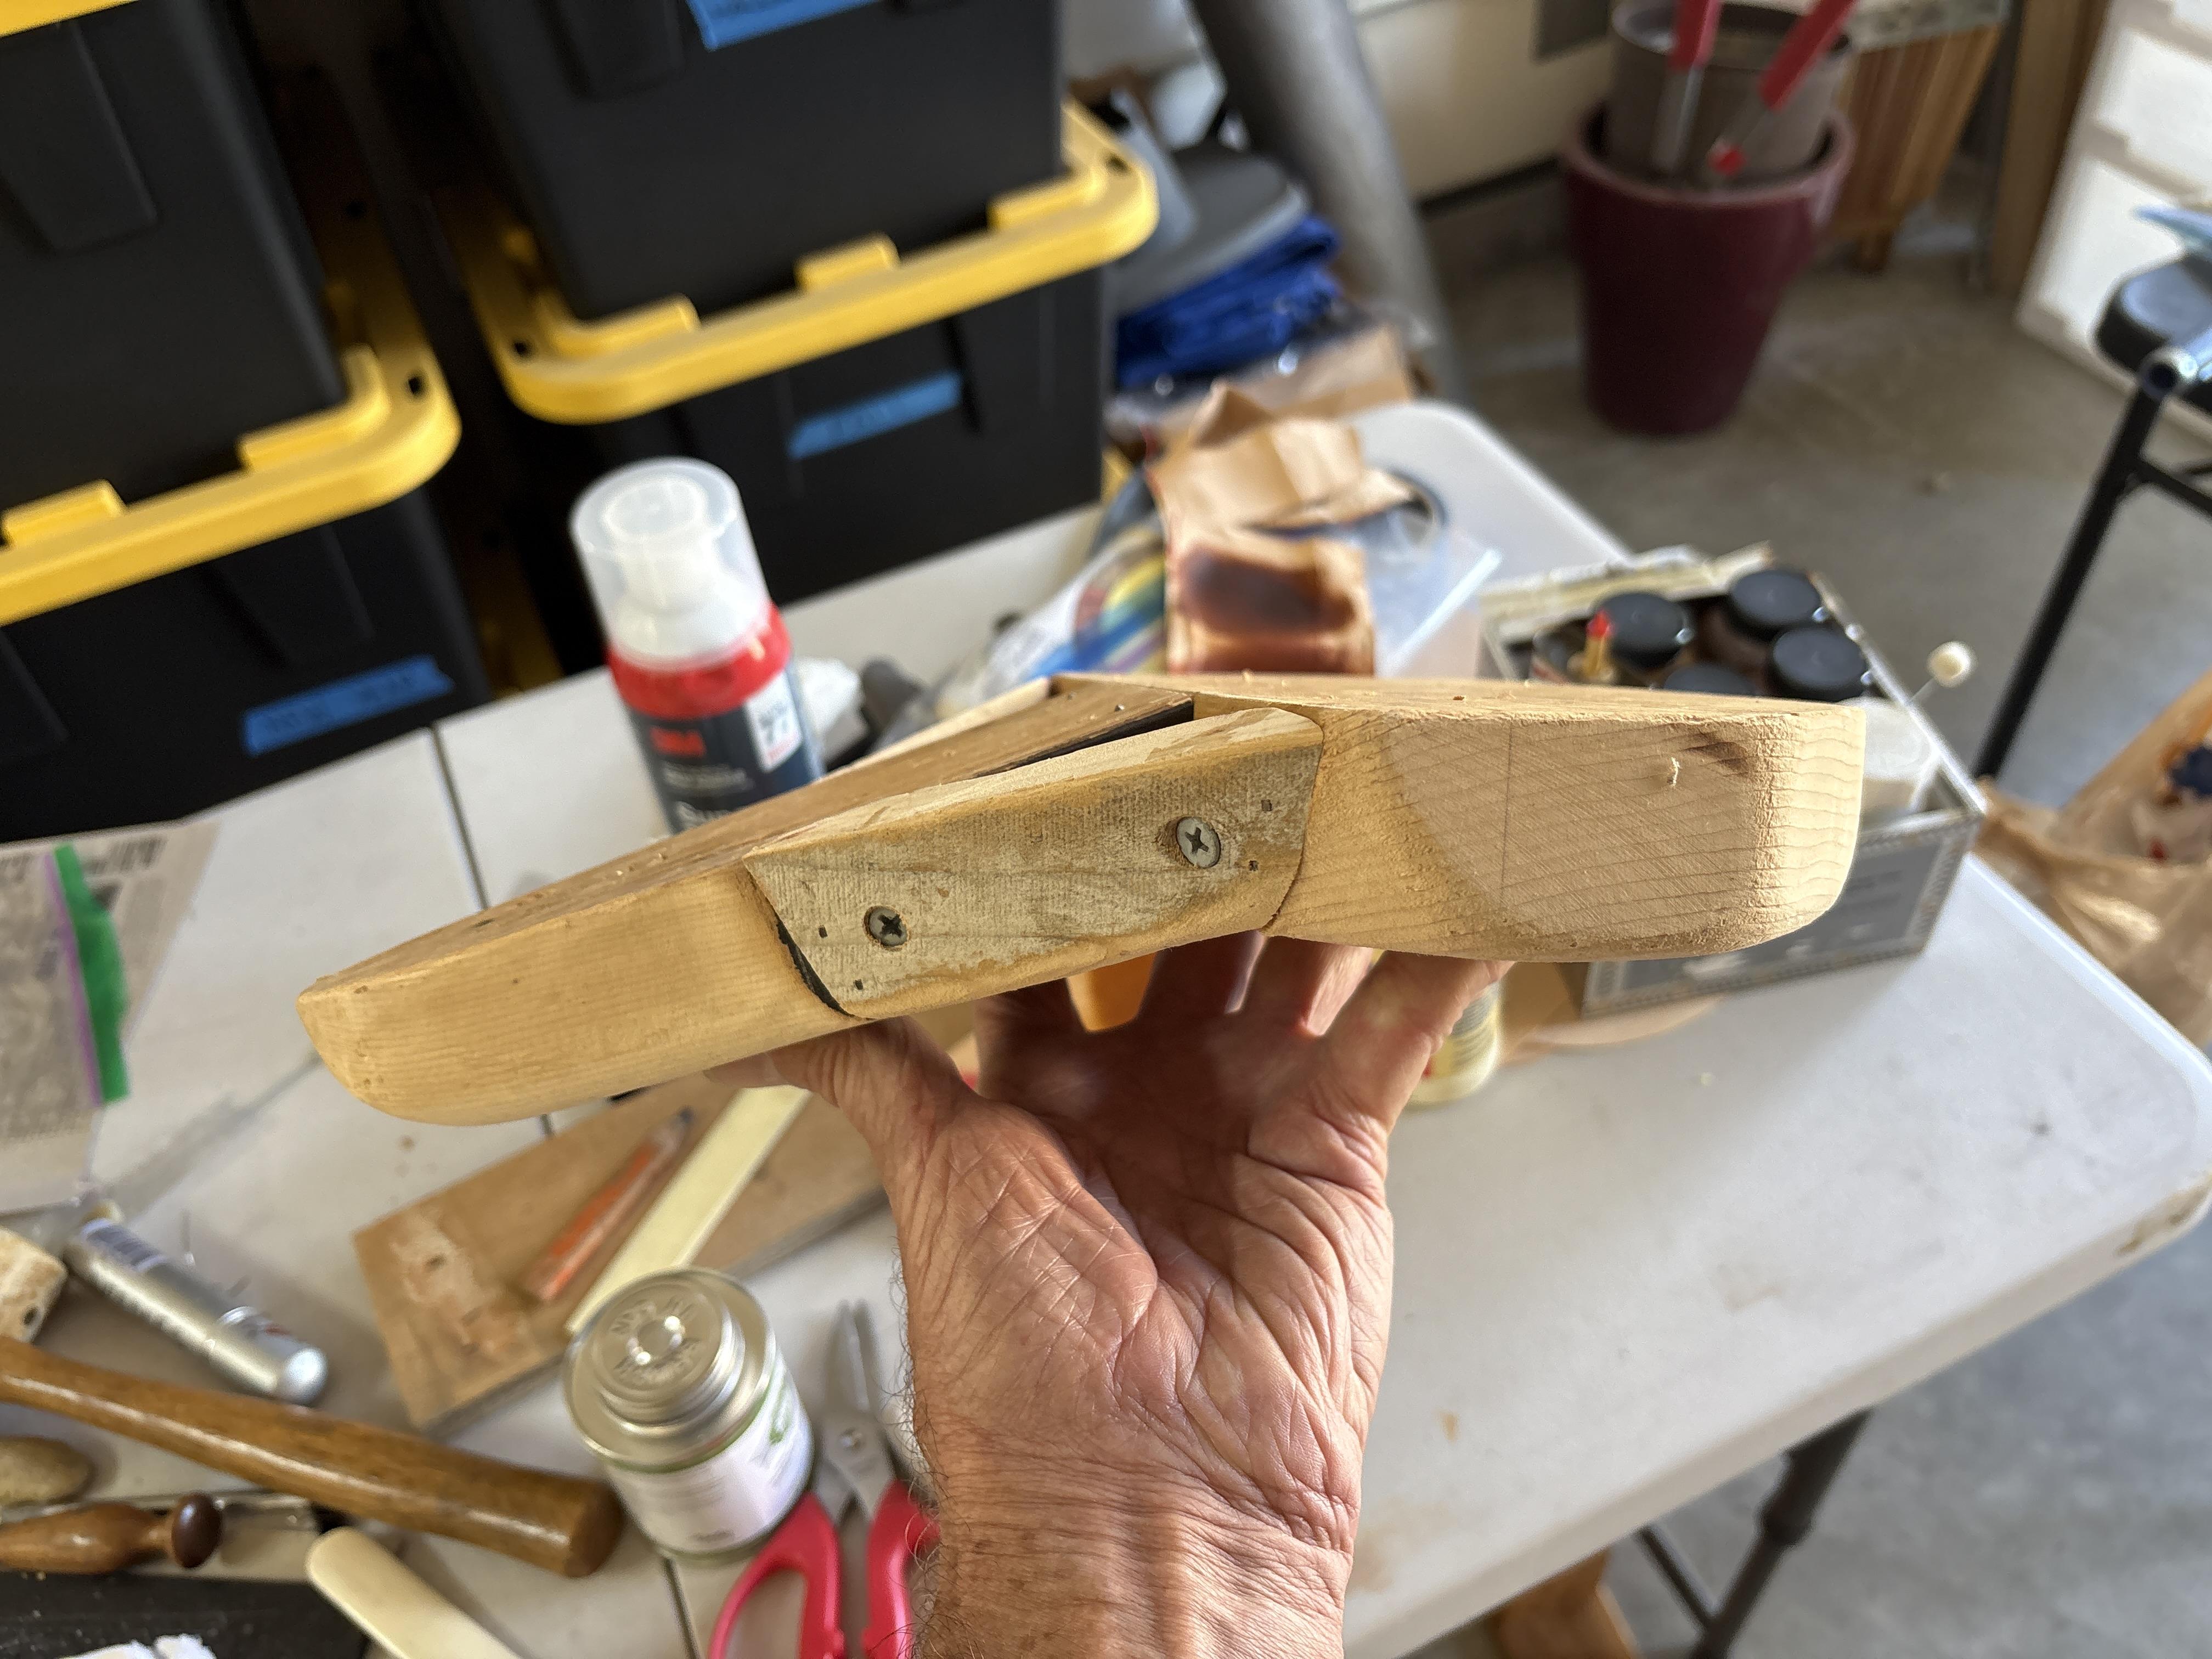
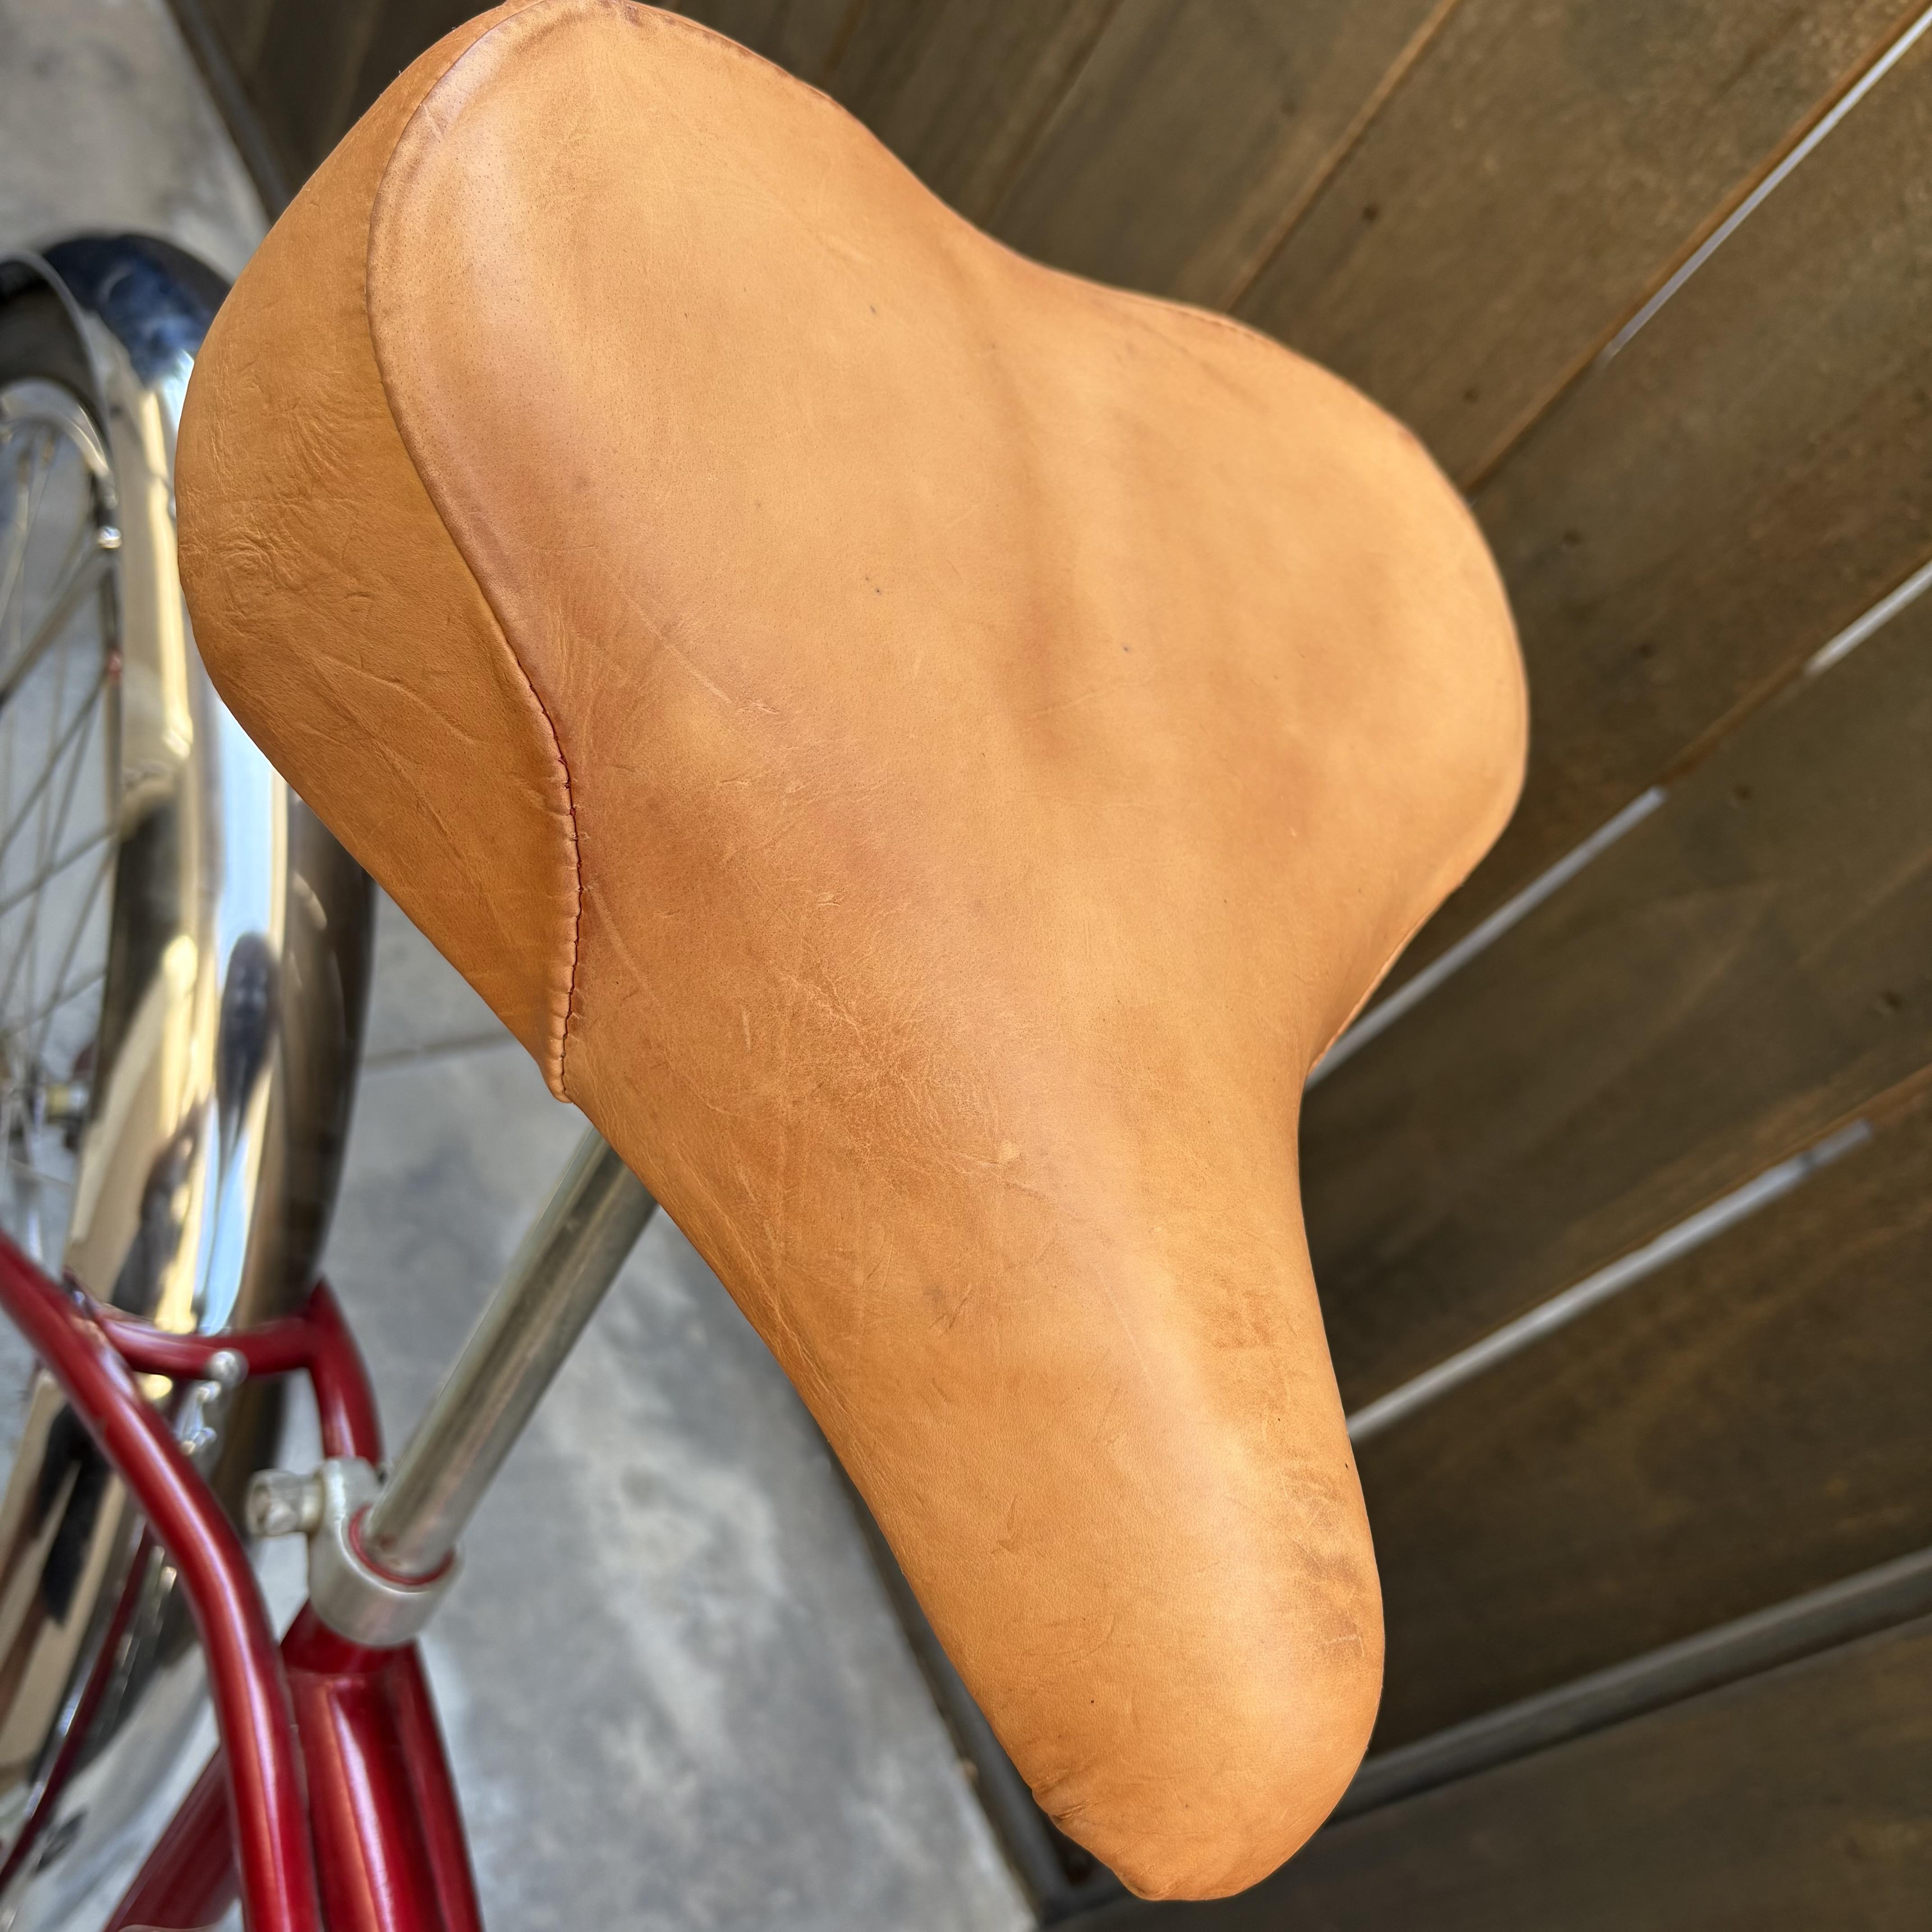
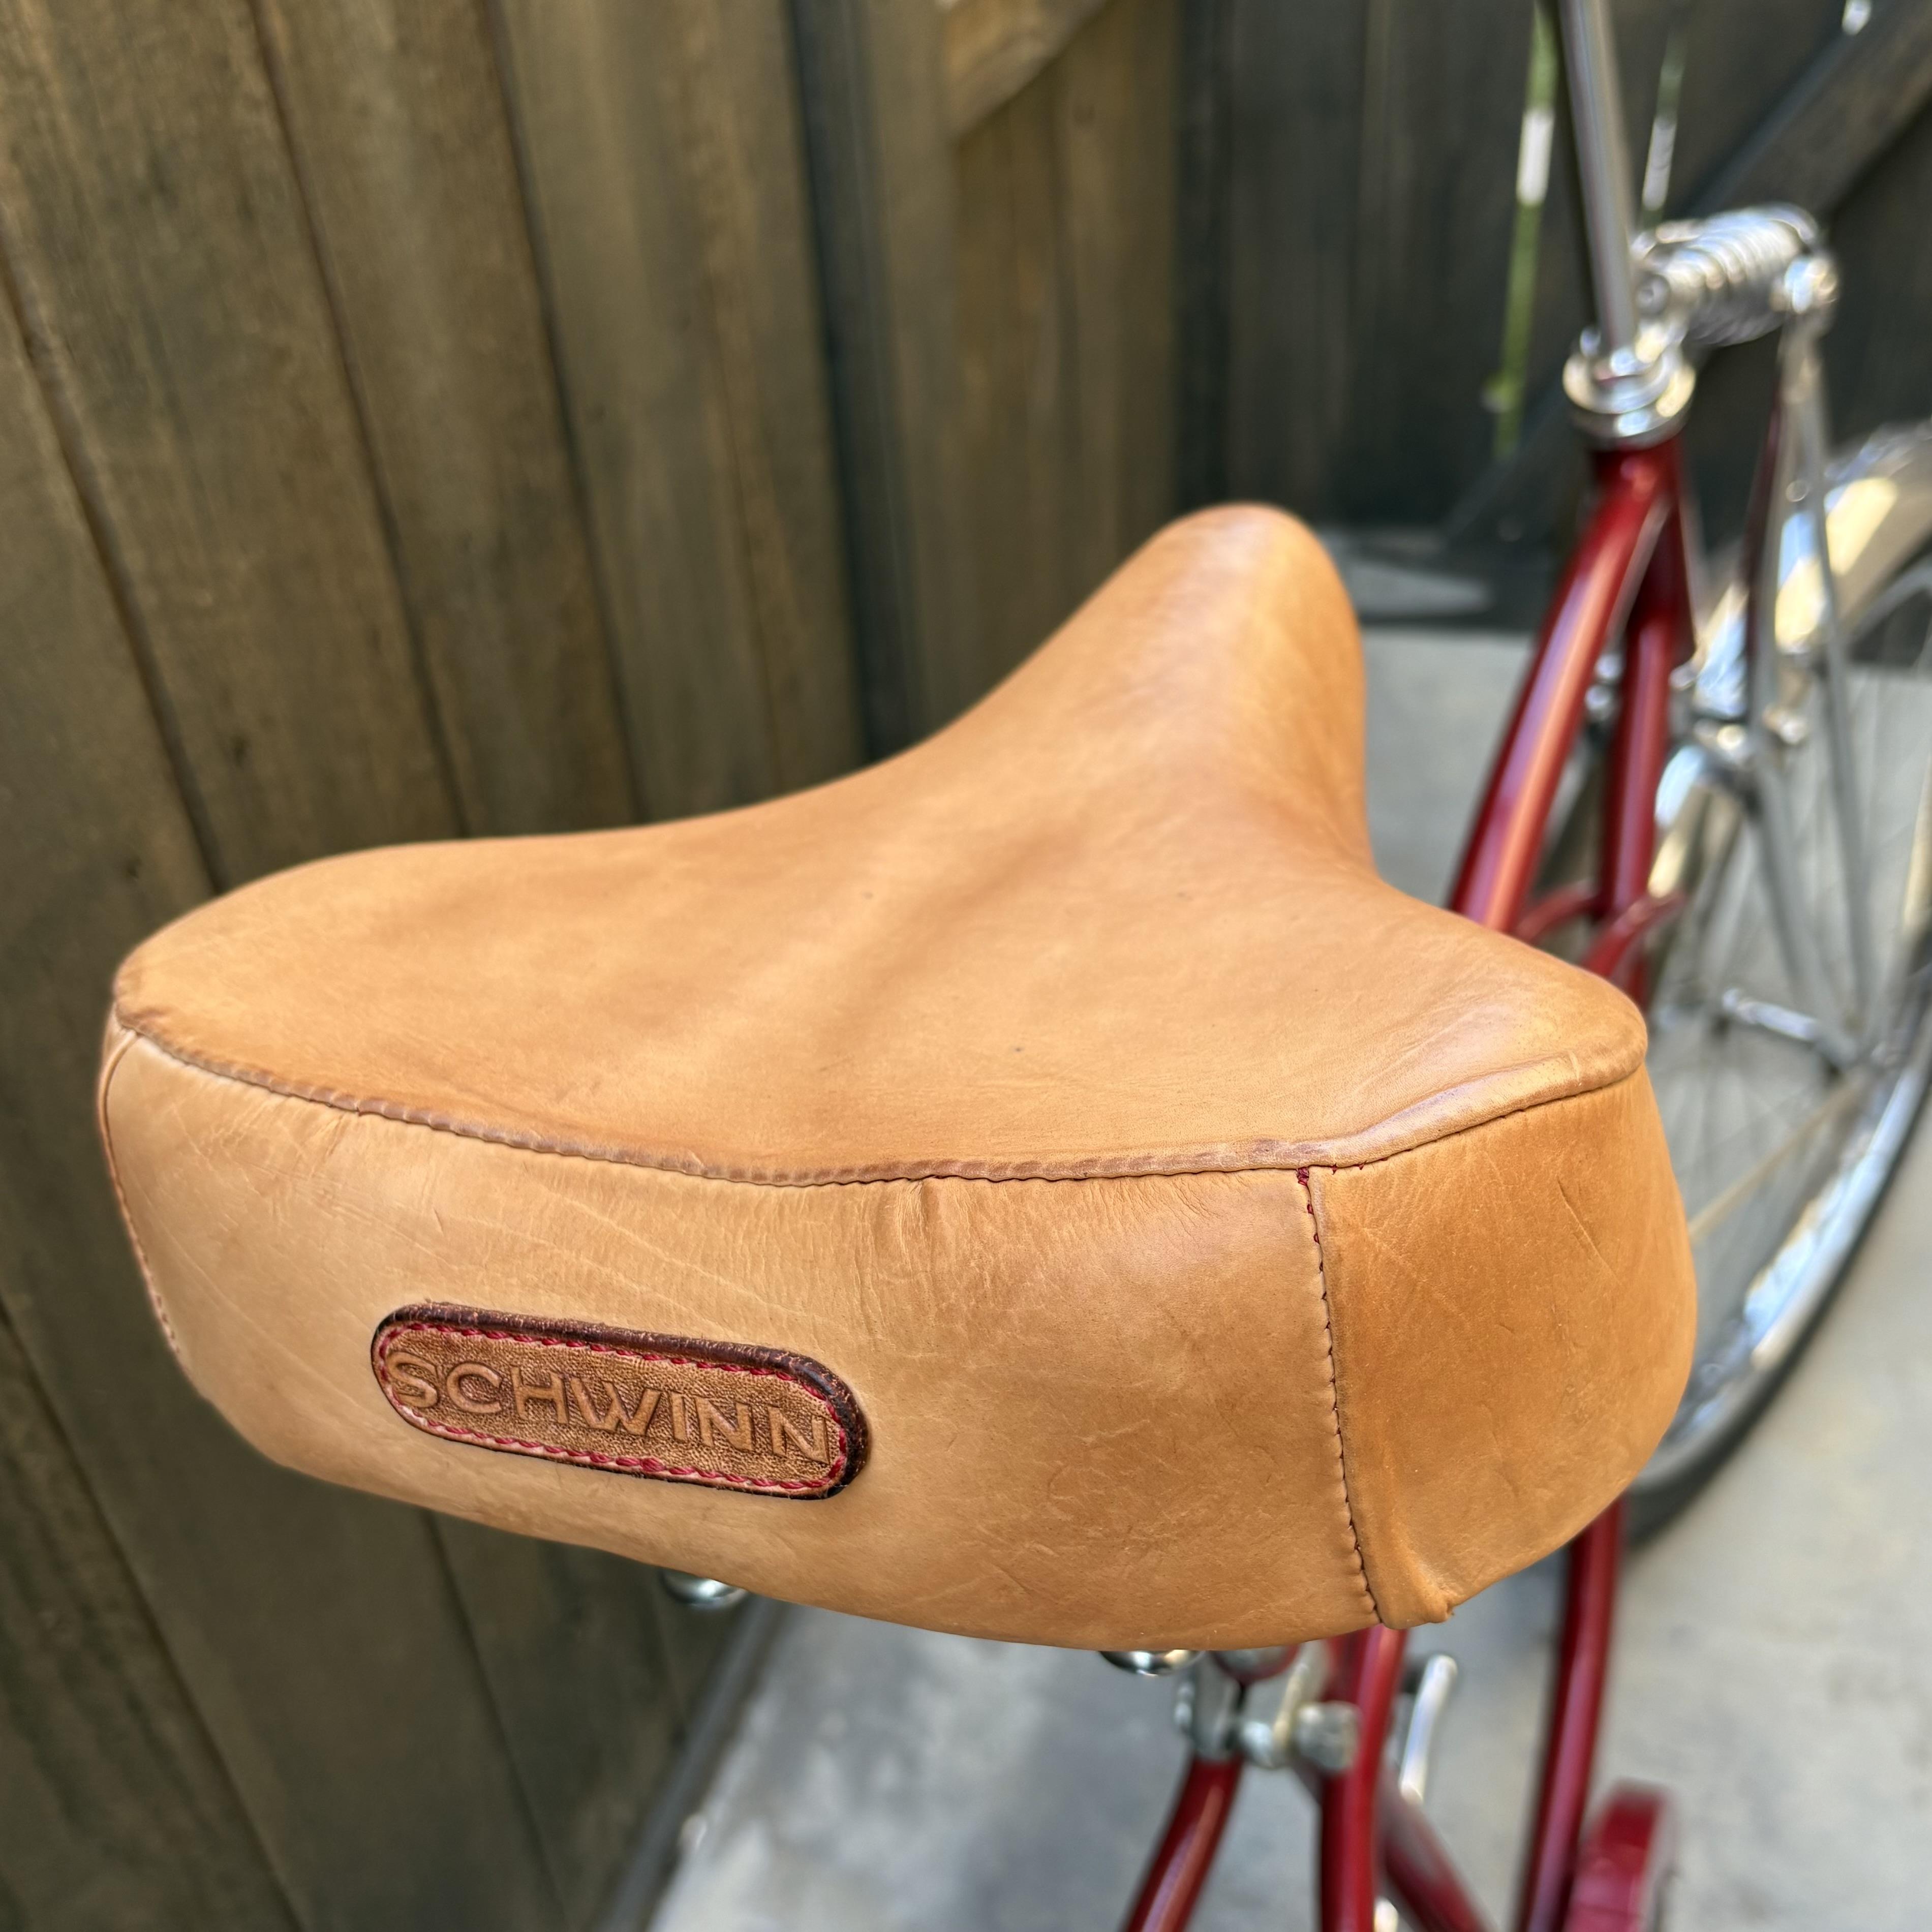
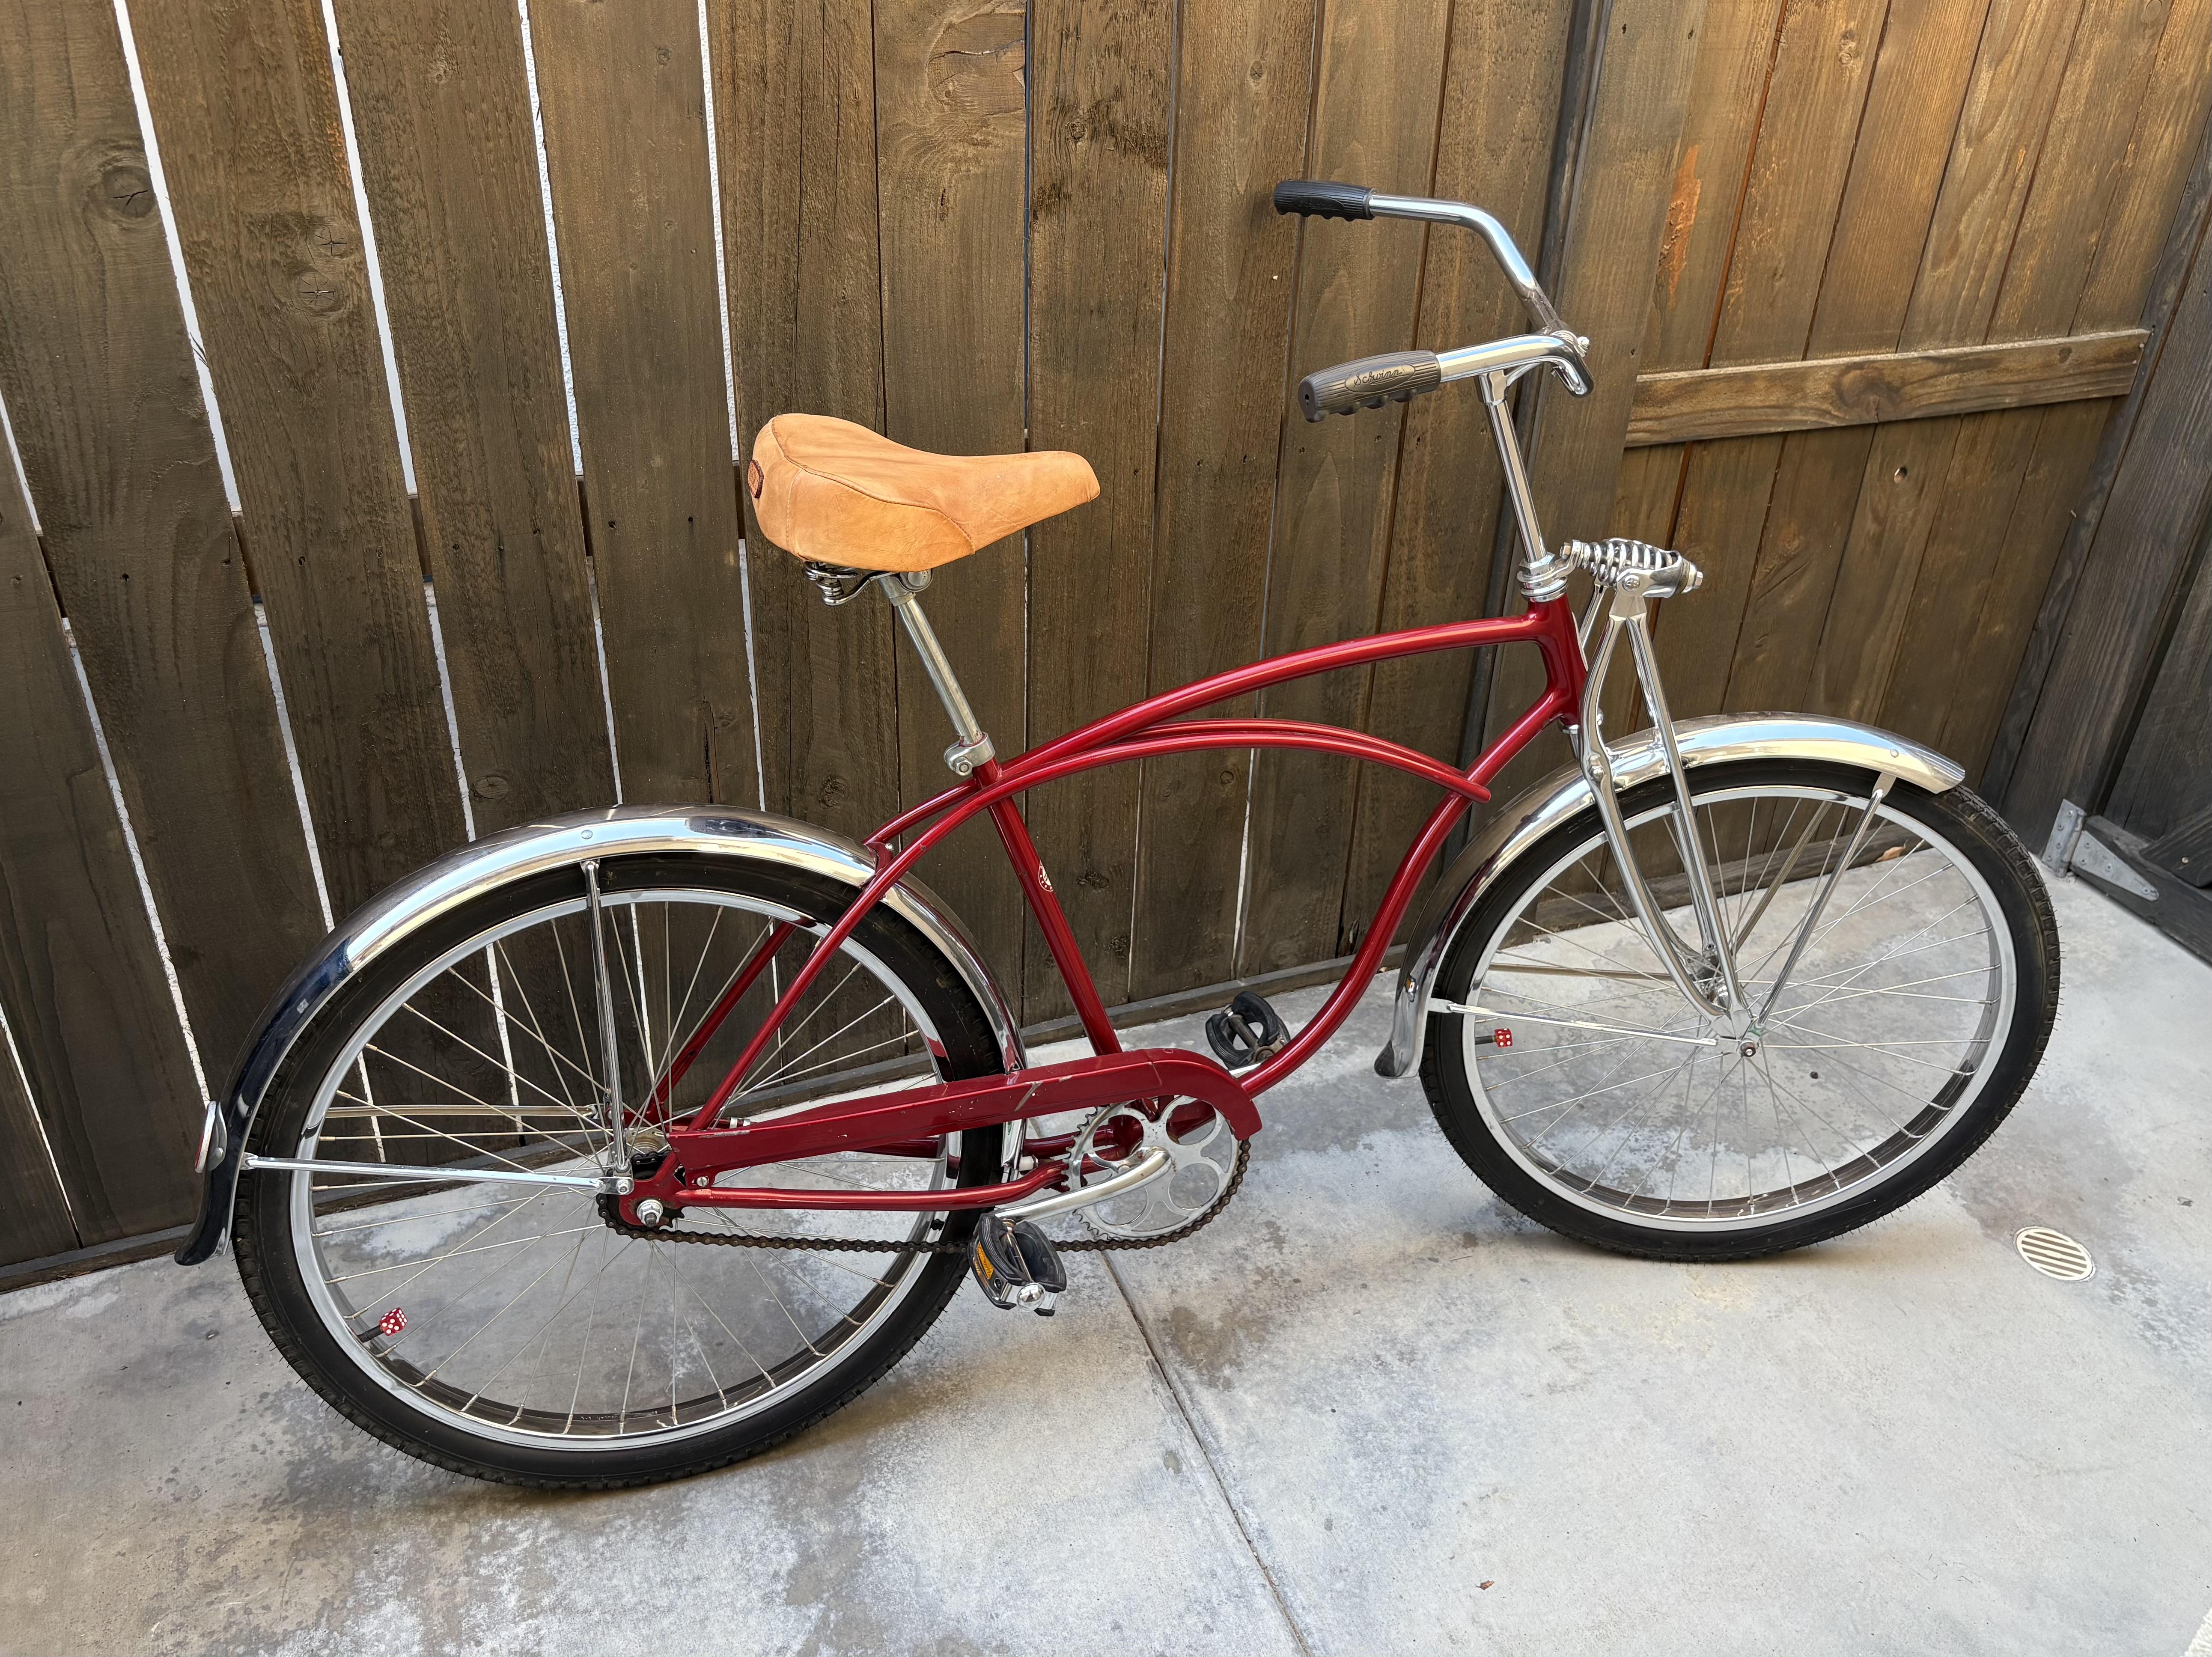
Bicycle seat #2 was done using the same wooden mold as #1, but cut down off the back as the seat is smaller. This seat is closed cell foam cast on a plastic frame, so I used a PrimeStitch pneumatic stapler with 1/4" staples to fasten the leather. There are plastic frames pieces that also hold the leather in place as seen in the bottom view picture. Again used 2-3 oz. leather because I thought 1-2 oz. was just too thin. That required three tries at getting the pattern right so the leather formed into the stronger curves of this seat. You can see the seam on this one is closer to nose than the first seat, which had a shallower curve. 1-2 oz. leather may not require any seams at all. Next time, maybe. The wooden mold is needed to form the nose. Once that dries in, I remove it from the mold, soak it again, and work in to the seat's shape. That takes time and a slicker. For the finish I'll deglaze the leather to remove any unseen residue and apply Neatsfoot oil.
-
The leather is Tandy’s 2-3 oz. as that is what I had on hand. Herman Oak is sending some 1-2 oz. which will go on the next saddle cover. It is comfy for a beach cruiser, its primary purpose. Attached is pics of the wood form I made and used for initial wet forming. I did use staples to aid that process. Thanks for the comments!
-
The leather is Tandy’s 2-3 oz. as that is what I had on hand. Herman Oak is sending some 1-2 oz. which will go on the next saddle cover. It is comfy for a beach cruiser, its primary purpose. Thanks for the comments!
-
Third time’s a charm. I made a wooden form to mold the 2-3 oz. veg-tanned leather. It could have been done in two pieces but the first two tries left me with barely enough for the third and happy result. This seat is closed-cell foam on a metal pan so contact cement was used. No staples. Hopefully it will hold up to riding. Finish is neatsfoot oil. Next bike saddle project is a plastic pan that will take staples. It will use the same wooden form for preliminary molding.
-
I just bought a CraftTool rotary hole punch thinking it would be the last one I ever buy. The darn thing requires so much pressure I'm all but done for the day after punching one of the #6 holes, the largest one. Never had any issues with the cheap ones I've been buying for years, other than they wear out after 5 years or so. If you have some tips on getting the CraftTool punch to work more easily, it would be appreciated!
-
Tank Strap For A 105Th Anniversary Softail Custom
kurtalderson replied to leatheroo's topic in Motorcycles and Biker Gear
That is very nice! I'm getting rid of the thin plastic cover on my Tour Glide Classic at the first opportunity. The lacing really gives the piece a lot of class. In my case, it will give me way to fit the metal ridge on the tank. The original plastic molded piece fits over the ridges. It's been in place since 1987 and is getting cracked and shredded around the edges. Did you use any protective finish to keep water marks off? What kind of leather did you use? -
Thanks for your comments, guys. As soon as the Harley comes out of the shop, I'm making a run to Yuma.
-
The first mistake was buying a Tandy gunbelt kit because it seemed like a good deal. The second mistake was putting Eco All-in-one finish on it. I was trying to match the color of the holster (see my avatar) which is an Eco Prairie Tan. I like the rich reddish-brown finish and hoped to get a matching belt. Next time I'll cut all my leather from the same hide. Anyway, when I put the color to the belt it didn't look anything like the holster. In fact, it was more yellow than red. I tried deglazing the All-in-one finish with both a homemade denatured alchohol/lemon juice mix. It worked good (thanks to the Forum resources) but the color was embedded even though the finish seemed to be broken. I followed up with some commercial deglazer (contained petroleum spirits) but it didn't take much more color off than the home-brewed deglazer. Now I was ready for the vinegaroon phase. That worked very well (again, thanks to the Forum). I had a nice even black but with a little bit of white haze on the grain side. I tried a little Neatsfoot oil, thinking that deglazing and vinegarooning (yes, I used the bicarbonate of soda solution to neutralize) combined to leave this odd white cloud. It is not a residue and does not rub off. Freshly oiled, it does disappear. The next day, the grain side was better but the flesh side had a white bloom to it. Now I think that a finish like Satin Sheen, since I have no more Neat Lac, might do the trick and eliminate the white haze. Any experiences to relate? Things I will "never" do again: 1. Buy a Tandy leather kit. 2. Buy an Eco-anything color or finish for leather. If all else fails, I will use the kit for a pattern and thereafter chuck it. Thanks for any comments.