

Peter Darby
-
Content Count
226 -
Joined
-
Last visited
Posts posted by Peter Darby
-
-
Does anyone know how to attach a chape to a leather covered wooden sword scabbard. Non of the chapes I have seen have a hole for peening it on but I have a hard time believing it is just glued on.
-
I taught myself leatherwork with the Al Stohlman books. And I was worked very hard to learn to use the tools the way he taught. Whether it was sewing with needles and awl or using the head knife. As a consequence, for many years I pretty much only used the head knife. Skiving, trimming, or even cutting thread. It works for me.
-
Great looking. I like the concrete mold idea. that would work with a lot of odd surfaces.
-
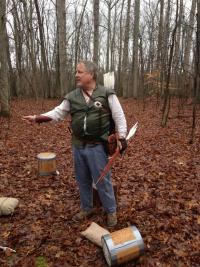
I'm in the SCA
-
I just finished my latest recreation of the Hedeby quiver (actually the Hedeby quiver is pieces of at least two quivers, perhaps even three) from the age of the Vikings. Google the title and you can see several different interpretations of how the originals may have looked. I sewed the main bag inside out like a medieval turnshoe and sewed a gusset between the main pieces. I didn't use a form because I don't think that the original used one, although I could be wrong. The top decoration encloses a leather doughnut that keeps the mouth open and ensures that over time the quiver top will not collapse.
I'm now making another one for a friend and it will be much nicer looking. For example the gusset will have a rolled edge and the stitching will all be inside but I will not have to turn it. (Like a medieval turnshoe it is not necessary to sew something inside out to put the stitching inside a confined space.
The beauty of the design is that unlike modern bandoleer style back quivers or side quivers, this functions equally well as a side, back or baldric style quiver. If you look at the archers on the Bayeux tapestry you will see that most wear side quivers but one seems to have a back quiver made the same as the side quivers.
-
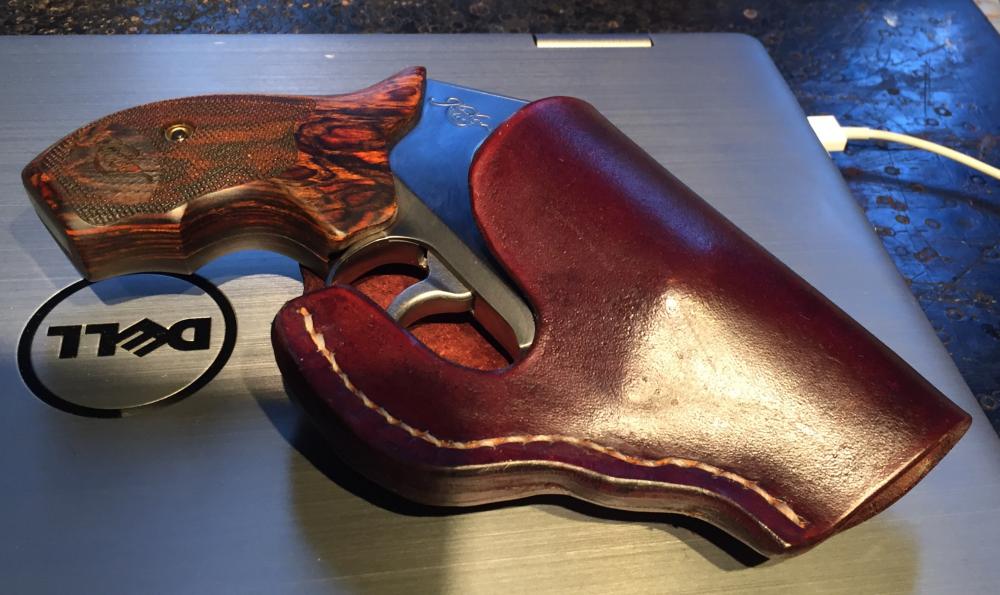
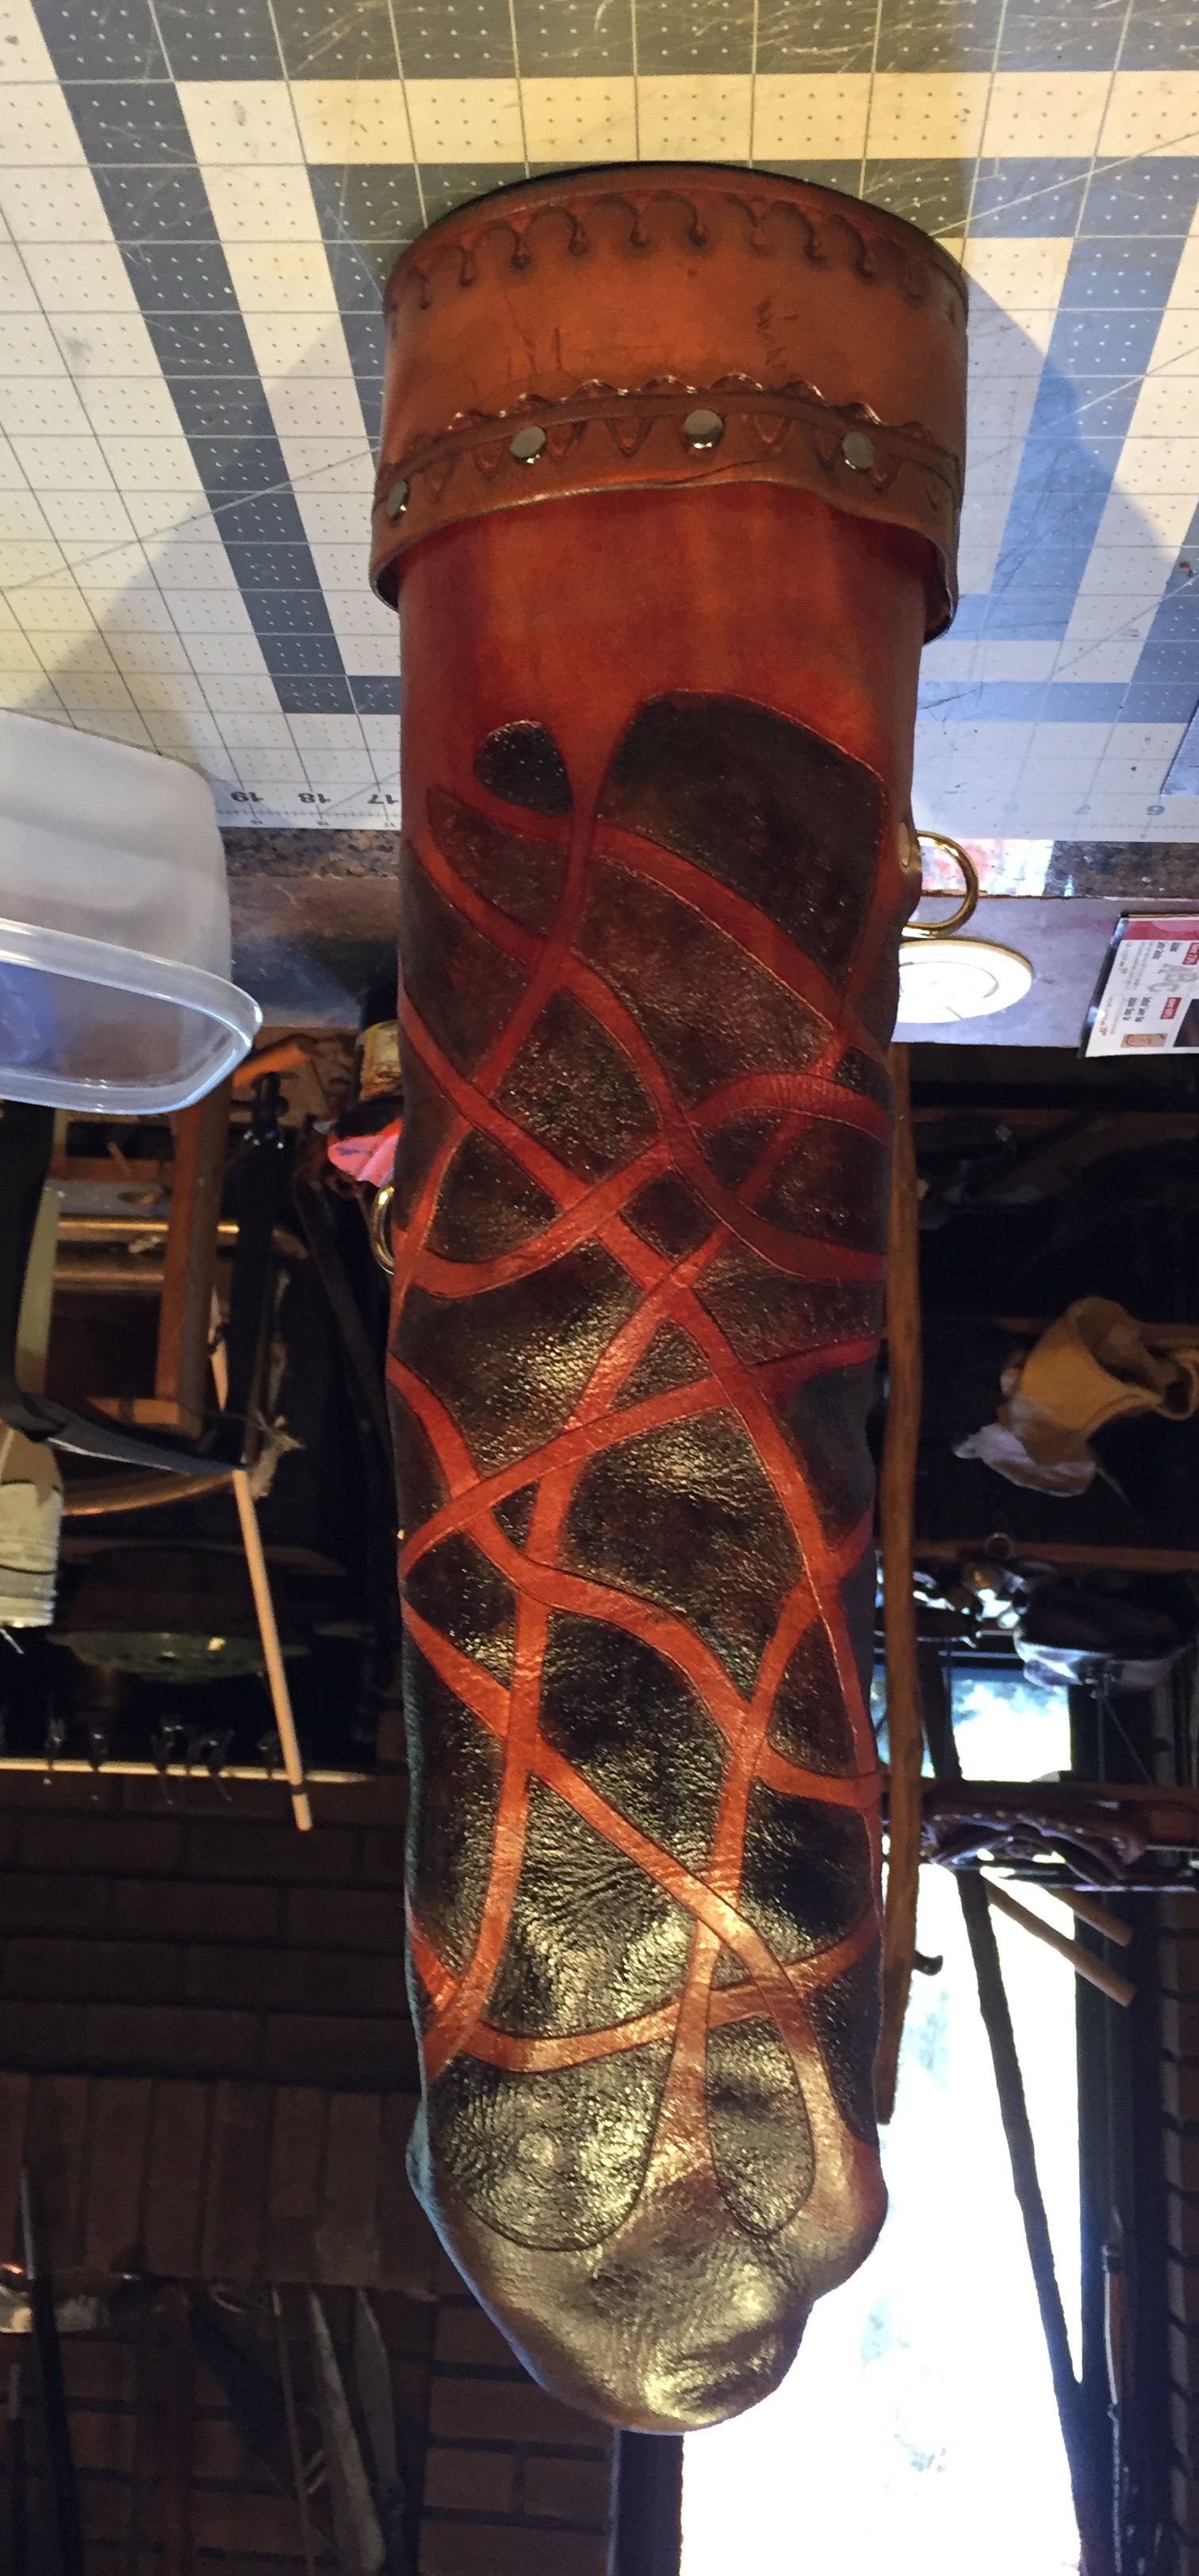
No, I carved it in. I didn't make a mold because it was more of an experiment than anything else. I sewed it inside out then turned it before I did the hardening.
-
Looks good. I have played with Cuir Bouilli with mixed results and decided that like you a mold would be necessary for armour as well as knowing the amount of shrinkage. Here is a boiled leather quiver I did. I used 2/3 weight leather to see if the hardening would give it the necessary thickness and rigidity. It did but I should have made the quiver a bit longer

-
I love it.
-
-
I like it.
-
Beautiful work. I looked at the first picture and thought, must be new to leatherwork. When I scrolled down I literally broke out laughing. I really like your design.
-
Very very nice.
-
Very nice.
-
Like Gary I like the holsters but am not a fan of rivets. Somewhere on youtube is a video that shows the holding strength of rivets verses stitching. As I recall the rivets were no stronger than stitching. But it took a lot more force than you should ever encounter on normal holster use.
-
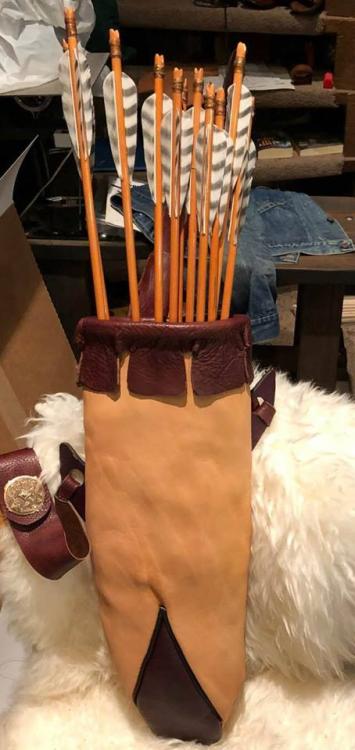
On 1/27/2018 at 7:06 PM, Deemer said:That looks awesome with the grip and the stainless. I'm intrigued by the exposed trigger: I love the look, but in that edgy/dangerous sort of way. Not sure it would be for me.
I am glad you like the look. I doubt if any holster is perfect for everyone. This one was based on Al Stohlman's designs in his holster book. A minimalist design but adequate. The gun is held tightly but comes into your hand easily. The trigger guard is enclosed but the design is such that the leather can not come in contact with the trigger itself. The one element of potential concern is that you can touch the trigger as you draw the revolver. However actually sticking your finger far enough into the guard as you draw to trigger an accidental discharge cannot be done inadvertently. If you have a small revolver and an adequate piece of leather, make one and try it out.
-
Beautiful work. For me the beauty lies in the perfection of the work. Awesome molding, edges and construction.
-
That is gorgeous. Use said the daubers tended to overdaub, although I think it looks great like that. A little trick I learned is to take a wool dauber and light it. Let it burn for a few seconds then use a paper towel and wipe off the burned part. It comes clean and then makes a great edge dyer. It will soak up the dye but when lightly pressed on your edges doesn't allow the edge to sink into the dauber and spread dye to the edges.
-
That is what I meant. Although rereading my sentence, it needs some more punctuation.
-
Nice work. As stated the welt is an integral part of a well made sheath. One of the things I do that I noticed you didn't is when I have a sharp angle cut into the leather such as where the keeper meets the belt holder and the slice in the bottom of the button hole is to punch a very small hole as a stop to prevent the leather from ripping under stress.
-
I finished this holster for a friend. One piece of leather and can be worn either left or right side. I used 6 ounce leather since he didn't want it to thick. It does a fine job of retaining the holster when worn on your side, but is easily drawn. I could be wrong but I feel like the secret to a good fit on a one piece holster is the gusset. Thin at the bottom and thicker at the top where the trigger guard butts up against it.
-
Wow! Just Wow.
-
It looks very nice. I like the way you reversed the keeper for a right hand draw on a left side carry. I would have put the keeper next to the quillion so in the event of a fall the knife can't rise up in the sheath and plunge down through the back, especially when the sheath ages and the keeper is stretched out a bit. Also placing the keeper next to the sheath allows for an easier one motion draw.
-
Very nice.
-
good work. I like it.


Medieval Knife Sheaths (and knives)
in Gun Holsters, Rifle Slings and Knife Sheathes
Posted · Report reply
I like it. I do a lot of medieval style sheaths. Below is one I did for an exhibit of the various styles of stitching they used in constructing their sheaths. I find it fascinating puzzling out how they did there backstitching. Sometimes, as yours shows they stitched them up the back and sometimes they stitched them on the side then turned them. Often I find that the way they did things is better than what we do now. I use a Hedeby style quiver worn as a back quiver and have converted many an archer from the bandoleer style the Viking (or Arabic) style quiver. I look forward to seeing more of your work.