

NoName
-
Content Count
125 -
Joined
-
Last visited
Posts posted by NoName
-
-
Thank you J Hayes for the quality of information. (without the display of ego)
-
Ditto on the Royal Meadow. Made one for myself out of the same.
-
I would leave the billet end no thicker than about 10 oz finished. If it is much thicker it may be difficult to get the tip through the keeper once it is buckled. I like it lined all the way to the tip of the billet end but I would run the liner piece through a splitter on the billet end.
No offense Katsaas, you have a great looking product.
-
I gotta say, it doesn't look like rookie work to me.
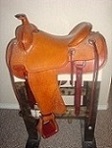
 I like the pictures you are posting of the progress. The picture in my avatar was my first. Much of the credit goes to the Stohlman books on saddlemaking. I hope it turns out good for you and I will be following your thread as you post more pictures.
 -
Mine is 3-4 oz chrome tanned leather.
-
I sharpen and polish mine with this system: http://usaknifemaker.com/sharpening-supplies-c-52/cardboard-10-wheel-razor-sharp-system-3-4-arbor.html
In fact, I sharpen everything I own with this system!
-
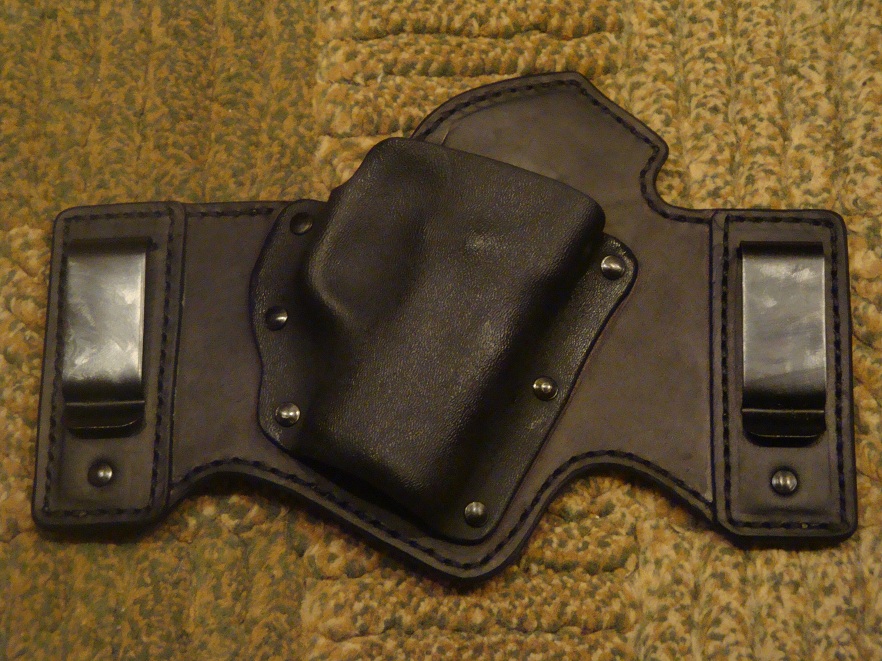
Very nice looking holster.
I carry a Kahr PM9 (blackened stainless) in a holster very similar to this one. I have used this holster for about six months now and have not noticed any damage to the finish of the gun. In fact it looks quite good for the hard use it gets.
I do agree with the advice on stitching. A sharp and highly polished Osborne awl blade will make prettier stitching holes.
I would like to know where you get the blackened screws and washers. I used rivets to fasten mine together. It has worked well but I like the look of the fasteners on yours.
-
Some don't like 'em, but I think I can spend more time cutting and less time stropping with a ceramic blade.
I don't think the ceramic actually dulls. I think you just have to clean it off every once in a while on some white rouge on leather.
-
The item pictured on the right was sold in the late 80's by Tandy Leather as a "Concho" hole punch. Winter Bear's initial guess was accurate.
-
Search Google images for pictures of holsters. You may get some ideas that you could incorporate into your project.
-
The ceramic blades never need to be sharpened. Strop them often however (on jewelers rouge impregnated leather).
-
If I were you I would start with the books that Northmount recommended (on hand sewing and case making). You will see ideas in there that will inspire your imagination and show you what different tools will do, then begin purchasing tools as you see what is required for the types of projects you intend to build.
As always, buy the best quality you can afford. Quality is far better than quantity!
-
Definitely not bad at all.
To add to what has already been said, I would suggest this:
If you were to have to draw it from the holster, you would want a little more clearance for your fingers between the grip and the leather around the trigger guard.
-
42" here as well. Comfortable to work standing or seated on a bar height stool or chair.
-
>>>>>>Note to self... Dont hit "Tab" while posting. It causes multiple postings.>>>>>>>
-
>>>>>>Note to self... Dont hit "Tab" while posting. It causes multiple postings.>>>>>>>
-
>>>>>>Note to self... Dont hit "Tab" while posting. It causes multiple postings.>>>>>>>
-
I collected a lot of Tandy (Cratftool) stuff over the years, but have never seen a complete catalog of either Cratfools or craftaids. I have a fair collection of old Tandy catalogs dating back to the 1960's. At least one as old as the 1950's. I might be able to answer questions about old tools or craftaids. I doubt that I should post this stuff for fear of copy right infringment though. I might part with the collection for the right price though

PM me with any questions.
Sorry about the multiple posts! OOPS
-
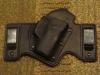
Too much of my profit was going to the manufacturers of the metal clips on the previous model. I had to redesign it some to use different clips. These clips cost less than a dollar each as opposed to five dollars each for the other ones. The back is lined as well.

-
 Mlapaglia is right.
 Rubber cement your project down to Hot Press (Crescent) Illustration board prior to casing and tooling. The leather will emboss into the hot press board slightly and the tooling will appear deeper. Wait until completely dry to peel up so that your leather does not stretch out of shape. You will have rubber cement residue on the flesh side.
-
might be easier just to teach him to do leatherwork so he could make his own

-
Check out the thread "
 Can You Hand-Stitch Through Two 8-9Oz Pieces?" in the category "sewing leather". You should not have to use enough force to bend or break a blade. When properly sharpened and polished it should glide right through with very little effort.
 -
Ken Nelson is right. the awl blade must be sharp and properly polished...The edges should be knife sharp and the whole thing should be mirror polished. Strop it before and after each project you use it on to maintain it.
-
Cased means damp clear through but not soggy.
Try this object lesson to learn what "cased" should look like...
Hold a scrap of 8-9 oz veg tanned leather under water for about 5 seconds. Pull it out and wipe off the excess moisture. Cut the piece in half and observe the edge that you cut. You will see that the the core is still bone dry and the top and bottom surfaces are wet looking. Put this scrap in a plastic bag and seal it up for 20 - 30 minutes. The excess moisture in the top and bottom surfaces of the leather will gradually soak in until the piece is evenly damp throughout. This is cased.
When a piece of leather is cased properly the surface may not look wet any more but it will still feel cool and damp to the back of your hand. A piece of 8-9 oz leather will hold this moisture content for 1 to 4 hours depending on the humidity of the climate you live in. As the leather dries while you are working it you can add moisture in small amounts with a spray bottle (set to fine mist) or a damp sponge. When you do this, you need to let the leather sit until it begins to return to its natural or "dry" color in places before you continue tooling it. I like to cover the leather with plastic or put it in a plastic bag while it is casing to ensure even penetration of the moisture.


Second 1911 Holster
in Gun Holsters, Rifle Slings and Knife Sheathes
Posted · Report reply
Spend some time sharpening your awl blade and you wont have to use so much force on it. The edges and tip of the awl should be knife sharp and the flat sides should be mirror polished. Once it is sharpened properly, strop it every time you use it and it will stay sharp. As Workingmanleather stated, a stitching groover will improve the look of the stitching as well as an over stitch wheel to mark out the hole spacing. The Art of Hand Sewing Leather by Al Stohlman explains it well.
Happy stitching!